I specifically wanted to post my first couple of projects as a follow up to the forum posting I made HERE regarding my first failed attempt at getting a tank model finished.
I would really to thank everyone who helped me see the light as to the way armor models are painted and weathered these days, as opposed to the 90s when I was heavily into the hobby. Id really like to thank Mike Rinaldi for taking the time in that posting to explain his methods and helping the light bulb flicker on for me in regards to how some of the techniques Ive used over the decades just dont cut it anymore for armor.
Anyway, on with the show
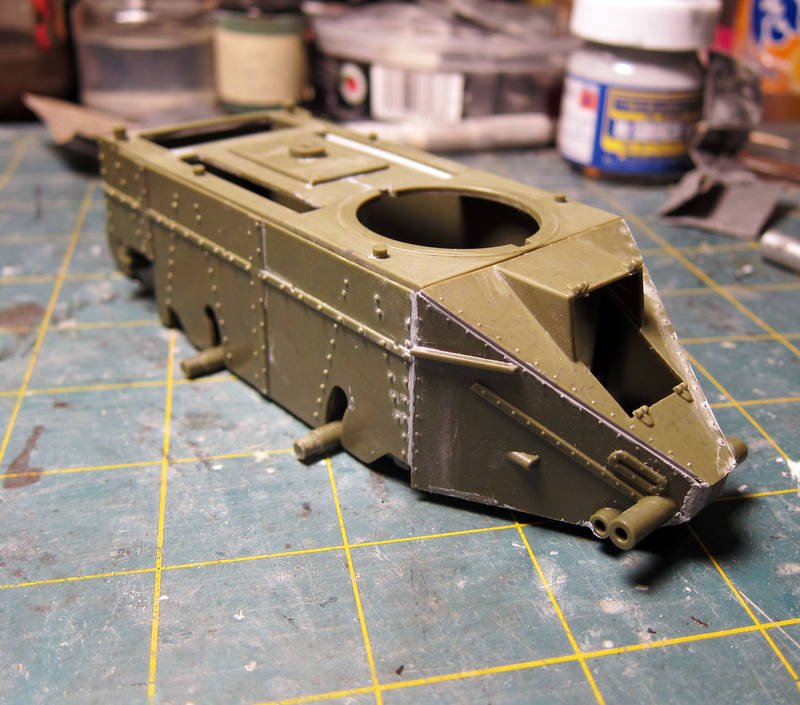
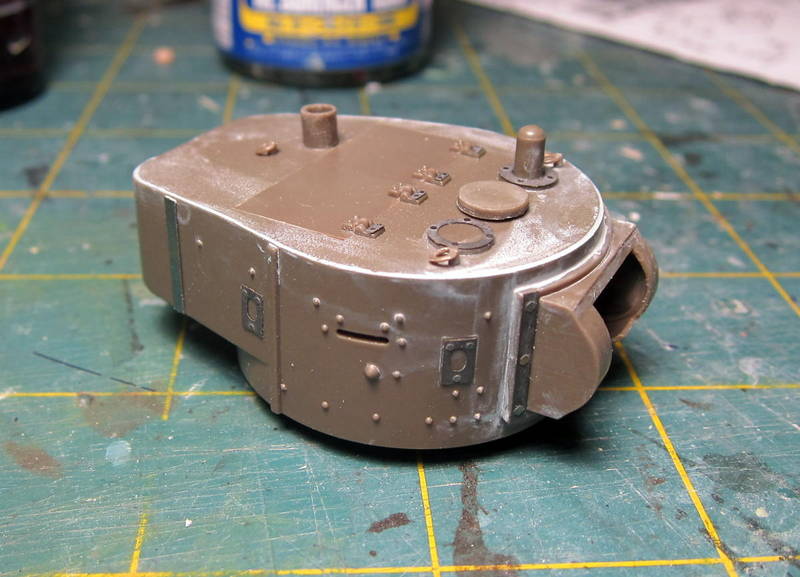
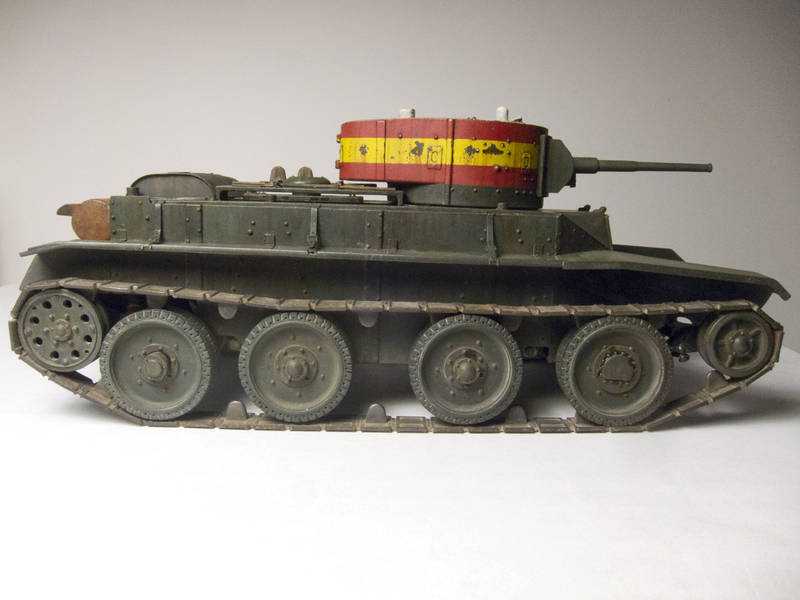
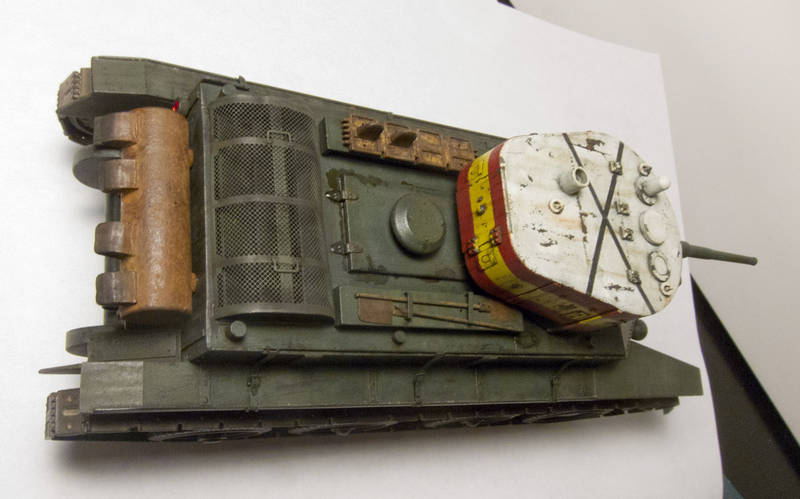
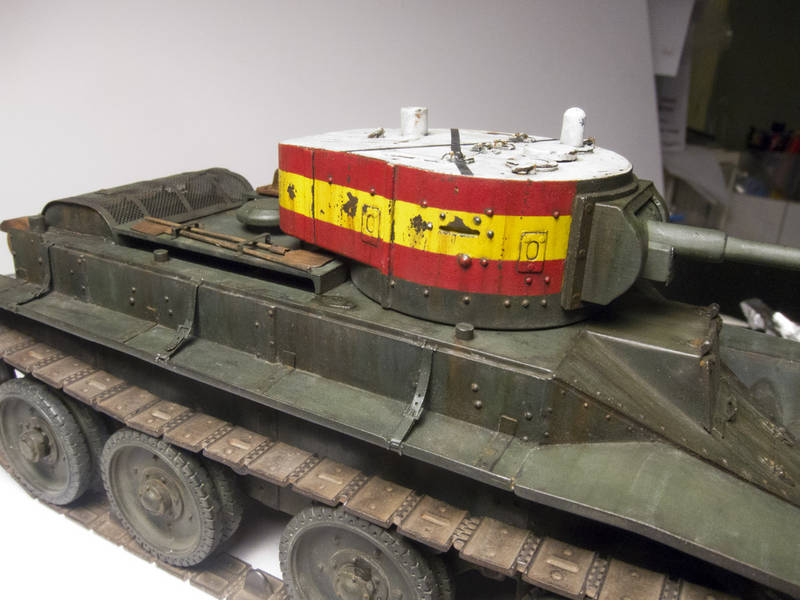
My first completed tank model is the Zvedza 1/35 BT-5. It was a dog of a kit to start with, but I got the kit for less than $10 and based on that thought it would be a better starting point than one of the $30+ Trumpeter or Dragon kits in my stash.
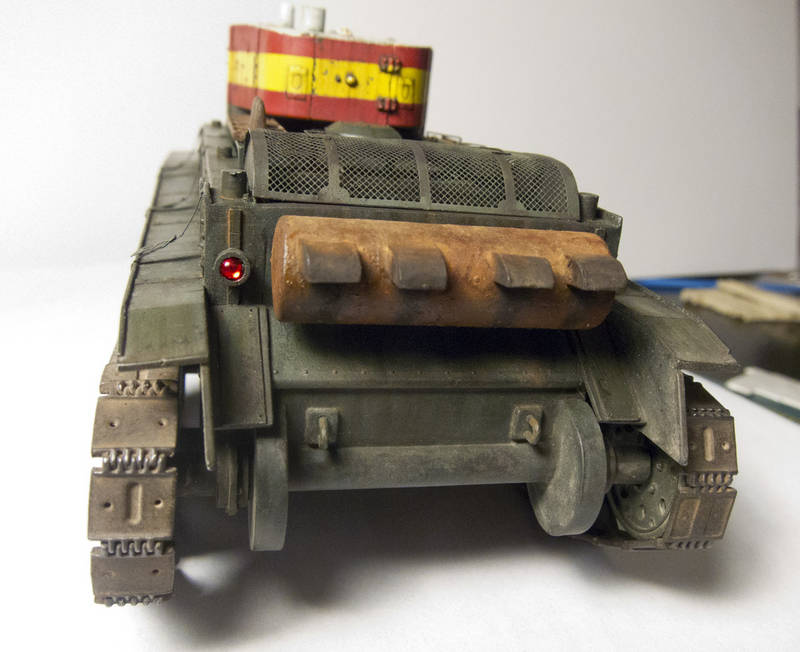
The model is built mostly OOB with the exception of adding an Eduard photoetch ed detail set. I also scratchbuilt engine louvers to fill the empty space that was presented once the Eduard engine grille was in place. I also replaced the nasty, solid plastic kit headlight lenses with some old MV Lenses O scale headlight lenses that Ive had kicking around for 20 years or so. I also made a tail light out of something from my spares box and another MV Lens based on photos I found on the Interwebs. I also drilled out the barrel for the main gun.
One thing I can say about this kit is that test fitting is very important. I had never built a tank where I had to assemble the walls of the hull, so it was a but daunting at first. I was really worried about how I was going to fill gaps without losing surrounding rivets, but I solved that by using multiple applications of Gunze Mr. Surfacer. It was perfect! I filled the gaps with several applications of Mr. Surfacer applied with a toothpick. After it had dried (this stuff dries very quickly for such thick paint) I dipped a cotton swab in isopropyl alcohol and wiped away the access. The result: a perfectly filled seam with absolutely NO sanding. Ive used this method on filling wing root gaps on aircraft models, and it worked perfectly here.
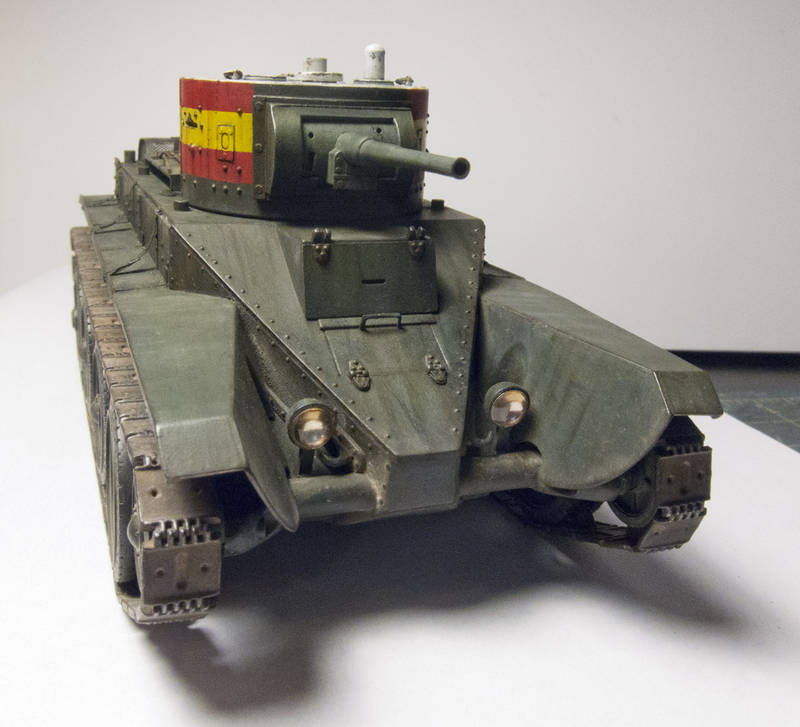
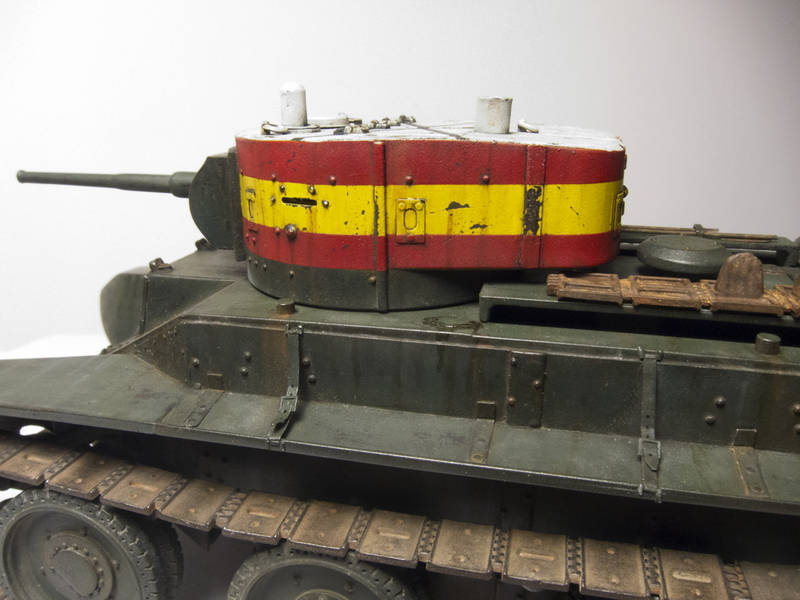
I painted the tank to represent a Spanish Civil War BT-5 captured by Nationalist forces after the battle of Fuentes de Ebro in 1937. I used the book Spanish Civil War Tanks by Steve Zaloga for my primary reference. Its a must have for anyone interested in Spanish Civil Wa armor.
I apologize for the less-than-stellar photos. I havent had the time nor energy to set up my light kit and tripod, so some point-and-shoot desktop pics are all I have at present. I will be making a vignette base for the model, so will likely take real photos when that is finished.
Thanks for looking!