I have been building this for the Postcard Challenge but I wanted to show it in a separate builtlog as well. I kinda promised that in the review as well. So here goes.
For the postcard challenge I wanted to make it as a derelict vehicle that has been looted of usefull parts and pushed aside in a corner of a factory yard. But for that I first had to start building the little vehicle.
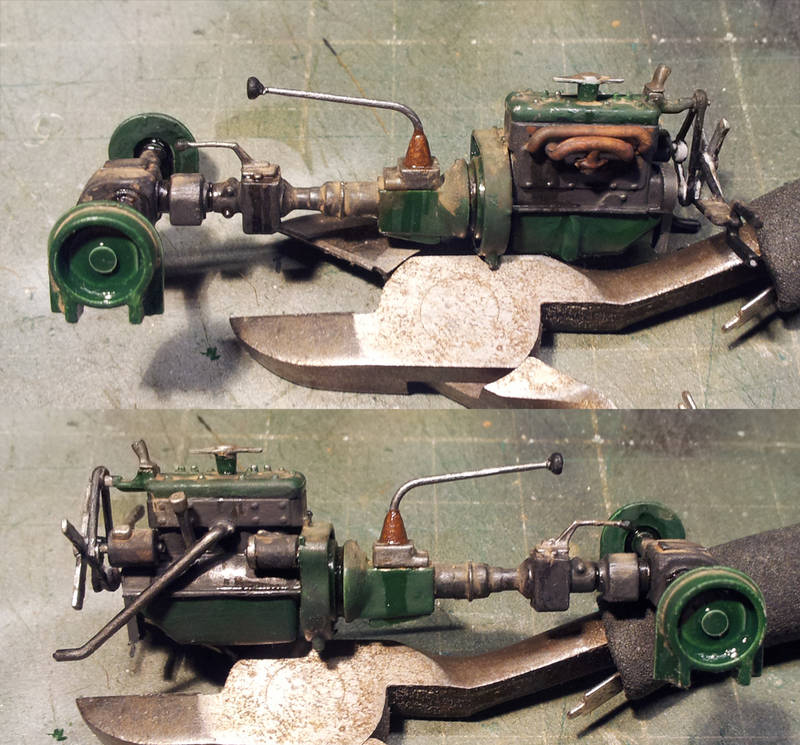
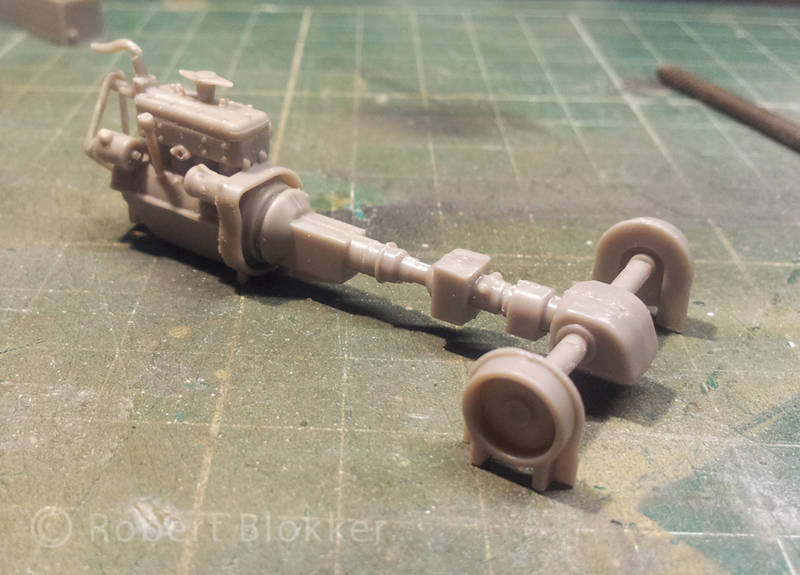
Starting off with the majority of Page 1 which deals mostly with the building of the engine and transmission.
This is a kit on it's own with quite a lot of small parts but when it is all assembled it really looks good.

Page 2 deals with the Hull tub, placement of the engine, radiator, radiator cowling with louvred grill, fueltank, the open firewall behind the drivers compartiment, fenders chairs etc. Also in this step you add the driving levers. I left these out because I replaced them with the levers and pedals from the PE update set from LZ models.
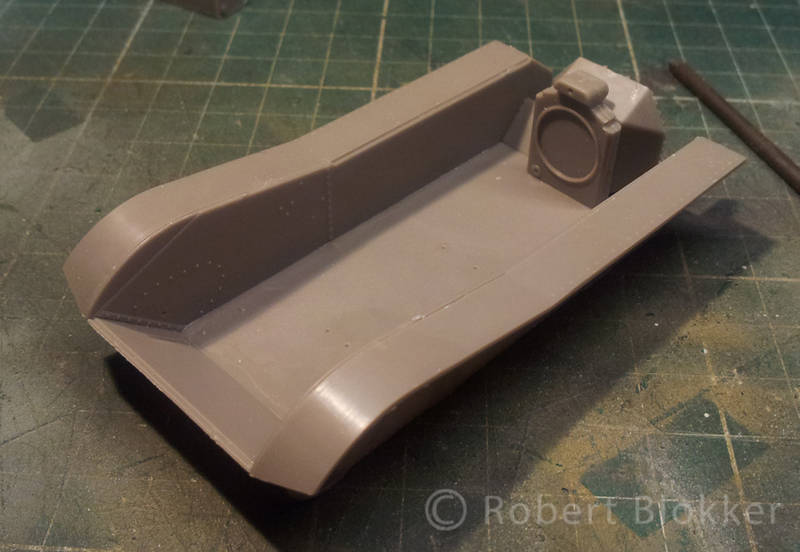

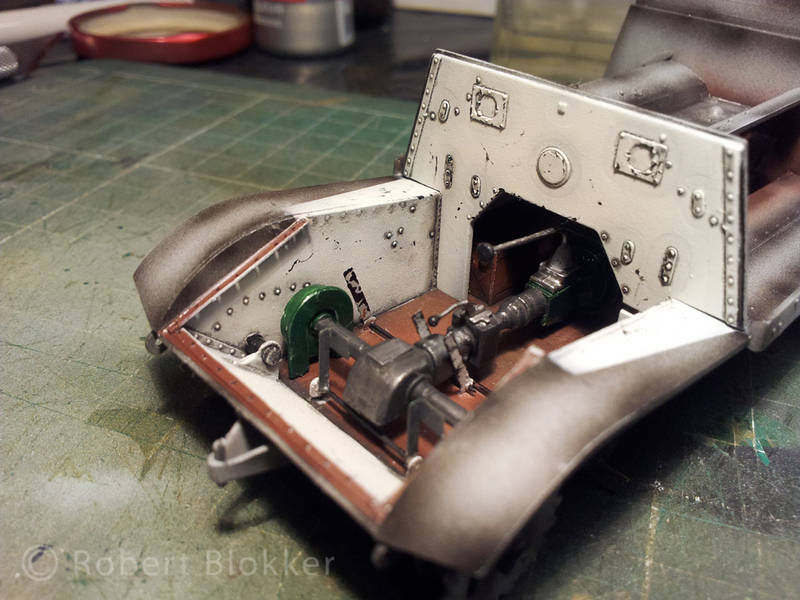
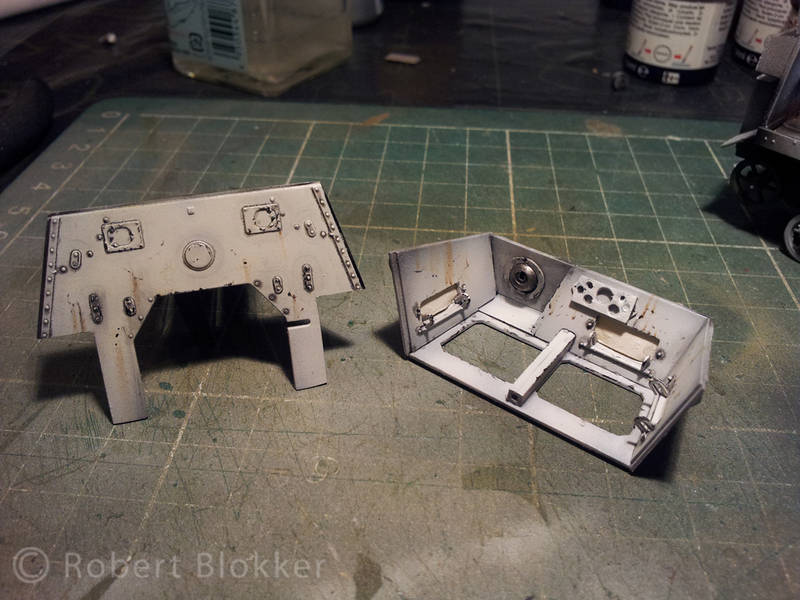
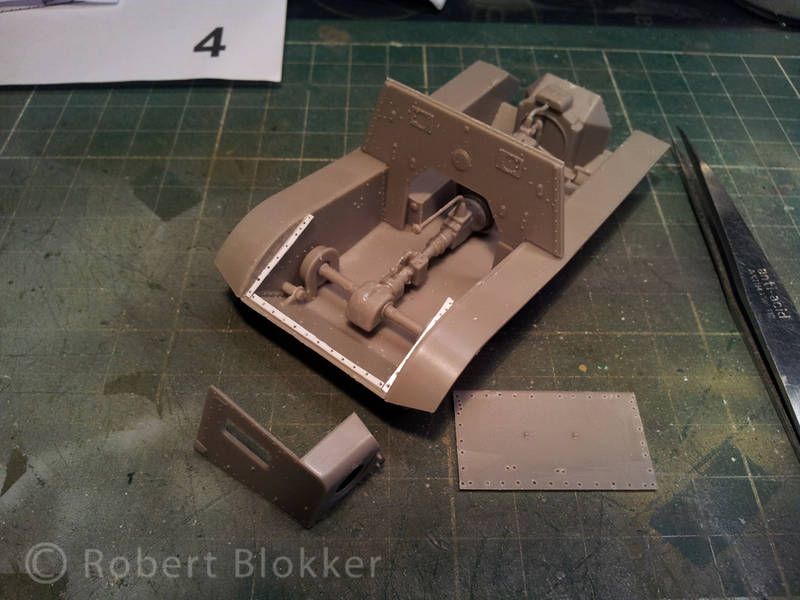
From this point on I kinda stopped follow the chronological order of construction from the Instructionsheet since I had to make several subassemblies that allow me to paint the interior first. One of the first steps was to add strips with holes in it to the location that the glacisplate was bolted on. I also cut off the bolt detail on the glacis and drilled them out
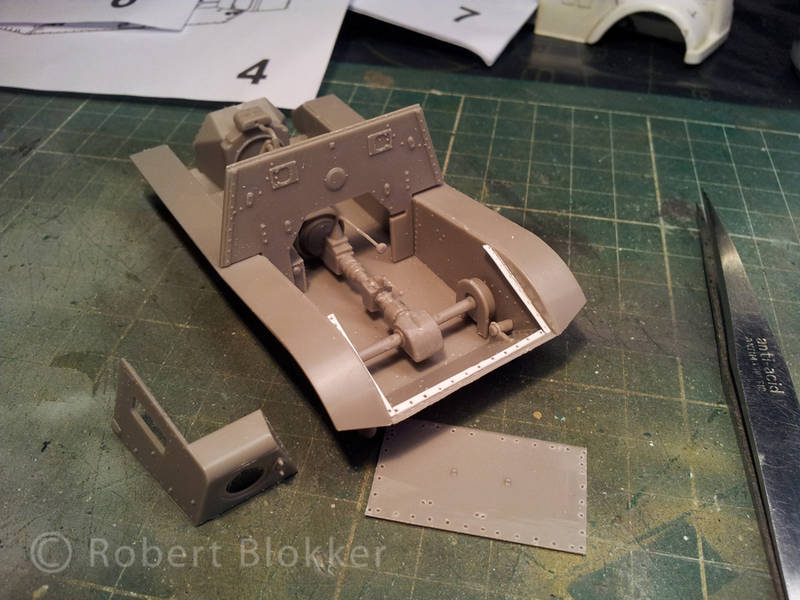
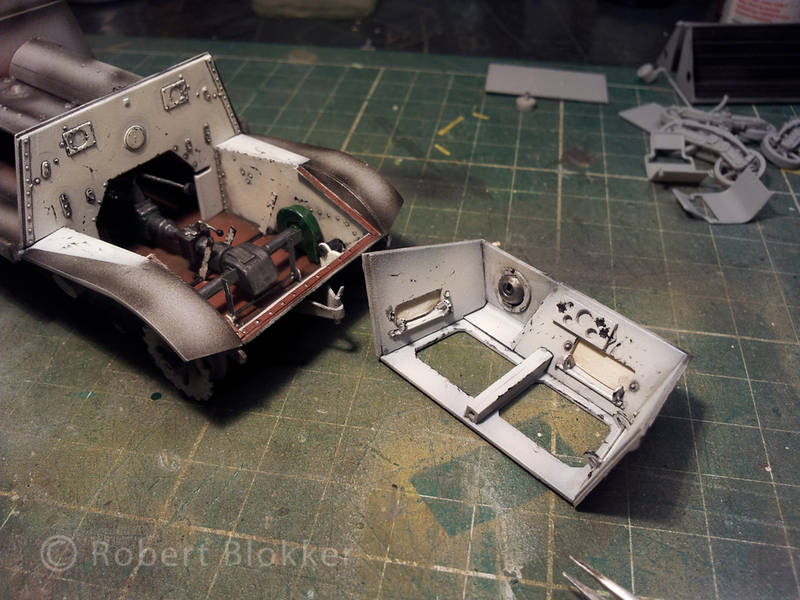
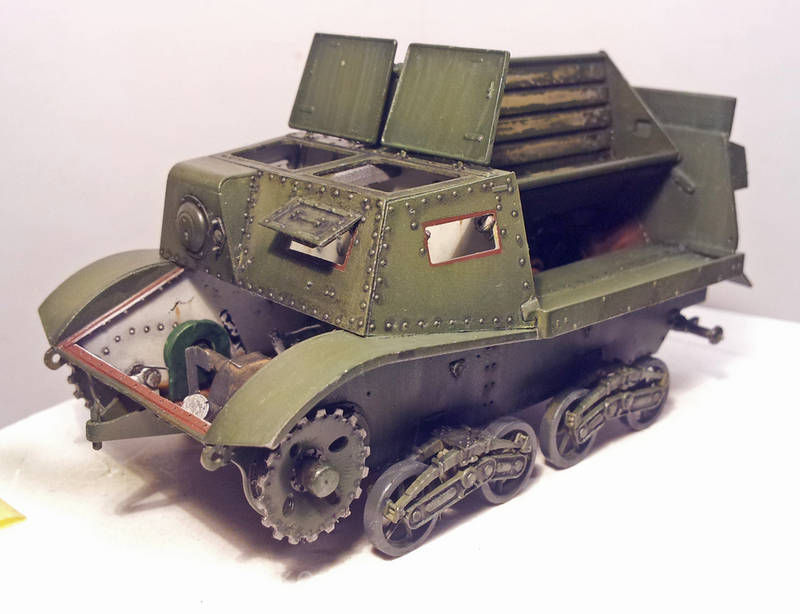
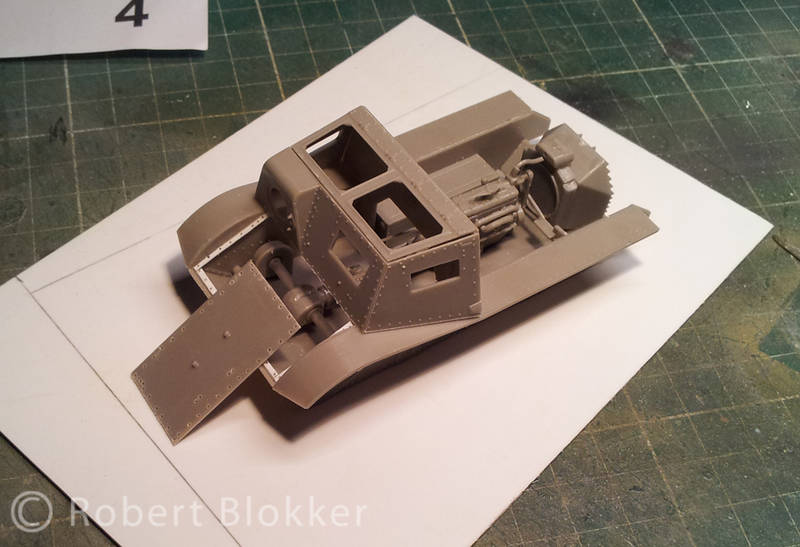
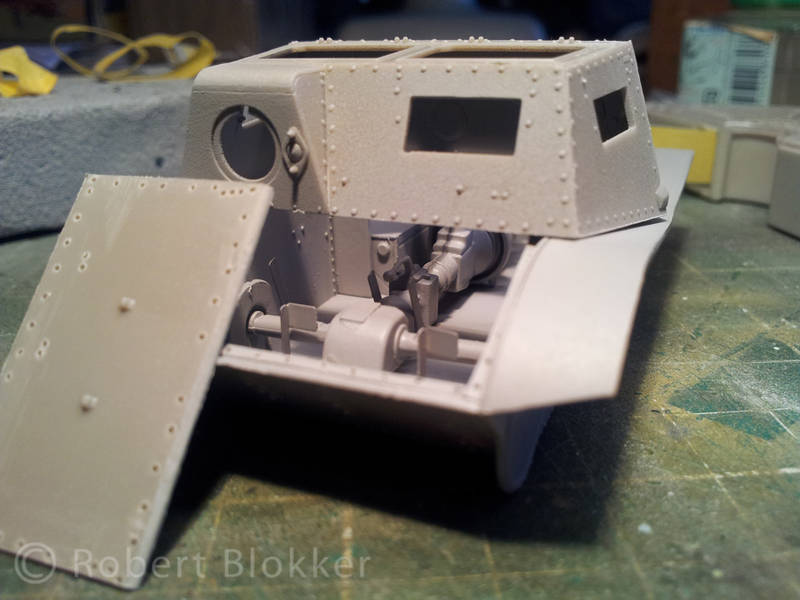
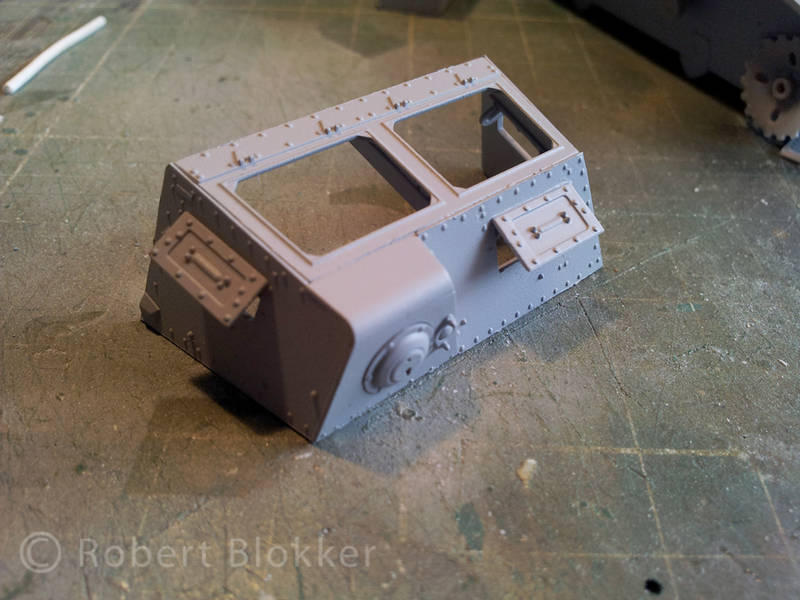
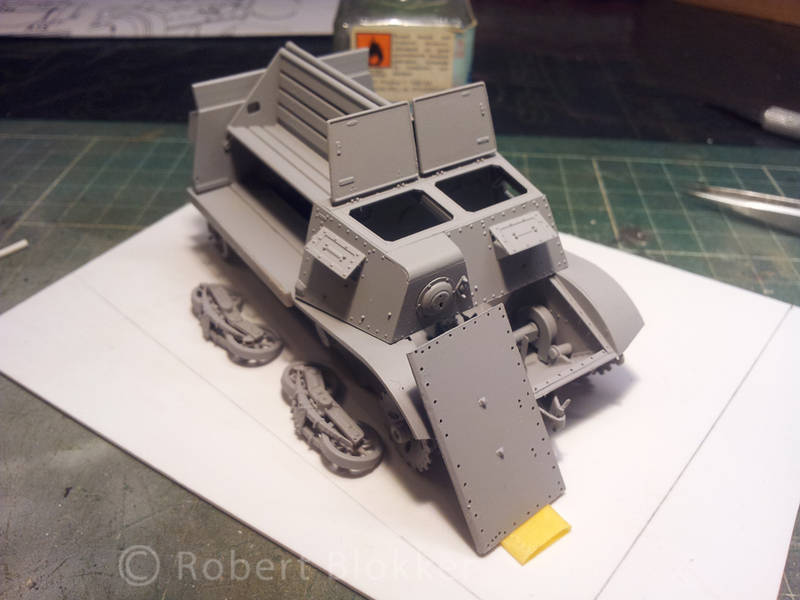
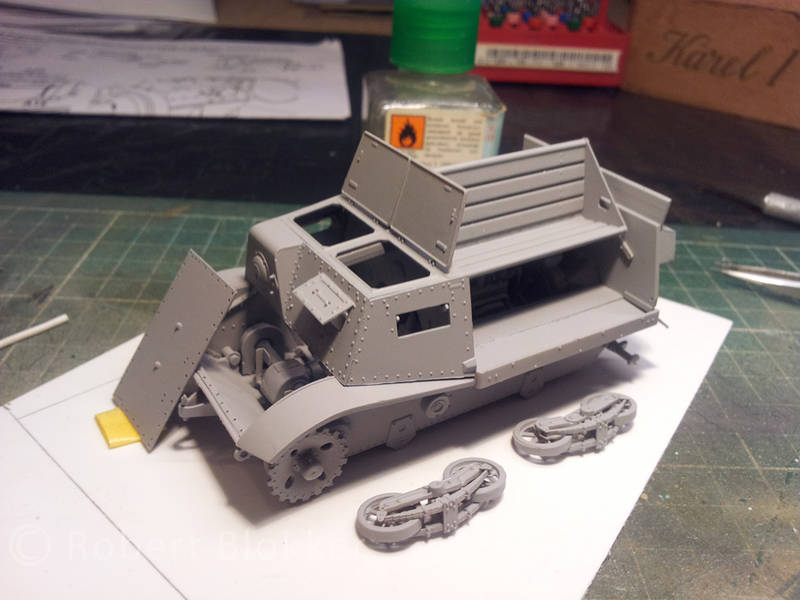
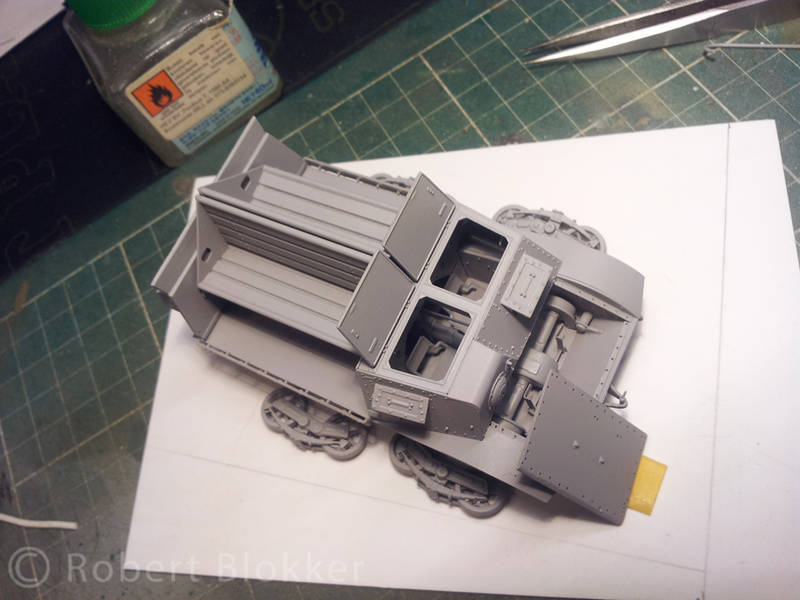
As you can see I also started on the drivers cabin. In the instruction sheets this is started on Page 5 and 6. It is a bit of a puzzle since the cabin is made up of several panels. And it matters a great deal Which panel has the corner keep this in mind otherwise the cabin will have ill fit. Best course of action is to glue the roof flush with the edge of the front glacis with the MG in it and then mount the sideplates of the cabin with the visionports.
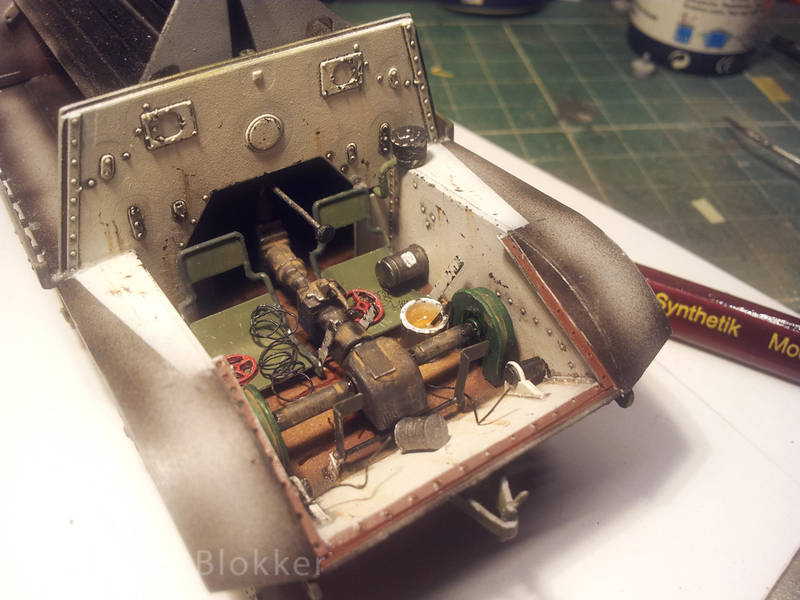
A view on the PE Pedals and levers from LZ models
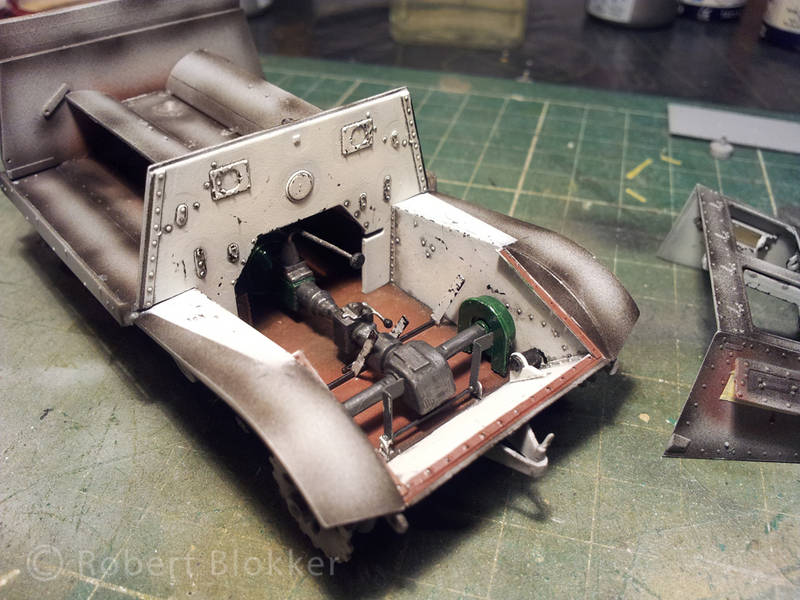
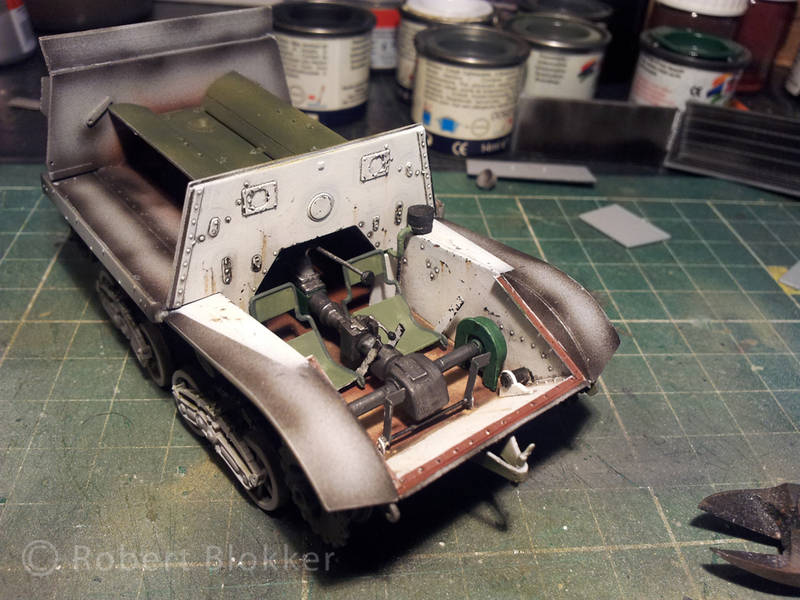
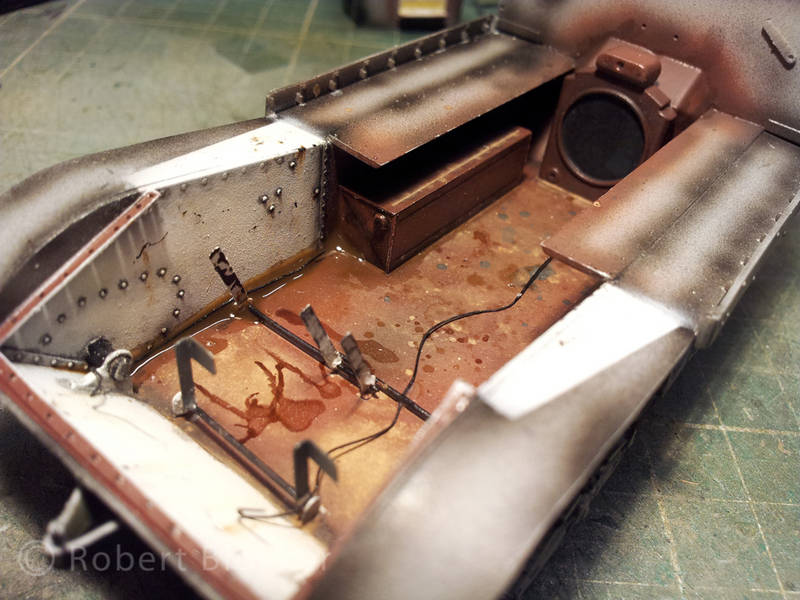
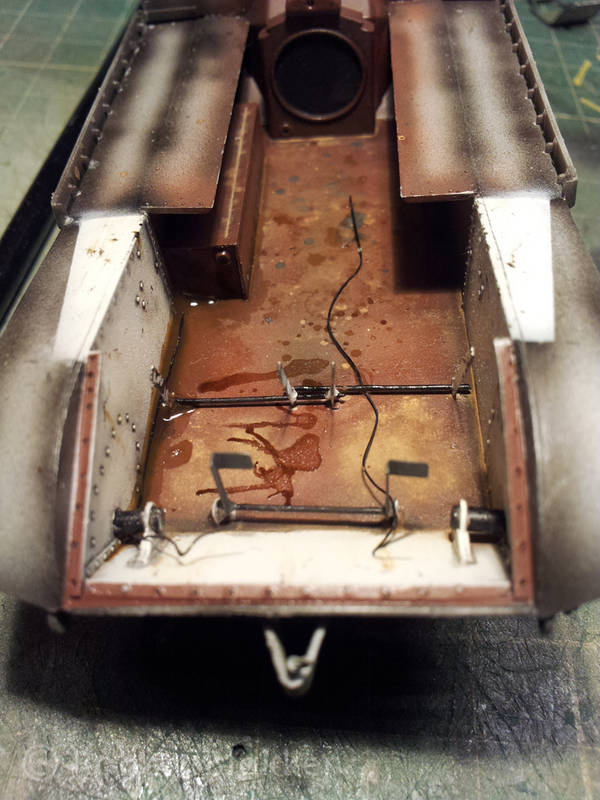
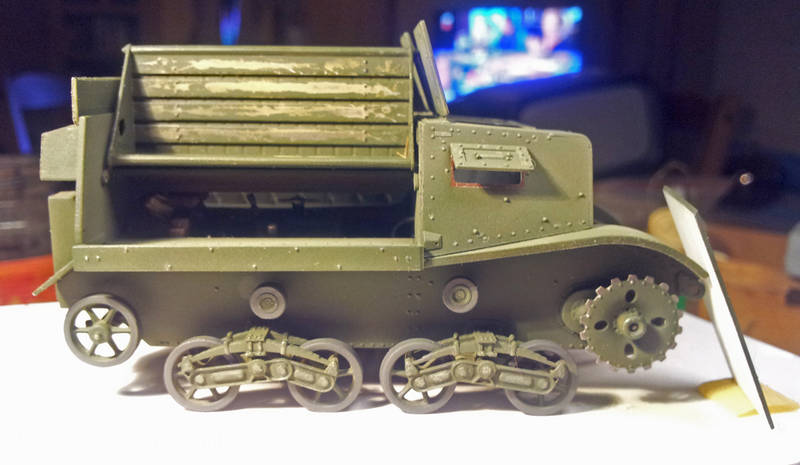
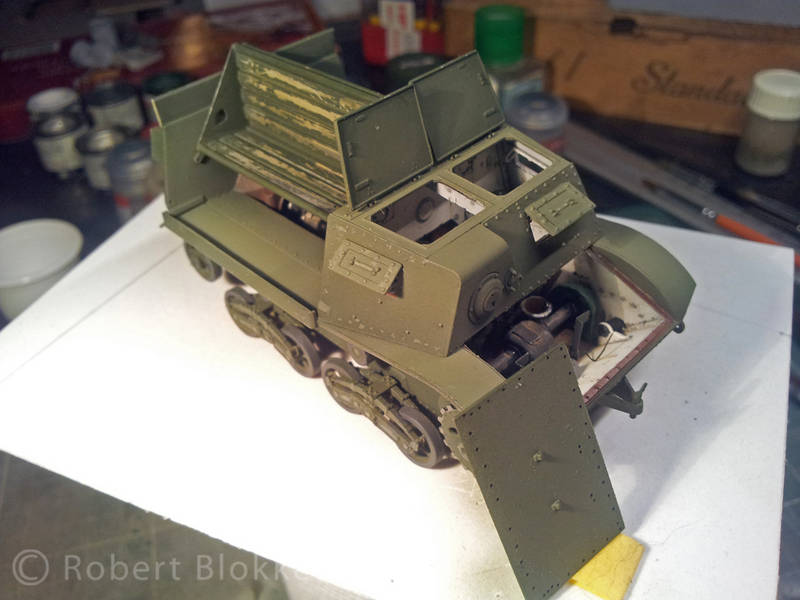
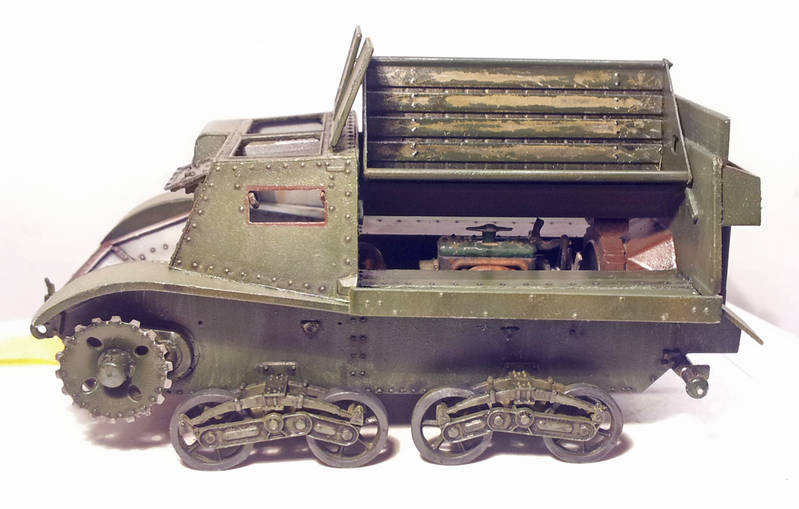
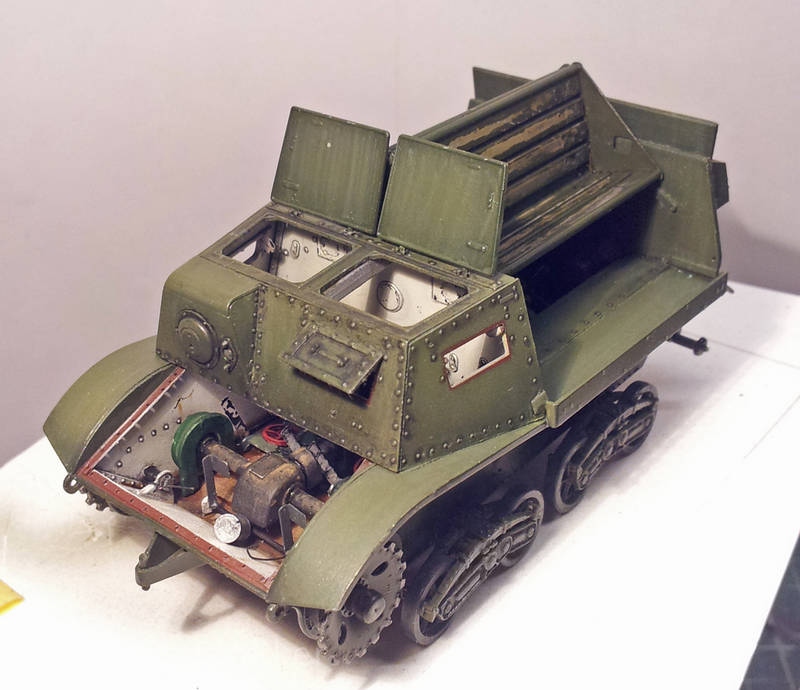
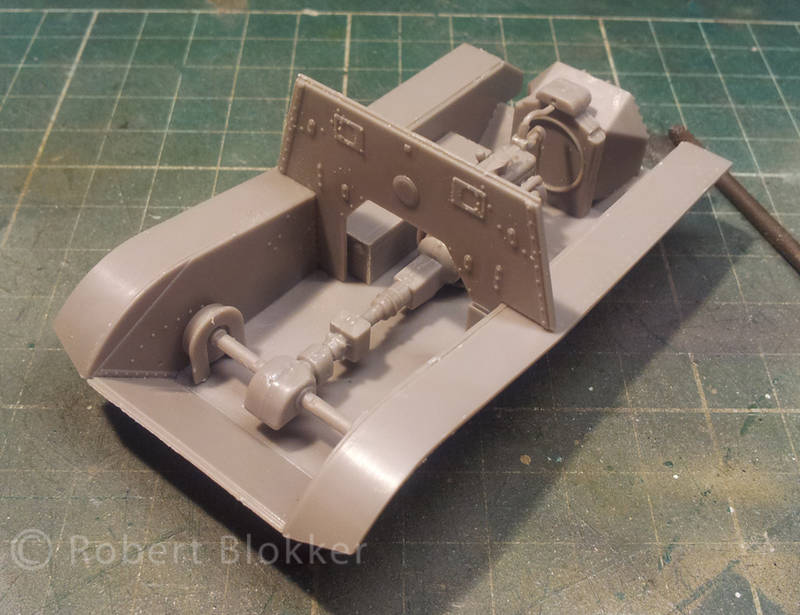
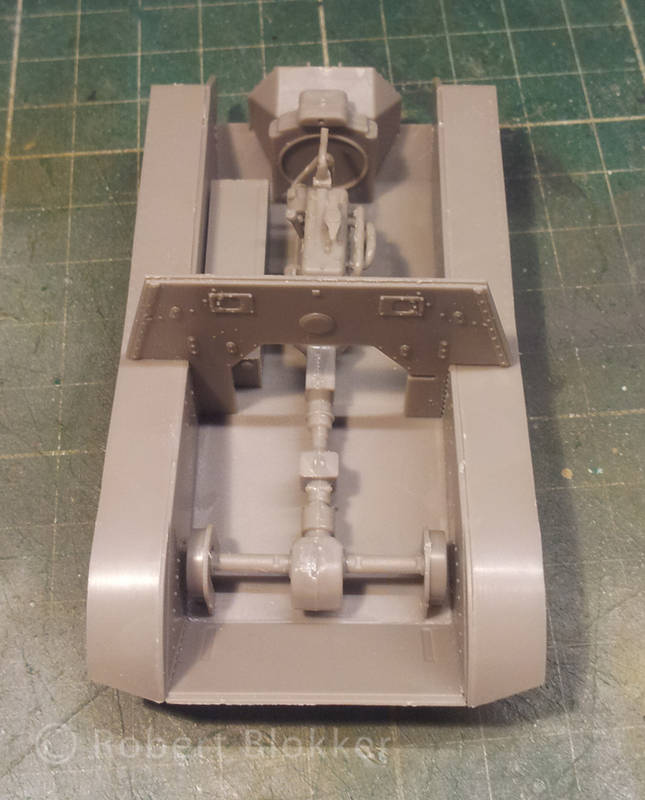
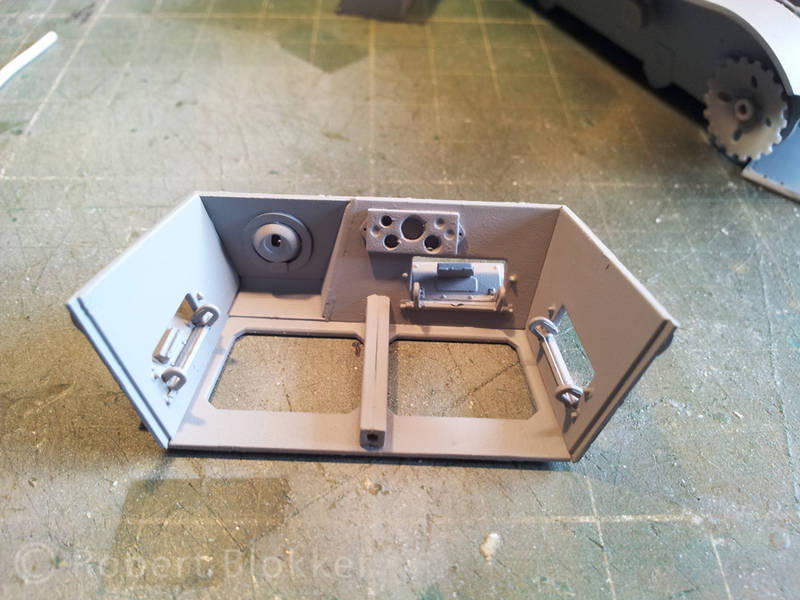
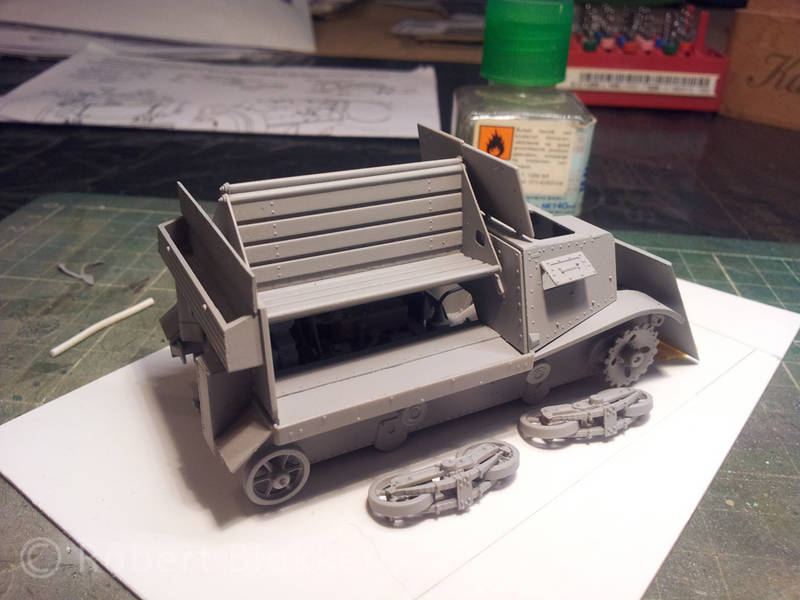
Leaving off the glacisplate gives a huge view inside the vehicle.
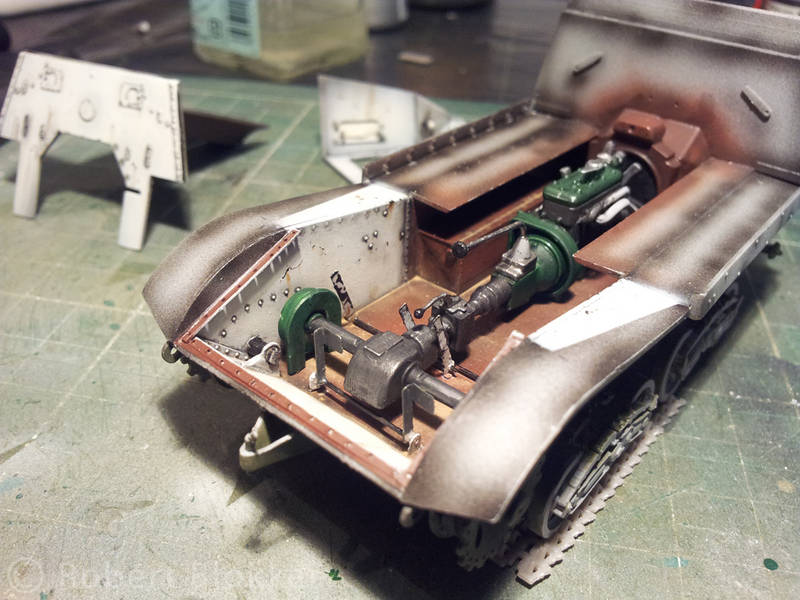
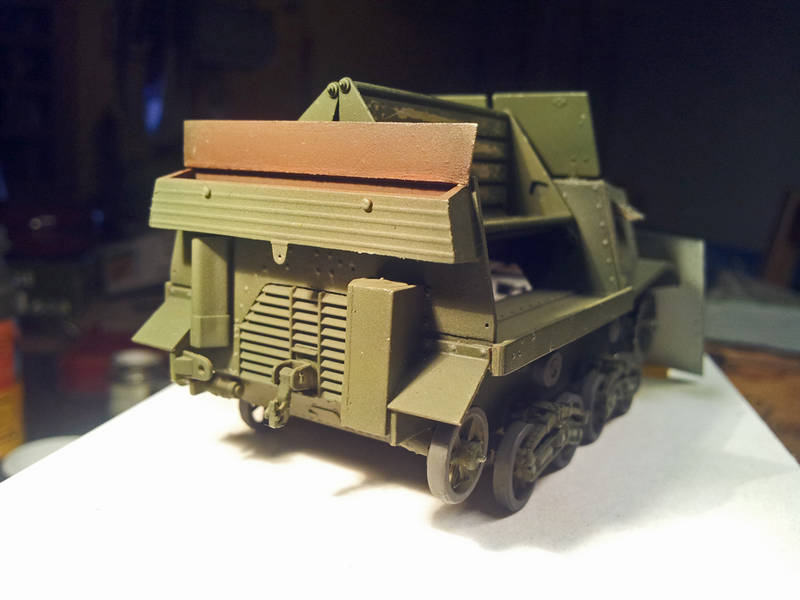
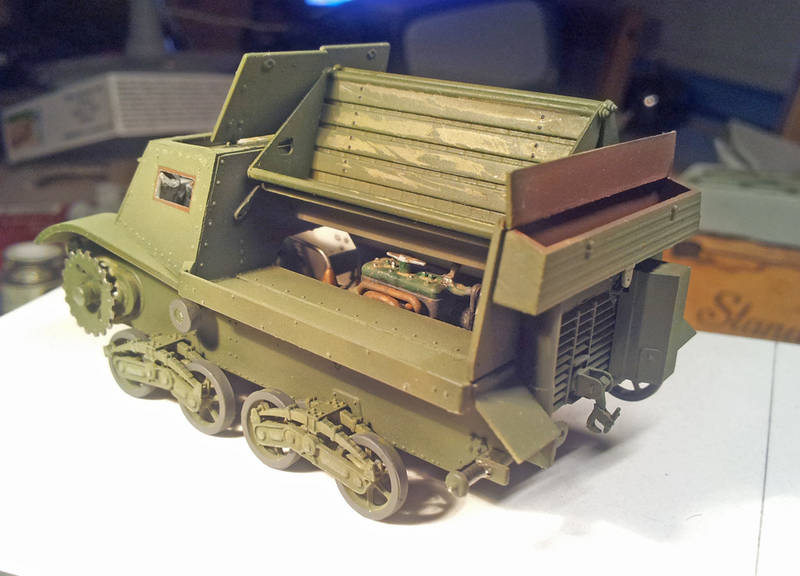
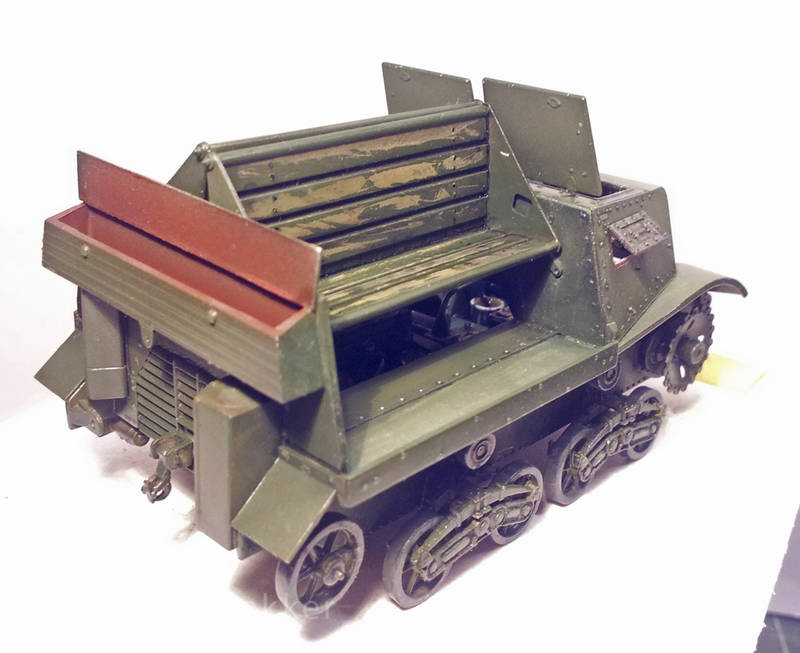
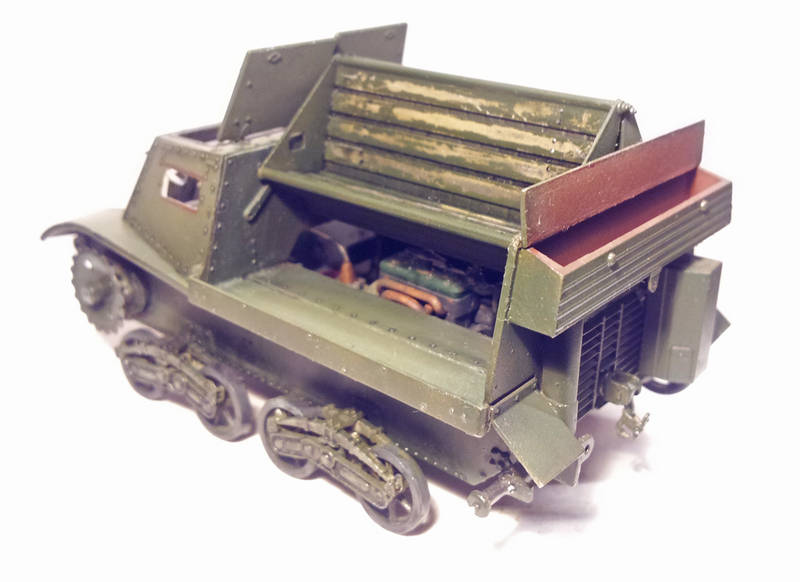
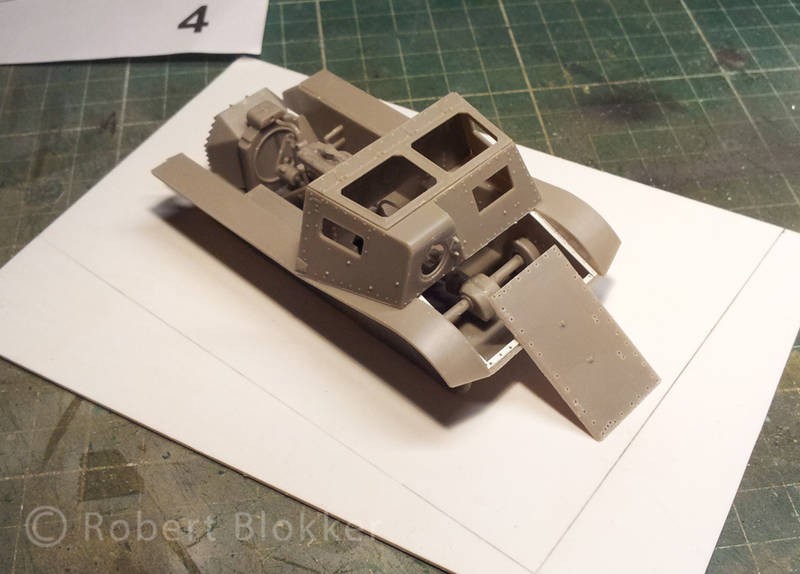
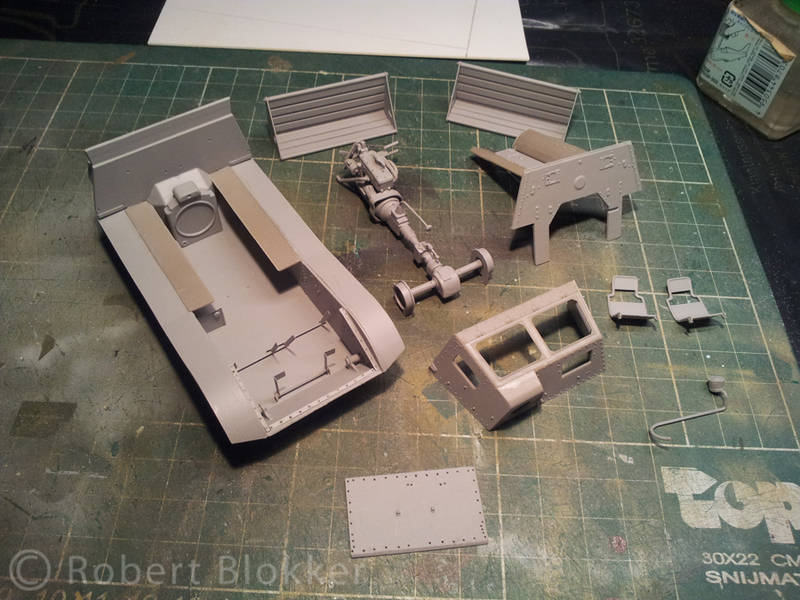
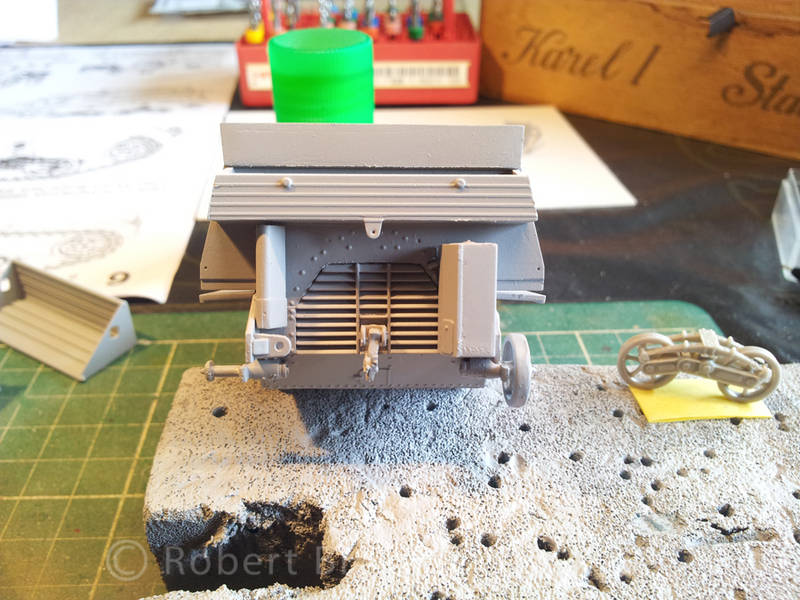
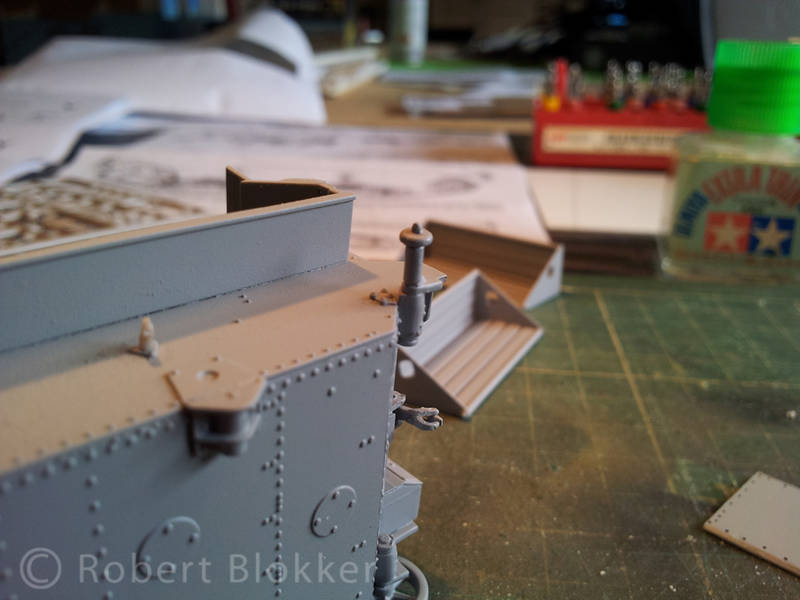
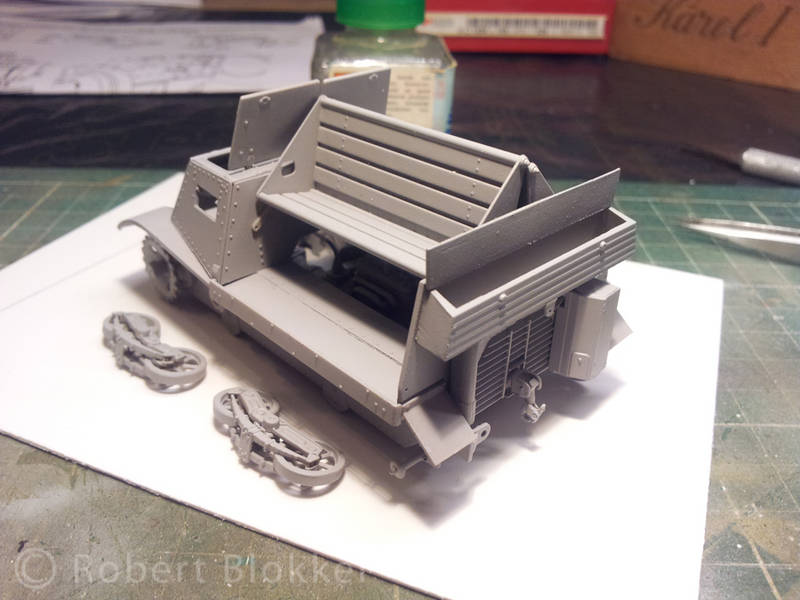
Overview of the major subassemblies. This allows me to paint the interior first. Mask everything, close it up again. And paint the exterior. You can also see I added stuff from page 3 and 4 dealing with the engine access Hatches, the Backplate of the vehicle with the storagebox (left open) the crew benches, the towhook and the exhaust system. If you built de Mod 37 of this kit kindly ignore the top left drawing of page 4 that are parts for the Mod38 Page 5 starts with that only bigger and with partnumbers added to it. It shows parts for the armored engine intake cover that the Mod 37 does not have.
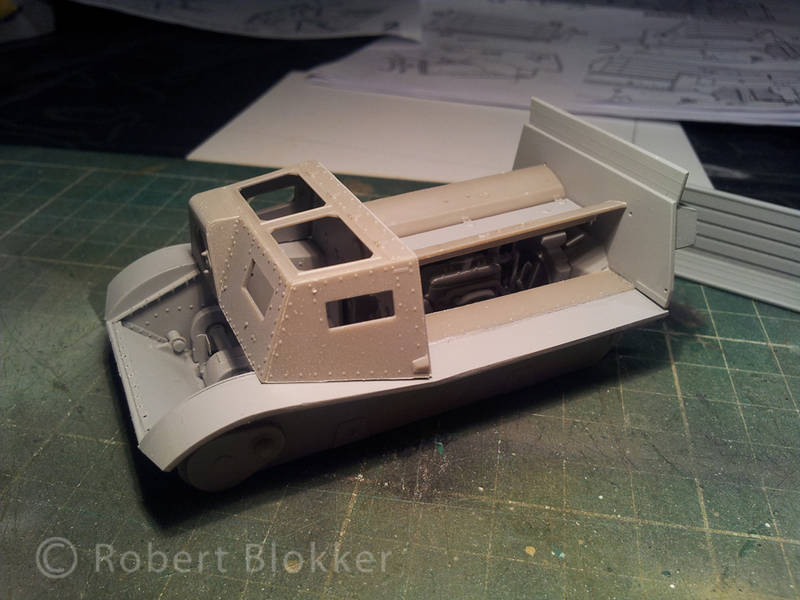
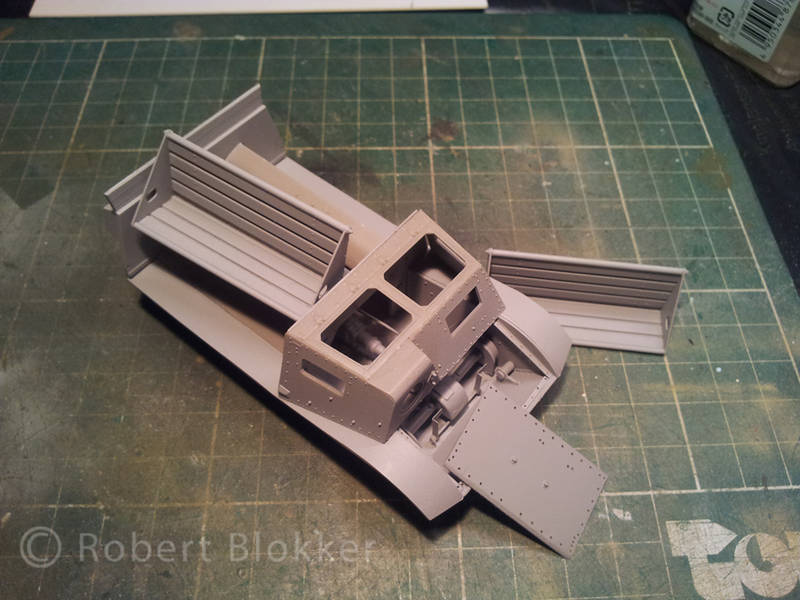
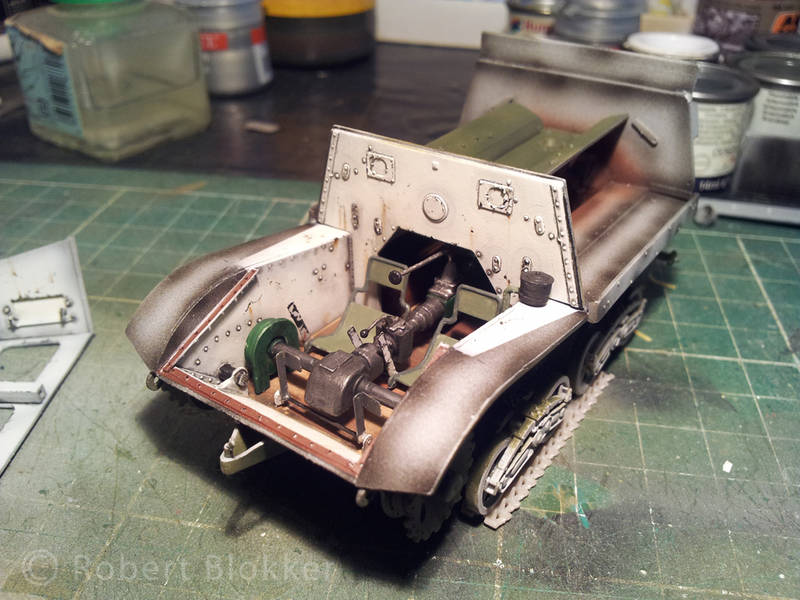
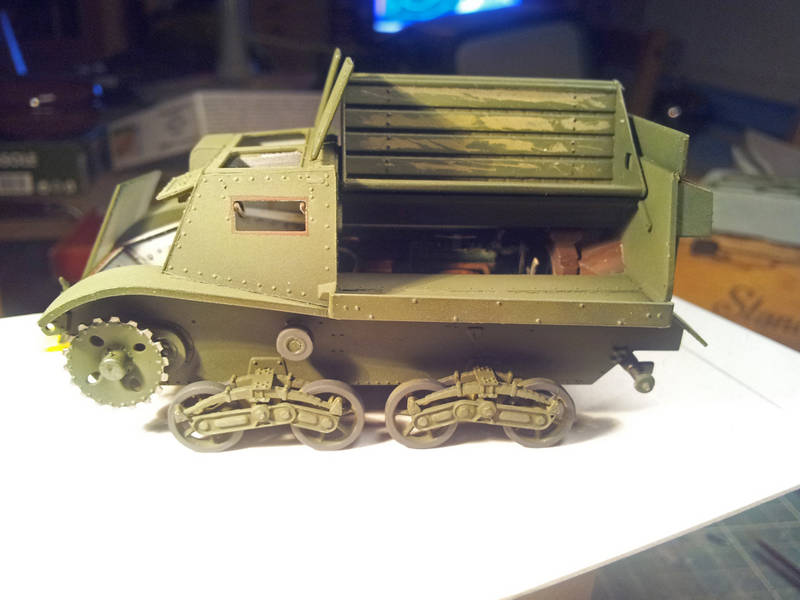
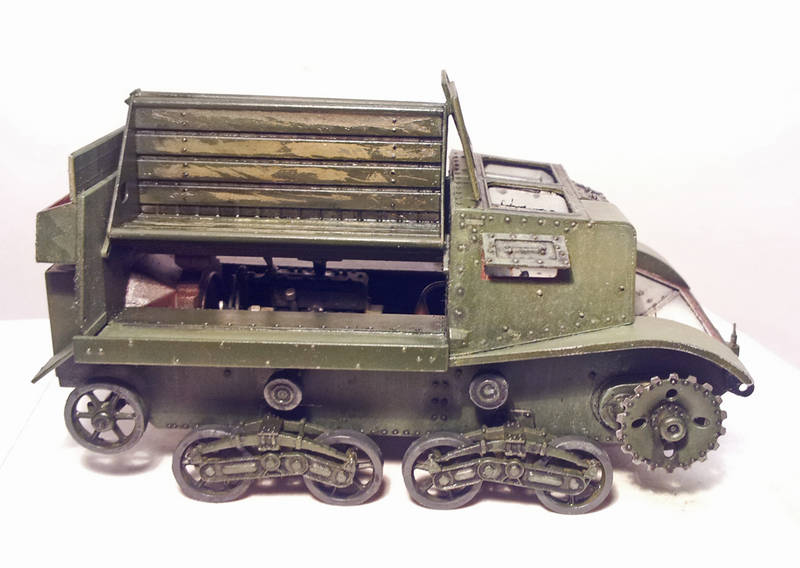
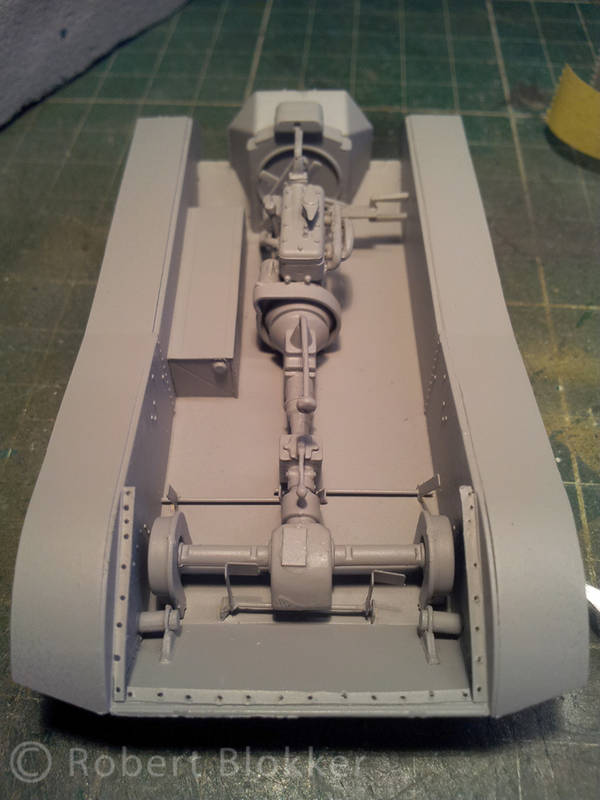
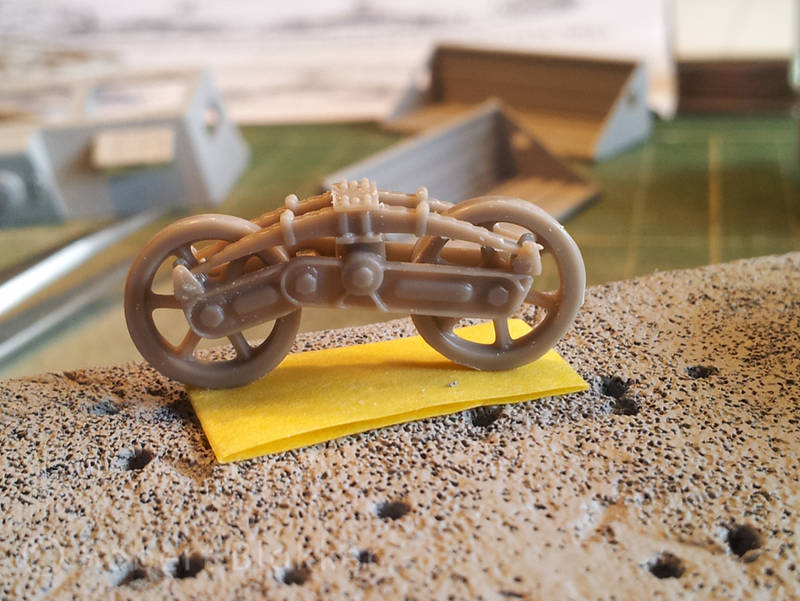
Then it was time to start working on several details that are explained on different pages of the instruction sheet. I added all the visionports in the driverscabin minus one that was looted. I drilled out a couple of the dials in the instrument panel. Again looted. Some wires will be hanging out them. At some point one of the idlers was taken off So I scratched a bare axle. And I started on the running gear itself. The vehicle has 4 pairs of roadwheels each consisting of 15 parts. Some of them very tiny.
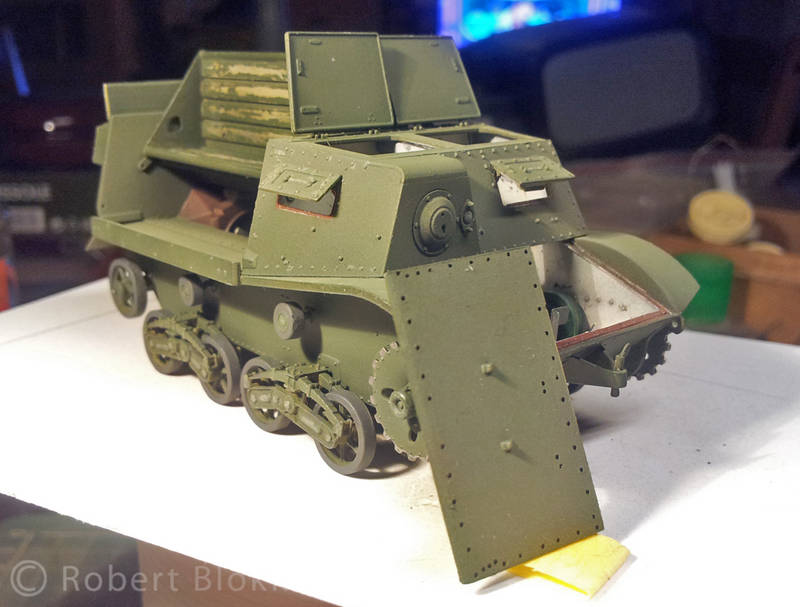
And this is where it stands as of now. 90% of the parts have been added. Only the tracks need to be done but it is still in subassemblies, I can start painting the interior. More on that later
It will be built as a russian vehicle. Which means I actually had to re-do the fenders but it will almost be parked against a wall so it will not be very visible. Decided to go for momentum instead and keep on building.
With friendly greetz
Robert Blokker