


Thanks
Inside with lights

Out side with out lights.. well the sun does not count does it?
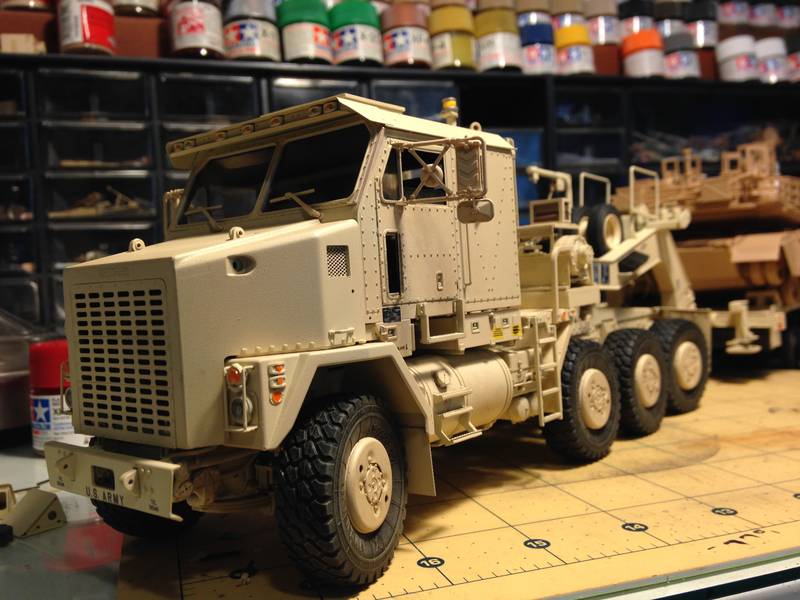


 I have kept the same camera angle manily because I am trying to figure out how to get the picture to look right, I will play with different shots once I get the first part figured out.
I saw the camo pattern in a pic and figured I would give it a try. I will admit to doing all of zero research so the square guns are probably just flat wrong.
Thanks for the advice, will try to post some sunset pics this weekend.


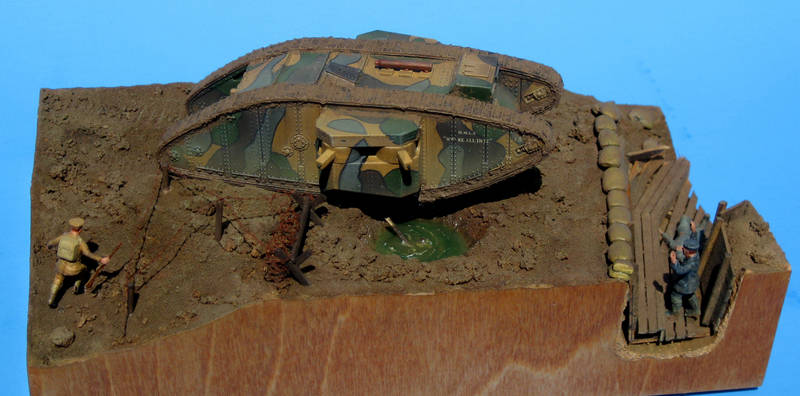
p.s. - This is just a suggestion: The plywood profile board you used, it stands out, I think, too much. For years I did model trains and I used a dark brown profile board along the edge of the layout. It finally occured to me as I was looking at my model photos that the profile board just showed up way too much in every photo. After that, I selected a common color in my dio and repainted the board in that shade. It really helped me to "forget" about the board in the photo. I even experimanted with using a combination of camo colors to make the board less visable.


I agree with Michael. However, it is the all too apparent grain that bothers me more than the color. Some guys like to use formal, wood picture frames to isolate the modeled object/scene. In your case, I think you want to make the base disappear.
If you paint the 1/4" ply roughly the same color as the ground, it will make photography easier, since your scene is so difficult to photo without including some of the base in the image.

 |


