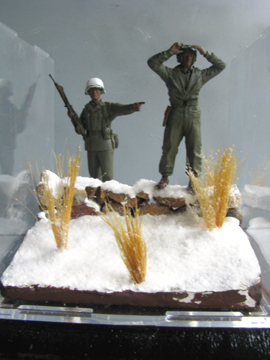
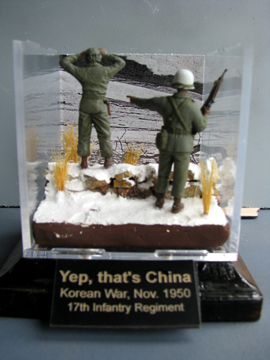
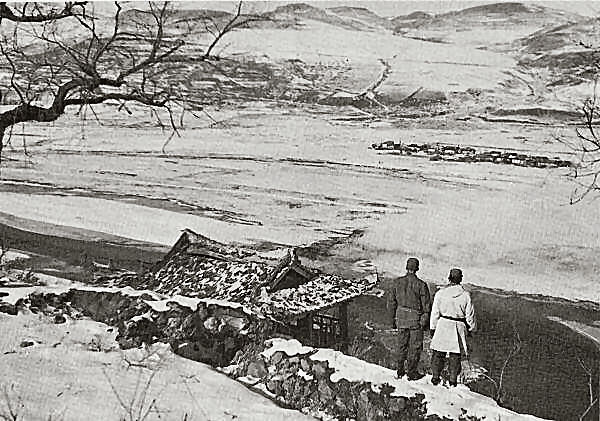
Following the landing at Inchon, Korea in September 1950 and the recapture of Seoul. The order given was to march to the Yalu River. In October 1950, the 7th US Infantry Division lead the advance to the Yalu River. The 17th US Infantry Regiment was given that mission. On November 1950, the 17th Infantry established defensive positions along the Yalu River and the border between North Korea and China.
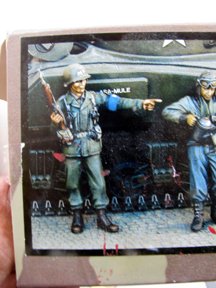
The photograph is an official Department of the Army of 2 soldiers from the 17th Infantry Regiment.
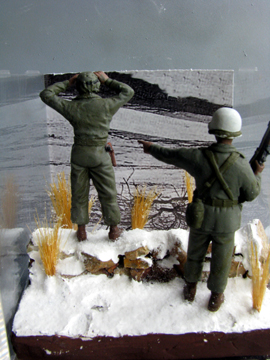
Diorama:
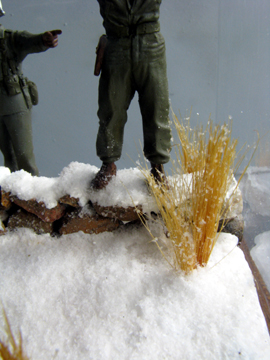
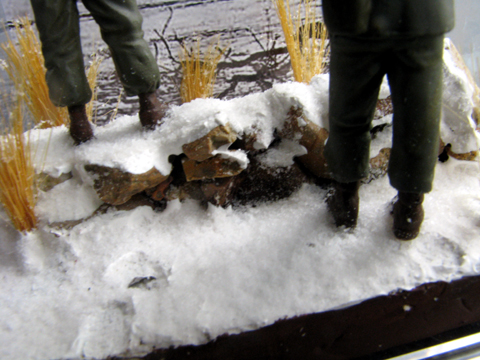
BASE:
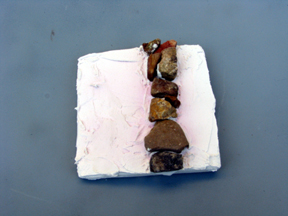
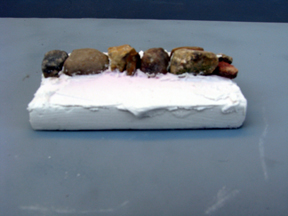
1/2 inch pink foam insulation covered with an initial layer spackle to get the basic foundation I was seeking. Once this layer had dried about 24 hours, I added another layer of spackle and began embedding small stones I collected from my driveway. I than laid it aside to cure for about 48 hours.
Once cured, I began selecting other pebbles to build up the wall. Each stone was fitted into place and super-glued to the other stones. Once I built the wall to the height I needed. I painted the spackle with earth brown hobby acrylic paint and allowed it to cure for 2 days.
The next step was to apply flex paste from Woodland Scenic to create the foundation for the snow. As it was setting I added small clumps of their Field Grass Harvest Gold. Again I let it set for about 2 days. Next I applied a coat of scenic glue to allow me to add their soft flake snow.
FIGURES:
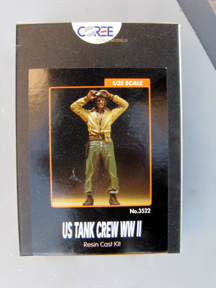
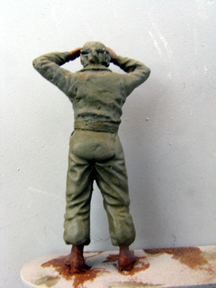
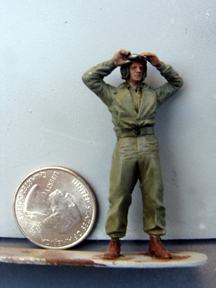
I would apply artistic license in this. I decided to not only pay tribute to the Infantrymen of the 17th Infantry Regiment, but also the members of the tankers of the Regiment. So, I would select the Legend Productions 1/35 US Tank Crew (WWII) LF0069 to represent tankers of the 17th Inf. Regt. Tank Company. For the infantryman, I selected the MP from the Verlinden's 1:35 US MP & Tanker WWII #1118.
The tanker would be assembled without any modification. It would be painted using Testor's Master Modeler enamel and acrylic paints.
To modify the MP figure to an infantryman, I sanded the MP armband off. Other then that modification, the assemble was standard. I would paint it using Testor's Master Modeler enamel and acrylic paints.
FINISHING:
I decided to encase the entire diorama inside an acrylic cube that was designed to hold a baseball. The cube is approximately 4 x 4 inches. I also decided to use a wooden base that can be found in most hobbycraft shops. The wooden base would receive a coat of dark walnut stain and sealed with about 4 layers of polyurethene. I allowed each layer to sit overnight before sanding (400 grit) it and applying the next layer.
The brass plate idea came from an article I just read in a Finescale Modeler were the author used a product he found on the trophy central's website. It is Flexi-Brass name plates. Their prices are in my opinion cheaper than going to a local trophy shop and having a brass plate engraved. The one I selected was a 1 x 2 inches. It allowed me 3 lines with up to 25 Characters per line. Cost was $5.98 plus postage. Total Cost was $11.06. Priced at my local shops, the cheapest was $15 and had 2 lines with about 15 characters per line.