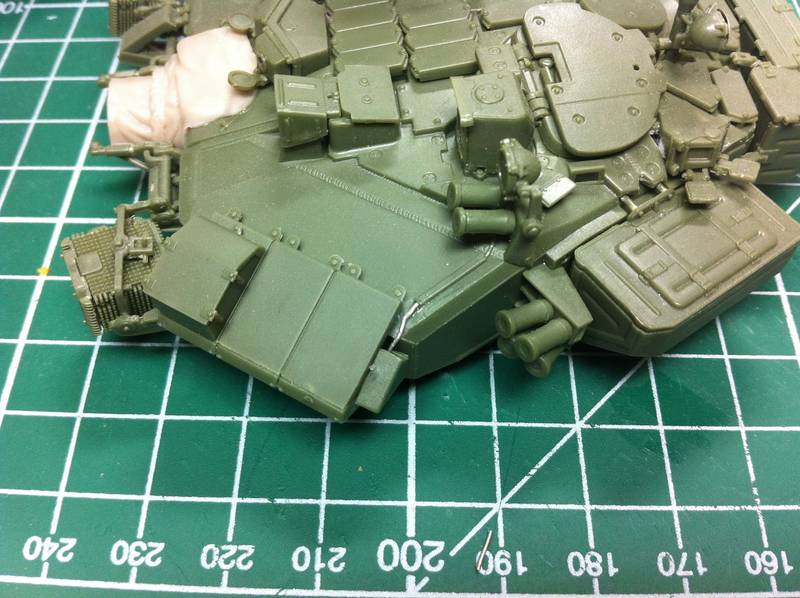
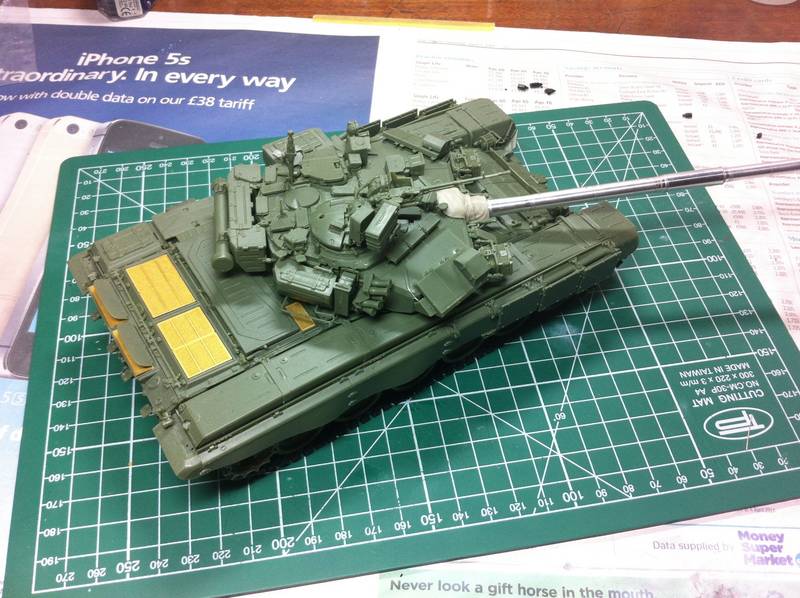
Right, lets get detailing that turret!
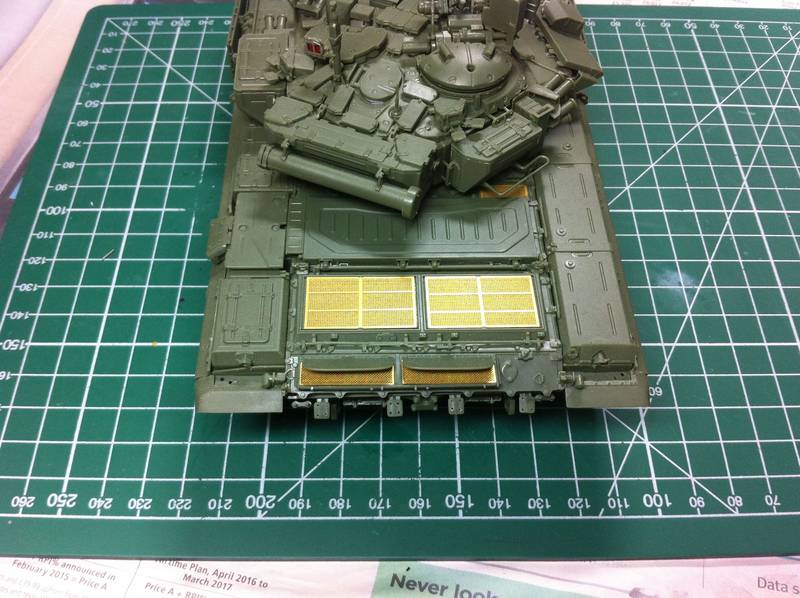
So, next up we fix some of the additional K-I ERA blocks as well as the loaders hatch hinge.


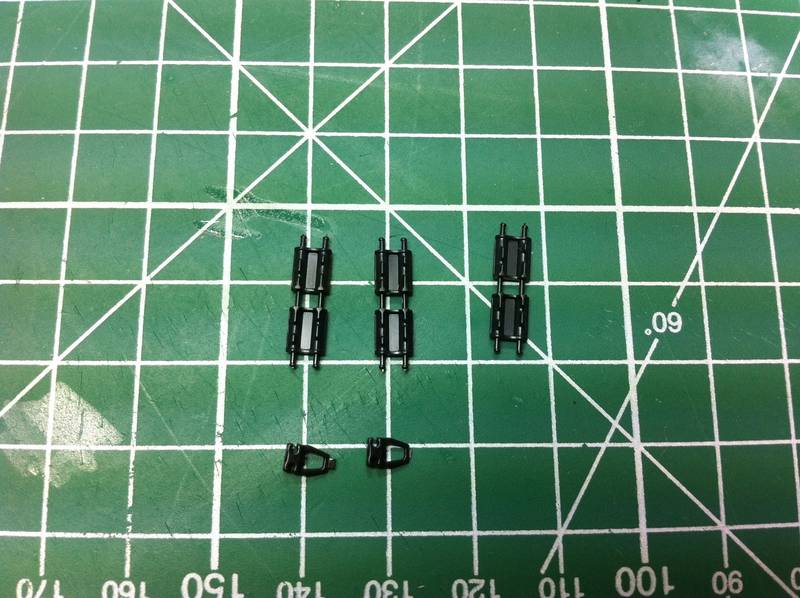
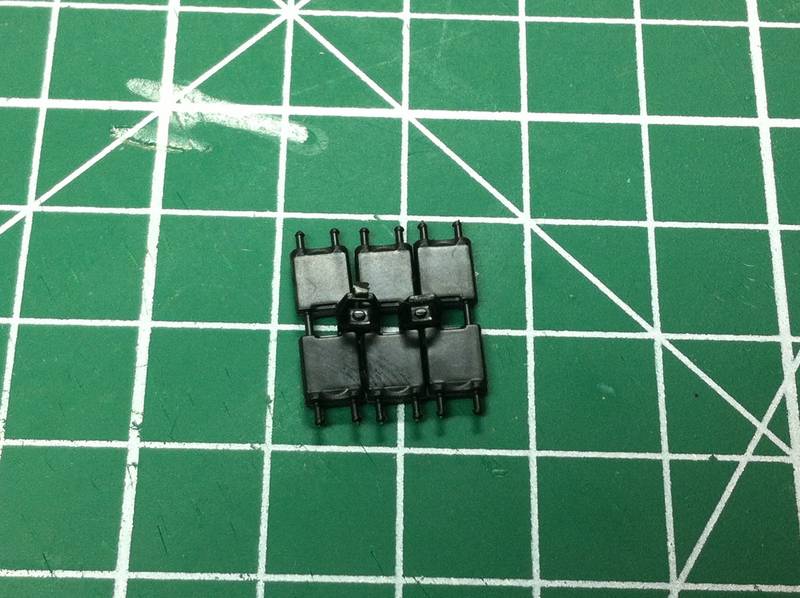
Then, placing the turret to one side for a moment, attention shifts to some of the turret sub-assemblies such as the laser probes and sights.

I opted to model mine with the laser probes open and in use.


The front set are then fixed in place on the turret, along with some additional detail parts.

Note that part K3 is the clear lens for the rangefinder.

This can be improved with the help of SKP's recently released coloured lens set which I reviewed
here . We can apply the small rectangular blue lens thus.


(Probably best fitted once the kit has been painted, i've just dry fitted here.)
Next the loaders hatch can be clicked into place on the hinge (this is movable and allows one to position the hatch either open or closed). Also fixed in place is the night sight.


(Mantlet just dry fitted at this stage)

(Note above that I have prematurely fitted the Tucha mount)
I opted to fit the sight sans cover, so once again SKP come to the rescue with a lens, this time with a green tint.


Unfortunately the lens is a little undersized when fitted in place, however as long as its centrally aligned on the finished kit this should be too obvious.

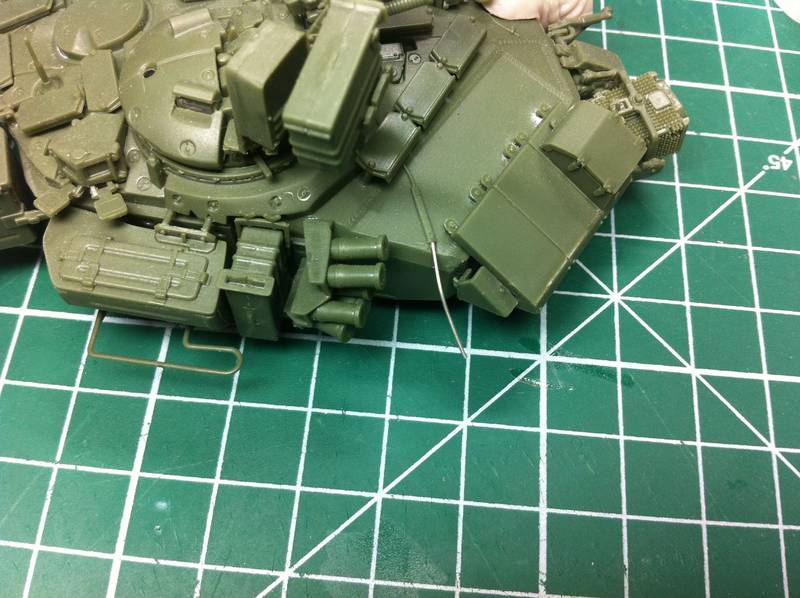
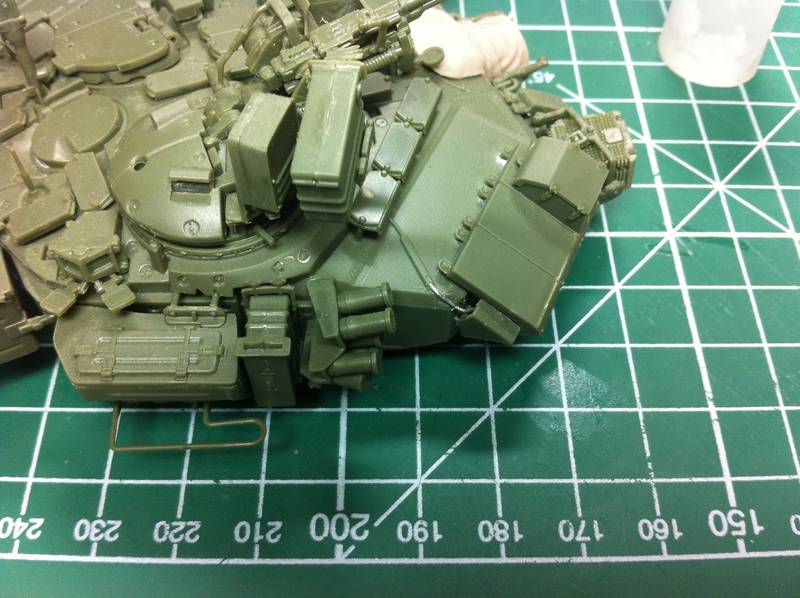
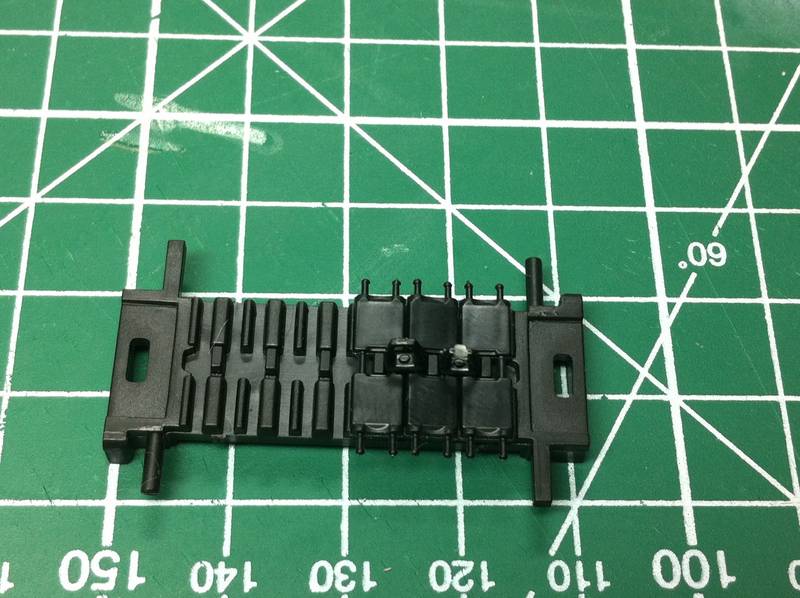
Now theres a stowage bin to add, which is a multipart assembly and a little fiddly to construct. Unfortunately one problem as well was some of the mounting bars being broken, this was down to the sprue packaging being too tight.

Thankfully it was only the bottom bar that was broken in this case so I opted to leave it as its barely visible.


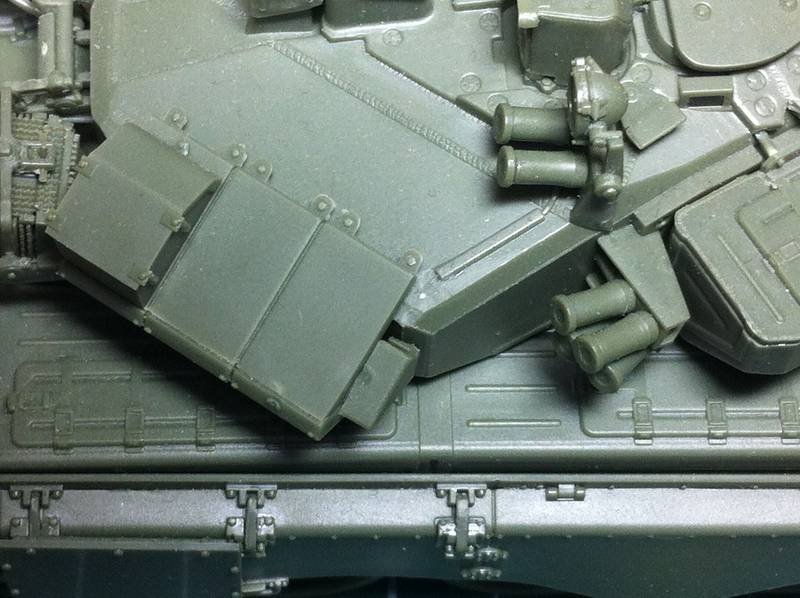
The multipart construction of these will leave a few gaps to fill if one isn't careful to properly align each panel.
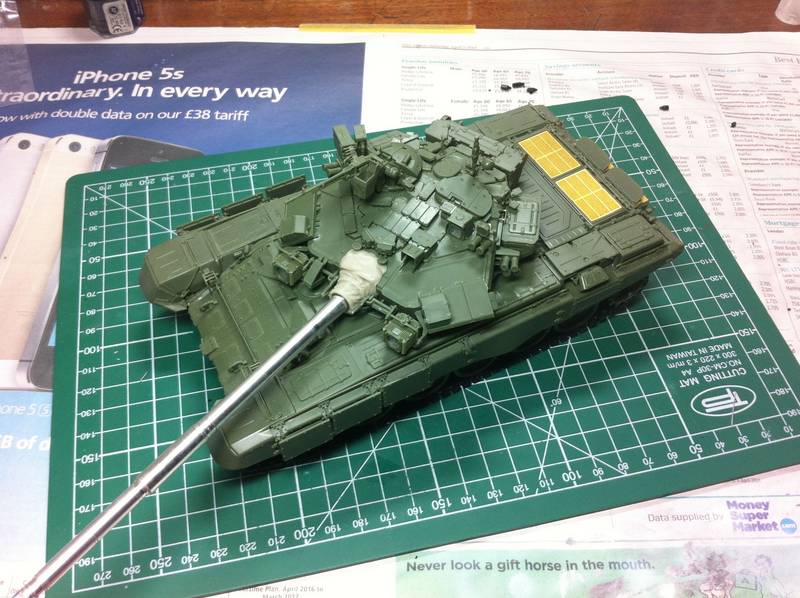
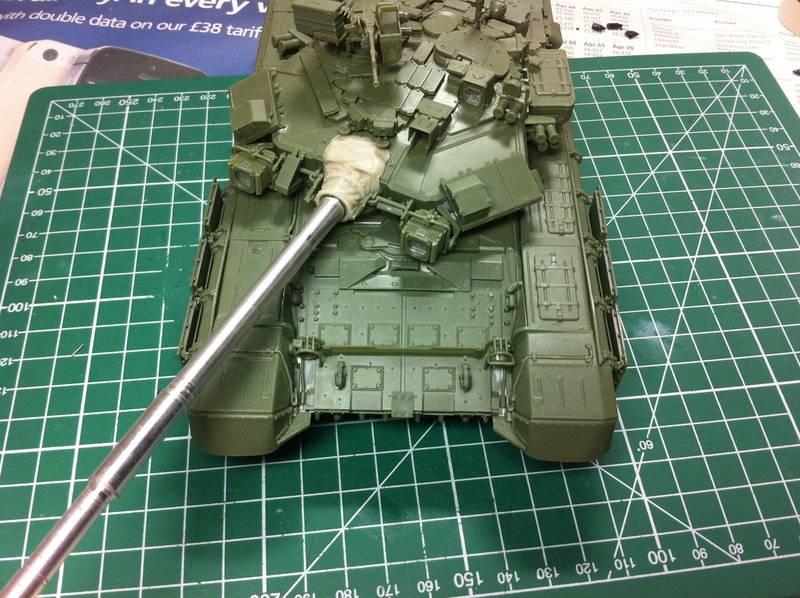
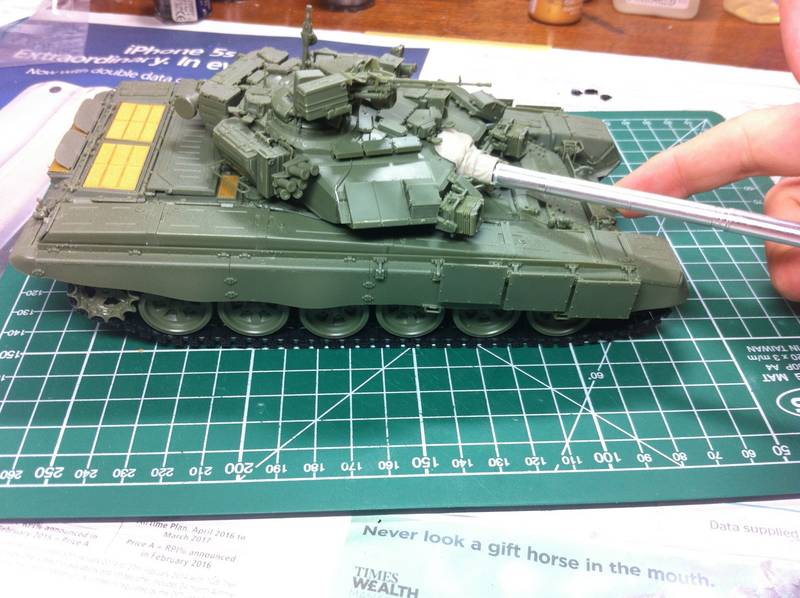
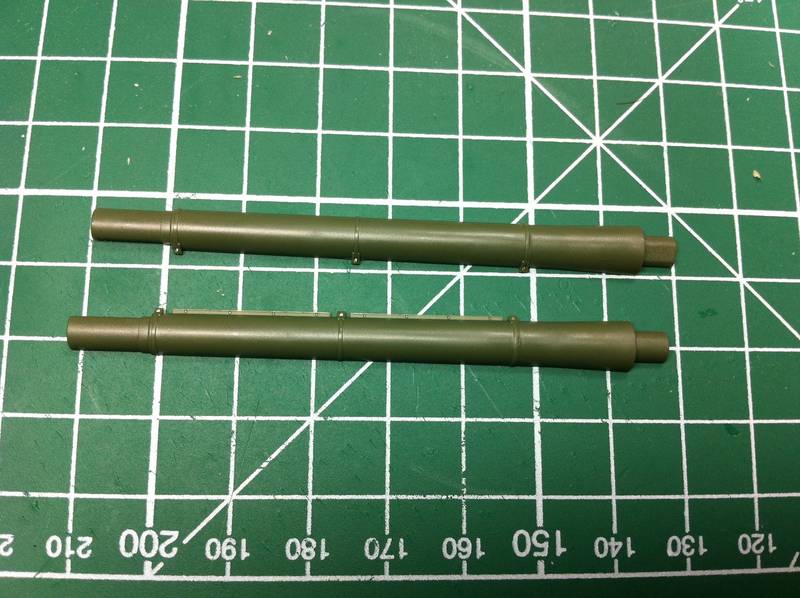
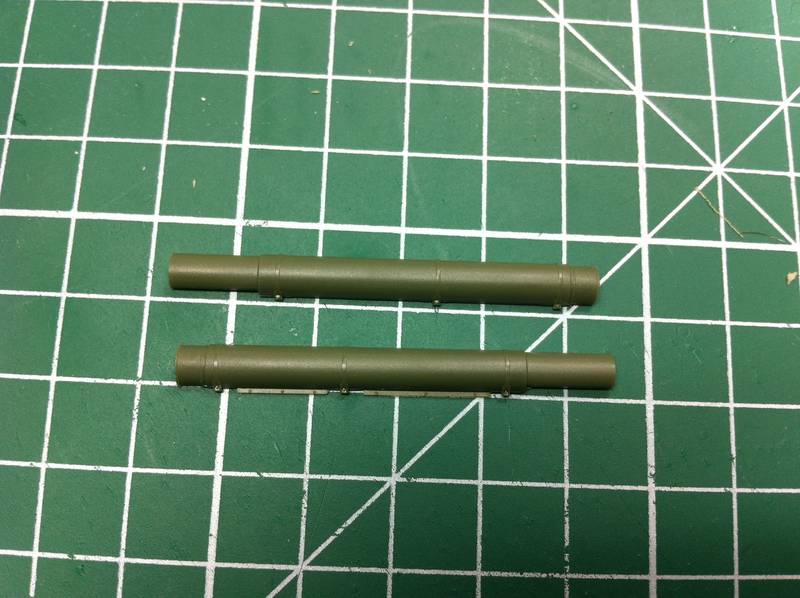
The final part of step 31 is to permanently fix the gun mantlet in place. This is a plastic part with rubber mantlet cover. If one wishes to use an aftermarket barrel, such as that offered by Tetra reviewed
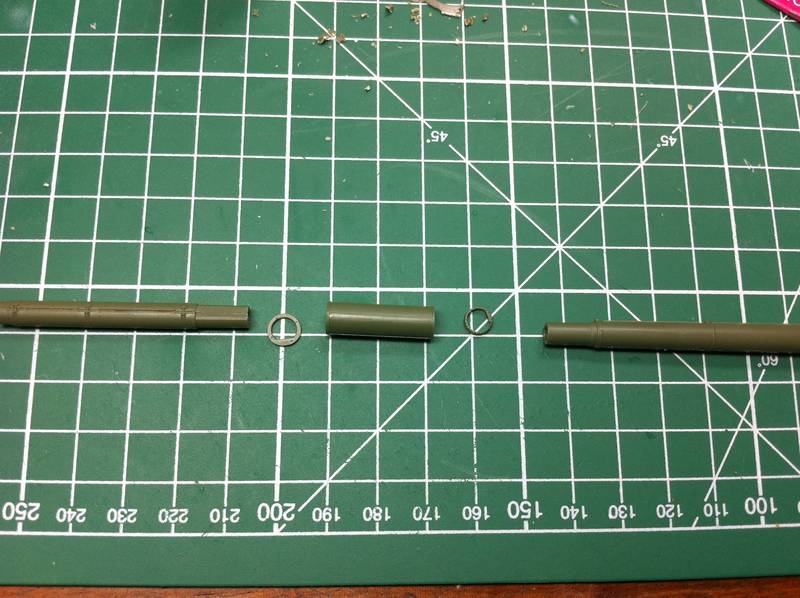
here, then some modification is required. The attachment points need to be cut off to allow the insertion of the AM barrel.

Whether its the case with all AM barrels I can't say, but these certainly obstruct the end of the Tetra one.

Anyway, its a simple enough fix and doesn't really compromise gluing the two halves together.


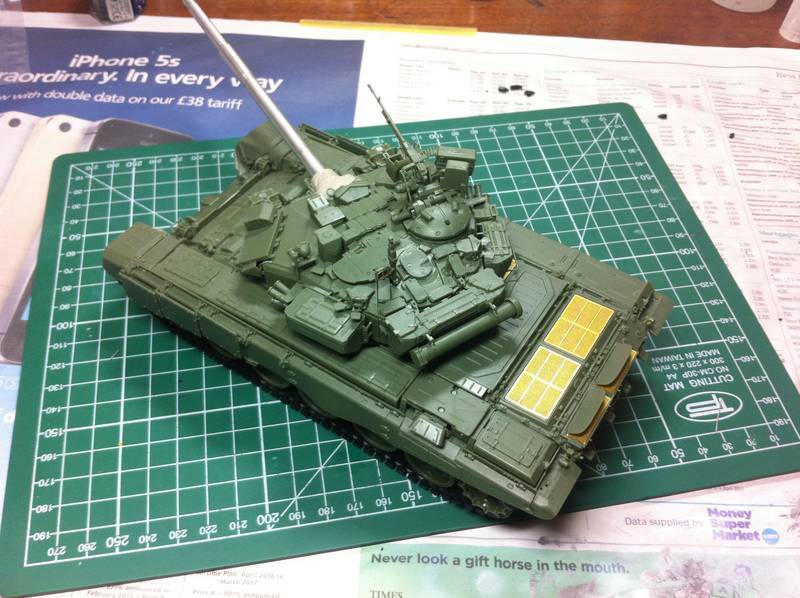
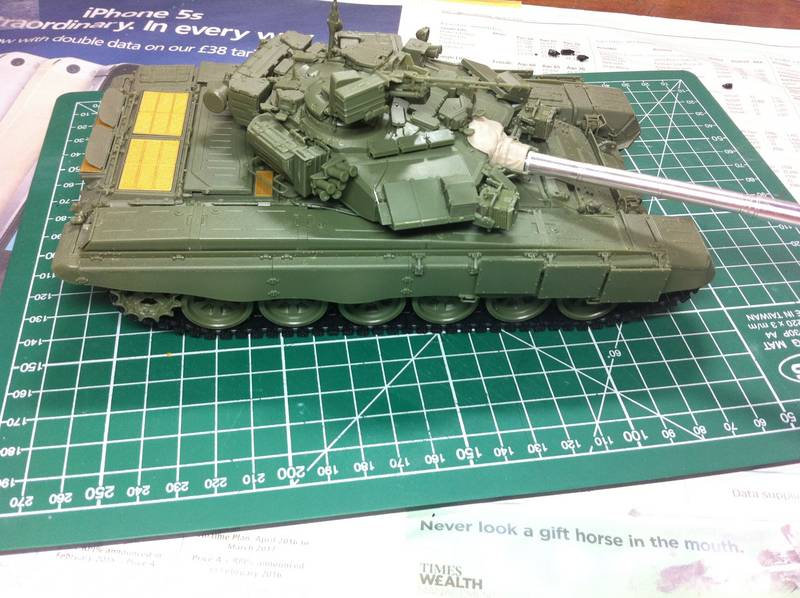
Next up, the Tucha mounts.


I opted to fit the mounts to the turret and then add the Tuchas.


I imagine some modellers may choose to replace these with turned metal items, however the kit parts are actually free of any mould seams and are probably the best plastic rendition I have seen.
There's a replacement lens for the spotlight in the SKP set.


Next up we'll focus on the Shtora emitters and their mounts
.


 Great build.