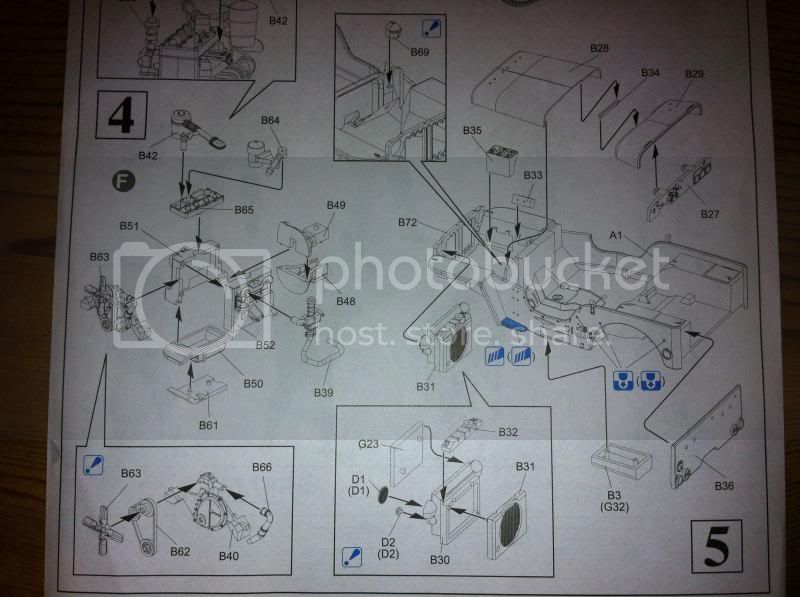
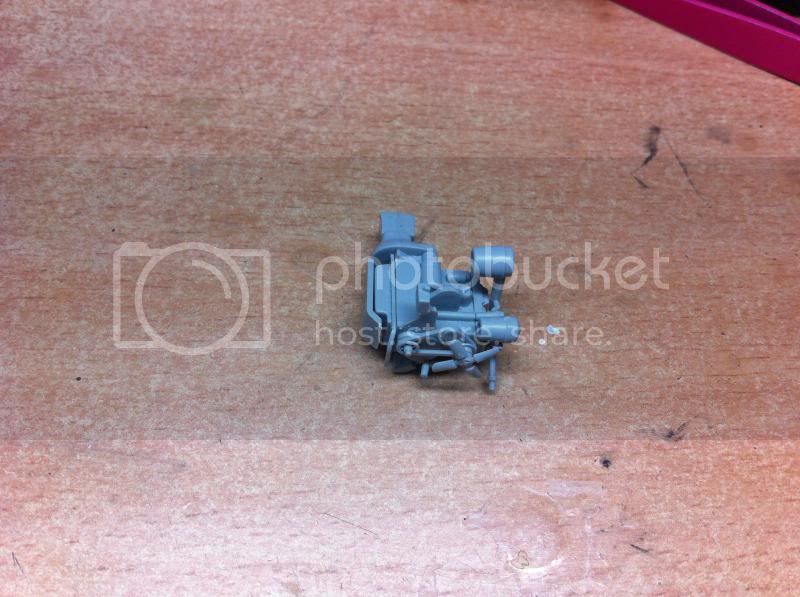
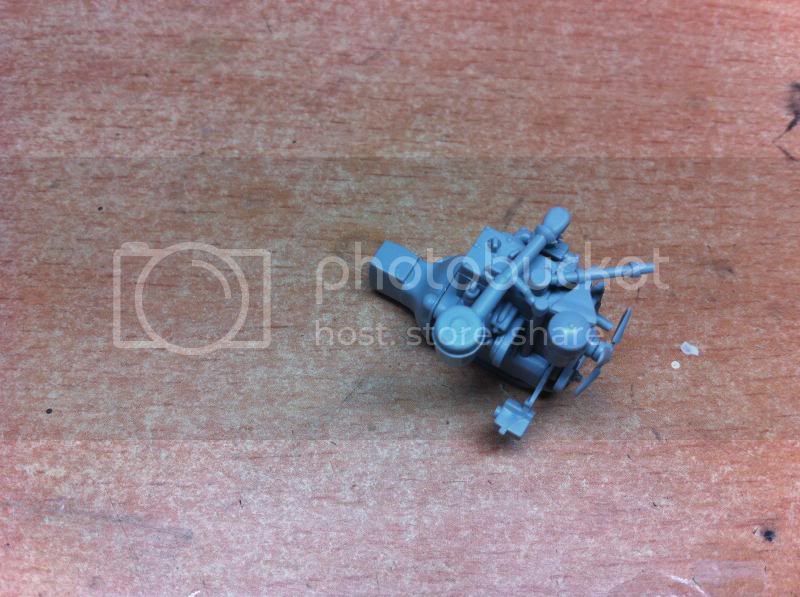
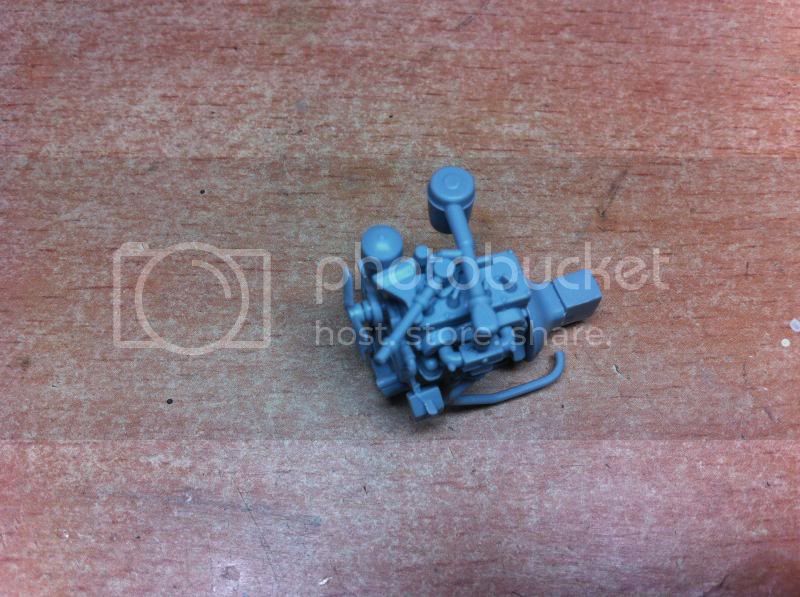
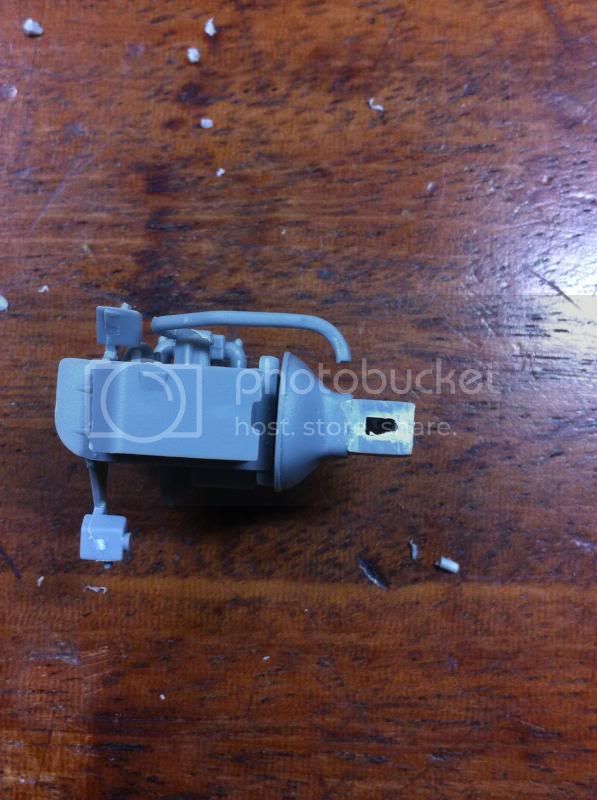
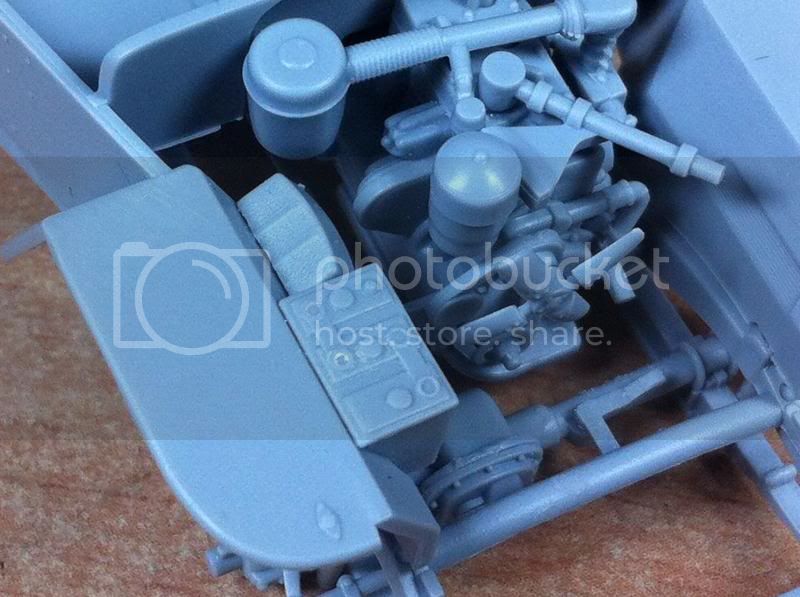
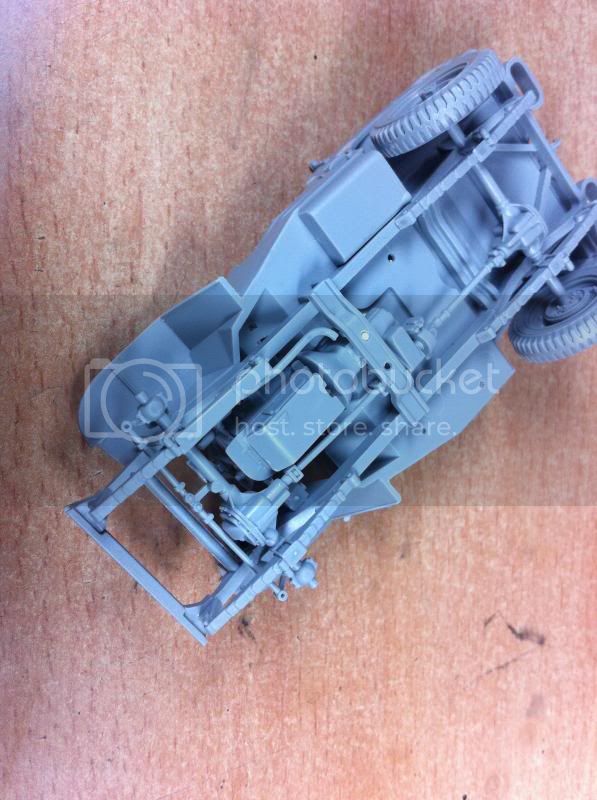
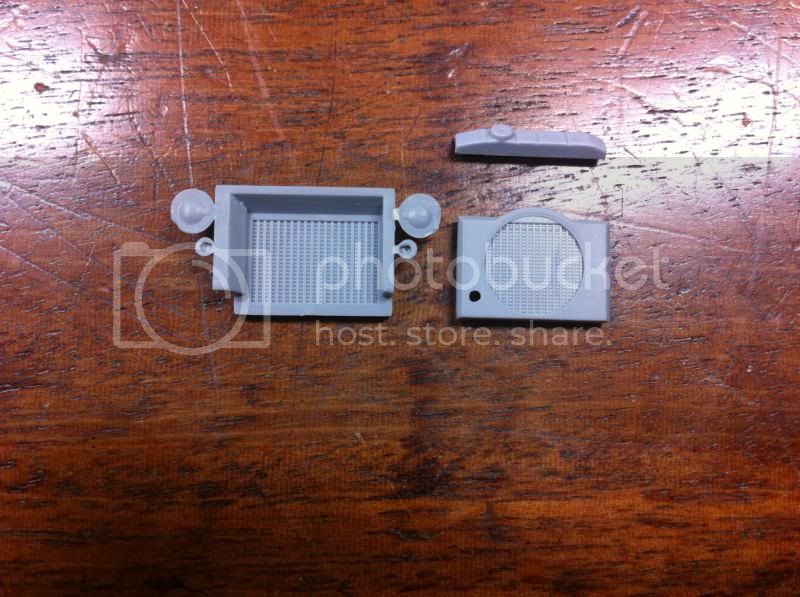
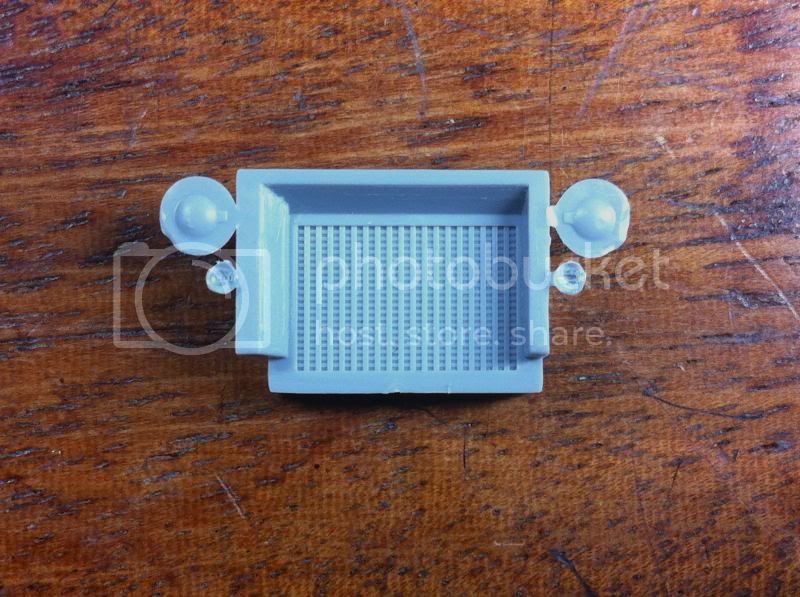
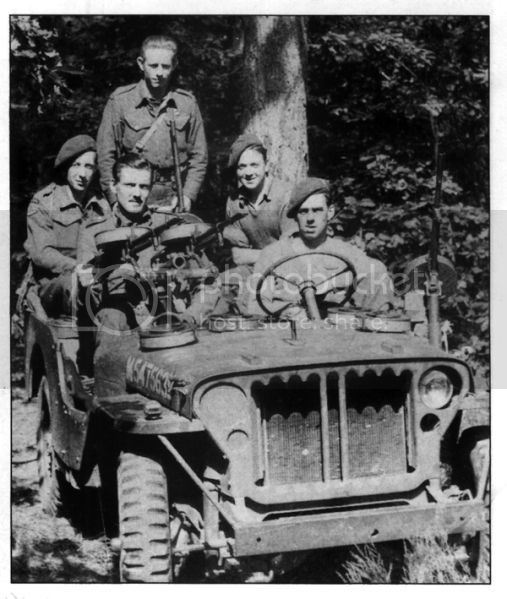
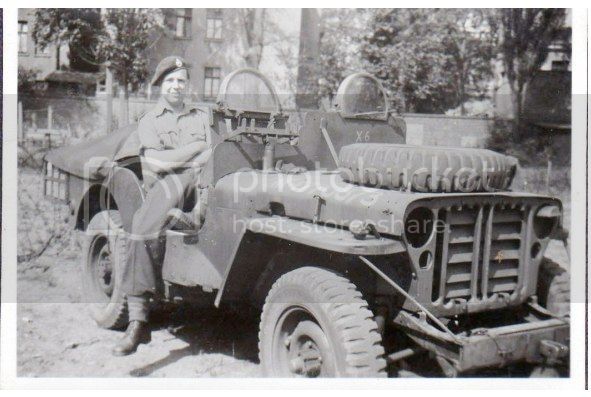
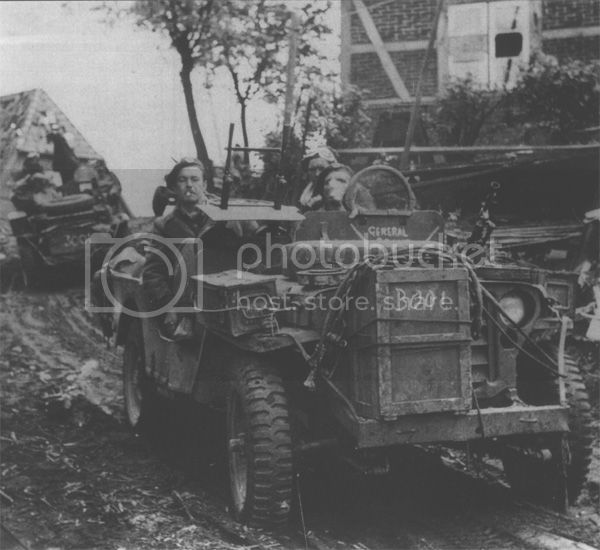
To accompany the recent review I had published I shall be doing a full build review of this kit, running through each of the steps and hopefully finishing up by slapping a coat of paint on this thing.
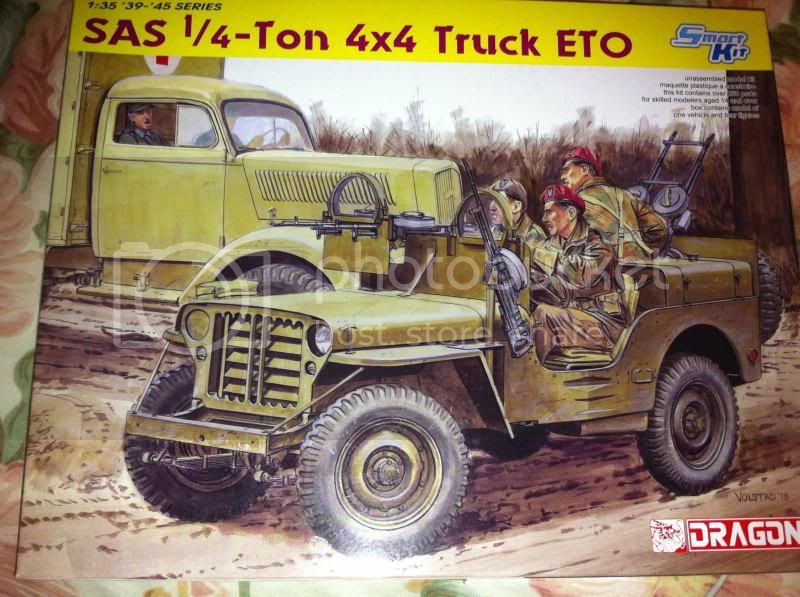
Lets kick off with that beautiful box art by Ron Volstad:
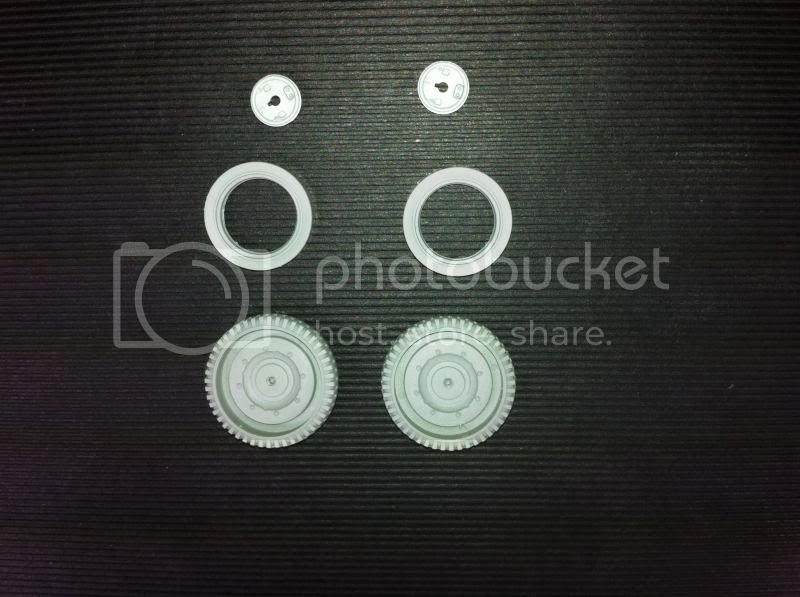
Construction begins with the wheels, which are very nice:
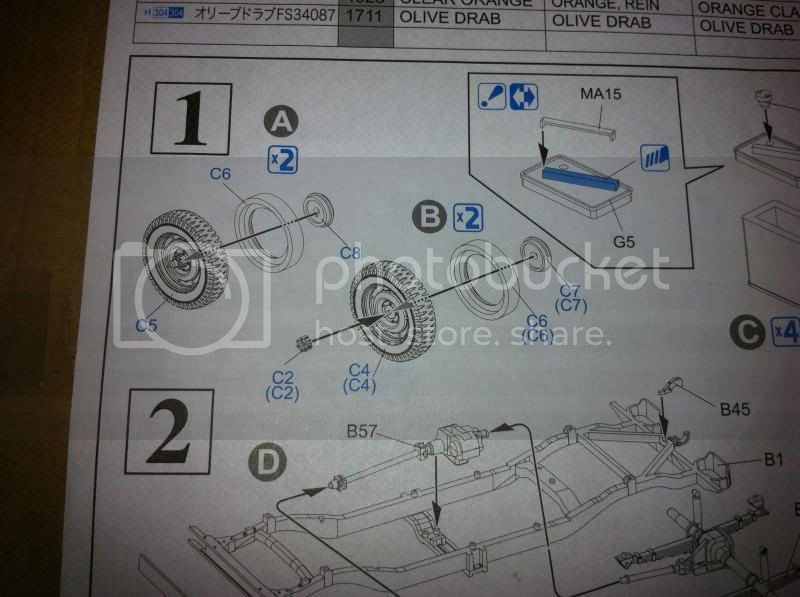
Fairly easily constructed from 3 parts:
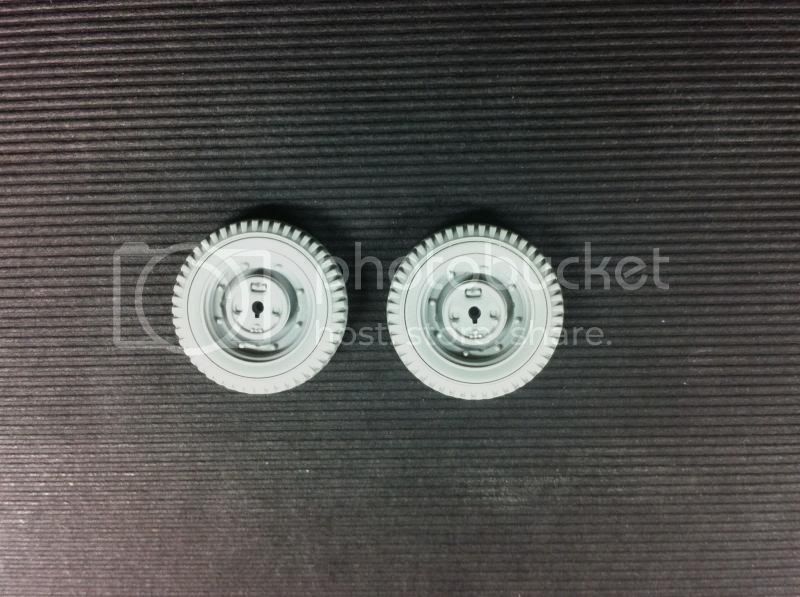
Lovely detailing on the brake drums, these just slot onto the axles:
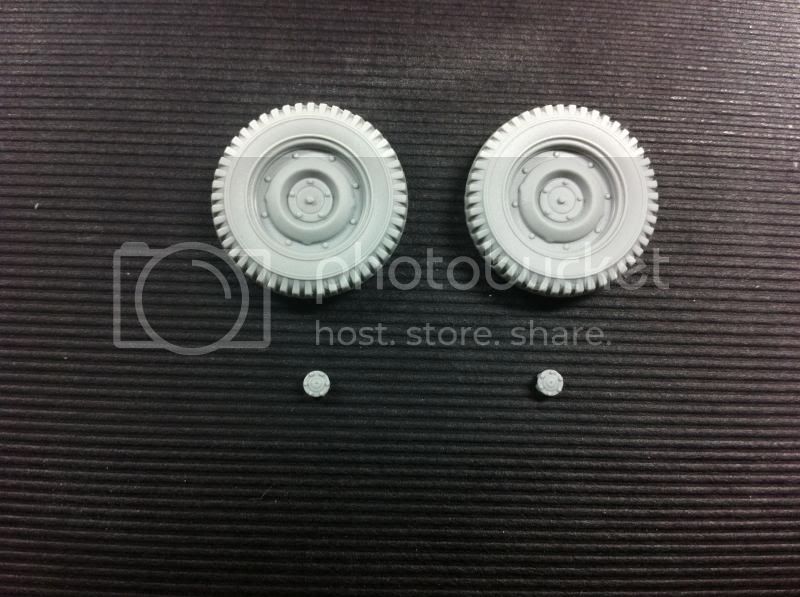
The rear wheels have hub caps which need to be glued on:
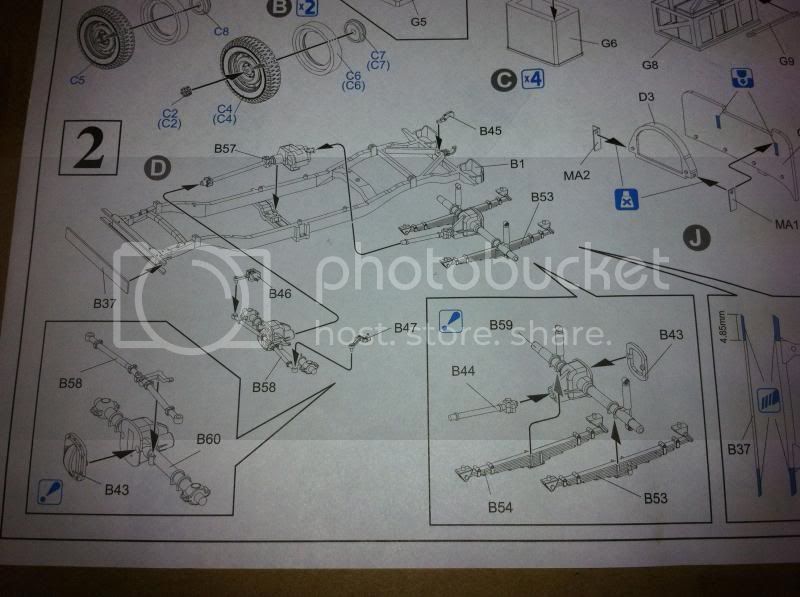
At this point I shall mention that the instruction sheet randomly calls out for one to assemble some of the SAS Jeep specific parts, such as flimsy rack and drivers shield. I suspect Dragon have thrown this in at random so as to add these steps to the instructions they already have. Anyway, I choose to skip past these steps and just focus on the basic Jeep at present.
So now we move on to the chassis, where things start to get a little more complicated:
I began by cleaning up the chassis frame which has a few mould lines to remove:
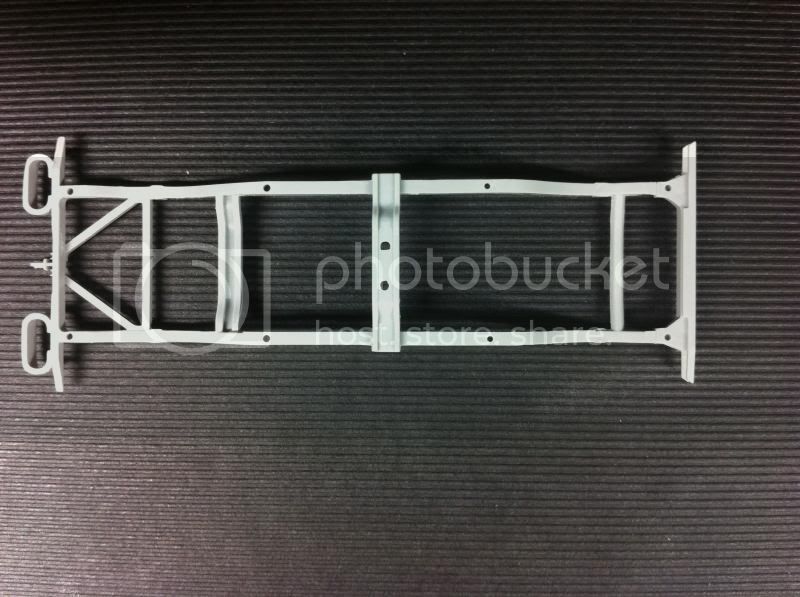
The front bumper requires some modification as SAS crews chopped these down or removed them altogether:
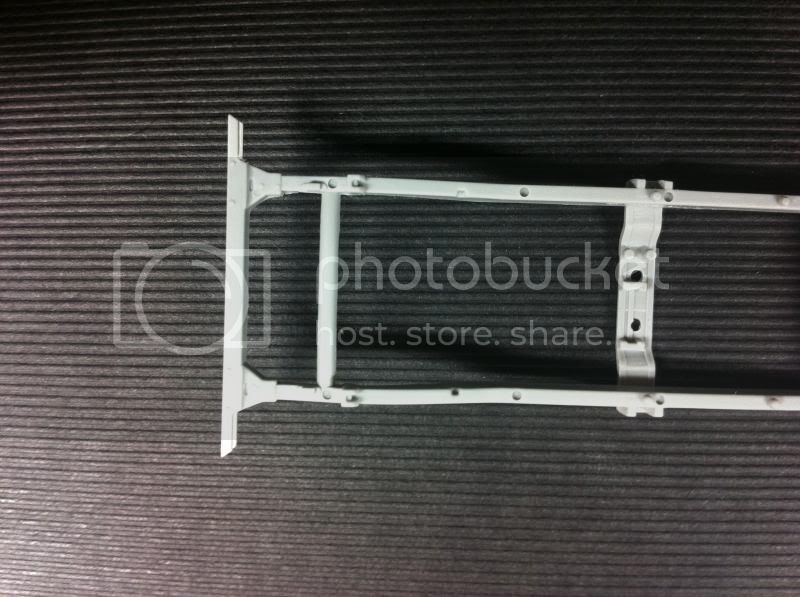
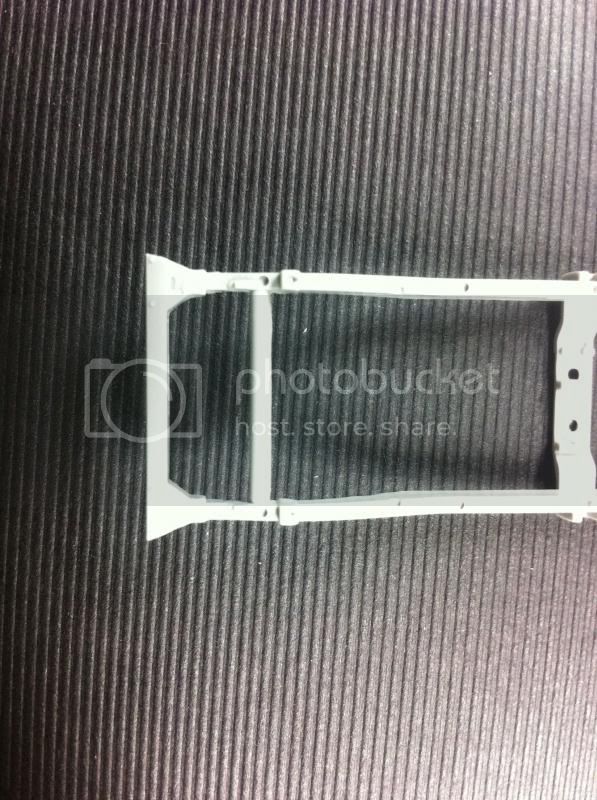
Basically just snip the ends off to where the bumper attaches to the frame:
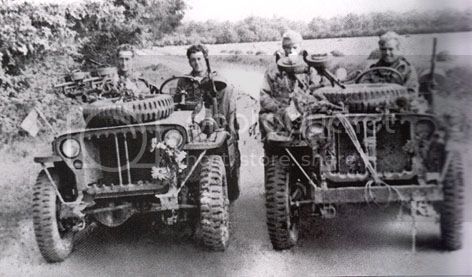
Here you can examples of the modified bumper or one chopped out altogether (all photos for discussion purposes only!)
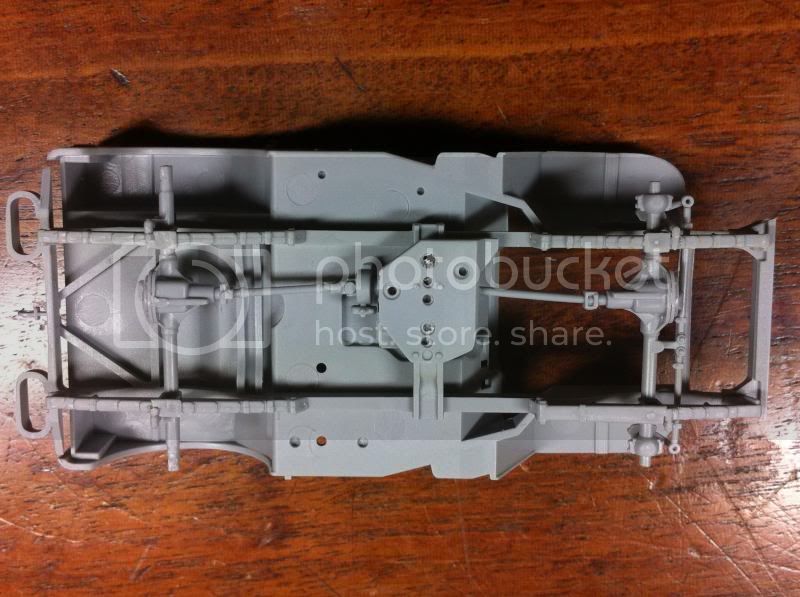
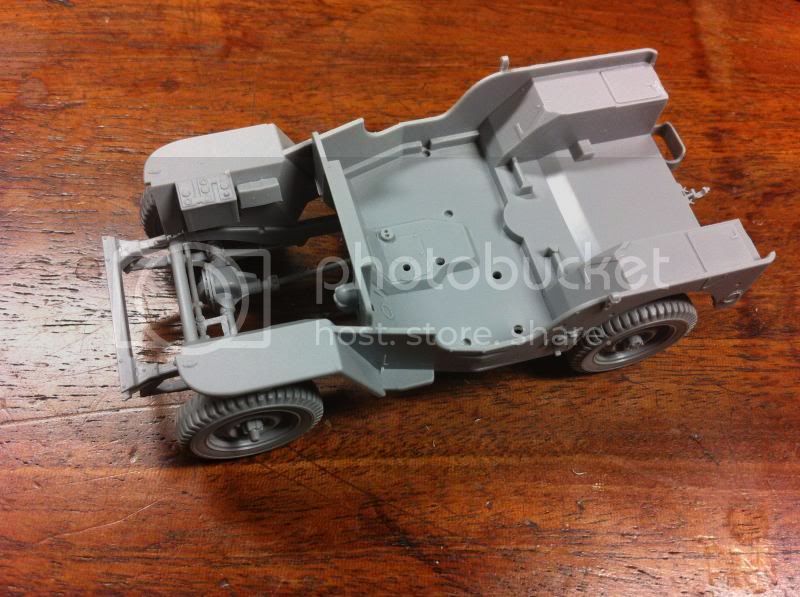
Now, the instructions suggest constructing the chassis and axles as a unit and then fitting to the main body, however I decided to fit the basic chassis frame to the main body now. The body is a single moulding, just bear careful of the large sprue pieces attached to the rear:
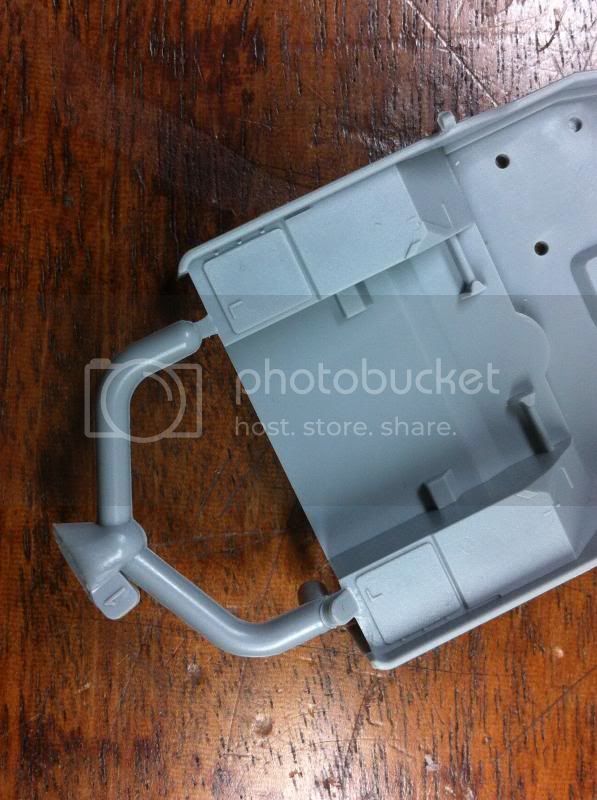
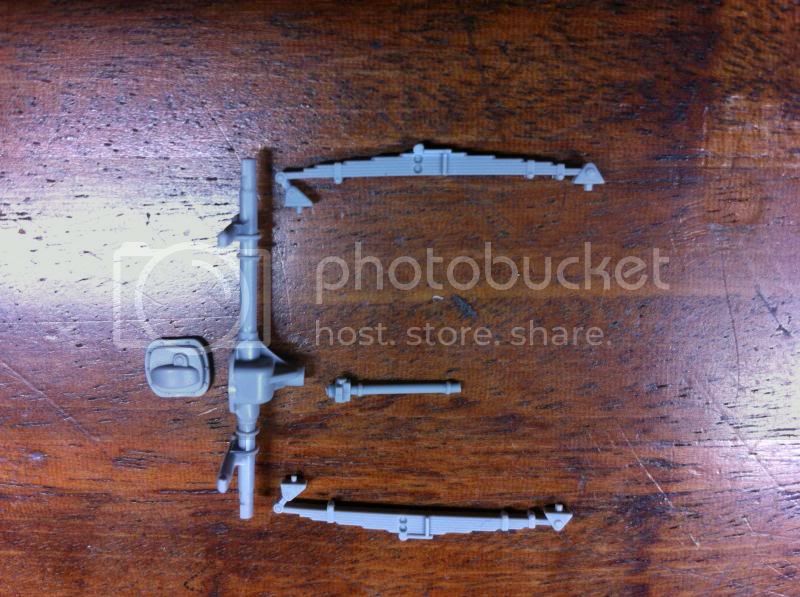
I started work next on the front axle, made up of a couple of components:
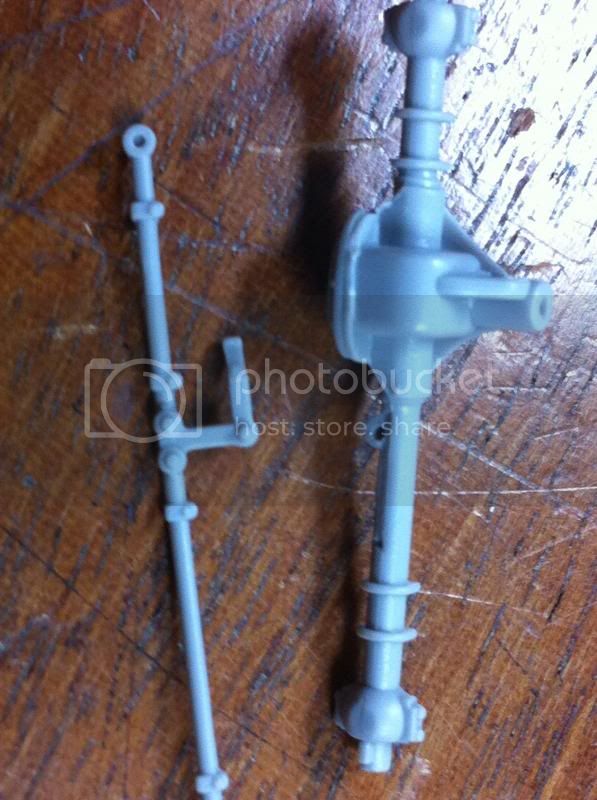
The instructions suggest fitting the track rod to the axle, however the connection is very flimsy to I left this off for the moment. Its then suggested that one fit the axle to the front drive shaft, however again the joint is very small and flimsy:
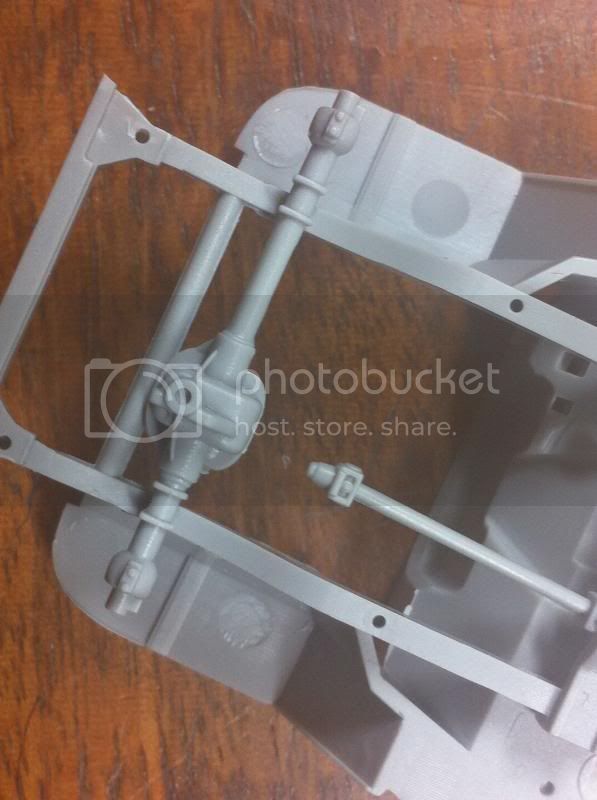
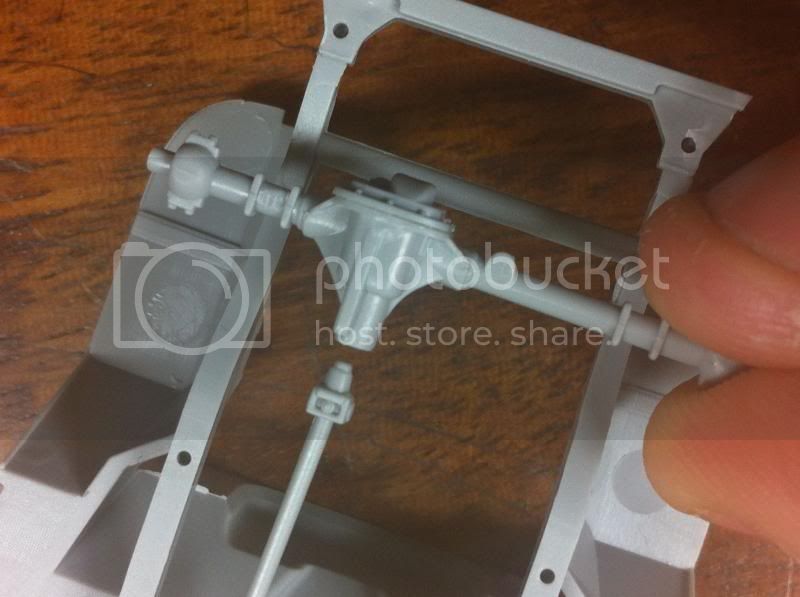
As you can see, the size of the hole and connection on the shaft and axle is very limited.
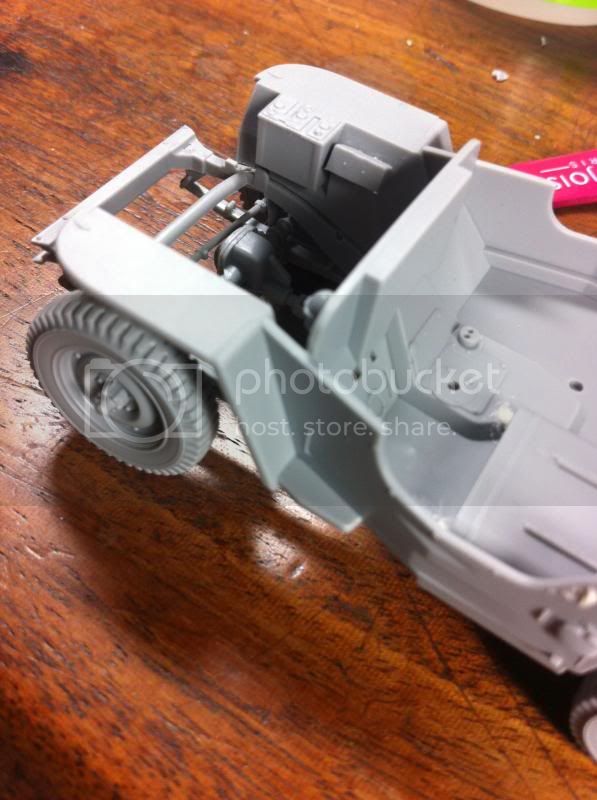
It seems to me that the best way to go about constructing the front chassis is to fit the leaf springs in place and then attach the axle to those in situ, this is much less hassle and ensures the parts are glued correctly in place.
So at this point I skipped a step ahead and fitted the front leaf springs:
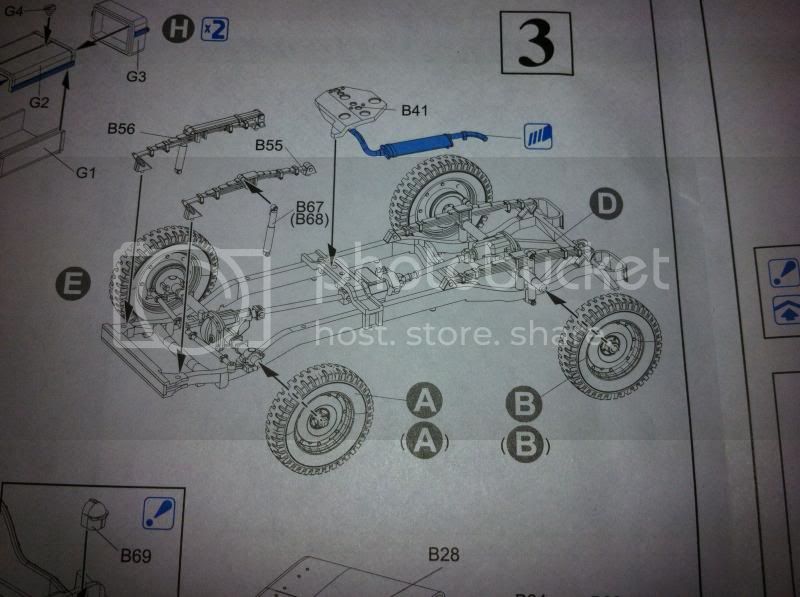
Beware, the instructions have the parts numbered the wrong way round:
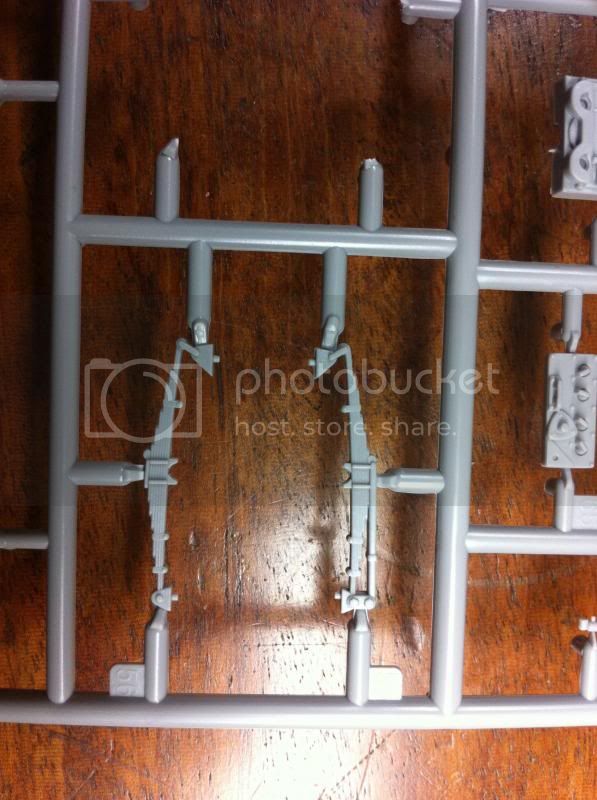
Heres the springs in place:
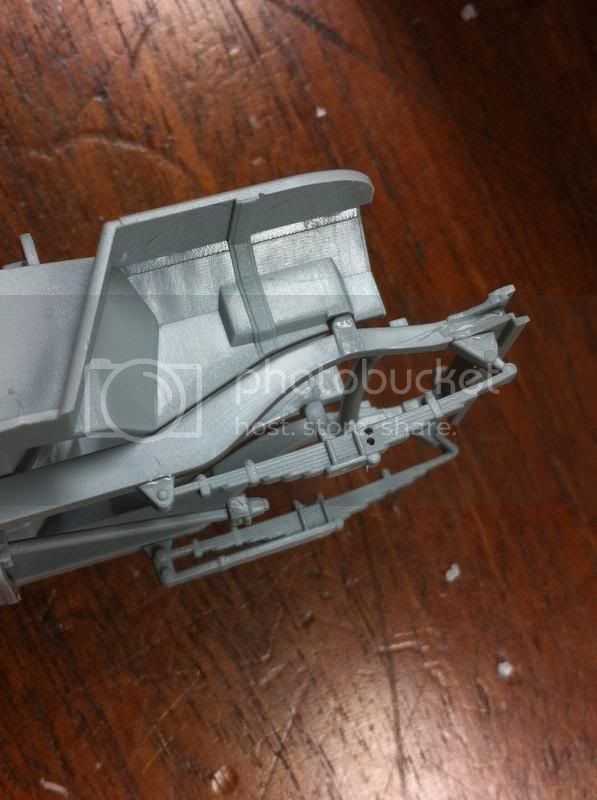
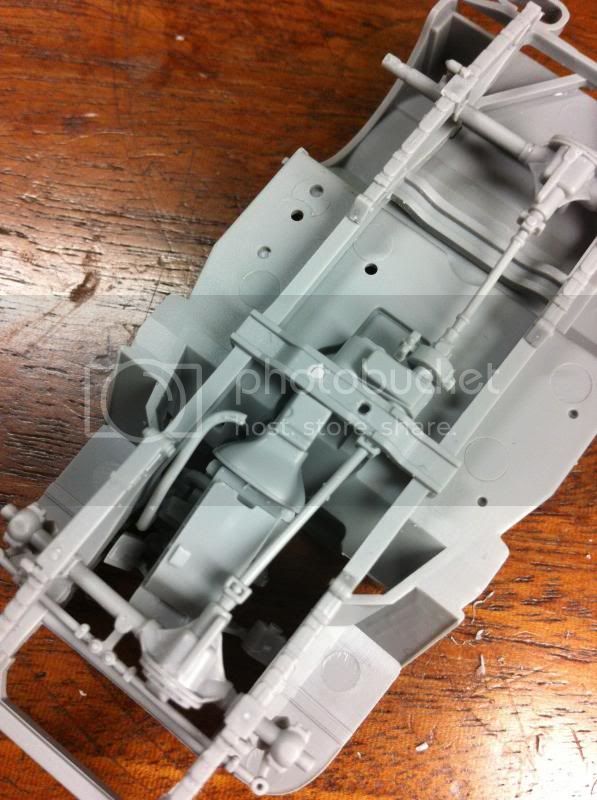
Now the axle can be easily glued on top of them:
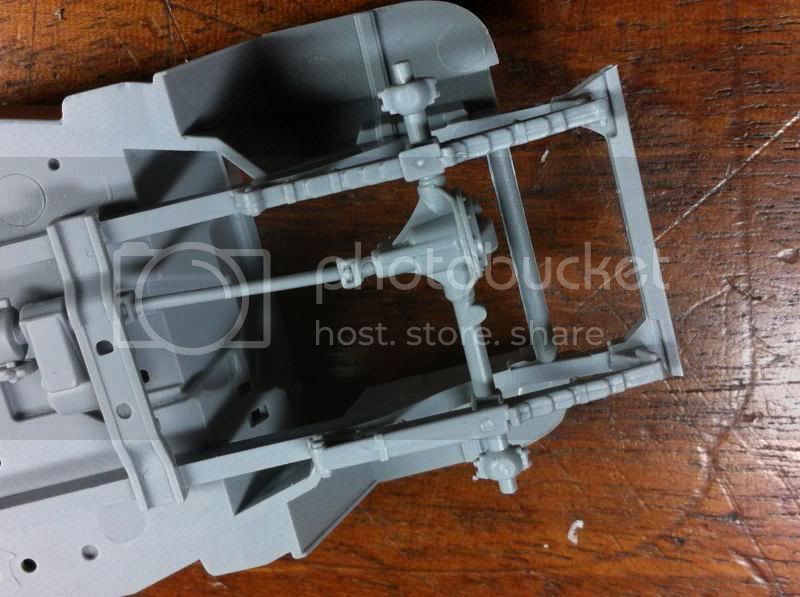
(note the rather large mould marks on the fenders)
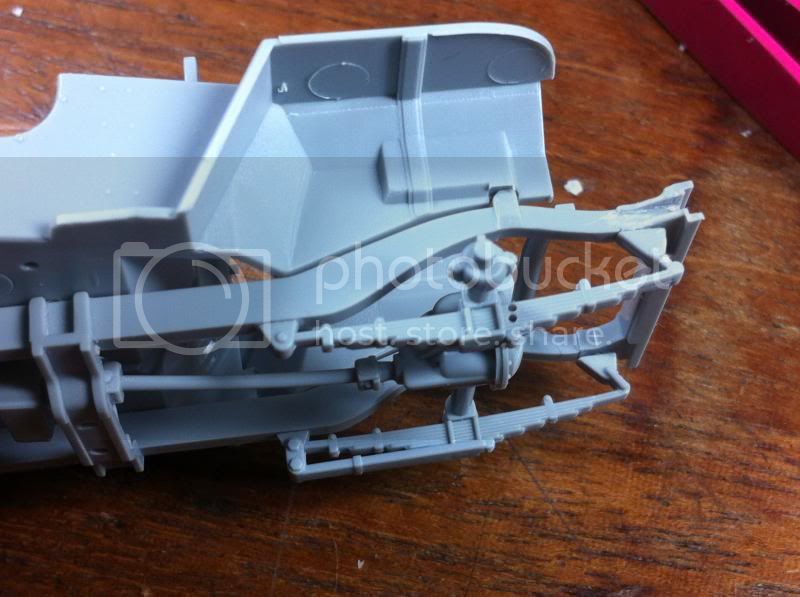
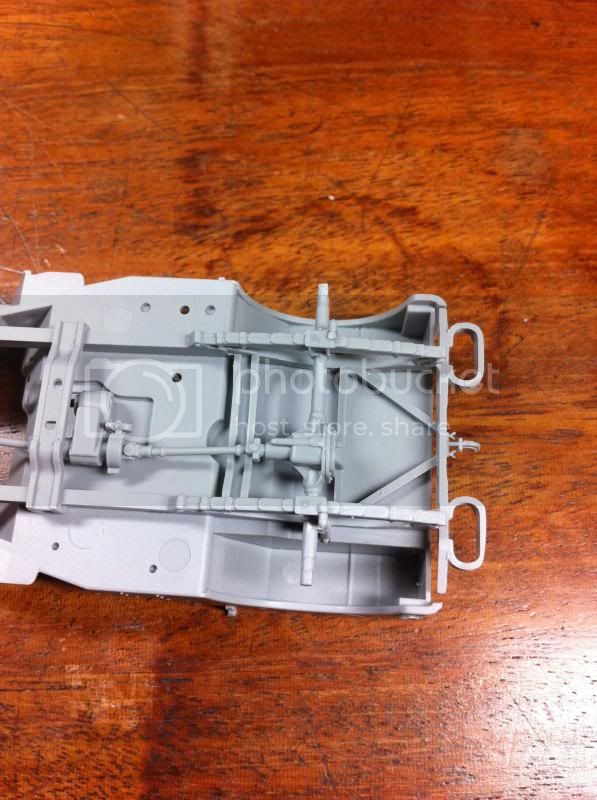
The fit is nicely snug and ensures the axle links up to the drive shaft without me having to hold the two together while the glue dries and the instructions would have you do.
Time now to fit the track rod. The first problem encountered is that the small plates which the track rod fits to on the ball joint, should have a small pin to enable to track rod to glue in place, then pins however haven't been moulded, as you can see here:
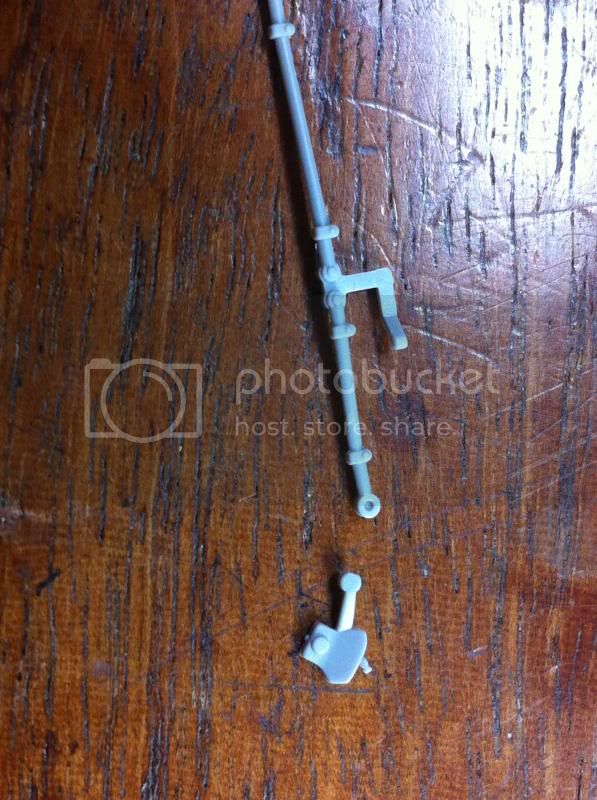
The easiest thing to do is simply attach these parts to the ball joint thus:
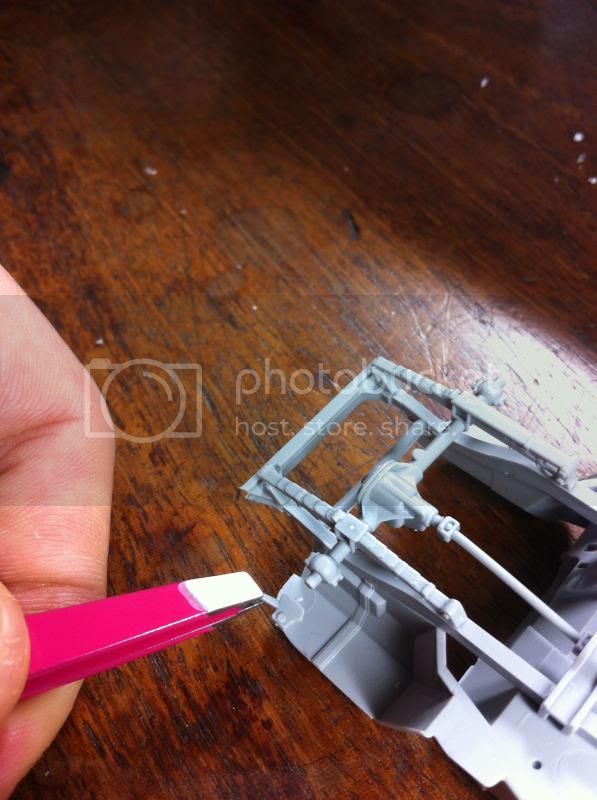
Yep, its fiddly stuff….
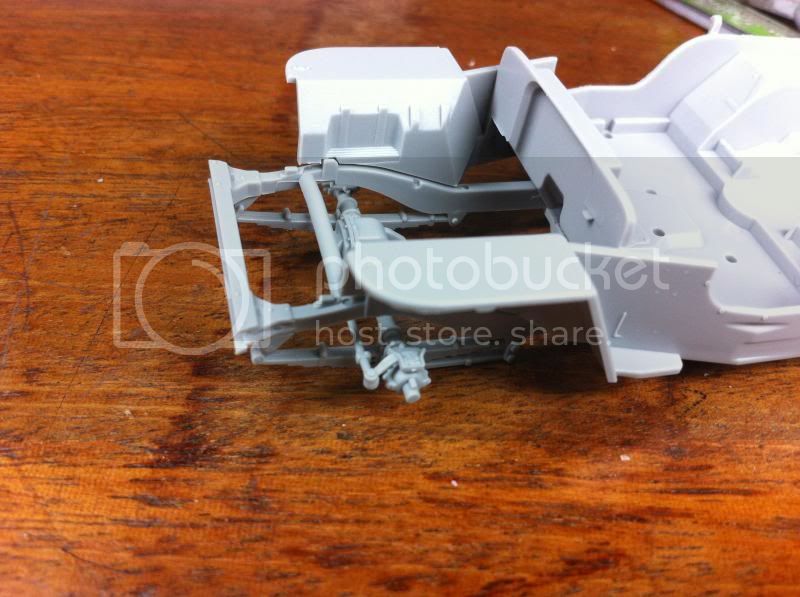
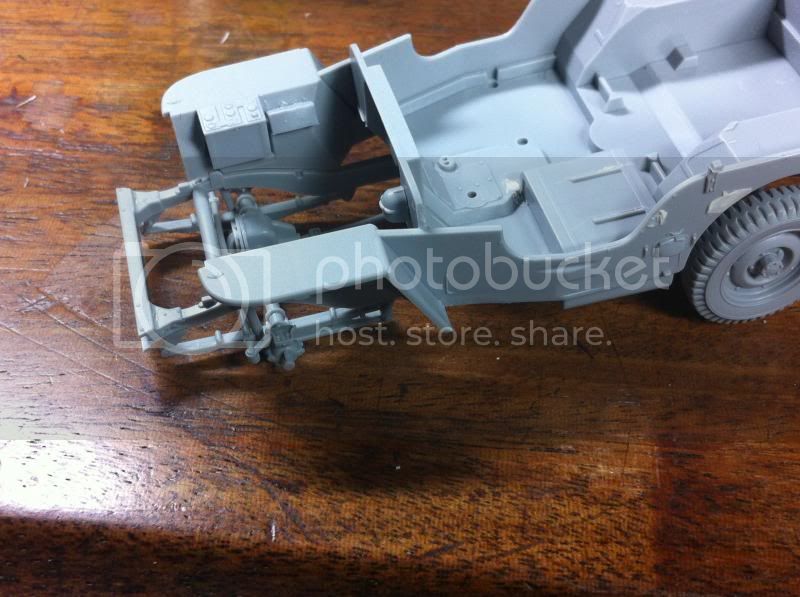
And then the track rod fits in place fairly easily:
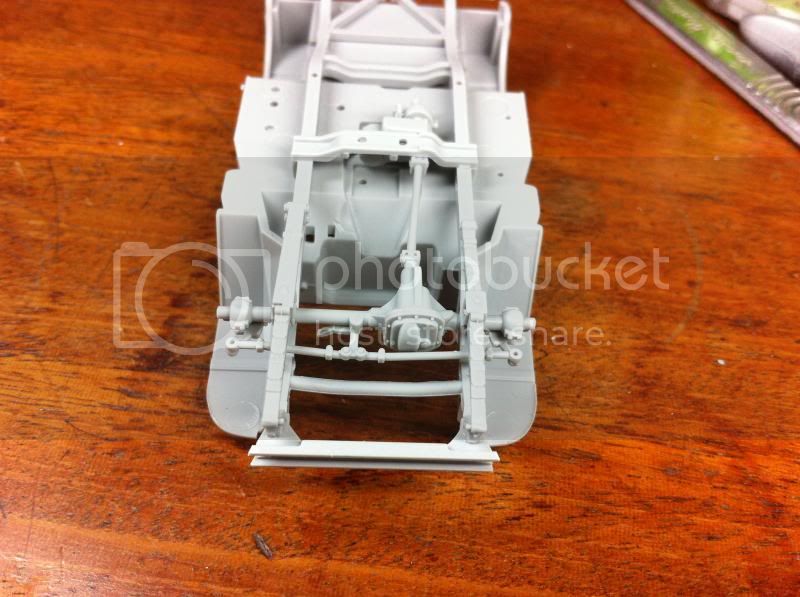
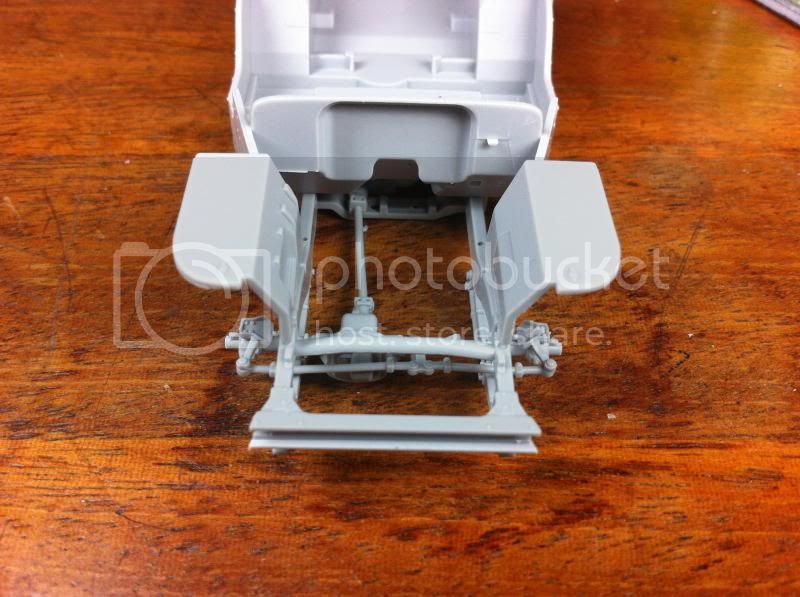
Finally the shock absorbers are glued in place:
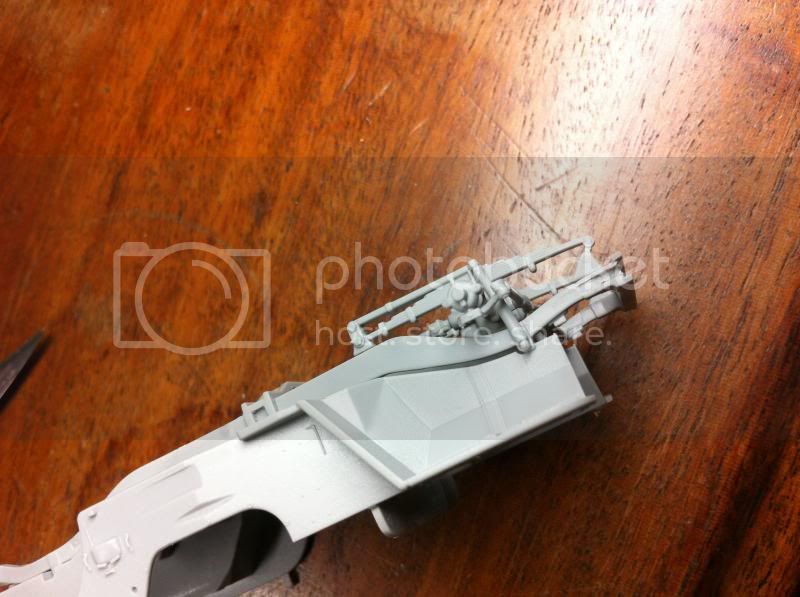
Stay tuned for more updates shortly!…...


