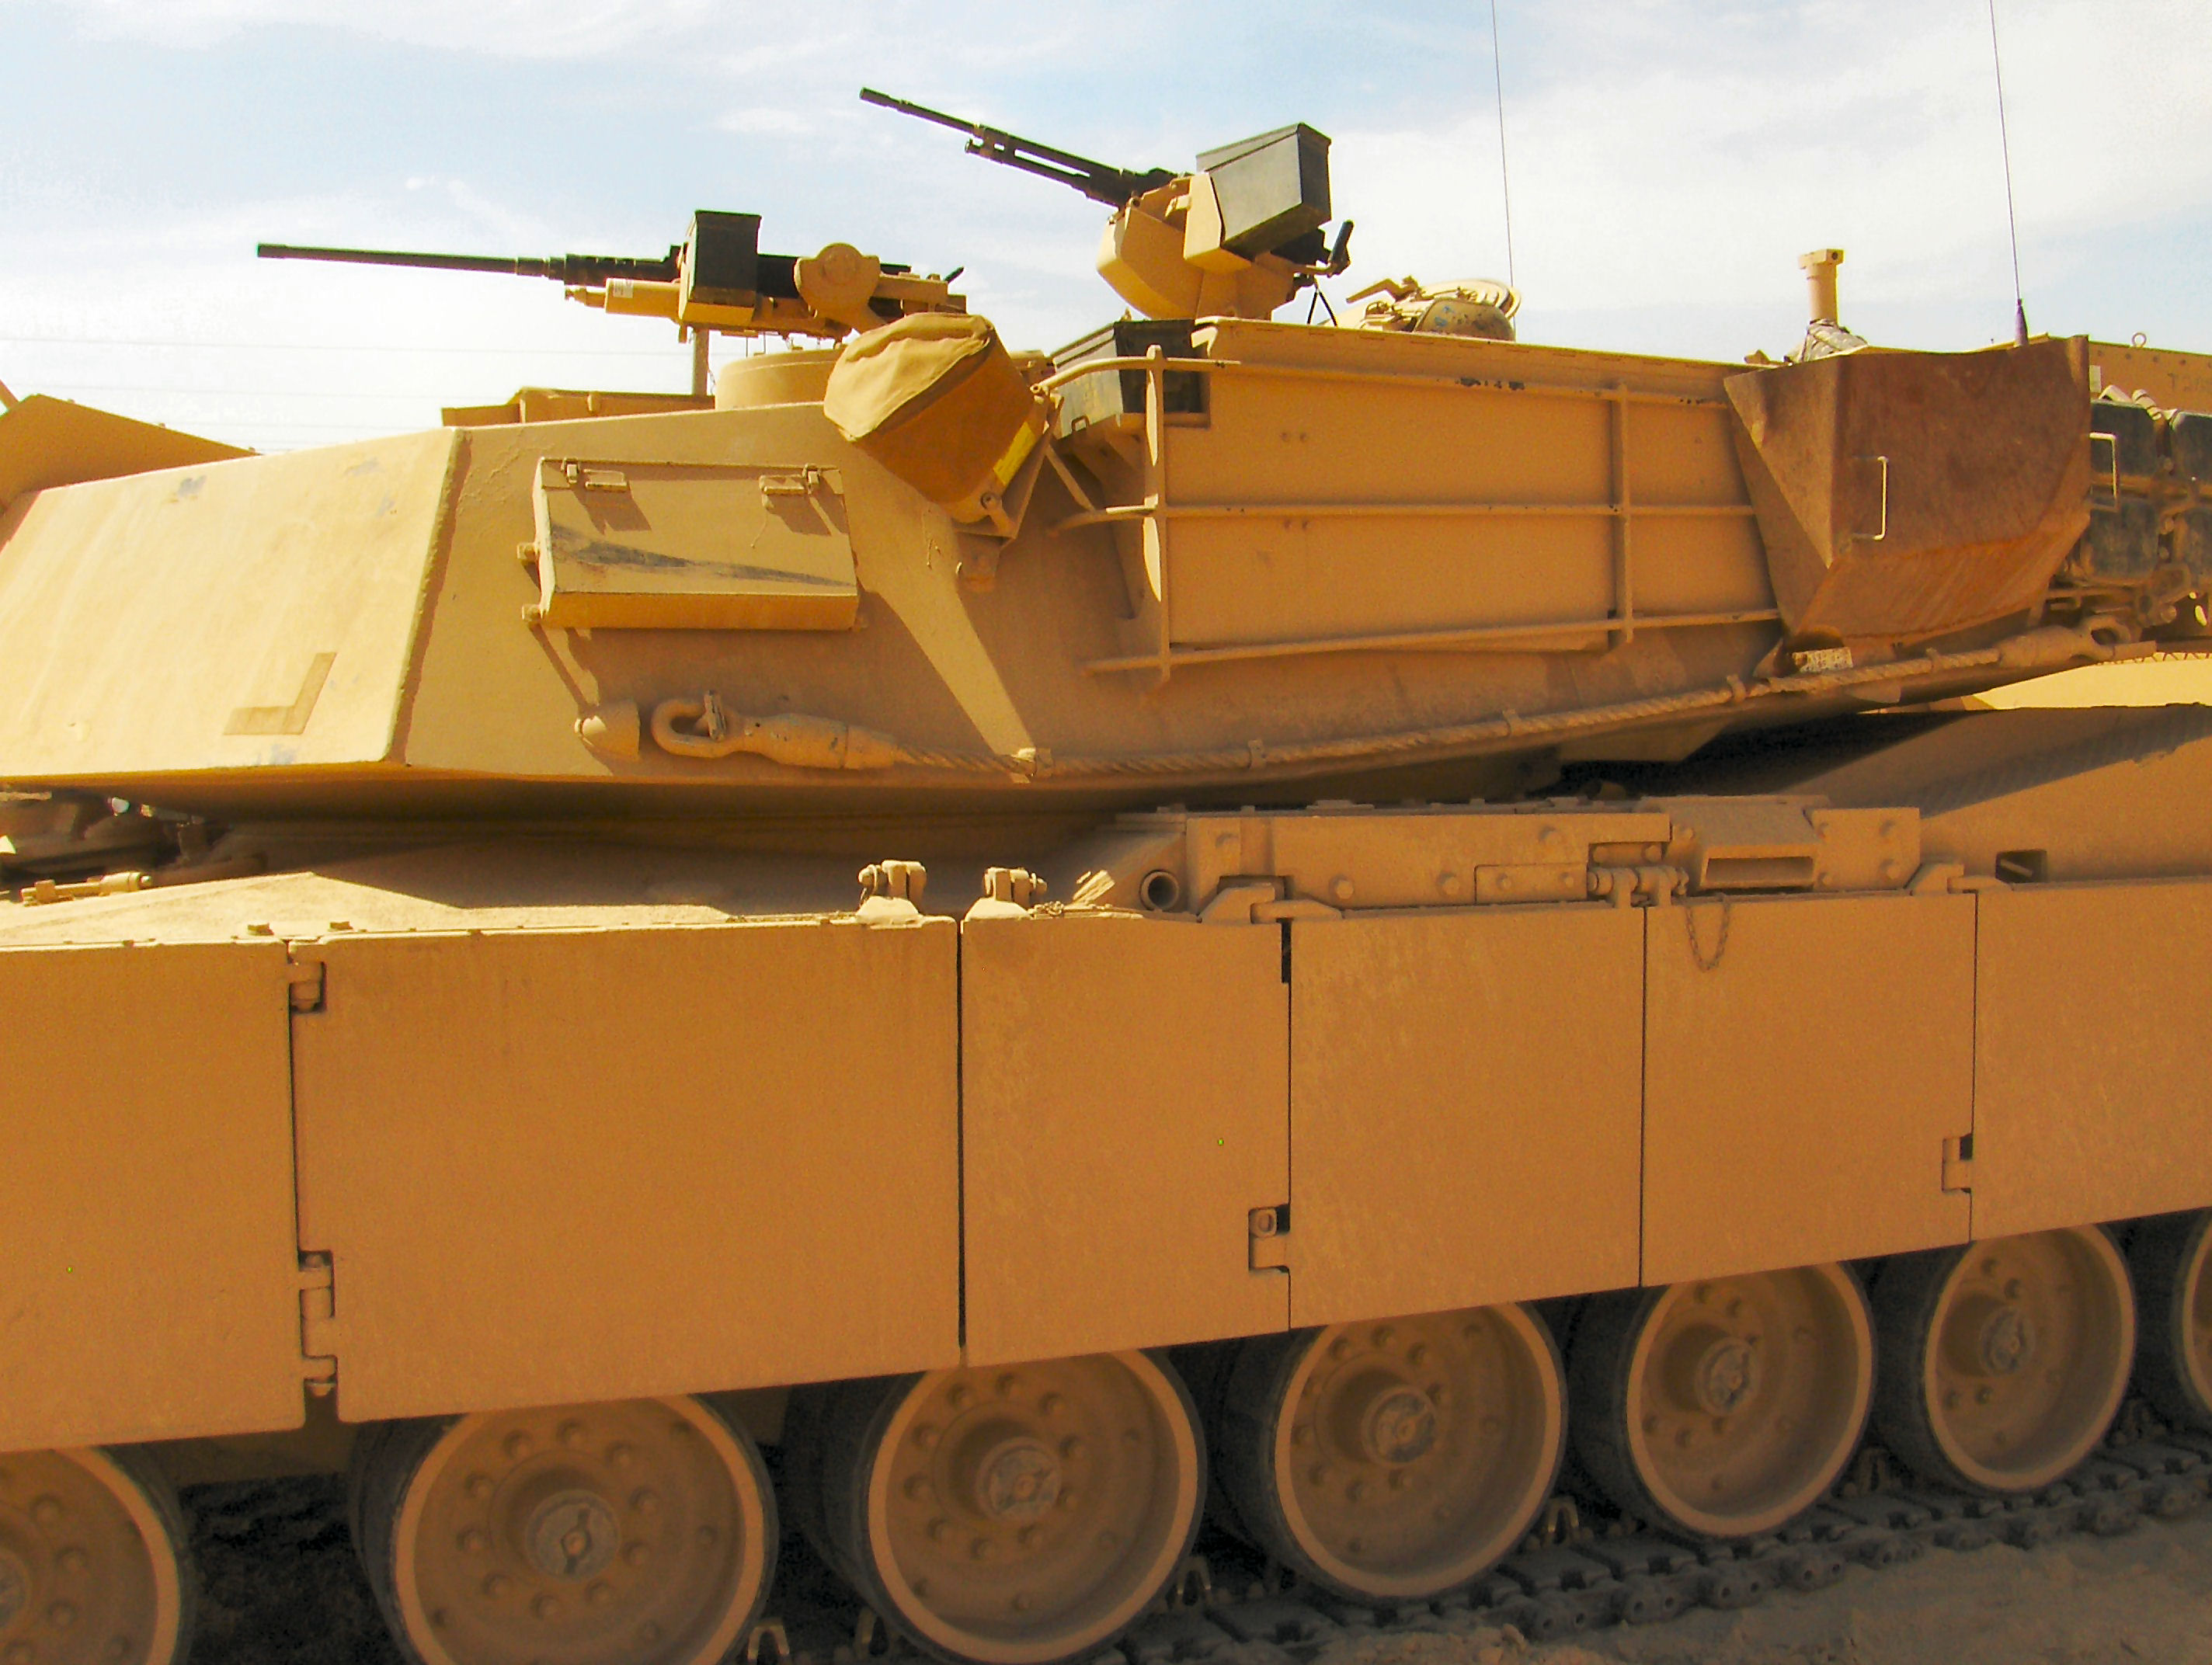
Well we seem to have hit a little roadblock with the M-113 build that I was working on for the Thunder Run dio so I have started on this bad boy.
Just got started today with the Dragon AIM kit. It's been a while since I built a Dragon kit and boy how I do not miss these instruction LOL.
Got the basic hull started with steps one and two. More importantly I finished chunking the road wheels.
I also filed down the drive sprockets to more appropriately show the wear these tanks received during the invasion.
Time into the build so far...4 hours.
cheers
Hosted by Darren Baker
M1A1 Abrams C23 "CARNIVORE" - Thunder Run
sauceman
Ontario, Canada
Joined: September 28, 2006
KitMaker: 2,672 posts
Armorama: 2,475 posts
Joined: September 28, 2006
KitMaker: 2,672 posts
Armorama: 2,475 posts
Posted: Saturday, January 04, 2014 - 03:05 PM UTC
Burik
New Jersey, United States
Joined: March 12, 2002
KitMaker: 1,437 posts
Armorama: 1,303 posts
Joined: March 12, 2002
KitMaker: 1,437 posts
Armorama: 1,303 posts
Posted: Saturday, January 04, 2014 - 03:29 PM UTC
Yeah, baby. This tank has an interesting story. They used up so much coax that the gunner had to fill up two or three garbage bags with brass to keep the interior hopper empty - the coax mgs in the unit were jamming up because so much spent brass was backing up in the hoppers and jamming the MGs. They threw the bags up on the turret roof and so Rick will be modeling some black garbage bags on the roof, in addition to all that other stuff the 3rd ID crews had.
sauceman
Ontario, Canada
Joined: September 28, 2006
KitMaker: 2,672 posts
Armorama: 2,475 posts
Joined: September 28, 2006
KitMaker: 2,672 posts
Armorama: 2,475 posts
Posted: Sunday, January 05, 2014 - 01:07 PM UTC
Quoted Text
Yeah, baby. This tank has an interesting story. They used up so much coax that the gunner had to fill up two or three garbage bags with brass to keep the interior hopper empty - the coax mgs in the unit were jamming up because so much spent brass was backing up in the hoppers and jamming the MGs. They threw the bags up on the turret roof and so Rick will be modeling some black garbage bags on the roof, in addition to all that other stuff the 3rd ID crews had.
Yes building those garbage bags could be interesting LOL.
Not much done today, just cleaned up all the magic tracks and started to assemble some of the straight runs. For this I use my etchmate to make sure the runs are flat and straight
Also cleaned up and assembled the main gun barrel. I'm using the plastic parts as they have more detail than the turned aluminium one.
Time into the build so far...7 hours.
cheers
Burik
New Jersey, United States
Joined: March 12, 2002
KitMaker: 1,437 posts
Armorama: 1,303 posts
Joined: March 12, 2002
KitMaker: 1,437 posts
Armorama: 1,303 posts
Posted: Sunday, January 05, 2014 - 01:31 PM UTC
sauceman
Ontario, Canada
Joined: September 28, 2006
KitMaker: 2,672 posts
Armorama: 2,475 posts
Joined: September 28, 2006
KitMaker: 2,672 posts
Armorama: 2,475 posts
Posted: Sunday, January 05, 2014 - 02:21 PM UTC
Nice, won't be at that stage for a little while but I will get the info from you.
cheers
cheers
sauceman
Ontario, Canada
Joined: September 28, 2006
KitMaker: 2,672 posts
Armorama: 2,475 posts
Joined: September 28, 2006
KitMaker: 2,672 posts
Armorama: 2,475 posts
Posted: Wednesday, March 05, 2014 - 08:03 AM UTC
Got a lot of work done as well on C23. Going by my reference photos the left side did not have a 53 and the chevron was pointed forward. Not like the echelon decal instructions call for. Have to clear the decals and then the detail paint and weathering can start.
Had to scratch build the rear bustle extension, the PE one supplied did not survive first contact
cheers
Had to scratch build the rear bustle extension, the PE one supplied did not survive first contact
cheers
MikeMummey
New Mexico, United States
Joined: February 09, 2005
KitMaker: 672 posts
Armorama: 653 posts
Joined: February 09, 2005
KitMaker: 672 posts
Armorama: 653 posts
Posted: Wednesday, March 05, 2014 - 01:30 PM UTC
Howdy Rick, very nice work on that Doggy hog. It is interesting that were were two 'Carnivore' in theater for the Spring Break Tour 2003. The other was B-24(pronounced Bravo-two-four) in 1st Tk Bn USMC.
Outta here, Mike sends ...
sauceman
Ontario, Canada
Joined: September 28, 2006
KitMaker: 2,672 posts
Armorama: 2,475 posts
Joined: September 28, 2006
KitMaker: 2,672 posts
Armorama: 2,475 posts
Posted: Wednesday, March 05, 2014 - 01:34 PM UTC
Posted: Wednesday, March 05, 2014 - 01:49 PM UTC
Rick knowing what a good job you can do when you put your mind to it,is there any chance of you supplying a feature when this one is complete?
sauceman
Ontario, Canada
Joined: September 28, 2006
KitMaker: 2,672 posts
Armorama: 2,475 posts
Joined: September 28, 2006
KitMaker: 2,672 posts
Armorama: 2,475 posts
Posted: Wednesday, March 05, 2014 - 02:19 PM UTC
Quoted Text
Rick knowing what a good job you can do when you put your mind to it,is there any chance of you supplying a feature when this one is complete?
Sure thing Darren, I'll snap lots of pics for ya
cheers
sauceman
Ontario, Canada
Joined: September 28, 2006
KitMaker: 2,672 posts
Armorama: 2,475 posts
Joined: September 28, 2006
KitMaker: 2,672 posts
Armorama: 2,475 posts
Posted: Saturday, March 22, 2014 - 07:07 AM UTC
sauceman
Ontario, Canada
Joined: September 28, 2006
KitMaker: 2,672 posts
Armorama: 2,475 posts
Joined: September 28, 2006
KitMaker: 2,672 posts
Armorama: 2,475 posts
Posted: Sunday, April 06, 2014 - 12:27 PM UTC
blacksad
Quebec, Canada
Joined: September 07, 2009
KitMaker: 198 posts
Armorama: 192 posts
Joined: September 07, 2009
KitMaker: 198 posts
Armorama: 192 posts
Posted: Monday, April 07, 2014 - 03:10 AM UTC
Fantastic work on your abrams !
I like your weathering, can you explain how you did it ?
Cheers !
I like your weathering, can you explain how you did it ?
Cheers !
sauceman
Ontario, Canada
Joined: September 28, 2006
KitMaker: 2,672 posts
Armorama: 2,475 posts
Joined: September 28, 2006
KitMaker: 2,672 posts
Armorama: 2,475 posts
Posted: Monday, April 07, 2014 - 12:08 PM UTC
Quoted Text
Fantastic work on your abrams !
I like your weathering, can you explain how you did it ?
Cheers !
Thanks Tom,
For the weathering I laid down the base coat of tan followed with a coat of Future.
Decals and another overcoat of Future.
Then I pinwashed with raw umber oils (95-5 mix) on the weld beads and pinwashed with India Ink mixed with thinner (again about 95-5).
The wheels and tracks got pigments and drybrushed with silver.
Then I used some raw umber and brown oil paints and did the dot method streaking the paints down the verticals with mineral spirits and a wide brush, careful not to pool the thinner on the bottom edges, you want the streaking vertical effect.
I also did some minor chipping with black and some with the base colour topped with a darker one such as brown.
I also used some AK interactive streaking grime for oil stains and darker streaks.
Finally I dusted the model with Tamiya Buff with my air brush.
cheers
sauceman
Ontario, Canada
Joined: September 28, 2006
KitMaker: 2,672 posts
Armorama: 2,475 posts
Joined: September 28, 2006
KitMaker: 2,672 posts
Armorama: 2,475 posts
Posted: Saturday, November 22, 2014 - 07:04 AM UTC
Well troops, I have some updates on C23!
Detailed the M2 with some chains and a charging handle. Also added the ammo box and an empty one on the turret.
Added a tarp on the rear rack, cargo strap and some more ammo cans.
Installed the tow bar on the front and the pickets and wire on the rear.
Still a lot of little details to do but I'm slowly getting there LOL!
cheers
sauceman
Ontario, Canada
Joined: September 28, 2006
KitMaker: 2,672 posts
Armorama: 2,475 posts
Joined: September 28, 2006
KitMaker: 2,672 posts
Armorama: 2,475 posts
Posted: Monday, December 01, 2014 - 06:32 AM UTC
majjanelson
South Carolina, United States
Joined: December 14, 2006
KitMaker: 1,355 posts
Armorama: 979 posts
Joined: December 14, 2006
KitMaker: 1,355 posts
Armorama: 979 posts
Posted: Monday, December 01, 2014 - 07:22 AM UTC
Richard,
Your M1A1 Abrams is looking quite good, but I hate to tell you that you've left off the NBC System side plate with the NBC System Exhaust:
This image from Prime Portal shows what I'm referring to:
Also, it also appears that you've connected the M240 Mount into it's PE Cradle bracket in the wrong place:
This image also from Prime Portal shows the real M240 Mount in its yoke bracket. The M240 is the ground version (has a butt stock & pistol grip) installed partially in the mount.
HTH
junglejim
Alberta, Canada
Joined: February 18, 2003
KitMaker: 1,728 posts
Armorama: 1,629 posts
Joined: February 18, 2003
KitMaker: 1,728 posts
Armorama: 1,629 posts
Posted: Monday, December 01, 2014 - 11:55 AM UTC
Very nice Rick. Yep, the instruction gremlins caught you! The nbc side panel shows up mysteriously later in the build...
Jim
Jim
junglejim
Alberta, Canada
Joined: February 18, 2003
KitMaker: 1,728 posts
Armorama: 1,629 posts
Joined: February 18, 2003
KitMaker: 1,728 posts
Armorama: 1,629 posts
Posted: Monday, December 01, 2014 - 02:23 PM UTC
Too late to edit my post, but check out post 131 here, and back on page 5 for the loader's gun position.
Jim
Jim
sauceman
Ontario, Canada
Joined: September 28, 2006
KitMaker: 2,672 posts
Armorama: 2,475 posts
Joined: September 28, 2006
KitMaker: 2,672 posts
Armorama: 2,475 posts
Posted: Monday, December 01, 2014 - 06:18 PM UTC
Quoted Text
Richard,
Your M1A1 Abrams is looking quite good, but I hate to tell you that you've left off the NBC System side plate with the NBC System Exhaust:
This image from Prime Portal shows what I'm referring to:
Also, it also appears that you've connected the M240 Mount into it's PE Cradle bracket in the wrong place:
This image also from Prime Portal shows the real M240 Mount in its yoke bracket. The M240 is the ground version (has a butt stock & pistol grip) installed partially in the mount.
HTH
Tanks Jeff! Yep those are easy fixes LOL, should have paid more attention!
I might add another cargo strap as well
cheers
sauceman
Ontario, Canada
Joined: September 28, 2006
KitMaker: 2,672 posts
Armorama: 2,475 posts
Joined: September 28, 2006
KitMaker: 2,672 posts
Armorama: 2,475 posts
Posted: Monday, December 08, 2014 - 07:39 AM UTC