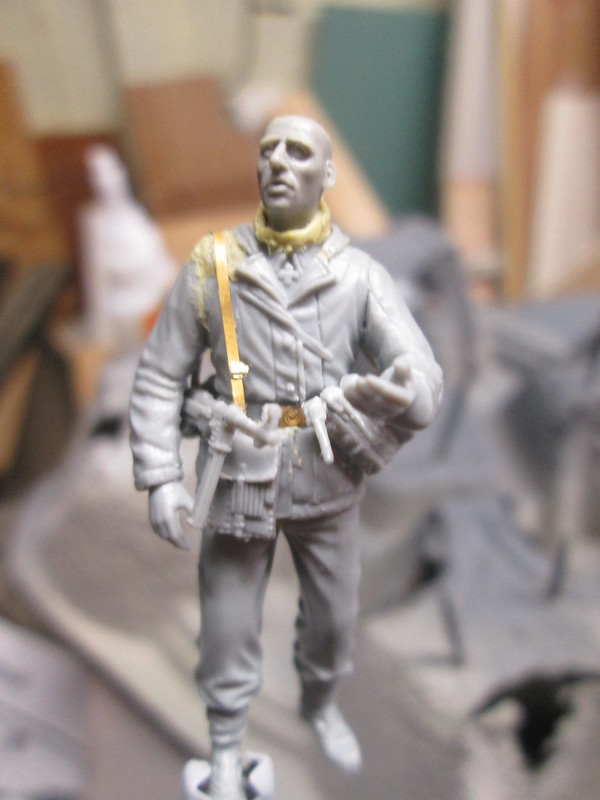
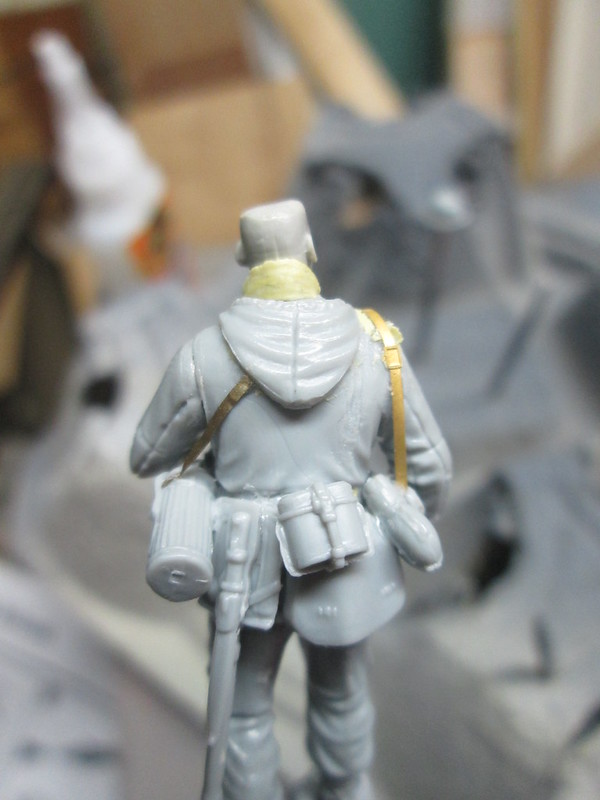
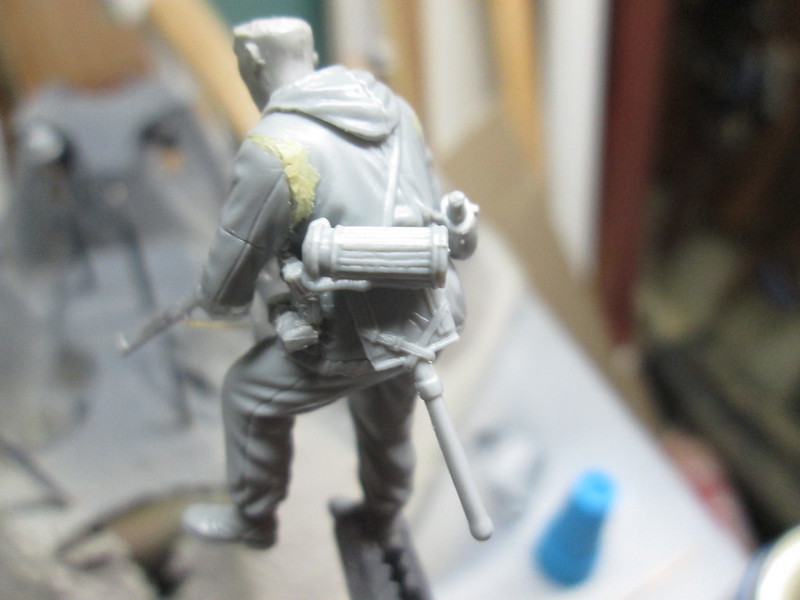
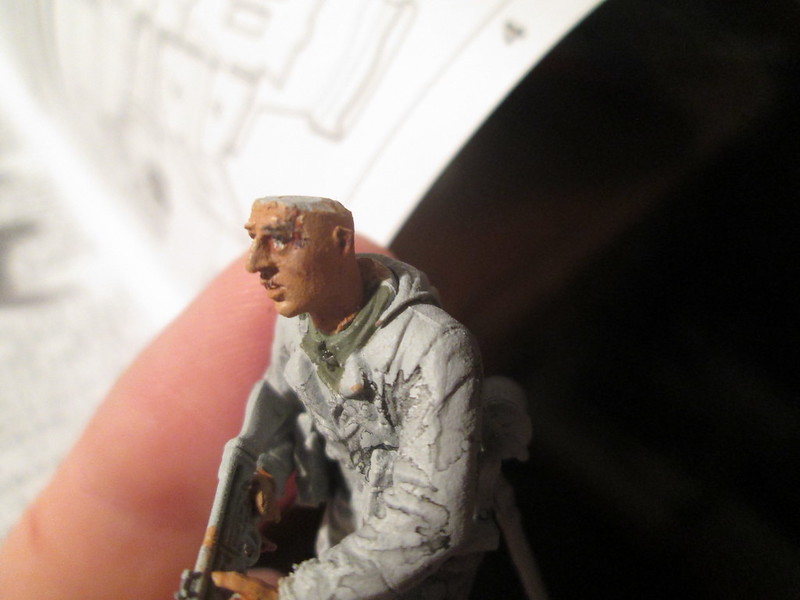
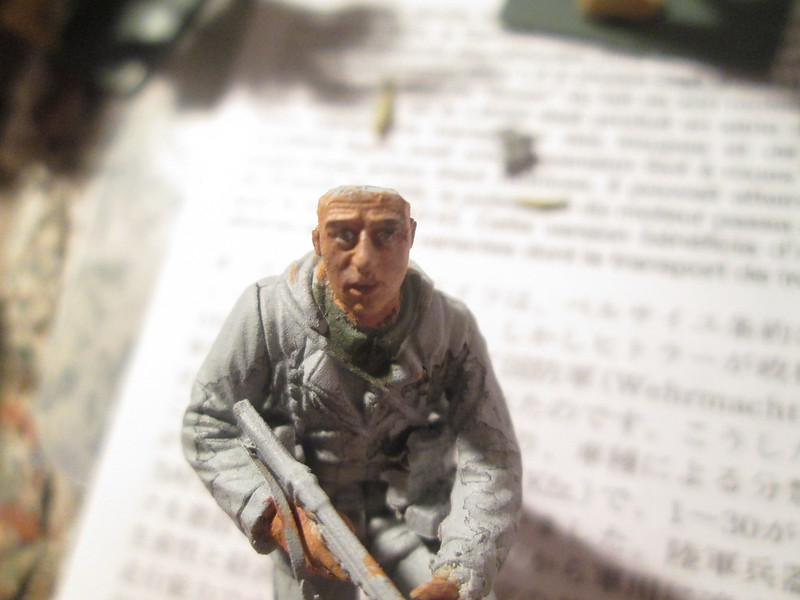
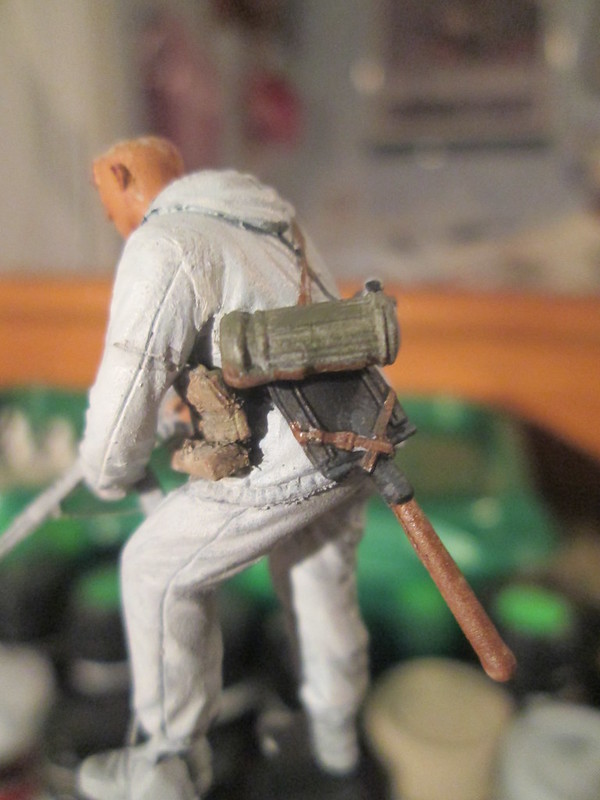
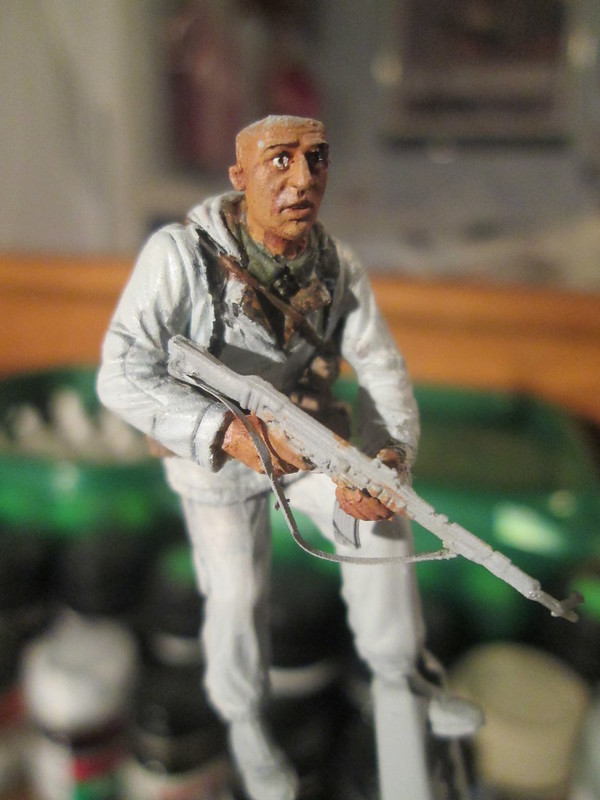
I've been heavily interested in the little engagement around the River Dnieper for around 3 years now, but never actually made a decent looking diorama of it, besides a hasty one for school in 11th grade. So, with the 70th anniversary of the brutal battle (coming to an end tomorrow) I decided to do a small vignette depicting two soldiers of the Wiking division in either the beginning stages, or final stages. Haven't decided yet, but I'm leaning towards the latter of the two.
Anyways, this is what I've got:
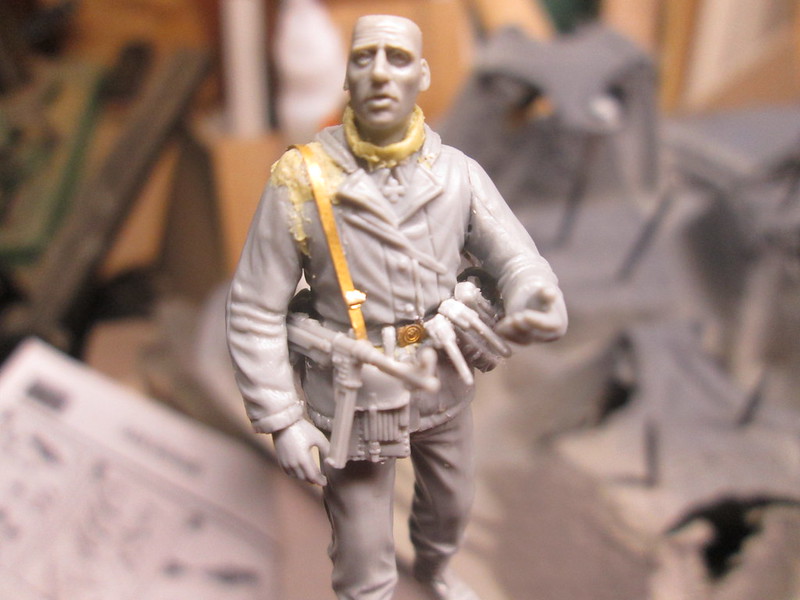
#2
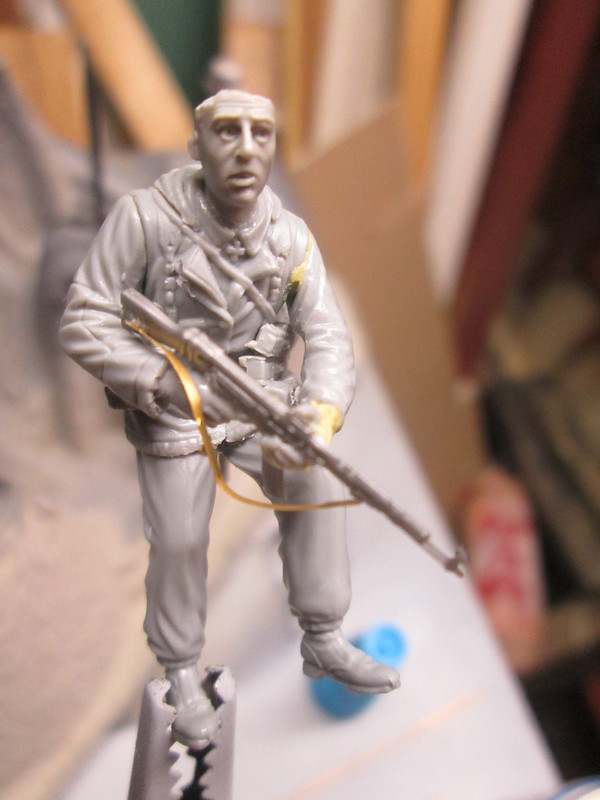
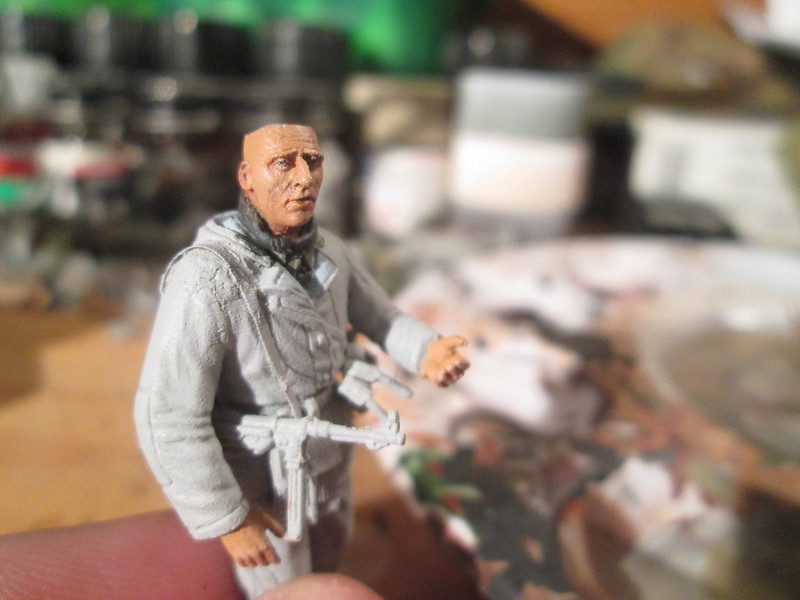
And then, some paint!
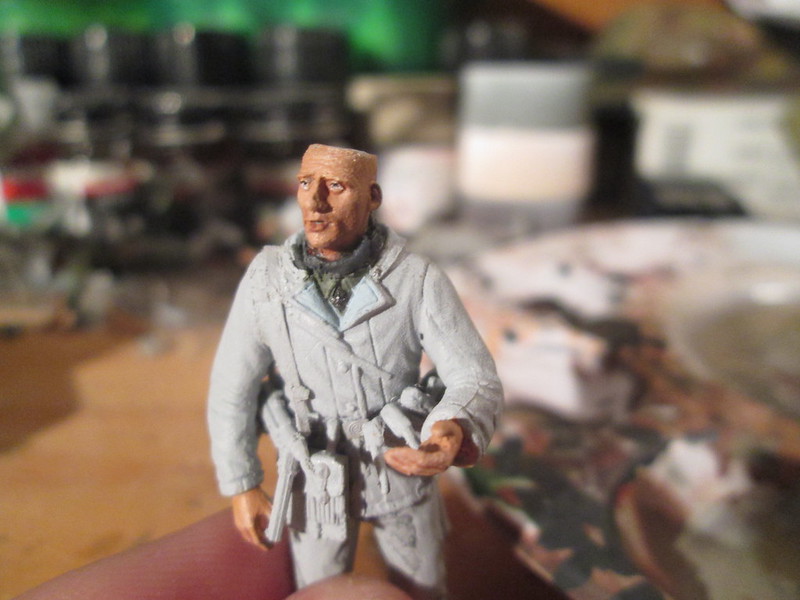
Upon seeing the pictures enlarged, I think I might go back and blend some of the flesh tones a bit more. Looks like some shadows are a bit to sharp, if that makes sense? Also I've begun painting their jackets. The figure with the Sturmgewehr will be dressed entirely in white, which makes me nervous as I haven't tried that before, and I'm thinking it will be difficult to pull of with a realistic finish. I finally finished reading Douglas E. Nash's masterpiece "Hell's Gate" after starting it back in 11th grade in April-May 2011 when I was doing my project. Huge book, but utterly amazing. Going to go through it again and see if I can find a good location to depict these two soldiers in.
So! Any and all comments are more than welcome. I thought about saving this until I finished to post, but I figured the pro tips and suggestions are too crucial and beneficial to pass up.
-Conor
Figures
Military figures of all shapes and sizes.
Hosted by Darren Baker, Mario Matijasic
Korsun-Cherkassy 70th anniversary vignette
panzerconor
Massachusetts, United States
Joined: February 08, 2012
KitMaker: 1,271 posts
Armorama: 1,253 posts
Joined: February 08, 2012
KitMaker: 1,271 posts
Armorama: 1,253 posts
Posted: Monday, February 17, 2014 - 04:39 PM UTC
jrutman
Pennsylvania, United States
Joined: April 10, 2011
KitMaker: 7,941 posts
Armorama: 7,934 posts
Joined: April 10, 2011
KitMaker: 7,941 posts
Armorama: 7,934 posts
Posted: Tuesday, February 18, 2014 - 02:57 AM UTC
Your faces are getting way better each time buddy. Nice open ammo pouches for the MP40.
I don't think they had StG44s in that battle though. Bit early.
My favorite part of that action was the drama in front of the high ground right before they had to cross the flooded creek. Thousands of guys piled up in the snow balkas waiting for a break to get up the hill and finally ended up charging in a huge group like the Napoleonic wars. Then...over the hill and confronted by the swollen creek with no bridges. The LSSAH right over on the other side,too fought out to help.
J
SdAufKla
South Carolina, United States
Joined: May 07, 2010
KitMaker: 2,238 posts
Armorama: 2,158 posts
Joined: May 07, 2010
KitMaker: 2,238 posts
Armorama: 2,158 posts
Posted: Tuesday, February 18, 2014 - 03:49 AM UTC
PM sent, Connor.
You're figure construction is showing some pretty advanced effort.
Keep up the good work!
Happy modeling!
You're figure construction is showing some pretty advanced effort.
Keep up the good work!
Happy modeling!
spoons
England - East Anglia, United Kingdom
Joined: January 09, 2008
KitMaker: 527 posts
Armorama: 500 posts
Joined: January 09, 2008
KitMaker: 527 posts
Armorama: 500 posts
Posted: Tuesday, February 18, 2014 - 04:17 AM UTC
Hi connor these two are coming along nicely, can i ask what set there from?
panzerconor
Massachusetts, United States
Joined: February 08, 2012
KitMaker: 1,271 posts
Armorama: 1,253 posts
Joined: February 08, 2012
KitMaker: 1,271 posts
Armorama: 1,253 posts
Posted: Tuesday, February 18, 2014 - 05:58 AM UTC
@Jerry I'm slowly getting happier with how the faces turn out. Regarding the Stg 44 there's actually a photo of an SS Sturmbanfurher (I probably spelled that wrong) with one in Hell's Gate. Had I not seen it in there I wouldn't have given it to him.
@steven they're Dragons Panzergrenadiers, Cherkassyy 1944 kit. I never thought I'd use them actually haha.
@mike: roger that, reading it now
-Conor
@steven they're Dragons Panzergrenadiers, Cherkassyy 1944 kit. I never thought I'd use them actually haha.
@mike: roger that, reading it now
-Conor
1stjaeger
Wien, Austria
Joined: May 20, 2011
KitMaker: 1,744 posts
Armorama: 1,727 posts
Joined: May 20, 2011
KitMaker: 1,744 posts
Armorama: 1,727 posts
Posted: Tuesday, February 18, 2014 - 07:16 AM UTC
Hi Conor,
very promising start into that project!! You've come a long way already...and there is more..!!
Cheers
Romain
jrutman
Pennsylvania, United States
Joined: April 10, 2011
KitMaker: 7,941 posts
Armorama: 7,934 posts
Joined: April 10, 2011
KitMaker: 7,941 posts
Armorama: 7,934 posts
Posted: Tuesday, February 18, 2014 - 07:45 AM UTC
Ah yes!! I remembered the guy from Wiking in the book right after I typed my entry in your blog. Maybe he had one of the very rare and barely issued StG43s?
As this battle took place during the winter of 43-44 it makes me wonder. I will have to dig out my book. But now that I realize it,that wouldn't help me as I don't know the differences between the two weapons.
Whatever,your"guy" looks good anyway.
J
As this battle took place during the winter of 43-44 it makes me wonder. I will have to dig out my book. But now that I realize it,that wouldn't help me as I don't know the differences between the two weapons.
Whatever,your"guy" looks good anyway.
J
panzerconor
Massachusetts, United States
Joined: February 08, 2012
KitMaker: 1,271 posts
Armorama: 1,253 posts
Joined: February 08, 2012
KitMaker: 1,271 posts
Armorama: 1,253 posts
Posted: Wednesday, February 26, 2014 - 04:26 PM UTC
Well after a thorough break down of how I prep, prime and paint from a well-season miniature figure aficionado, I went backwards a ways. I trimmed off seam lines I hadn't noticed (or just ignored thinking they'd go away), rough patches in putty, and gaps at the joints, I've been able to pick up somewhere near where I left off.
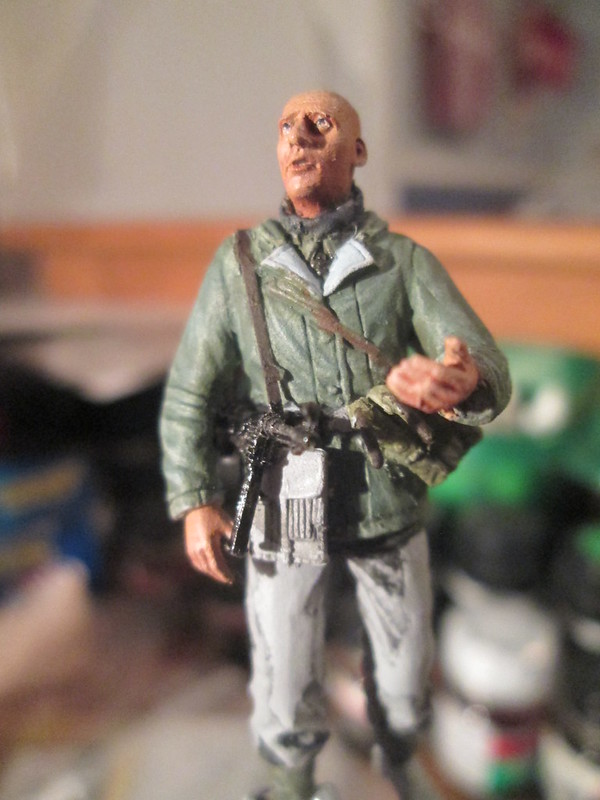
Right now everything's in its initial, basic coats. I've still got to clean up areas where my edges are a bit rough, then go into more highlights/shading, and some of that awful small detail painting that somehow pays off huge in the end. The shine in some of these pics is just the lighting being a pain. For example the skin tones in this first pic are not glossy in person.
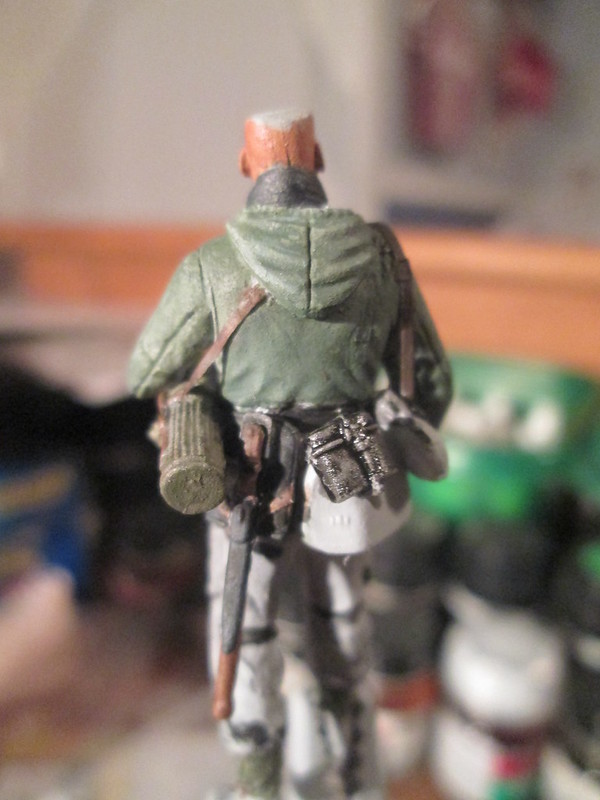
This next figure has come along great, except for his uniform. Painting it has been a headache to no end. I can't seem to get the coloring to something that I think is remotely realistic. I want to weather it very badly, but I'm going to wait until later.
With the exception of the cat eye which I just noticed, the white is the only issue I've got. Any tips on that?
Thanks for looking!
-Conor
1stjaeger
Wien, Austria
Joined: May 20, 2011
KitMaker: 1,744 posts
Armorama: 1,727 posts
Joined: May 20, 2011
KitMaker: 1,744 posts
Armorama: 1,727 posts
Posted: Thursday, February 27, 2014 - 02:45 AM UTC
Conor,
No white in the eyes!!! The contrast is too high! In figure painting, you use the lightest skin tone (tip of the nose etc) for the eye, not white.
White jackets were certainly not bright and shiny white. That pure white colour can at best serve for the highlights.
Stating thus with a nice off-white or eggshell colour, you have two options for the shading, either greyish (cold) or brownish (warm), with the absolute deepest shadows in black.
Maybe you should make a test run on an old figure!!
White is a challenge to shade, just as black BTW, but challenges are what diorama building is all about!
You'll do fine, I'm sure!!
Cheers
Romain
jrutman
Pennsylvania, United States
Joined: April 10, 2011
KitMaker: 7,941 posts
Armorama: 7,934 posts
Joined: April 10, 2011
KitMaker: 7,941 posts
Armorama: 7,934 posts
Posted: Thursday, February 27, 2014 - 03:17 AM UTC
I agree with the guy from Ostreich. I think you could fix the cat eye by just running a stripe of darker skin color right under the eye. The pupil is actually round as you painted it and the cat eye illusion is from over run of the white color down over the bottom of the lower eyelid.
Yes,never start painting something that is white by actually using white! Hard lesson it took me a while to learn.
Coming along nicely though. Your camera phone creates some bizzar distortions though. That e-tool looks enormous and I know it isn't in real life from looking at your other pics.
J
Yes,never start painting something that is white by actually using white! Hard lesson it took me a while to learn.
Coming along nicely though. Your camera phone creates some bizzar distortions though. That e-tool looks enormous and I know it isn't in real life from looking at your other pics.
J
SdAufKla
South Carolina, United States
Joined: May 07, 2010
KitMaker: 2,238 posts
Armorama: 2,158 posts
Joined: May 07, 2010
KitMaker: 2,238 posts
Armorama: 2,158 posts
Posted: Thursday, February 27, 2014 - 03:28 AM UTC
The extra clean-up and prep work has really paid off dividends, Connor.
You can compare the close-ups, before and after, and see the improvement. This will certainly make the painting easier and the final results will definitely benefit from the extra effort.
In regards to the "cat eye" (right eye, last figure photo?), you could go back and "cut in" the flesh color across the lower eyelid to get the apparent size of the eye to match the other eye.
With eyes, less is usually better. A suggestion of the eye using the "Clint Squint" is better than the "fried egg" look. A thin, dark shadow colored line between the upper and lower eyelids is a good first level goal. A next step is to add a pupil "dot" on this dark line to give the eye some more definition.
However, if you want to go to the next level with adding the whites, think of them as "super highlights" for the pupils. The idea is for the little bit of white on each side of the pupil to contrast with the pupil so that you an use the pupil to show the direction of the gaze.
I usually mix a "light bluish gray" for any whites rather than use pure white.
HTH,