I forgot to mention something which will be a basic rule for this tuto.
Don't ask me which precise colors/references I use/mix etc. First I never list my paint before or during any painting session. And most of all, as I said in the beginning, you must find your own way. And this implies finding yourself the good color match. Picasso never asked Dali which Beige he used in his painting

So once your figure is primed, you can start the real painting job. I generally start my figure by the head, but you can start by the feet, the elbow or the butt, it won't change anything. I start with the head because that's the most enjoyable part for me. And it gives my figure some personality that encourages me to go on.
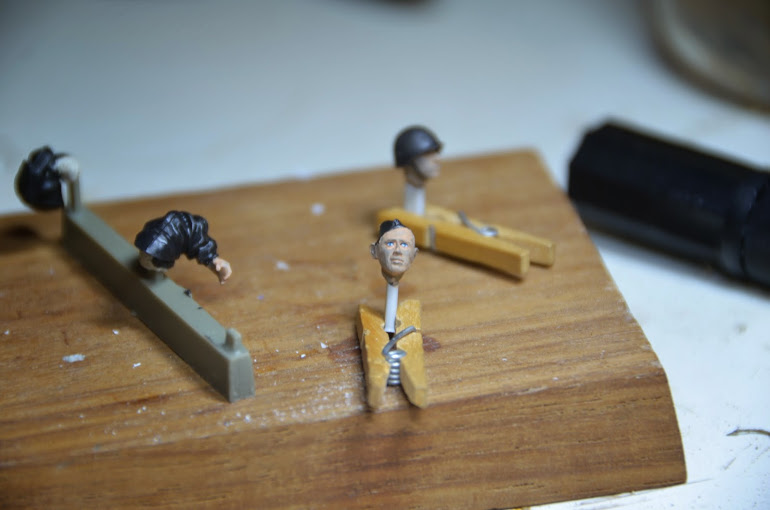
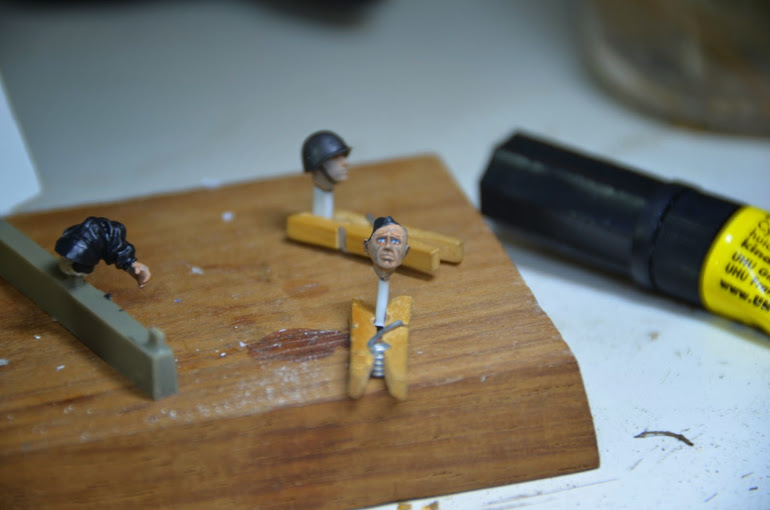
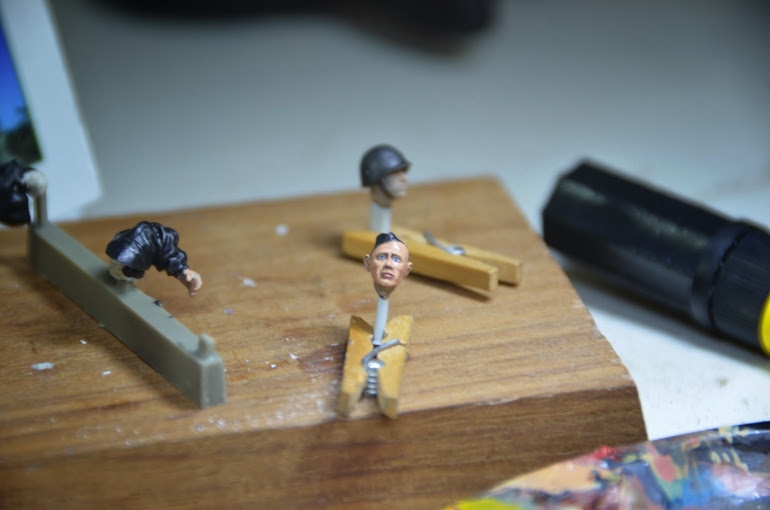
I've decided to paint both heads included in the set, eventhough I have a preference for one. That way I'll try to show you that you can obtain very different outcomes depending upon how you work.
So let's say we have Vladimir P.with the forage cap, and Dimitri M. with the Helmet (any likeness with Russian statesmen is compeltely intended).
Let me present you Vladi. Vladi is a good guy, eventhough he has some sort of Jumbo hears and a forehead a little bit backgrounded. But he's still quite good looking.

I started to apply a very diluted layer of flesh tone. First thing first : the eye. They are the mirror of the soul. So a nice pair of eyes is 65% of the figure success. Start by paint the eyes in black. You can overtake a little, we are in the very early stage, don't worry !
Then fill in with white, but you should let a black stripe in the upper part of the eyes (not needed in the bottom part)

Sorry for the sharpness of the pictures. You'll see that during the tuto, as you will, I'll make progress too with my camera. It'll get better and better

Then put a drop of paint for the iris. If you are a die hard (which I was with Dimitri but not with Vladi), you can put a drop of black paint, and then make the iris. You can make your drop blue, black, brown, green, like in real life. Be sure that you chose a bright/flashy color if you go green or blue, otherwise nobody will notice the color of the iris. I usually use oil colour for that because their are brighter.

Ok, now you can be proud of your 0.02% completion rate for the figure. But as i said, it's an important part. At such stage you don't need to sweat much more for the eye, because you'll refine them by working around them (eyebrow, eyelid etc).
So next on the plate is shadowing that face. I'm sure you already have seen hundreds of drawings explaining that phase. I'm gonna describe it though. For that I generally use Raw sienna or burnt umber oil paints, without any mix for the darkest parts, mixed to some flesh paint for the less shadowy parts. It give something like this.

As you can see, there is not so much paint on Vladi (he doesn't seem to appreciate that). You'll have the occasion to apply many more layers afterward, so don't worry. As you know scale modeling is an art of patience.
Ok for the next steps, I must apologize but I was fed up to interrupt my painting session every 2 minutes to take a pictures. I've been more disciplined with Dimitri and I've got a lot of in progress pics (I told you I had a preference). I'm gonna describe it though, eventhough as a french magazin motto says: "the weight of the words, the shock of the pictures".
Let the oil dry a little and once you shadow is done, you apply a layer of diluted flesh paint on the less shadowy parts. Then your next move is to mix some violet with flesh tone, to be applied between your brown shadowing and the normal flesh part (and will use this mix mostly on the lower cheek aznd other lower parts. The idea is to progressively link the tones between them. The violet helps in this respect.
Once you've done that you apply another diluted (I'm gonna stop to use this word because in fact everytime you'll take your brush in your hand, it will be with some diluted paint) layer of flesh paint to join the different tones. You should restart this process until you are happy with the result. That's why you need diluted paint.
You'll probably come up with somehting like this

as far as the refinement of the eyes ais concerned, you can paint the upper eyelid with flesh paint, between the blackline we've talked about earlier and the deapest shadowing of the figure which is under the eyebrow. You can also paint the bottom eyelid with a mix of grey, violet and flesh. Those two additions will make a convincing pair of eyes.
For the lips, I use a mix of burnt sierra, violet, red and some flesh to tone it down. It's up to you if want to make him look like a girl or a zombie. You should paint only the bottom lip, whereas the upper lip just need a very thin line of that mix. In between, if you are precise enough, you could paint a black line to separate both lips.
As you can see Vladi is a bit shinny. That's due to the oil painting, and to another reason I discovered very recently while discussing at my hobbyshop (yes it still exists !).
RULE/FACT. If you use White Spirit like I did for several years, as it is a "fat" oil you have more chance to have a satiné or even worst a bright finnish rather than a matt one. I recently turned to enamel thinner instead and for the moment I haven't been desappointed once. It just costs an arm compared to a white spirit bottle, but I guess we are all used to pay an arm and a leg for what we like the most...
I can hear some of you saying "yes, ok for the thinner stuff, but you always have the matt varnish, you fool". I never use something more unstable than the matt varnish (TNT is cat pee in comparison). I often ended up with a bright finish when using those .*@## matt varnishes. And when mister varnish makes you the great honour to concede a matt finish, most of the time you lost most of the subtle nuances you made on the varnished surface.
RULE/FACT. The dilution rule you've started to understand also apply to varnish
Pictures are coming in a separate post

 . This is my Proust sponge finger cake.


