_GOTOBOTTOM
Dioramas: Large Scale
Dioramas with large scale (1/16 plus) subjects.
Hosted by Darren Baker
Tamiya Centruion in 1/25: David vs Goliath
lappes
Visit this Community
Baden-Württemberg, Germany
Joined: July 29, 2012
KitMaker: 133 posts
Armorama: 133 posts
Posted: Sunday, March 23, 2014 - 09:15 AM UTC
Dear modellers ,
after a long abstinence I decided to build something of my rich fund .
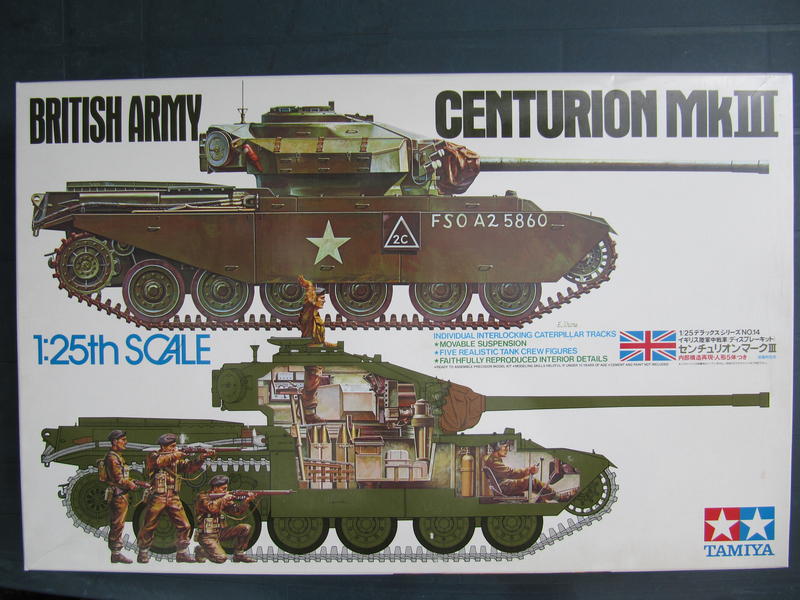
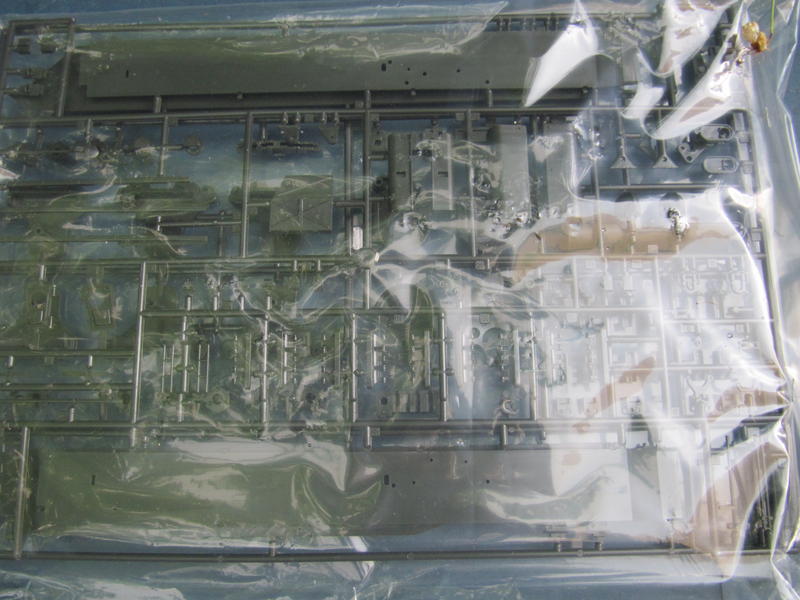
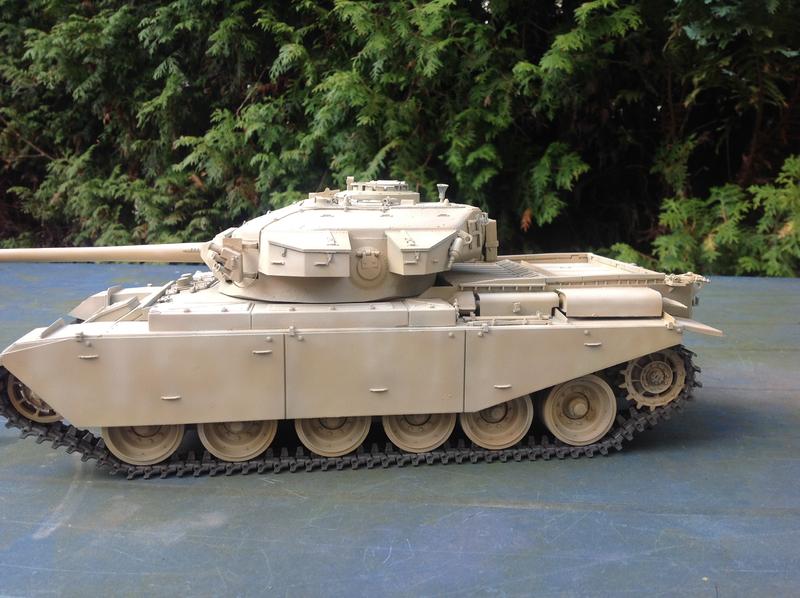
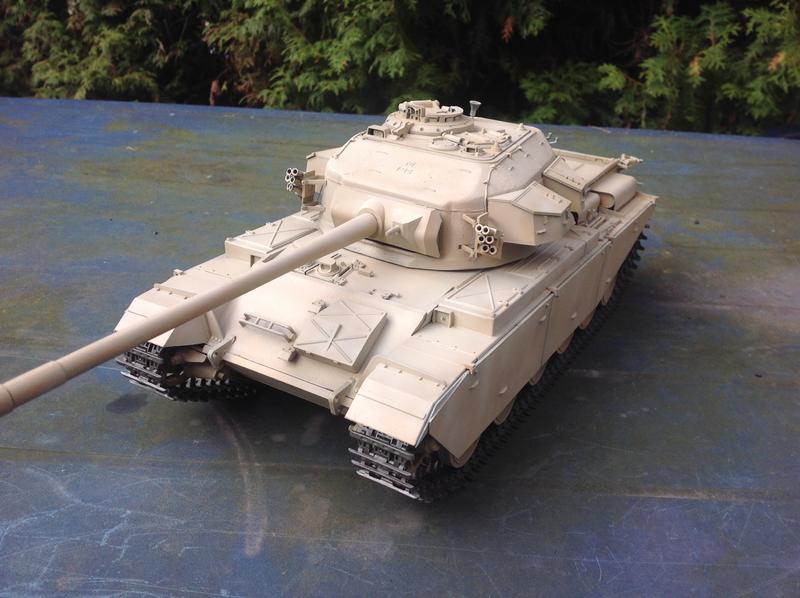
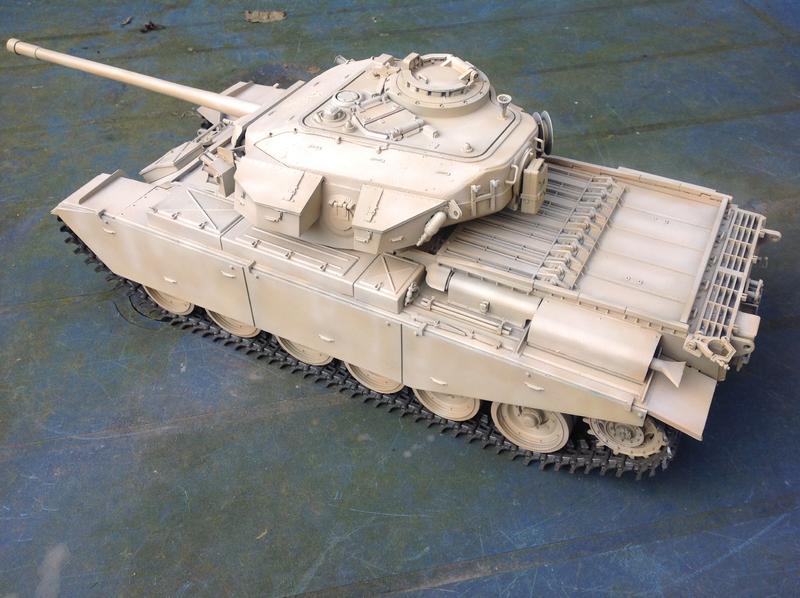
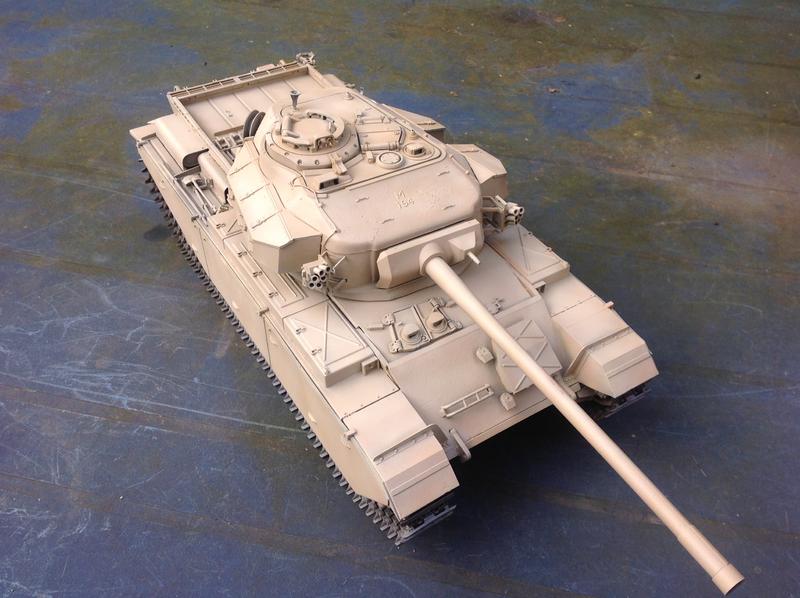
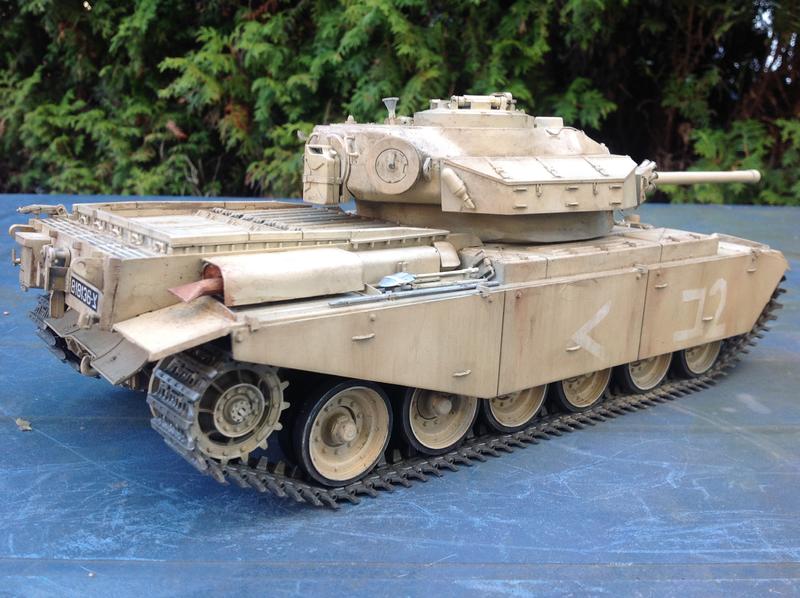
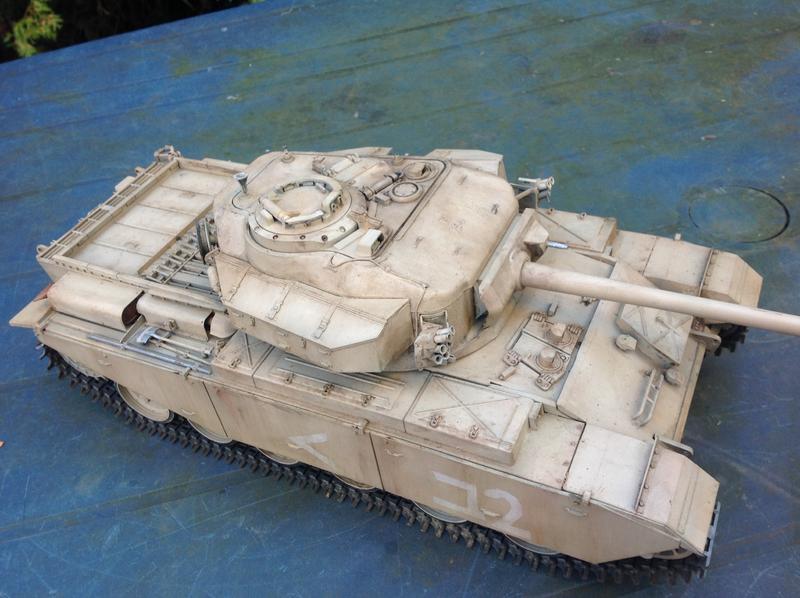
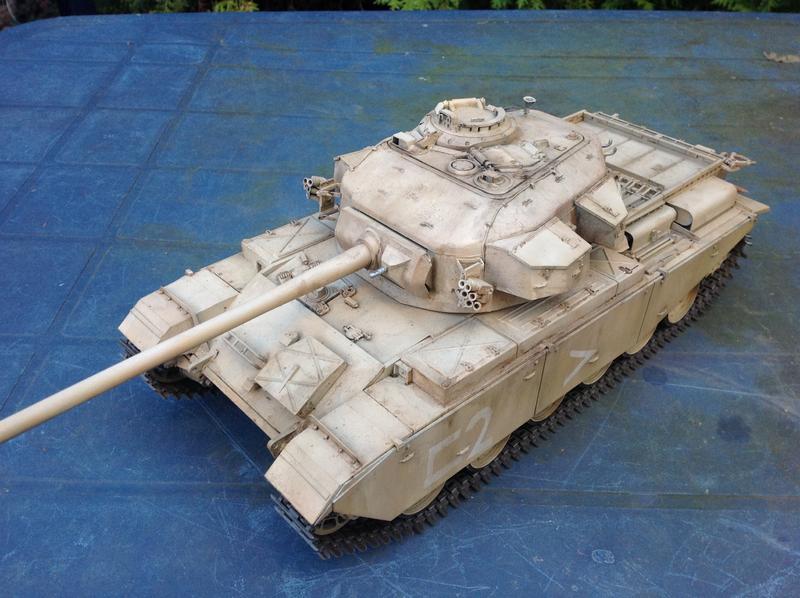
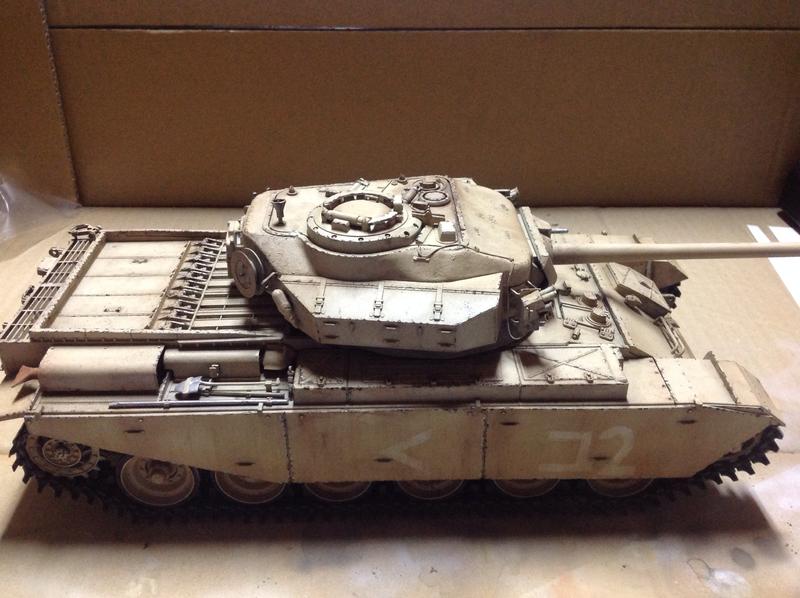
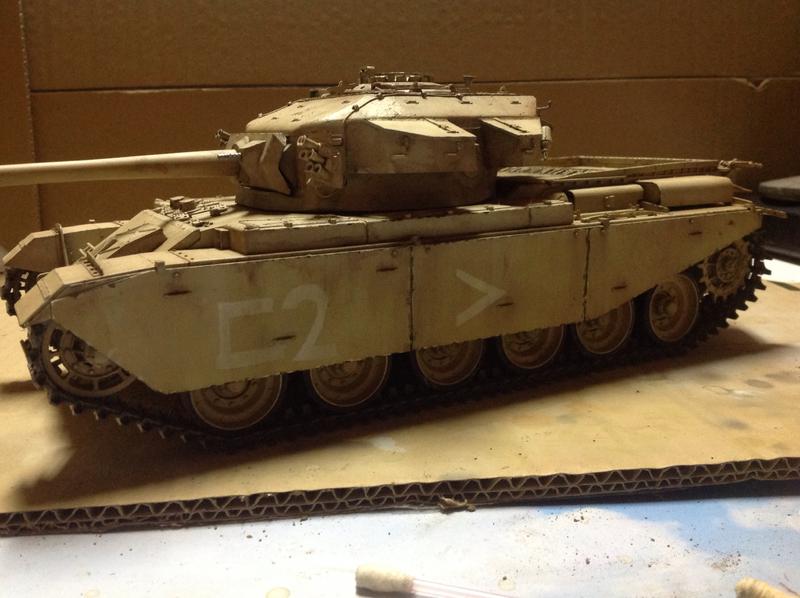
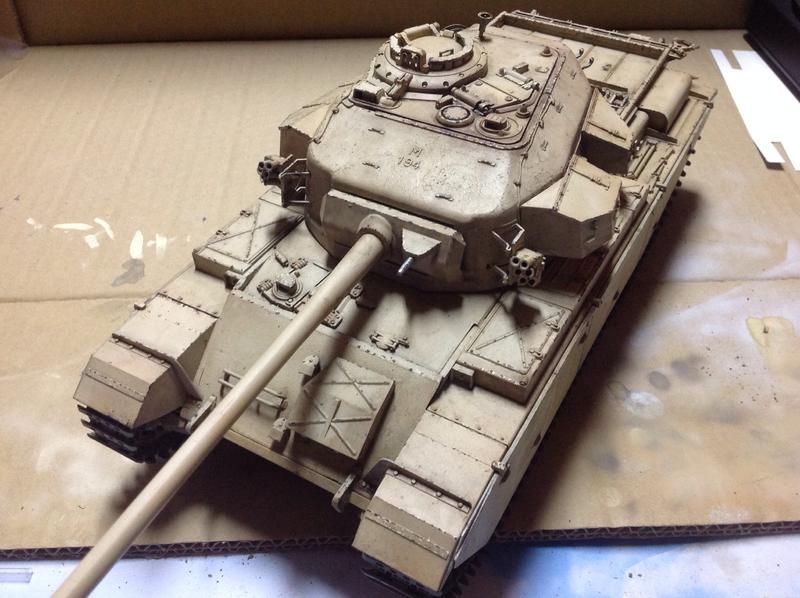
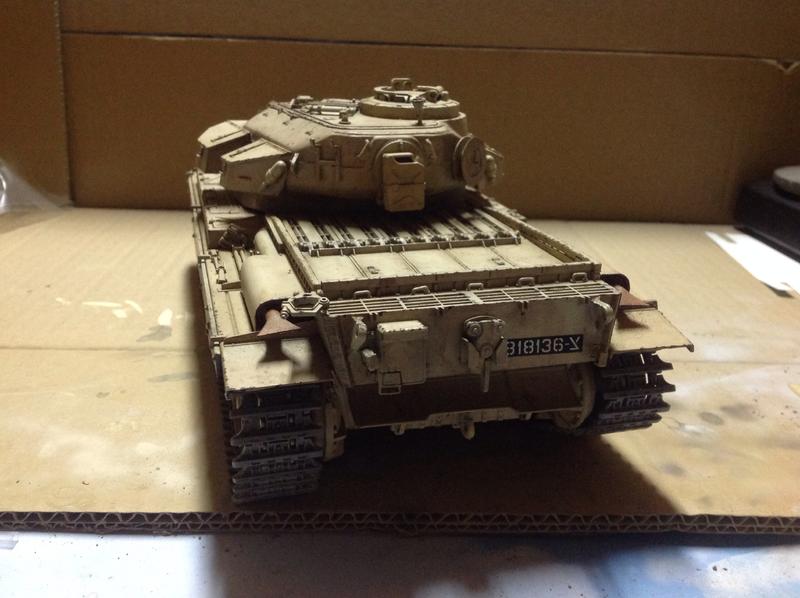
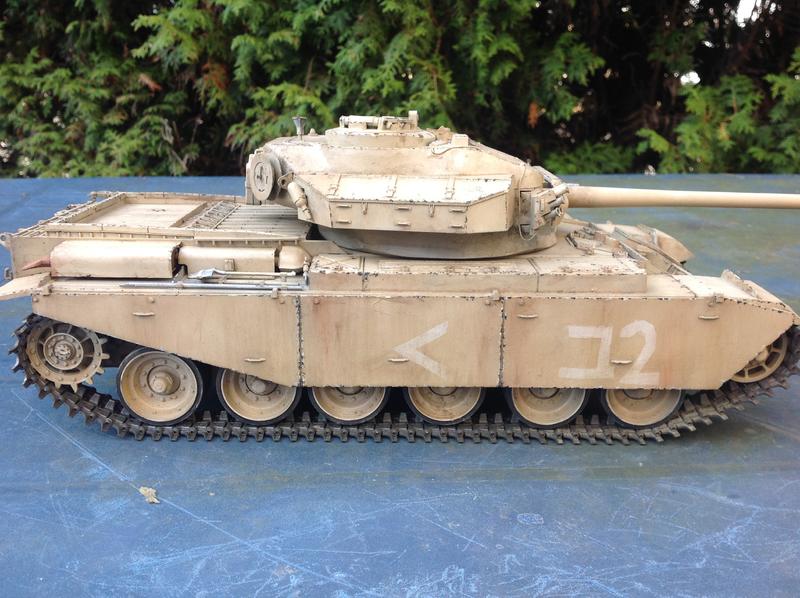
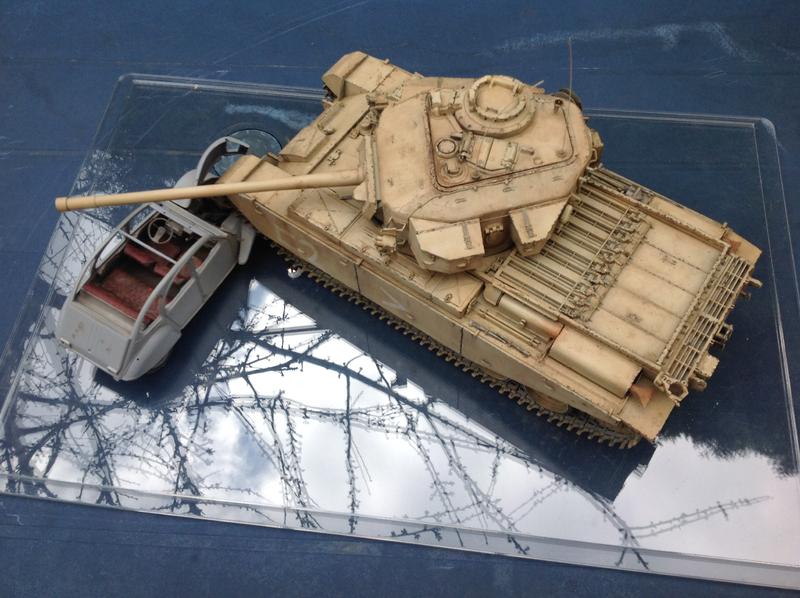
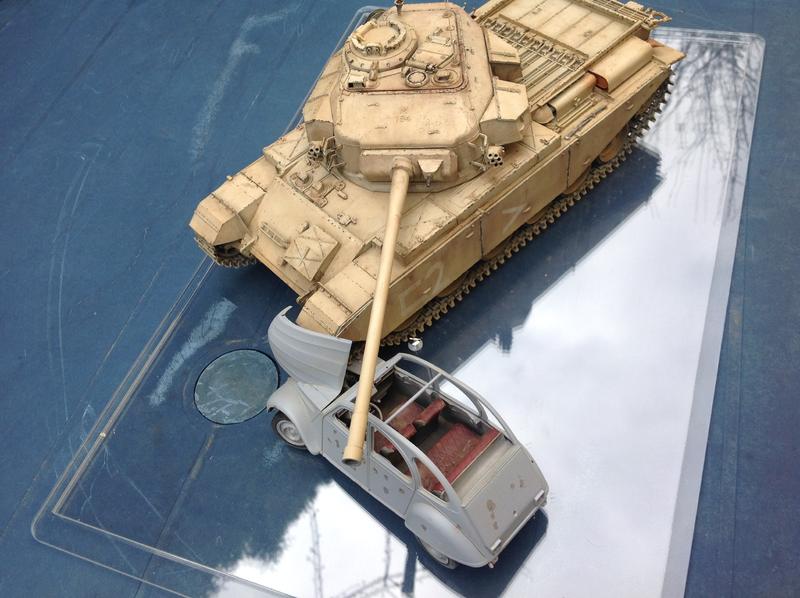
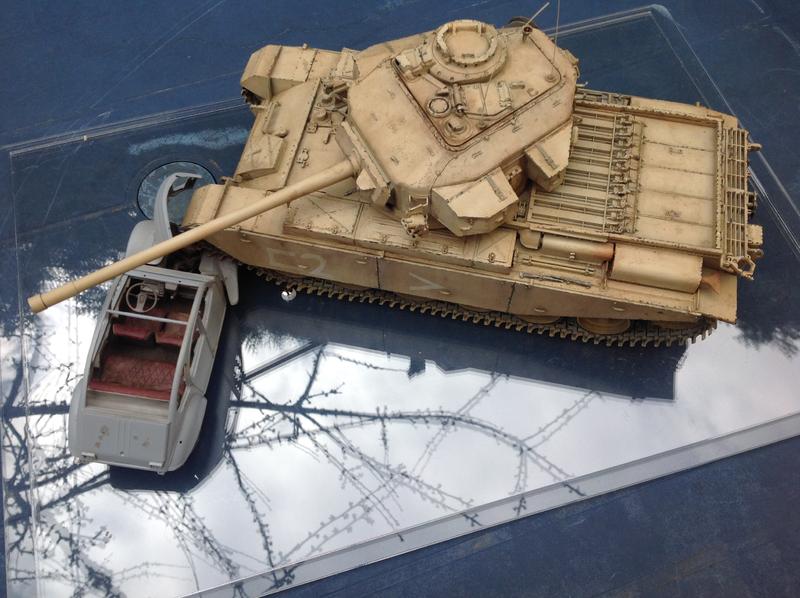
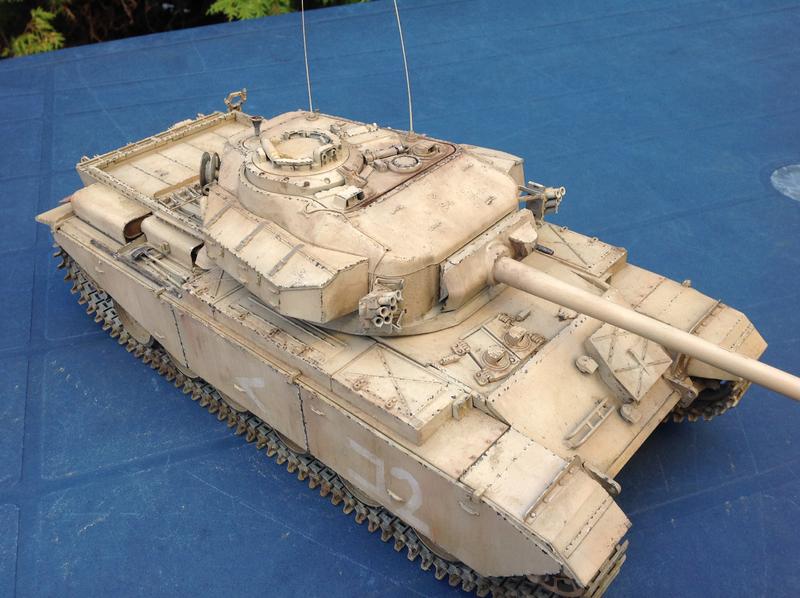
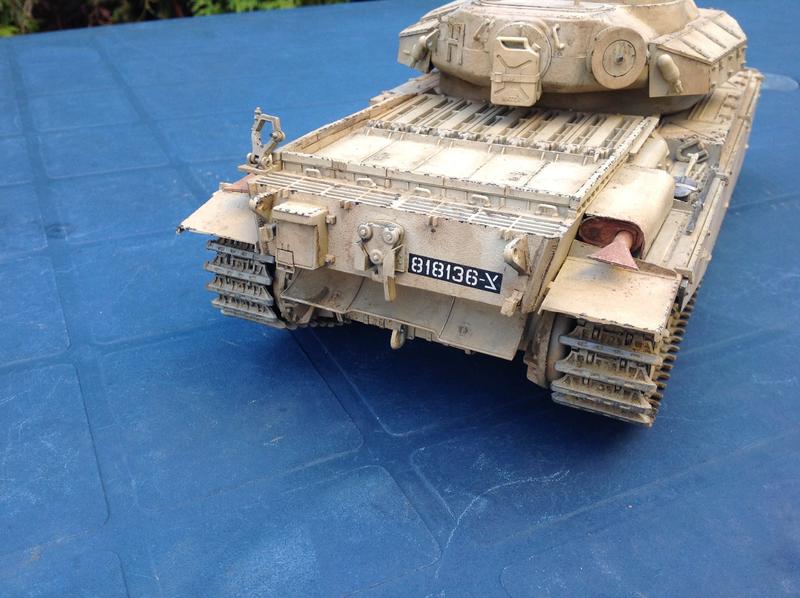
It is a Tamiya kit from 1972 , the Centurion tank. I bought the kit about 2 years ago. The model was reduced from 89.99 to 59 , - €... because of this I could not resist
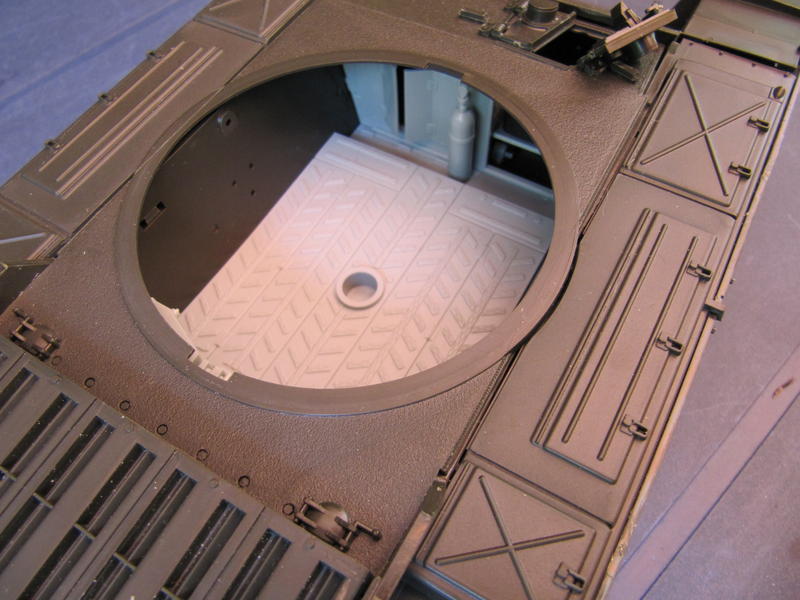
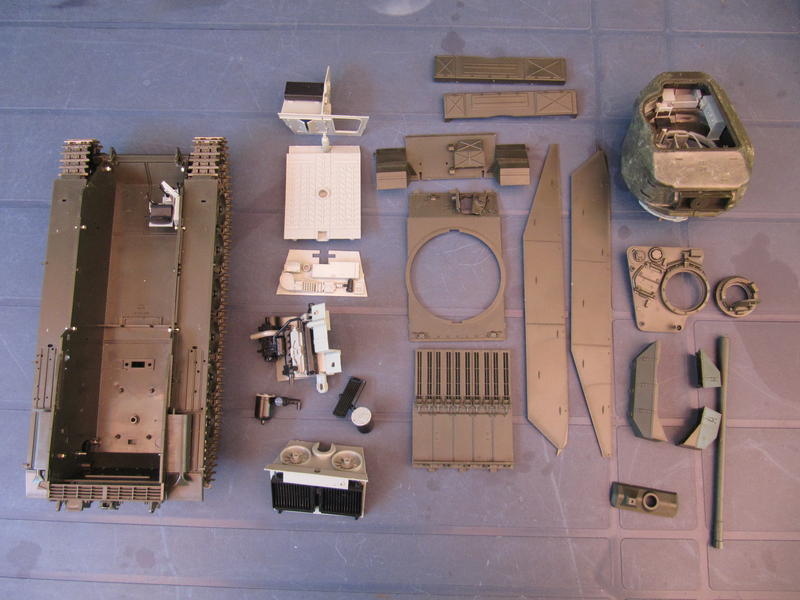
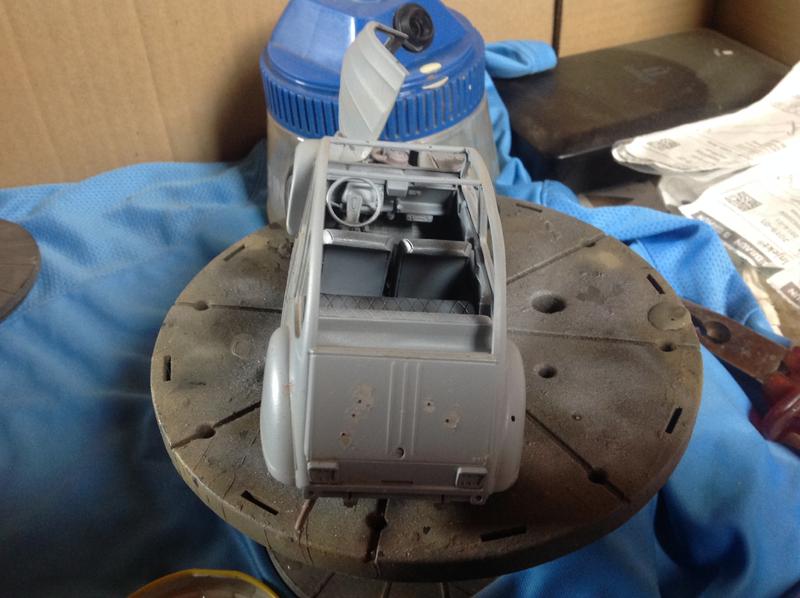
Originally, the model was designed for electric motor operation ... in the kit is a more or less good interior. Thank God, finally I build only static models.
I didn't want to publish the building of the kit because it should only be out of the box . You get unfortunately no accessoires like a gun barrel 105mm or photo etched parts.
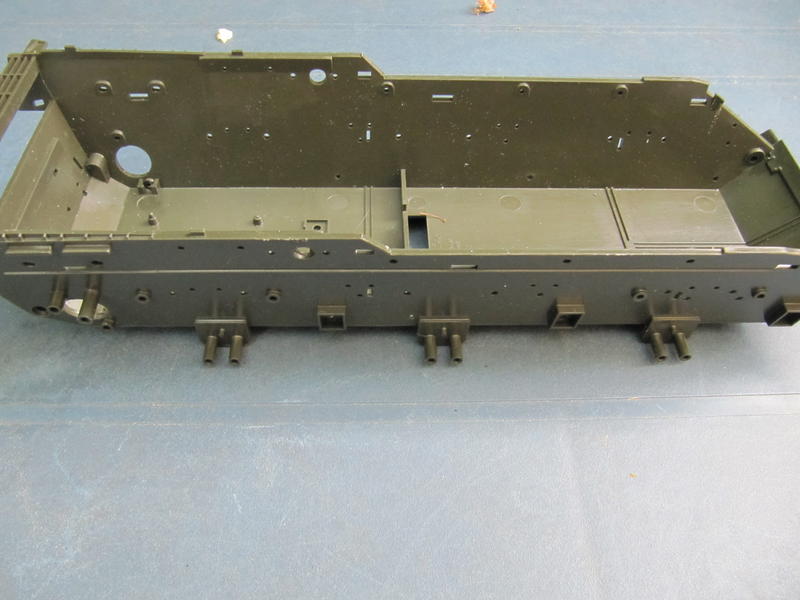
Much of course is not state of the art. I think this model is a welcome training object for future airbrush sessions .
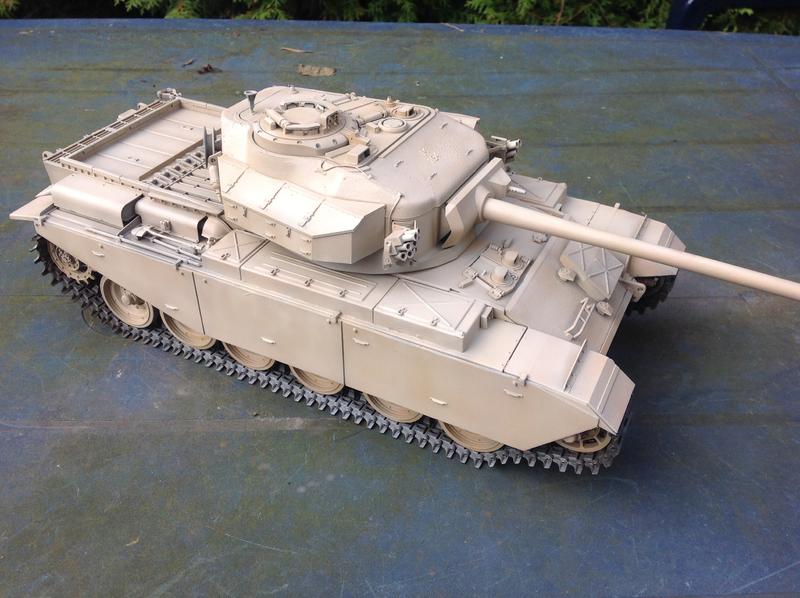
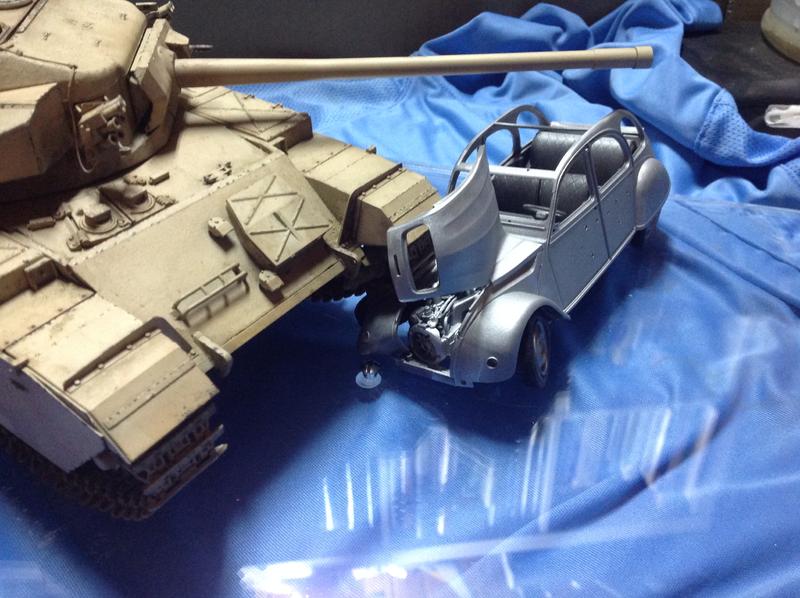
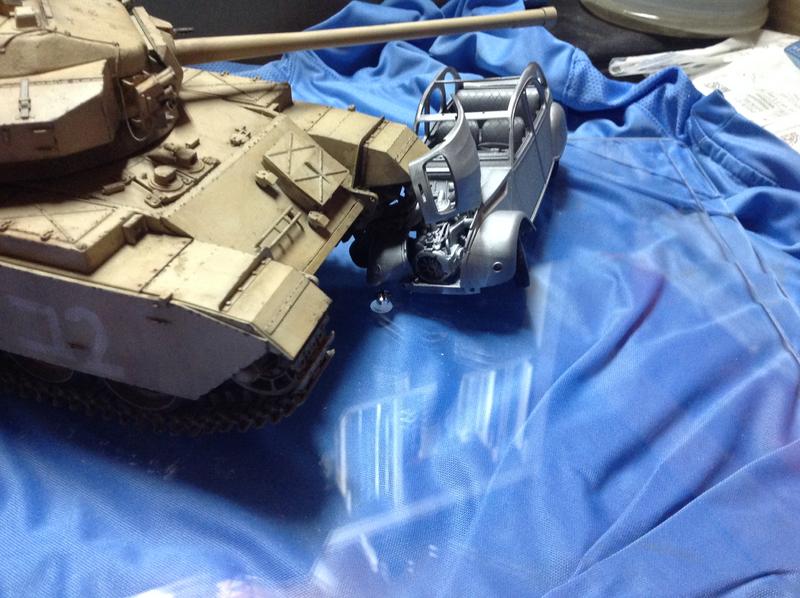
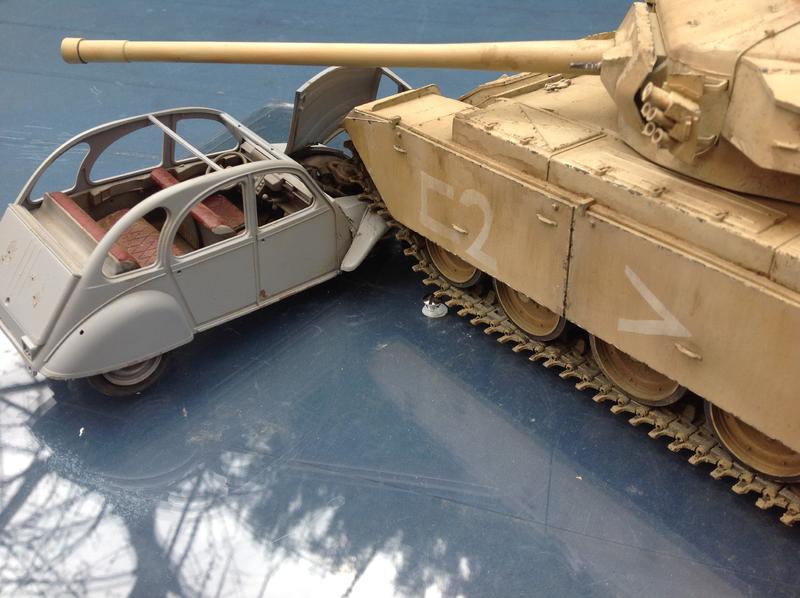
Nevertheless, I'll also add a little Dio , although this is likely to be quite sparse.Because the IDF version has been used almost exclusively in the desert.
I ask details to apologize , I would like to built a 105 mm gun , as it would certainly be correct . I do not know if the IDF early version has been used with the 20 pdr gun (84 mm).

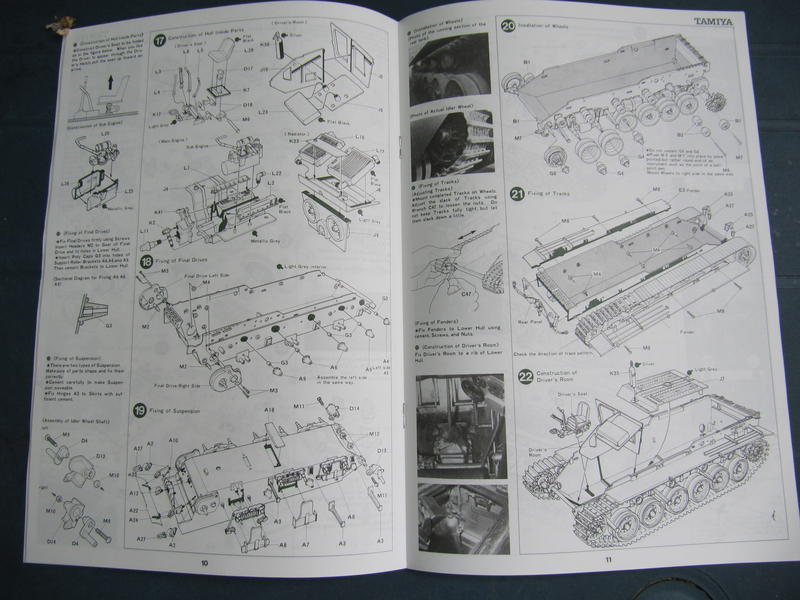
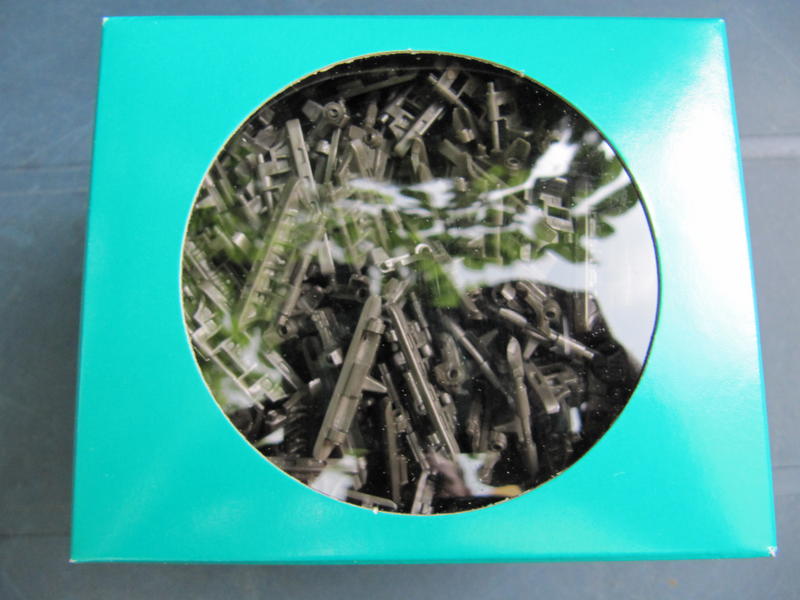
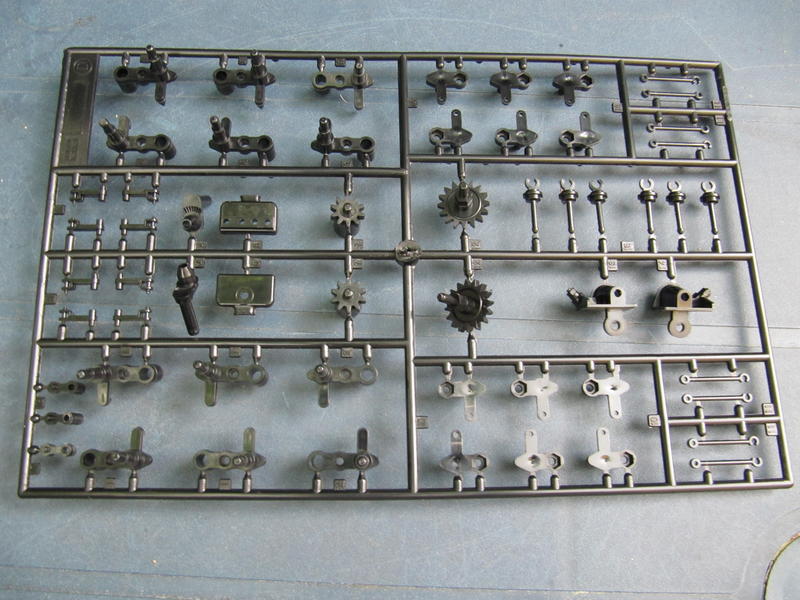
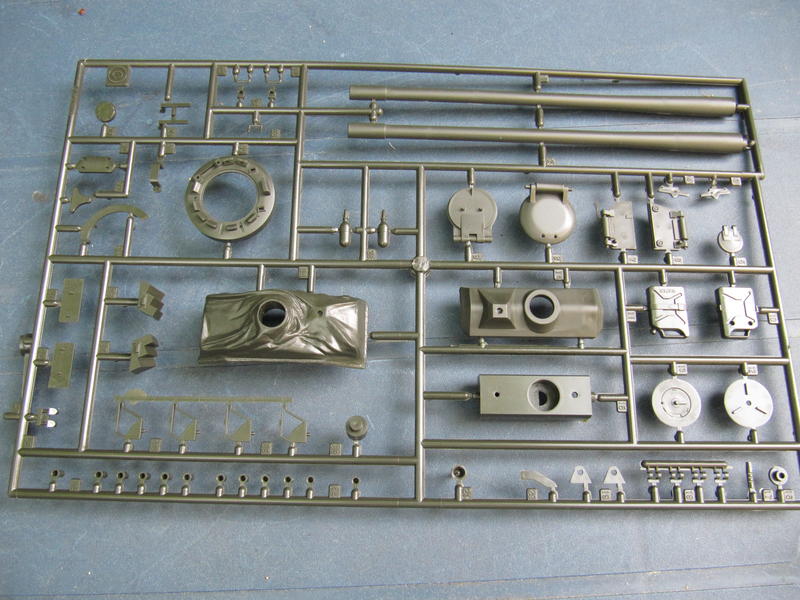
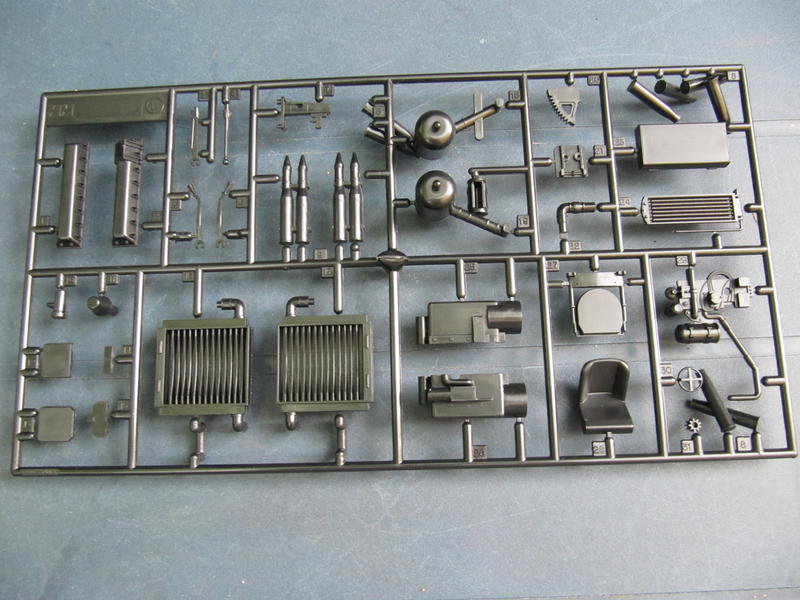
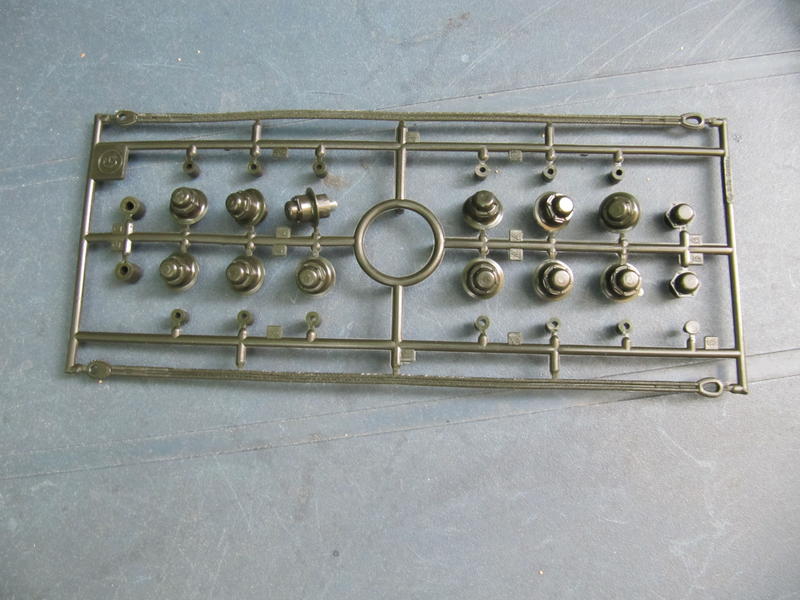
Here are the pictures of the kit:


lappes
Visit this Community
Baden-Württemberg, Germany
Joined: July 29, 2012
KitMaker: 133 posts
Armorama: 133 posts
Posted: Sunday, March 23, 2014 - 09:19 AM UTC
The chassis took quite a bit of time due the very complex suspension construction .

The rest took also longer than expected.

The modules can stuck together without glue and give a nice impression of the finished model .

In my opinion, the proportions of the Centurion are very well made and the model has nothing toy exemplary .

Only the smaller details are somewhat crudely or simply impressed ( lashing rings , for example)

However, the structure of the turret I had to treat with glue and a hard brush, as the turret was molded smooth.

This is in reality made of cast iron with a rough structure.


lappes
Visit this Community
Baden-Württemberg, Germany
Joined: July 29, 2012
KitMaker: 133 posts
Armorama: 133 posts
Posted: Sunday, March 23, 2014 - 09:24 AM UTC
Here is the continuation under embezzlement of the intermediate steps:

The Centurion is built as a tank of the IDF (Israeli army) .... however, not entitled to authenticity.

The gun is probably wrong, although the kit present the Israeli decals. In addition, the Israeli tanks have several MG on the tower.

However, I like the desert varnish more, even though I have not chosen certainly real.

I used the colors of Valejo Air "Desert War", a not particularly inexpensive affair, about 36, - €

But a great compilation with primer, shades, lights, pigments, varnish and resin to simulate mud.

A detailed painting (tools, wheels, Washing, chipping) still takes place.

Here are the pictures of the construction progress to date:


Unfortunately, the photos are a little too bright. You do not see the slight color variations. But still it must be ensured that the paint is relatively bright. On the one hand a reduction of the original should always be brighter than the reality. On the other darkens the whole thing during the follow-up treatment.
lappes
Visit this Community
Baden-Württemberg, Germany
Joined: July 29, 2012
KitMaker: 133 posts
Armorama: 133 posts
Posted: Sunday, March 23, 2014 - 09:27 AM UTC
Now the wheels were painted ( tire rubber )

Then one or the other detail.

The markings on the skirts were airbrushed.

Copy the decals through the masking film, but pay attention to the right side of the masking tape ! ! Otherwise, the paintwork is reversed.


After painting of the markings the kit was treated with oil paint burnt umber heavy diluted with lighter petrol .

Apply with a brush small dots of color on the tank and spread this with a brush and many lighter petrol.
But beware: not too many dots ..... rather than too much treatment again ! !

and one more thing: the base color must be absolutely dry , otherwise there are problems ! ! !

Now even came a discreet treatment with pigments umbra , including in the color kit " Desert War " by Valejo Model Air.


lappes
Visit this Community
Baden-Württemberg, Germany
Joined: July 29, 2012
KitMaker: 133 posts
Armorama: 133 posts
Posted: Sunday, March 23, 2014 - 09:29 AM UTC
Now I have done the chipping as a last act of today . These were made of small dots with a light base color painted on the edges and then smaller dots in black grey. This method increases the 3D effect.


Here are pictures in daylight:

Of course, there's to do a treatment of the wheels and the tracks and a few details of the hull.


Forgive my horrible english, please.

Best regards
Frank (lappes)
lappes
Visit this Community
Baden-Württemberg, Germany
Joined: July 29, 2012
KitMaker: 133 posts
Armorama: 133 posts
Posted: Sunday, March 23, 2014 - 09:30 AM UTC
Here is a picture of the fully suspended drive. Even the shift lever are movable. The fitting of the Track isn't ok.(this is of course no problem, but just looks not good in the picture)
The colours of the Photo are not correct, but I have no other photo of the suspension.


lappes
Visit this Community
Baden-Württemberg, Germany
Joined: July 29, 2012
KitMaker: 133 posts
Armorama: 133 posts
Posted: Sunday, March 23, 2014 - 09:33 AM UTC
The Centurion should be presented on a small diorama.

The natural habitat of the Israeli Centurion (this kit should be one - despite deficits in more or less detail) is either the desert , or a small village in the Arab world .
Since there are no figures and accessoires in scale 1:25 I decided to bring a bit of action .
A car - pretty shot up serves as a barricade , should be overrun by the Centurion .
I have decided on a Citroen 2 CV ..... this vehicle was to find everywhere in the world and was built decades . As another vehicle a beetle would have come into question , but the 2 CV ( Revell ) struck me first in his hands.
So how do you build a car , which is being rolled over by a tank ?
First, I dented the front on the right side . The side separated from the interior , ie cut at the weld. The fender and the side wall , chassis parts, etc. were bent under heat . Extreme care ! ! Not burn and not too much heat, otherwise it looks very very bad! ! !
The basic form of the parts must be maintained in any case! ! Bottom heat the plastic shrinks very quickly and no longer looks like bent metal.
With the mini drill " shot holes" were drilled into the left side and the rear.
The modules chassis with engine , complete interior and body were assembled separately and then painted .
First black, then ironcoloured , then rust-coloured various edges.
Then treatment with hair spray, mask the edges and shot holes with mustard.
After that, the body paint was applied gray.
The seats were painted purple .
The entire interior - engine , seats, instrument panel were subjected to a Washing with oil paint umber burnt . After that treated with pigments umbra .
The vehicle was outside scrubbed with a bristle brush soaked with water and brown pigments and blotted with a cloth. The over -painted mustard was removed carefully with a small knife .
Here are some photos:


lappes
Visit this Community
Baden-Württemberg, Germany
Joined: July 29, 2012
KitMaker: 133 posts
Armorama: 133 posts
Posted: Sunday, March 23, 2014 - 09:35 AM UTC
Now I have fixed the remaining parts. The soft top is created from a layer of paper handkerchief. Plastic roof put on and cut paper to get the right size.
By painting (soak with color) is the handkerchief stiff and stays in shape.
The chrome parts was painted over with a silk matte clear coat to soften the extreme shine.
Treatment with pigments that were fixed with lighter fluid.
The marks are still missing ....
Here are the pictures:


lappes
Visit this Community
Baden-Württemberg, Germany
Joined: July 29, 2012
KitMaker: 133 posts
Armorama: 133 posts
Posted: Sunday, March 23, 2014 - 09:56 AM UTC
Sorry, this step comes before.
There were a few steps to do at the centurion.

I continued as follows:

I've edited the chassis.
Washing with highly diluted oil paint burnt umbra.

Then discreet treatind of the wheels and chassis with pigments. Nothing looks worse than an exaggerated treatment with pigments.

First, the tracks were sprayed with a light beige.
Which was followed by treatment with pigments that are rubbed into the structures of the moistened chain. Dampened the Tracks with lighter fluid.

The straps on the turret were painted.
Antennas drawn from sprue, glued and painted.

A dry brushing was still done with 2nd Light from the color set of Valejo "Desert War"
Here you can beautifully emphasize the cast structure of the tower.


 _GOTOTOP