**16/05/2014-Scroll down for update and photos!**
I recently reviewed Trumpeters new released T-72B Mod.1990 on the site:
https://armorama.kitmaker.net/review/9919
Its time now to put glue to plastic and get building the thing.
The actual kit is intended to depict a T-72BA, which is basically a modernisation of the T-72B with new fire control system and cross-wind sensor, upgraded tracks and on some later versions an updated V-92S2 engine pack.
The box art inspiration:
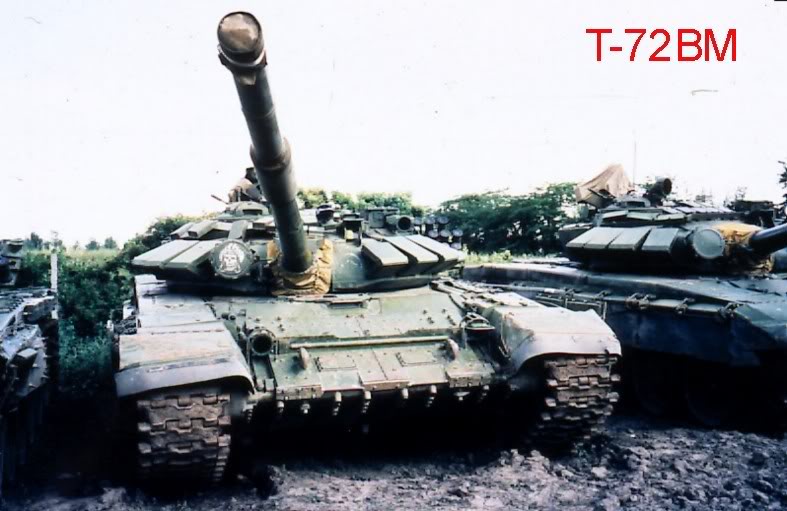
I've decided however to backdate the kit to a T-72B Mod.1989; often mislabelled as a T-72BM, this version is effectively a T-72B with updated K-V ERA. I intend on relying primarily on whats included in the box, with the exception being the older style RMsh tracks and a few smaller AM upgrades.
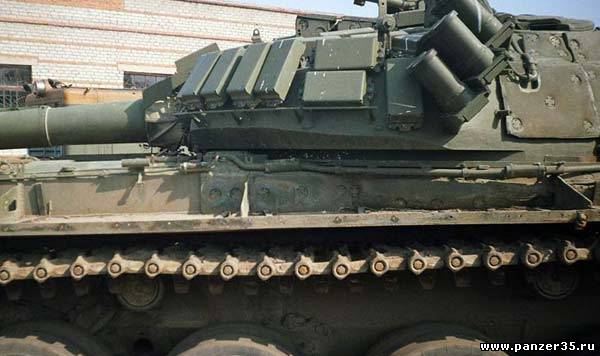
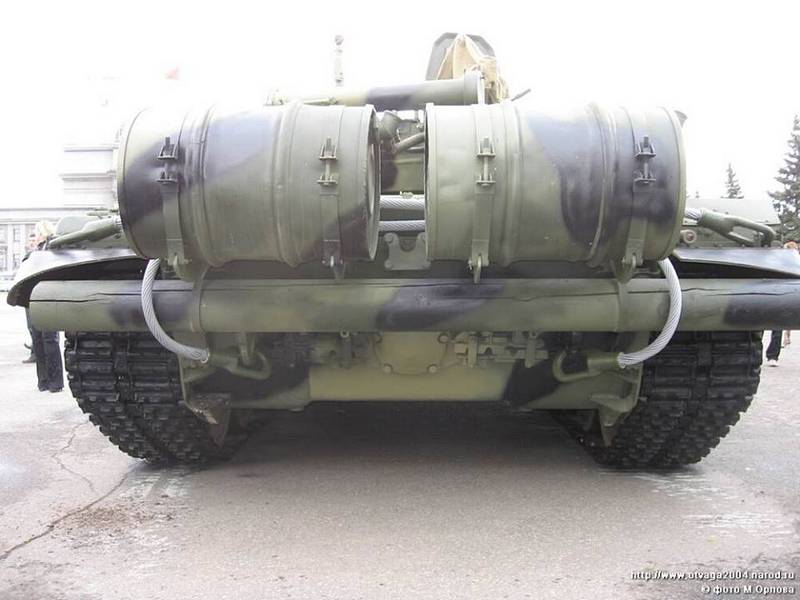
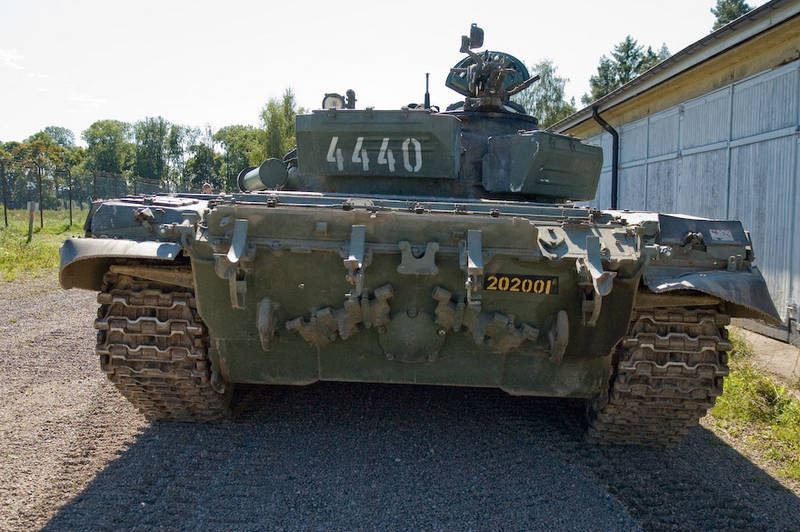
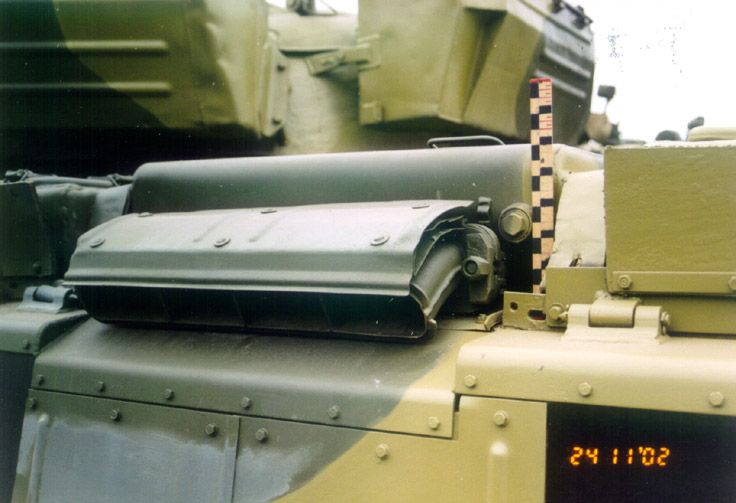
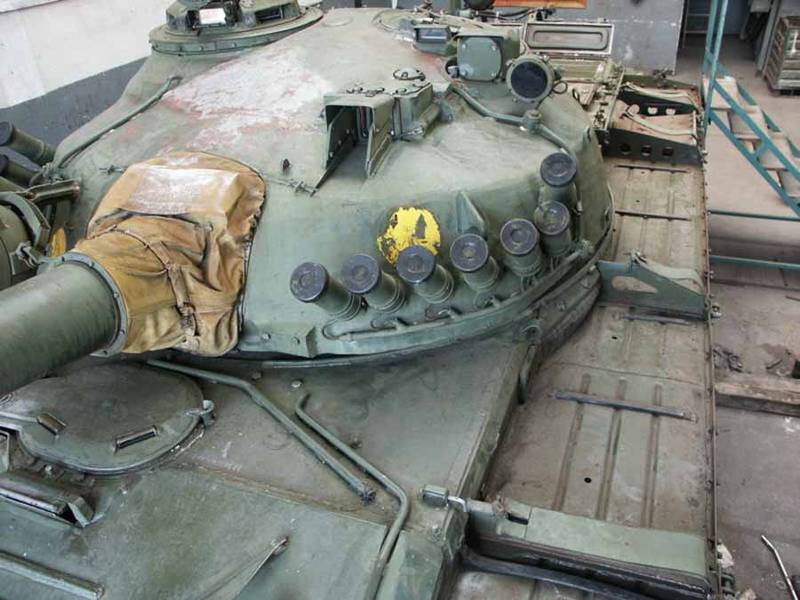
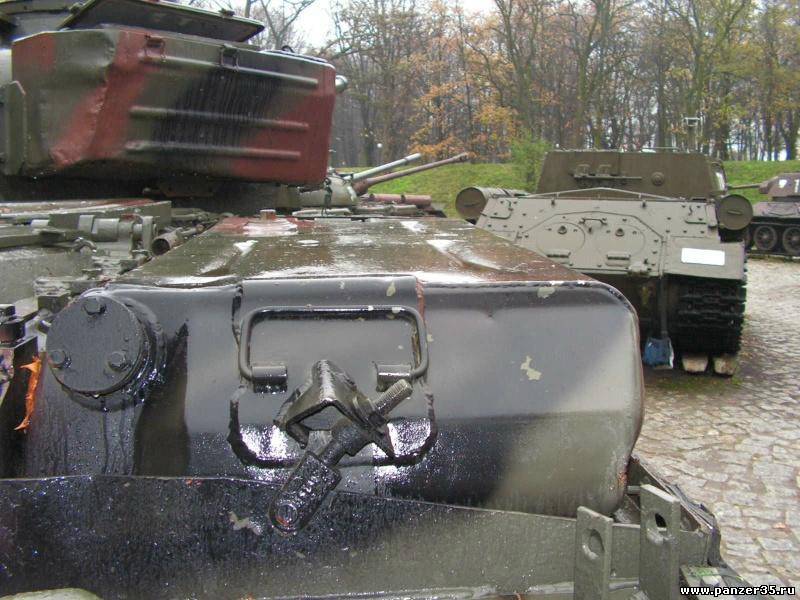
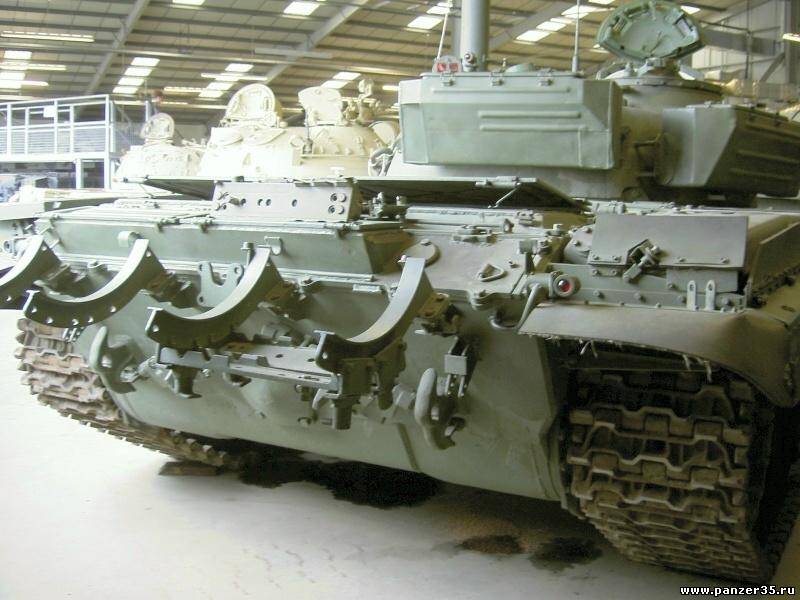
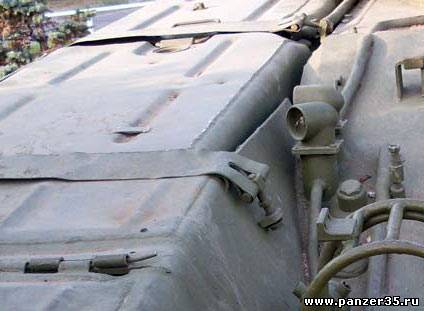
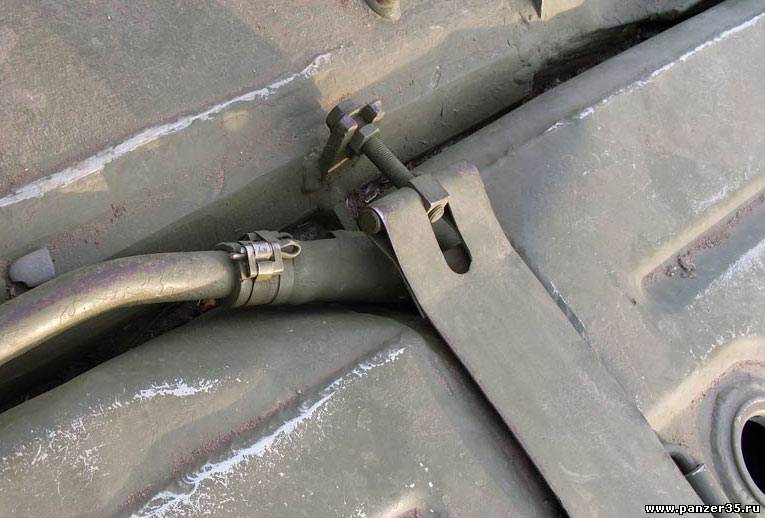
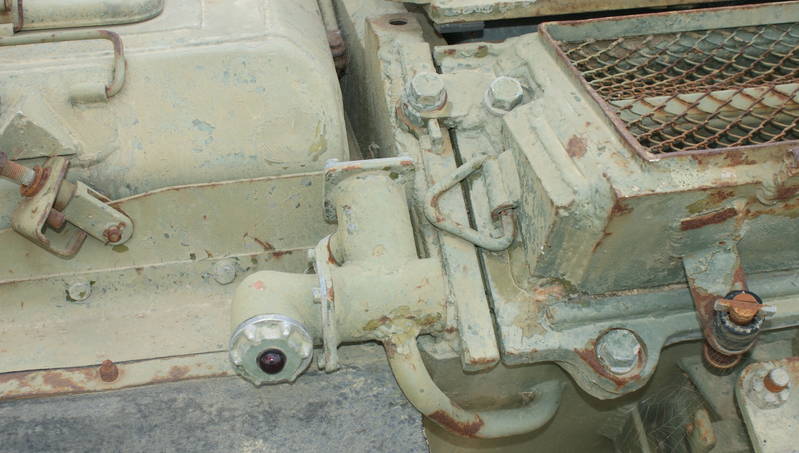
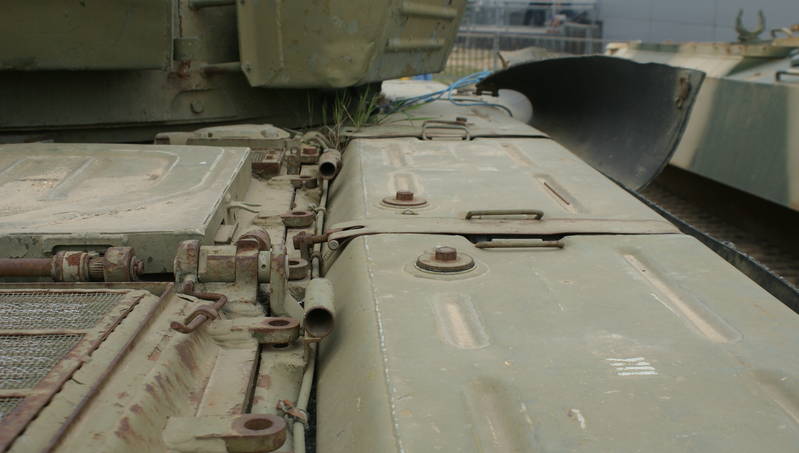
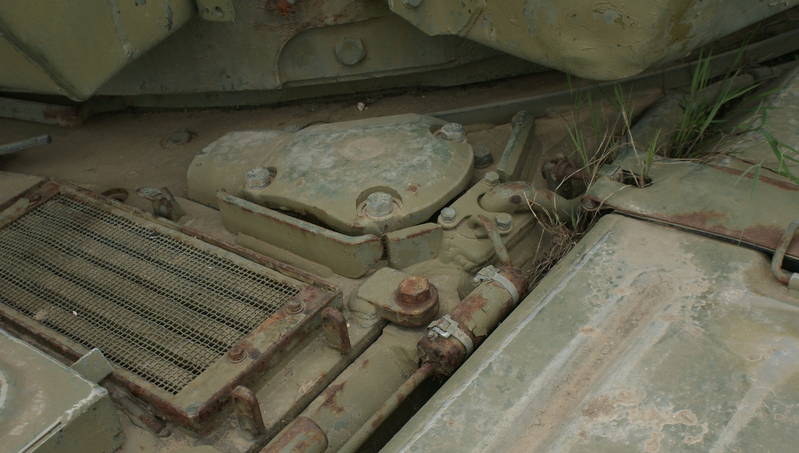
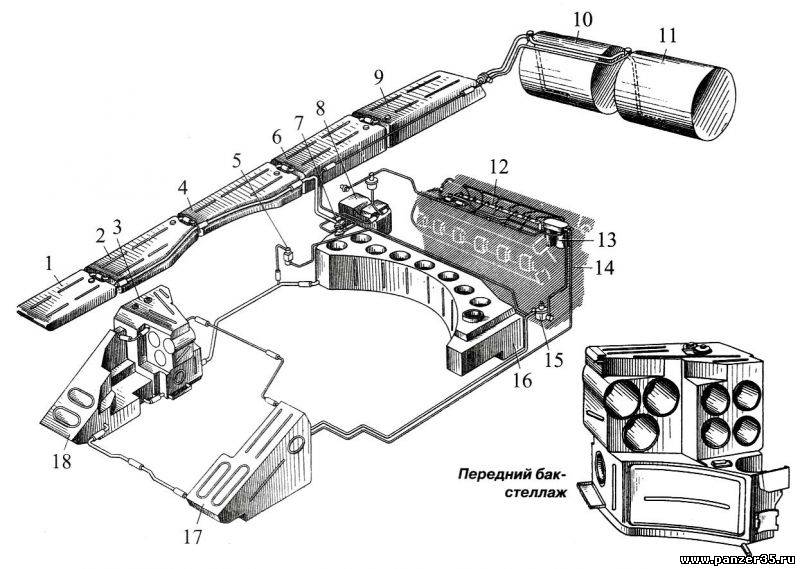
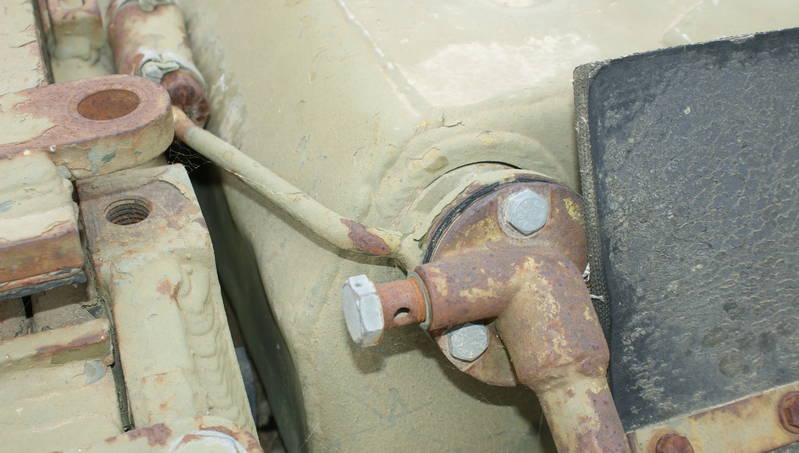
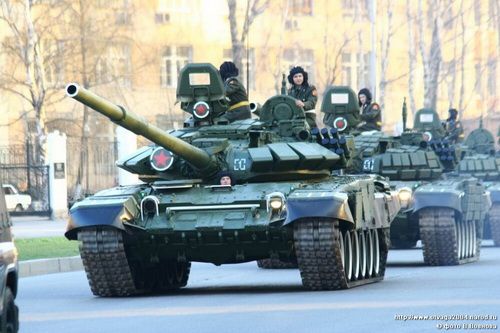
The T-72B Mod.1989 saw some use in Chechnya and more recently the 2008 war against Georgia, however most seem to have now been upgraded to BA and B3 versions. Heres some reference photos to start with (for discussion only):
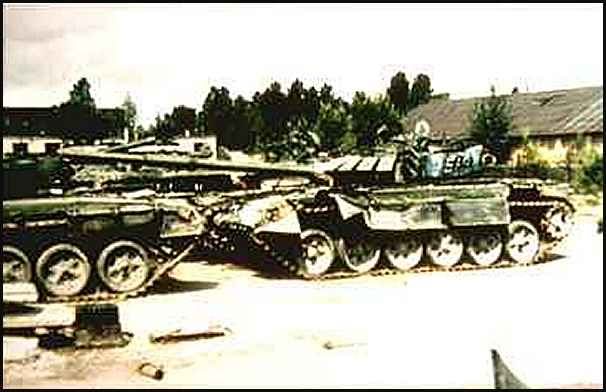
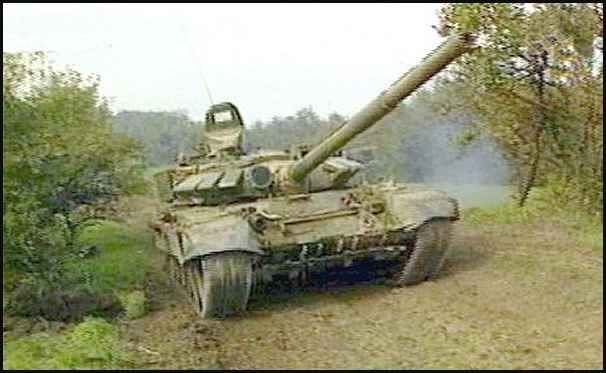
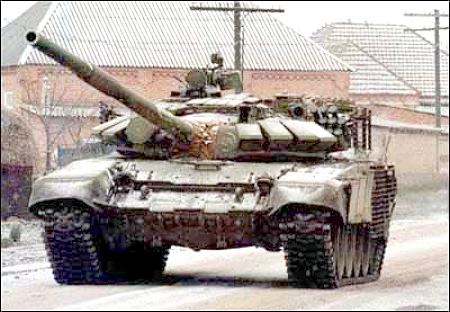
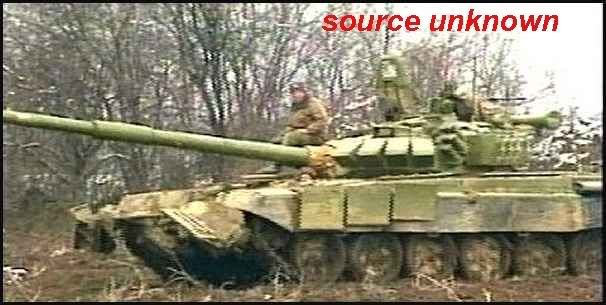
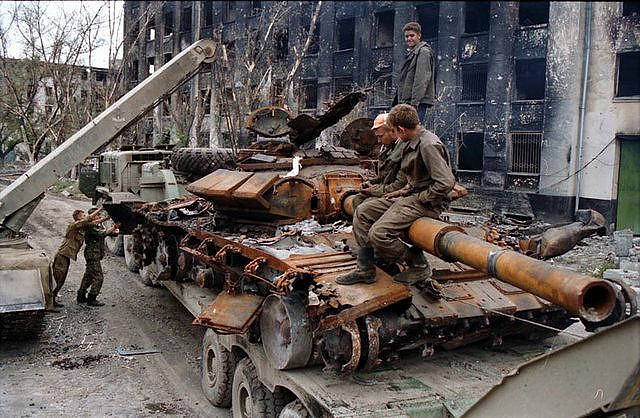

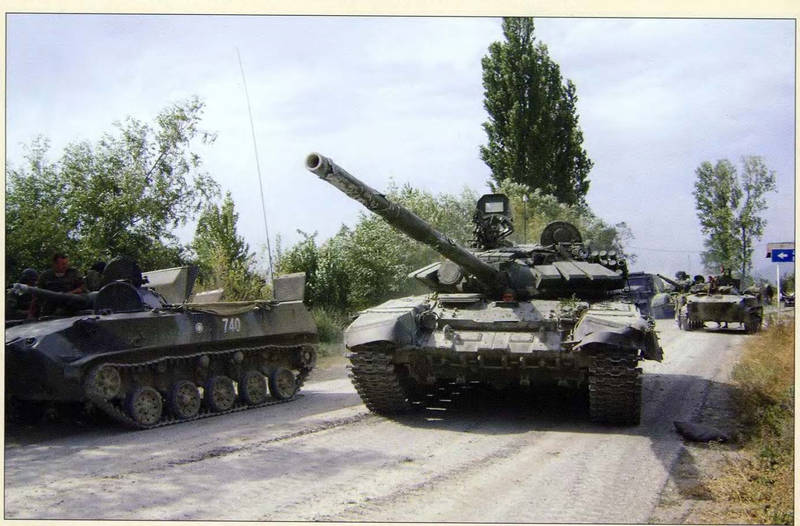
Given that this version saw combat I generally find the modelling possibilities a lot more attractive, especially the bashed up heavily weathered examples from Chechnya.
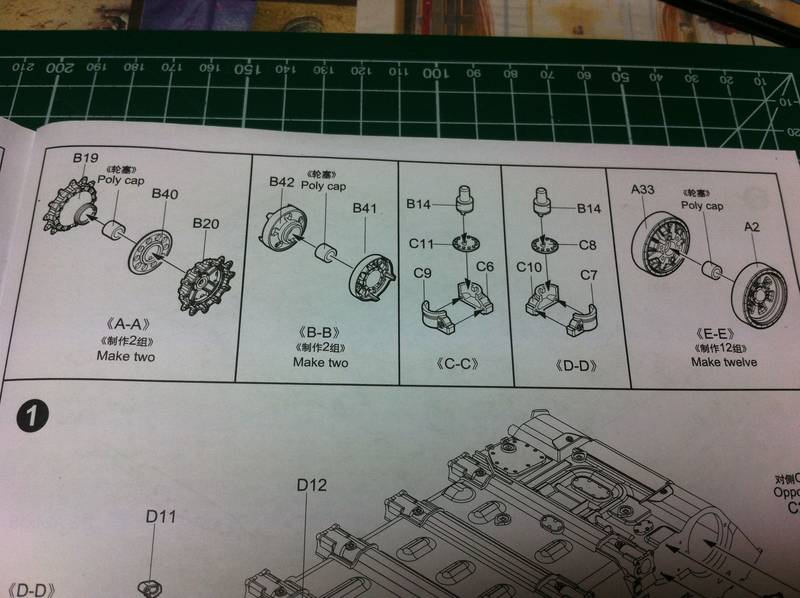
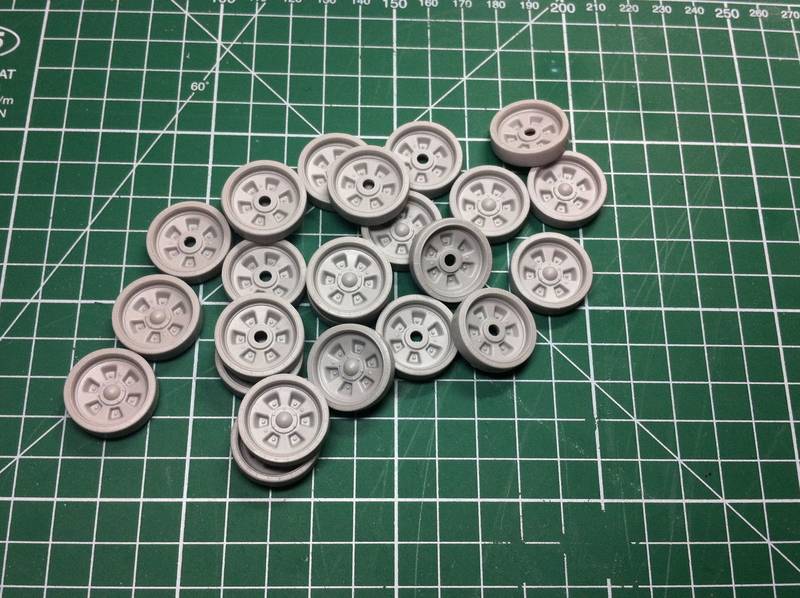
Construction starts off with the lower hull and running gear:
Lots of wheels to tediously remove from sprues:
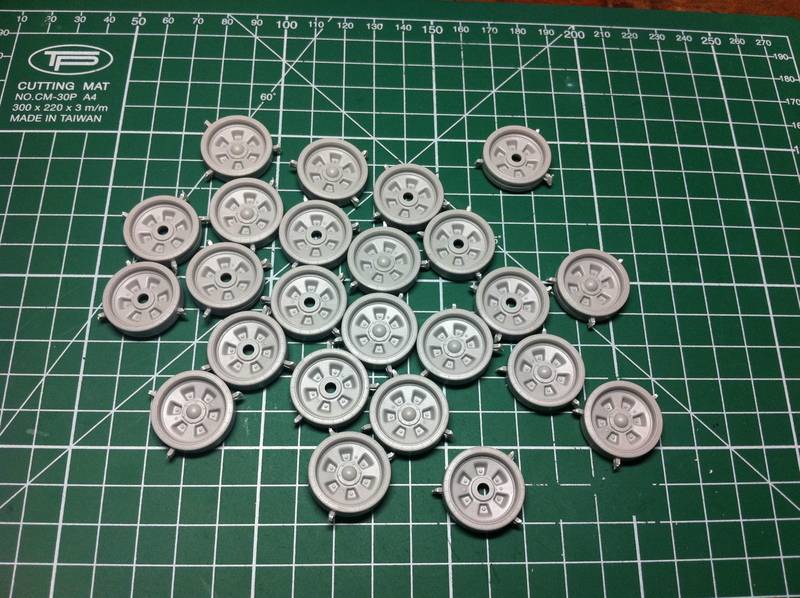
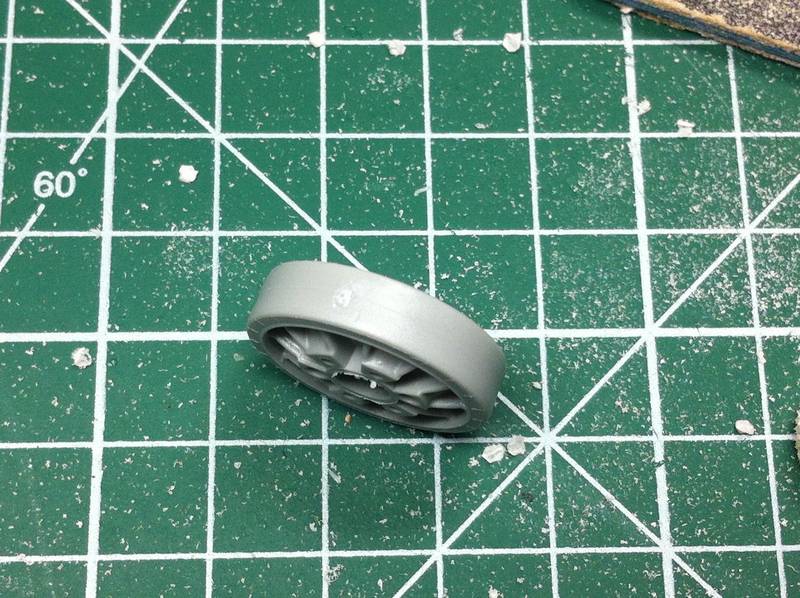
Theres a prominent mould line around the tires which needs to be sanded away. Admittedly the tires do have a seam on them in reality, however on a well used wheel this will be totally ground down:
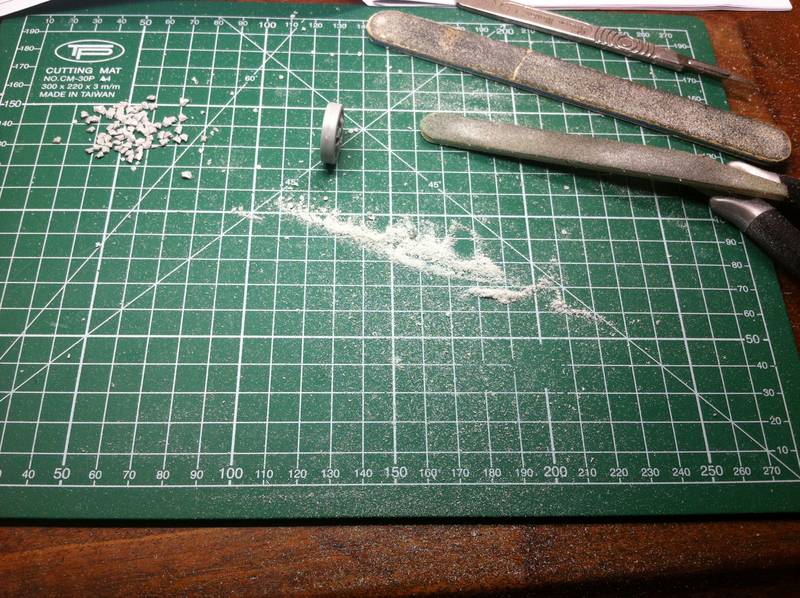
Trumpeters plastic leaves some pretty horrendous dust when sanded:
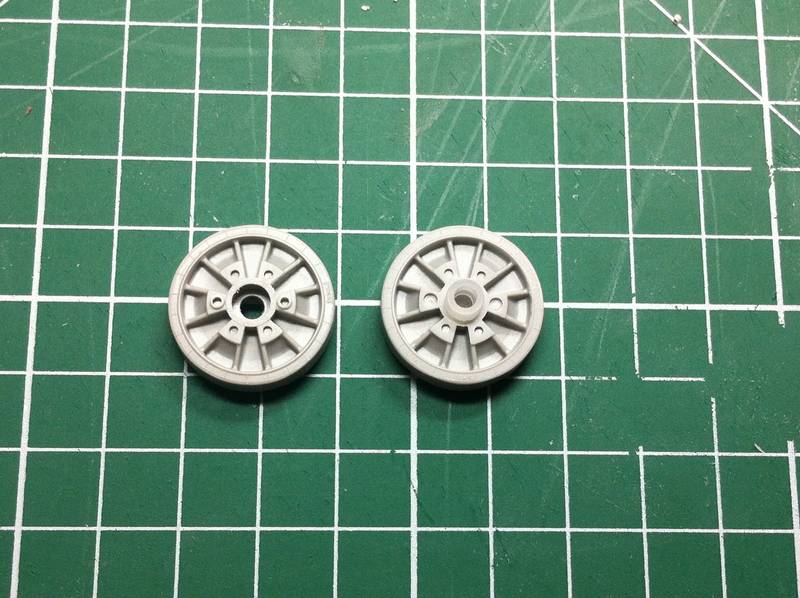
All cleaned:
Nice detailing on both faces:
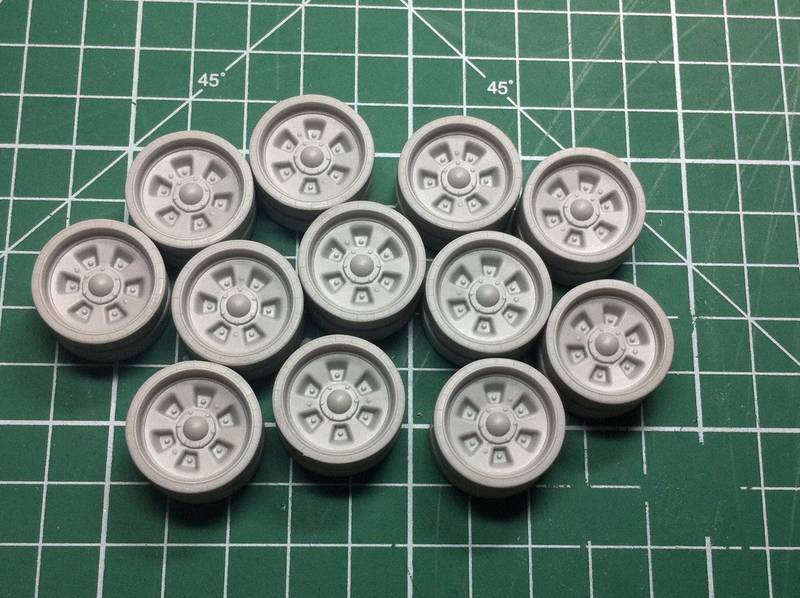
Done:
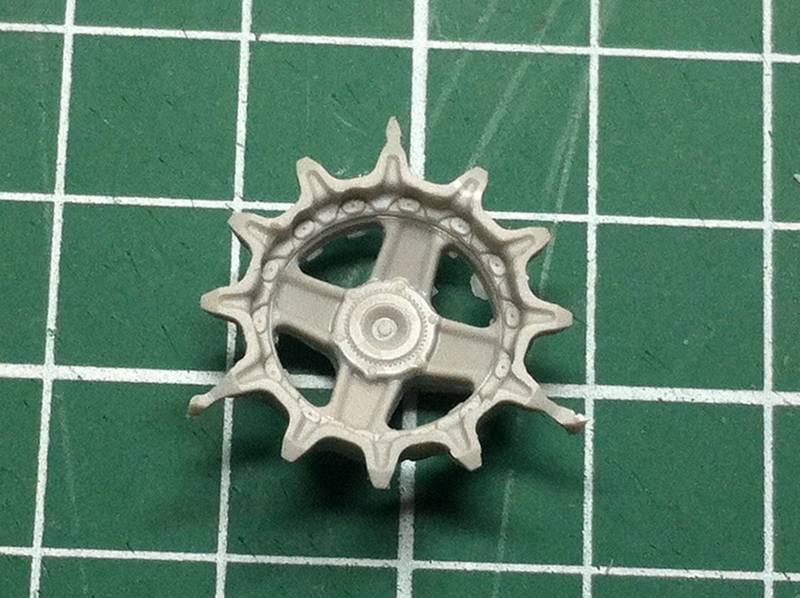
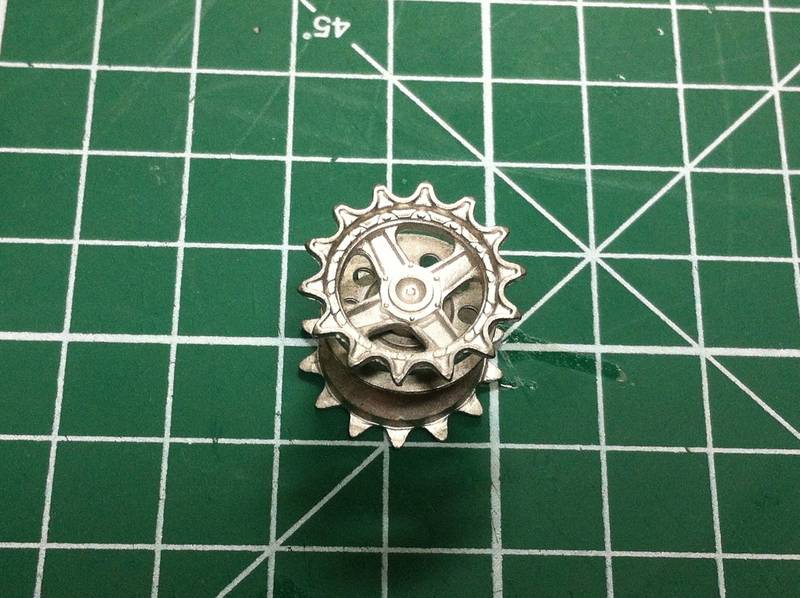
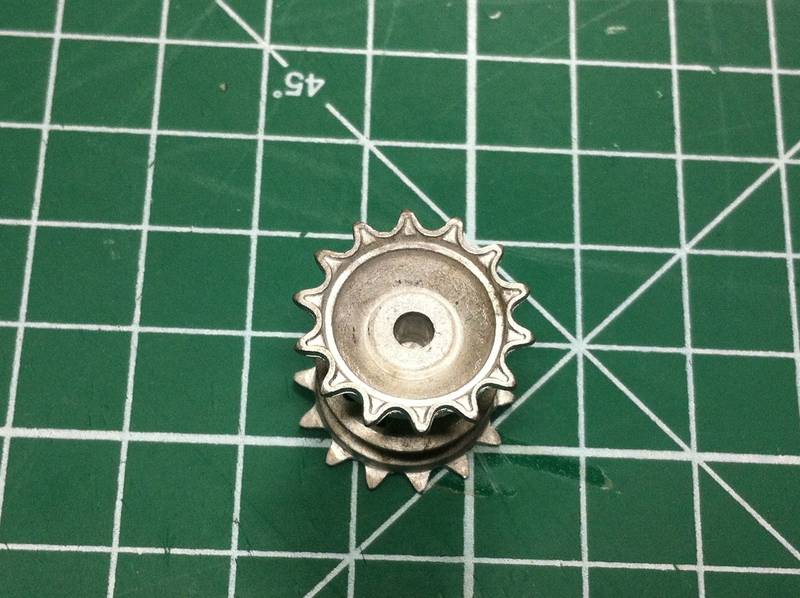
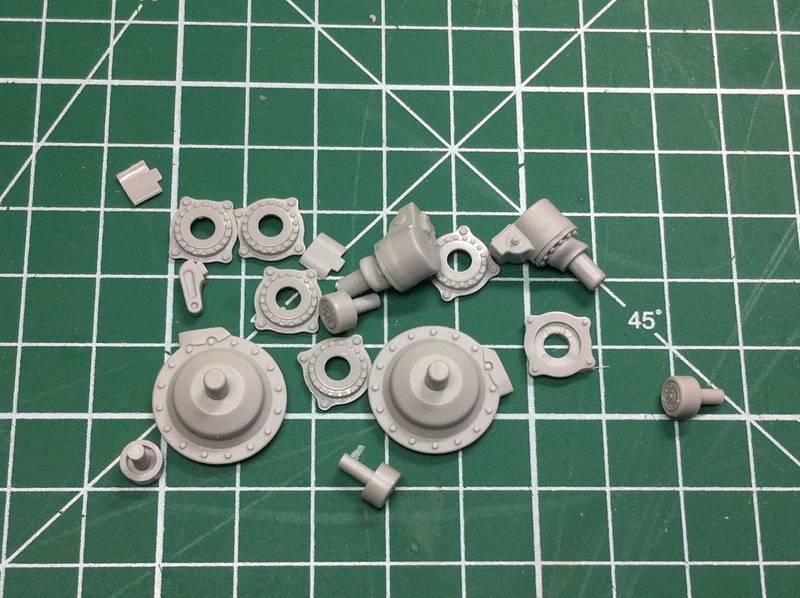
Sprockets, with troublesome sprue attachments:
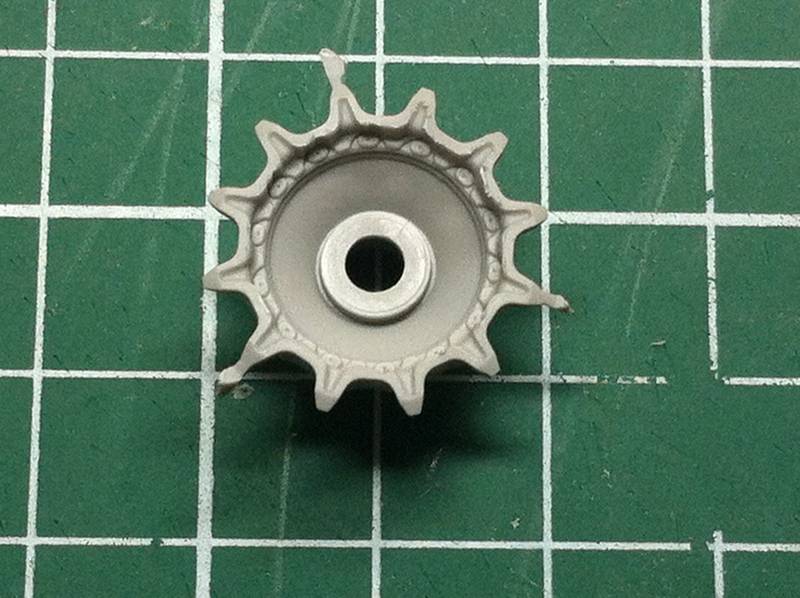
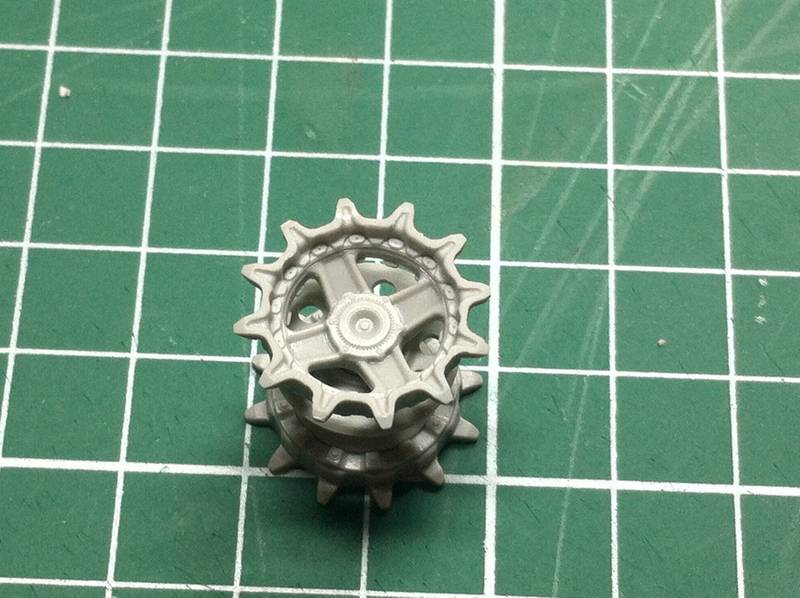
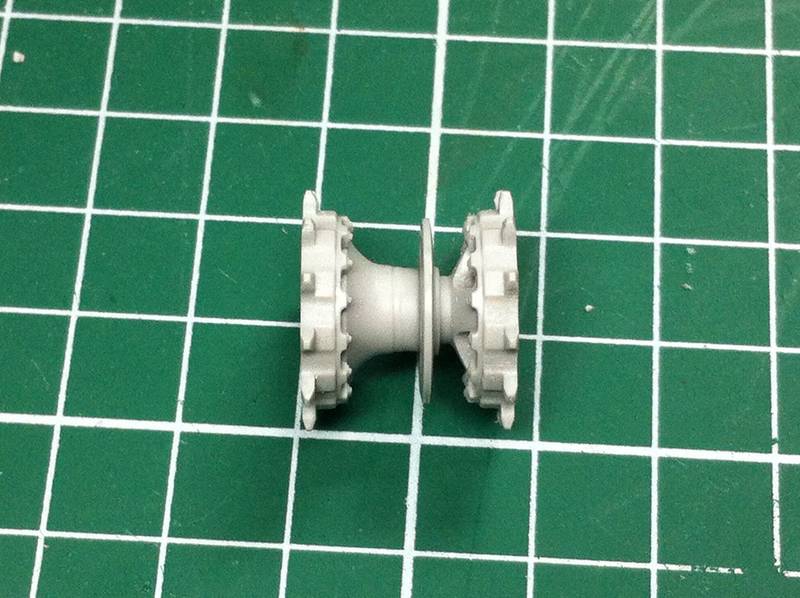
Assembled:
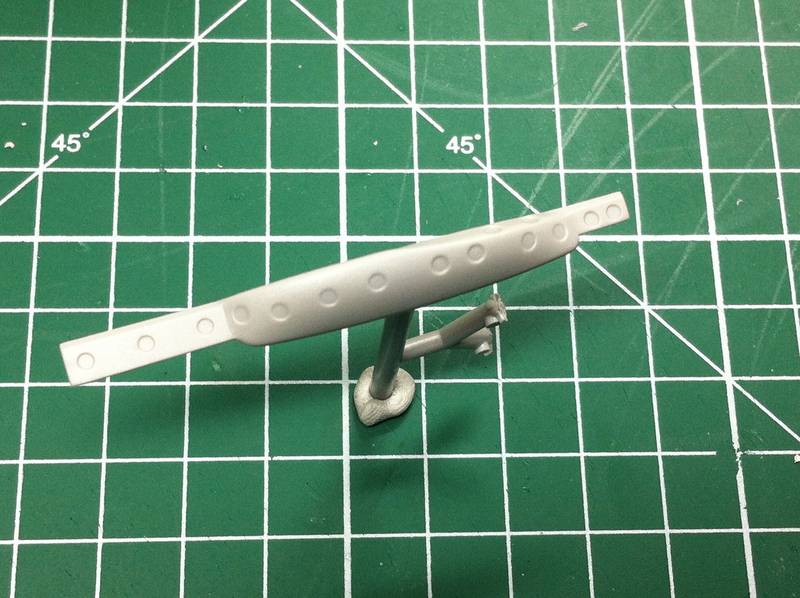
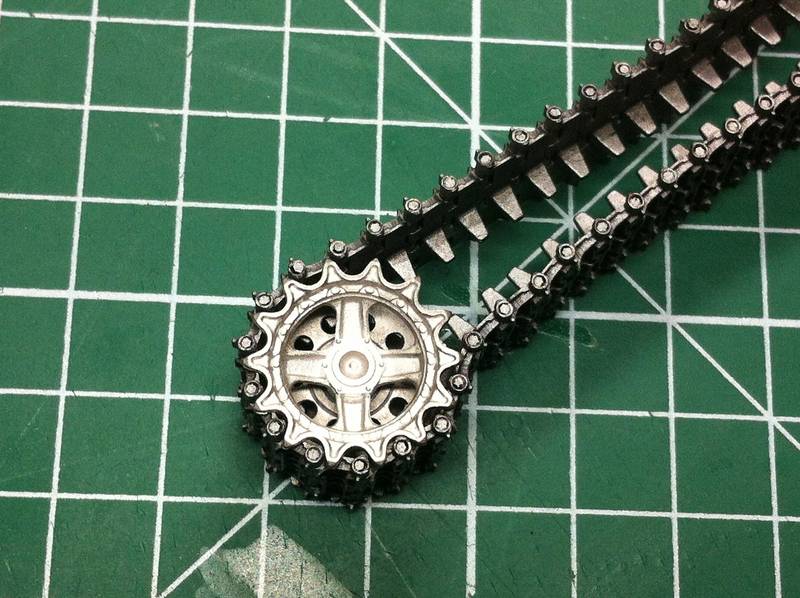
I'd already decided that i'd be using MasterClub resin RMsh tracks for the earlier type (assembled and left over from an earlier build), so I test fitted these on the Trumpeter sprockets and discovered that they don't fit:
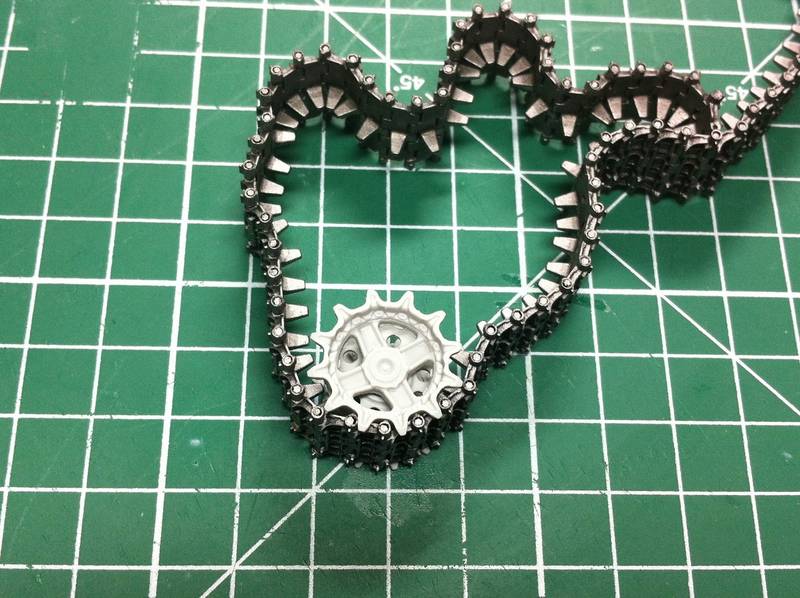
Luckily I had a pair of Friul metal sprockets left over from a previous build, onto which the MasterClub tracks fitted perfectly.
Just stick a rubber polycap inside so that the sprockets fit onto the Trumpeter kit:
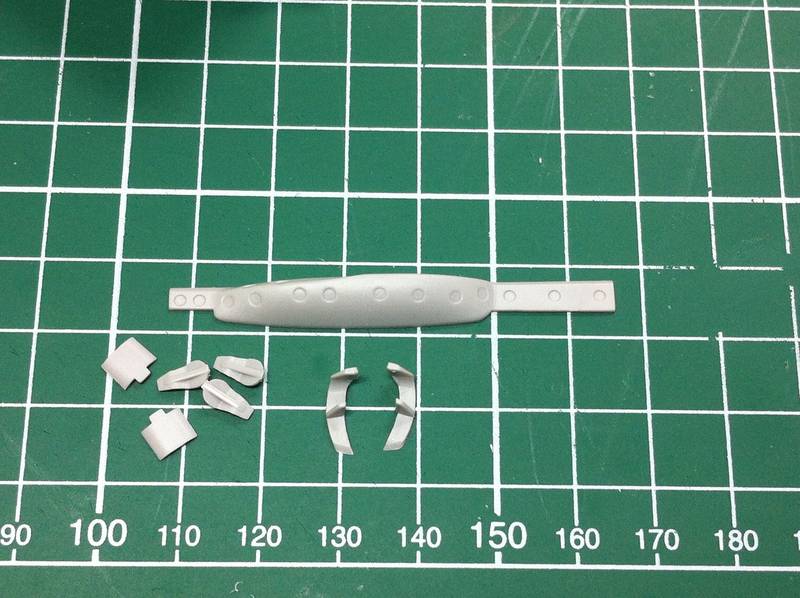
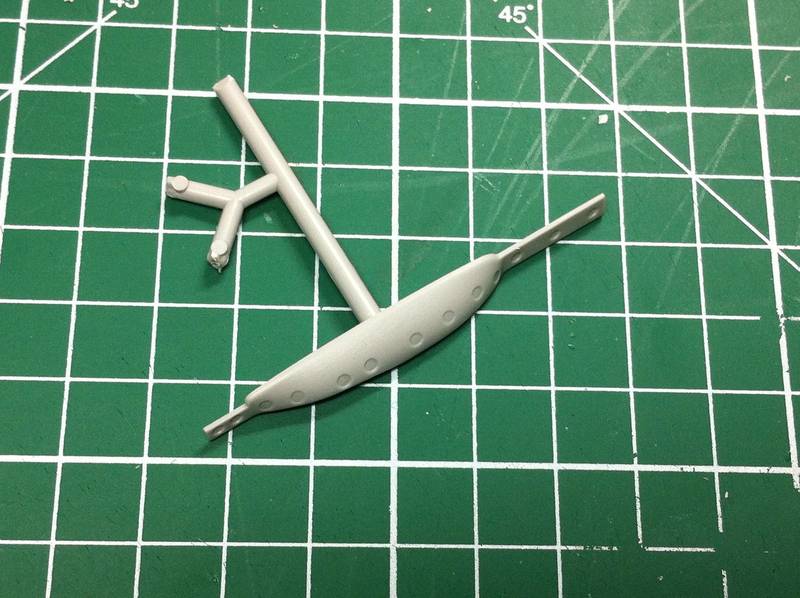
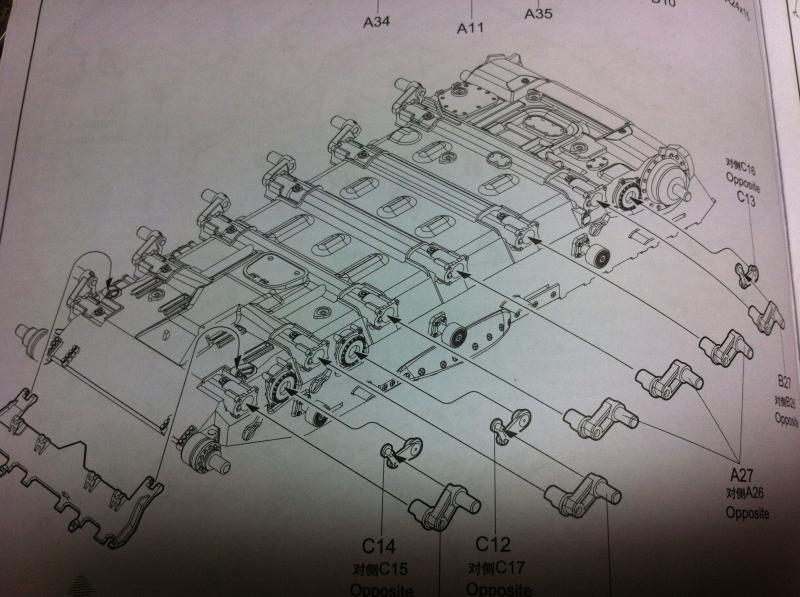
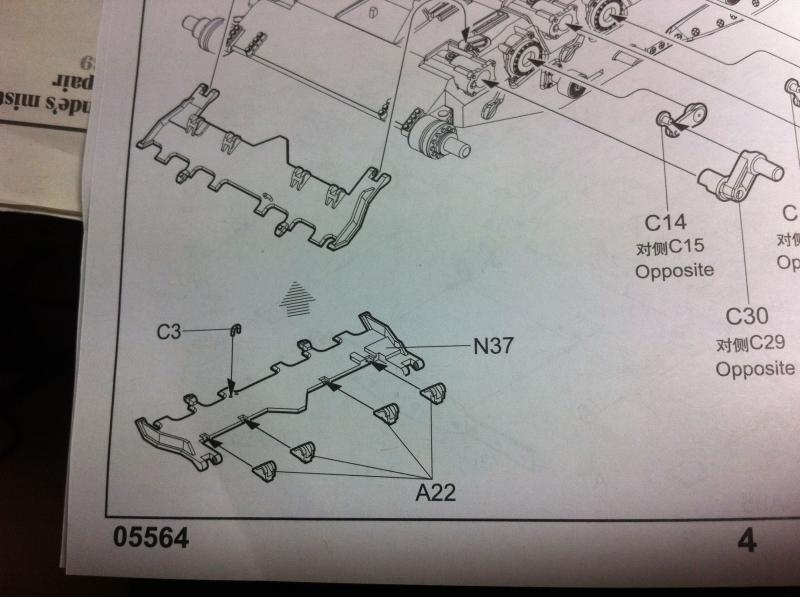
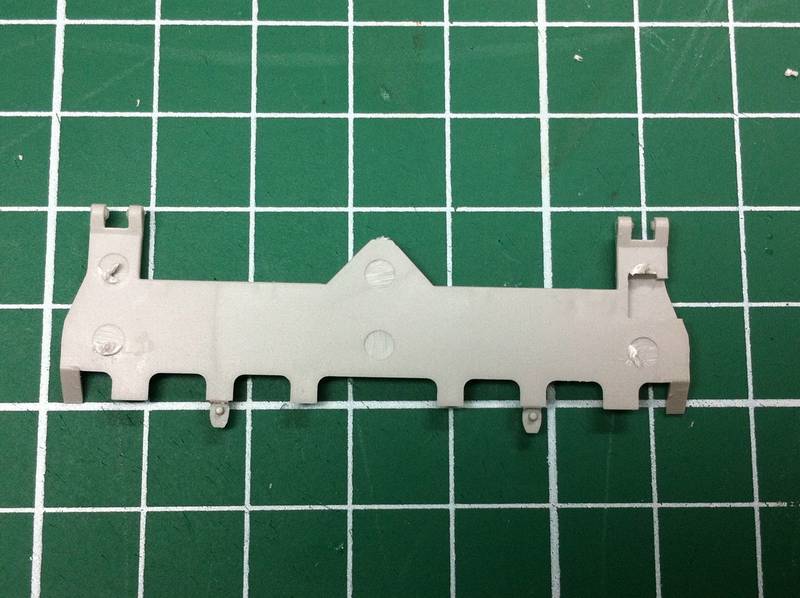
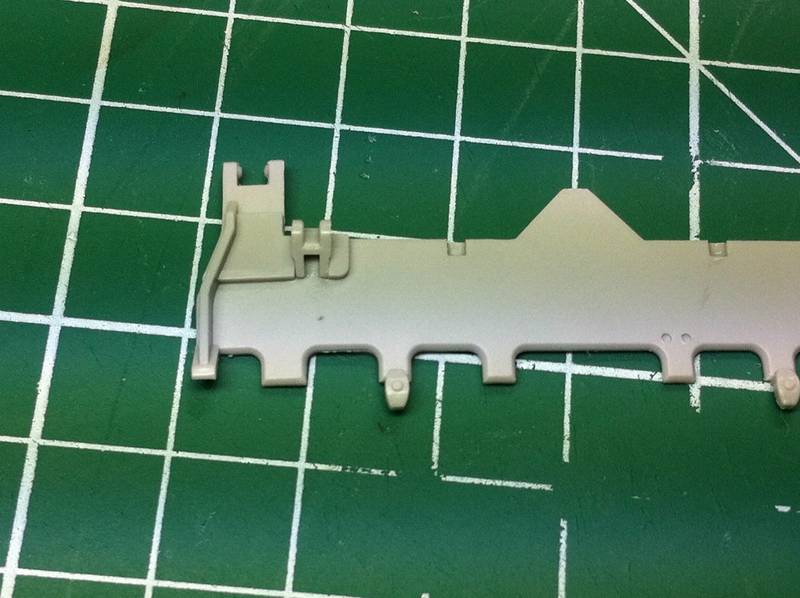
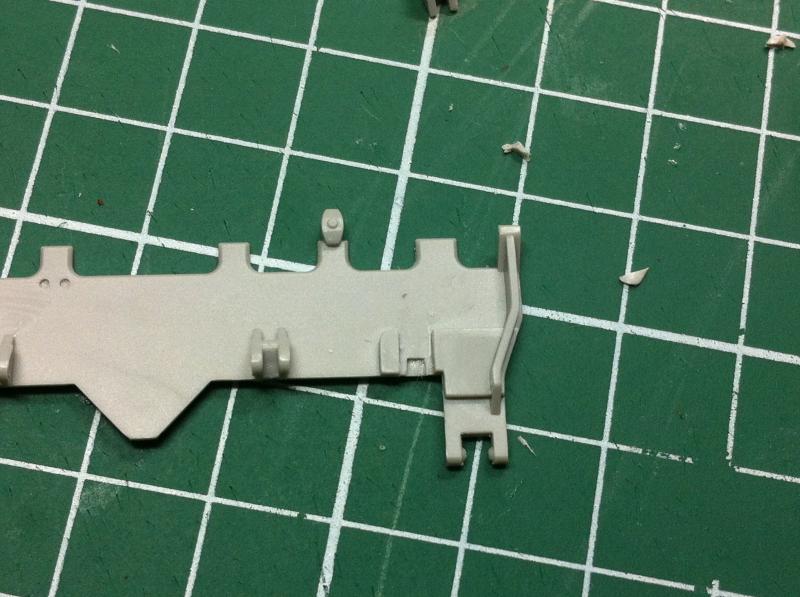
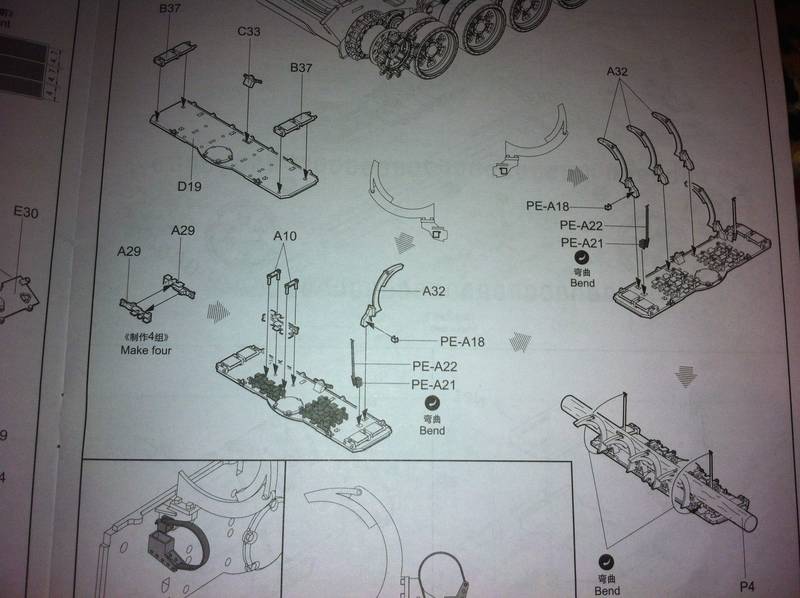
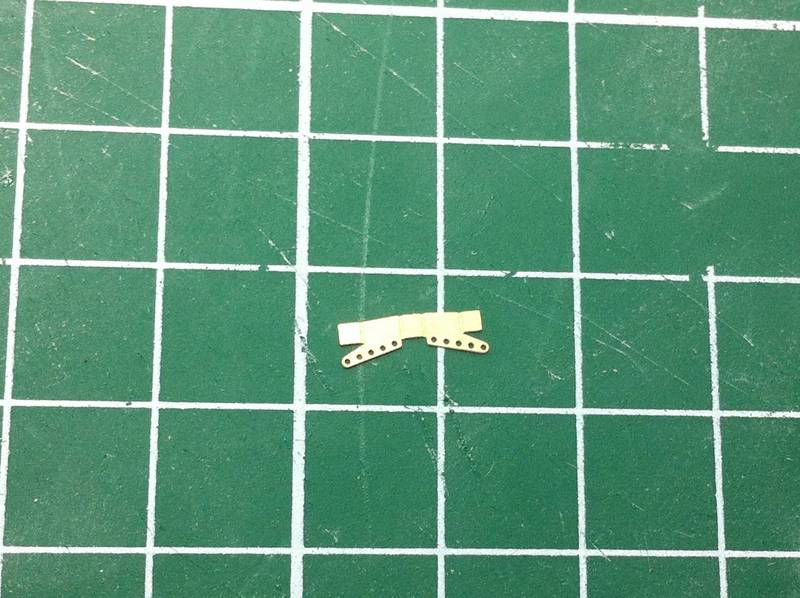
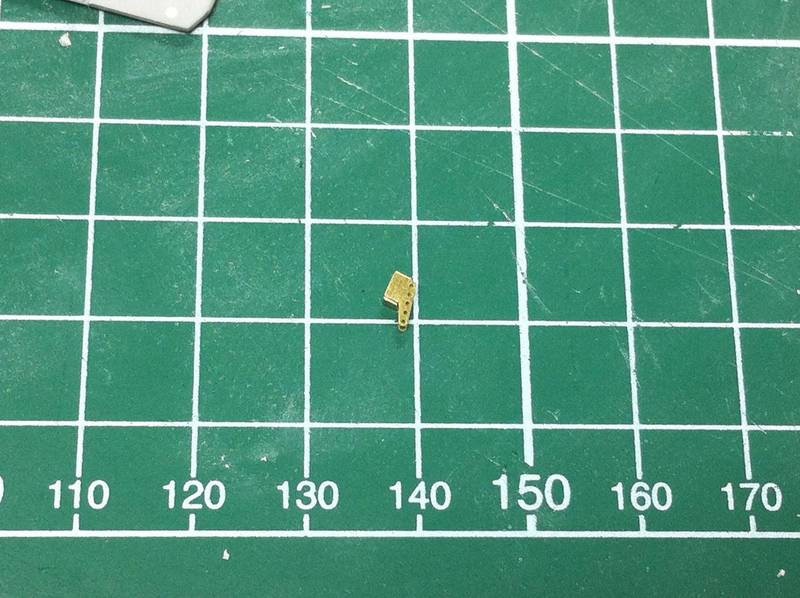
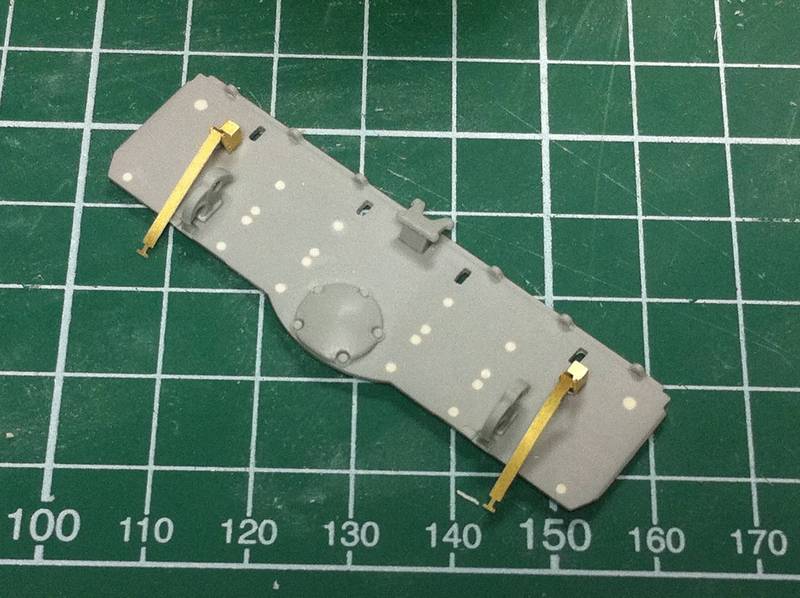
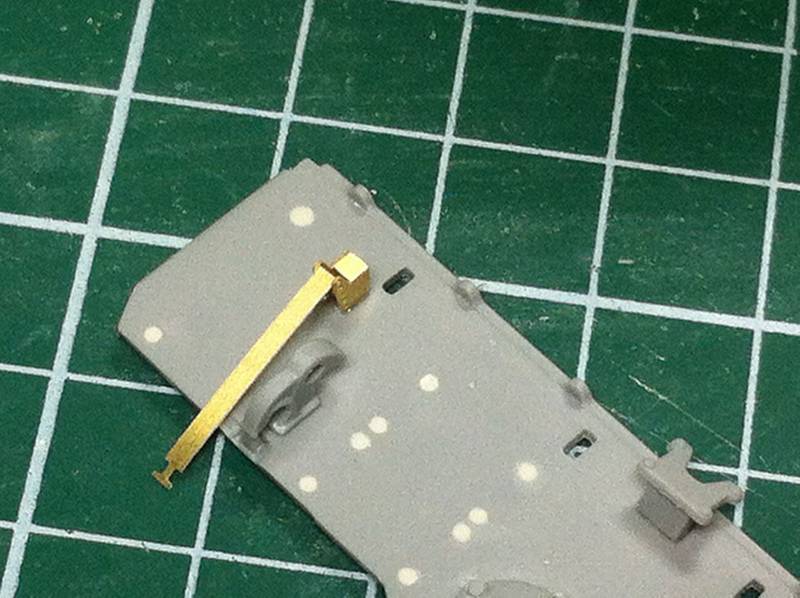
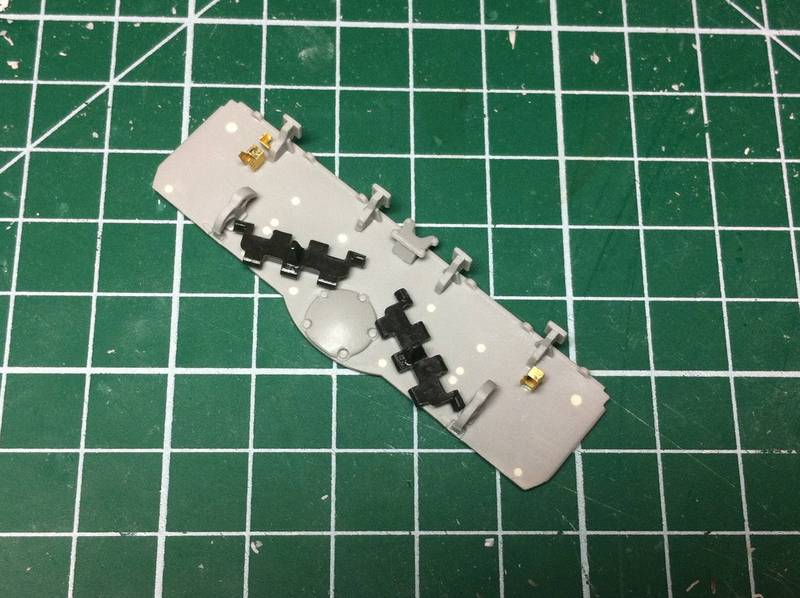
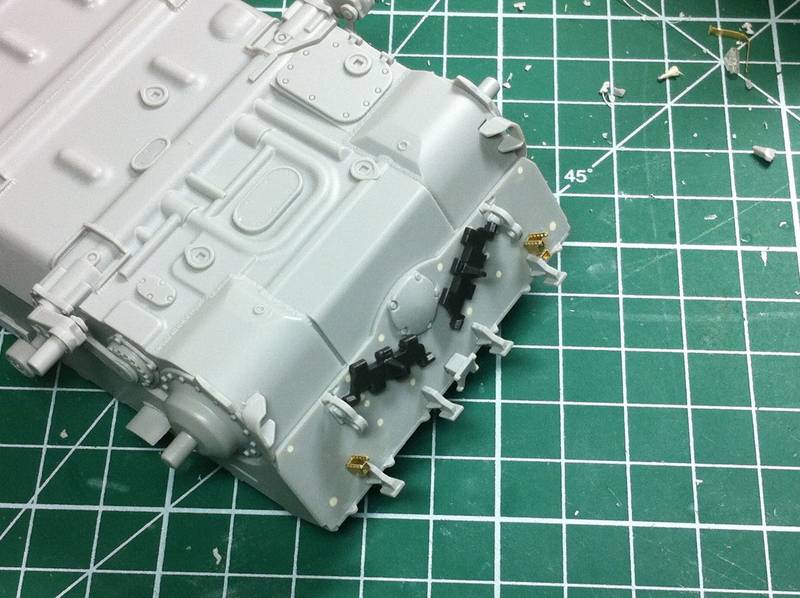
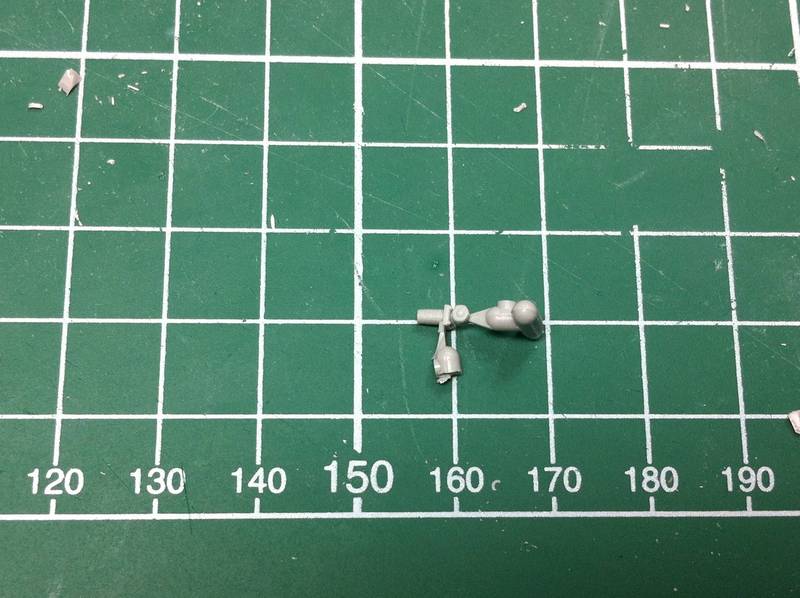
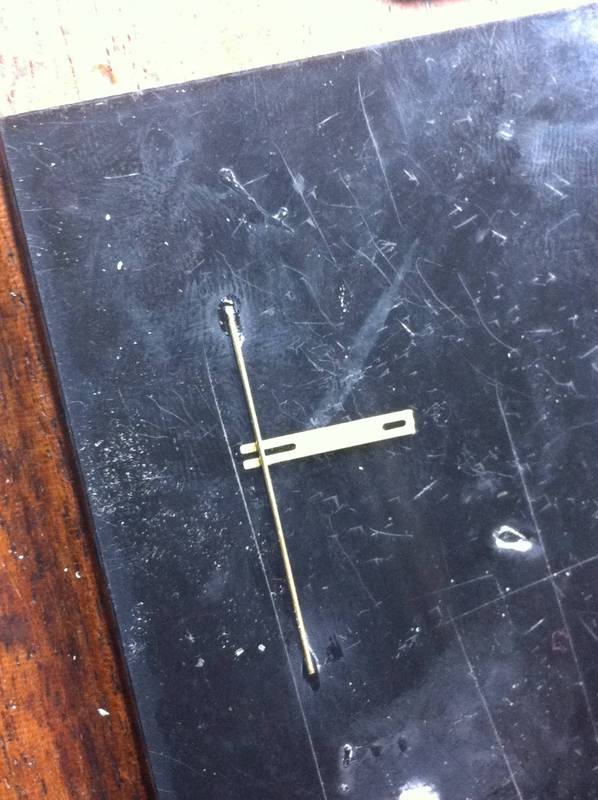
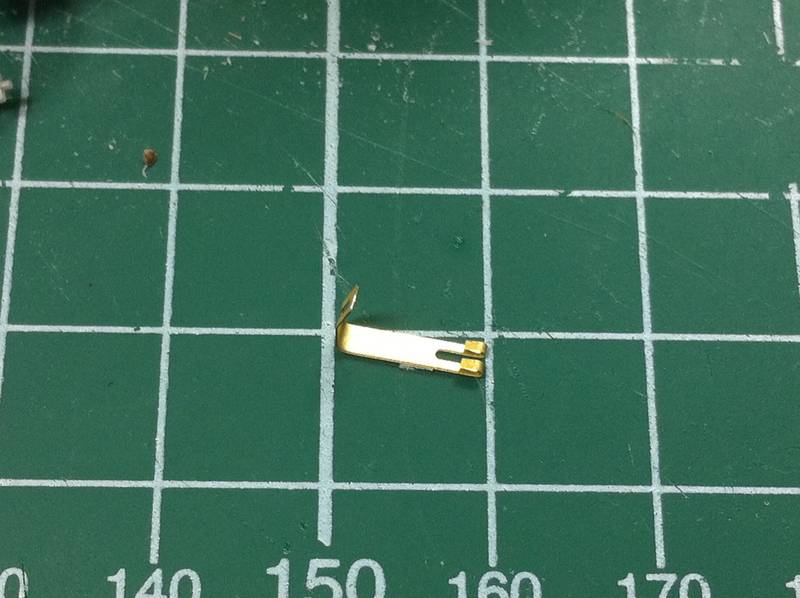
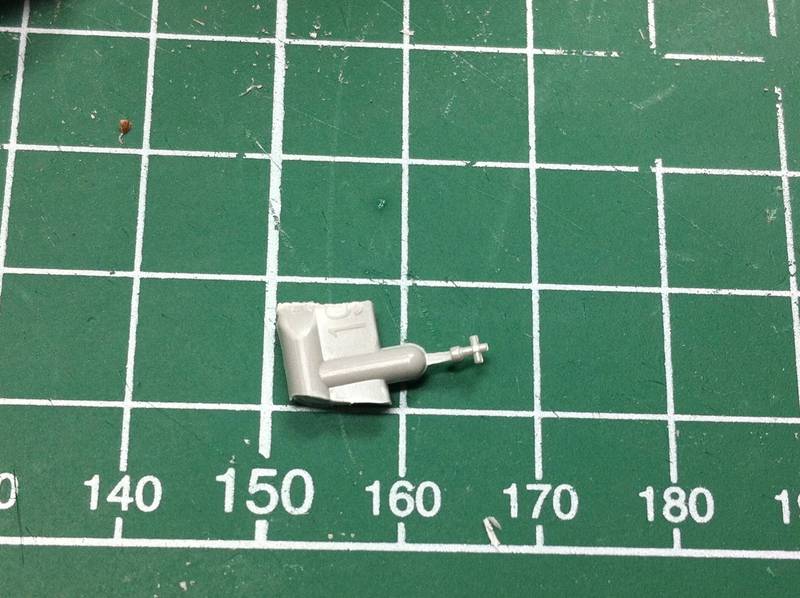
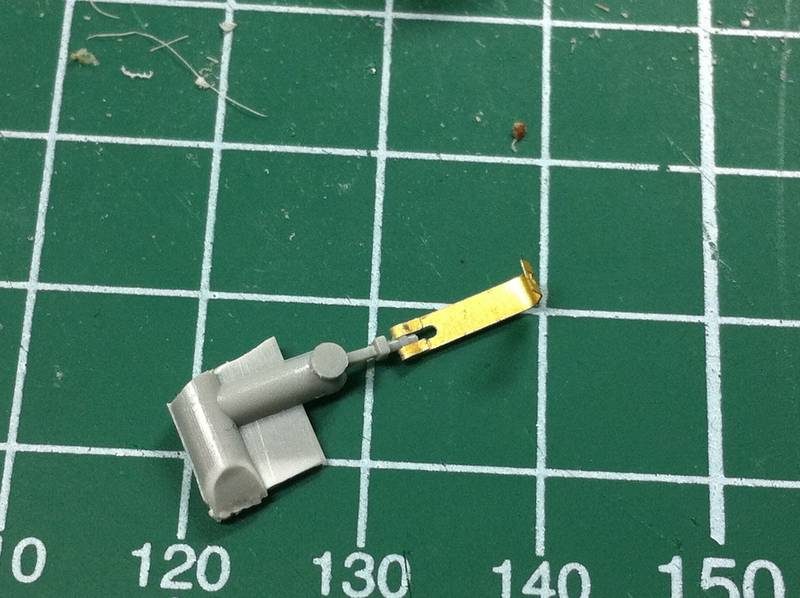
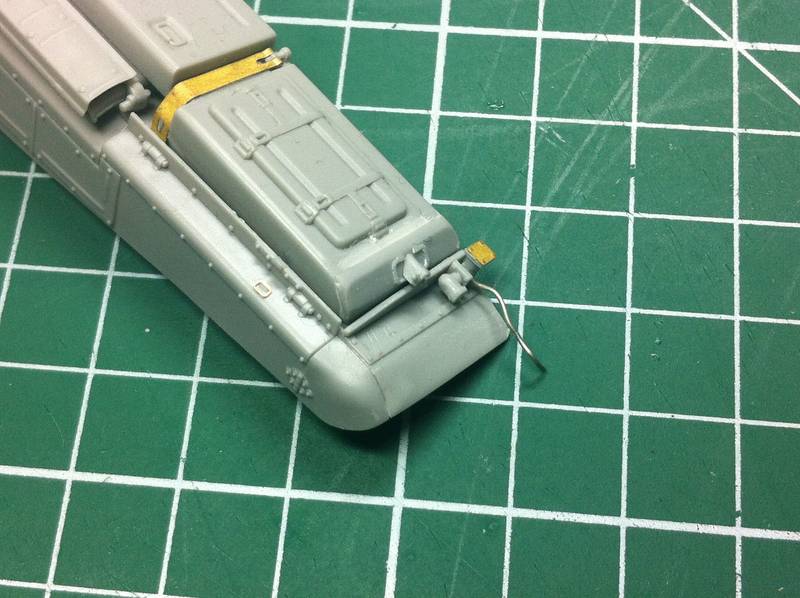
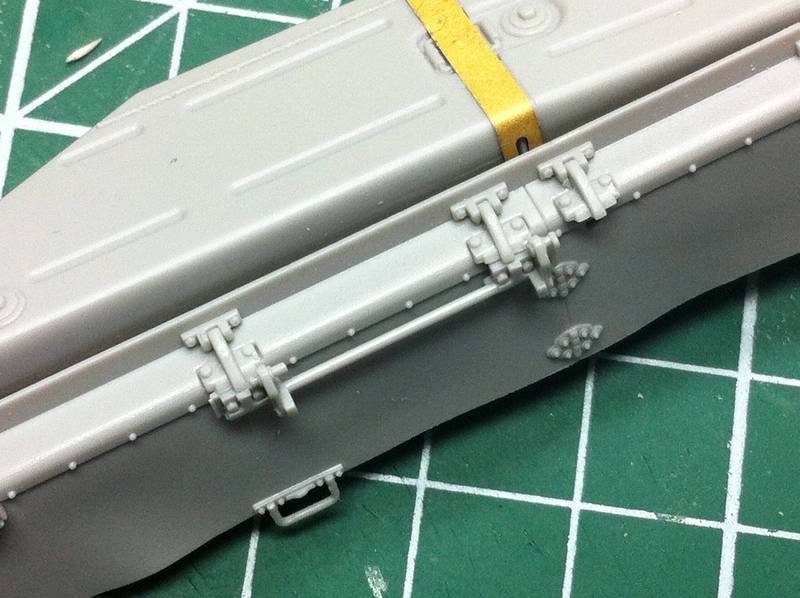
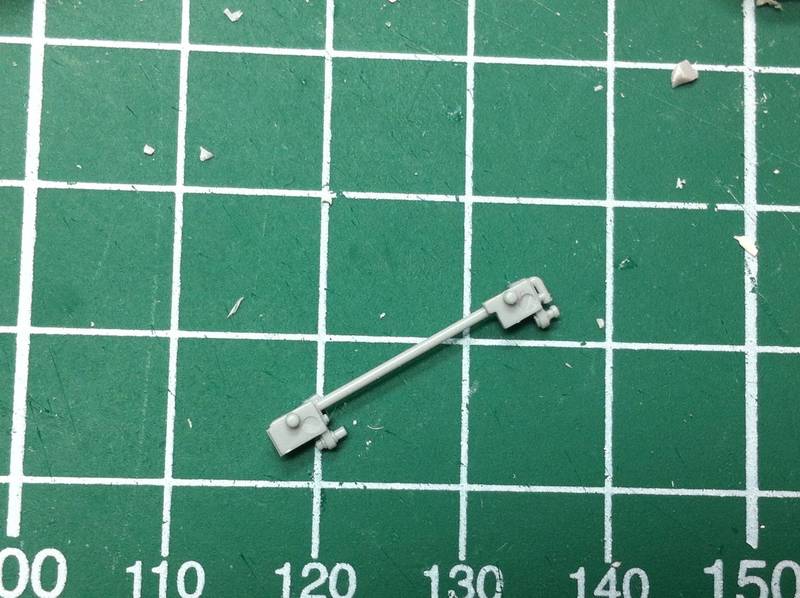
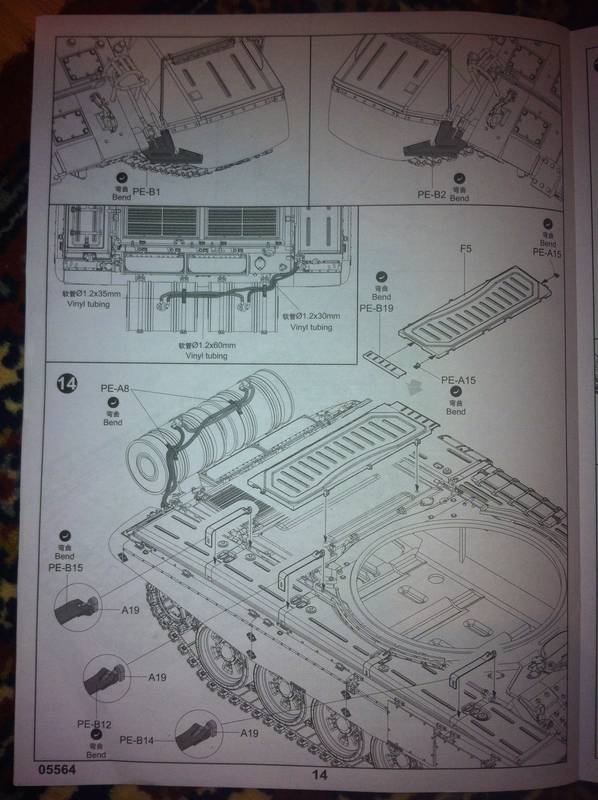
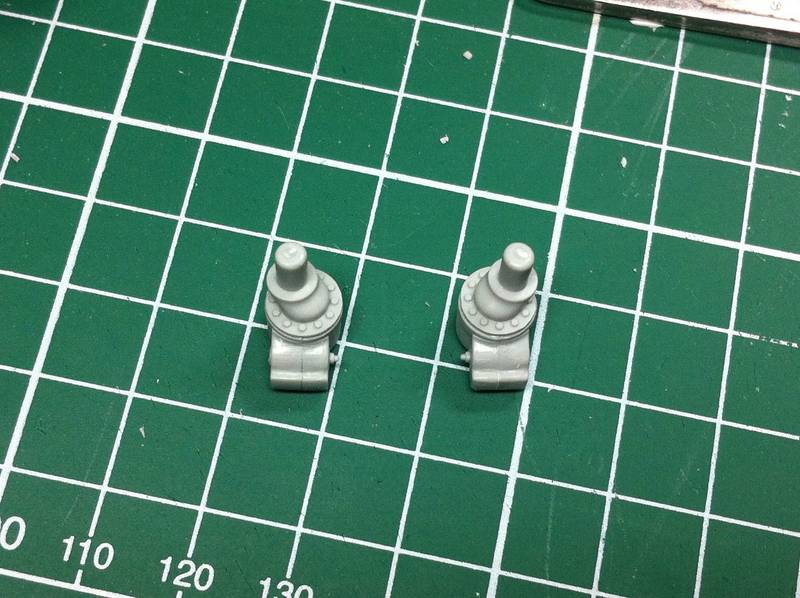
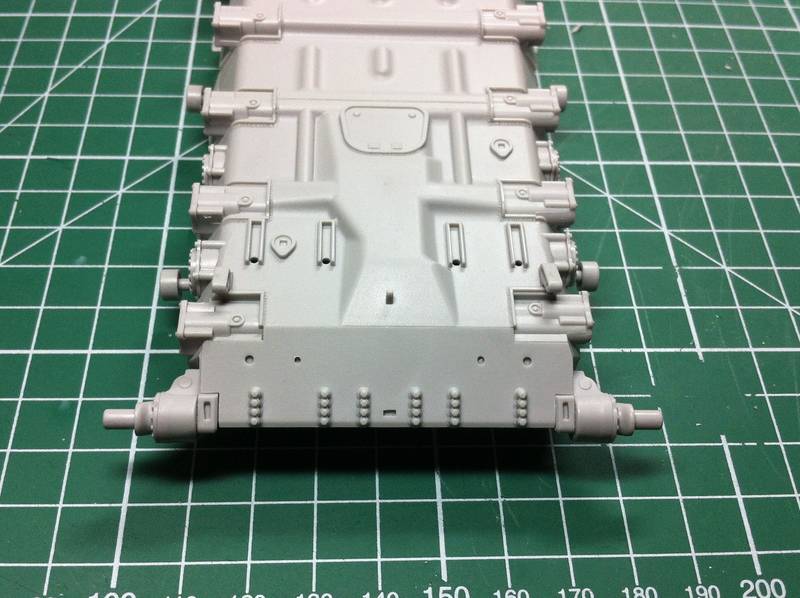
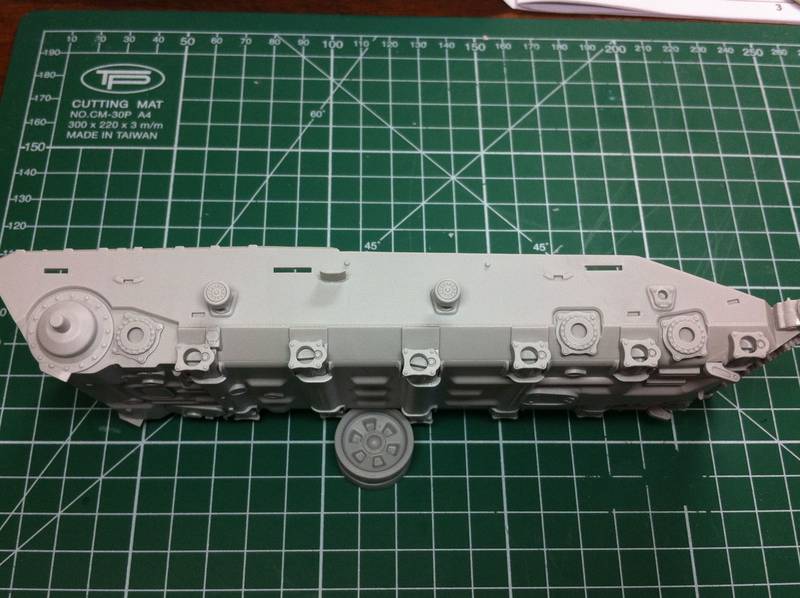
Heres the front idler mounts:
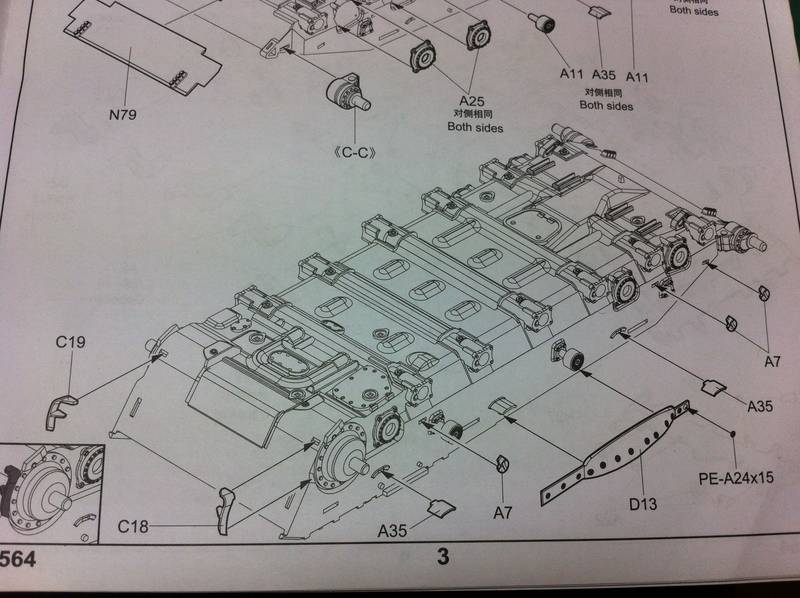
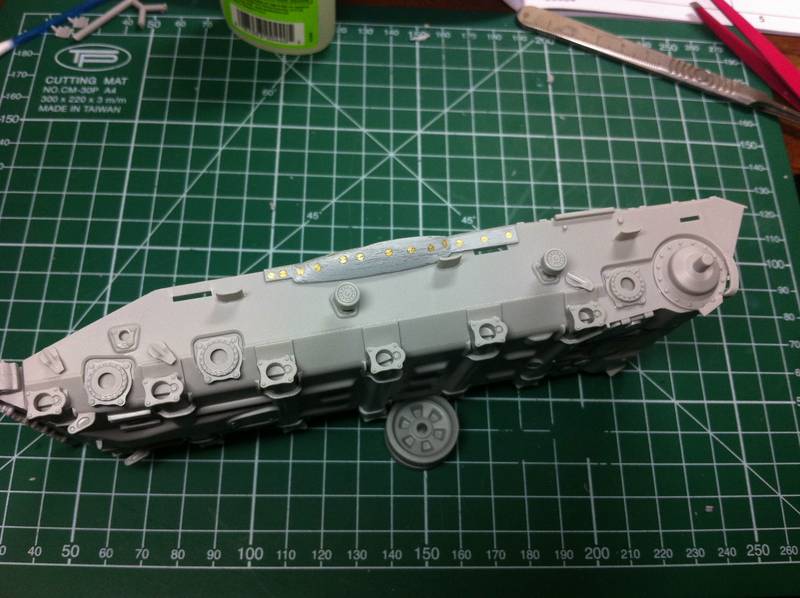
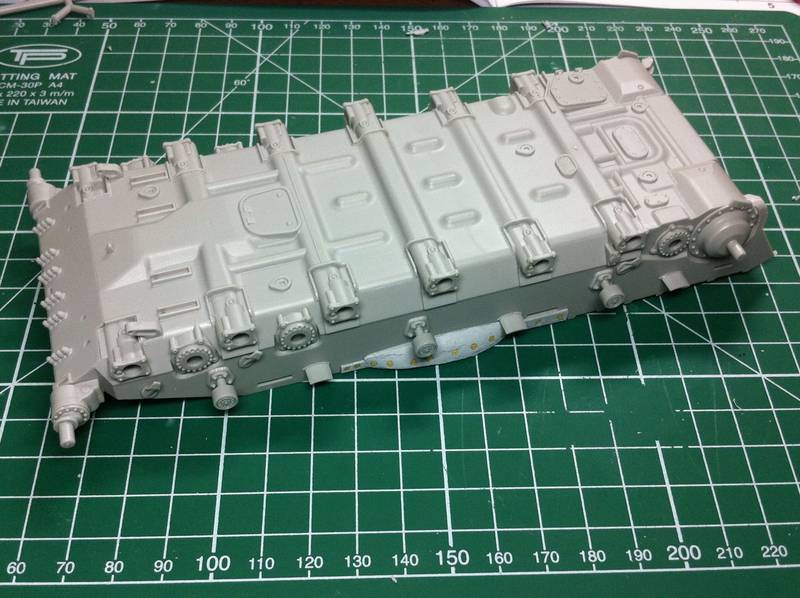
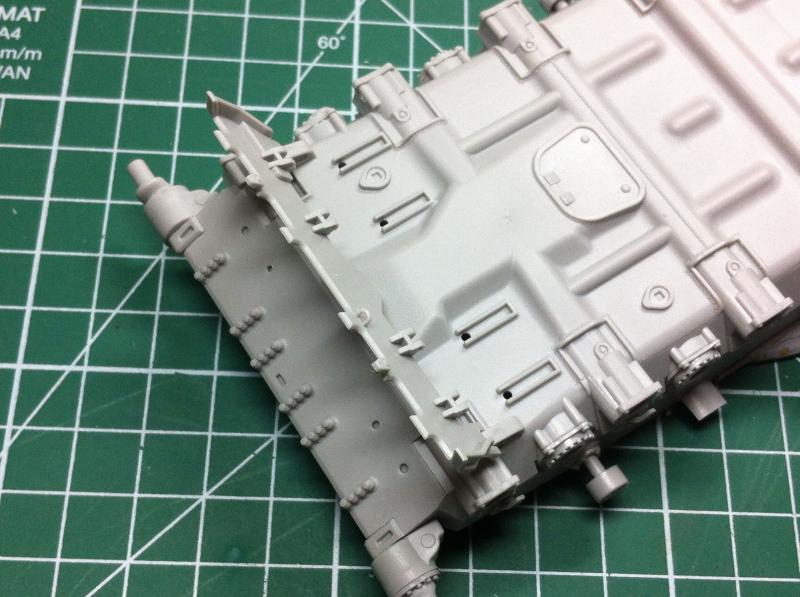
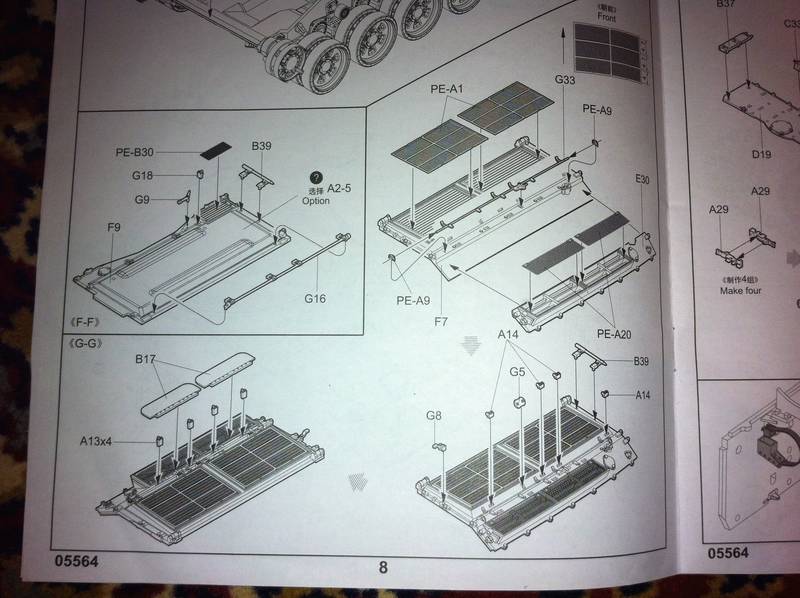
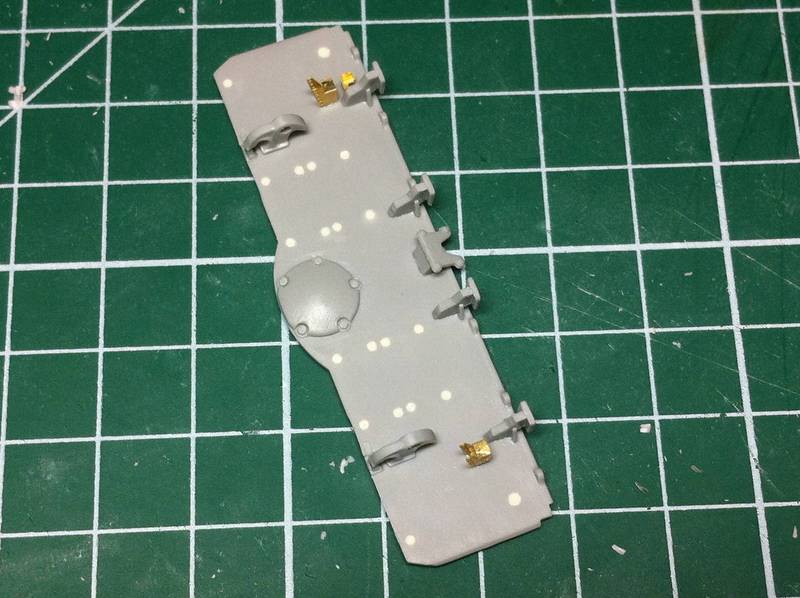
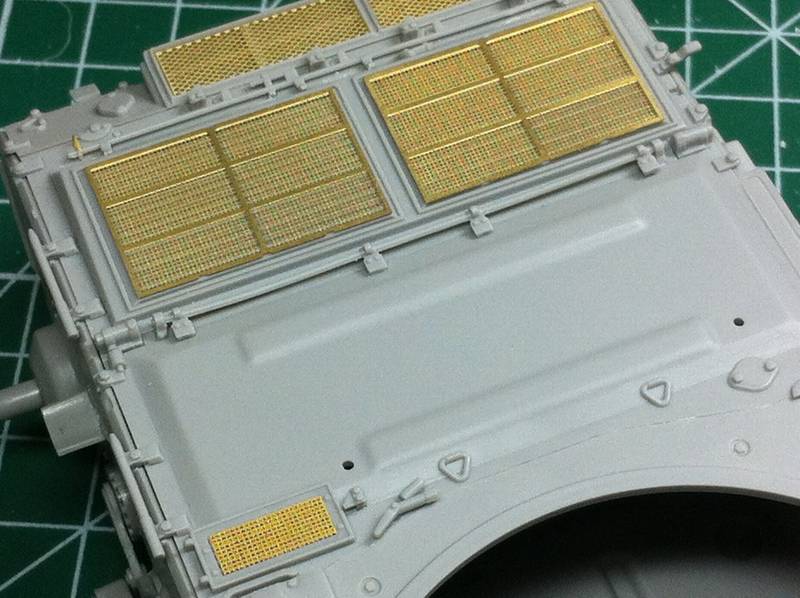
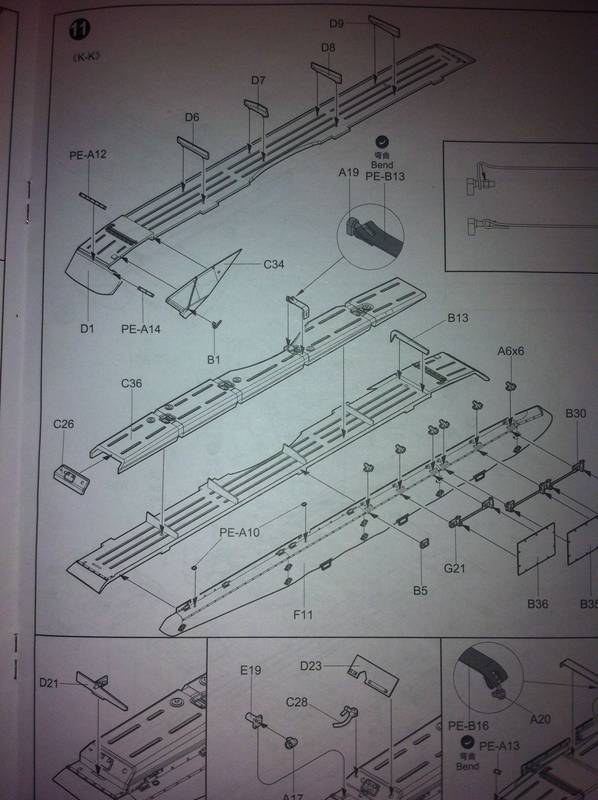
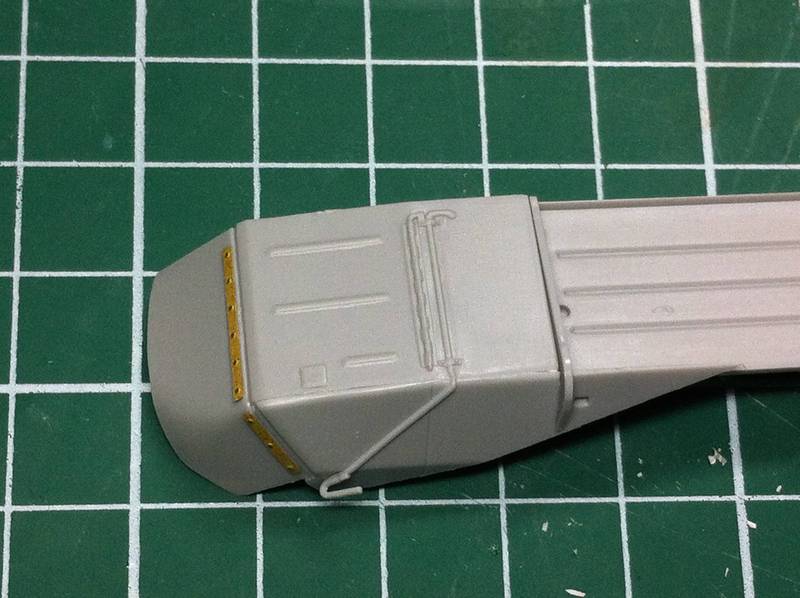
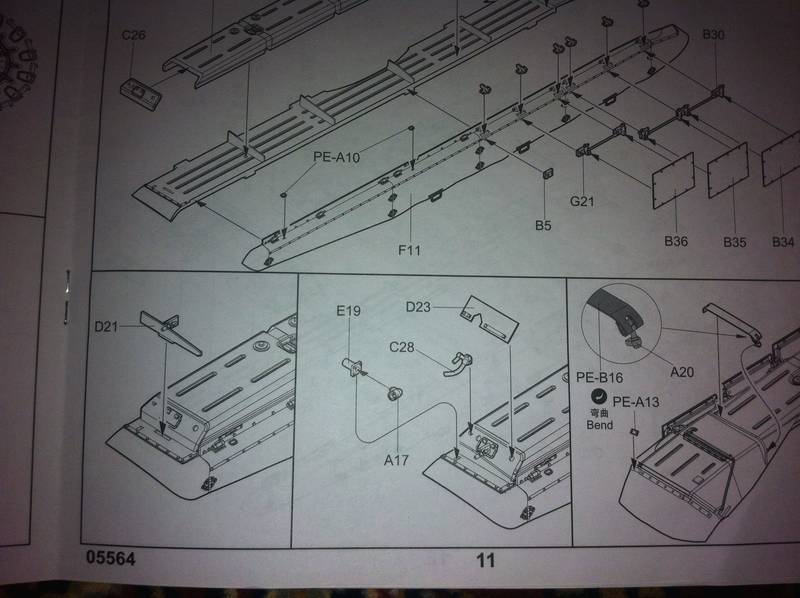
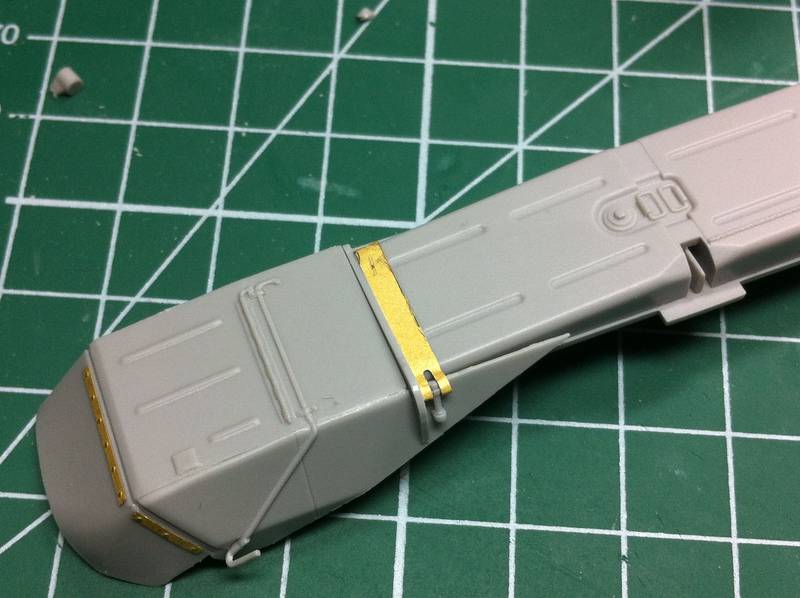
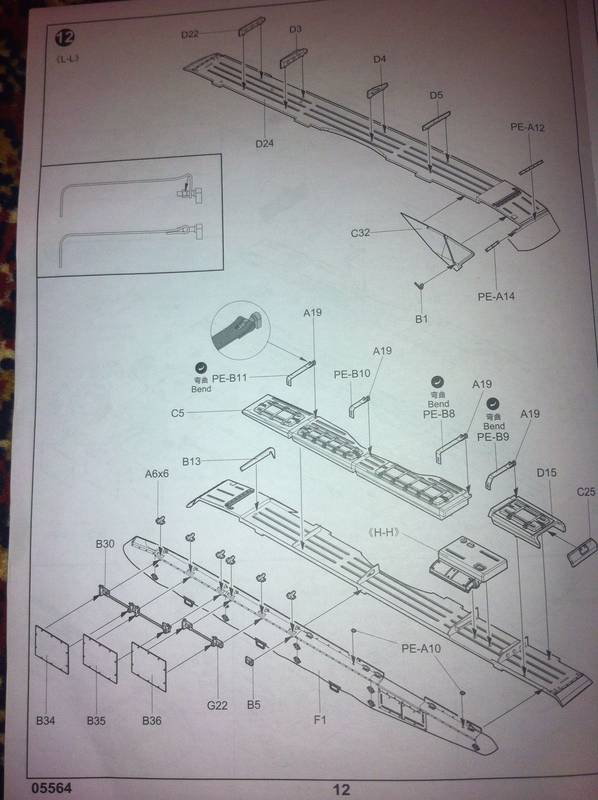
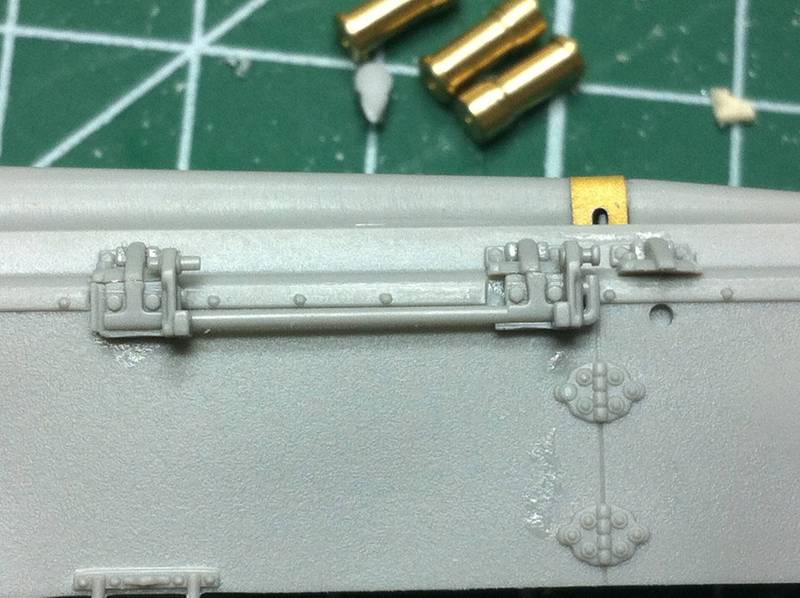
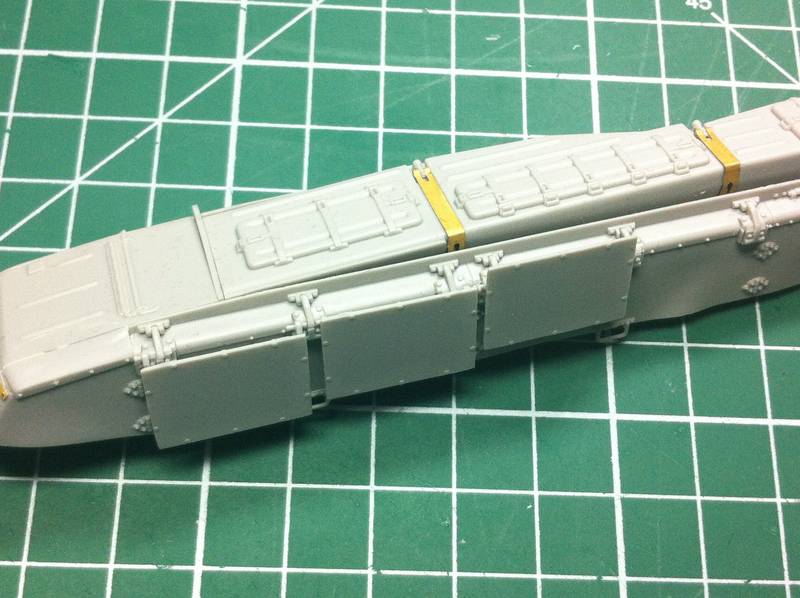
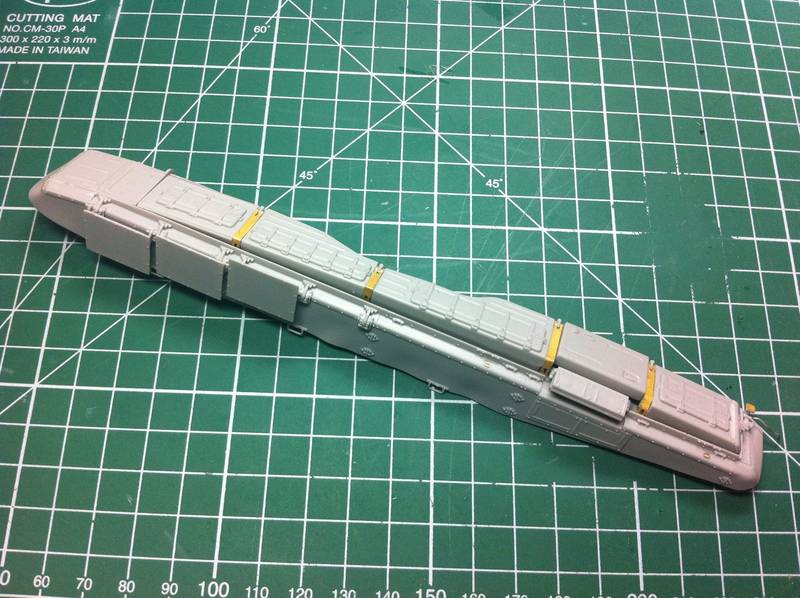
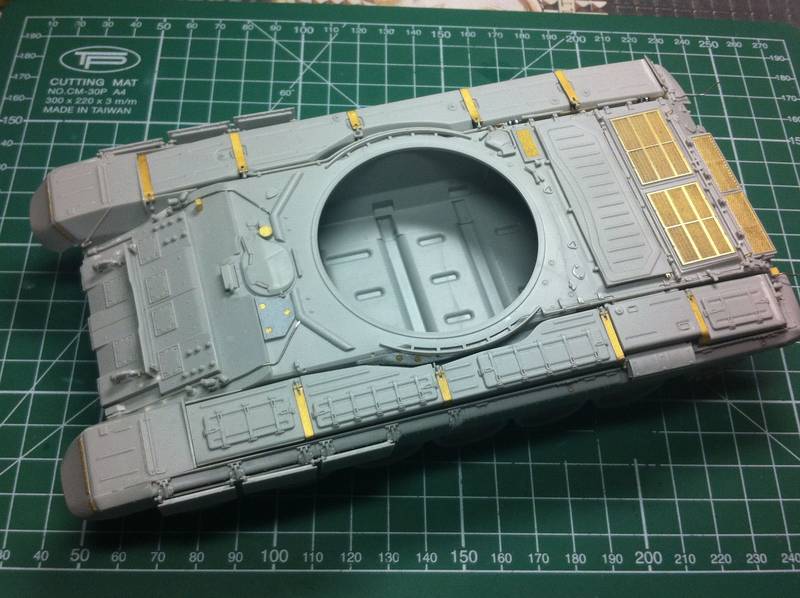
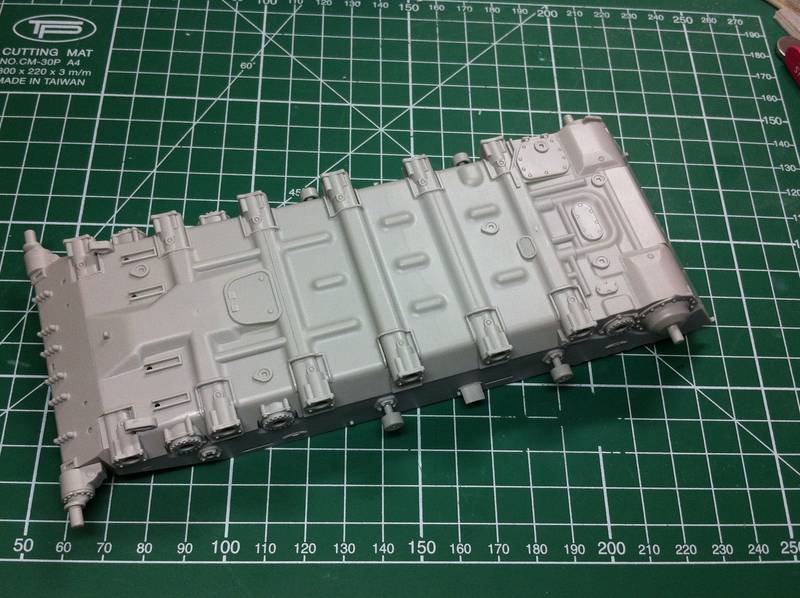
Onto the main hull tub:
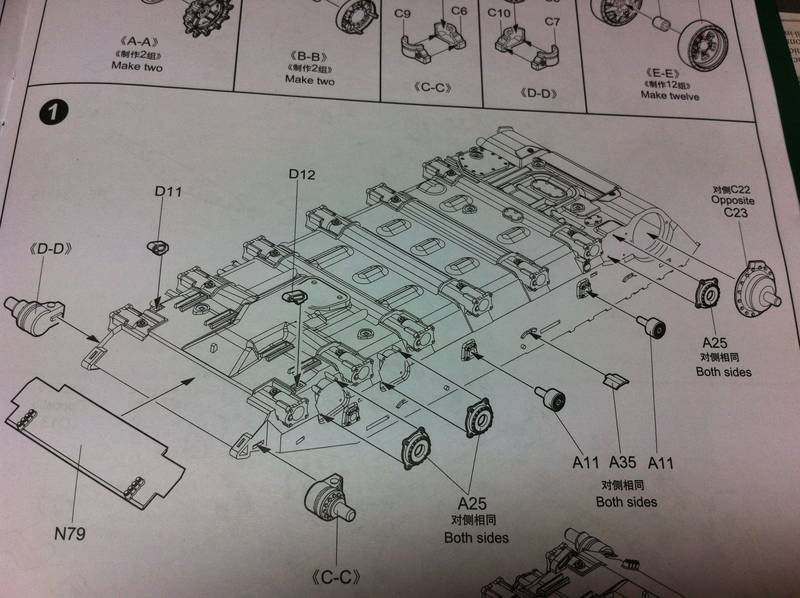
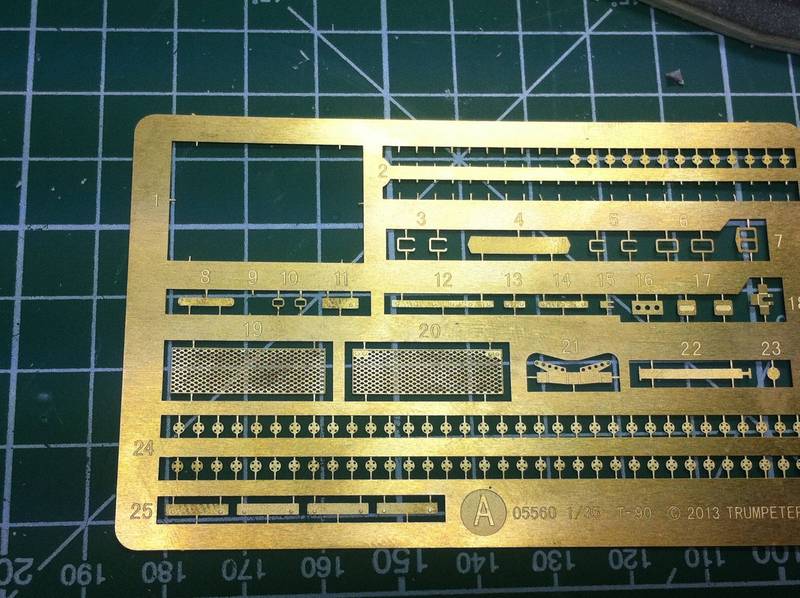
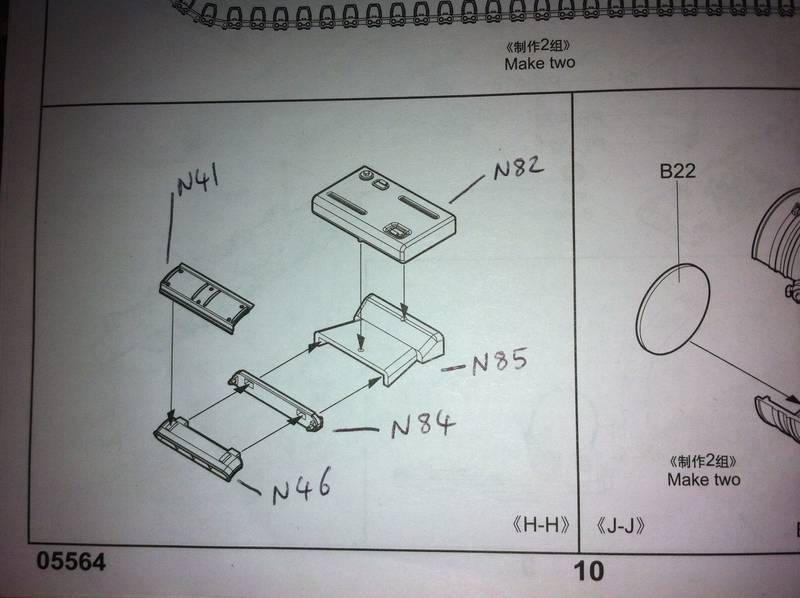
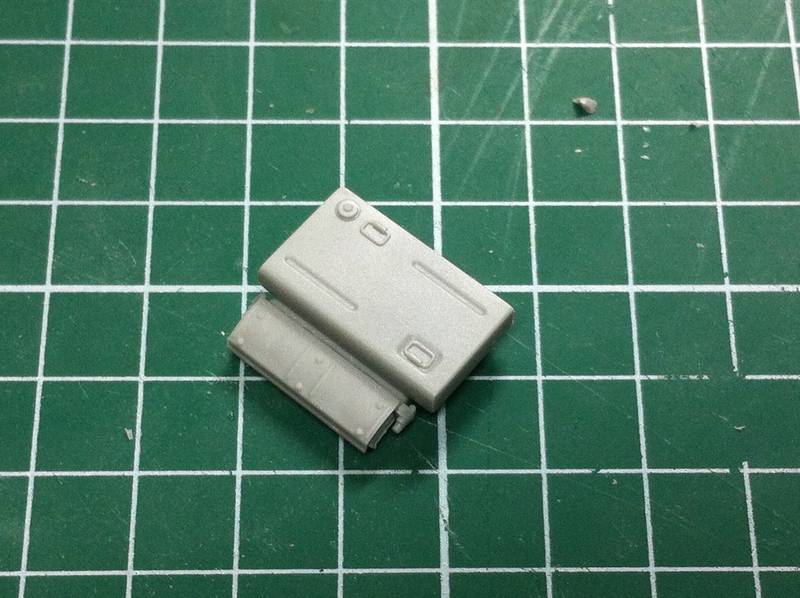
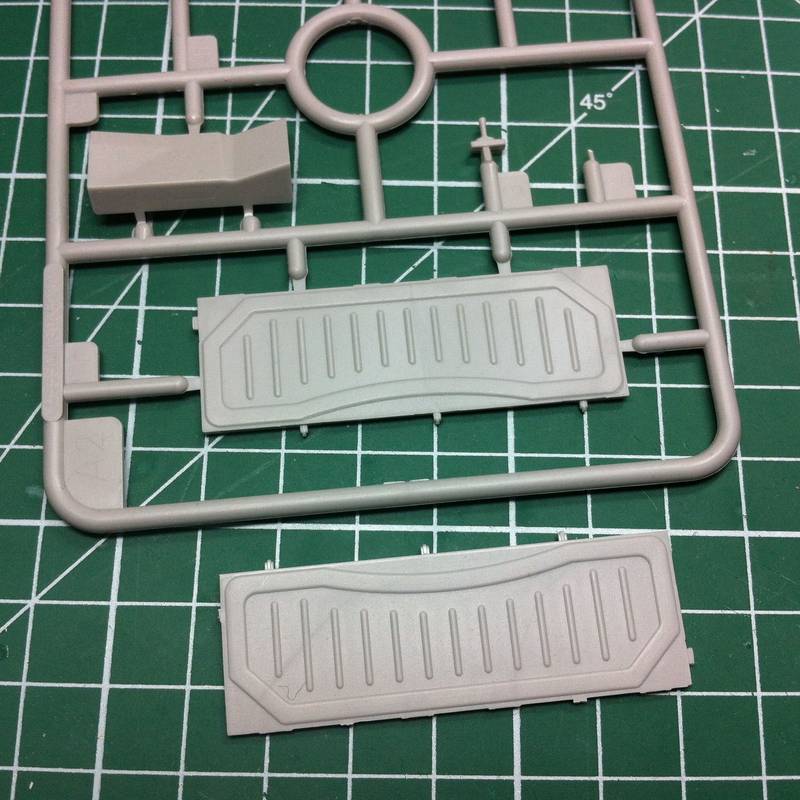
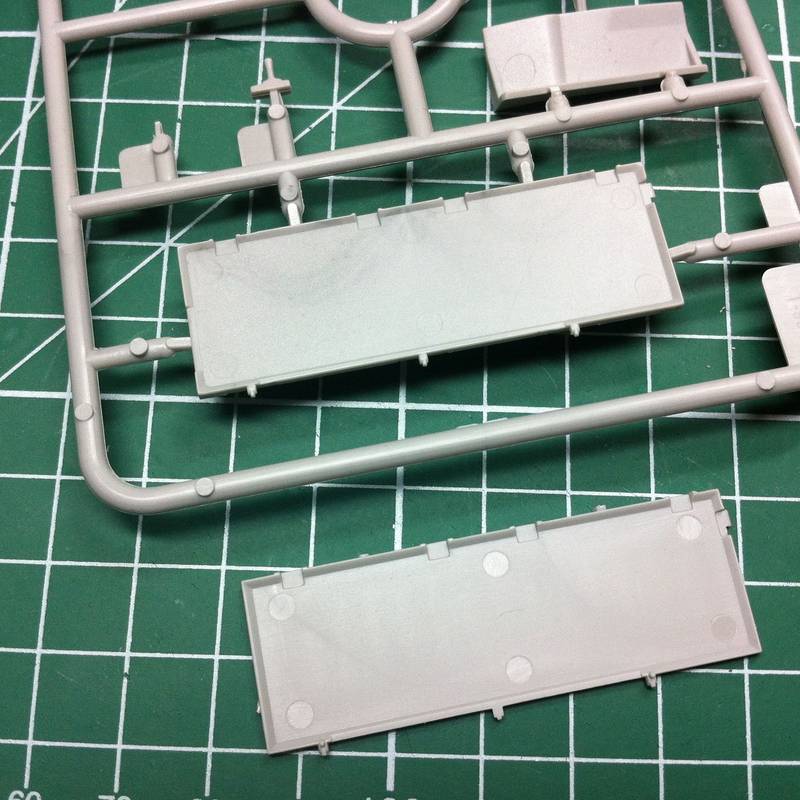
The various parts:
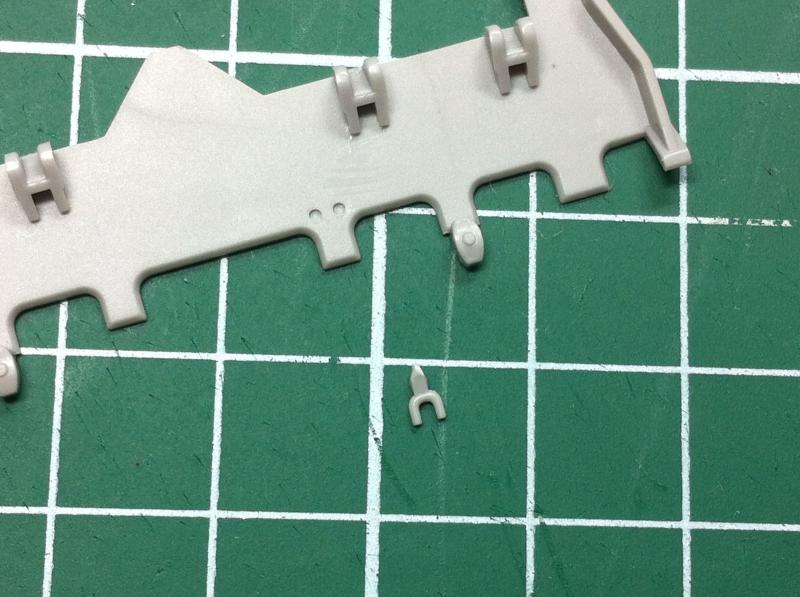
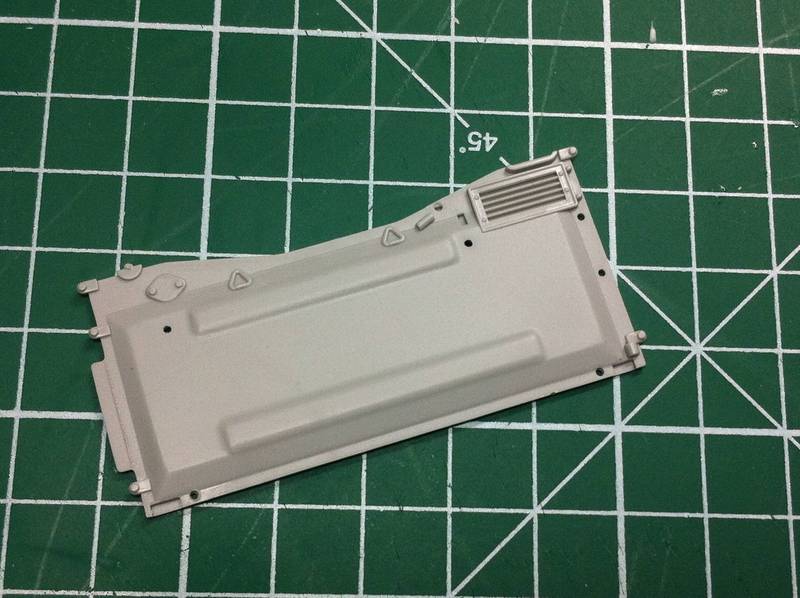
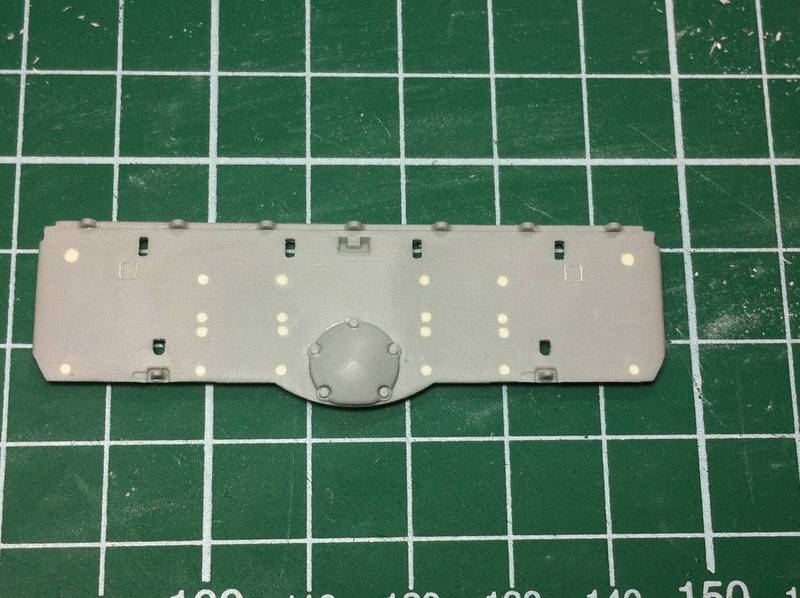
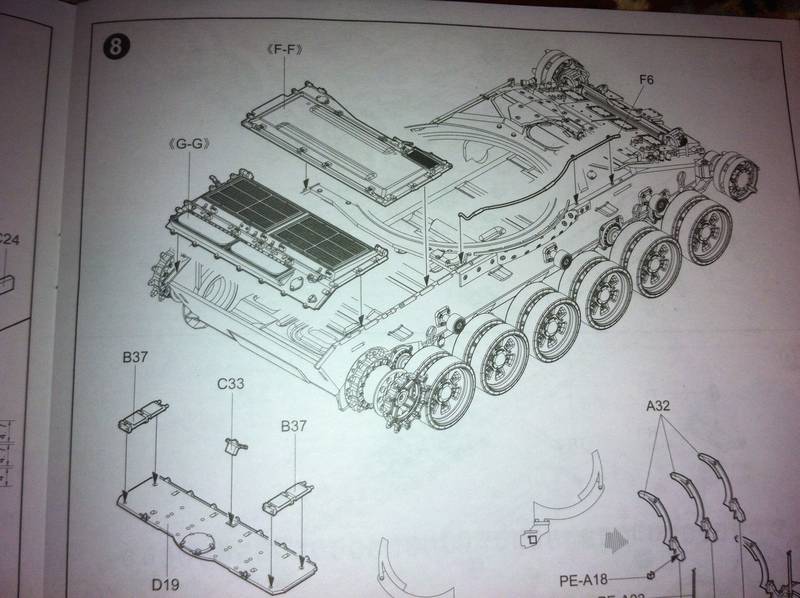
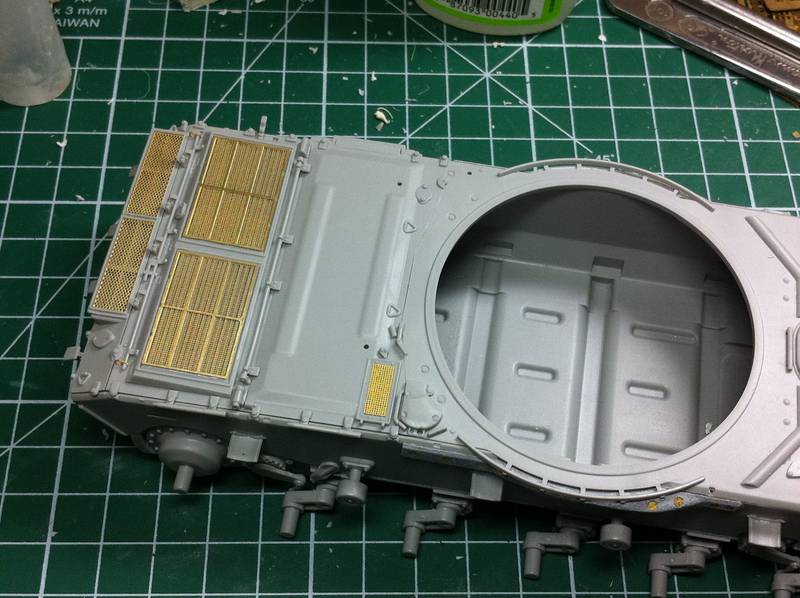
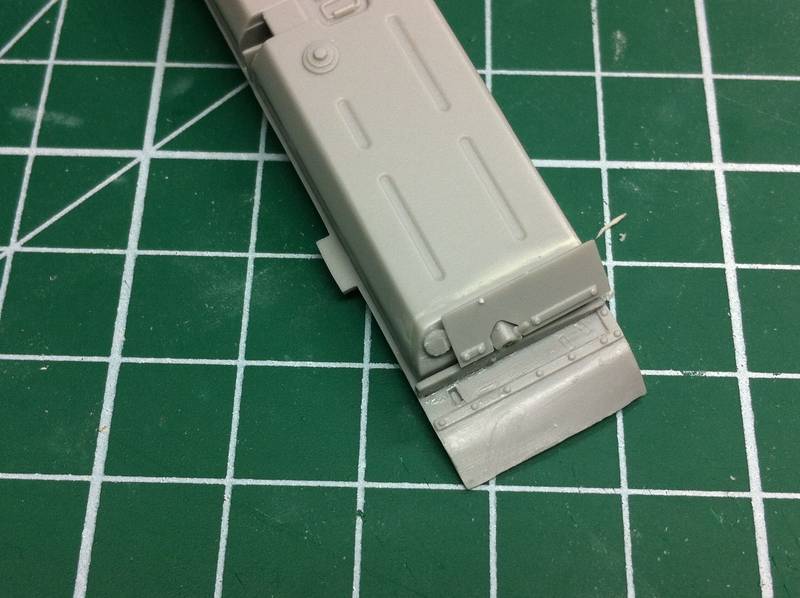
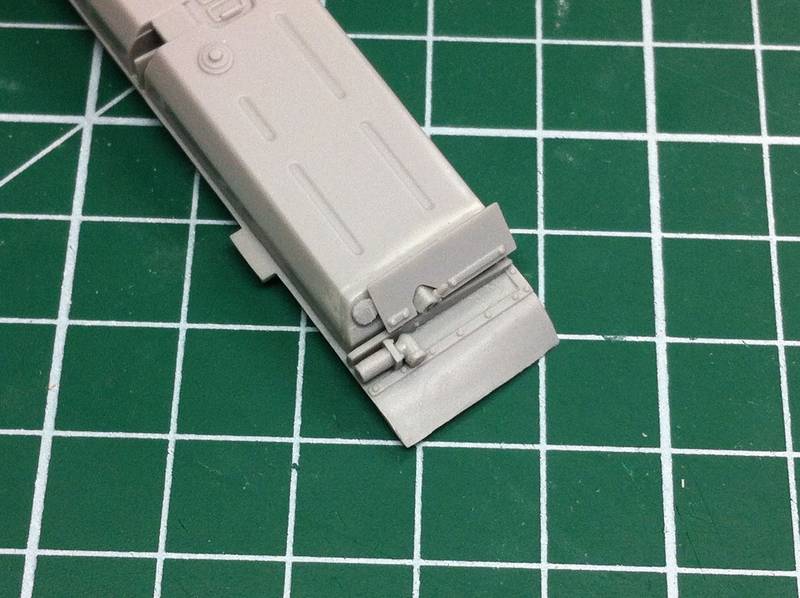
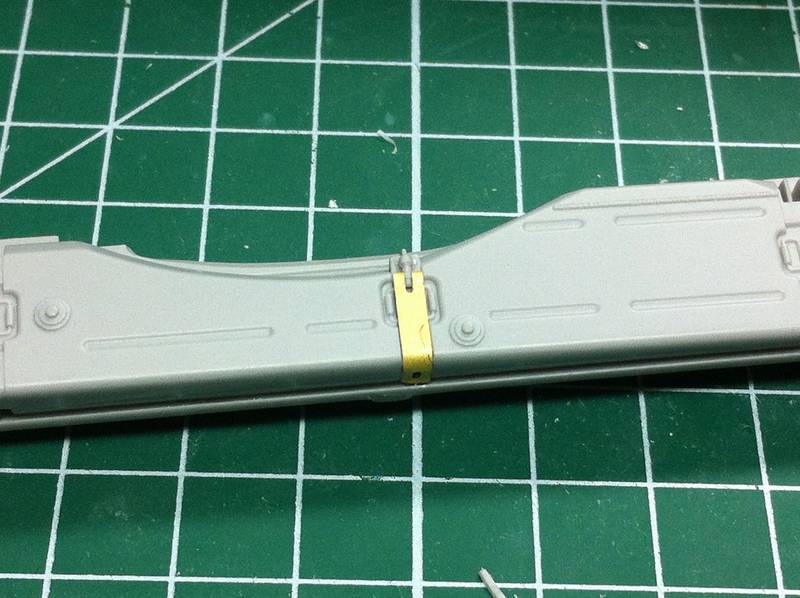
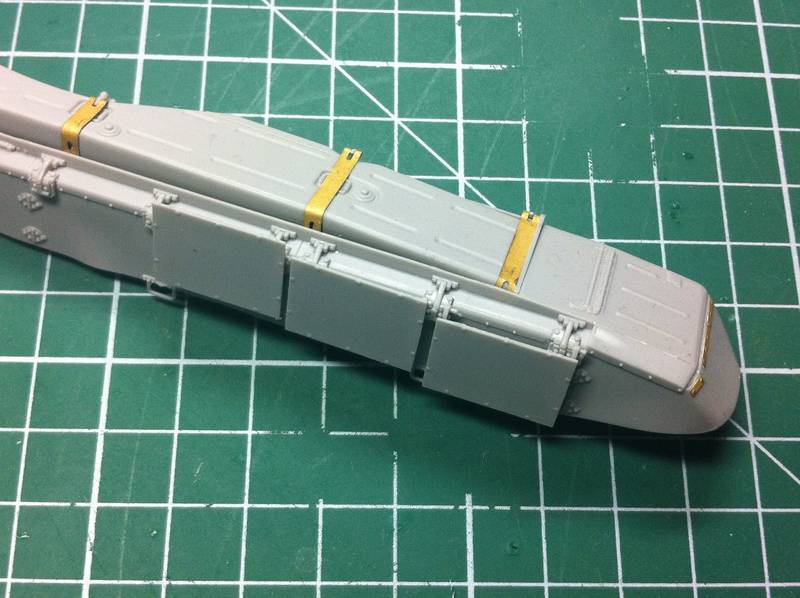
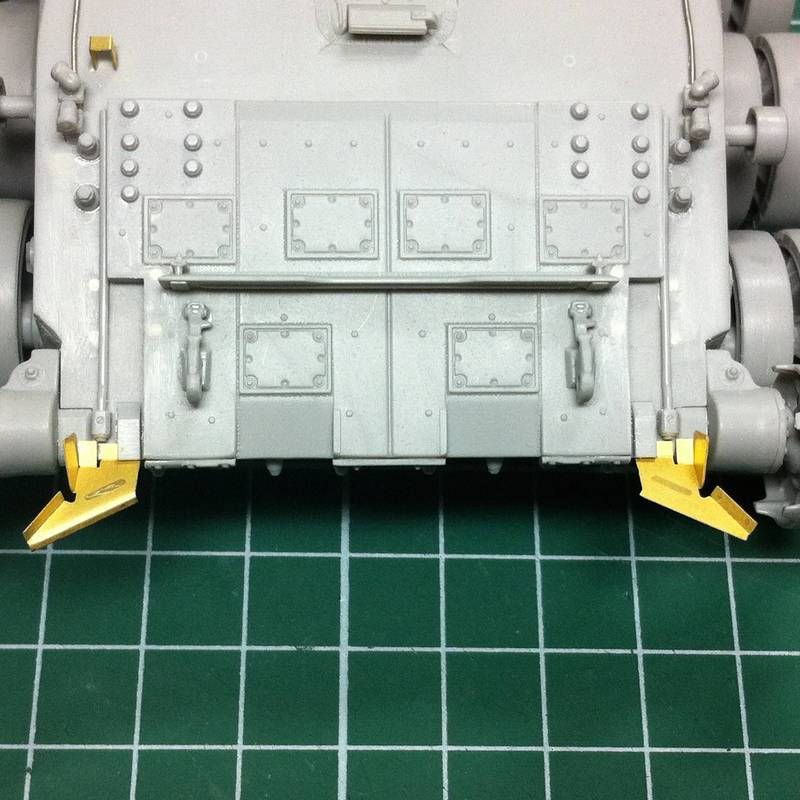
Be careful not to use the suggested front lower hull plate N79 as this doesn't have the correct number of KMT attachments for the T-72B. Thankfully Trumpeter have provided a plate with the correct 8x KMT attachments: use part C35.
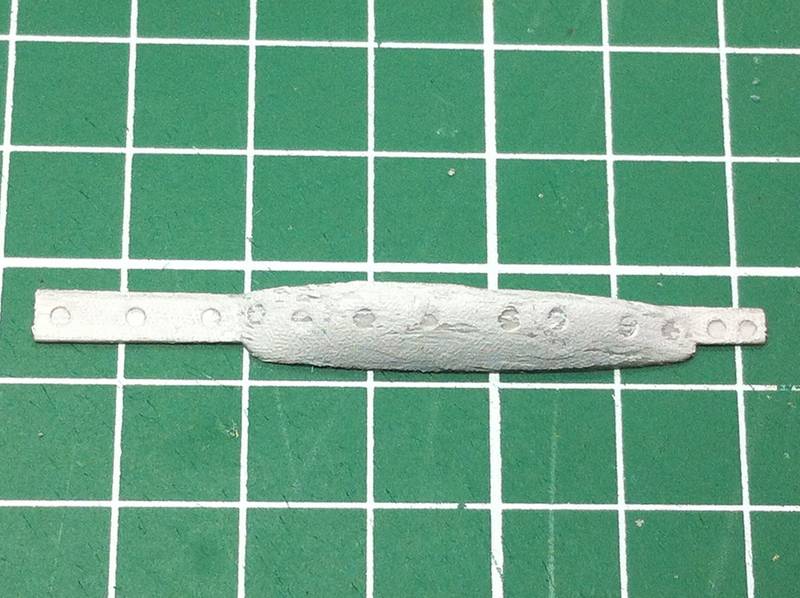
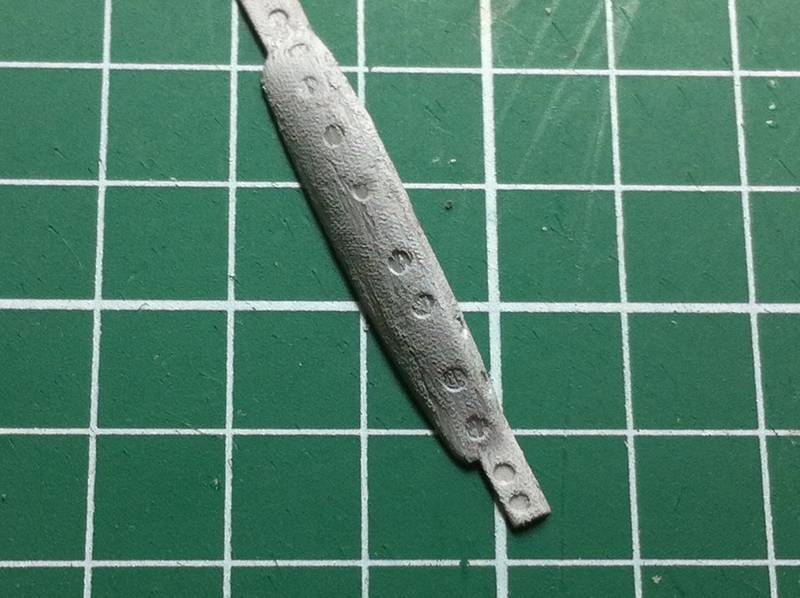
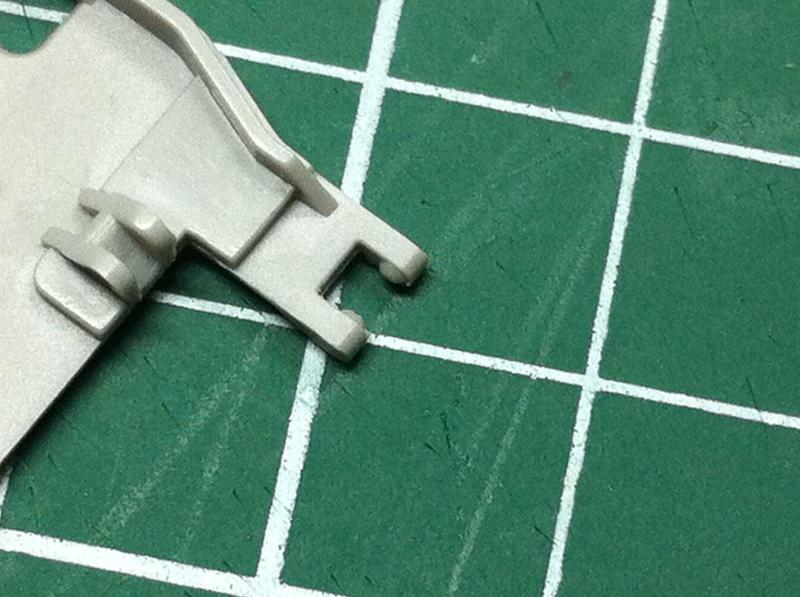
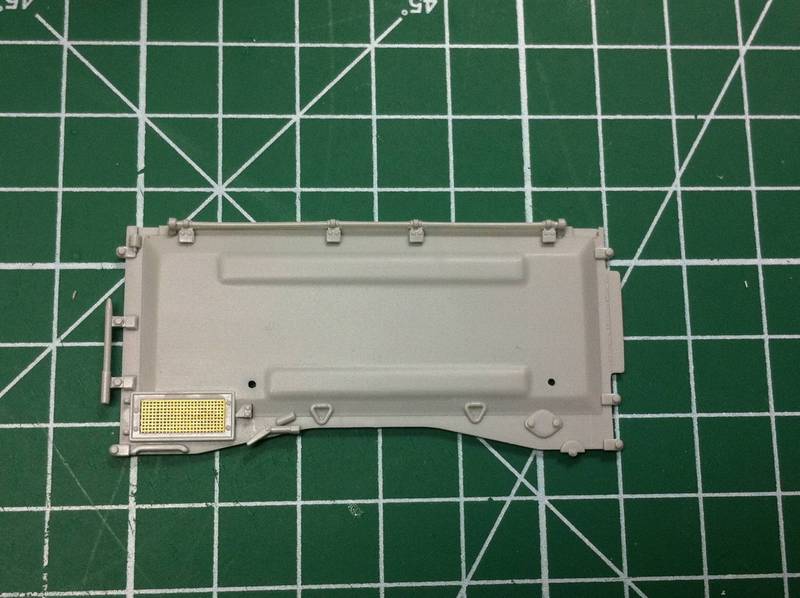
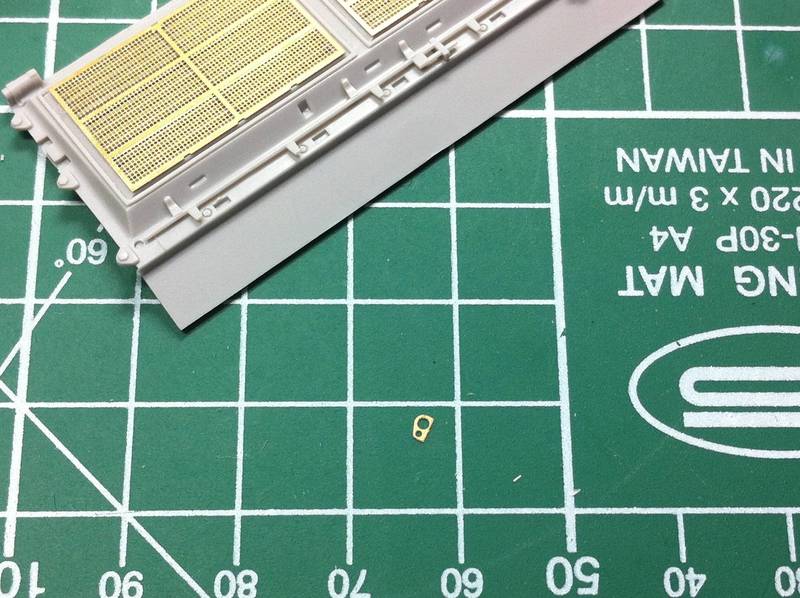
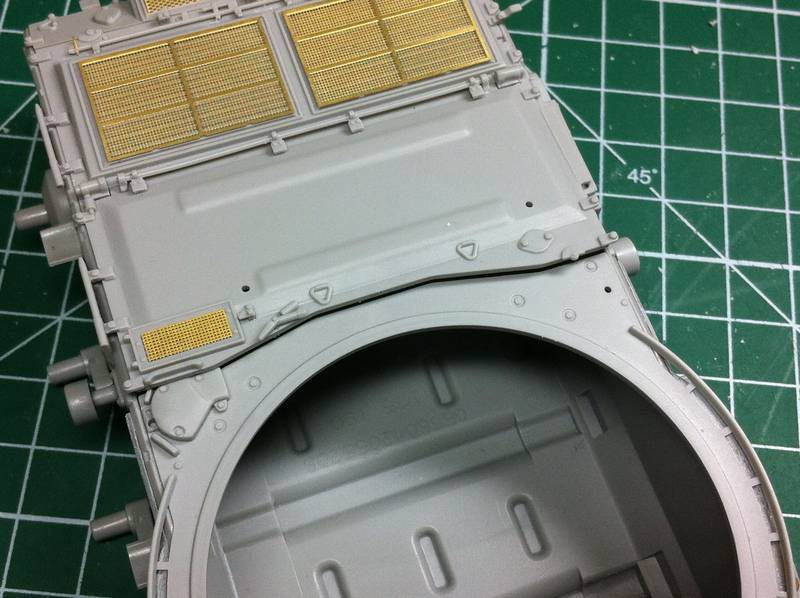
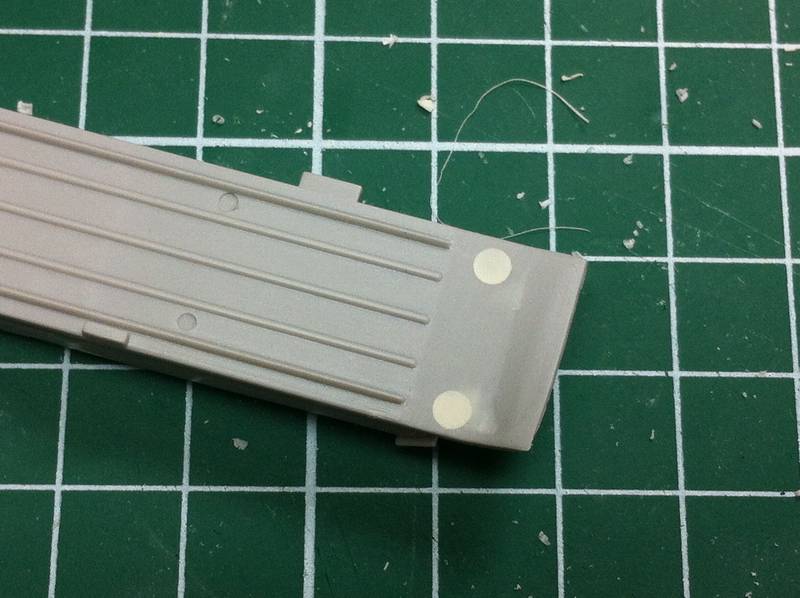
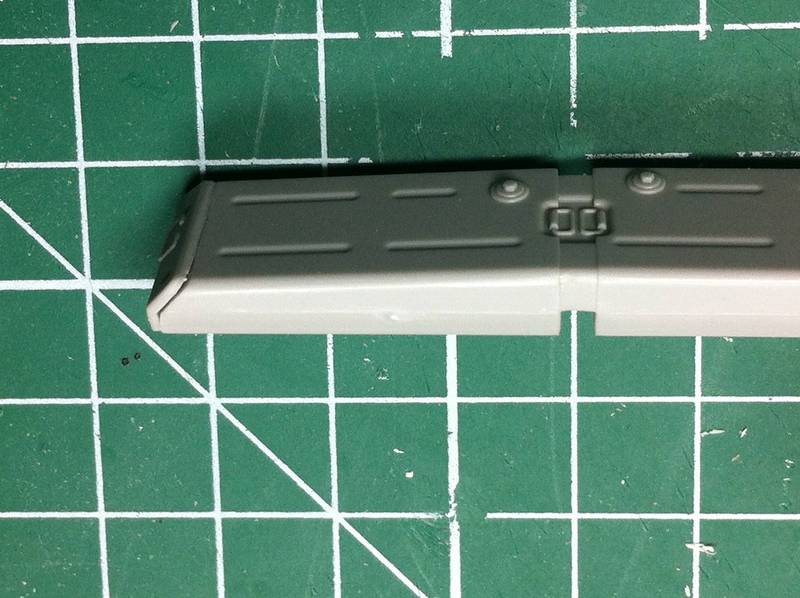
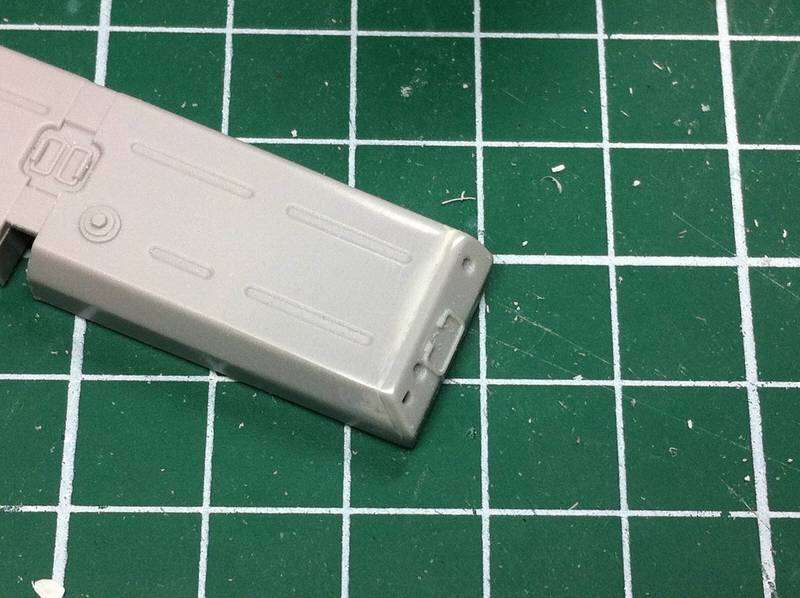
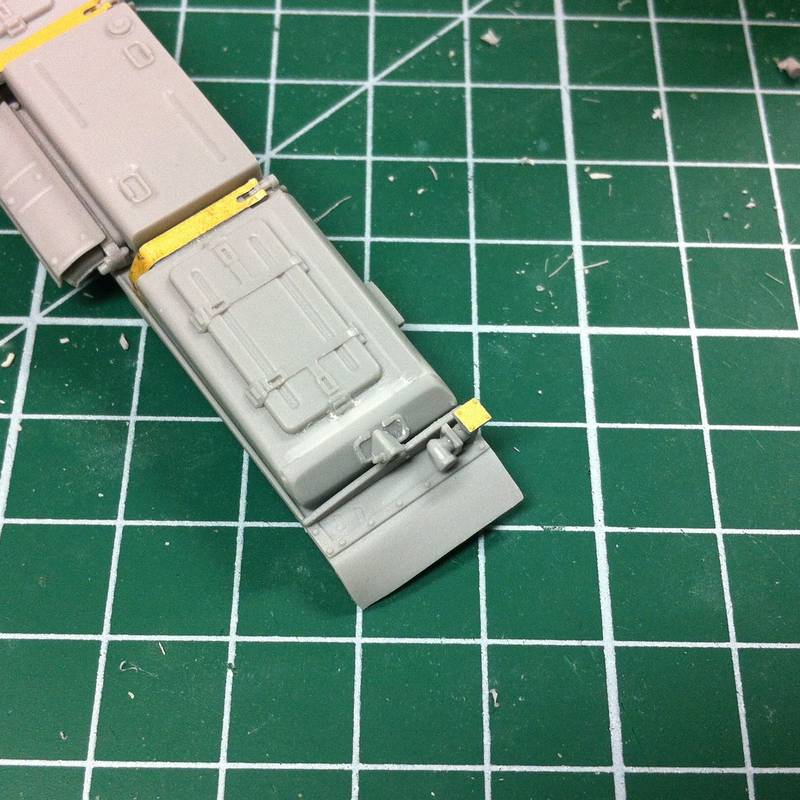
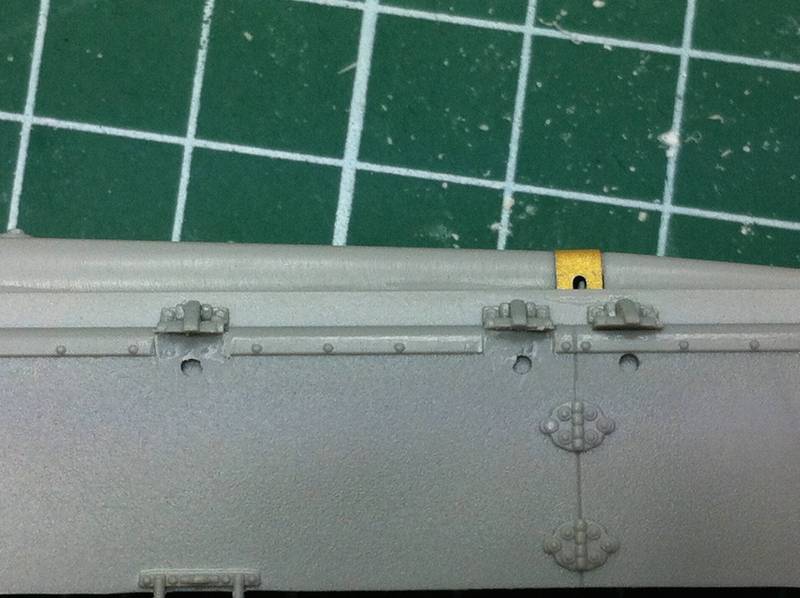
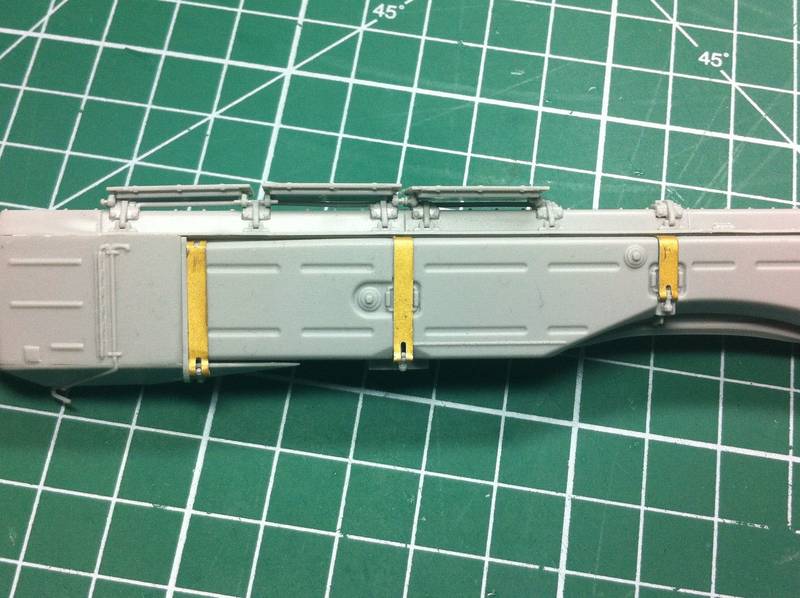
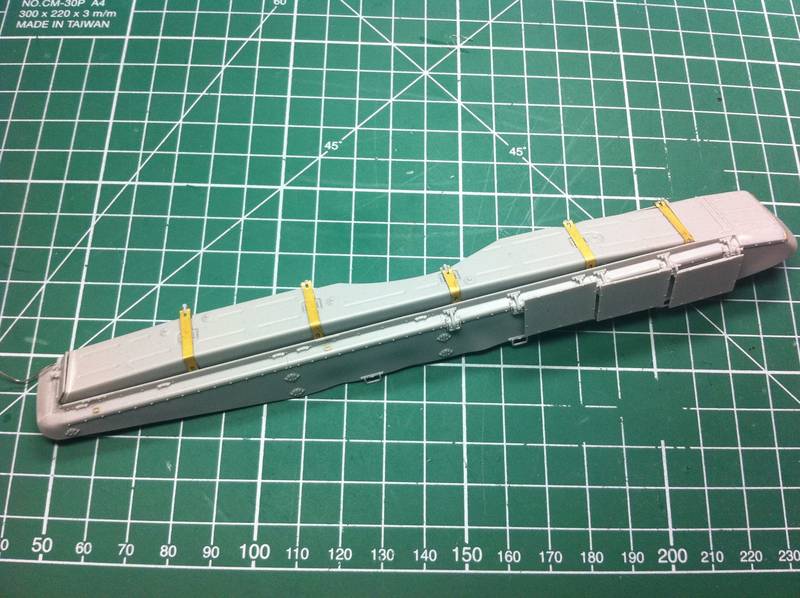
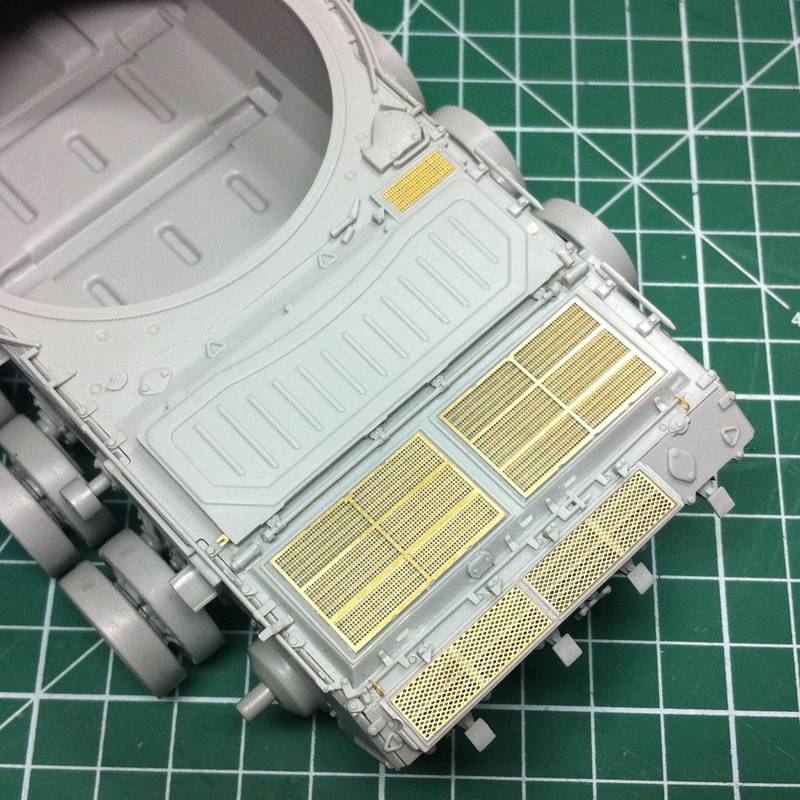
Theres some mould stubs on the rear side which need to be carved away for a flush fit:

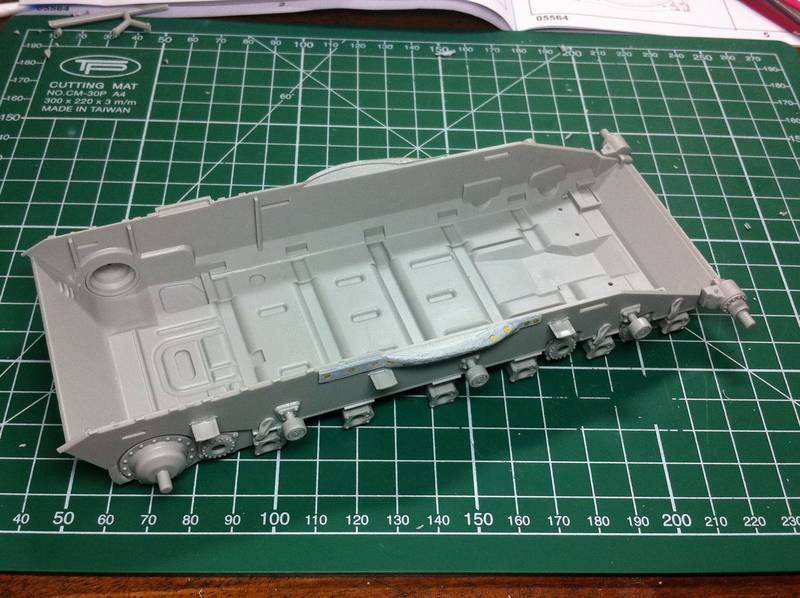
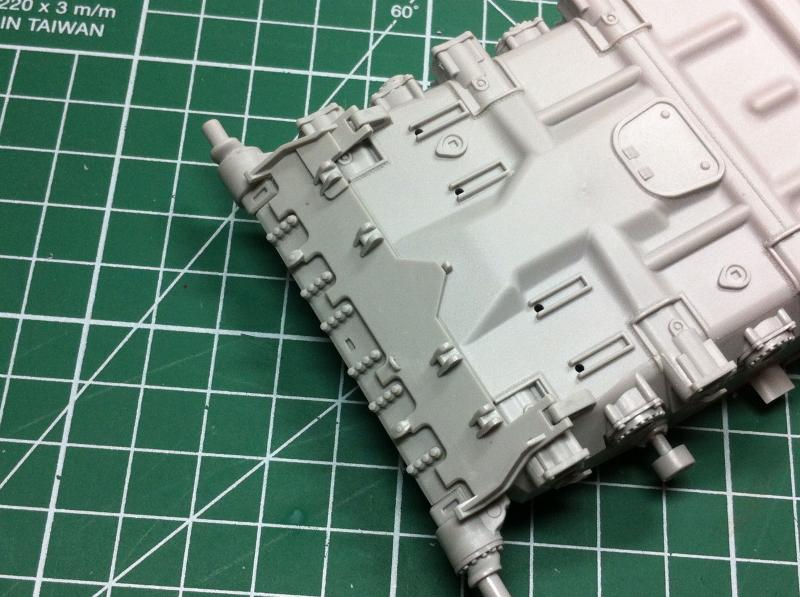
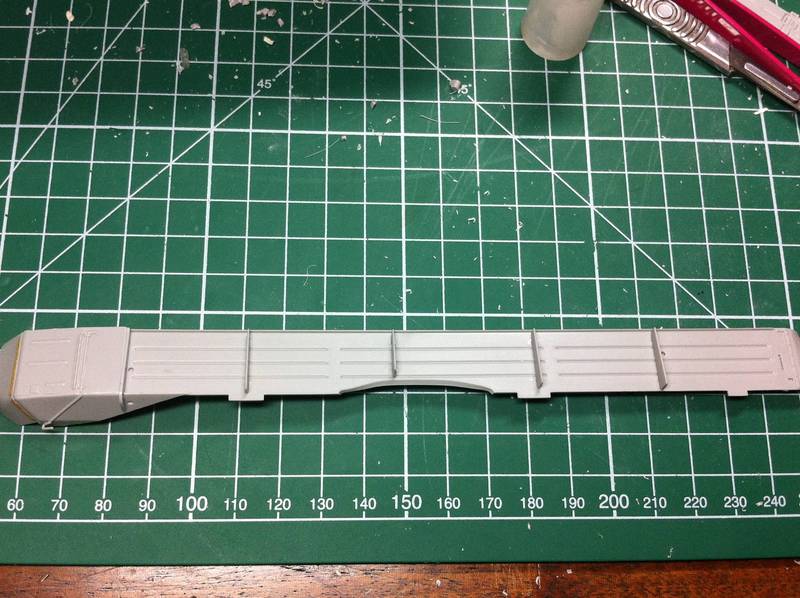
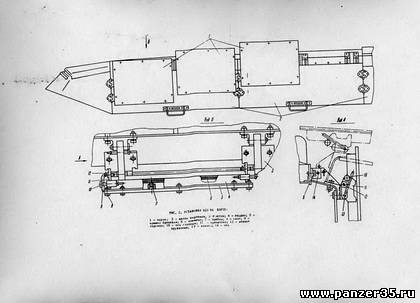
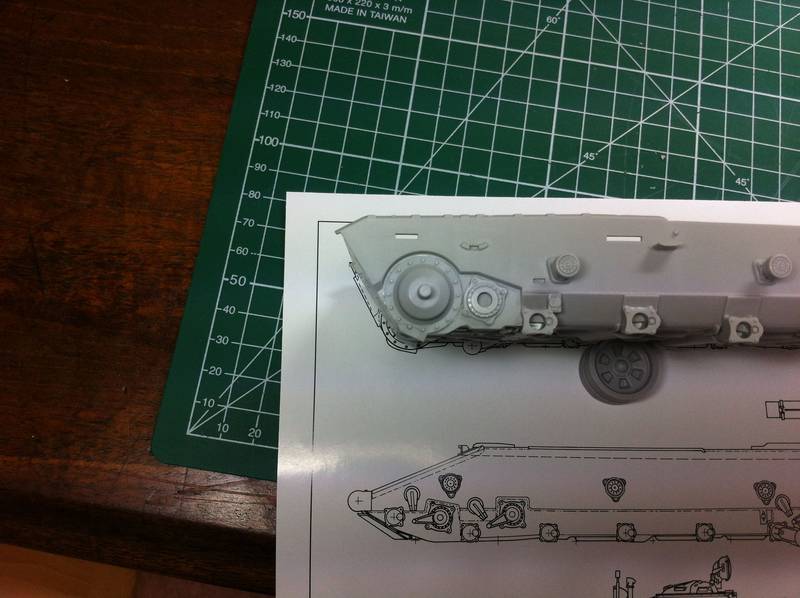
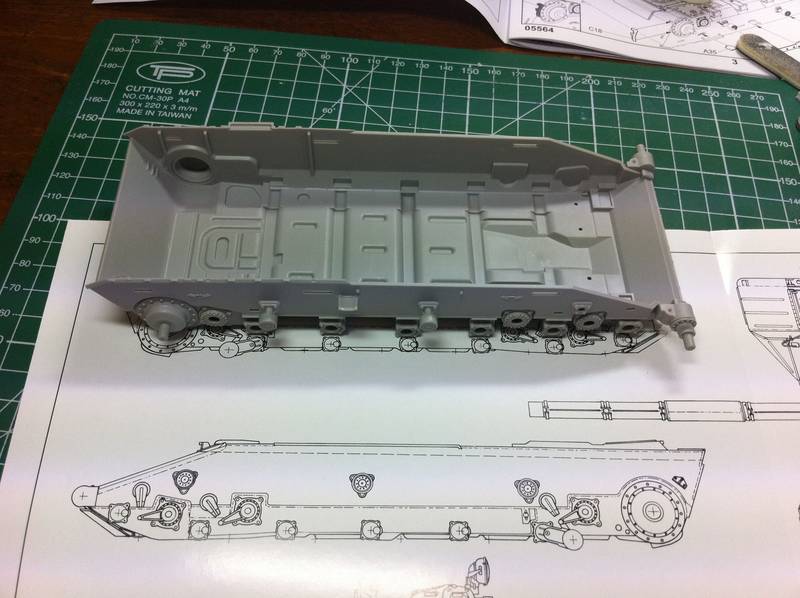
At this point I was intrigued to compare the hull to some scale plans. I've used the plans from WWP's T-72 book, which might not necessarily be accurate, but the Trumpeter kit seems to scale up well.
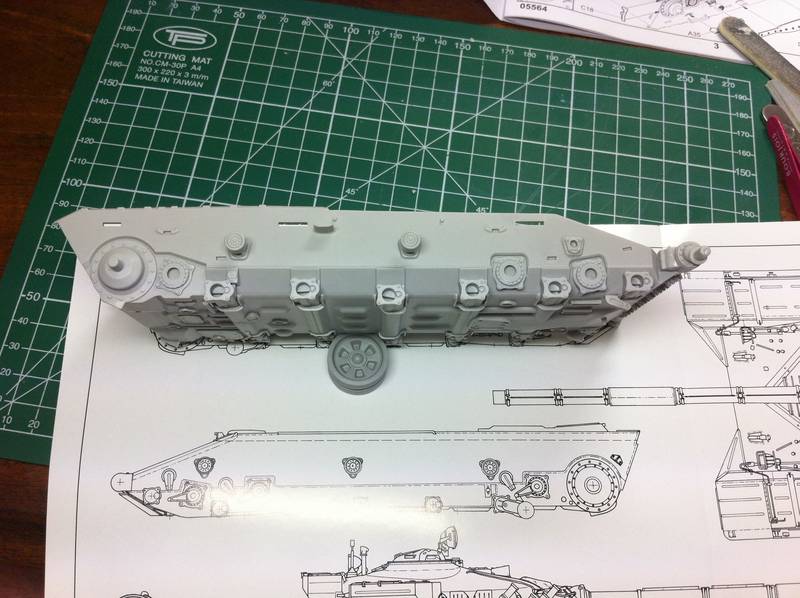
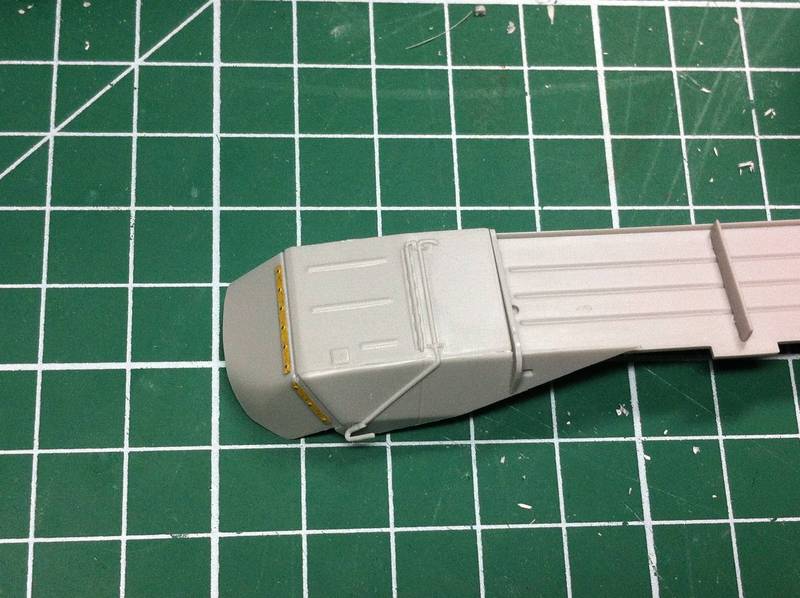
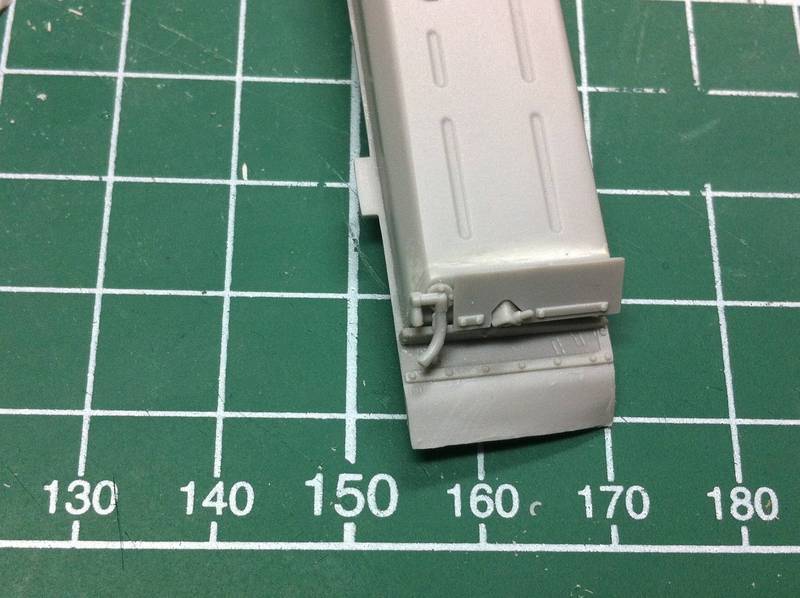
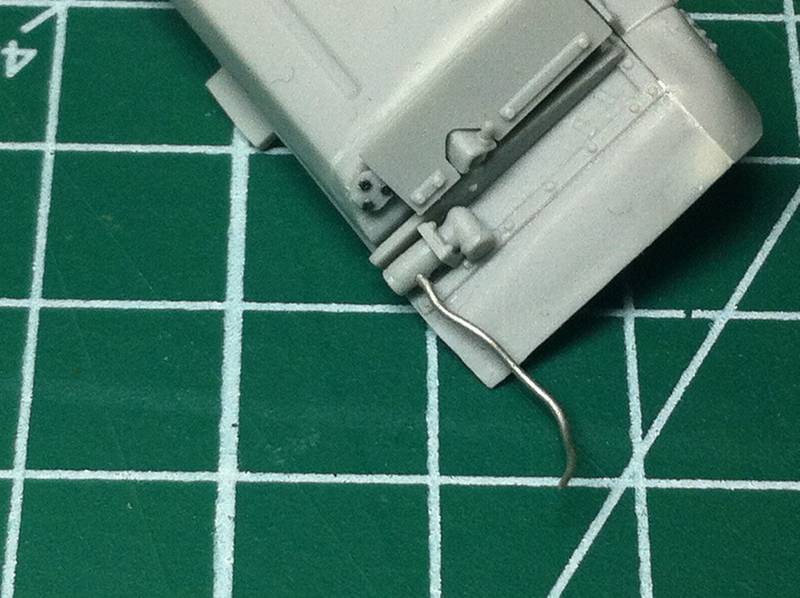
The back pate is a little off on the angle:

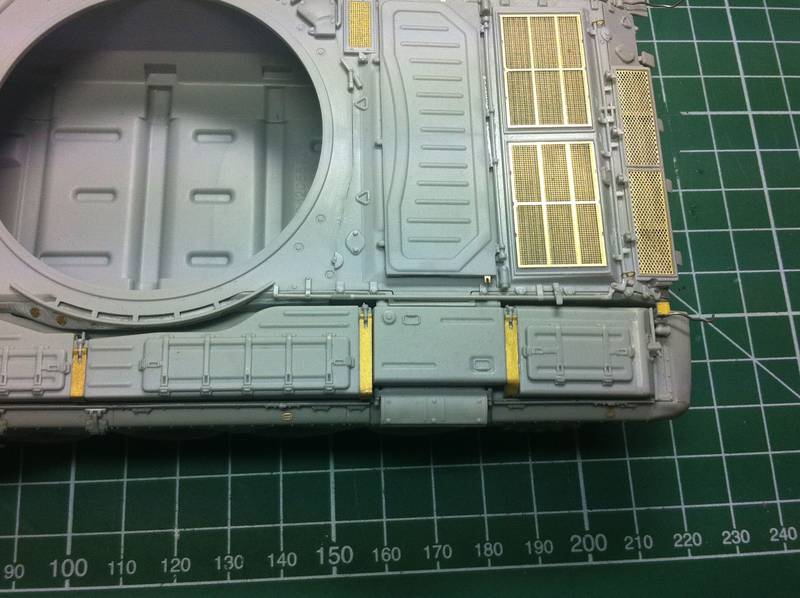
First step finished:
I'll carry on with the hull in the next instalment .