_GOTOBOTTOM
Armor/AFV: Axis - WWII
Armor and ground forces of the Axis forces during World War II.
Hosted by Darren Baker
Panzerkampfwagen T 34 - 747 (r), "Wunderwaffe
PanzerHanzler
Visit this Community
England - East Anglia, United Kingdom
Joined: March 16, 2014
KitMaker: 78 posts
Armorama: 68 posts
Posted: Monday, April 28, 2014 - 10:08 AM UTC
After a twenty year break from modelling I decided to build the kit I always wanted to - the Tamiya Tiger 1. I learnt a lot during this, mainly that things in the modelling community have moved on at a pace since I was last getting parts stuck my finger tips and cursing.

This initial build was un-modded - I only discovered the photo-etched nubbins when I was nearly finished. I will probably go back to this and fiddle about with it at some point.

After completing the Tiger I discovered a fantastic book - Panzerkampfwagen T 34 - 747 (r), The Soviet T-34 Tank as Beutepanzer & Panzerattrappe in German Wermacht Service 1941-45. Author Jochen Vollert.

Photoshop mock-up with semi-finished model:
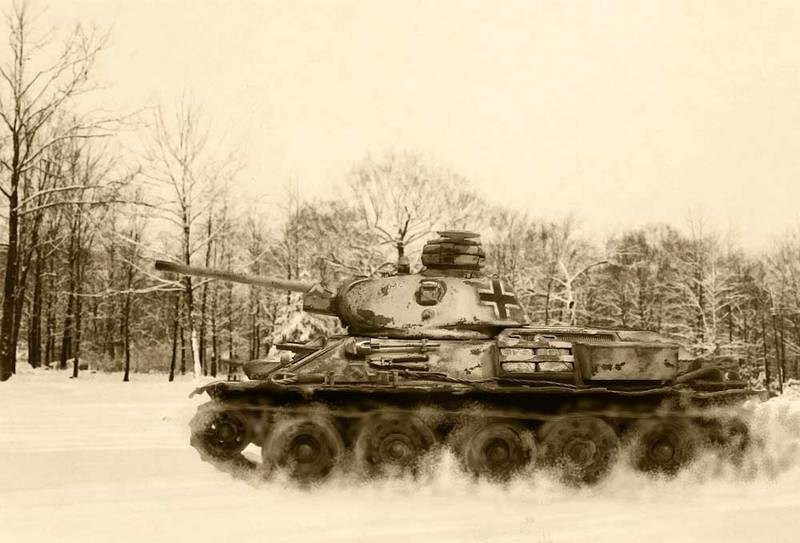


And another alt version of the above should fancy a quick look:

https://www.flickr.com/photos/hanzler666/13945082389/

I then decided to do a multi tank winter diorama based around the Tiger 1 & two beutepanzer's. The idea is to have column of troop & vehicles moving off towards a (distant) battle. I also started a build log for that but decided to re-start with a new log dedicated the build of one of the T-34 conversions as this is taking much, much longer than I thought it would.

The T 34 - 747 (r) conversion I have chosen to undertake is the "wunderwaffe" (not an official designation) factory modified T 34 which is an idealised version. The T-34 mod. 1941 cast turret version pictured in the book has a three colour camouflage pattern but no markings.

So I have invented little back story to fit this in that it has been rushed off to the front when things have started to get "desperate".

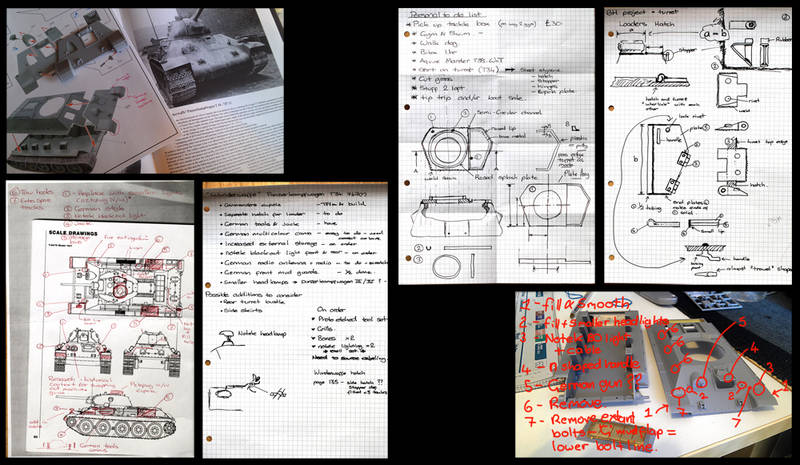
My initial "battle plans" for the T-34 conversion based on the factory converted tank pictured in the reference book.

The kit I'm using as the core of this is the Dragon T-34/76 mod. 1941 cast turret, kit number 6418.

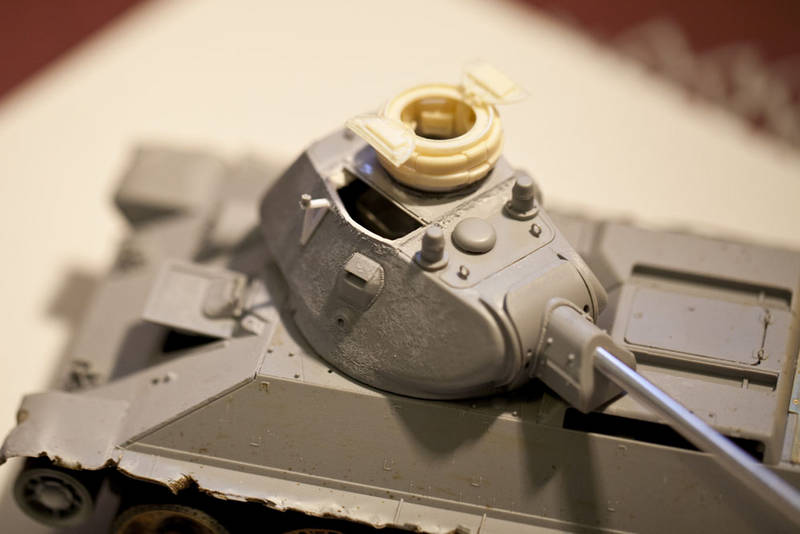
The main item on the agenda is how the cupola was fitted. The top hatch was completely removed and a plate welded on. The cupola was fitted to that and a side ways opening hatch was fitted.


First part was to remove a small section of the turret roof replace it with some plastic sheeting to replicate the steel plate that was welded on top. This is the first of two layers which seemed a good way to replicate the step in the plating where the hatch sits.


The second layer with a riser for the cupola (I managed to trim a bit too much the cupola that I am using) and a splash (?) plate. I apologise for the quality of the pictures but I was having a bad day.
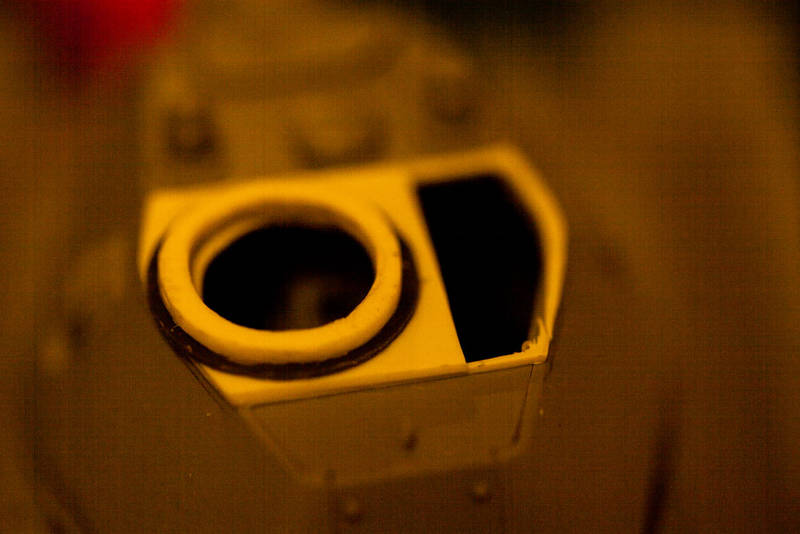
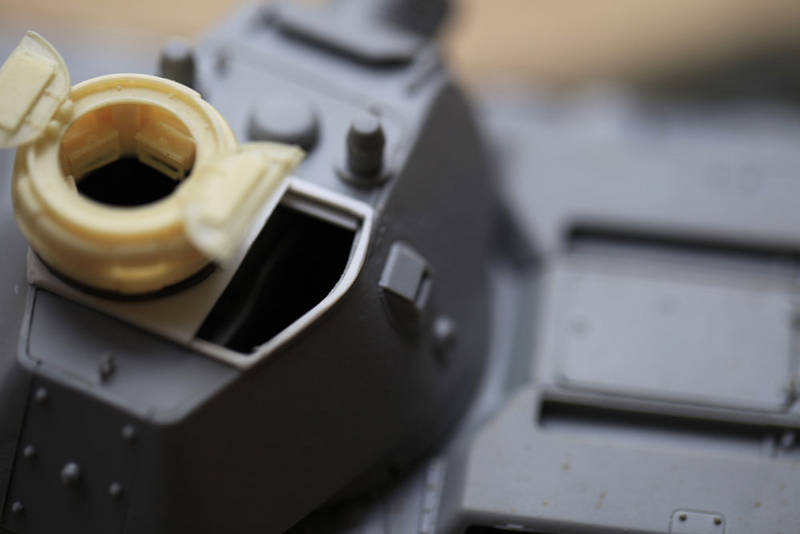


Two view of the turret with the cupola fitted (Mig resin kit) and a weld effect added around the outside.
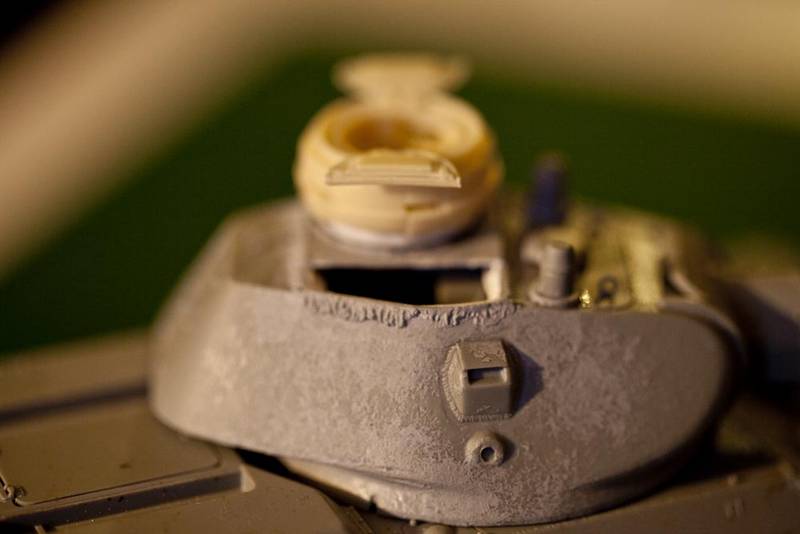
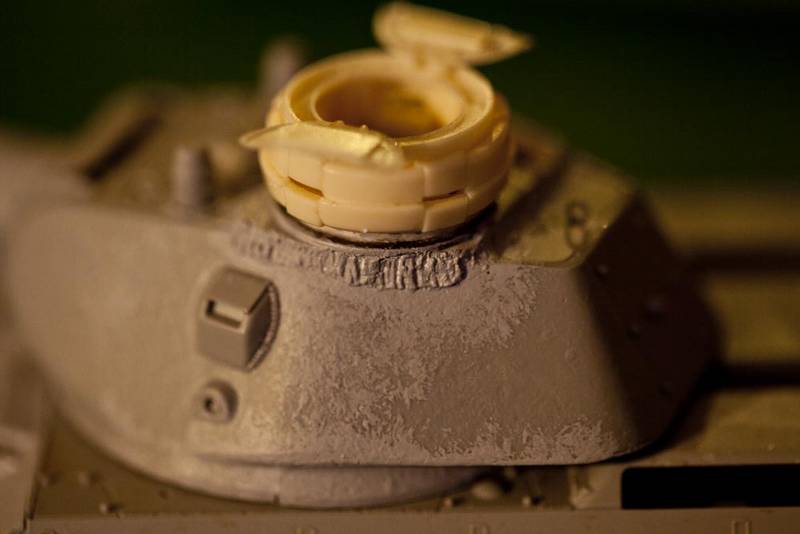


Frontal view with hatch stopper fitted
pablo_g
Visit this Community
Wojewodztwo Slaskie, Poland
Joined: October 21, 2003
KitMaker: 529 posts
Armorama: 500 posts
Posted: Monday, April 28, 2014 - 12:00 PM UTC
Hello Andrew,
Great start, promises to be interesting. I will follow the progress of the work, I really like the T-34 vehicles and especially the early models like yours.


Paweł
C_JACQUEMONT
Visit this Community
Loire-Atlantique, France
Joined: October 09, 2004
KitMaker: 2,433 posts
Armorama: 2,325 posts
Posted: Monday, April 28, 2014 - 07:48 PM UTC
Nice project, your weld seam looks two or three times oversized but I don't have the book handy to check (great book indeed I have it in my library).

Cheers,

Christophe
Removed by original poster on 04/29/14 - 13:02:05 (GMT).
PanzerHanzler
Visit this Community
England - East Anglia, United Kingdom
Joined: March 16, 2014
KitMaker: 78 posts
Armorama: 68 posts
Posted: Tuesday, April 29, 2014 - 01:01 AM UTC
I agree they came out a little large - in my defence this was a first try at a new technique. In hindsight a small syringe to apply the putty may have helped here. The tools I had to hand were a bit chunky. It is one of those jobs where every time I look at it, it seems a little worse.
PanzerHanzler
Visit this Community
England - East Anglia, United Kingdom
Joined: March 16, 2014
KitMaker: 78 posts
Armorama: 68 posts
Posted: Tuesday, April 29, 2014 - 01:07 AM UTC
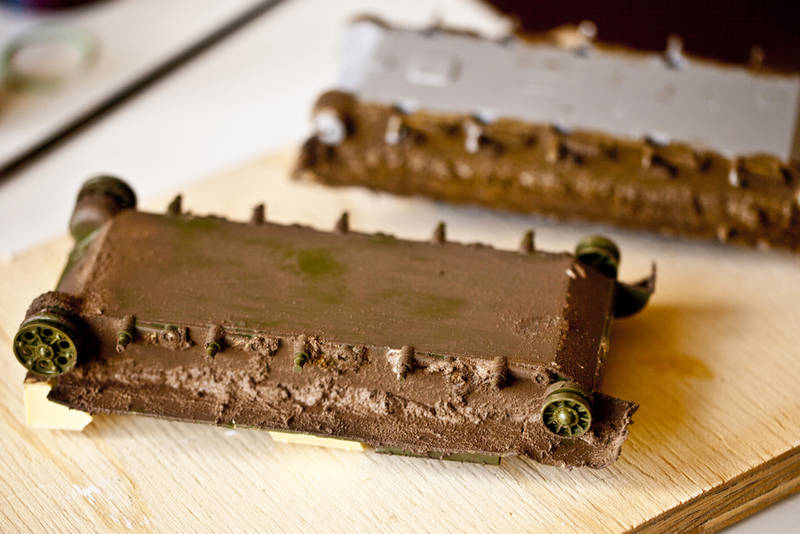
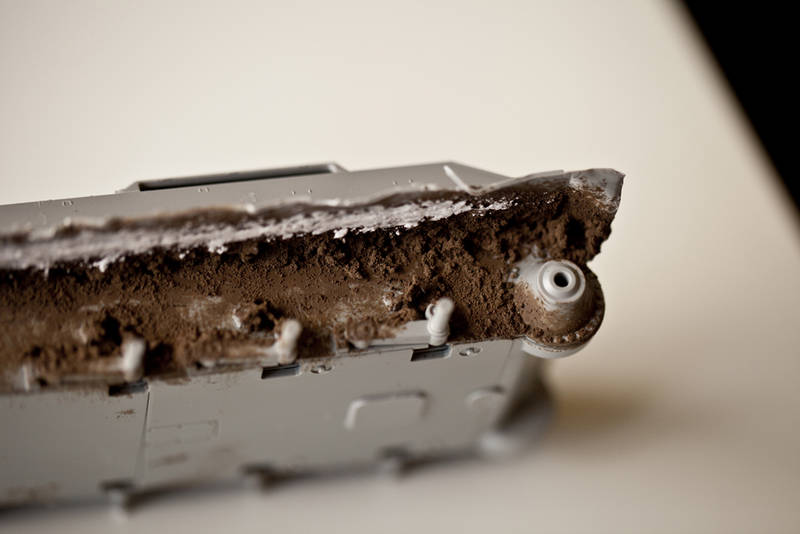
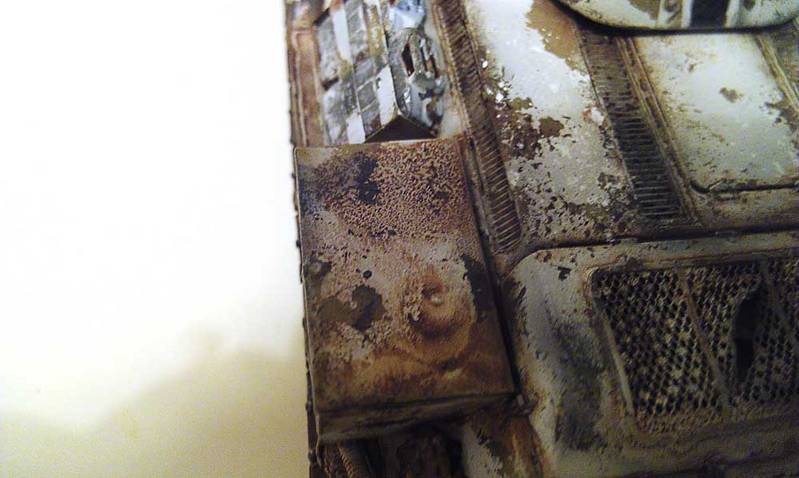
Couple of shots detailing my attempts at muddying the tanks lower side areas - the first shot include my first attempt on Zveda T-34 kit, OK kit but it's in the same league as the Dragon kit. The grit effect is from some Tamiya paint that has small ceramic granules in it.


PanzerHanzler
Visit this Community
England - East Anglia, United Kingdom
Joined: March 16, 2014
KitMaker: 78 posts
Armorama: 68 posts
Posted: Wednesday, April 30, 2014 - 06:14 PM UTC
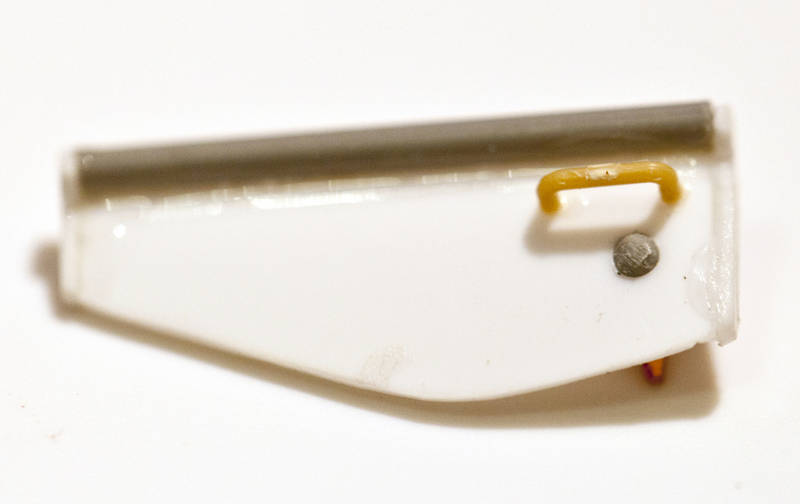
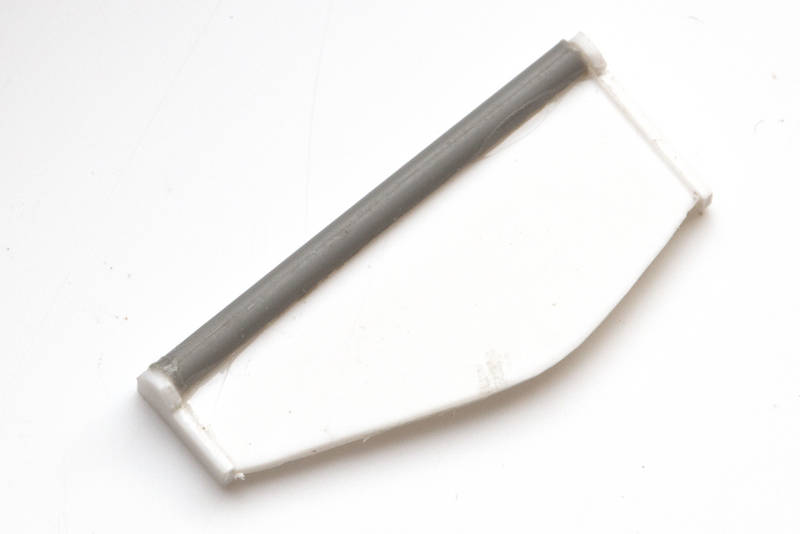
Some more work done on the turret & side ways opening hatch.


The grooved interlocking rounded channel on the hatch and the turret was created from a piece of spru. I used a file to flatten one side then cut the groove with a hobby saw.
PanzerHanzler
Visit this Community
England - East Anglia, United Kingdom
Joined: March 16, 2014
KitMaker: 78 posts
Armorama: 68 posts
Posted: Wednesday, April 30, 2014 - 06:26 PM UTC
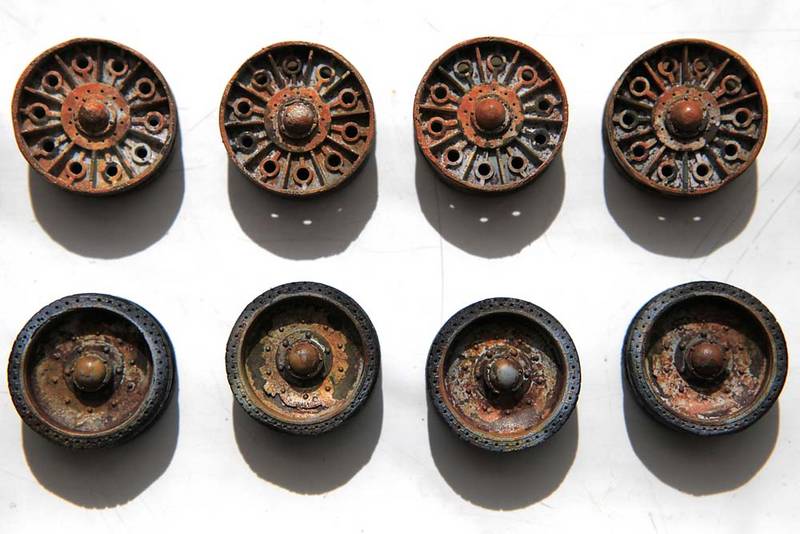
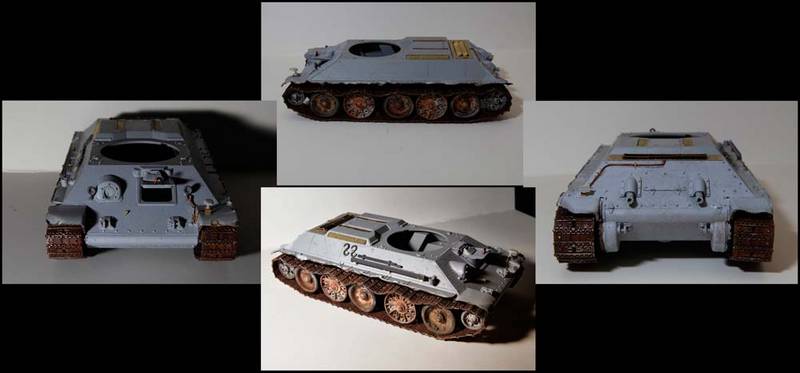
Finally got work on the hull, wheels and the tracks.

The picture has exaggerated the orange a bit here. The wheels have some white (it's there, somewhere - honest) as this will eventually have winter camo overpainted on the finished item.


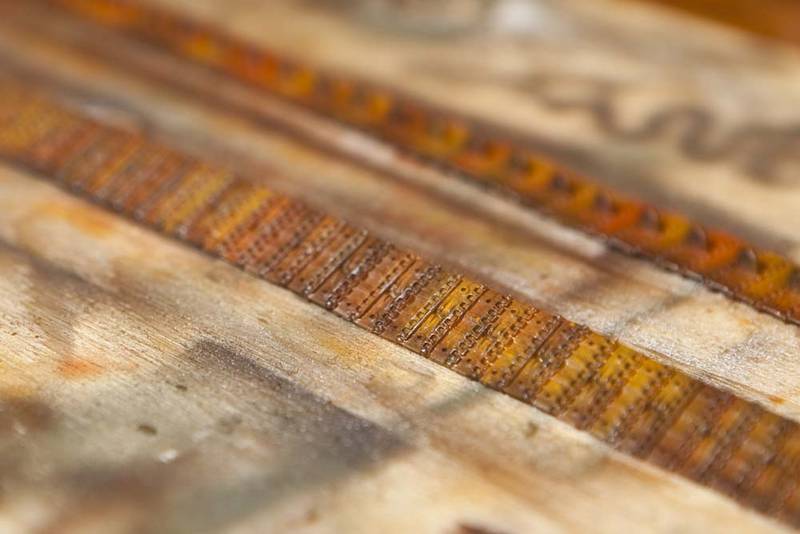
AFV Club tracks used - T-34 550mm (1941) stamped links. AF35142.


Mudguards trimmed etc...


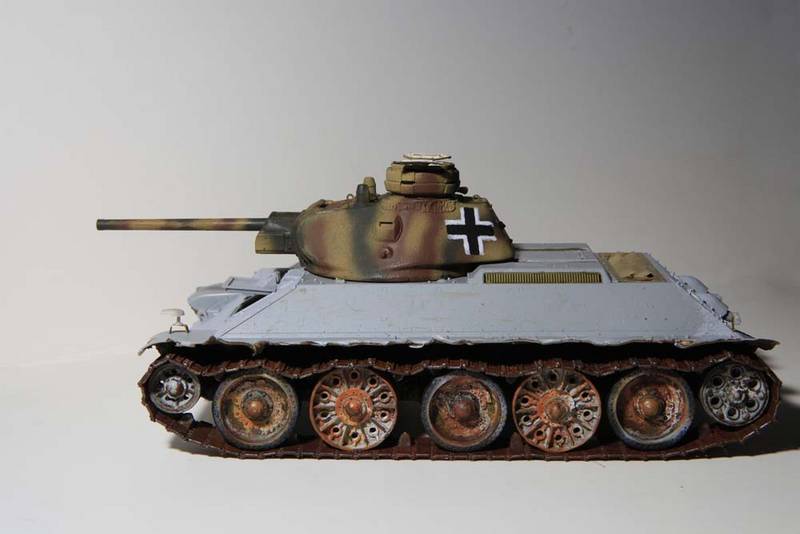
Turret + plus hull. I have diverged from the book photo as I am doing this build as if it has "gone to the front", so I've mixed and matched some wheels to replicate (perhaps) the German mechanics swapping some of the rubberised road to another tank. The balkenkreuz's have been hand rendered to give it the painted in the field look - I thought the transfers looked too "clean" so ditched those.


Started to add some tooling. Notek blackout light (front) and Notek distance light (rear) fitted along with some cabling. Tracks rust toned down a bit with some thinned wash. A few pieces raided from a bargain basement purchase of a Panzer Kampfwagen IV Ausf.D Tamiya kit.


Motives
Visit this Community
Stockholm, Sweden
Joined: October 15, 2013
KitMaker: 444 posts
Armorama: 428 posts
Posted: Wednesday, April 30, 2014 - 06:42 PM UTC
Very cool!
Didn't even know these kind of conversion existed
PanzerHanzler
Visit this Community
England - East Anglia, United Kingdom
Joined: March 16, 2014
KitMaker: 78 posts
Armorama: 68 posts
Posted: Wednesday, April 30, 2014 - 06:49 PM UTC
The author of the book shows this and explains the two examples at the factory almost as prototypes of a standardised proposed conversion for captured T-34's. The practicality of the situation seems to be that the combat units couldn't spare the captured tanks - despite being bribed with booze etc... However if you scan the photo's in the book the appear to some examples of where tanks with this style of hatch are being used in combat. Did wonder if there is any evidence / precedent for the factories to have been knocking out a conversion kit that was sent to the front to be fitted there, would have made sense to do it that way as opposed to trawling tanks backwards and forwards.
PanzerHanzler
Visit this Community
England - East Anglia, United Kingdom
Joined: March 16, 2014
KitMaker: 78 posts
Armorama: 68 posts
Posted: Wednesday, April 30, 2014 - 07:11 PM UTC
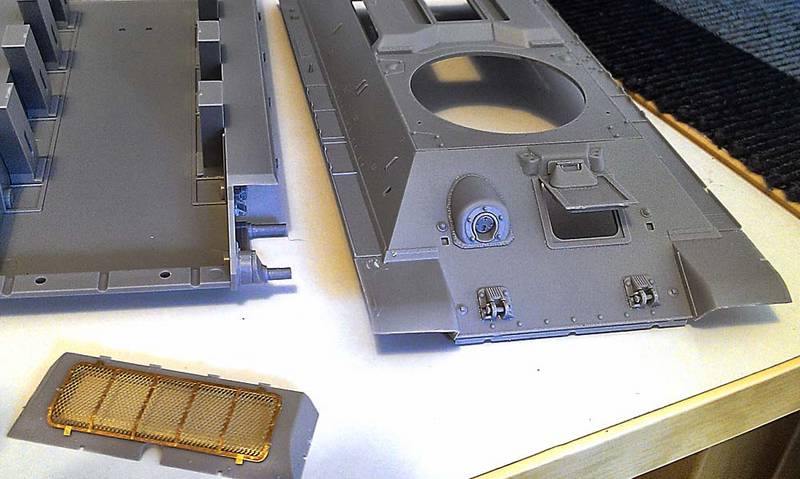
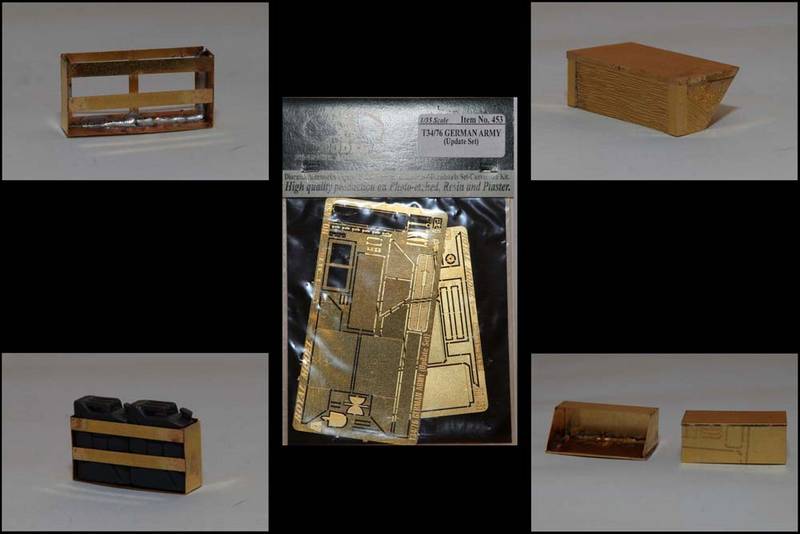
Nice little PE set from the US for the German tool boxes. Also includes some tool fixing strapes, Notek fittings (wish I found this a couple of days ago). Very nice set.


The slatted crate thing seems to accommodate two jerry cans perfectly - not sure if this was its actual use or not.
Motives
Visit this Community
Stockholm, Sweden
Joined: October 15, 2013
KitMaker: 444 posts
Armorama: 428 posts
Posted: Wednesday, April 30, 2014 - 09:54 PM UTC
Looks like the toolboxes found on panzer iv G's and up. Road wheels, jerry cans, tools.. I've seen em all in photos
PanzerHanzler
Visit this Community
England - East Anglia, United Kingdom
Joined: March 16, 2014
KitMaker: 78 posts
Armorama: 68 posts
Posted: Tuesday, May 06, 2014 - 05:59 AM UTC
Busy weekend:

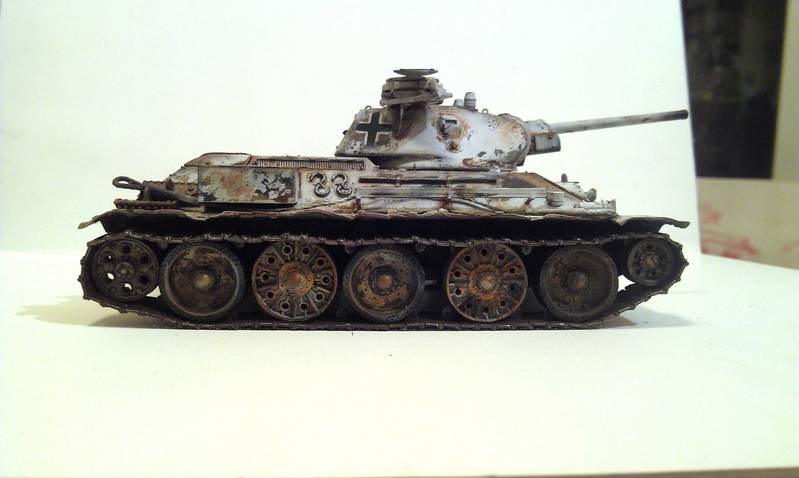
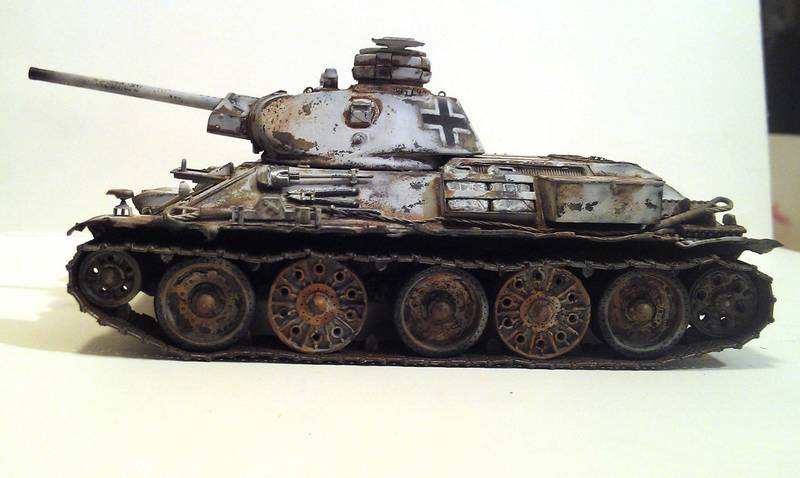
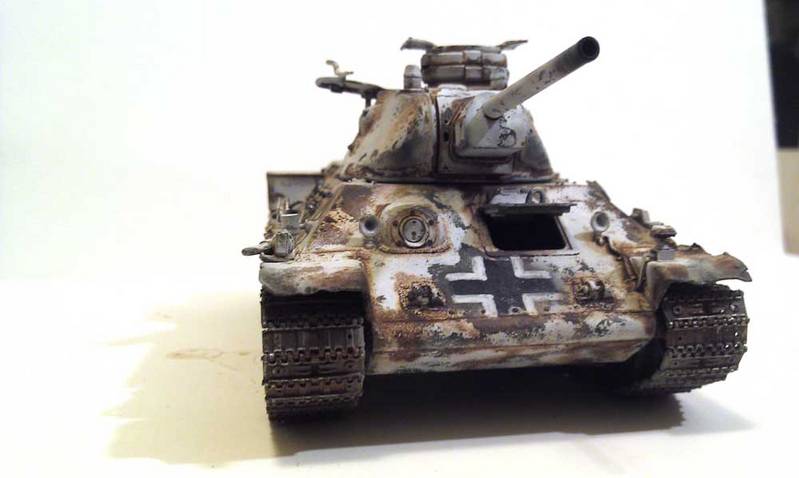
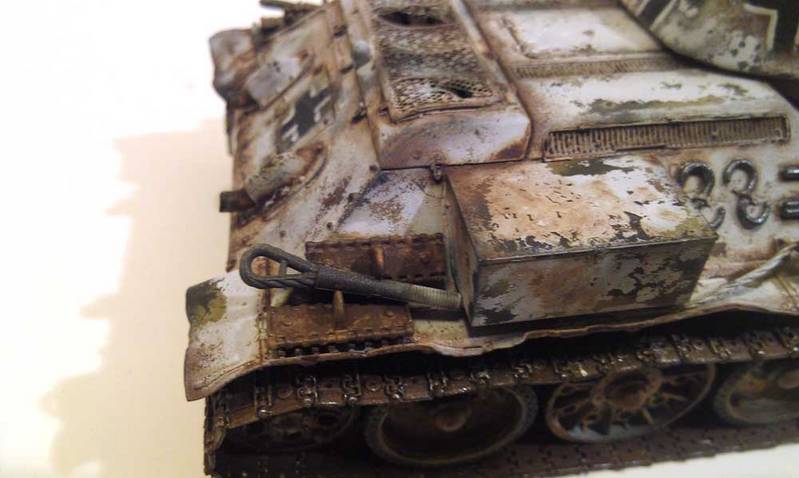
Summer camouflage + mild weathering topped over with some winter camouflage and the fine detailing/weathering started. Took some track links out as they were just too baggy, the more I looked the worse they looked.

To do list straighten RHS drive wheel - it looks slightly wonky, paint the tow cables and add some streaking - last time I tried this it didn't work too well so I will be practising on something disposable first.

Please excuse the photo quality - I took these on a mobile (no [auto-censored] Sherlock). This is my second attempt weathering. I applied a base coat of "Russian" green, summer then winter camouflage. Between each layer I applied some AK worn effects + some old school foam dabbing for the chips - I was trying to a layered effect to the weathering.


PanzerHanzler
Visit this Community
England - East Anglia, United Kingdom
Joined: March 16, 2014
KitMaker: 78 posts
Armorama: 68 posts
Posted: Wednesday, May 07, 2014 - 06:53 AM UTC
Question to those more knowledgeable than myself - would it have been possible to replace forward machine gun with a German gun - or would it not have fitted too long?

A lot of photos don't seem to show these captured tank with machine guns, I assume as the Russian abandoned them they took anything they could carry.
PanzerHanzler
Visit this Community
England - East Anglia, United Kingdom
Joined: March 16, 2014
KitMaker: 78 posts
Armorama: 68 posts
Posted: Monday, May 12, 2014 - 04:07 AM UTC
Nearly finished

 _GOTOTOP