_GOTOBOTTOM
Dioramas: Beginners
A good place to look if you are just starting out.
Hosted by Darren Baker
Build Log: 'Get Ready' Vignette
All_You_Can_Kit
Visit this Community
Jakarta Raya, Indonesia
Joined: August 22, 2012
KitMaker: 599 posts
Armorama: 527 posts
Posted: Friday, May 09, 2014 - 11:38 AM UTC
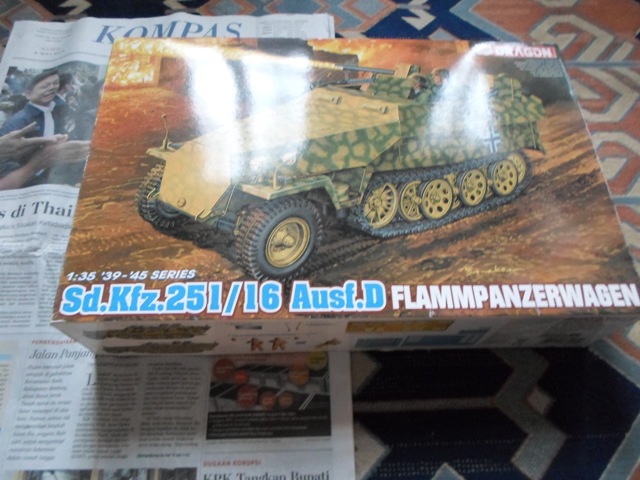
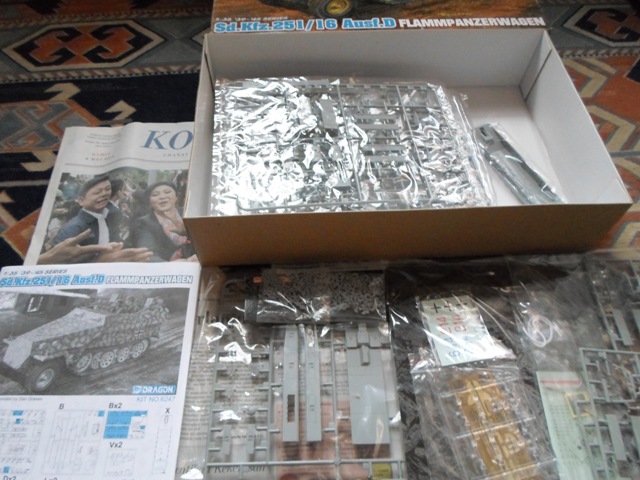
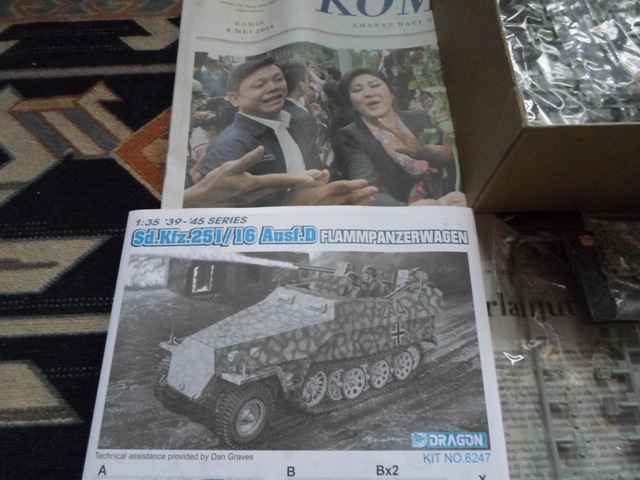
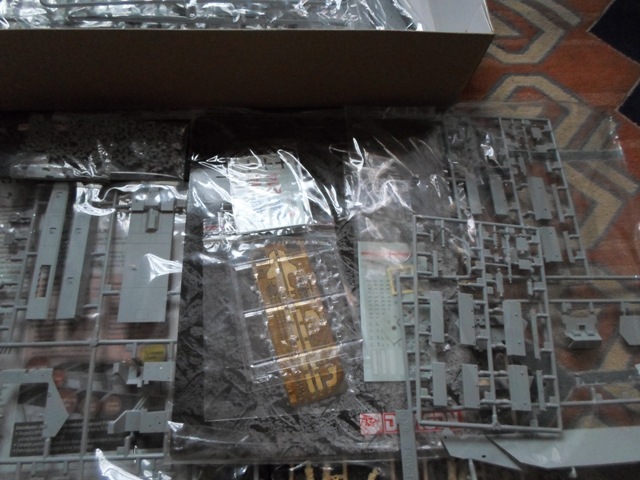
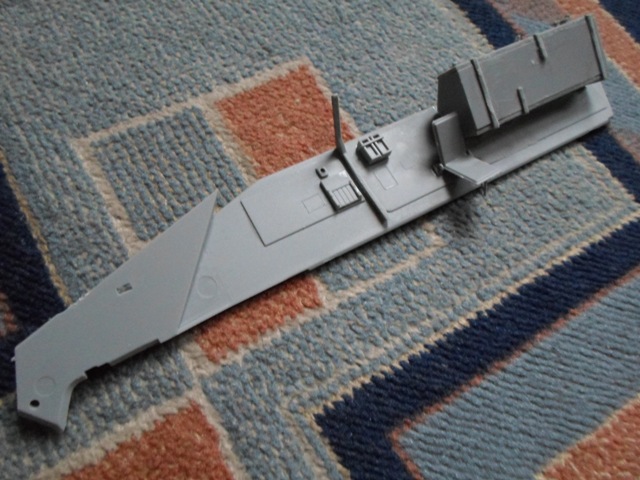
Hello guys, far out of the starting date of "The 251" campaign, now I show you the contains of item that I fulfill as an entry of this campaign. This is an old set from Dragon that released in 2006 (as stated in copyright), bringing us its main 'actor' an SdKfz 251/16 Ausf D that functioned as flamethrower. The contains of the set are as follows:


The next step is to unwrap all of them and start the basic assembly! See you guys

Kind regards


Garry
Fenbeiduo
Visit this Community
Jiangsu, China / 简体
Joined: April 05, 2014
KitMaker: 103 posts
Armorama: 90 posts
Posted: Saturday, May 10, 2014 - 01:16 AM UTC
see you then~
All_You_Can_Kit
Visit this Community
Jakarta Raya, Indonesia
Joined: August 22, 2012
KitMaker: 599 posts
Armorama: 527 posts
Posted: Saturday, May 10, 2014 - 04:49 AM UTC

Quoted Text

see you then~


Ok, with my pleasure my friend

Cheers


Garry
All_You_Can_Kit
Visit this Community
Jakarta Raya, Indonesia
Joined: August 22, 2012
KitMaker: 599 posts
Armorama: 527 posts
Posted: Wednesday, May 14, 2014 - 09:41 PM UTC
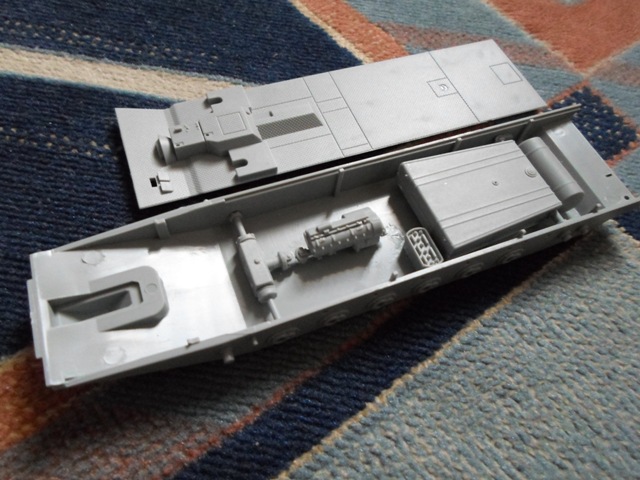
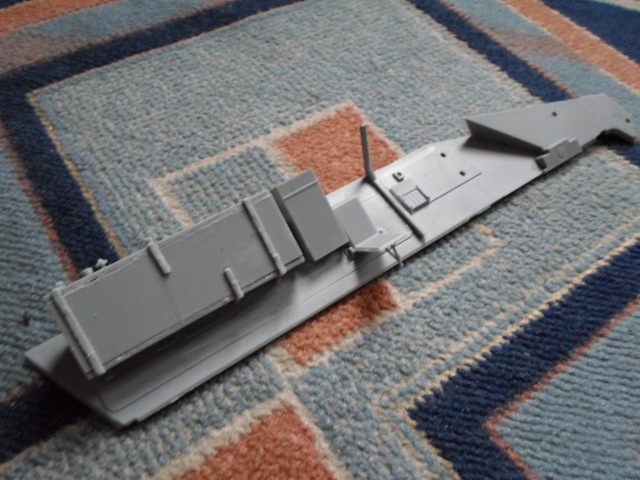
Hi fellas, several recent updates of this project, mainly deal with 50% assembly of fighting compartment, as follows:

I don't paint the engine set or anything else under fighting compartment main floor since I have no plan to make them exposed from the outside. The result was as follows:


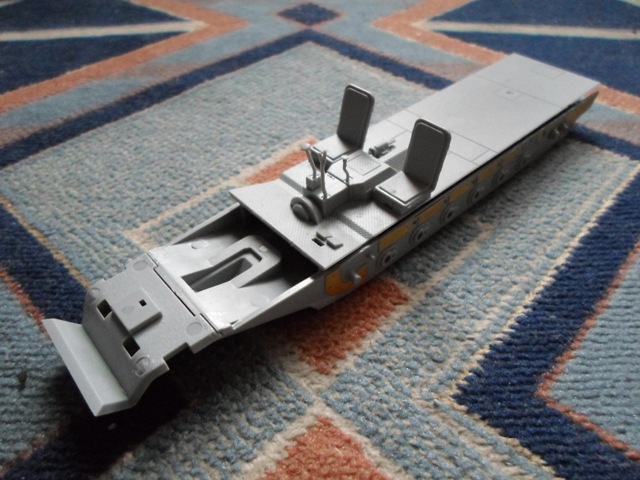
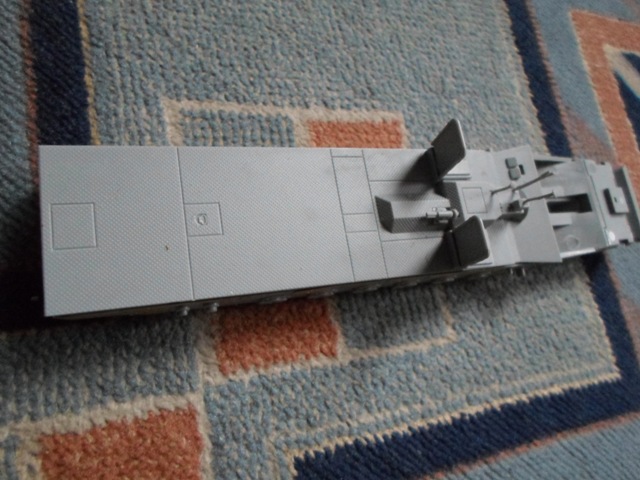
Also with a reason of time efficiency, I start to join the lower hull with the fighting compartment main floor followed by the installment of driver's seat as follows:
- Front View


- Rear View


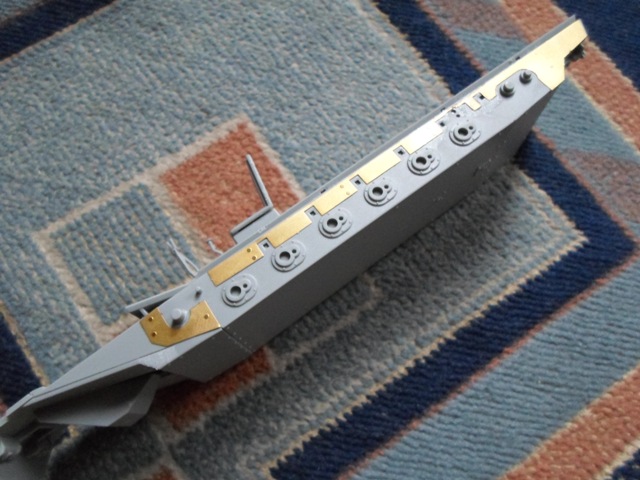
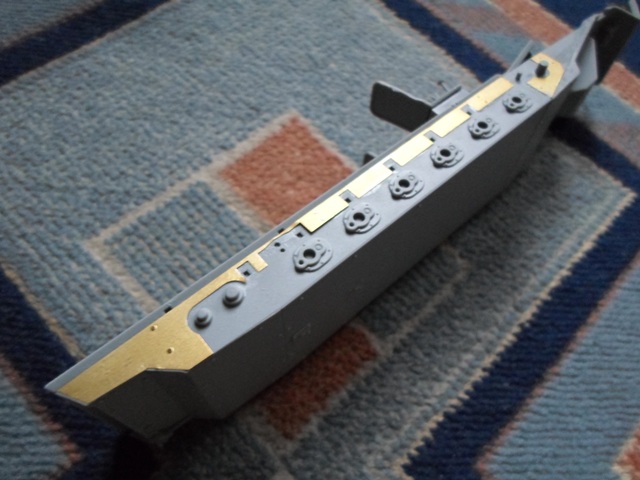
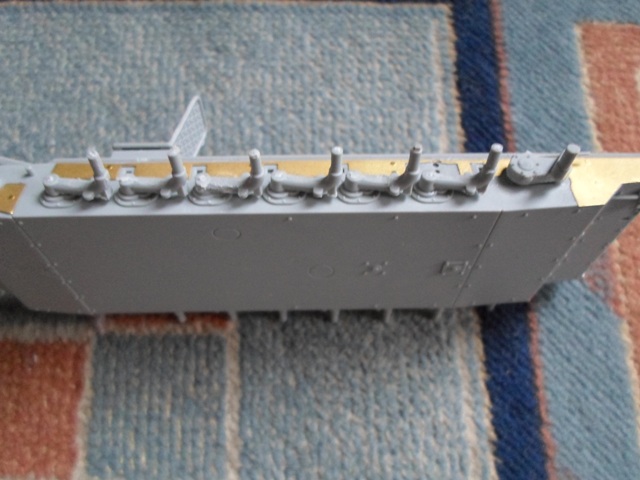
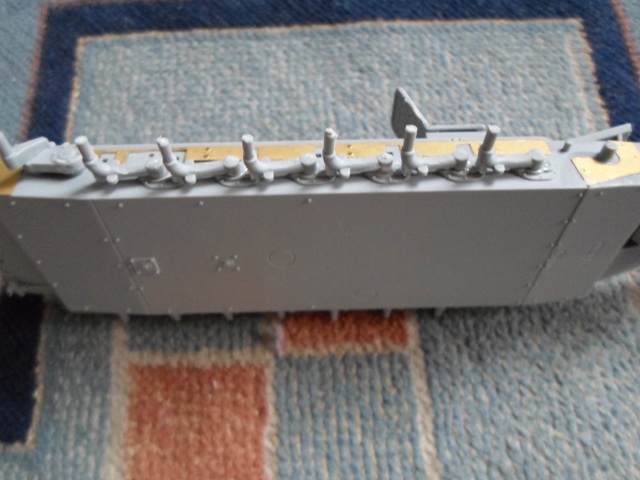
PE parts around wheels area also installed as follows:
- Left Side of Lower Hull


- Right Side of Lower Hull


Installment of interior at left and right side of fighting compartment can be shown as follows:
- Left Side Interior of Fighting Compartment


- Right Side Interior of Fighting Compartment


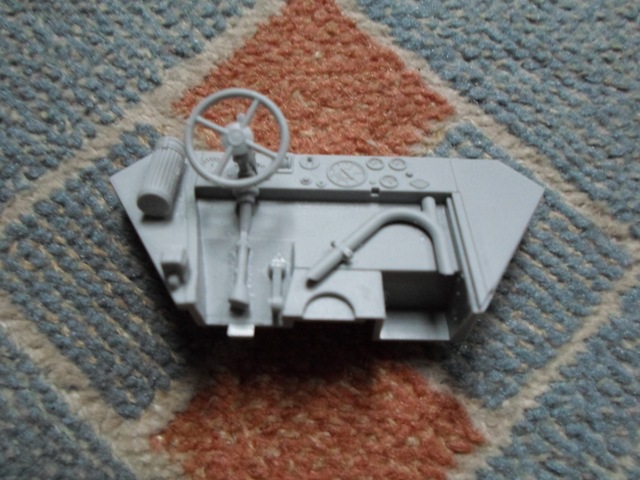
After that, the installment of interior at driver's area can be shown as follows:


Next post I hope I can deal with main flame generator set, drive sprocket, and road wheels. Hope you enjoy it and happy modelling guys!


Warm regards


Garry
All_You_Can_Kit
Visit this Community
Jakarta Raya, Indonesia
Joined: August 22, 2012
KitMaker: 599 posts
Armorama: 527 posts
Posted: Sunday, May 18, 2014 - 01:06 AM UTC
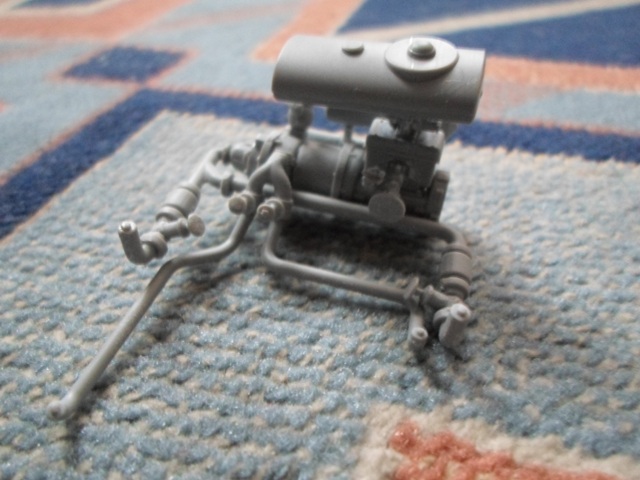
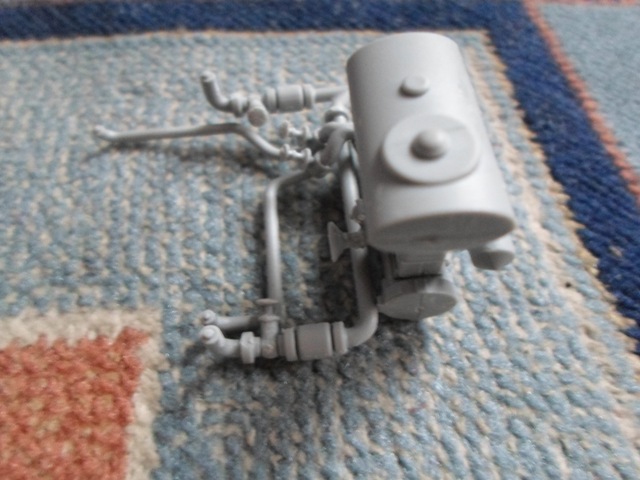
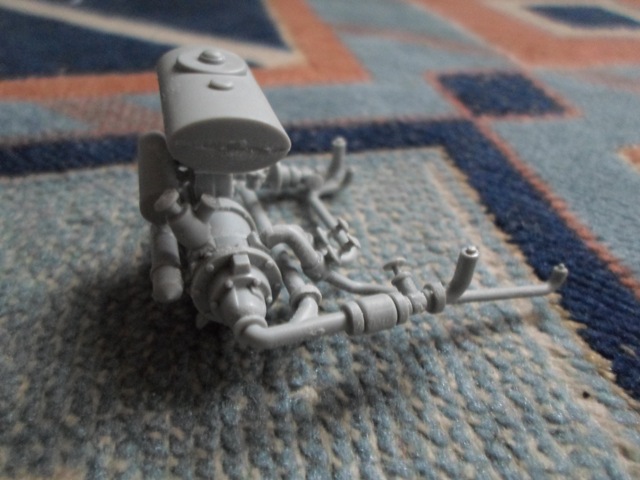
Hi guys! Several recent updates of this project, as I promised on my previous post, mainly deal with flame generator set and drive sprocket, but not enough time for road wheels. I will do it as soon as possible. So far, the updates can be shown as follows:

- The drive sprocket along left-side hull:


- The drive sprocket along right-side hull:


The flame generator set:


See you again soon, happy modeling!


Cheers


Garry
nng-nng
Visit this Community
Bayern, Germany
Joined: October 22, 2013
KitMaker: 380 posts
Armorama: 376 posts
Posted: Thursday, May 22, 2014 - 10:35 AM UTC
Hi,
Iīm going for the same kit, for the same campaign
...currently sitting on the pump aswell... definetly the wrong thing to do after a really hard day... issues, small parts, errors in the instrucions...

I guess you should have drilled out some holes in the floor to fit the legs of that pump in there (yust common sense, havenīt seen that in the instructions)... although those 6 holes donīt all 6 "legs"...
All_You_Can_Kit
Visit this Community
Jakarta Raya, Indonesia
Joined: August 22, 2012
KitMaker: 599 posts
Armorama: 527 posts
Posted: Friday, October 09, 2015 - 12:43 PM UTC

Quoted Text

Hi,
Iīm going for the same kit, for the same campaign
...currently sitting on the pump aswell... definetly the wrong thing to do after a really hard day... issues, small parts, errors in the instrucions...

I guess you should have drilled out some holes in the floor to fit the legs of that pump in there (yust common sense, havenīt seen that in the instructions)... although those 6 holes donīt all 6 "legs"...


Hello my friend Fabian! Soooo sorry for my soooo late reply I never completed this vehicle for the 251 campaign due to my office "heavy" duty and I still have no plan to resume it, until now. But anyway, my congratulations for you for finishing your entry in such campaign on-time and of course, I may learn from you how to build the vehicle accurately with desired result, man!

Have a nice modeling day bro and wish a best luck for all of us!


Kind regards from Indonesia


Garry
 _GOTOTOP