Hi folks,
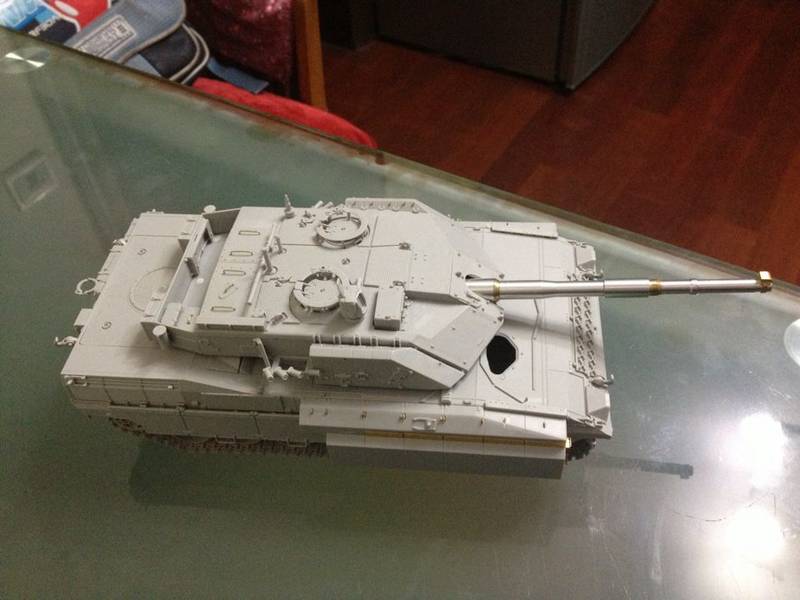
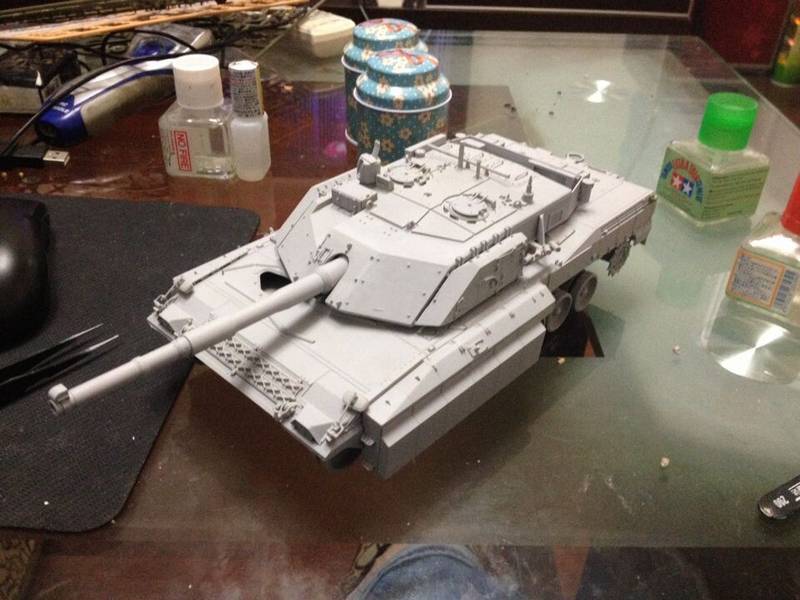
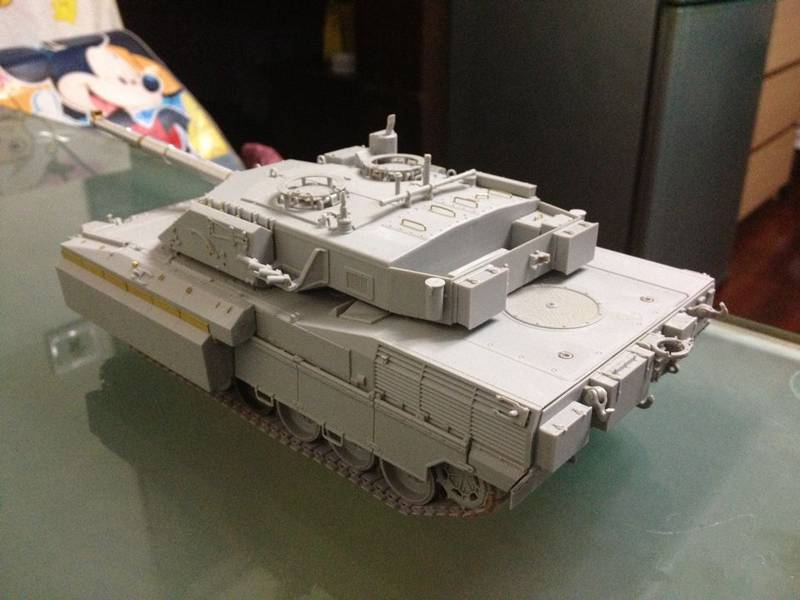
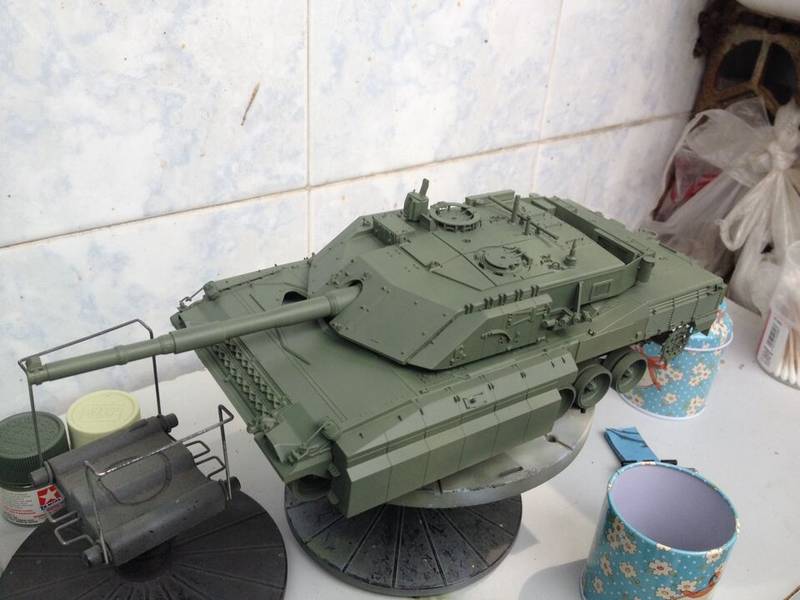
This is my first time to post a topic here and I think a recently finished tank will be appropriate for this. Say, the C1 Ariete. This one is the up-armored version from Trumpeter which is essentially a repackaged one with extra reactive armor parts. Thanks to the nice quality of the original kit, I met no trouble making this Italian MBT.
Here are some pictures of the finished, the making process will be followed.
Thanks guys, advice welcome
Hosted by Darren Baker
Italian C1 Ariete MBT
PureeAda
Shanghai, China / 简体
Joined: May 22, 2014
KitMaker: 5 posts
Armorama: 5 posts
Joined: May 22, 2014
KitMaker: 5 posts
Armorama: 5 posts
Posted: Thursday, May 22, 2014 - 03:39 AM UTC
leonhzy
Shanghai, China / 简体
Joined: August 12, 2013
KitMaker: 88 posts
Armorama: 87 posts
Joined: August 12, 2013
KitMaker: 88 posts
Armorama: 87 posts
Posted: Thursday, May 22, 2014 - 03:47 AM UTC
very impressive good work out there
PureeAda
Shanghai, China / 简体
Joined: May 22, 2014
KitMaker: 5 posts
Armorama: 5 posts
Joined: May 22, 2014
KitMaker: 5 posts
Armorama: 5 posts
Posted: Thursday, May 22, 2014 - 03:58 AM UTC
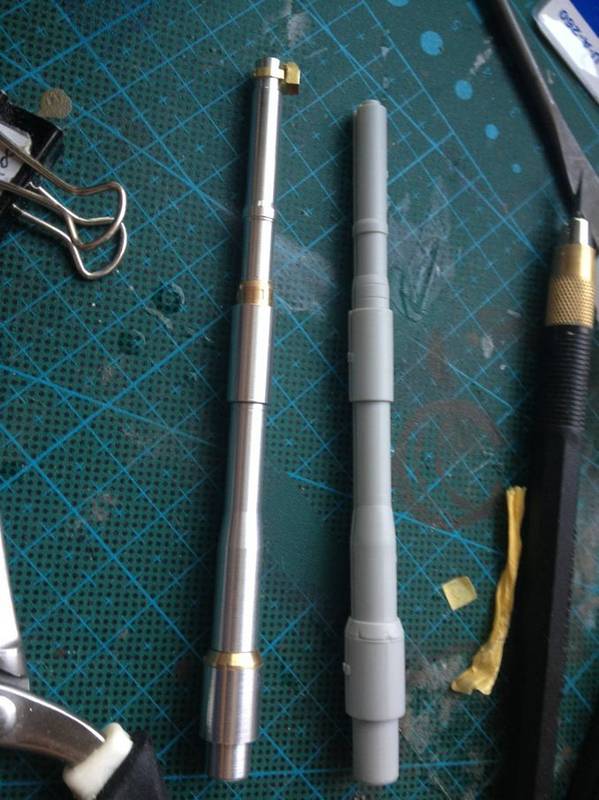
The original kit is, like I said, rather good considering its very low price, highly recommended. A piece of aluminum barrel from RB and a set of movable tracks from Bronco are used to detail up the kit, others OOB.
The scratchbuilding
The scratchbuilding
PureeAda
Shanghai, China / 简体
Joined: May 22, 2014
KitMaker: 5 posts
Armorama: 5 posts
Joined: May 22, 2014
KitMaker: 5 posts
Armorama: 5 posts
Posted: Thursday, May 22, 2014 - 04:16 AM UTC
The base color is GUNZE field grey with a drop of field green
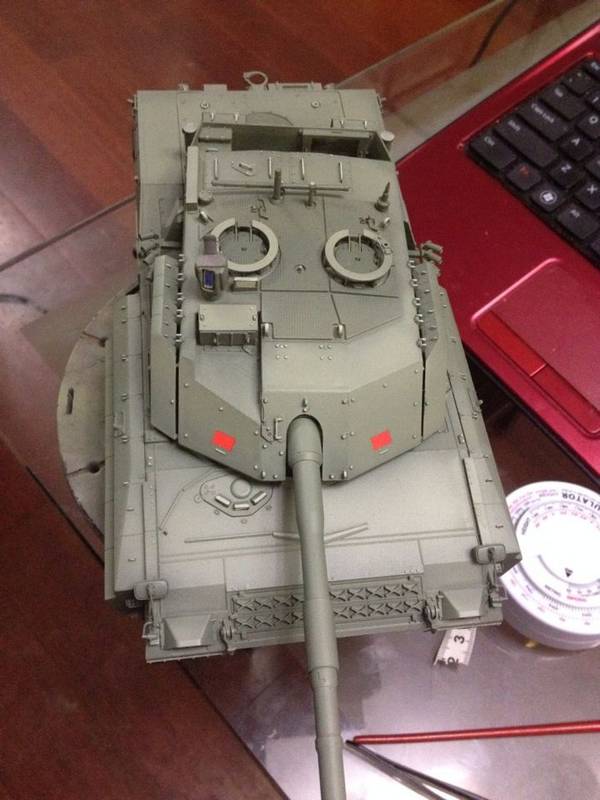
More field green is added to the highlight area. Then I painted the upper details with LC field green...A little trick of CM technique. I left the roof with the base color to bring more contrast The red decals look a little weird, though...
More update tomorrow, thanks guys
More field green is added to the highlight area. Then I painted the upper details with LC field green...A little trick of CM technique. I left the roof with the base color to bring more contrast The red decals look a little weird, though...
More update tomorrow, thanks guys
gigi63
Parma, Italy
Joined: February 09, 2014
KitMaker: 241 posts
Armorama: 241 posts
Joined: February 09, 2014
KitMaker: 241 posts
Armorama: 241 posts
Posted: Thursday, May 22, 2014 - 05:32 AM UTC
Congratulations for this beautiful work.Excellent painting and weathering job.
Cheers Luigi
Cheers Luigi
ivanhoe6
Wisconsin, United States
Joined: April 05, 2007
KitMaker: 2,023 posts
Armorama: 1,234 posts
Joined: April 05, 2007
KitMaker: 2,023 posts
Armorama: 1,234 posts
Posted: Thursday, May 22, 2014 - 07:21 AM UTC
I always wondered about this kit if it was worth while buying it. Now I know. Thank you for sharing your awesome C1 !
parrot
Ontario, Canada
Joined: March 01, 2002
KitMaker: 1,607 posts
Armorama: 1,581 posts
Joined: March 01, 2002
KitMaker: 1,607 posts
Armorama: 1,581 posts
Posted: Thursday, May 22, 2014 - 08:54 AM UTC
Very nice job.Great work on the paint and weathering.I built one a year or two ago and it's a really nice kit and well priced.Goes together very well and fairly quick.
Tom
Tom
ironhull
Venezia, Italy
Joined: November 23, 2013
KitMaker: 134 posts
Armorama: 134 posts
Joined: November 23, 2013
KitMaker: 134 posts
Armorama: 134 posts
Posted: Thursday, May 22, 2014 - 09:04 AM UTC
Hi PureeAda,
it's really a nice model.
Some note to help other modellers to build it.
First, please visit my site www.ferreamole.it where you'll find tons of free images of Ariete tank.
Follow these links
http://www.ferreamole.it/images/mbt_ariete/mbtariete01.htm
for Iraq tanks plates
http://www.ferreamole.it/images/ariete_upa/arieteupa.htm
and also on the main page link on GALLERIE FOTOGRAFICHE IN ALTA RISOLUZIONE section.
Trumpeter model is really a nice kit but they forgot some small parts. The main failure is the lack of MG slot on the left side of gun.
Look at this picture
http://www.ferreamole.it/eventi/festa_carrista_06_hires/pages/festa_carrista_06_049.htm
Second the big rear air intake sits flat on the upper deck. If you want to modify it, Voyager makes a nice set to do this.
Decals
Starting from 1999 the right decals on the lower hull was deleted and now you find only a black rectangle. All insignas are repeated on the rear.
All Iraqui tanks had it.
The old decals was called "STANAG" and it permitted to identify the unit.
I think your tank has the 5942 number
5 means 5th Army Corps
9 means Brigade (each AC had not only Brigade directly under itrs command but also some battalion)
4 means "Ariete" (each AC had more brigades each with a different number)
2 means second regiment of the brigade
On the upper side you find the Ariete Brigade emblem and the number is over a red-blu zone. These are the color of Italian Tank corps
When Ariete tank entered on service Ariete Brigade had two Tank Regiments, each with a Tank Battalion. They were:
132nd Tank Regiment (5941), 8th tank battalion "M.O. Secchiaroli"
32nd Tank Regiment (5942), 3rd Tank Battalion "M.O. Galas". This was the first TR top receive Ariete so this the reason Trumpeter put this decals on the model.
M.O. means Medaglia d'Oro al Valor Militare = Gold Medal to Militar Value which is the highest ranks on Italian Army
The Brigade had later a third TR (4th Tank Regiment,6th Tank Battalion "M.O. Scapuzzi") but at that time STANAG were deleted so this TR had no number on its tanks.
Each TR has 54 Ariete tanke.
I don't know if you find a pictures of this tank but usually the colored rectangle on the turret is usually carried on the front armour on 32nd and 4th TR and on turret side on 132nd tanks
The colors gives the tank company and red is for first TC.
Multi color insigna are for TR and TB commander.
Pioneer tools are all green.
MG42 rear parts (sorry I don't know the correct English word) is black because is a plastic part. It was a wood made part only on older MG.
Please, no smoke signs on upper and side intakes since they are air intakes. Exaust are on the rear.
Note that on up-armored tanks the rear towing cable retainer in turned 180° to allow cable to follow the bigger armor.
Bye
Pierantonio
PureeAda
Shanghai, China / 简体
Joined: May 22, 2014
KitMaker: 5 posts
Armorama: 5 posts
Joined: May 22, 2014
KitMaker: 5 posts
Armorama: 5 posts
Posted: Thursday, May 22, 2014 - 02:15 PM UTC
Thanks Pierantonio, that'a a sea of infomation, helps a lot. It would be very nice if you continue to back me up in my future NATO tank buildings, most times I didn't have enough info to do such research.
Yes, the OVM tools should be green along with the hull color. I changed their colors in order to enrich the color theme. The tank was made not too dull as the result, but at the sacrifice of historicity. Sometimes it's hard to make a choice between the art effect and the history, you know
PureeAda
Shanghai, China / 简体
Joined: May 22, 2014
KitMaker: 5 posts
Armorama: 5 posts
Joined: May 22, 2014
KitMaker: 5 posts
Armorama: 5 posts
Posted: Thursday, May 22, 2014 - 11:51 PM UTC
Update today
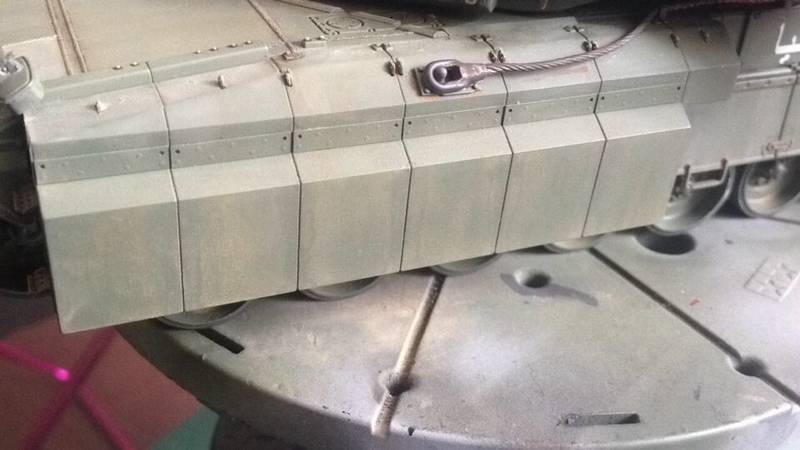
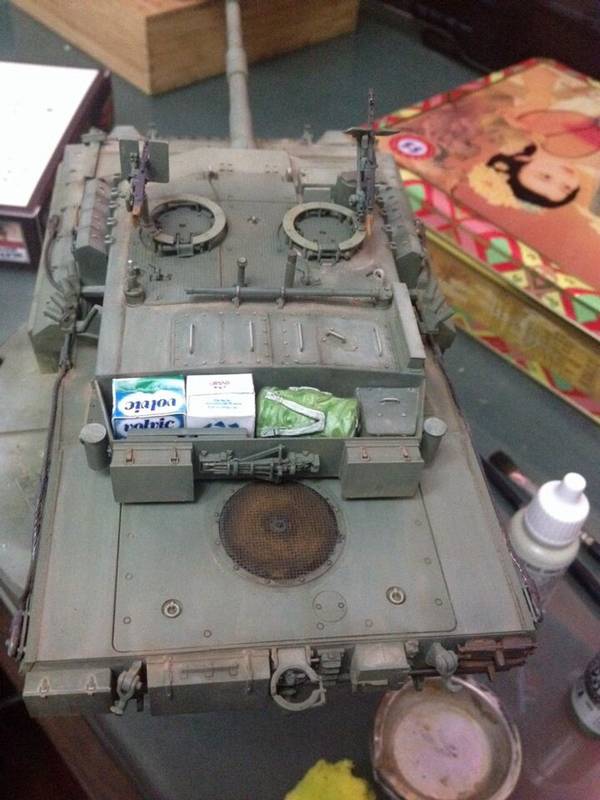
After washing and filtering, I used Castle pigment(rust) to weather the hull.
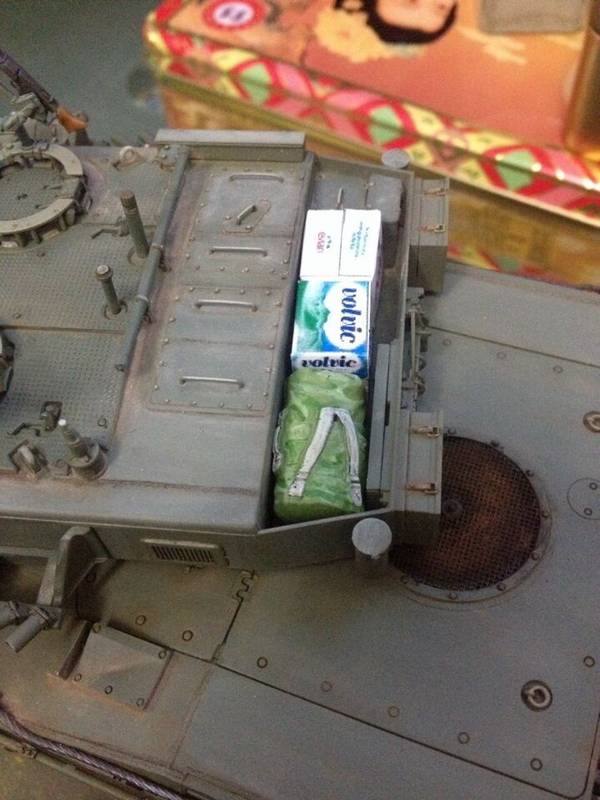
A baggage from tamiya and paper box is decorated to add a final touch to the kit
That's it, I think we can call it a day. Thanks for watching and pointing out places for improvement. I'm looking forward to my next kit, the Boxer ICV, hope we can see it finished soon.