The Takom kit is one of 3 available on the market with Amusing Hobby and Panda also offering examples, pretty incredible considering only one of these where ever actually built. None the less it makes for quite a show-stopping piece and allows for a huge amount of creativity with paint finishes. My kit is going to be pretty much built out of the box, with the only area that I shall address being the cast texture and some of the welds.
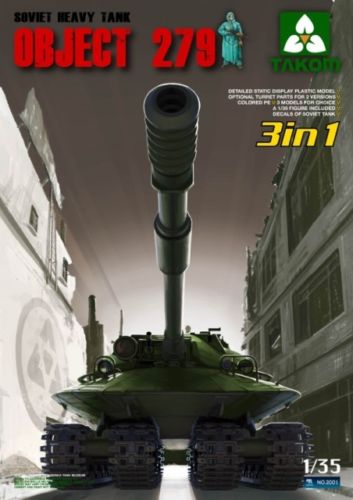
First up Takom's imposing box art:
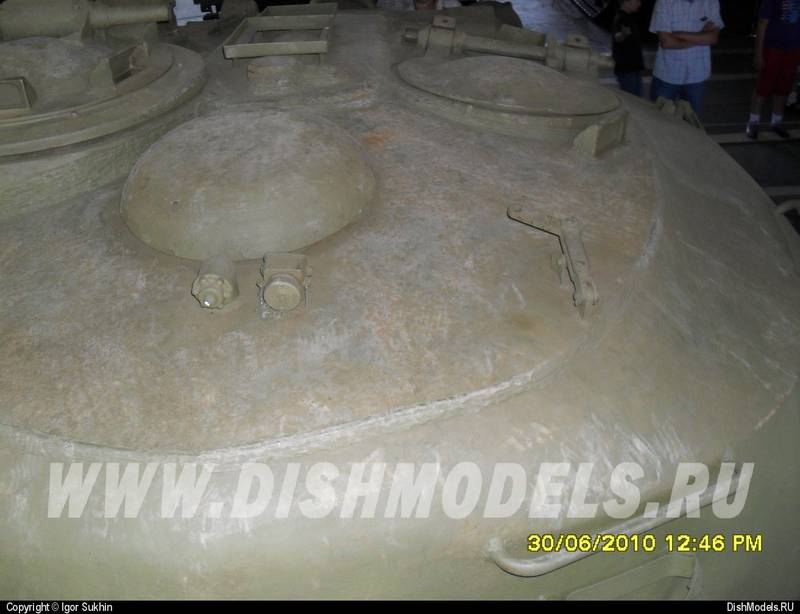
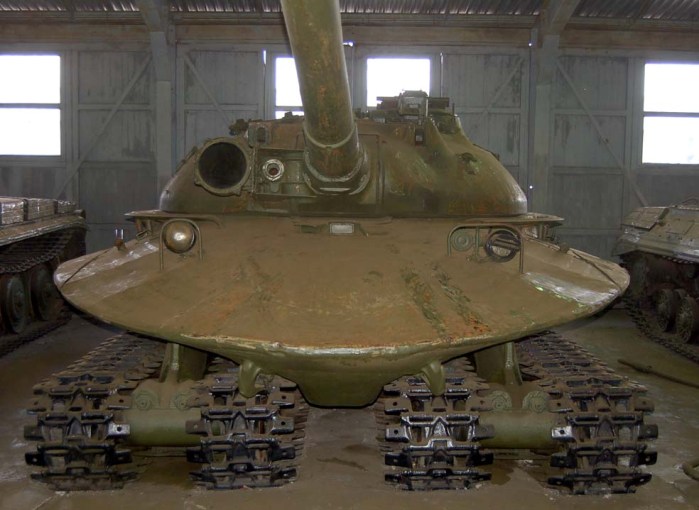
This tank really is mad looking:
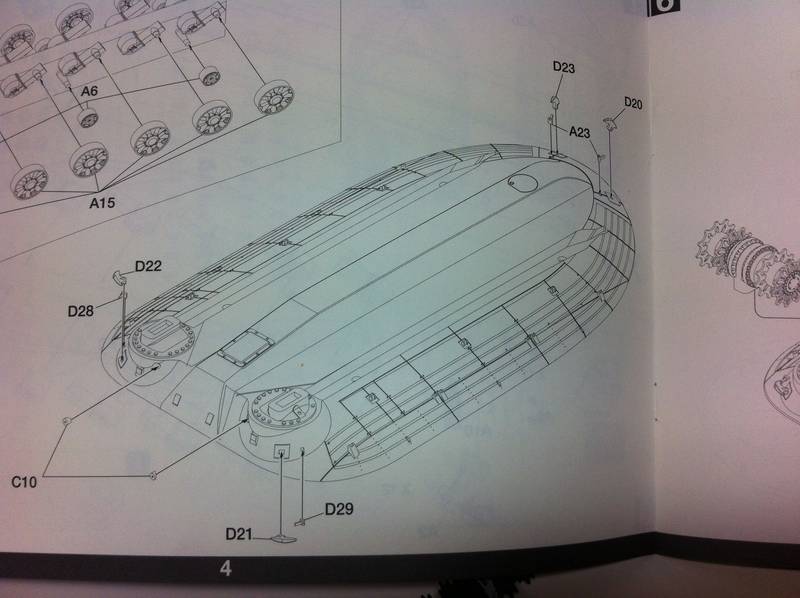
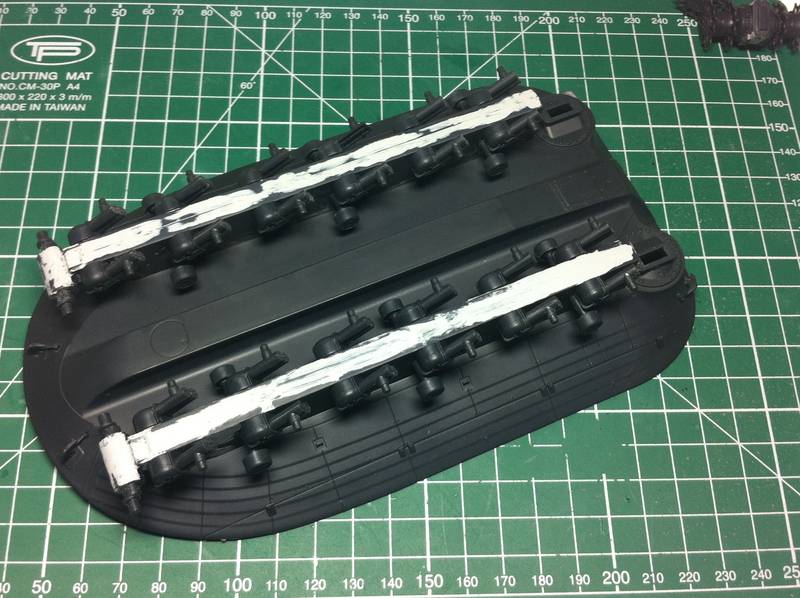
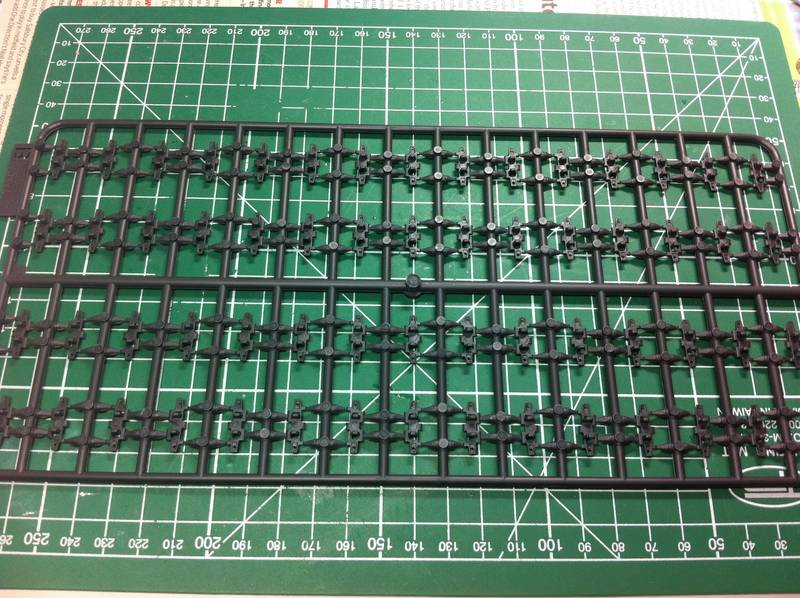
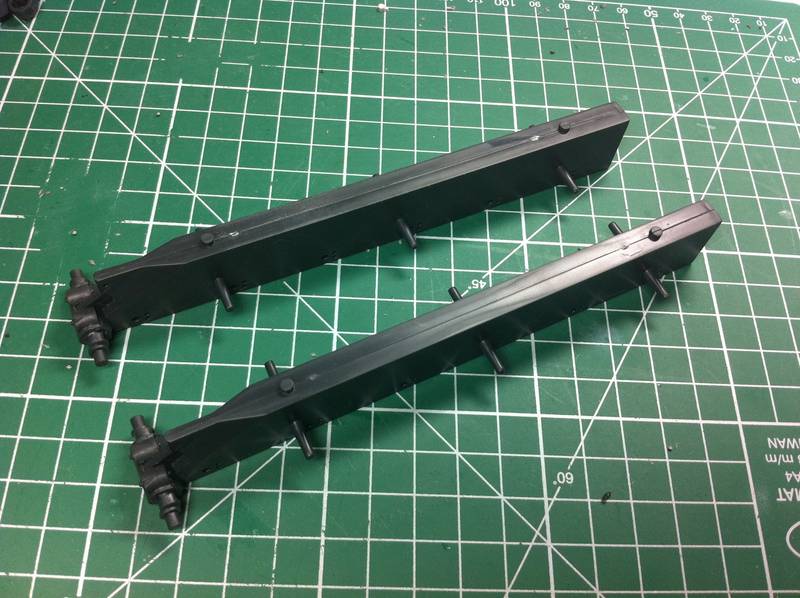
Construction starts as standard with the running gear, always the most tedious step and the Object 279 is no exception, although quite a step away from the norm:
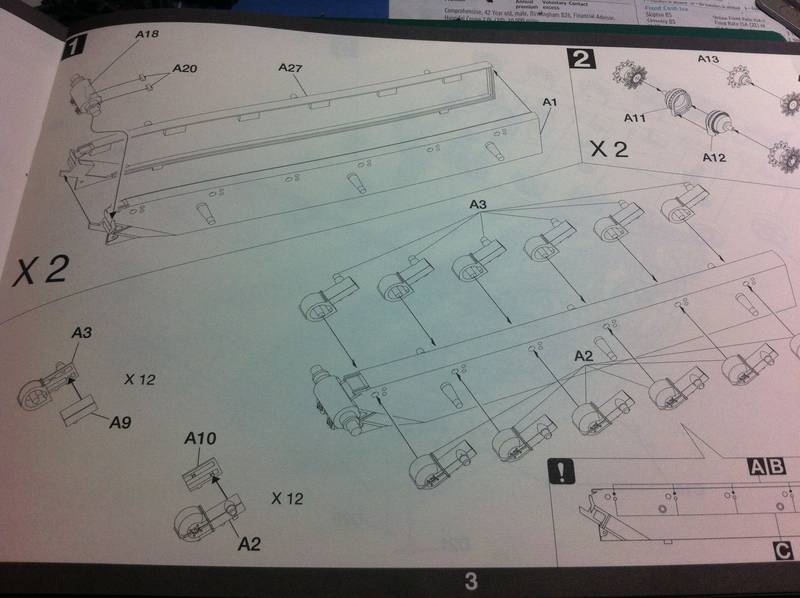
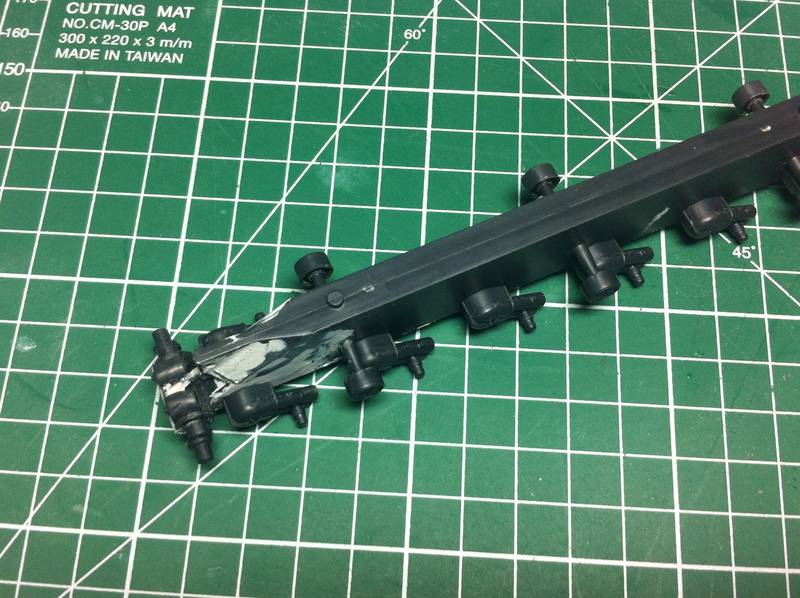
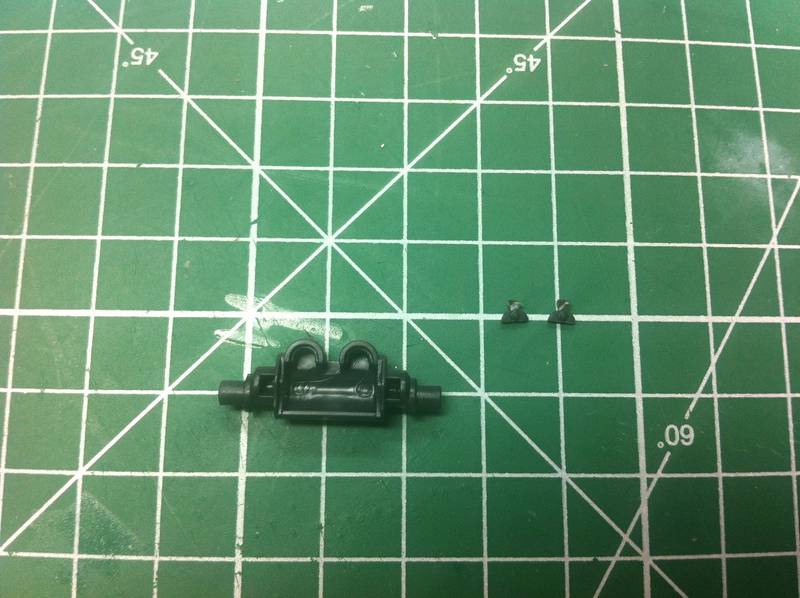
The two longitudinal beams onto which the suspension is mounted are constructed first from two parts:
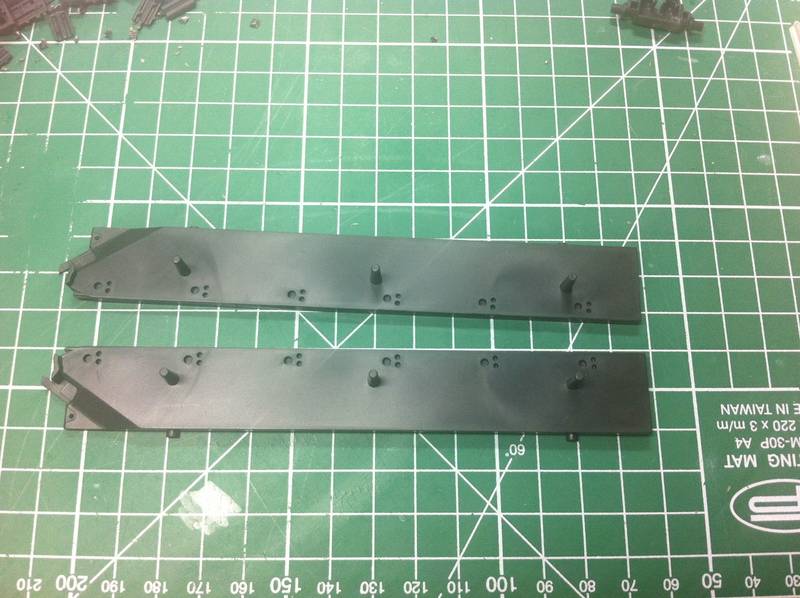
My samples where totally covered in greasy mould release agent, so watch out as you may have to clean these to prevent issues later on when painting.
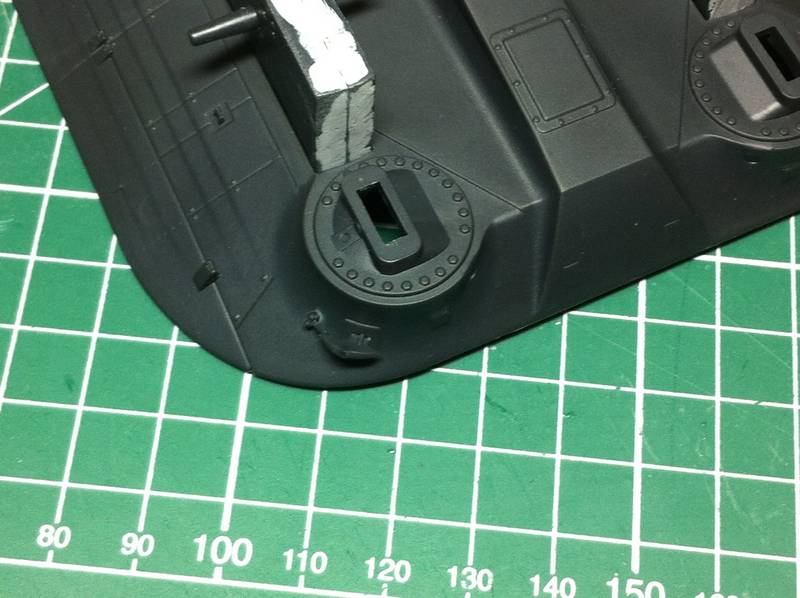
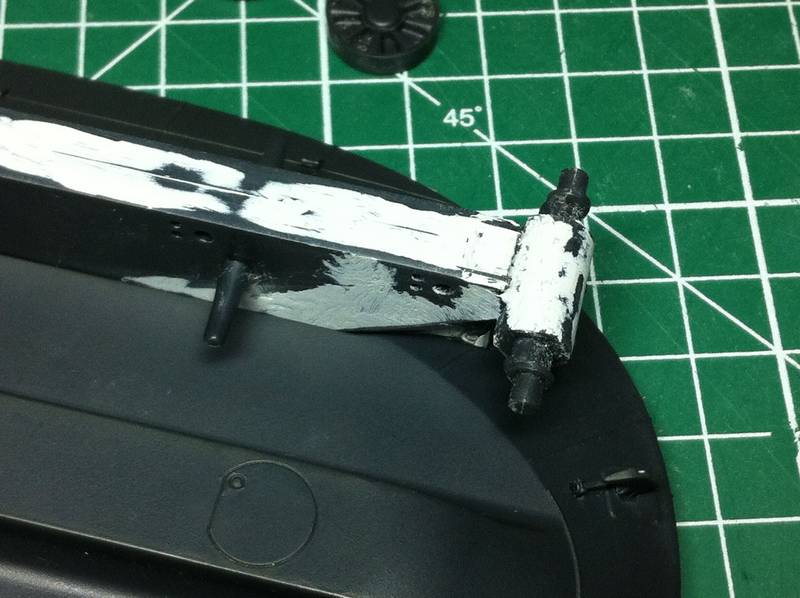
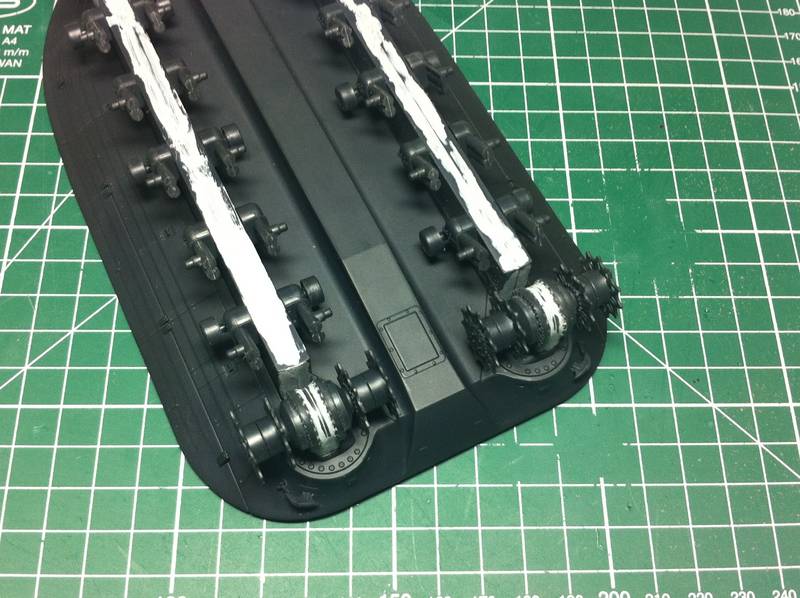
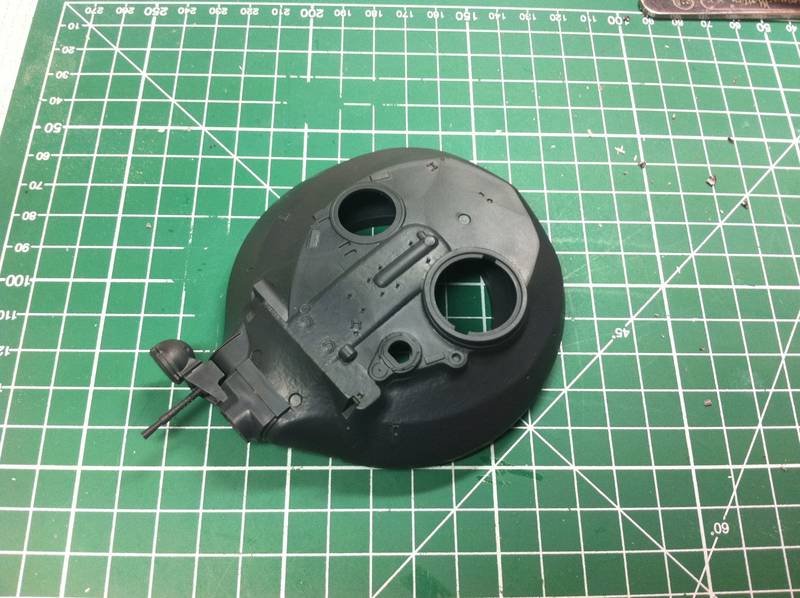
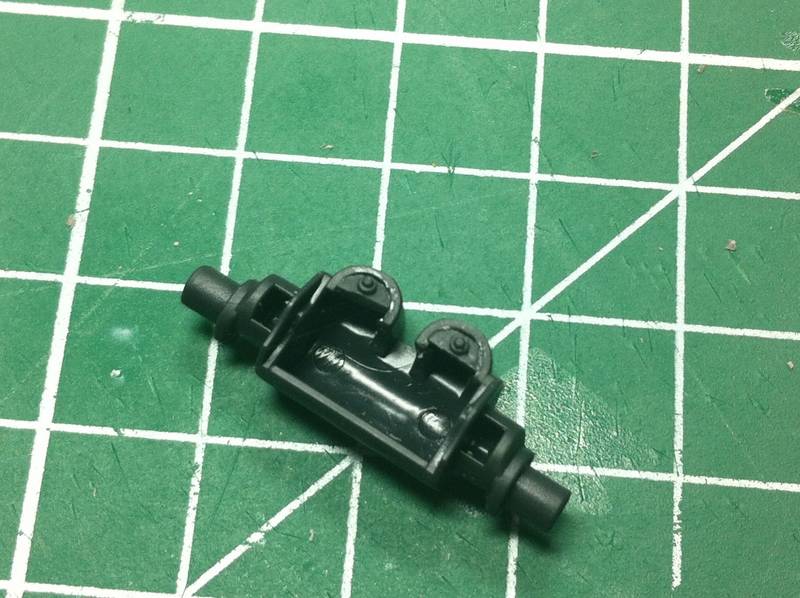
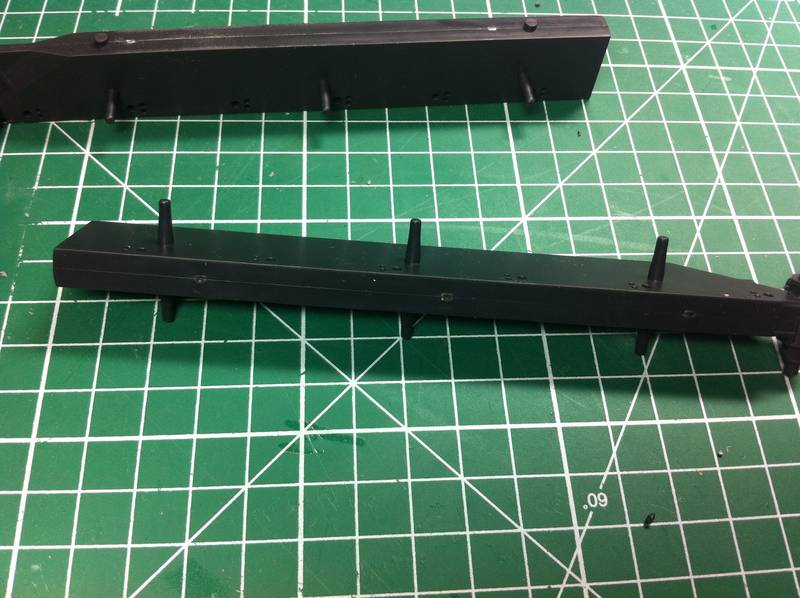
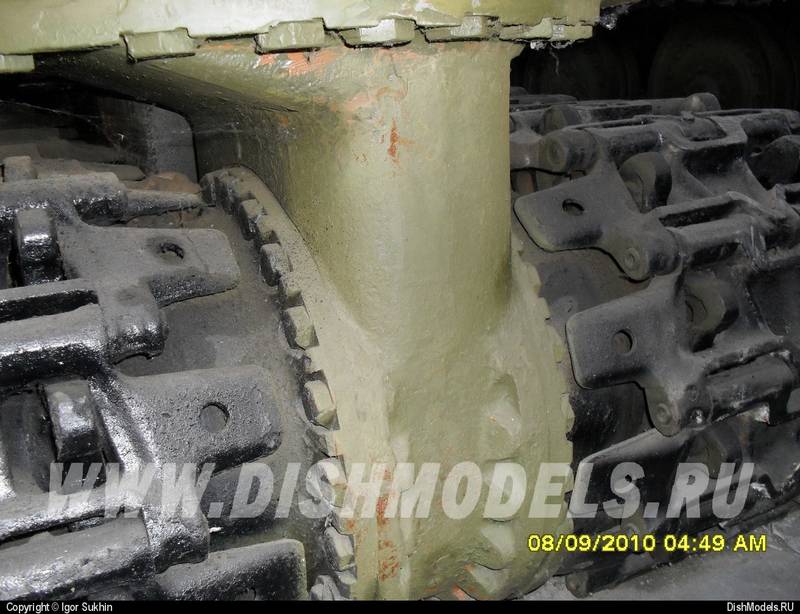
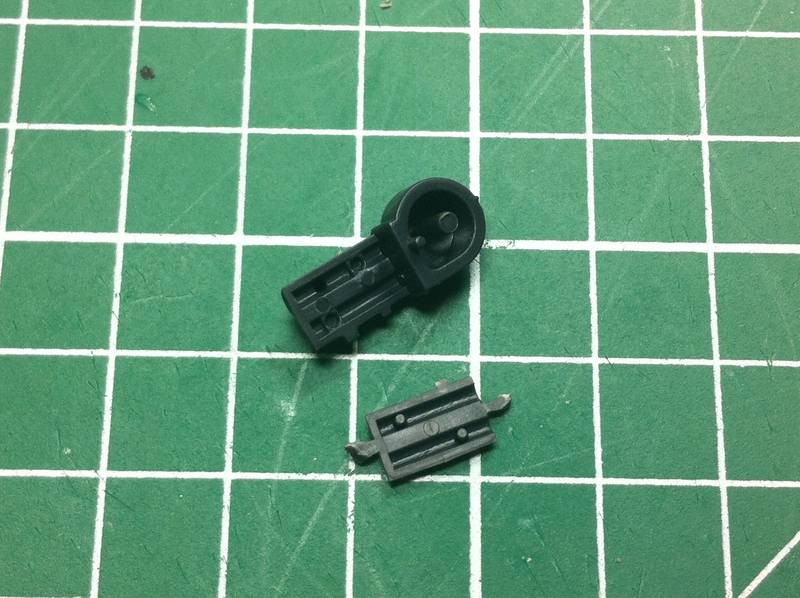
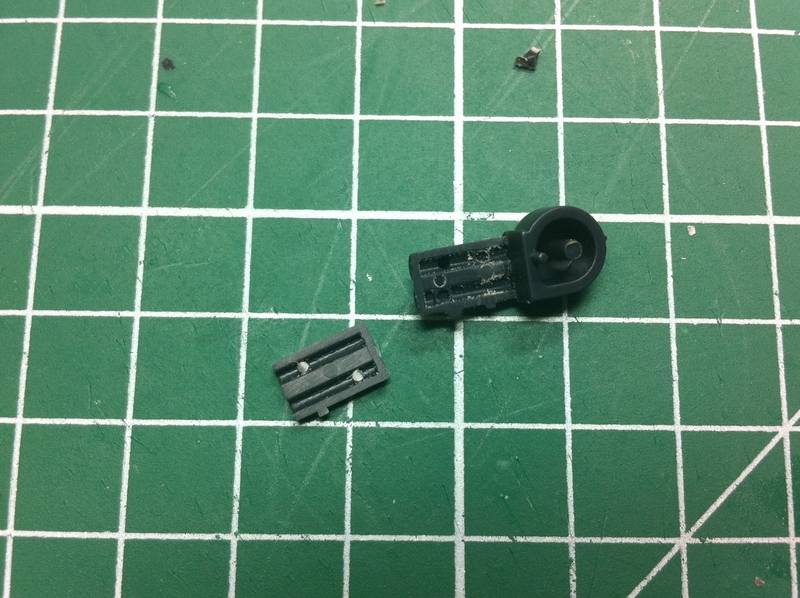
Here's the end idler mounts:
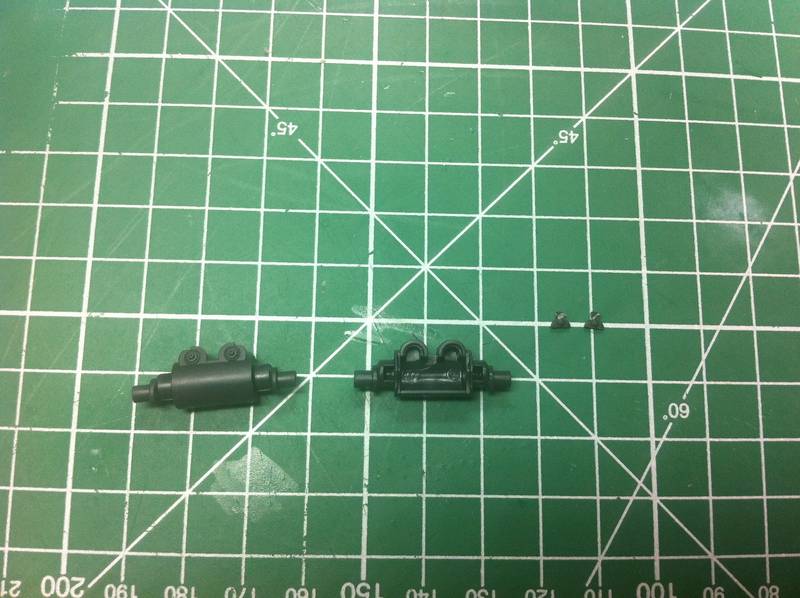
Some very small and fiddly pieces need to be inserted:
It's quite hard to get them to fit properly:
There's also some pretty heft mould lines to contend with, in rather awkward locations:
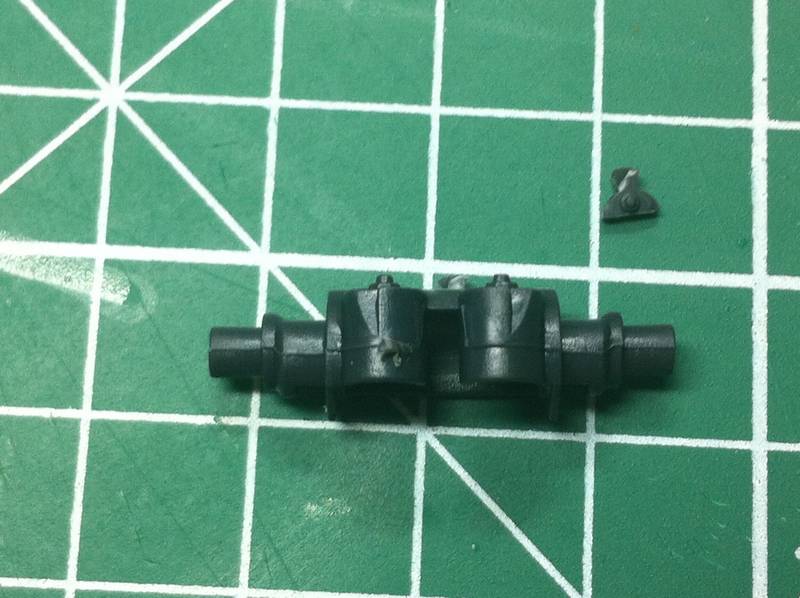
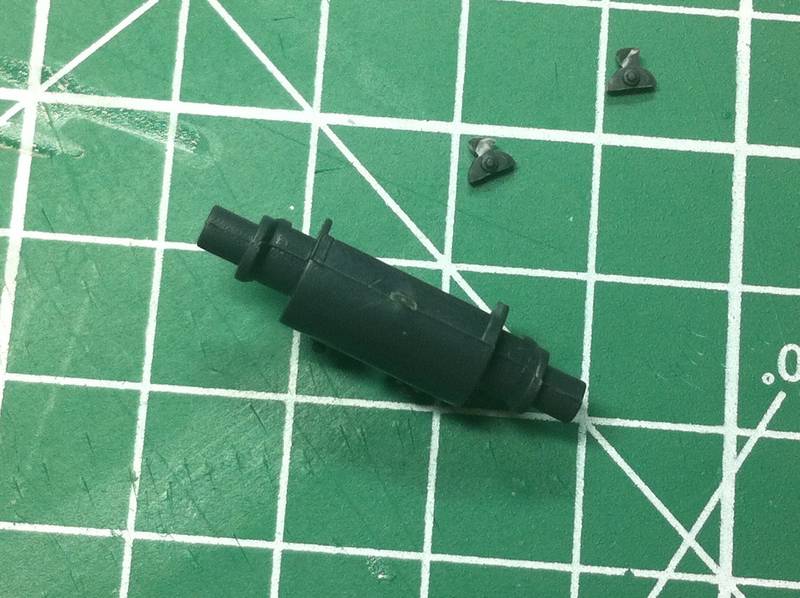
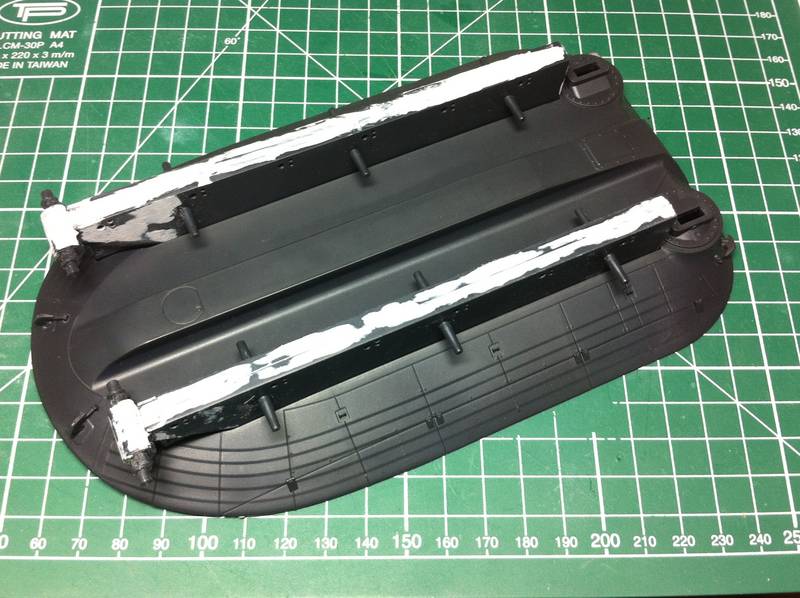
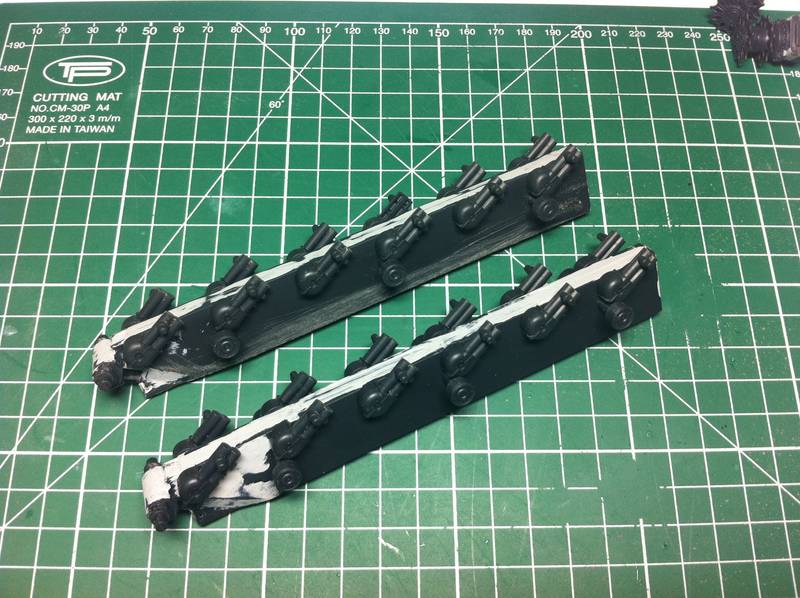
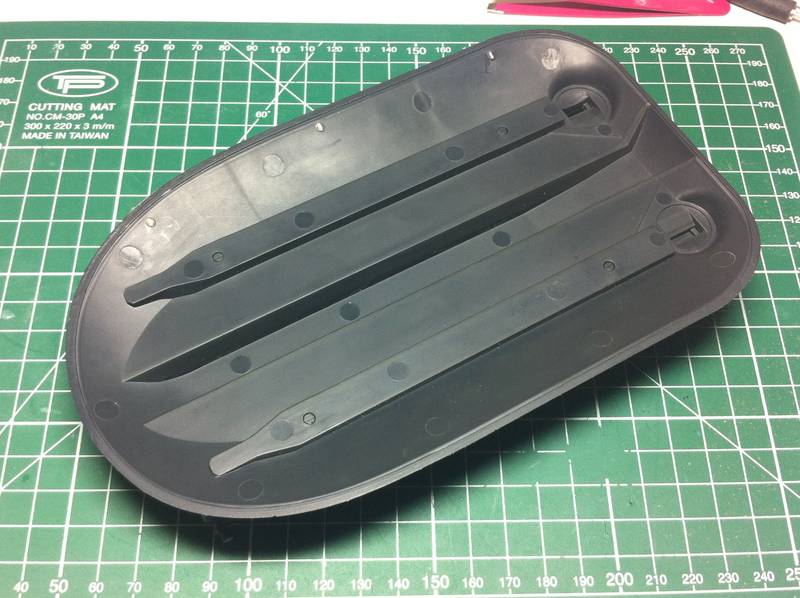
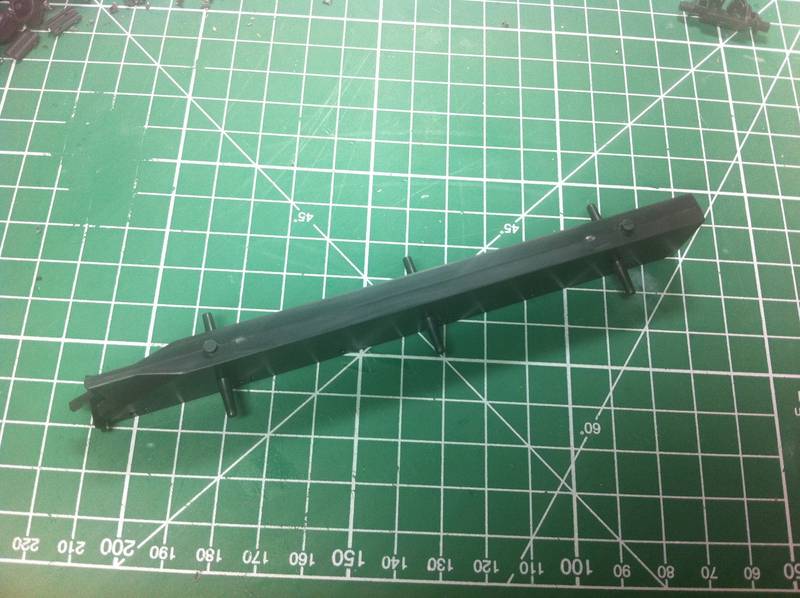
Here's the completed beams:
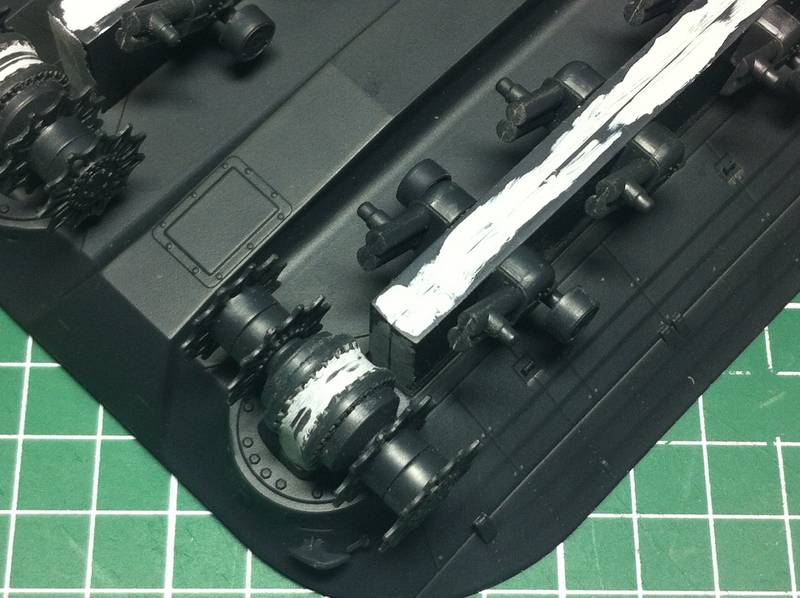
Gaps to fill:
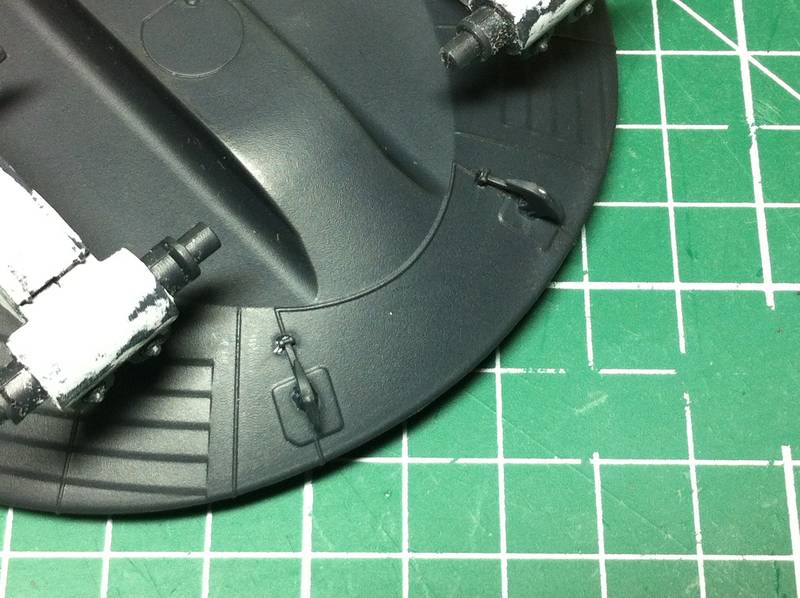
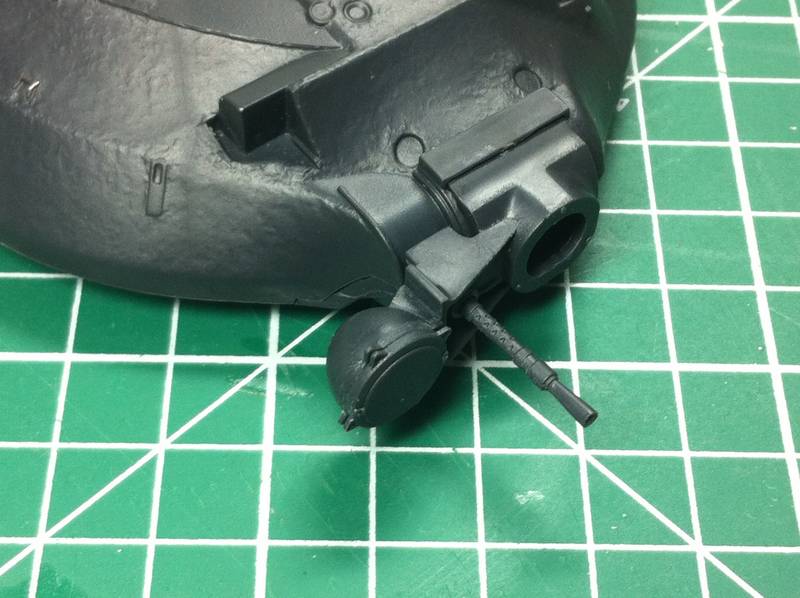
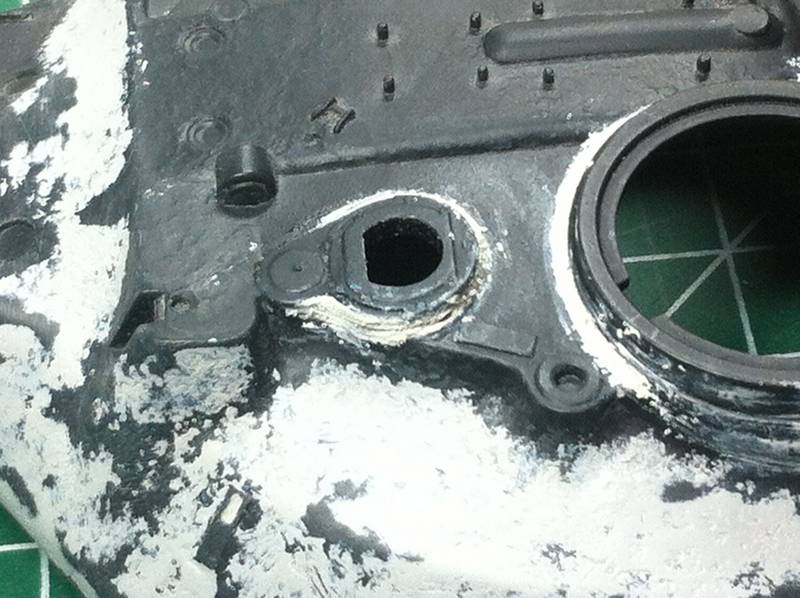
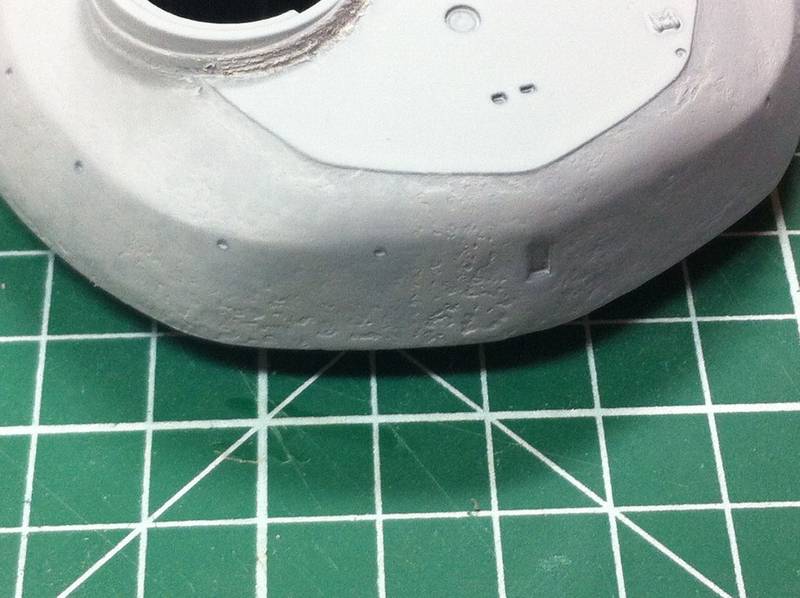
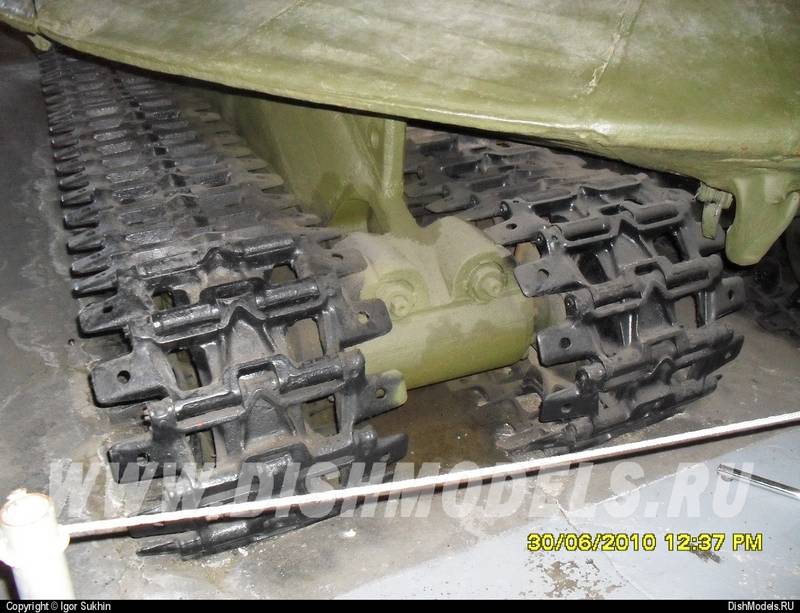
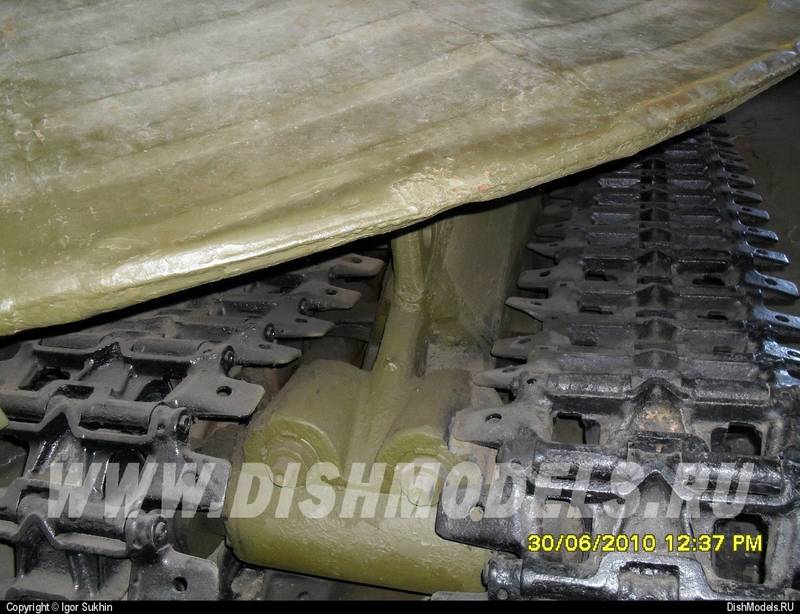
There's a few welds that should be present around the end idler mount which are totally absent on the kit, with nothing but a smooth finished. Admittedly this isn't major and most will likely cover these parts under a coat of dirt, however its worth highlighting:
The drive sprockets and mounts are fairly straight forward:
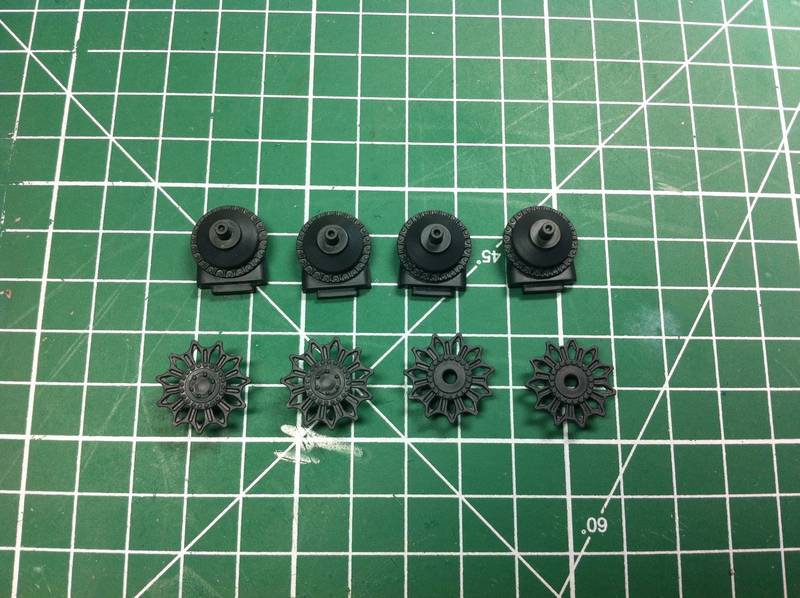
The alignment of the two parts isn't quite spot on with the teeth being slightly out, hopefully this won't be significant enough to cause problems when fitting the tracks:
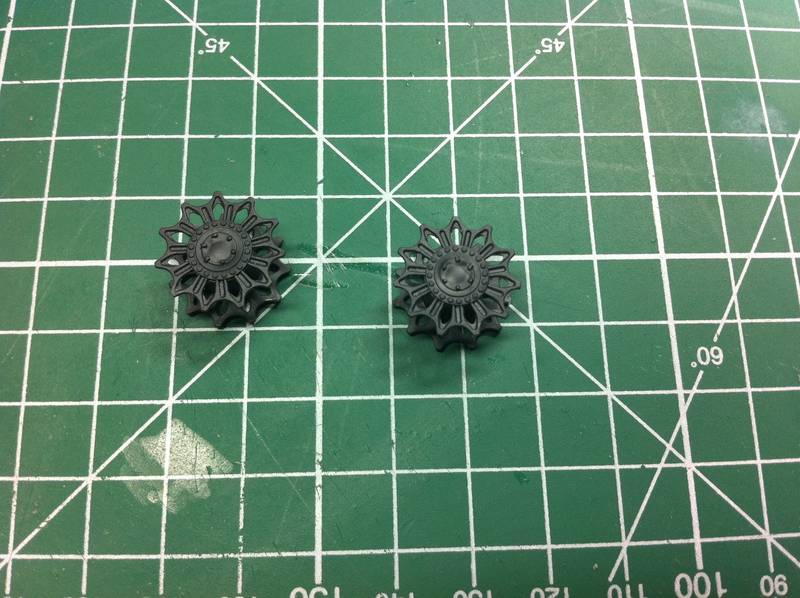
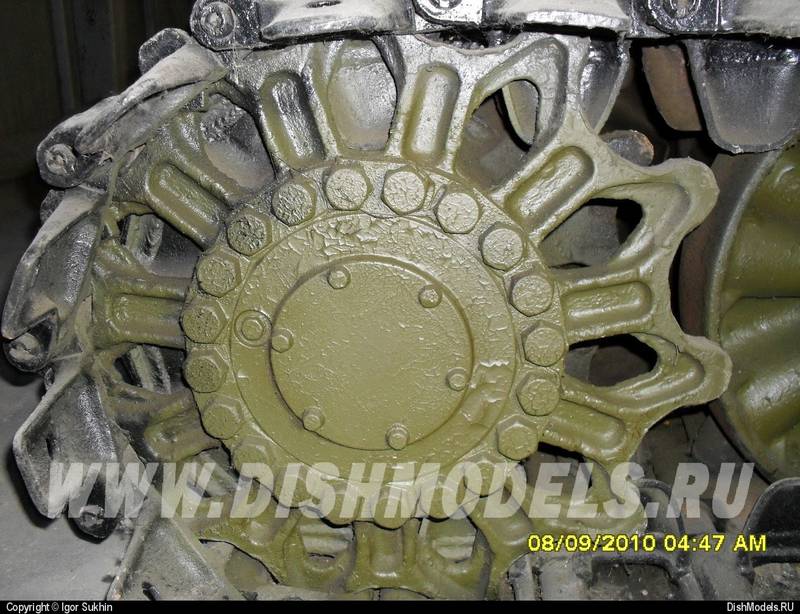
Not a bad representation compared to the real thing:
Heres the finished units:
Note the quite substantial join between the two sprocket mount halves which will need filling (i'm going to address these later and impart some texturing with Mr Surfacer):
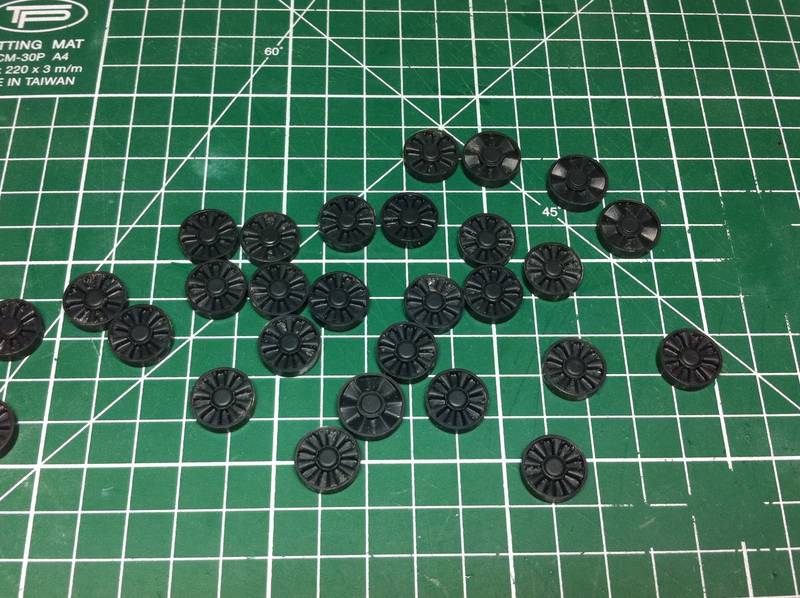
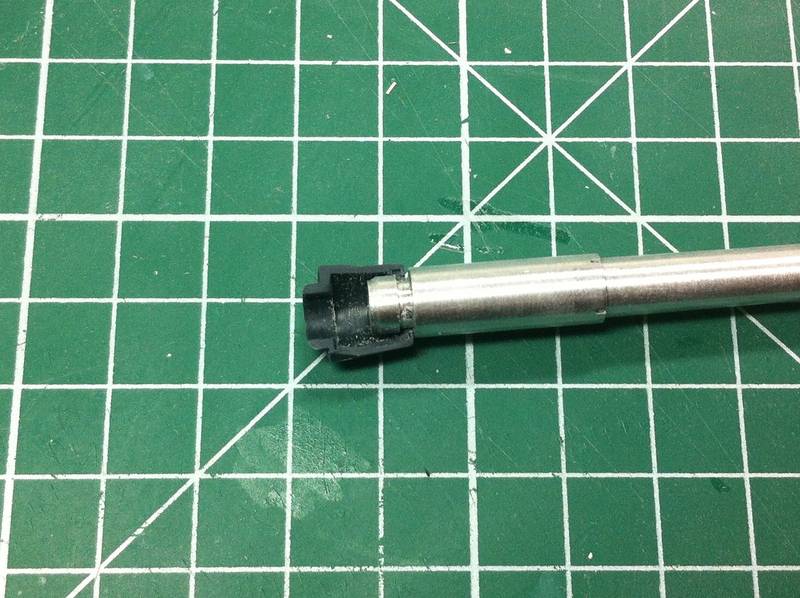
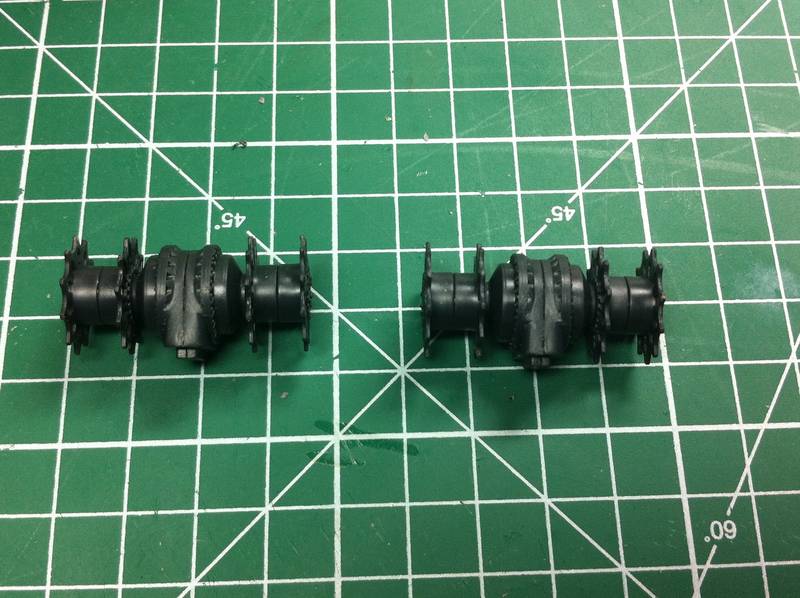
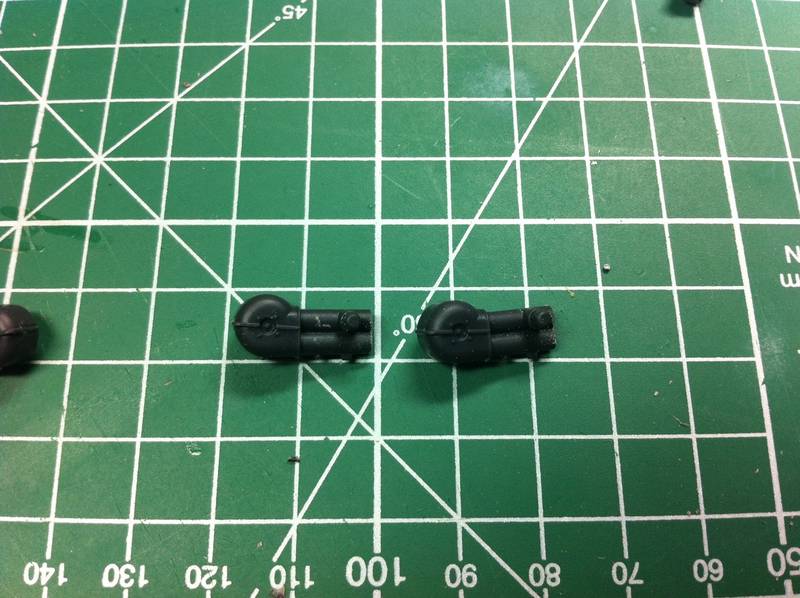
Next up the hydro-pneumatic suspension units, of which there are 24 in total (12 each side). These are made up of two parts:
The fit here really is a little difficult with a fairly major gap visible when attempting to join the parts as they are:
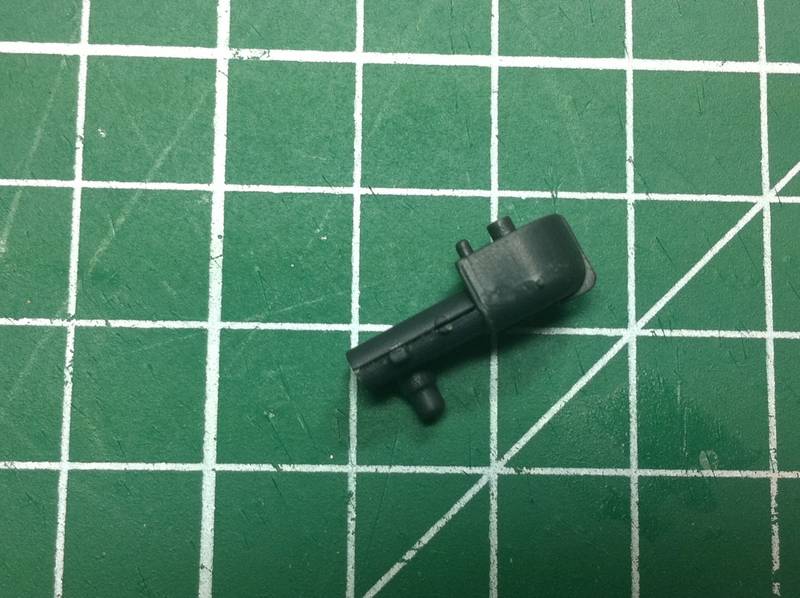
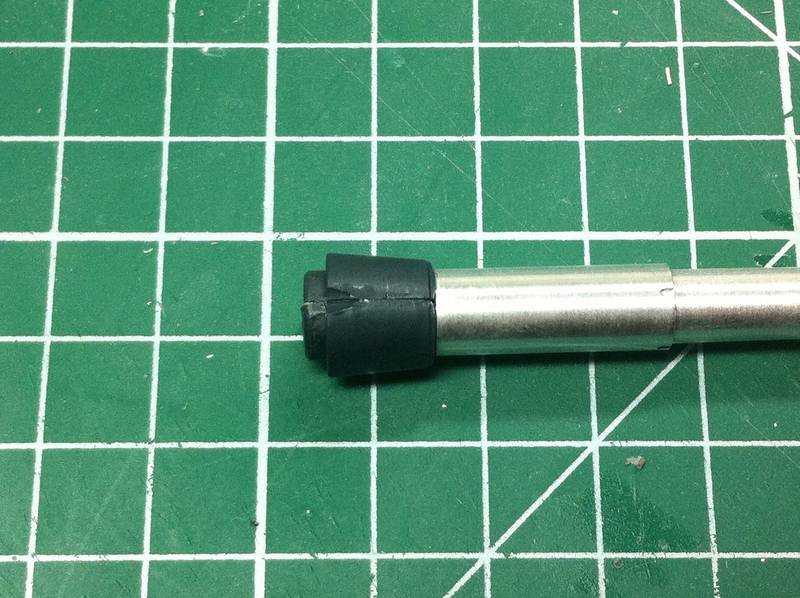
You've also quite some quite awkward mould lines again:
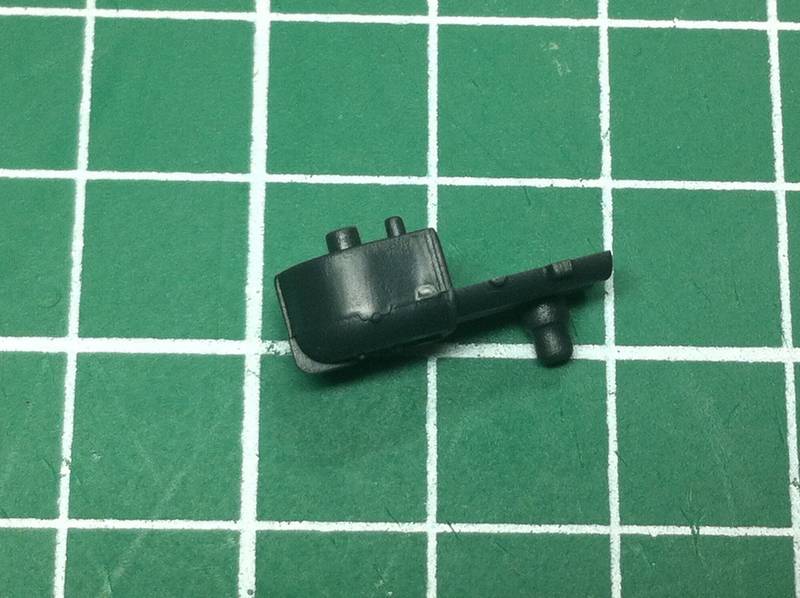
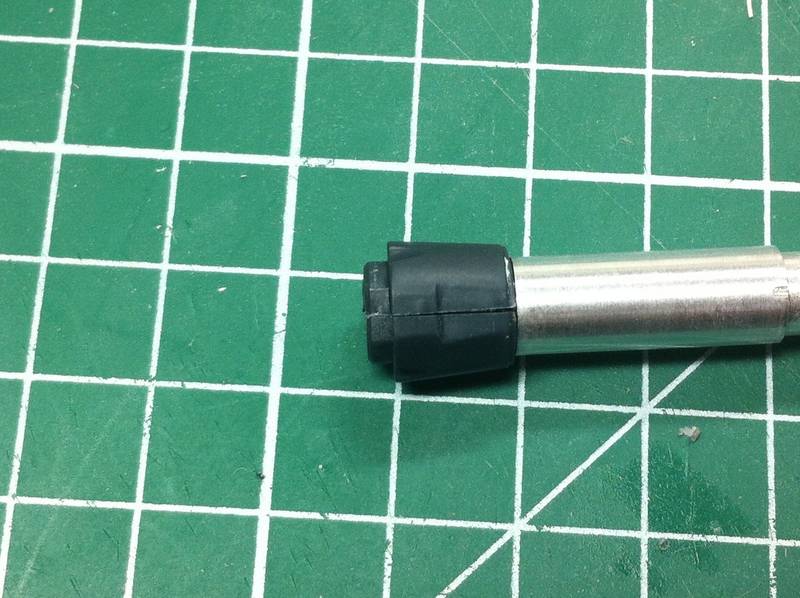
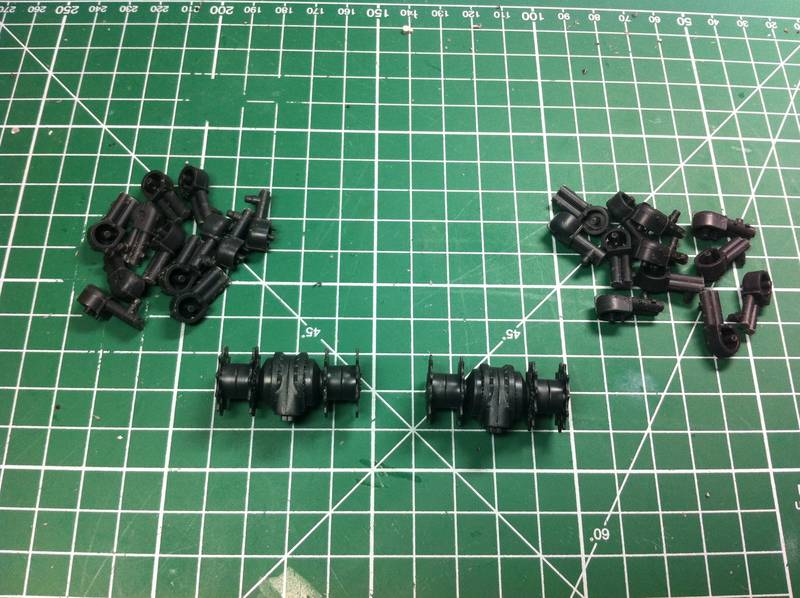
The easiest method to overcome the gaps is to remove the locating pins and sand the pieces totally flat thus:
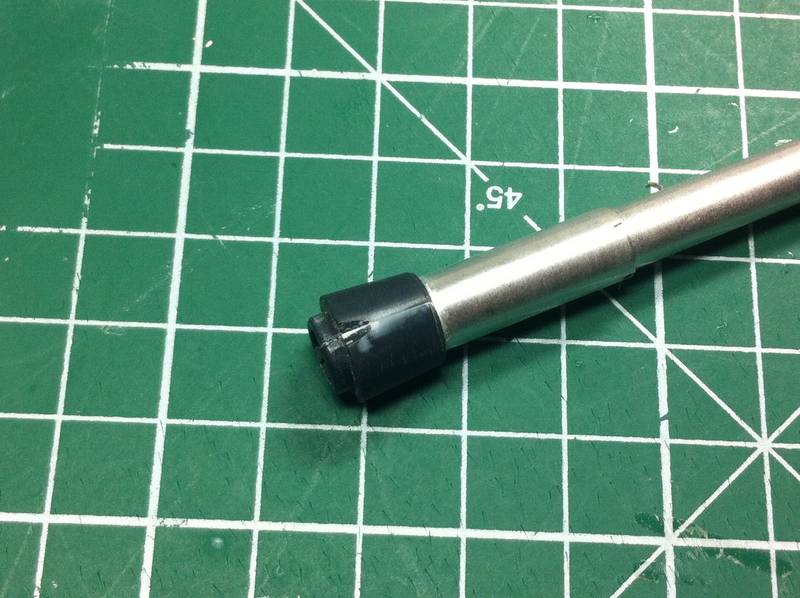
I got there in the end:
The main suspension components all assembled:
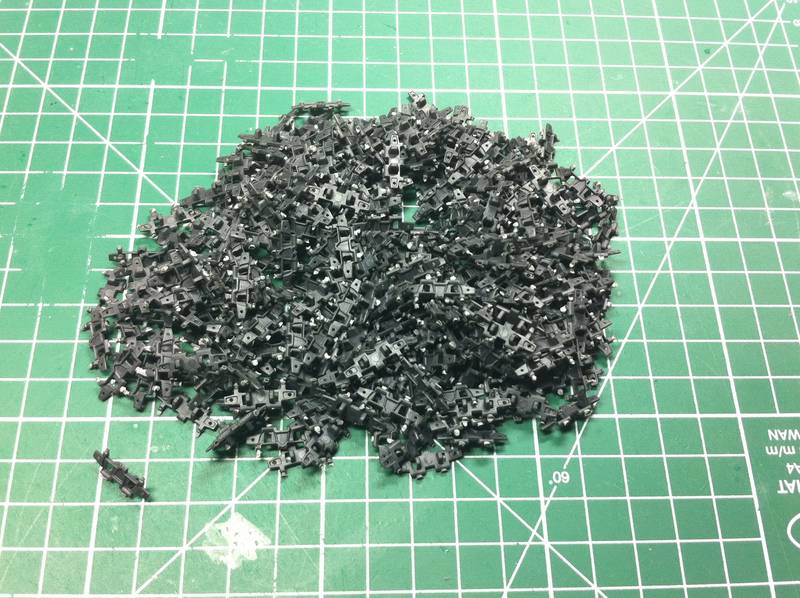
Next i'm going to have to clean up all those road wheels and tracks, not looking forward to it........