_GOTOBOTTOM
Armor/AFV: Allied - WWII
Armor and ground forces of the Allied forces during World War II.
Hosted by Darren Baker
bronco jeep and 6 pdr
parrot
Visit this Community
Ontario, Canada
Joined: March 01, 2002
KitMaker: 1,607 posts
Armorama: 1,581 posts
Posted: Sunday, August 10, 2014 - 11:59 AM UTC
Hi Guys,
I'm restarting this because it's never in the armor posts???
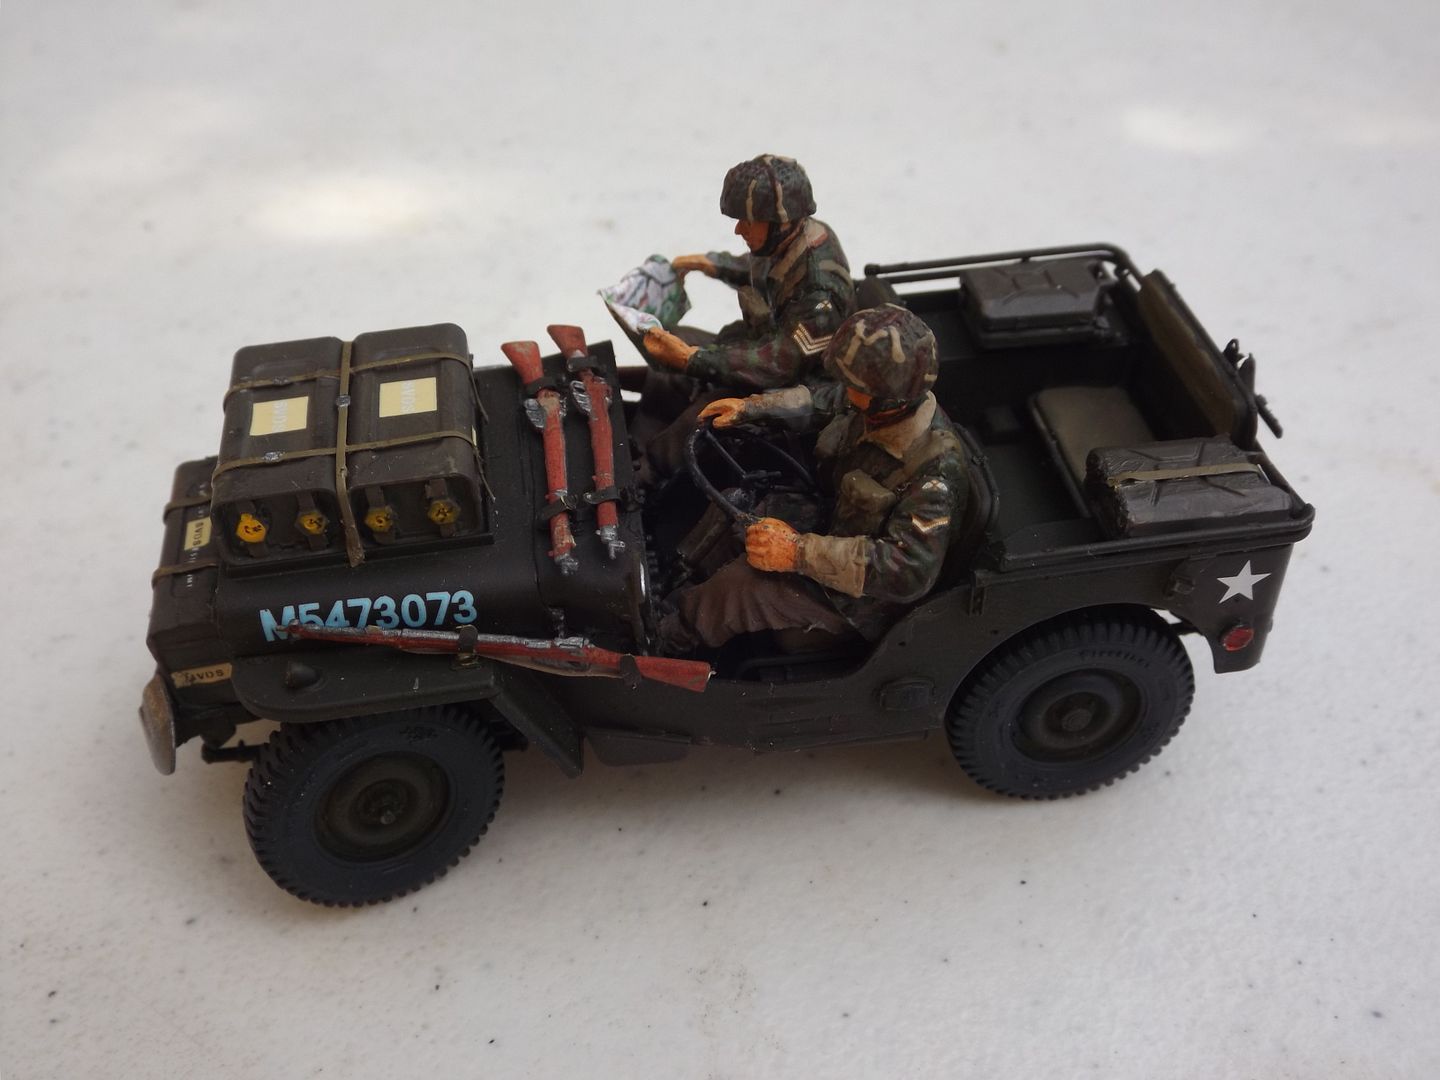
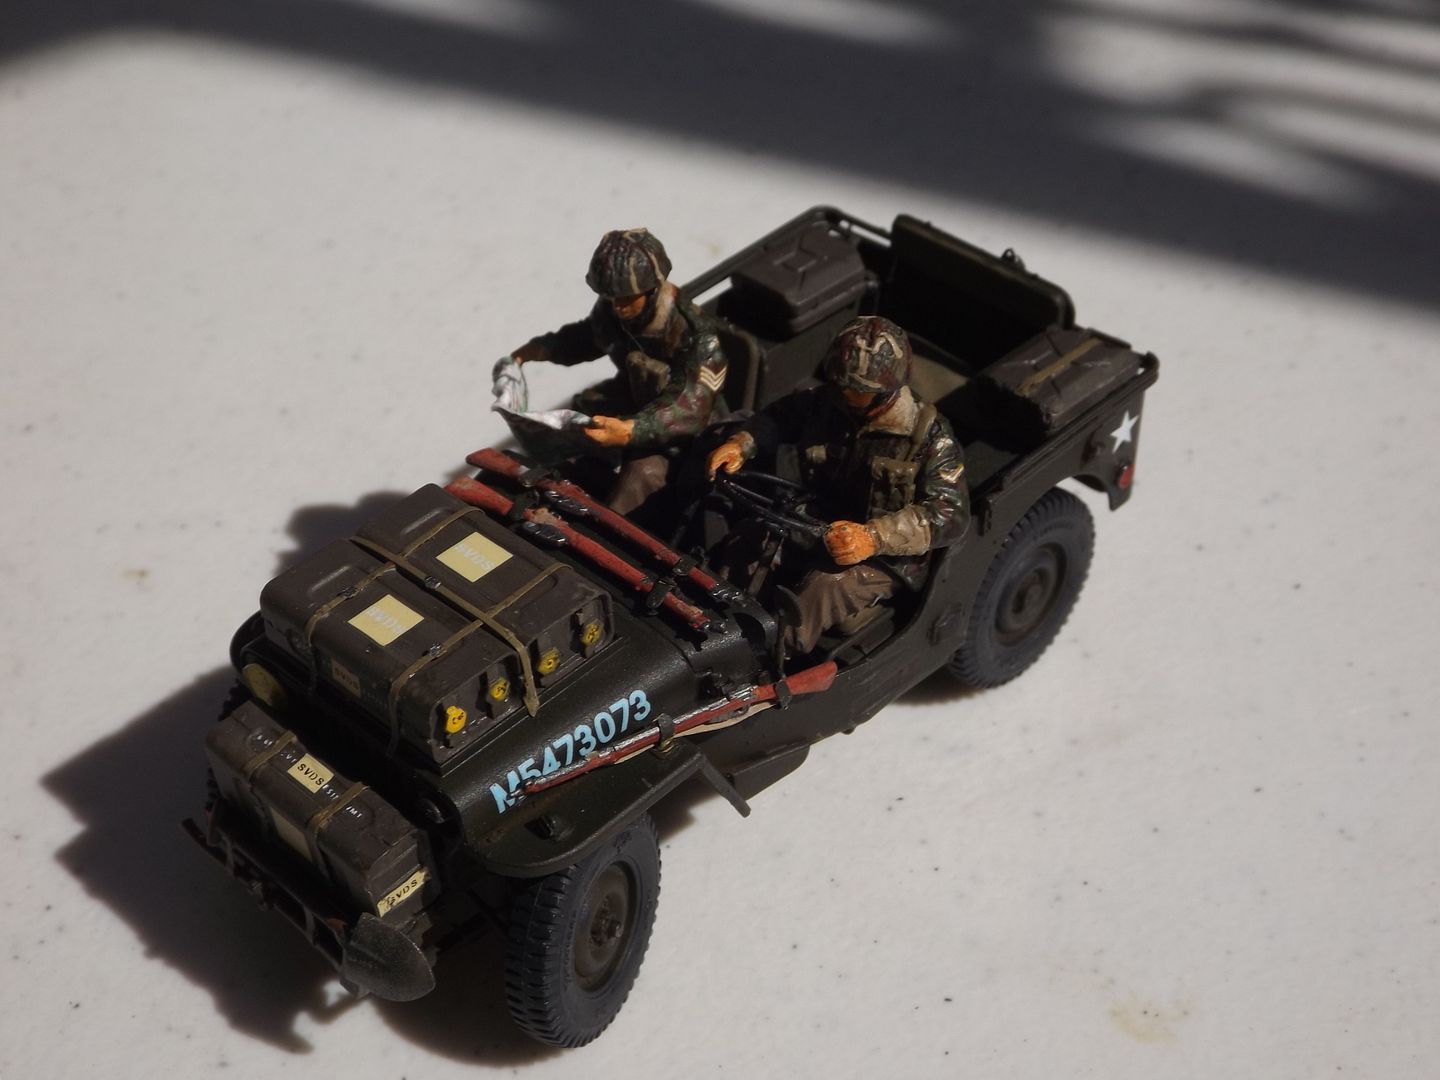
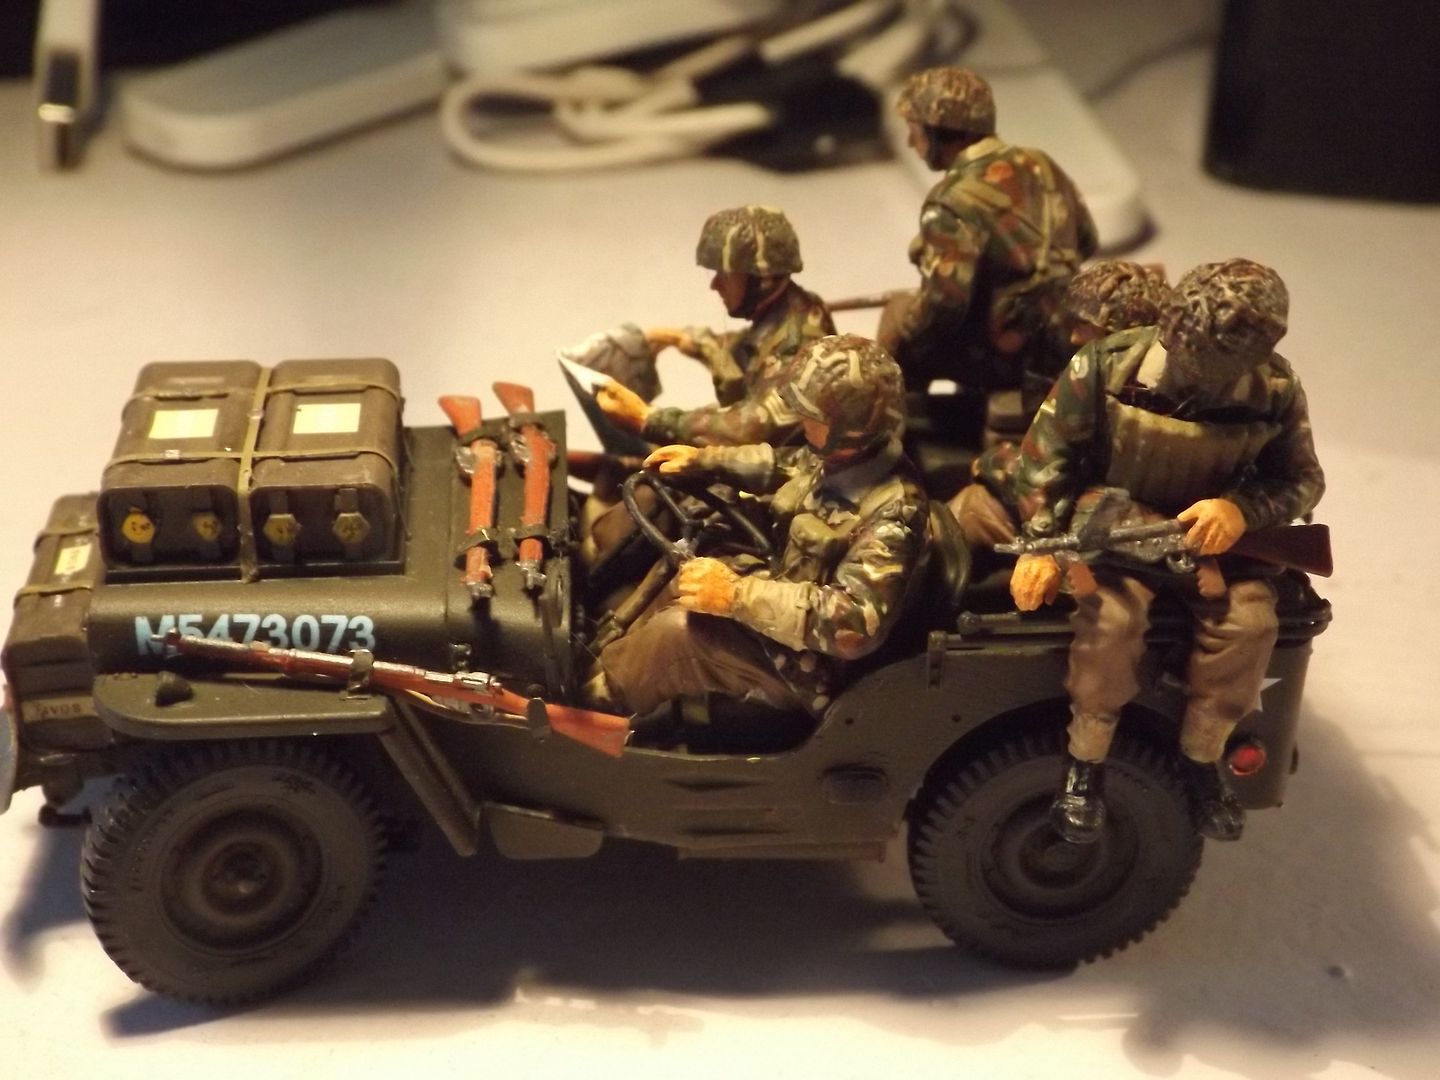
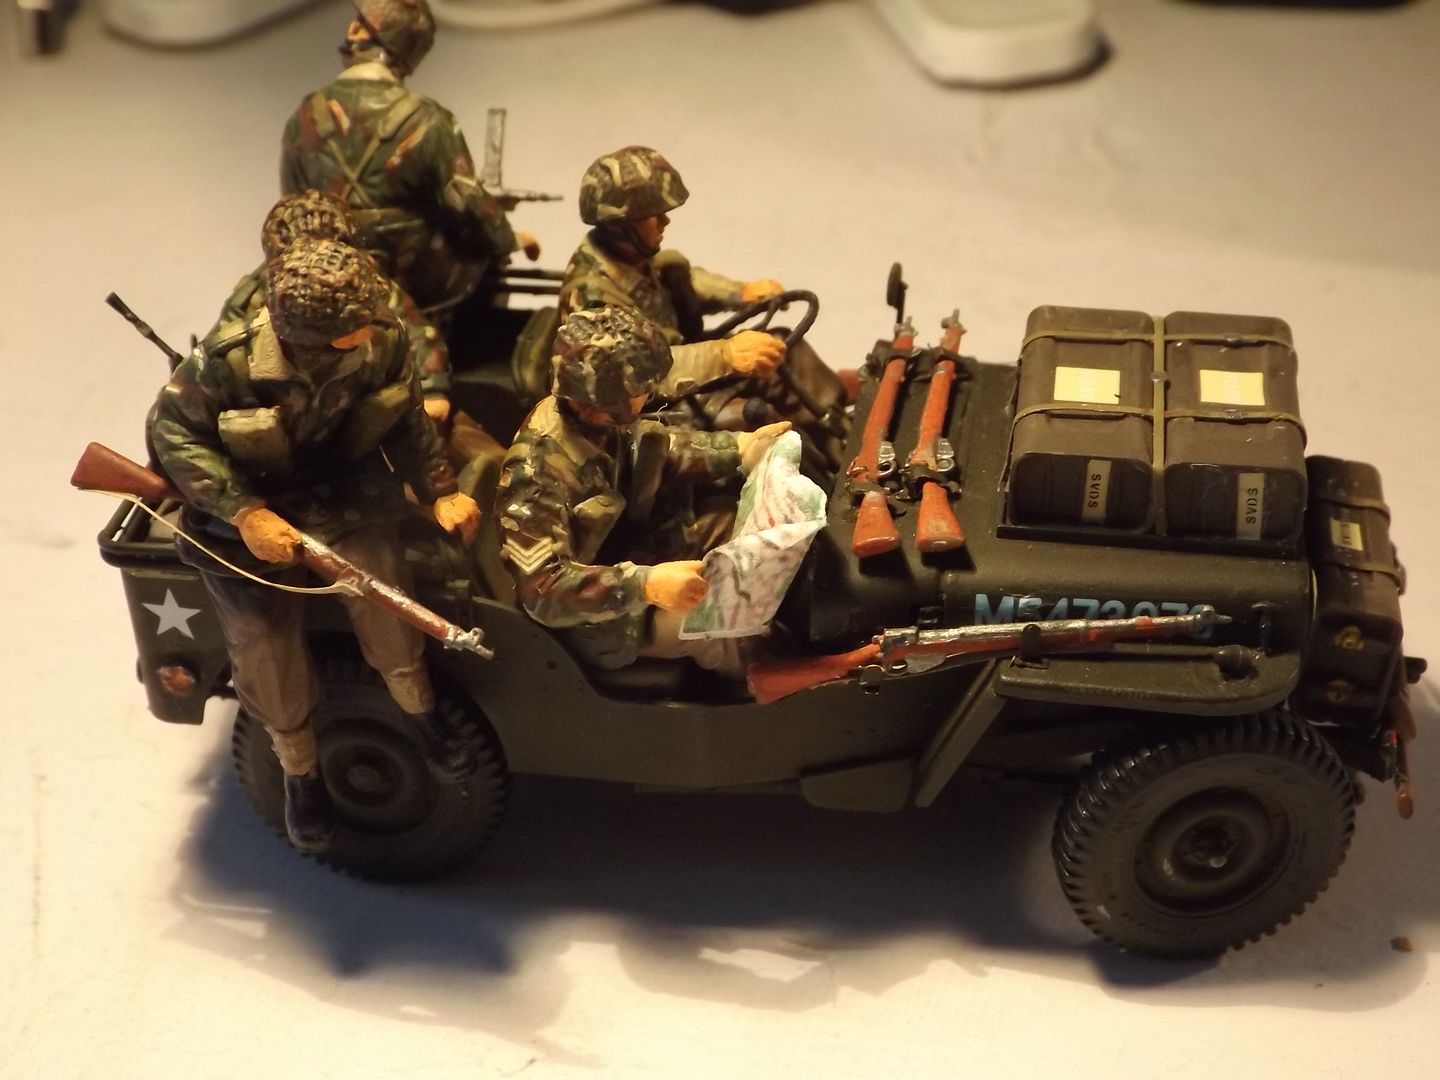
Just a few pics of my progress. Details to come.

Tom
 photo new005_zpsda54ba52.jpg  photo new004_zps78205648.jpg  photo new003_zpsa4739182.jpg  photo new002_zps23c493b8.jpg  photo new001_zps0f520879.jpg
parrot
Visit this Community
Ontario, Canada
Joined: March 01, 2002
KitMaker: 1,607 posts
Armorama: 1,581 posts
Posted: Monday, August 11, 2014 - 10:57 AM UTC
Glad to see it's were it should be now.
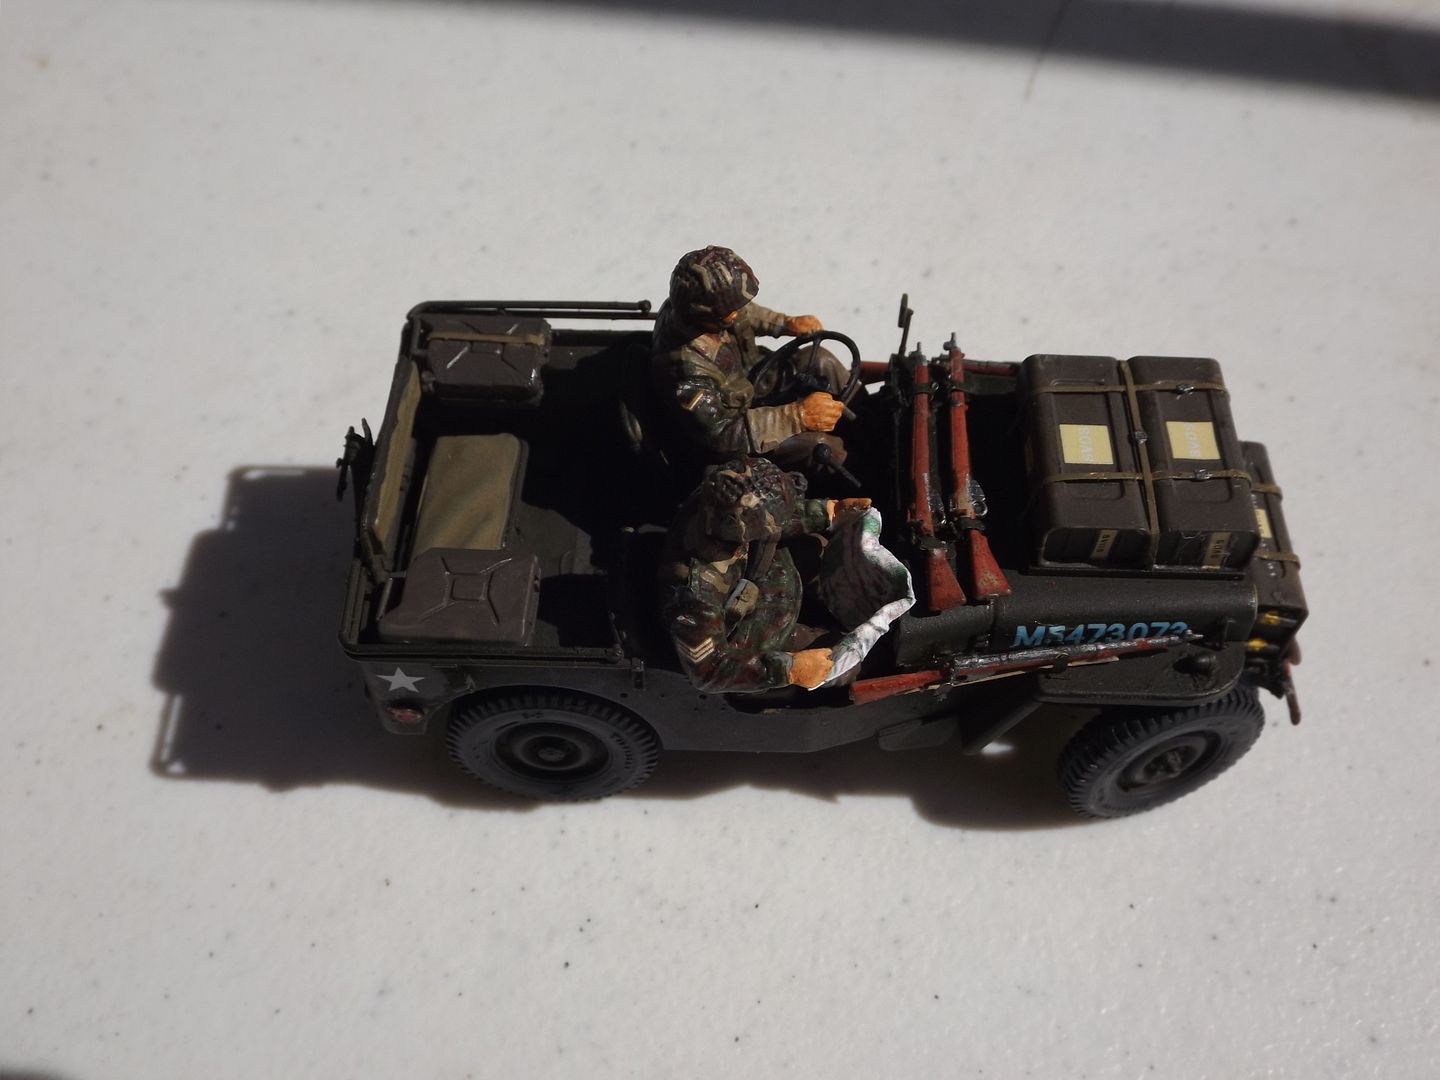
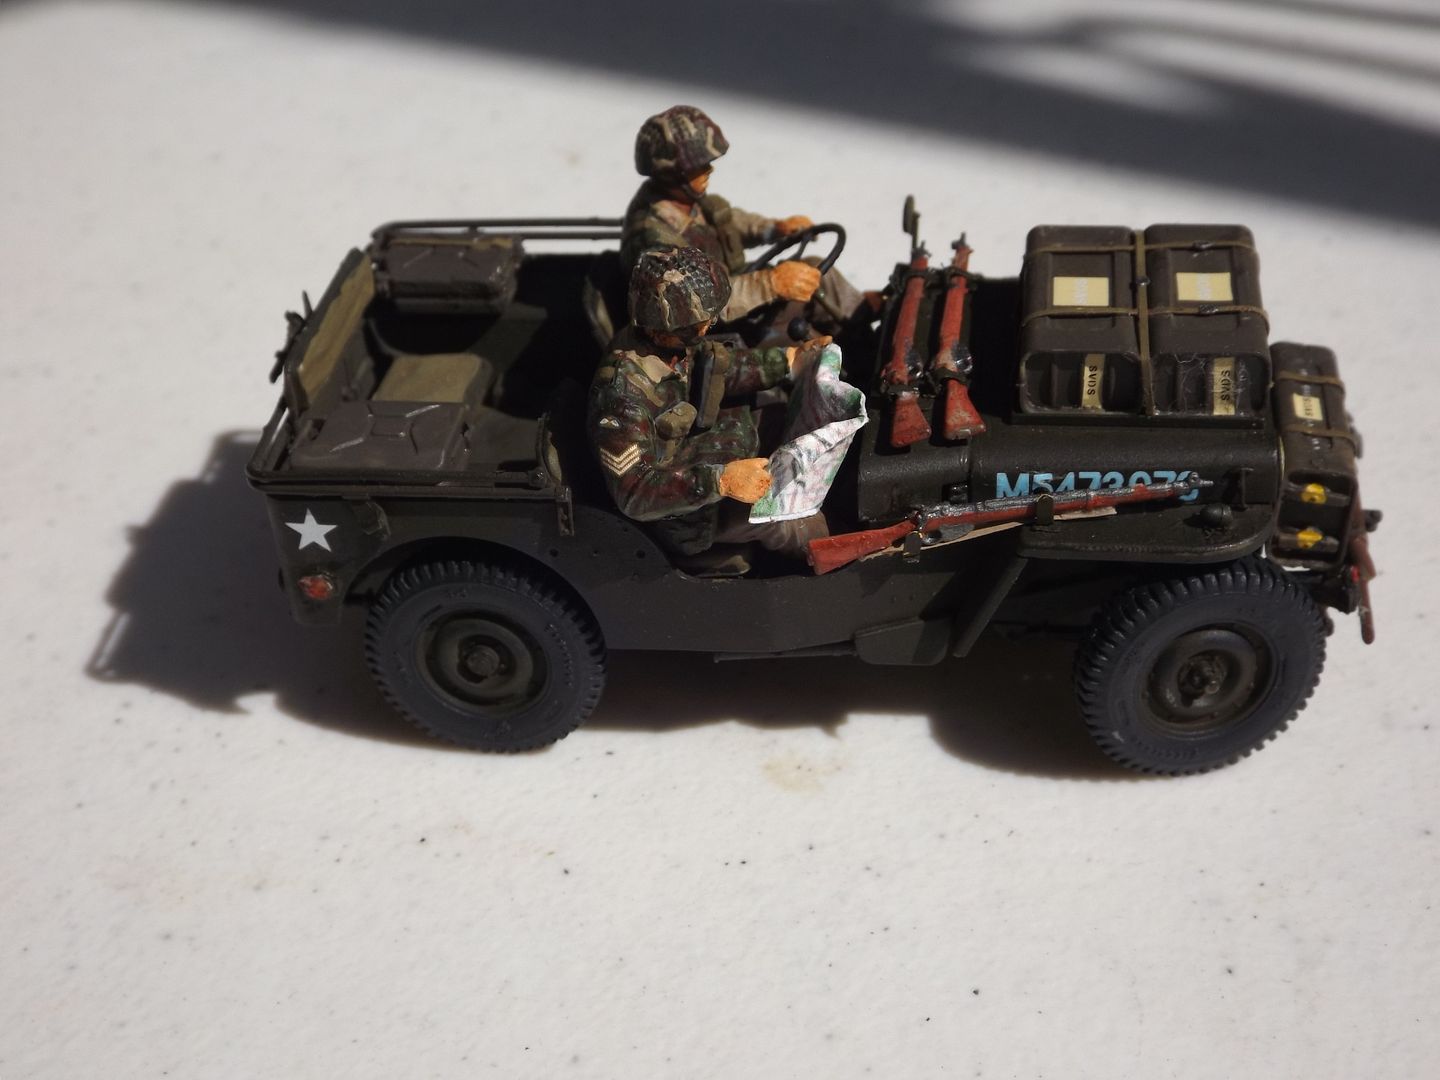
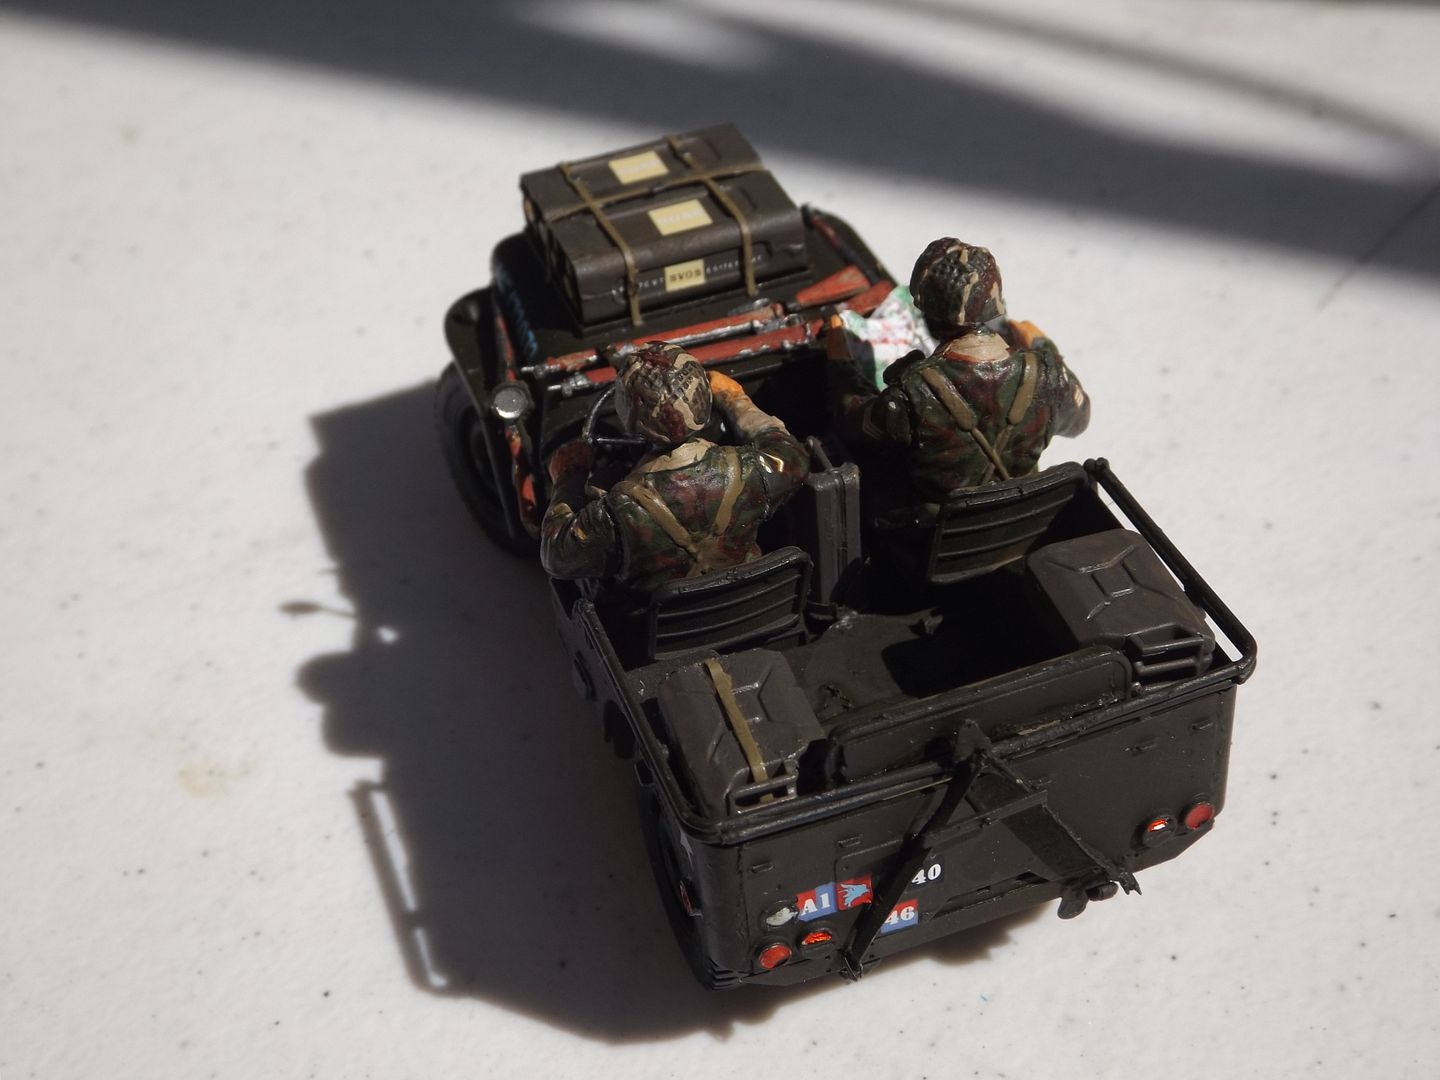
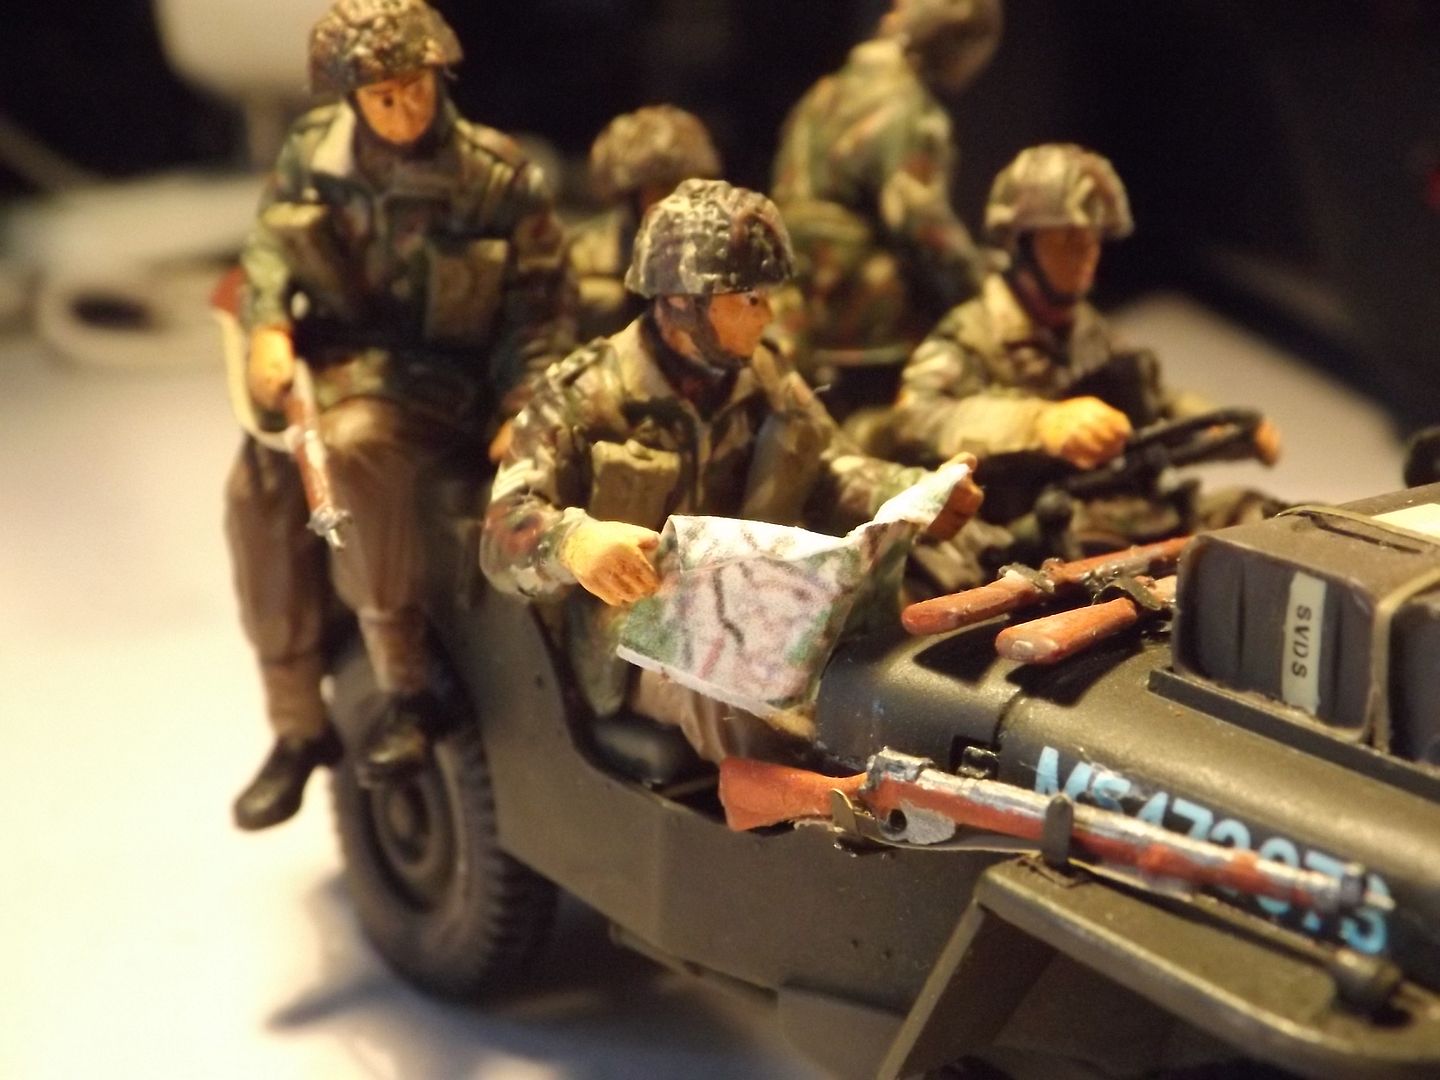
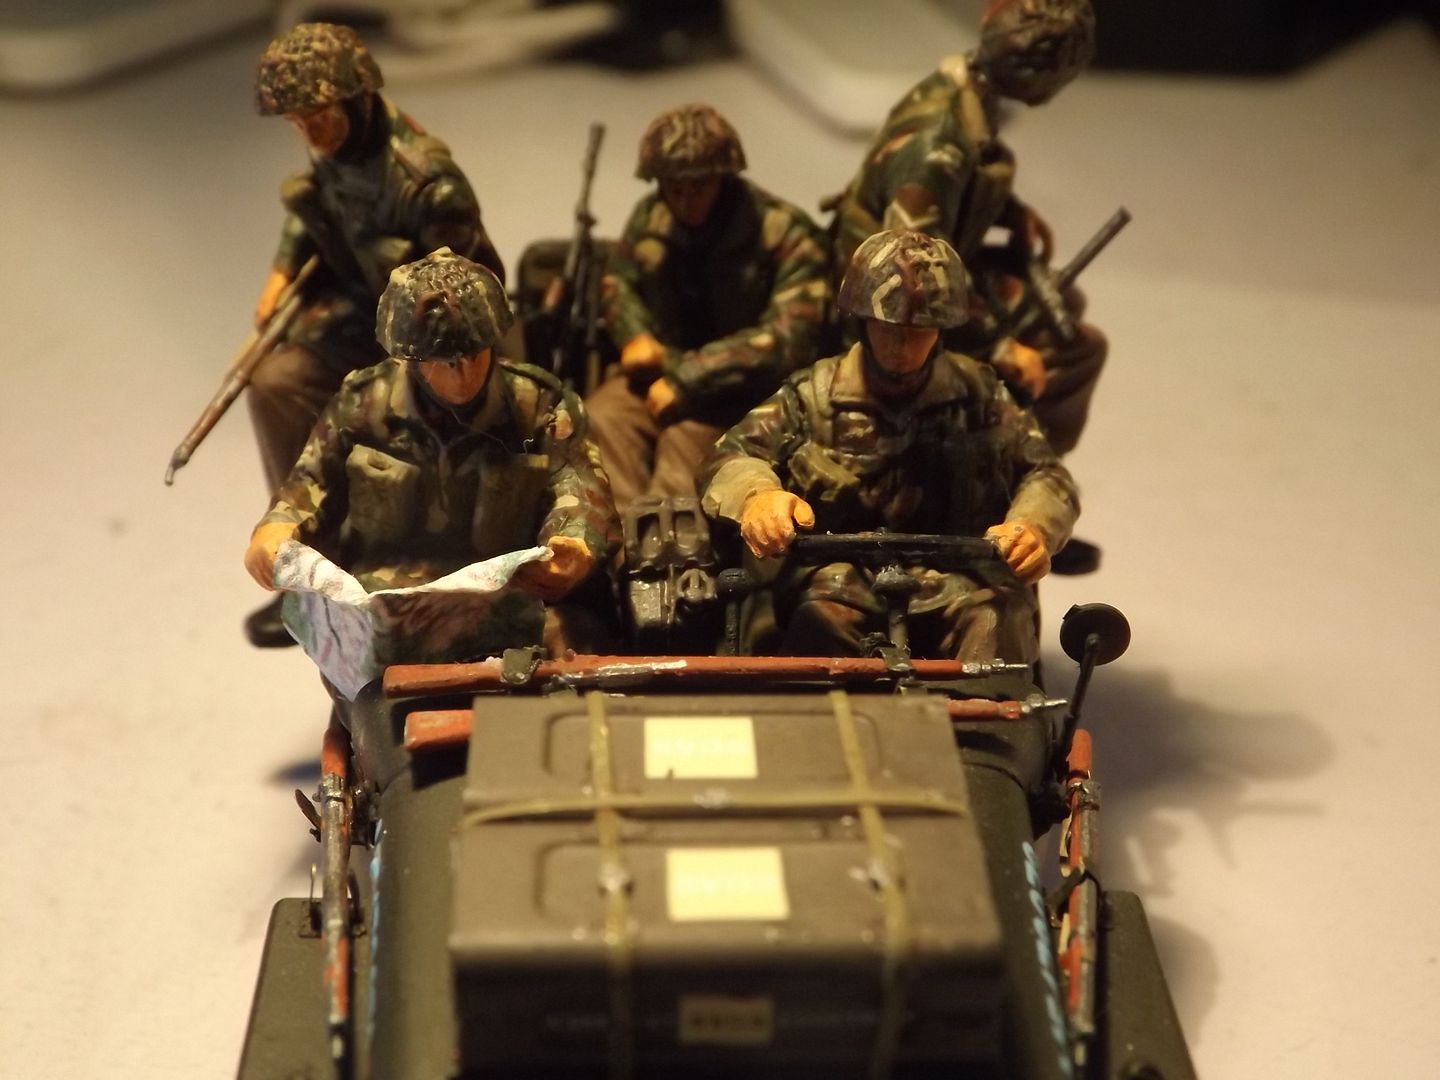
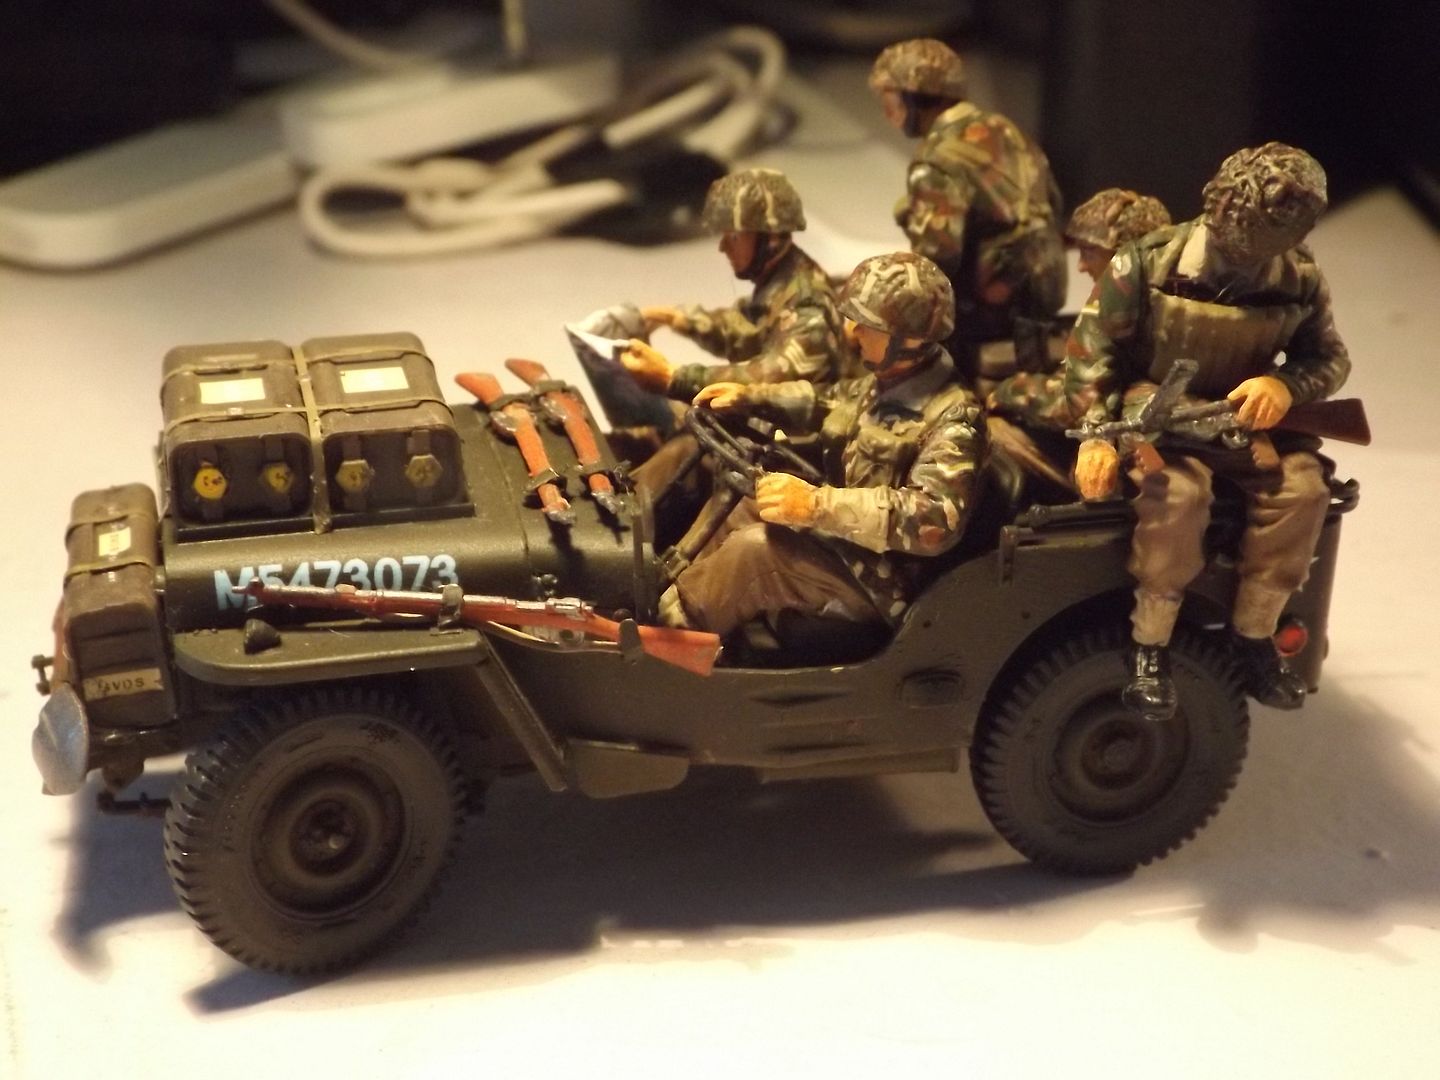
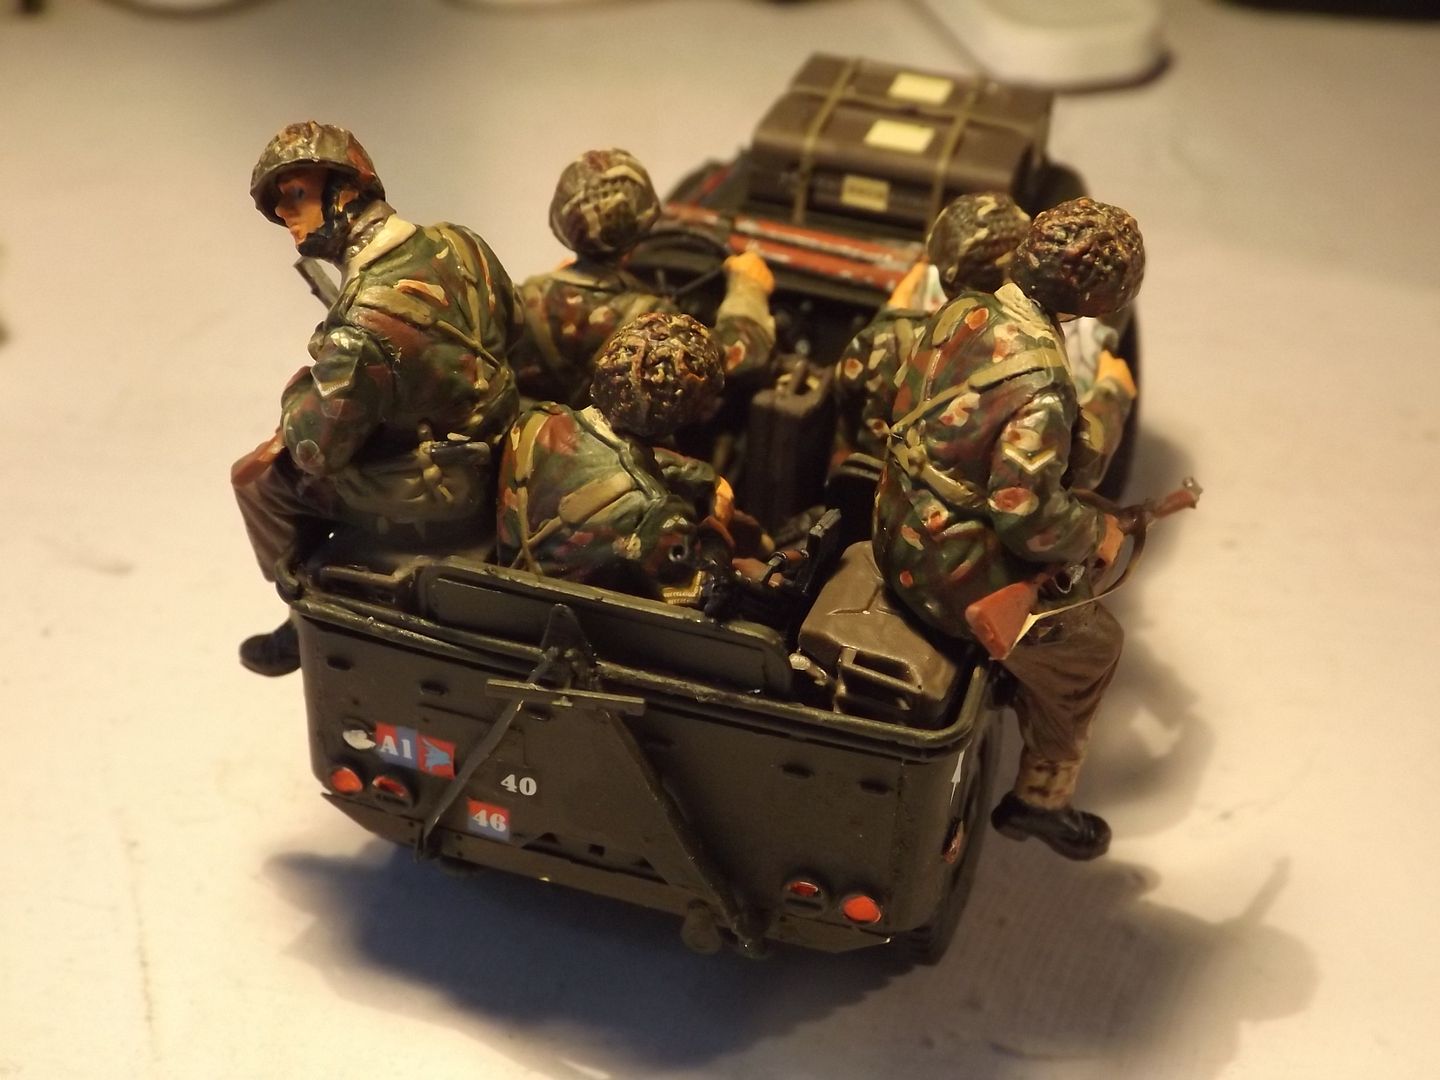
A note on the figures.They're quite well done,but as you can see I took the jerry cans and put them on the sides instead of behind the seats. First of all the guy in the middle won't fit on the rear seat with them there. The instructions are bad and don't show any placement of any of them. If he sits on the back of the seat he looks wrong. That figure also has parts for his boot soles???why. The other holding the rifle should be grasping the back of the seat. Without something to sit on,does't look natural.Hince the jerry can.Same with other figure on the side. He doesn't fit on the corner and had to cut and reposition his hand to grasp the roof railing.
bat-213
Visit this Community
Canada
Joined: December 30, 2011
KitMaker: 902 posts
Armorama: 788 posts
Posted: Monday, August 11, 2014 - 11:43 AM UTC
great build,.cant wait to see more,
parrot
Visit this Community
Ontario, Canada
Joined: March 01, 2002
KitMaker: 1,607 posts
Armorama: 1,581 posts
Posted: Friday, August 15, 2014 - 09:51 AM UTC
Thanks Roy,
curios,I've never understood what the skull means?
Anyway ,here are the other guys on the jeep.Started the canon and as I had thought it is driving me insane.Most parts are far too tiny and a lot are going to the carpet monster.I find the instructions are terrible,but that's just me.Someone will do a great job on this and put me to shame.Personally I don't like spending most of my time under a magnifying light.I wish I hadn't spent my money on this kit.I'll try to get some better pics outside tomorrow.

Tom .  photo jeep006_zpse9921852.jpg  photo jeep005_zps12396da9.jpg  photo jeep004_zps6b217352.jpg  photo jeep003_zps0cc1b43a.jpg  photo jeep002_zpsf25d7de4.jpg  photo jeep001_zps03cf7ad8.jpg
CMOT
Staff MemberEditor-in-Chief
ARMORAMA
Visit this Community
England - South West, United Kingdom
Joined: May 14, 2006
KitMaker: 10,954 posts
Armorama: 8,571 posts
Posted: Friday, August 15, 2014 - 10:28 AM UTC
Very nice work so far Tom.
parrot
Visit this Community
Ontario, Canada
Joined: March 01, 2002
KitMaker: 1,607 posts
Armorama: 1,581 posts
Posted: Friday, August 15, 2014 - 11:22 AM UTC
WOW,from you that's a great comment.
Thanks,
Tom
skyhawk
Visit this Community
Florida, United States
Joined: June 03, 2003
KitMaker: 1,095 posts
Armorama: 743 posts
Posted: Monday, August 18, 2014 - 04:07 AM UTC
At least you are getting it built!
I have been pushing through the 'other' AB jeep kit, the one with the trailer, over the last several months.
A zillion parts, some ridiculously small.

It makes me wonder if the guys designing the kits at Bronco are actually modelers, or just CADD techs who were handed the task of "draw up parts for this kit", so drew up all the bits and bobs that make up the jeep...Things like the suspension on the trailer is just ridiculous. 10 parts JUST for the springs...on each side, not counting the axle or any of the brake linkage! There is probably more parts just in the underside of the trailer than in the entire Tamiya Jeep kit combined!

BUT, I will say, when its done, its going to be one heck of a detailed build!

and yes, the instructions for the figure placement are just as vague...well, actually nonexistent, in this kit! I just plan on packing in enough homemade gear and rolled putty items under their butts to make them all ride right.

and bronco, you gave us nice "weighted" option for the trailer springs, how about the rear jeep springs too???

Good luck on finishing your build!
Andy
AlanL
Visit this Community
England - East Anglia, United Kingdom
Joined: August 12, 2005
KitMaker: 14,499 posts
Armorama: 11,675 posts
Posted: Monday, August 18, 2014 - 05:49 AM UTC
Coming along really well Tom.

Al
canuck100a
Visit this Community
Nova Scotia, Canada
Joined: September 13, 2005
KitMaker: 96 posts
Armorama: 96 posts
Posted: Monday, August 18, 2014 - 06:13 AM UTC
Hi Tom,

Looks great. You may want to paint most of the top of the rifles the same wood colour as the stocks as that part of the Lee Enfield's furniture were wood.

Eric
1stjaeger
Visit this Community
Wien, Austria
Joined: May 20, 2011
KitMaker: 1,744 posts
Armorama: 1,727 posts
Posted: Monday, August 18, 2014 - 10:51 AM UTC

Hi Tom,

Eric is right about the Enfields, you know!

And while the dark green colour for the jeep is fine IMHO, I wonder if you could not paint the Denison smocks a tad lighter, i.e. the light green/khaki drill patches could be bigger.
https://www.google.at/search?q=denison+smock&tbm=isch&tbo=u&source=univ&sa=X&ei=BH_yU6DIMor34QSIqoBo&ved=0CCIQsAQ&biw=1344&bih=722

I am aware that there was no such thing as a common pattern for these smocks, but a lighter "general impression" might produce a nice "difference". What say???

I hope you are into a real series of builds about the Paras, as they certainly are among my favourite subjects (obviously ), and I will watch closely!!!

Cheers

Romain
parrot
Visit this Community
Ontario, Canada
Joined: March 01, 2002
KitMaker: 1,607 posts
Armorama: 1,581 posts
Posted: Tuesday, August 19, 2014 - 09:14 AM UTC
First of all,
Andy, best of luck on your build. It's a shame to say, but glad to no that I'm not the only one having a lousy time with these Bronco kits. A ton of the parts are so small I can't pick them up with tweezers and when I do they disappear. I've started doing 1 or 2 parts a night because I can't stand the stress and aggravation. My canon is going so bad I'm going to have to cover a good portion of it with a tarp to use any kind of a dio.
Thanks Eric, that's a quick fix on the rifles.
And Romain,I did do a search on the uniforms and used one pic for reference. I'm not going to change these guys now, but I have another post over in figures doing the Tamiya Para's with motorcycles that I will take your advice on. I picked them up to go with this in a future dio.Thanks for the link.

Tom
parrot
Visit this Community
Ontario, Canada
Joined: March 01, 2002
KitMaker: 1,607 posts
Armorama: 1,581 posts
Posted: Saturday, August 30, 2014 - 08:25 AM UTC
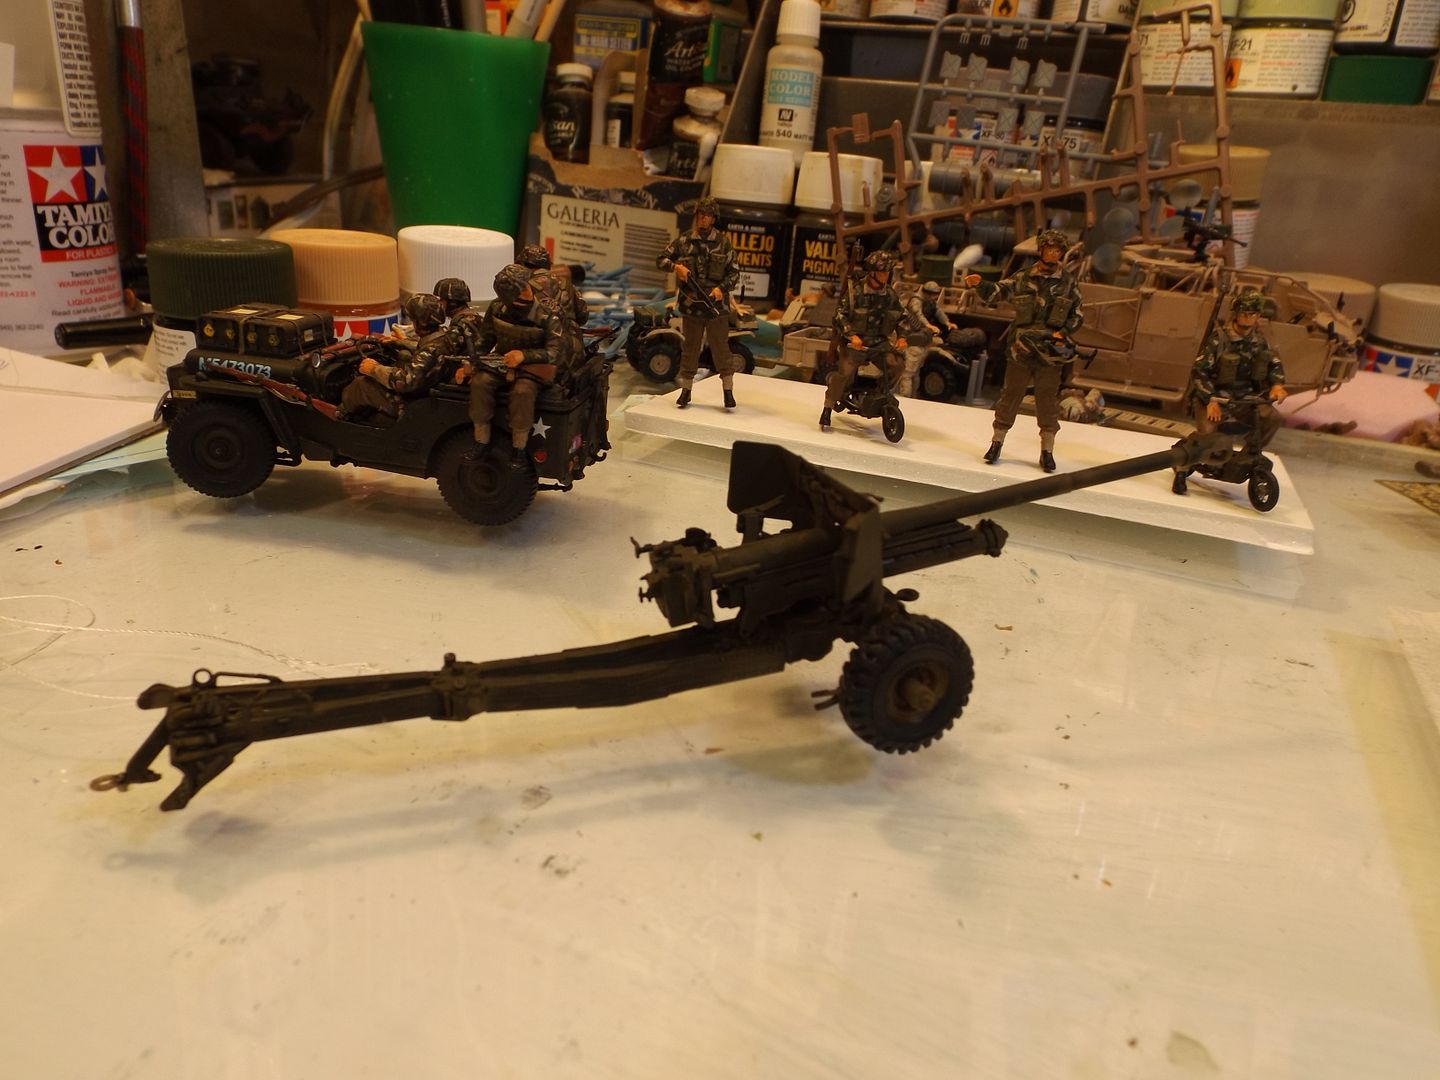
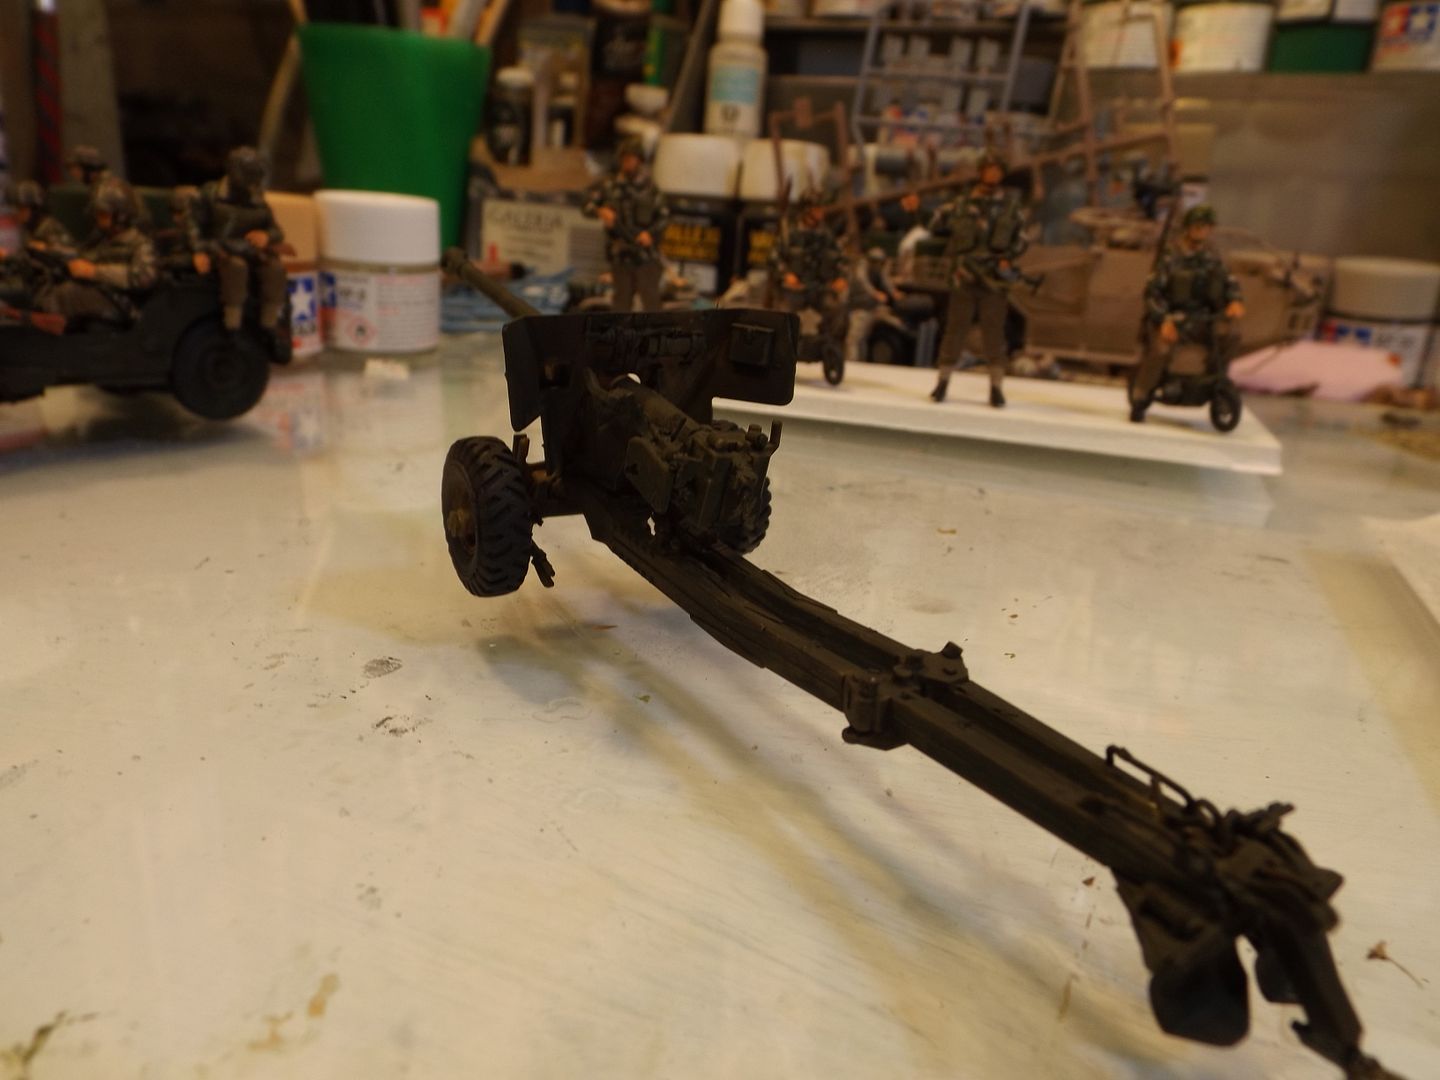
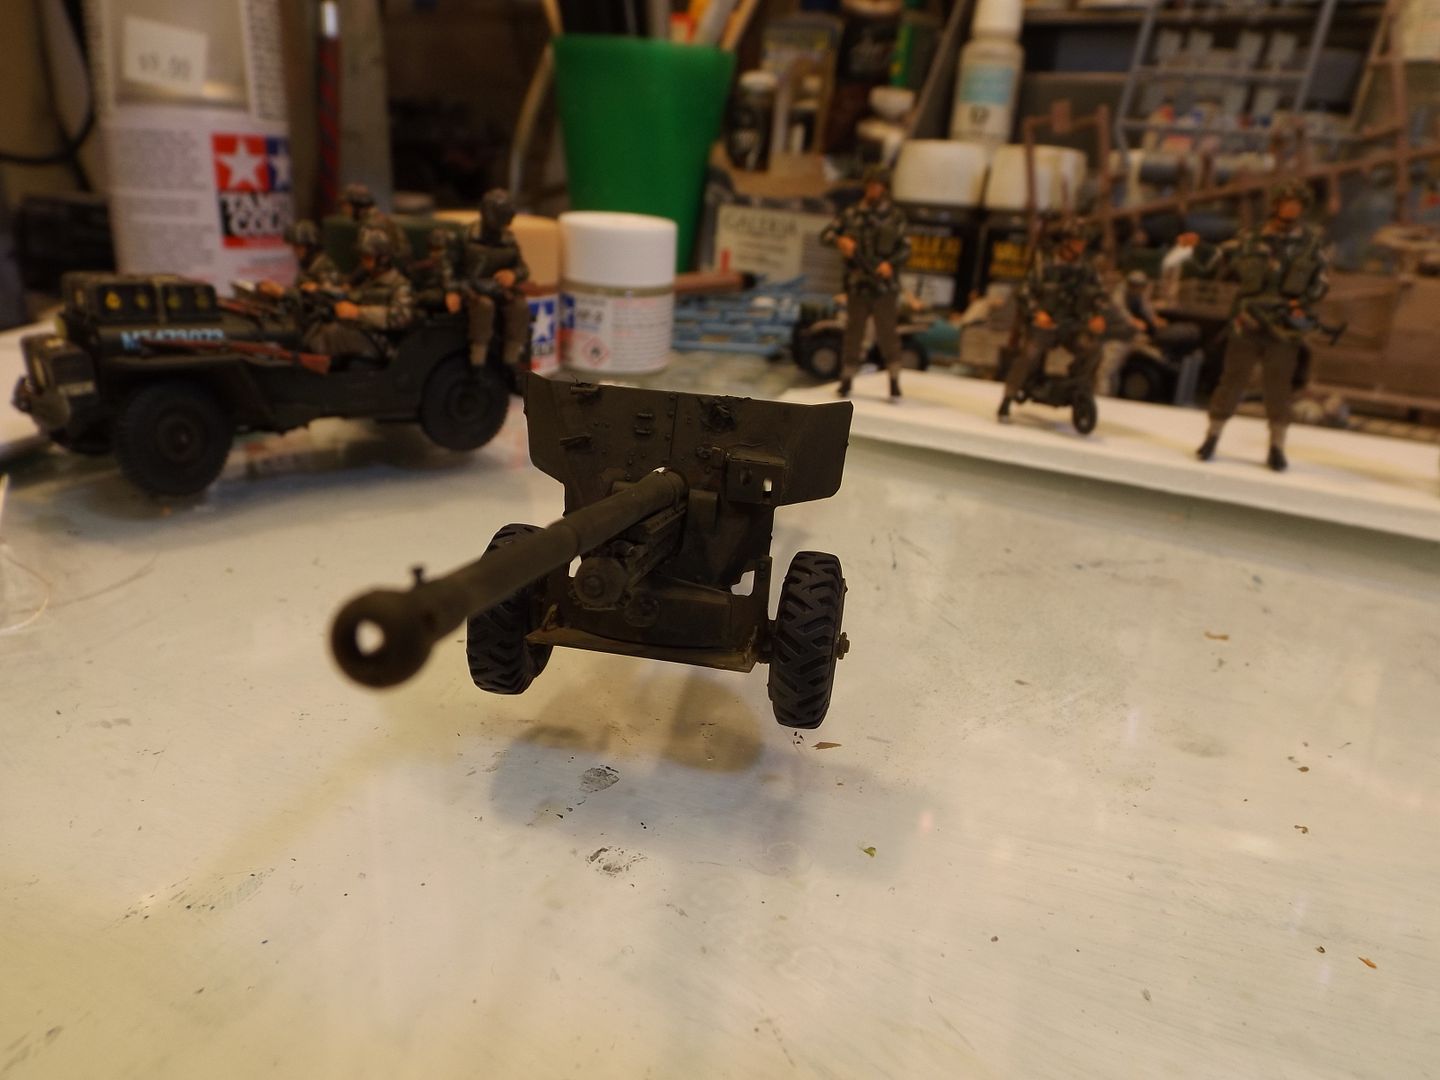
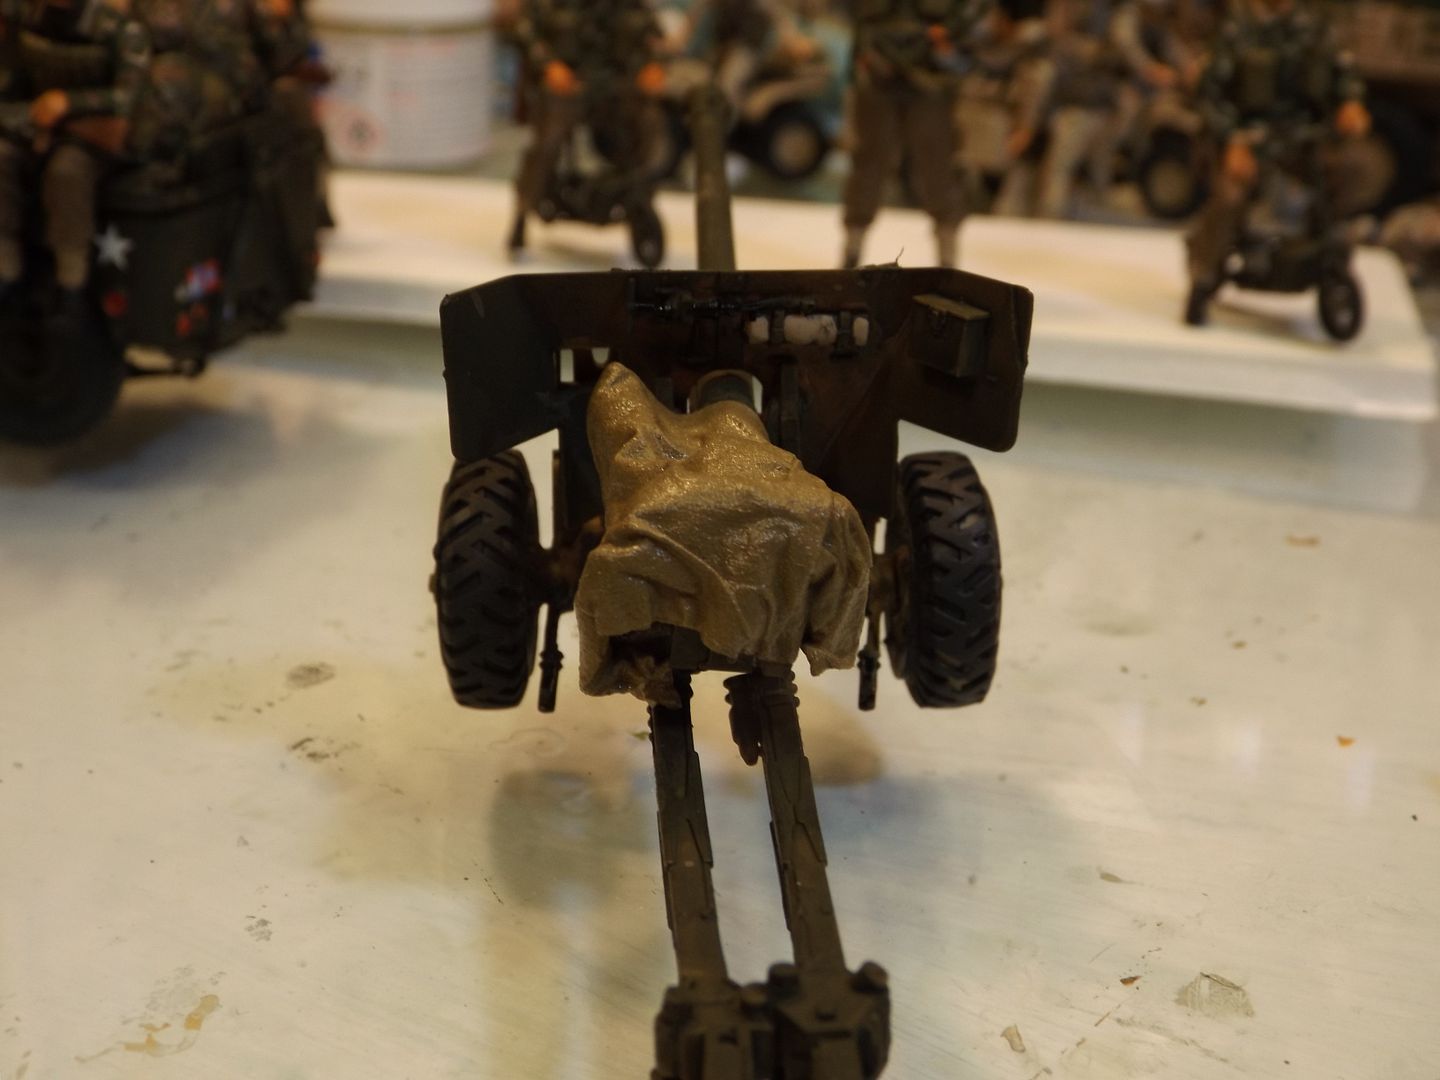
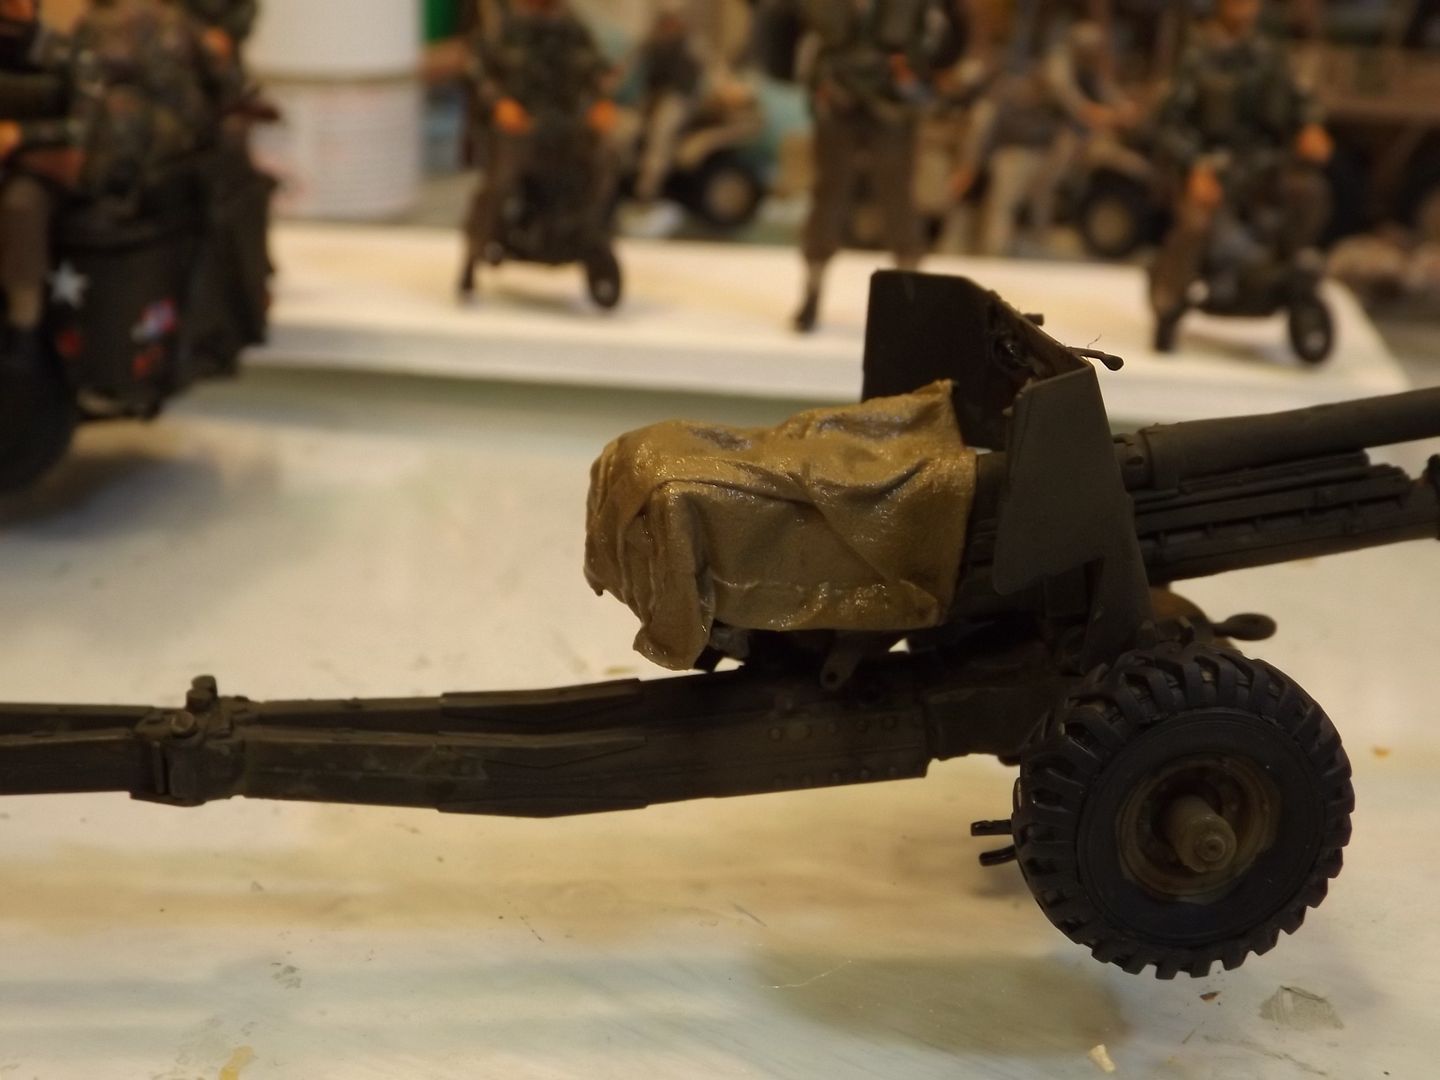
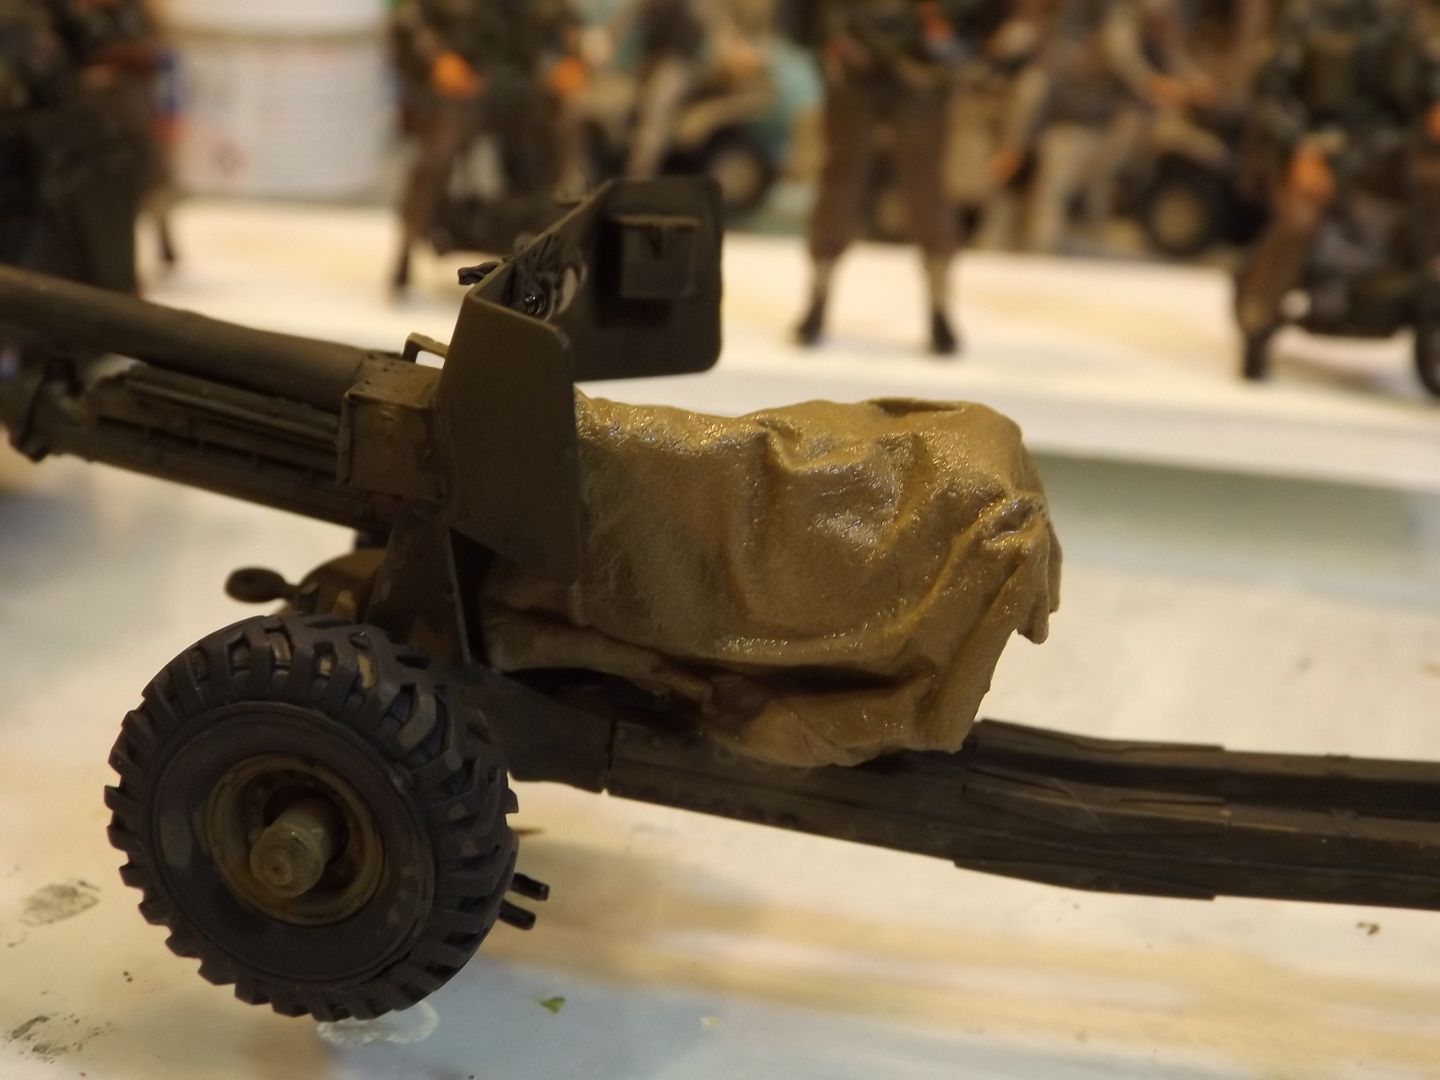
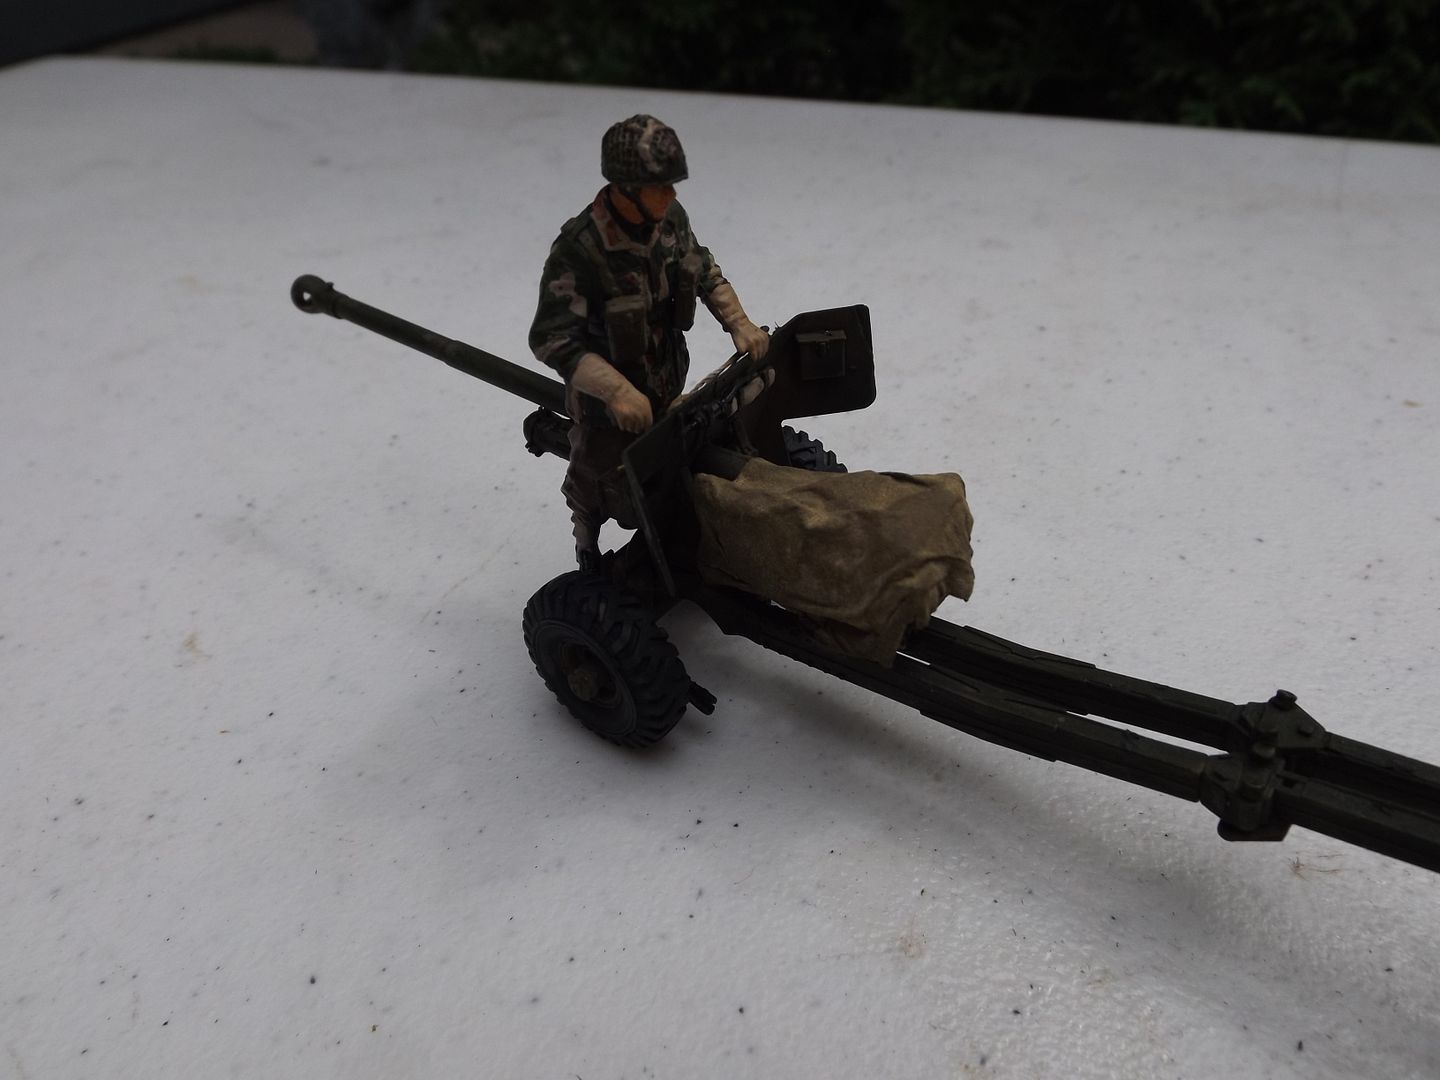
Finally got the canon done,sort of.
The instructions are not detailed enough to understand.I consider myself a fairly decent modeller ,but this has been huge pain in the a--.Bronco only shows the kit from 1 side,so your always kind of guessing were the other parts go??? The parts ,as I've mentioned are so tiny many were lost or useless to try. I'd rather be punished to do 2 Kenetic M-rap's than do this again.
It ended up so inaccurate that I had to make a tarp over it at least be able to use it in a dio.

Off topic - What happened to the Military channel???? AHC???? 95% crap.nothing to do with American hero's.The 1 in 20 subjects is the same old Hitler documentaries.
Don't care about the Mafia and mummy's.Going to cancel it.
Tom
.
Once again Photo bucket screwed up on me.Keep changing things for more ADs on the site.Pics in the morning.
bat-213
Visit this Community
Canada
Joined: December 30, 2011
KitMaker: 902 posts
Armorama: 788 posts
Posted: Saturday, August 30, 2014 - 09:32 AM UTC
hi Tom.the scullis just my way of saying after I my stoke I was dead,with the help of modeling I am a lot better.
andyevans
Visit this Community
England - East Midlands, United Kingdom
Joined: October 04, 2008
KitMaker: 369 posts
Armorama: 249 posts
Posted: Saturday, August 30, 2014 - 07:40 PM UTC
Following along with this one Tom, I have this kit to build and from what you have said so far you are making me think twice. It does look very complicated and maybe over-engineered ?.

You are making a great job though, the only thing I did notice is that the driver figure is wearing gauntlets so his hands would be the same colour as the wrist part. Hope you don't mind me picking you up on that small detail

Looking forward to seeing more pictures.

Andy

parrot
Visit this Community
Ontario, Canada
Joined: March 01, 2002
KitMaker: 1,607 posts
Armorama: 1,581 posts
Posted: Sunday, August 31, 2014 - 02:06 AM UTC
Hi Andy,
I was wondering about that from the start.I should have looked it up,but just went with the box and instruction art.
I'm just finishing the guy riding the canon and he has the same ones.Thanks for the info.
Here's the pics I couldn't get yesterday.I'll send one more later today of everything complete.Good luck with yours.Be patient and very careful.

Tom
 photo 6pdr001_zpsddf57df3.jpg  photo 6pdr002_zpse3a8120b.jpg  photo 6pdr003_zps04d3a25e.jpg  photo 6pdr004_zpsd2435ef7.jpg  photo 6pdr005_zps0e93abb0.jpg  photo 6pdr007_zps516fa0f2.jpg
bat-213
Visit this Community
Canada
Joined: December 30, 2011
KitMaker: 902 posts
Armorama: 788 posts
Posted: Sunday, August 31, 2014 - 11:12 AM UTC
very nice work on your build .well done .
armyguy
Visit this Community
Wisconsin, United States
Joined: December 07, 2012
KitMaker: 262 posts
Armorama: 150 posts
Posted: Sunday, August 31, 2014 - 12:26 PM UTC
You guys are scaring me. I have Bronco's Jeep with 37mm A/T in my stash closet and it might just stay there.
But really this is really a great job your doing Tom.
To quote Rudyard Kipling ( Your a better man then I' am Gung a Din ). I hope I got that right.
Again Tom a job well done.

Dave M
parrot
Visit this Community
Ontario, Canada
Joined: March 01, 2002
KitMaker: 1,607 posts
Armorama: 1,581 posts
Posted: Monday, September 01, 2014 - 05:02 AM UTC
Thanks guys.
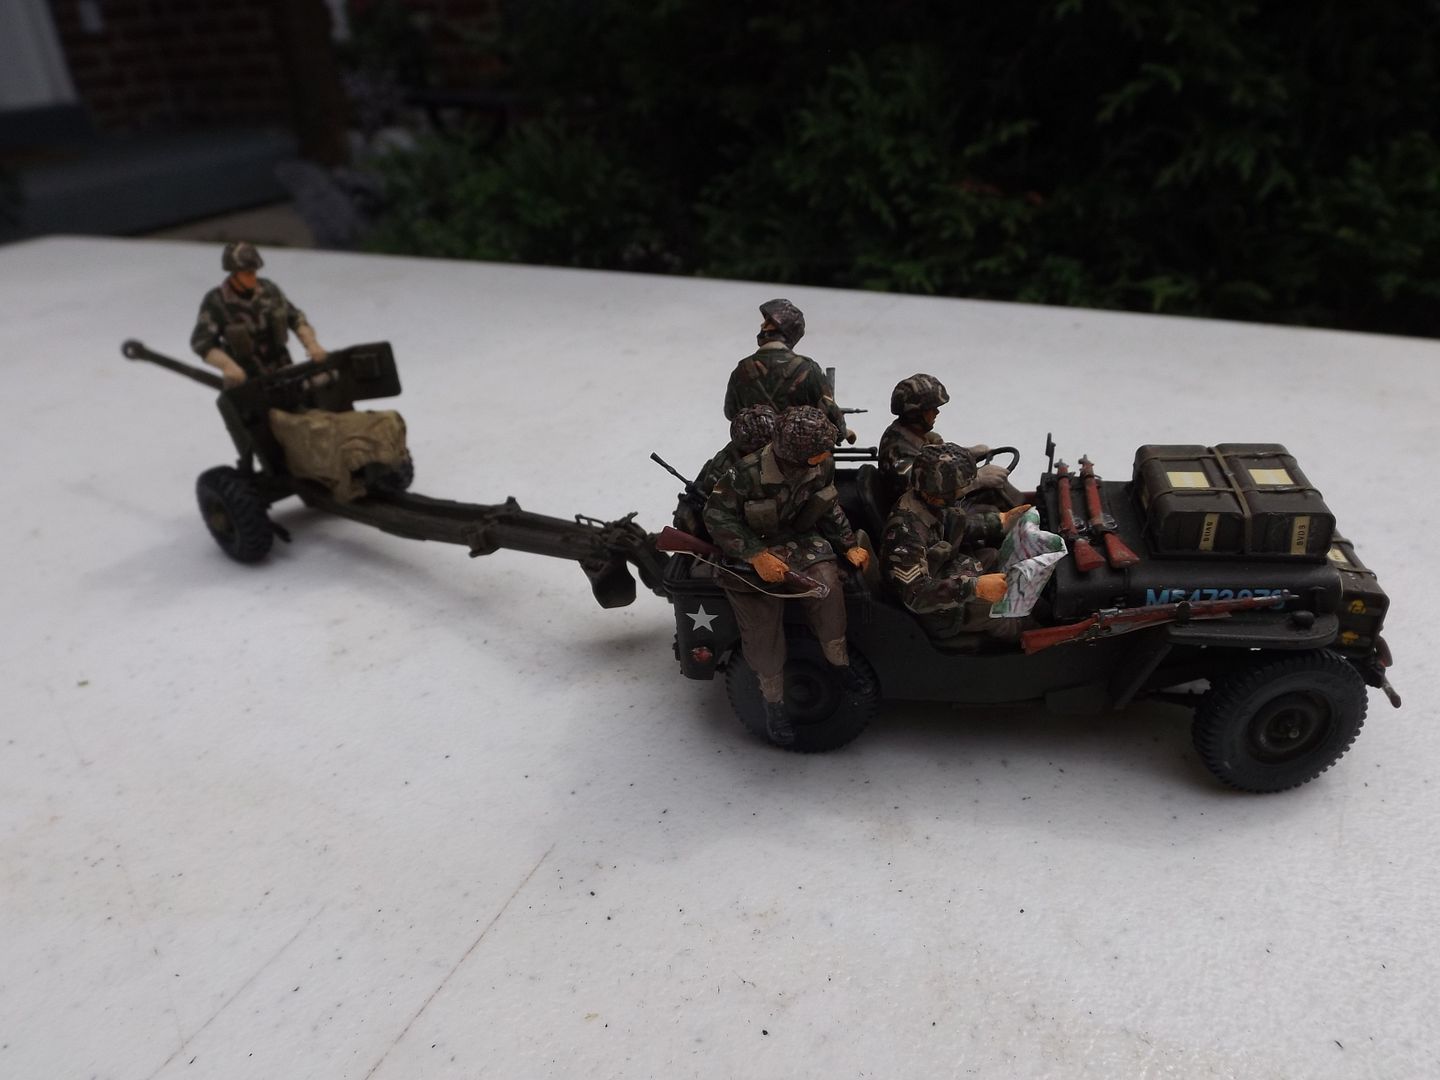
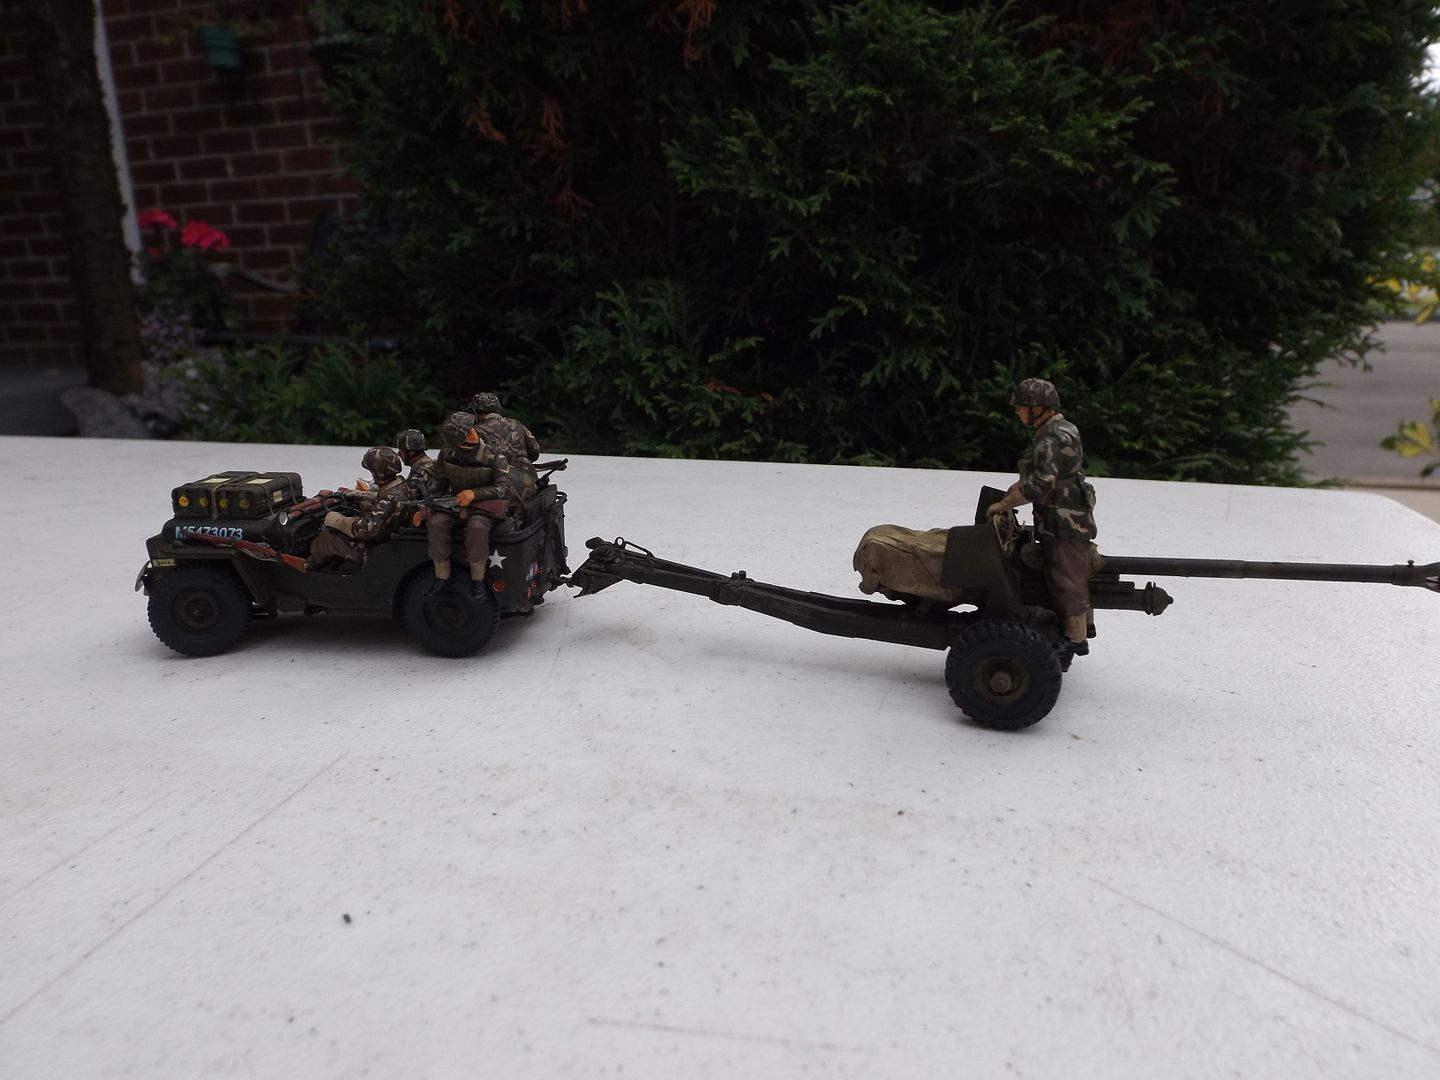
Maybe I'm just getting older and don't have the patience for these tiny parts.I'm sure one of you will do well with this kit,but if I hadn't payed so much for it I think it would have been in the garbage long ago.Upside,the decals are very nice .
Here's the finished product good enough for the dio I had originally in mind.

Tom
 photo dios4006_zpsf560ba3e.jpg  photo dios4005_zps50437ca4.jpg  photo dios4002_zpse99bbeb6.jpg
 _GOTOTOP