

Hey there armour friends!
I seem to be having a bit of trouble with creating weld beads.
I tried to go the stretched sprue way, but just can't soften the sprue after I've glued it to the model. If it isn't softened after 30 minutes of applying glue on top of it, I must be doing something wrong! How big should the sprue be? I've tried stretching to about half or 1 mm sprues but can't melt it.
Then I tried the Milliput technique, but after I put it on and go over it with my filed toothpick, the beads end up looking too wide and keeping a straight line is super hard.
Can you give me some advice on how to go about this?
Thank you very very much!
Hosted by Darren Baker
Weld beads/marks?

enterthedodo

Joined: October 08, 2014
KitMaker: 17 posts
Armorama: 17 posts
Posted: Tuesday, October 07, 2014 - 07:58 PM UTC

RobinNilsson

Joined: November 29, 2006
KitMaker: 6,693 posts
Armorama: 5,562 posts
Posted: Tuesday, October 07, 2014 - 08:34 PM UTC
What type of glue are you using ?
To soften styrene (the stretched sprue) you will need
to use a solvent and not an ordinary plastic glue.
One easy way of buying ethyl acetate (етил ацетат)
is nail polish remover. Check that it doesn't contain
any oil and choose the bottle with the highest
percentage of етил ацетат ;-)
Experiment on some scrap plastic before you attack
your model !
I would also try to use thinner streched sprue, 1 mm
is rather thick, 0.5 mm could work ...
/ Robin
enterthedodo
Joined: October 08, 2014
KitMaker: 17 posts
Armorama: 17 posts
Posted: Tuesday, October 07, 2014 - 08:55 PM UTC
Hey, Robin! Thanks for your input.
I'm using Mr. S Cement, but also tried with the normal Mr. Cement glue. I'll be sure to try nail polish remover, didn't think of that!
I'm using Mr. S Cement, but also tried with the normal Mr. Cement glue. I'll be sure to try nail polish remover, didn't think of that!
RobinNilsson
Joined: November 29, 2006
KitMaker: 6,693 posts
Armorama: 5,562 posts
Posted: Tuesday, October 07, 2014 - 10:27 PM UTC
The nail polish remover in larger bottles is a cheap way to get "glue" for plastic kits and it is available in a lot more shops ....
/ Robin
/ Robin
enterthedodo
Joined: October 08, 2014
KitMaker: 17 posts
Armorama: 17 posts
Posted: Tuesday, October 07, 2014 - 11:01 PM UTC
That's very interesting to know! 
I'll drop by a shop this weekend to see what's available. As far as I get it from Googling around, the nail polish remover that does not have acetone, has ethyl acetate, am I correct?
I'll drop by a shop this weekend to see what's available. As far as I get it from Googling around, the nail polish remover that does not have acetone, has ethyl acetate, am I correct?

ANT1969

Joined: April 08, 2013
KitMaker: 216 posts
Armorama: 216 posts
Posted: Wednesday, October 08, 2014 - 01:09 AM UTC
Quoted Text
Hey there armour friends!
I seem to be having a bit of trouble with creating weld beads.
I tried to go the stretched sprue way, but just can't soften the sprue after I've glued it to the model. If it isn't softened after 30 minutes of applying glue on top of it, I must be doing something wrong! How big should the sprue be? I've tried stretching to about half or 1 mm sprues but can't melt it.
Then I tried the Milliput technique, but after I put it on and go over it with my filed toothpick, the beads end up looking too wide and keeping a straight line is super hard.
Can you give me some advice on how to go about this?
Thank you very very much!
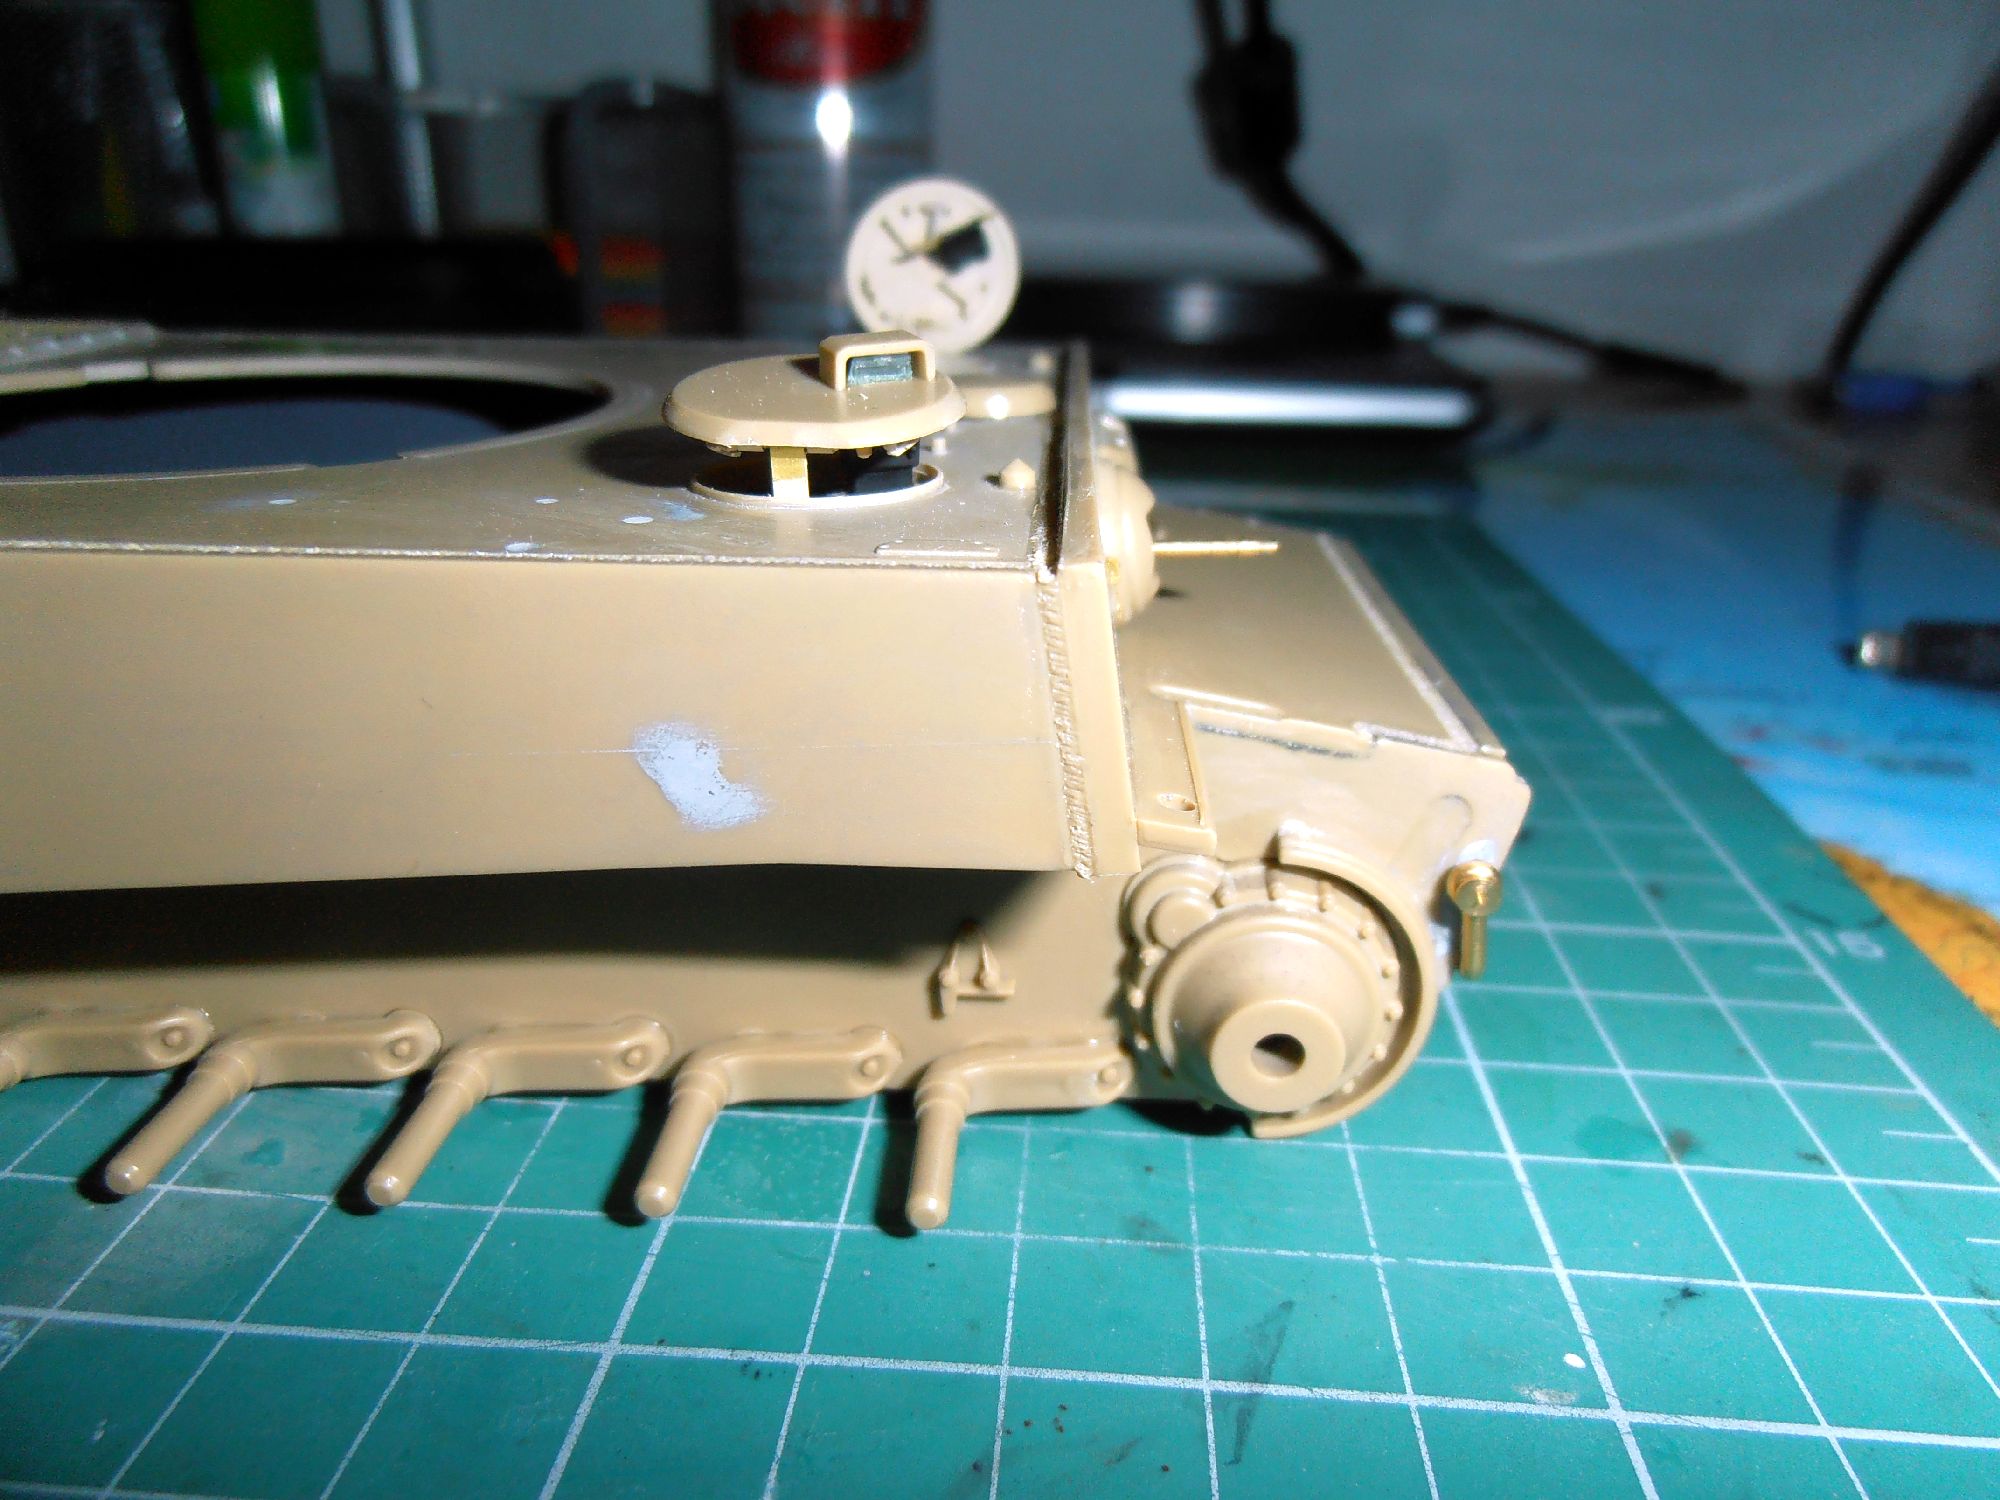
The Tamiya extra thin cement useful to this technique. Here is my attempt on a DAK Tiger. I have glued the styrene rod to the surface with extra thin cement, and after two minutes of waiting (approx) I pushed the sample with a modelling knife.
Hope this helps.
Antal


RobinNilsson
Joined: November 29, 2006
KitMaker: 6,693 posts
Armorama: 5,562 posts
Posted: Wednesday, October 08, 2014 - 01:19 AM UTC
Quoted Text
That's very interesting to know!
I'll drop by a shop this weekend to see what's available. As far as I get it from Googling around, the nail polish remover that does not have acetone, has ethyl acetate, am I correct?
Yes. As far as I know :-)
Another advantage for me is that my wife can't complain about the smell since she uses the same bottle the few times she uses nailpolish ;-)
I think Tamiya extra thin is ethyl acetate (more or less) ..
/ Robin
Another tip: If you need styrene sheet (plasticard) for simpler purposes when exact thickness isn't absolutely necessary you should check various types of packaging.
Broken CD-cases can be reused, has smooth surfaces and sometimes also a rough surface (depending on type of case).
Some food containers are also usable, some are 0.5 mm and some are very thin. Check for the recycling codes PS or the number '6' in a triangle. Confirm by testing with the nail polish remover. If it softens the plastic then you can use it. Sometimes the containers also contains usable angles and profiles :-)

panzerbob01

Joined: March 06, 2010
KitMaker: 3,128 posts
Armorama: 2,959 posts
Posted: Wednesday, October 08, 2014 - 01:21 AM UTC
That's a pretty nice-looking weld result, Ant! 
Thin stretched sprue and Tamiya extra-thin cement, or some similar (but not something super-hot, like Tenax) is my go-to.
My route is, however, a little different... I stretch the sprue - usually 0.25mm or thinner, depending on the size of the weld-bead desired - and cut a length to the job-size. I immerse that length in the cement bottle for between 10 and 20 seconds (hold it with a pointed tweezer or forceps) - until it softens and starts to go limp. I then lay this softened "thread" along my seam-line, and add a tiny amount of additional cement to make sure it is evenly wet and sets to the kit surface. Wait a few seconds and attack it with the knife-tip or tweezer tip to get your surface and patterns. It's fast and easy and avoids laying a lot of surplus cement onto the kit.
Thinner sprue is better. You can always add another sprue-hair if you need more bead.
The source of the sprue is critical, both for the heat-and-stretch work and for its reaction with the cement. Try stuff from different kit-makers - not all styrene is the same. Some stretches better and melts better than do others.
Bob

Frenchy

Joined: December 02, 2002
KitMaker: 12,719 posts
Armorama: 12,507 posts
Posted: Wednesday, October 08, 2014 - 01:42 AM UTC

enterthedodo
Joined: October 08, 2014
KitMaker: 17 posts
Armorama: 17 posts
Posted: Wednesday, October 08, 2014 - 01:44 AM UTC
Thanks, Ant, those pictures will be VERY helpful. Seems like I've been using stretched sprue waaay too big, no wonder I couldn't properly melt it.
@ Robin, another nice idea, containers and packs! I'll keep my eyes peeled.
@ Bob, do you lay out the cement somewhere for you to drop the sprue in it, or do you just do it in the bottle? If the latter, how do you make sure the whole of it has been softened?
@ Henri, I think I prefer to do the beads on my own.
Thanks everybody!
Dragon164

#226

Joined: February 20, 2012
KitMaker: 1,909 posts
Armorama: 1,066 posts

Posted: Wednesday, October 08, 2014 - 02:07 AM UTC
I use Tenax glue and a round tip chisel from Mission Models to make the beads.
Cheers Rob.
Cheers Rob.

tankmodeler
#417
Joined: March 01, 2004
KitMaker: 3,123 posts
Armorama: 2,539 posts

Posted: Wednesday, October 08, 2014 - 05:04 AM UTC
I prefer the rolled out epoxy putty method. It gives me more control and longer working time. The trick is to roll out the snake of putty until is it under .015" (.3mm)in diameter. Really thin. It will break, but no problem, just lay the peices in place, mush them a bit into the surface to make sure they stick and texture the bead profile. I like to use a small diameter rod with a flat end. Gently pressing the edge of the rod into the putty gives me that nice crecent shape typical of good welding.
The Archer welds are very nice, but harder to work withon curved surfaces. They are a bit too rigid for most of my applications, but I do use them on occasion. As they are very regularly shaper, a multipass weld on a flat sirface is a great place to use this stuff.
The Archer welds are very nice, but harder to work withon curved surfaces. They are a bit too rigid for most of my applications, but I do use them on occasion. As they are very regularly shaper, a multipass weld on a flat sirface is a great place to use this stuff.


fhvn4d
#159
Joined: April 07, 2008
KitMaker: 803 posts
Armorama: 564 posts

Posted: Wednesday, October 08, 2014 - 07:45 AM UTC
Ironically I think I might have come up with a new method for weld lines.... Purists might not think much of it, but its still in the experimental stage and shows promise!

It started on a Tamiya M-3 Stuart turret. I didnt like the way the seams looked, so figured I would experiment with weld lines instead. I used 010 x 010 sprue liquid glued down. While the plastic was still soft, I HAD INTENDED to use the tip of a knife blade to make the welds appear..... then I looked at my knife....

I had the idea to roll the end of the knife over the soft plastic and see if it works.... well... at first try.. it shows alot of promise!!!


panzerbob01
Joined: March 06, 2010
KitMaker: 3,128 posts
Armorama: 2,959 posts
Posted: Wednesday, October 08, 2014 - 03:56 PM UTC
@Y;
I immerse the entire length into the bottle - hold it in there for 10 - 20 secs using a fine-tip tweezer or forceps. I lay the softened string onto the kit along the weld-line-to-be and tap it down with a knife tip. I run a light bead of cement onto that line, wait a few secs, and tool the weld.
@Brian;
Good-lookin' welds! A knurled knife handle works as a good tool. I've found that a coarse sanding stick can be pressed onto the soft strand to get a good look, too. A small, fine file also works. Try anything!
Bob
enterthedodo
Joined: October 08, 2014
KitMaker: 17 posts
Armorama: 17 posts
Posted: Wednesday, October 08, 2014 - 06:22 PM UTC
Tried with stretched sprue again last night with a 0.25mm rod. Almost melted into the piece I tried it on. Tried with a 0.5mm one, couldn't properly melt it! I guess I'll have to keep trying until I get it right...
On paper it doesn't sound hard at all, but man, am I having troubles with it!
On paper it doesn't sound hard at all, but man, am I having troubles with it!
RLlockie

Joined: September 06, 2013
KitMaker: 1,112 posts
Armorama: 938 posts
Posted: Wednesday, October 08, 2014 - 07:39 PM UTC
I know everyone like this method of texturing melted sprue or rod and I've done it myself but the more I look at real welds, the more I find myself thinking that replicating industrially-produced ones requires a different technique. There are certainly some welds that look incrediby rough but on US tanks, I tend to reproduce them using a bead of Mr Dissolved Putty, as welds are solidified molten metal. They project very little above the surrounding surfaces and look pretty smooth and I find this gives a pretty good representation as the 'ripples' are very subtle on the real thing.
Obviously not all welds are like this but studying the subject closely can improve the chances of depicting them as they appear. Here is a turret of an M3 light tank for example:
http://i1274.photobucket.com/albums/y433/RobertLockie/IMG_3924Wheatcroft_zps377f35b9.jpg
And a bit rougher on a Tiger B:
http://i1274.photobucket.com/albums/y433/RobertLockie/IMG_3766Wheatcroft_zps582c2295.jpg
enterthedodo
Joined: October 08, 2014
KitMaker: 17 posts
Armorama: 17 posts
Posted: Wednesday, October 08, 2014 - 11:40 PM UTC
Quoted Text
I tend to reproduce them using a bead of Mr Dissolved Putty, as welds are solidified molten metal. They project very little above the surrounding surfaces and look pretty smooth and I find this gives a pretty good representation as the 'ripples' are very subtle on the real thing.
Do you have any pictures you could post up? Thanks!

alewar

Joined: December 27, 2006
KitMaker: 773 posts
Armorama: 765 posts
Posted: Thursday, October 09, 2014 - 12:06 AM UTC
Hi, I us .30 plastic rods and melt it with MEK or MEC Metil Etil Cetone or Ketone.
Here I but it at drugstores or chemicals shops. A liter cost less than 3 bucks, american dollars. So, usually evaporates before you can use it!.
Warning, heavy odors and harmfull.
Regards from the south
Alvaro
Here I but it at drugstores or chemicals shops. A liter cost less than 3 bucks, american dollars. So, usually evaporates before you can use it!.
Warning, heavy odors and harmfull.
Regards from the south
Alvaro

vettejack
Joined: November 23, 2012
KitMaker: 1,277 posts
Armorama: 1,254 posts

Posted: Thursday, October 09, 2014 - 12:25 AM UTC
Aber (et al) has photo etch weld marks in at least 3 diferent sizes...all easily cut with a hobby knife or carefully with hobby scissors/wire cutters. The sections are then applied with super glue just like regular photo etch. Trimming off the excess on the model is quicker and cleaner as well.
seanmcandrews
Joined: May 09, 2009
KitMaker: 561 posts
Armorama: 553 posts
Posted: Thursday, October 09, 2014 - 01:32 AM UTC
I've started using a method similar to Pauls' but as I'm too lazy to mix up epoxy putty I use Squadron green stuff, its not very good for filling seams in my opinion but works great for this!
I roll a small ball of it into a sausage between my fingers, lay on a flat surface to cut to length, then transfer it to the model with a cement moistened brush. A bit more cement to fix it in place and aid in manipulation if necessary and i call it done.
I've been using this all over the place on my BTR-70 as it's particularly good around tight curves ( hinges, tow hooks, and the like) but I really don't do any texturing other than prodding ti around a bit with the application brush to give it a bit of a lumpy look.
Sean
RLlockie
Joined: September 06, 2013
KitMaker: 1,112 posts
Armorama: 938 posts
Posted: Thursday, October 09, 2014 - 02:35 AM UTC
Here you go. This was my first attempt (on a Formations M4A2 hull whose master had been welded with the sharp blade method) and it's been scraped a bit subsequnetly as I applied it too thickly at first to fit the crowbar over it without it bending. One advantage is that it's easy to remove if you make a mess of it (and looking at this through my new toy lens, it does look as though I did!). Still, as the model is nowhere near finished yet, I will almost certainly probably have another go at the welds before it gets near any paint.
http://i1274.photobucket.com/albums/y433/RobertLockie/IMG_7279_zps90fd1317.jpg
http://i1274.photobucket.com/albums/y433/RobertLockie/IMG_7279_zps90fd1317.jpg

Biggles2
Joined: January 01, 2004
KitMaker: 7,600 posts
Armorama: 6,110 posts

Posted: Thursday, October 09, 2014 - 03:01 AM UTC
For those crescent shaped weld marks I use the tiniest size burnishing tool I could find (at the arts & crafts isle at a local dollar store). The tool has a ball shape at each end - tiny and not so tiny - so there is a choice of weld mark sizes. Since the tool is metal it will never wear out or need replacing, and is very cheap! 

18Bravo
Joined: January 20, 2005
KitMaker: 7,219 posts
Armorama: 6,097 posts
Posted: Thursday, October 09, 2014 - 03:58 AM UTC
Before I joined the Army I worked at a refinery and taught myself some basic welding. Everyone talked about the ideal weld looking like a stack of dimes, so...
A while back I toyed with a method I've never seen done - using an actual stack of disks. I cut them from round rod with my chopper, very thin. Then I just laid them into a "T" joint one or two at a time. Any more than that and they have a tendency to move around as you apply the liquid cement. After aplpying the cement they'll blend in with each other just enough to leave very defined "swirls."
Verdict: Works very well if you have LOTS of patience.
I'm going to try it for real on one of my 1/25 Cents.


rfbaer
Joined: June 12, 2007
KitMaker: 1,866 posts
Armorama: 1,696 posts
Posted: Thursday, October 09, 2014 - 04:12 AM UTC
I actually welded for a living for a number of years, and have found a few methods work well to replicate different types of welds. I most often use .020" Evergreen rod stock, quick and it saves me the trouble of stretching sprue to usable lengths and like diameters, and it's consistent in how it reacts to different solvents. I use bulk MEK to soften the rod, and a set of cheap jewelers screw drivers as tools.
For larger welds, when I want "stacked dimes", Vallejo putty, straight from the tube, applied exactly as if I was using a MIG gun, gives quick results and can be removed with water if I don't like it.
This is the putty, great stuff:

It works best inside a 90 degree joint, but I've used it successfully on Sherman hulls too, especially when the kit manufacturer has represented the bead as a trough.
No excess solvent, dries fast, totally odorless, and it's pretty cheap, bought at HobbyTown.
tankmodeler
#417
Joined: March 01, 2004
KitMaker: 3,123 posts
Armorama: 2,539 posts
Posted: Thursday, October 09, 2014 - 04:43 AM UTC
Quoted Text
I had the idea to roll the end of the knife over the soft plastic and see if it works.... well... at first try.. it shows alot of promise!!!
Brian,
You may be applying too much liquid cement as the edges of the turret look to be distorting while picking up the texture of the handle. The area in front of the cuppola looks to have been mushed out of shape and the top lip of teh turret front plate seems to have the texture as well, which really should be confined just to the weld bead itself.
HTH
Paul
 |

WEB HOSTING BY


Copyright ©2021 Armorama and Kitmaker Network, a subsidiary of Silver Star Enterprises
All Rights Reserved. Please read our Conditions of Use and Privacy Policy.
All Rights Reserved. Please read our Conditions of Use and Privacy Policy.