_GOTOBOTTOM
Armor/AFV: Axis - WWII
Armor and ground forces of the Axis forces during World War II.
Hosted by Darren Baker
Dragon's Late type 95 Ha-go
russamotto
Visit this Community
Utah, United States
Joined: December 14, 2007
KitMaker: 3,389 posts
Armorama: 2,054 posts
Posted: Friday, October 24, 2014 - 11:00 AM UTC
Flu bug in the house has kept me from getting into anything too involved. That makes it the perfect time to work on something simple and relaxing, and portable enough that I can take it easily from room to room. The latest Type 95 Ha-go from Dragon is perfect for this. I did an inbox review of this kit previously, so this is the build I promised would follow. When we are back up and running here I can get going on the Buffalo MPCV again.

I did some more research on the battle at the Peleliu airfield. There are a few photos of destroyed tanks available, some fairly good for detail. This account from the official USMC monograph of the battle has some interesting details. Scroll down about half way, to page 51 for the tank attack. http://www.ibiblio.org/hyperwar/USMC/USMC-M-Peleliu/USMC-M-Peleliu-3.html In particular, this paragraph:
"Exactly who knocked out what--and where and when--is another matter shrouded in mystery. If two of the enemy tanks escaped, as reported,61 that would mean that only 11 (or 17, depending on conflicting reports) were destroyed. Yet one officer with a flair for figures calculated later that if every individual claim of a tank knocked out were to be accepted at face value, there would have had to be 179˝ of them. The fact appears to be that every tank was hit so many times by so many different weapons that in all probability no single hit could be held responsible for its destruction"

This would explain why the tanks were so badly shot up.

I have thought about trying to model this tank as it was before it was destroyed.
http://www.ibiblio.org/hyperwar/USMC/USMC-M-Peleliu/img/USMC-M-Peleliu-p52.jpg

I want to try to replicate the framework tied to the back that the infantry would have held on to. My guess is that it is made from bamboo, but if anyone knows better I would appreciate the information.

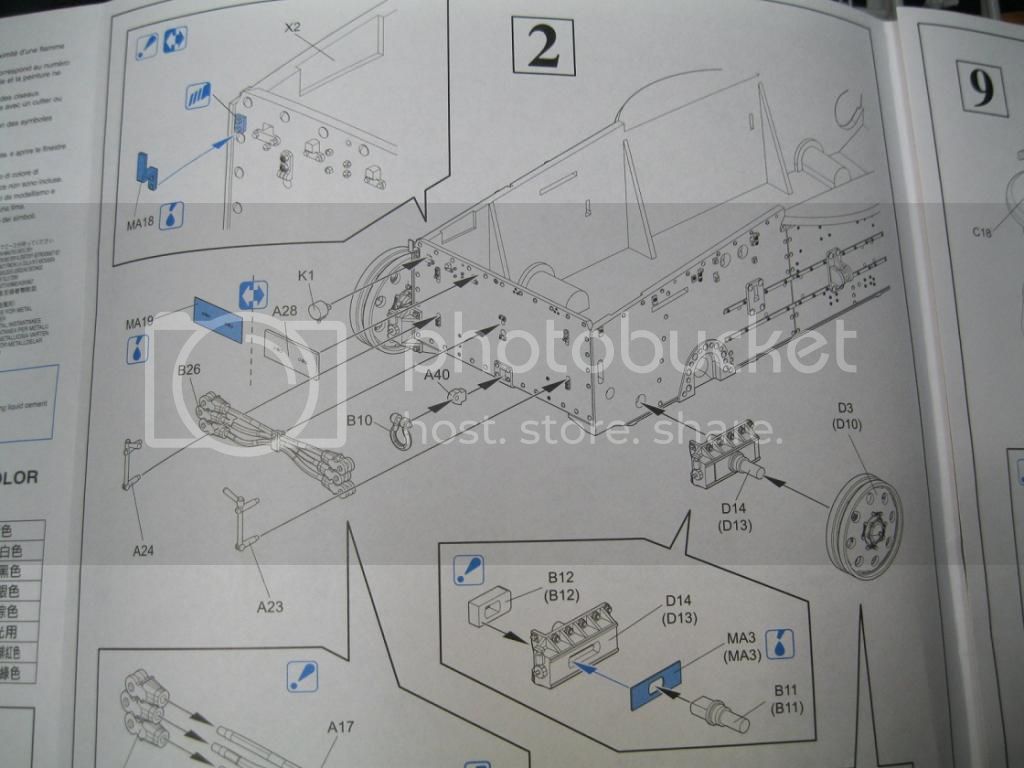
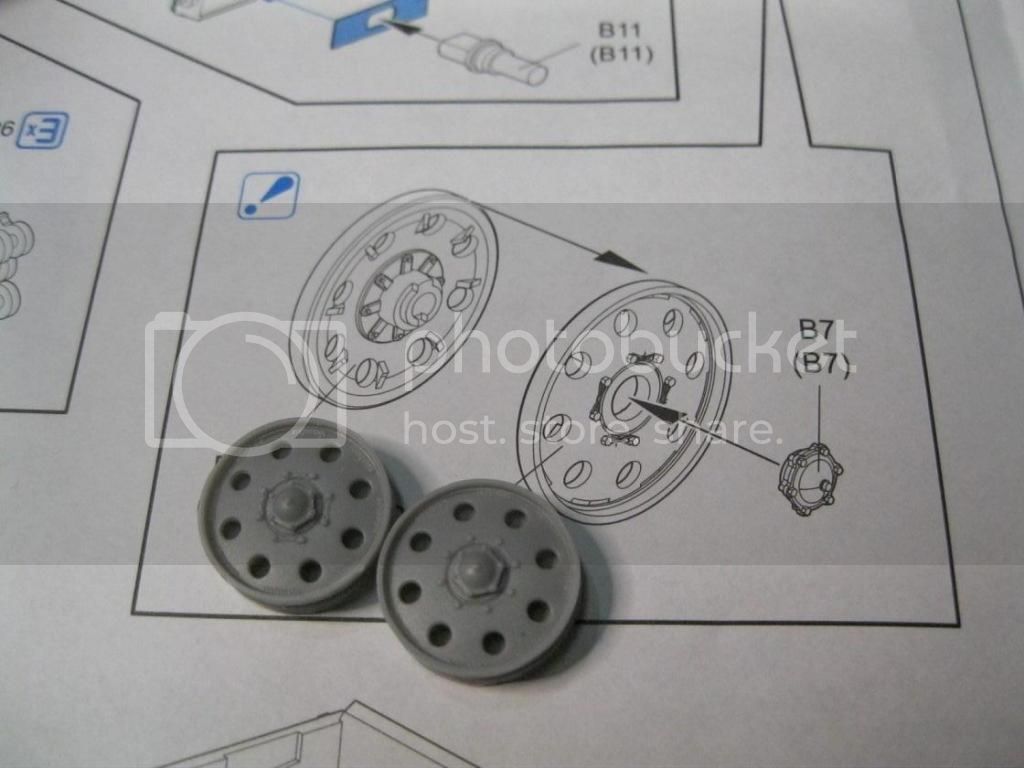
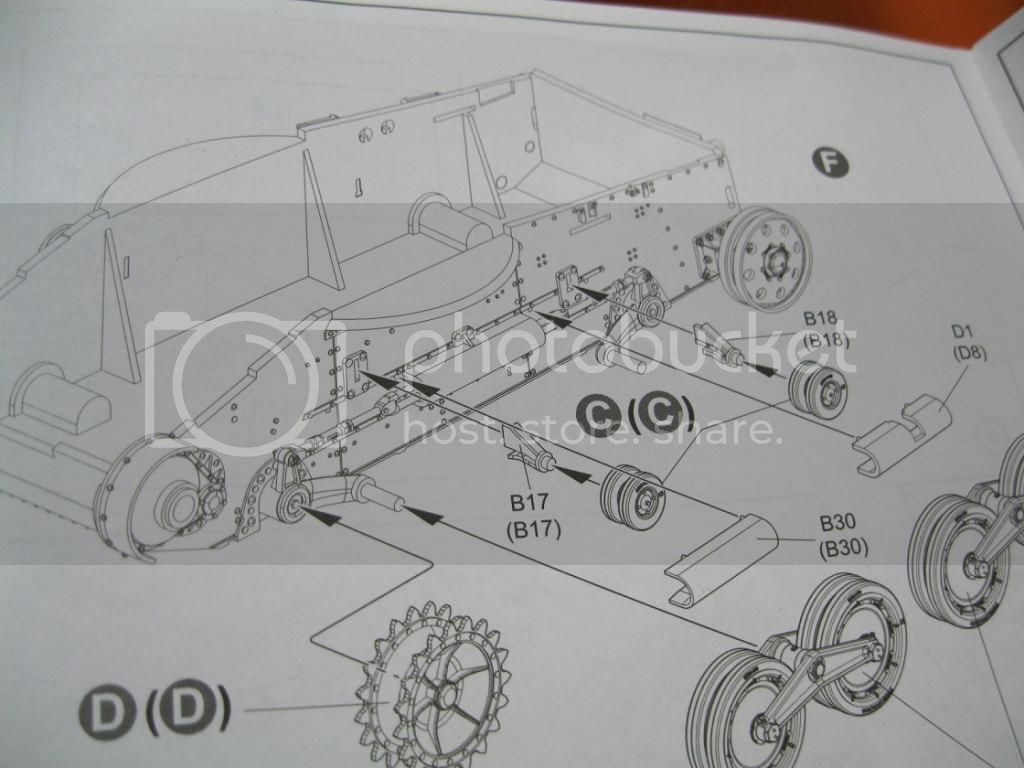
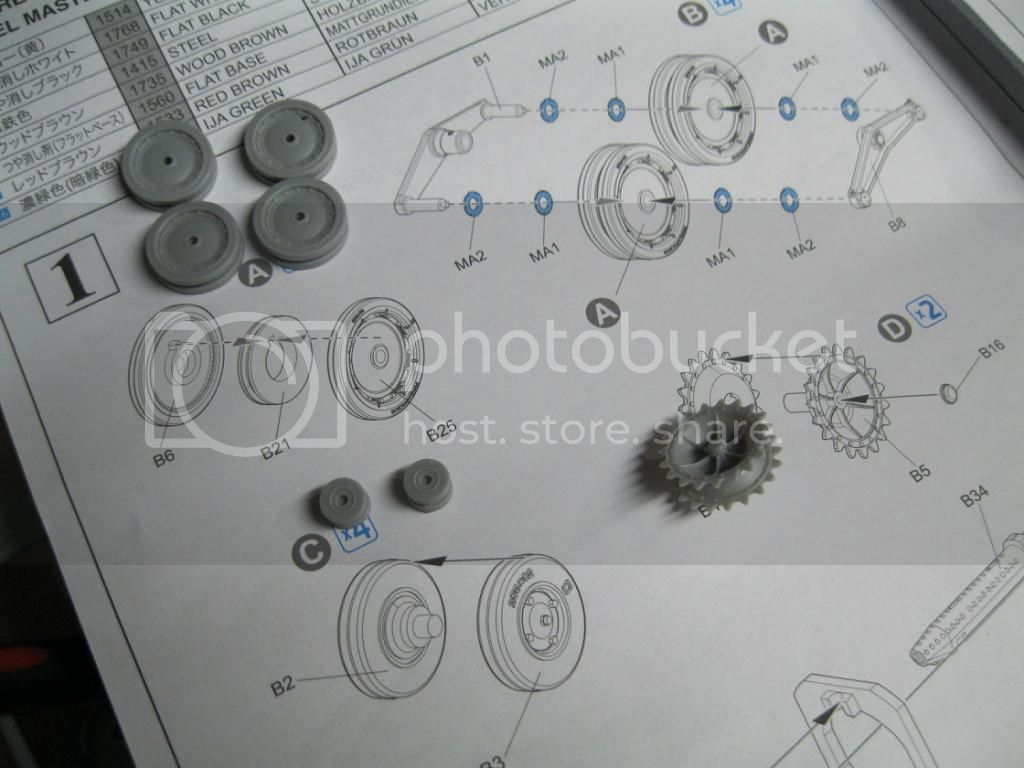
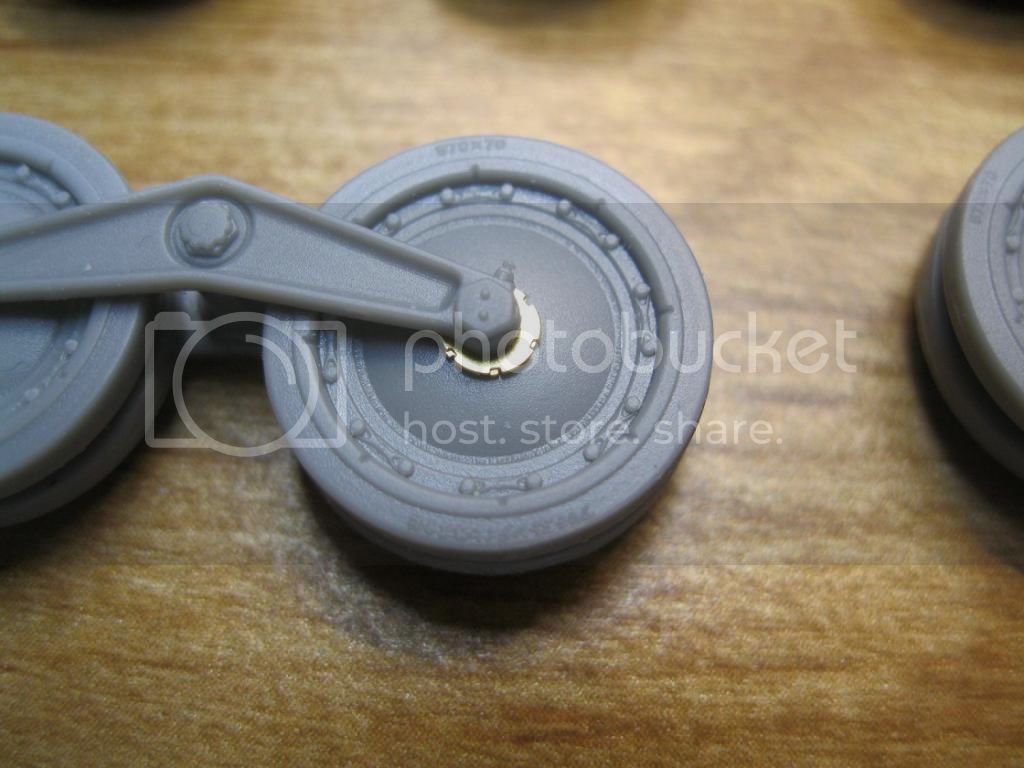
To start with the build, I followed the instructions for the most part, with only a few minor changes where it made construction easier. First up is the assembly of the road wheels, return rollers and drive sprocket. I ran both sides of part B21, the spacer that fits between the road wheels, over some sand paper to help thin it down so that the photo-etch spacers would fit better.


russamotto
Visit this Community
Utah, United States
Joined: December 14, 2007
KitMaker: 3,389 posts
Armorama: 2,054 posts
Posted: Friday, October 24, 2014 - 11:15 AM UTC
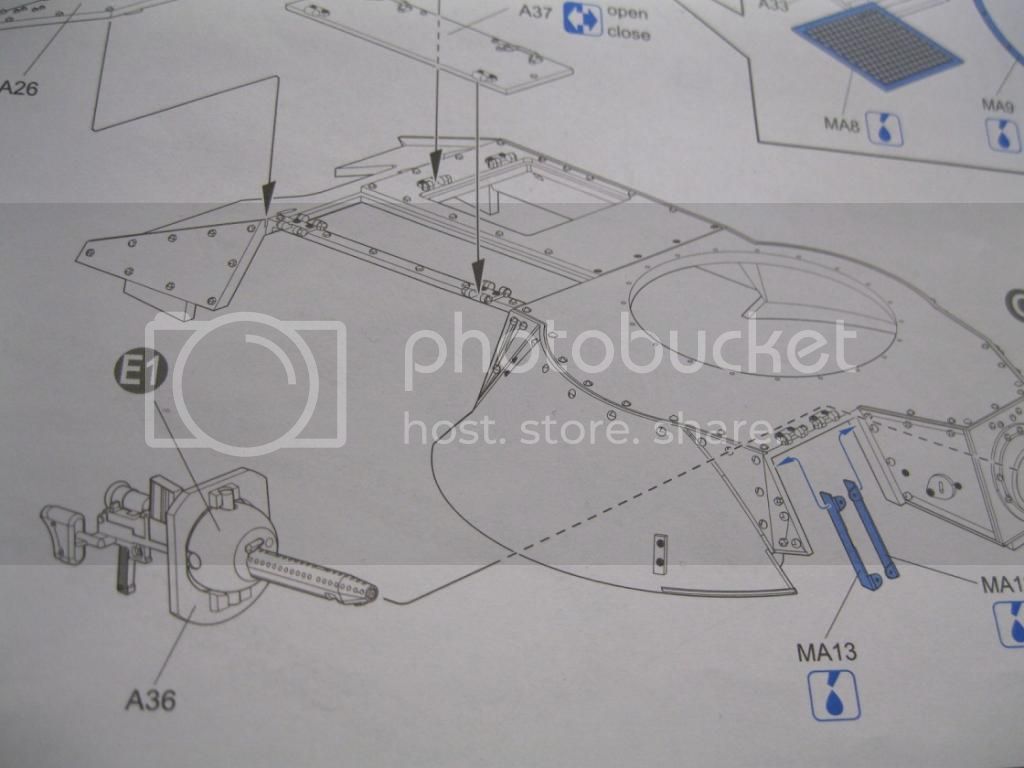
The instructions state to assemble the bow machine gun. I prepped the parts but there is nothing to assemble it to until you are ready to attach the backing part to the hull. You have two options of ball mount; one with the sight aperture open and one with it closed. The machine gun provided has excellent detail. I tried to get a photo of the muzzle detail but could not get the camera to focus on a point that small.


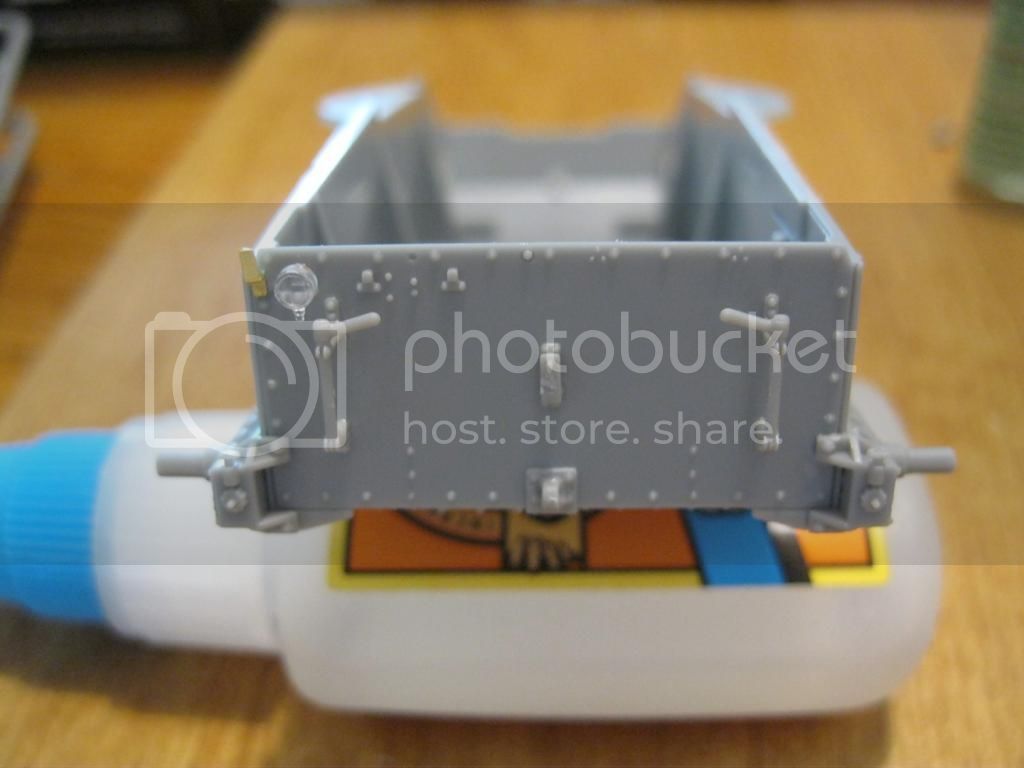
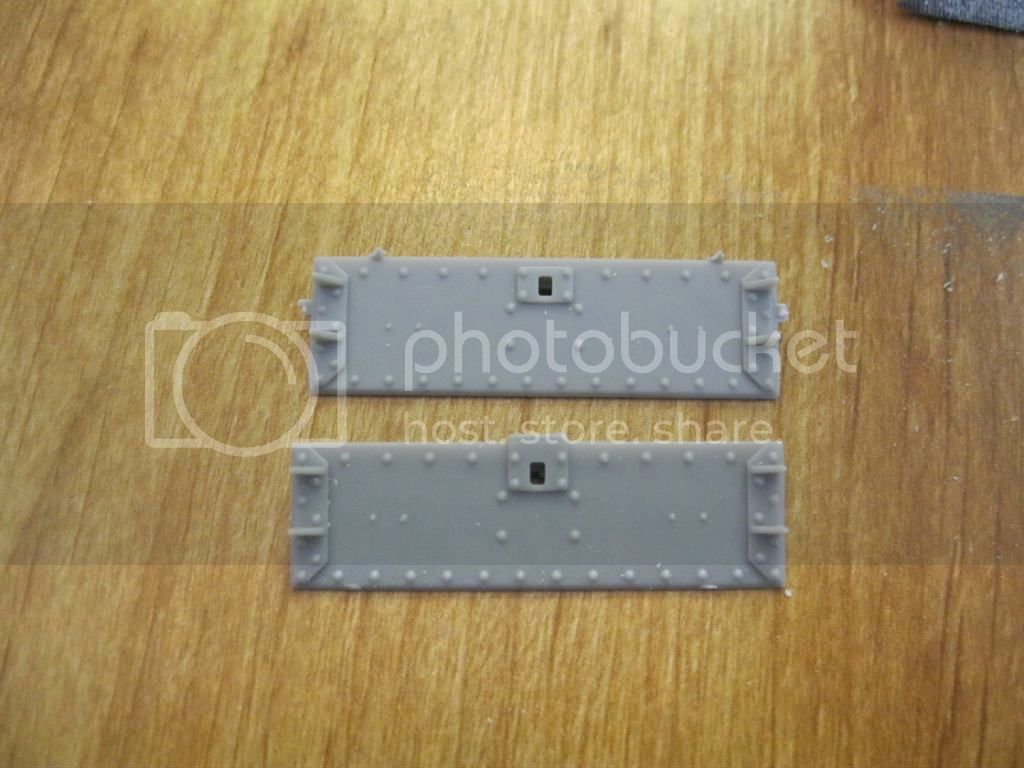
The rear hull plate is next. Photos of the rear hull on many tanks show them lacking both the tow cables and the brackets that held the ends in place. I mounted the brackets but then opted to remove them, cutting them off carefully. Otherwise, just fill in the pin holes. The idler mounts are adjustable if you are careful with glue.


The lighting holes in the idlers don't line up perfectly-not supposed to. I assembled them but won't place them until painting.


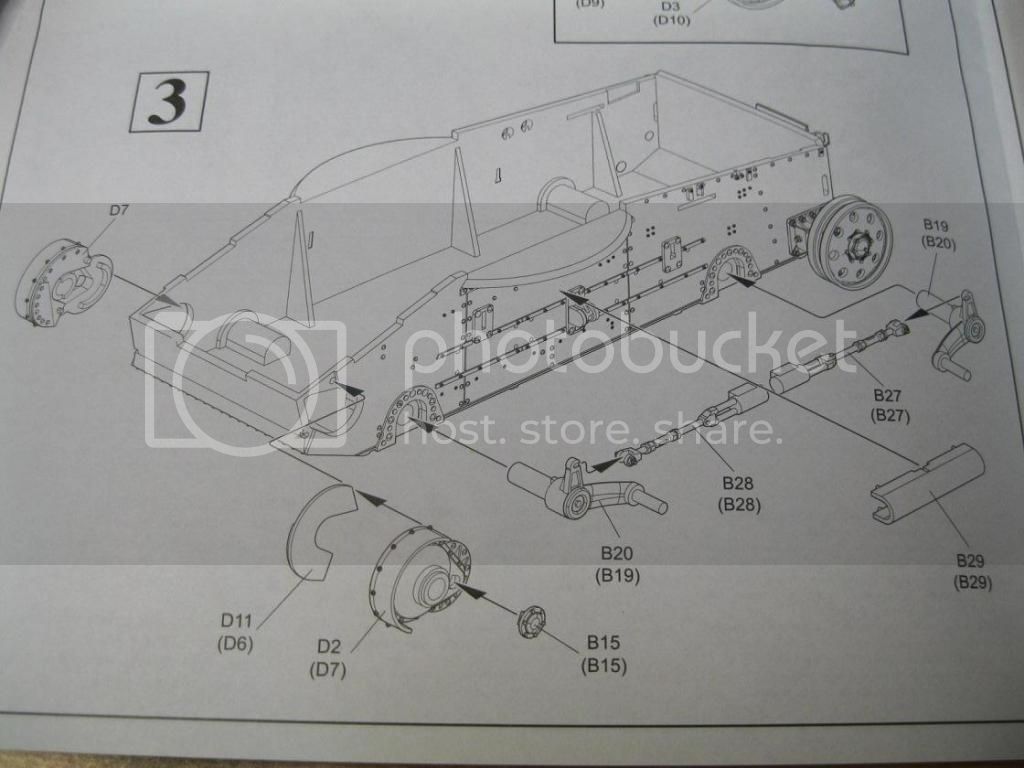
Next up is the spring system for the bell crank suspension and placement of the final drives. Detail on all these parts is excellent. If the suspension parts are placed carefully they can be positioned for uneven terrain with more realism than just tweaking the roadwheel pairs.


The next step is the placement of the front and rear spring covers and the mounts for the return rollers.


My tank will be placed on level ground, so I left the suspension in a level position.
russamotto
Visit this Community
Utah, United States
Joined: December 14, 2007
KitMaker: 3,389 posts
Armorama: 2,054 posts
Posted: Friday, October 24, 2014 - 02:08 PM UTC
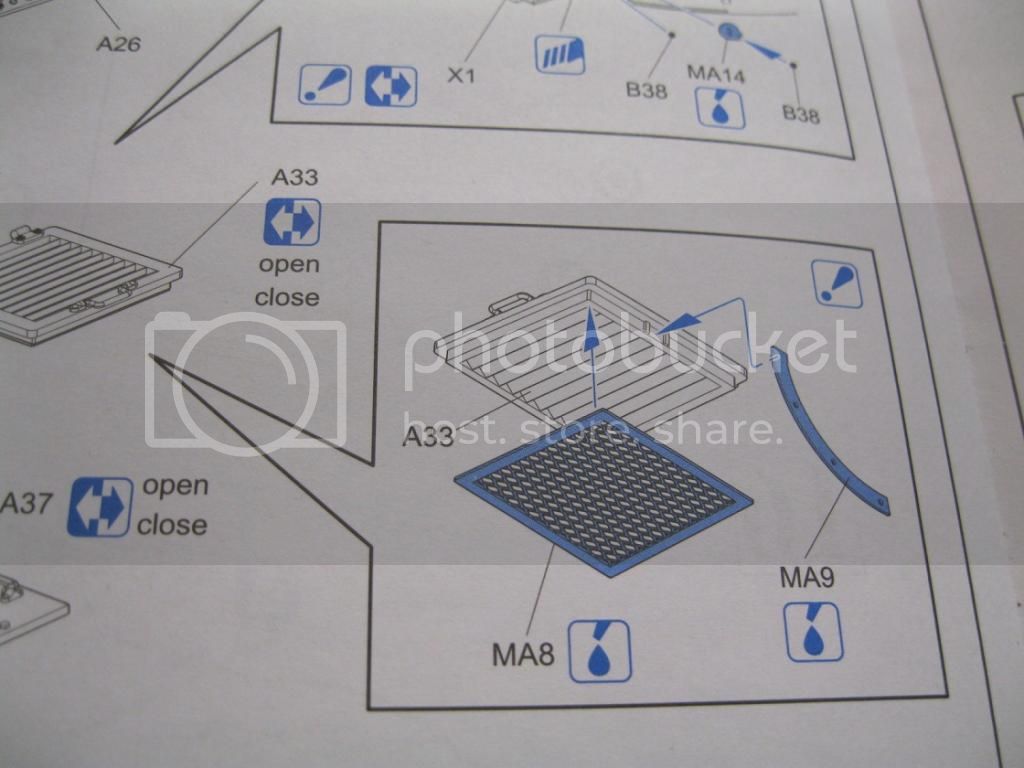
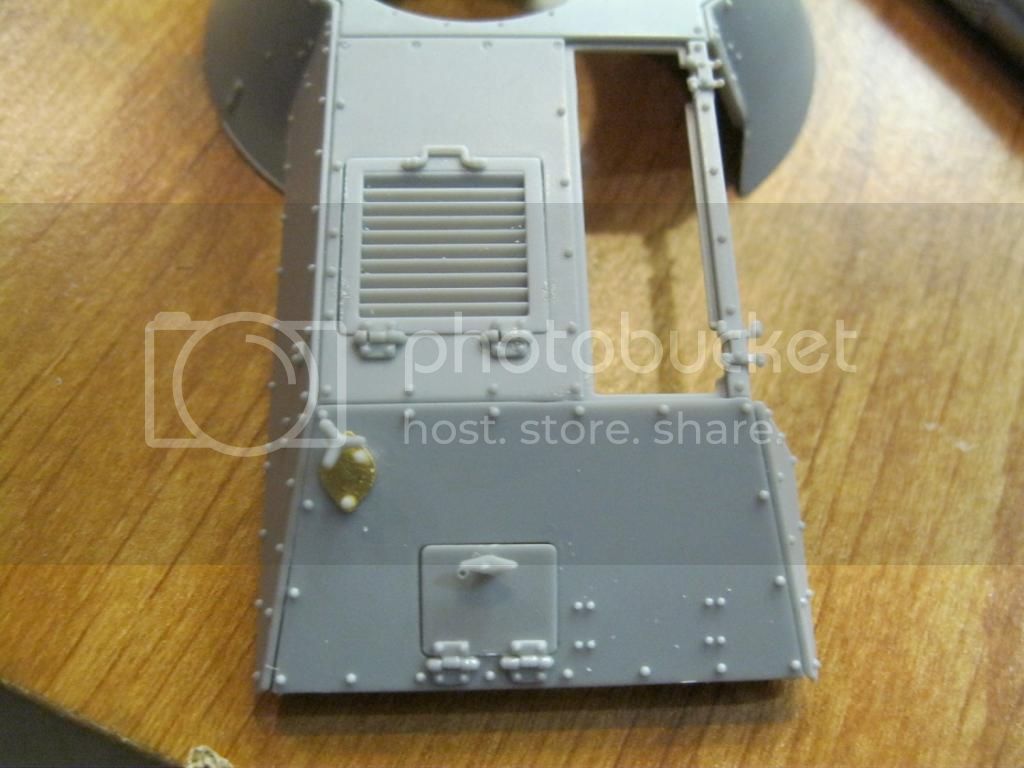
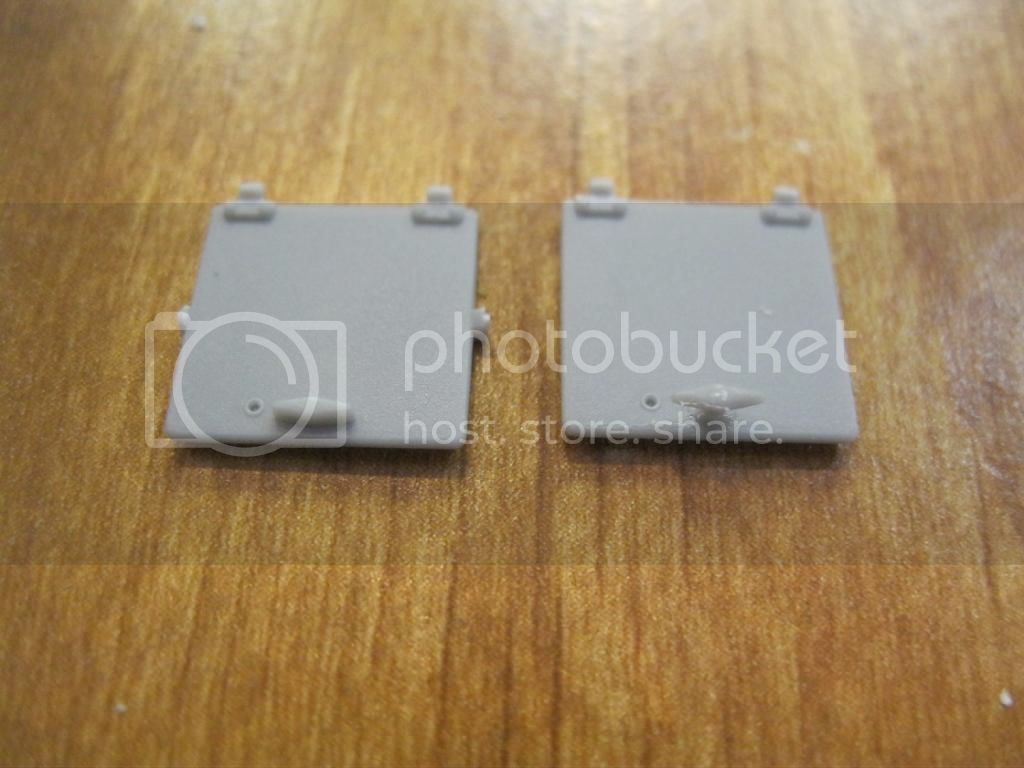
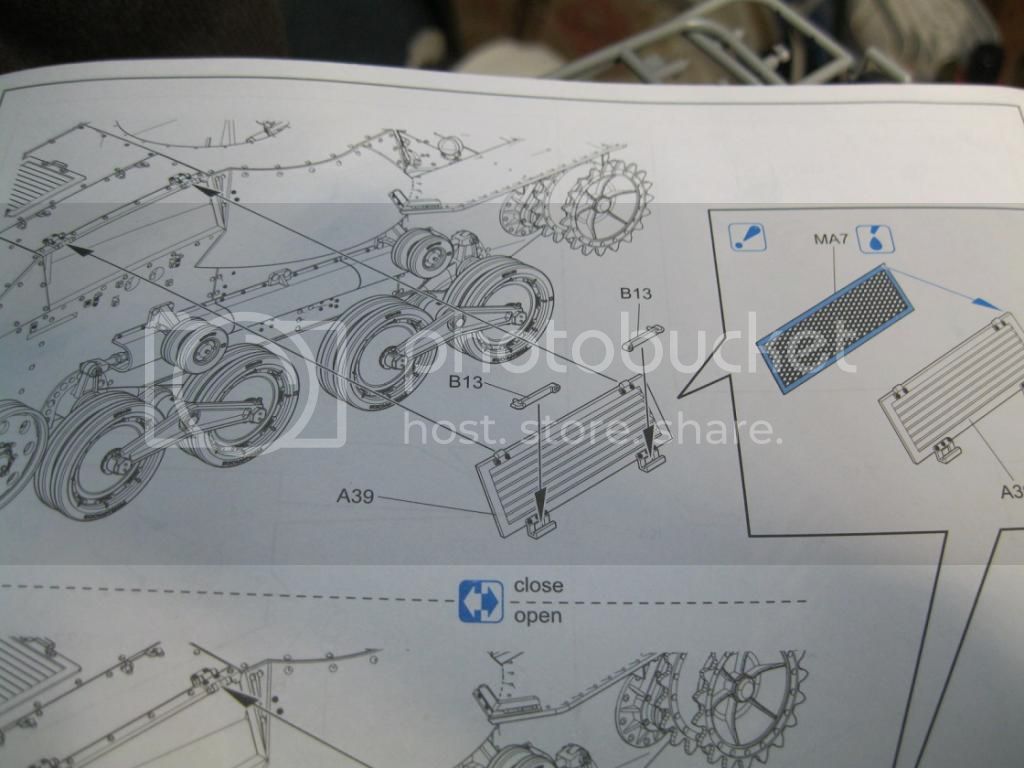
The next steps cover assembly of the upper hull. One of the nice options with this kit is with separate sets of hatch covers, one with the handles molded in place and the other with separate handles that can be positioned open or closed. Also, etch parts are provided for some of the access ports, as well as mesh screens for the inner face of the louvered engine hatches. All around detail on this kit is excellent. The only downside is the lack of an interior to show off some of the details. The kit is about the same size as the Pz. II or 38(t), so I don't think I am asking too much.


The machine gun can now be placed. There are two etch braces for the driver's vision port.


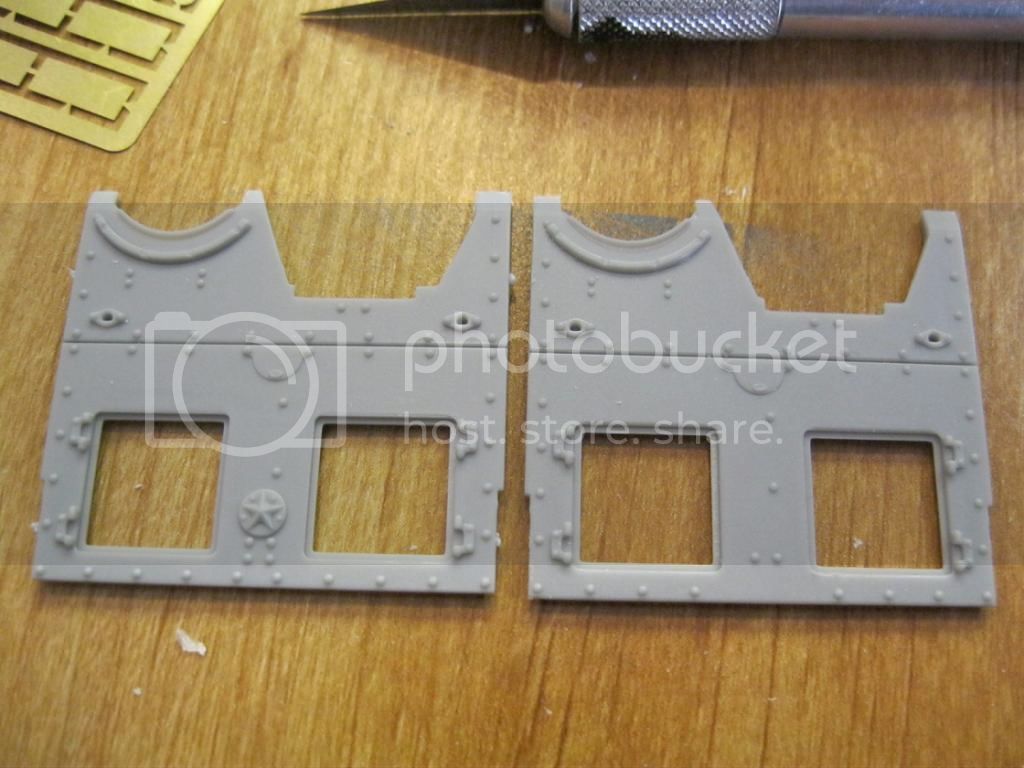
The new front hull section does away with the cast imperial symbol (a five pointed star that represents the chrysanthemum) and a revised tow bracket mount.


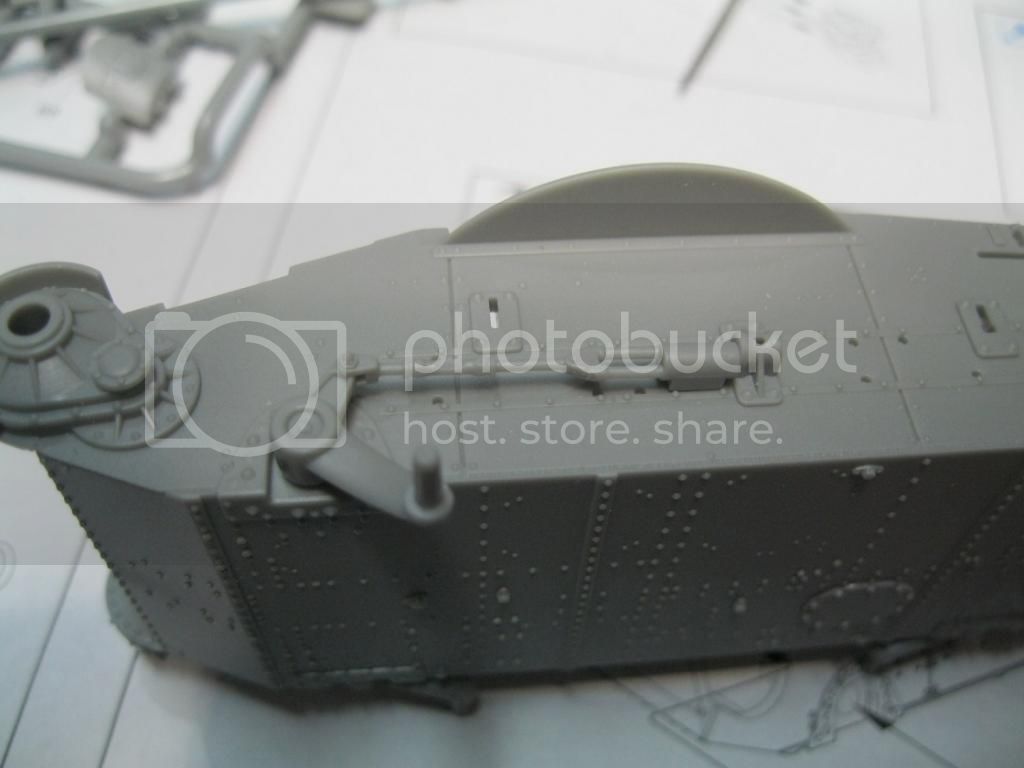
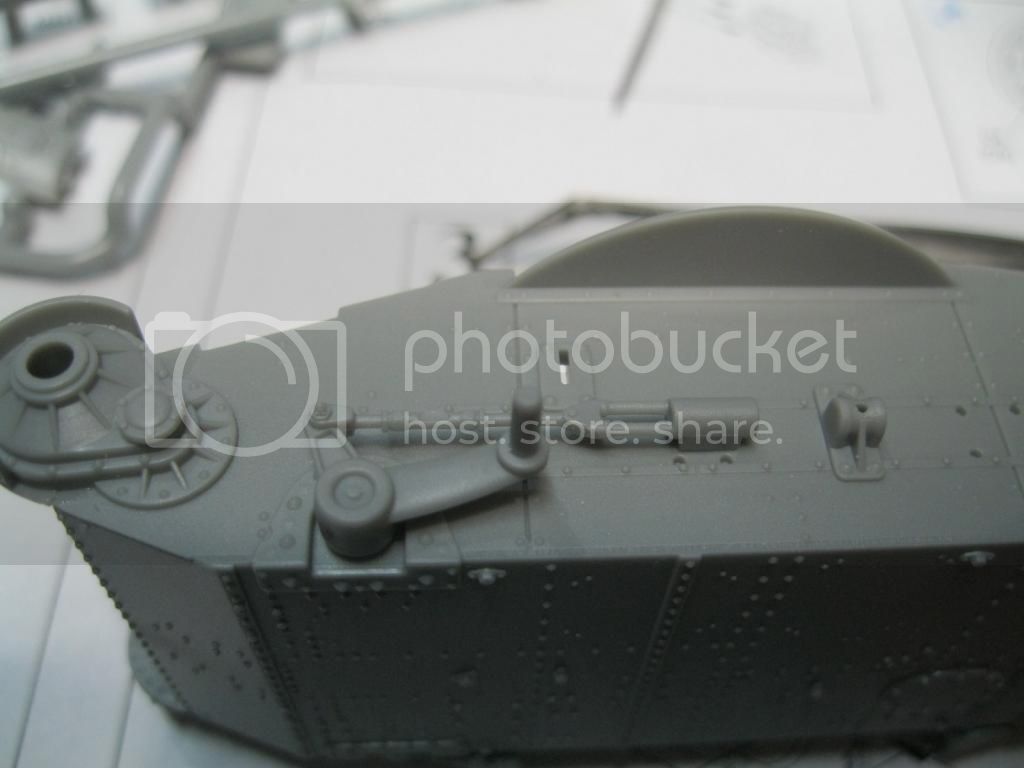
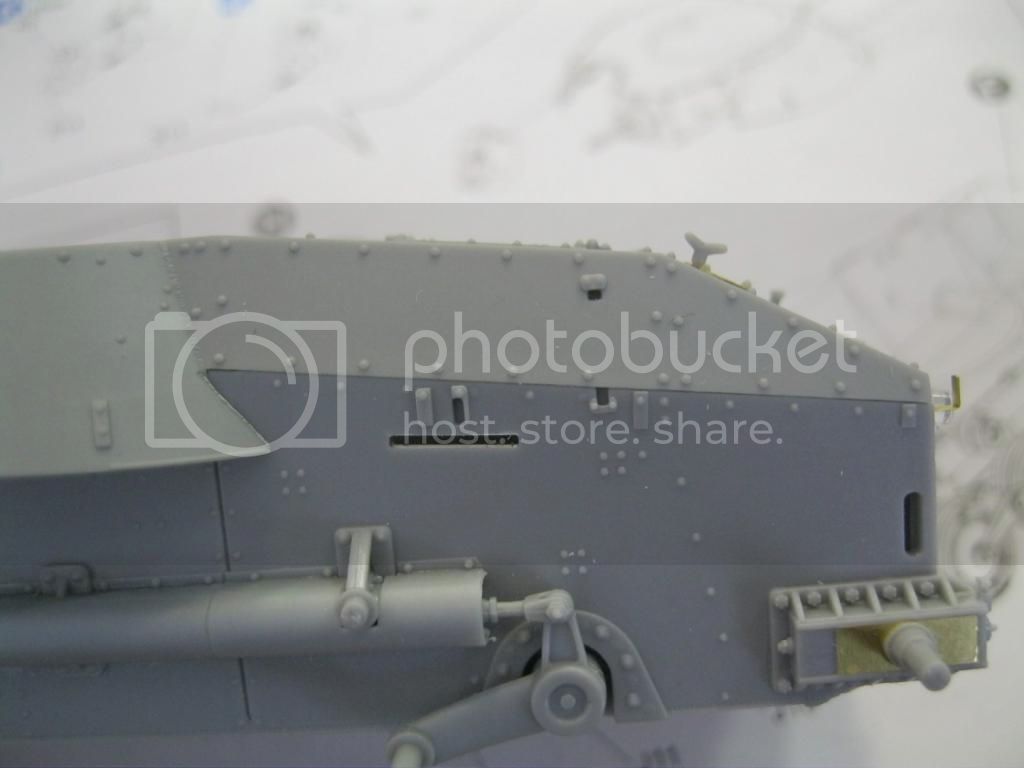
You can whittle away the bracket base for the manufacturer's data plate and go with a single piece etch unit, or leave the base and add the top surface detail. I opted for the latter, first to stop me from gouging up the deck, and secondly because I liked the better detail on the top piece as a separate part. The transmission access panels again have molded on handles or optional separate handle parts. The instructions show to mount the handles in the open or unlocked position. I chose to keep them locked down tight as the tank was about to go into combat. The fenders get a third set of flaps to the forward part of the extension. Detail is again excellent. Only etch fenders could better replicate the scale thickness, and would allow for the parts to be battered more realistically, but the styrene parts look very good as is.


Here is the new front hull plate with the revised bracket base. The part fits perfectly into the recesses at the sides of the final drives. The hull top slides in and meets with this perfectly. The photos show it dry fit into place.


All the photos I have seen from the front of the tanks at Peleliu show the headlights turned backwards, which was common practice for the Type 95.
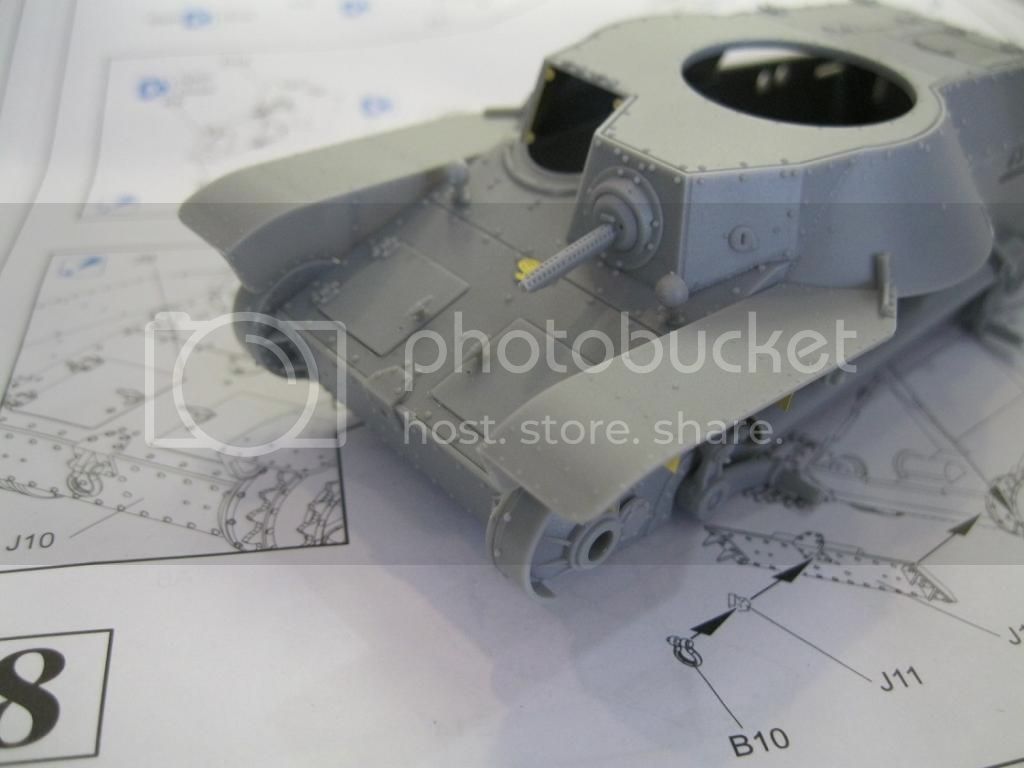
I placed the rest of the upper hull on to the completed lower section and it fit perfectly. No issues to fix.


I attached the fenders and again, everything lined up perfectly. The instructions show to attach these to the glacis first, but it worked easier for me to place them after the hull was complete to make sure everything lined up.


Assembly on this kit is going very quickly, with no problems so far and based on my build of the early version I don't expect any either, unless I cause them.

http://www.worldwarphotos.info/gallery/japan/japanese-tanks/japanese-14th-infantry-division-type-95-ha-go-light-tanks-peleliu-airfield-1944/
http://waralbum.ru/wp-content/uploads/yapb_cache/4.c5nb7vzs5fk0wsscc44o8g00c.ejcuplo1l0oo0sk8c40s8osc4.th.jpeg
http://waralbum.ru/wp-content/uploads/yapb_cache/6.40cav372ruuco8ckw84cgggow.ejcuplo1l0oo0sk8c40s8osc4.th.jpeg
http://i106.photobucket.com/albums/m275/BBall757/Peleliu/a12a.jpg
PantherF
Visit this Community
Indiana, United States
Joined: June 10, 2005
KitMaker: 6,188 posts
Armorama: 5,960 posts
Posted: Friday, October 24, 2014 - 09:51 PM UTC
Great Start Russ! I love Japanese armor and need to get back on my Ka Mi kit soon.

Hope you start feeling better.


Jeff
russamotto
Visit this Community
Utah, United States
Joined: December 14, 2007
KitMaker: 3,389 posts
Armorama: 2,054 posts
Posted: Monday, October 27, 2014 - 07:14 AM UTC
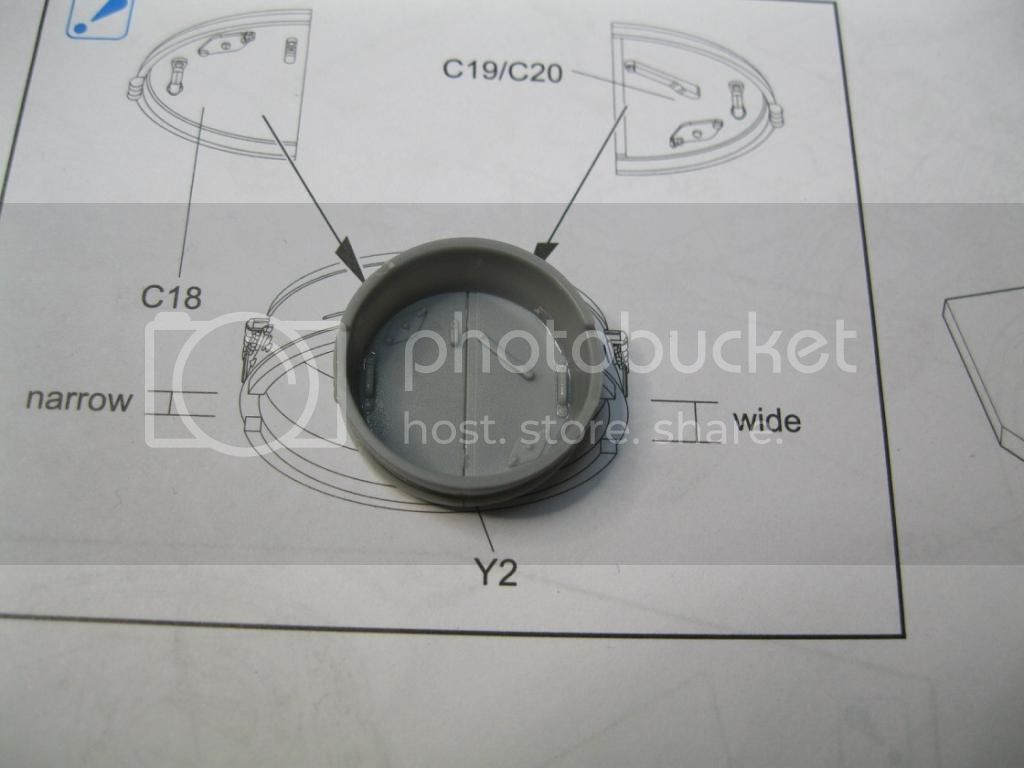
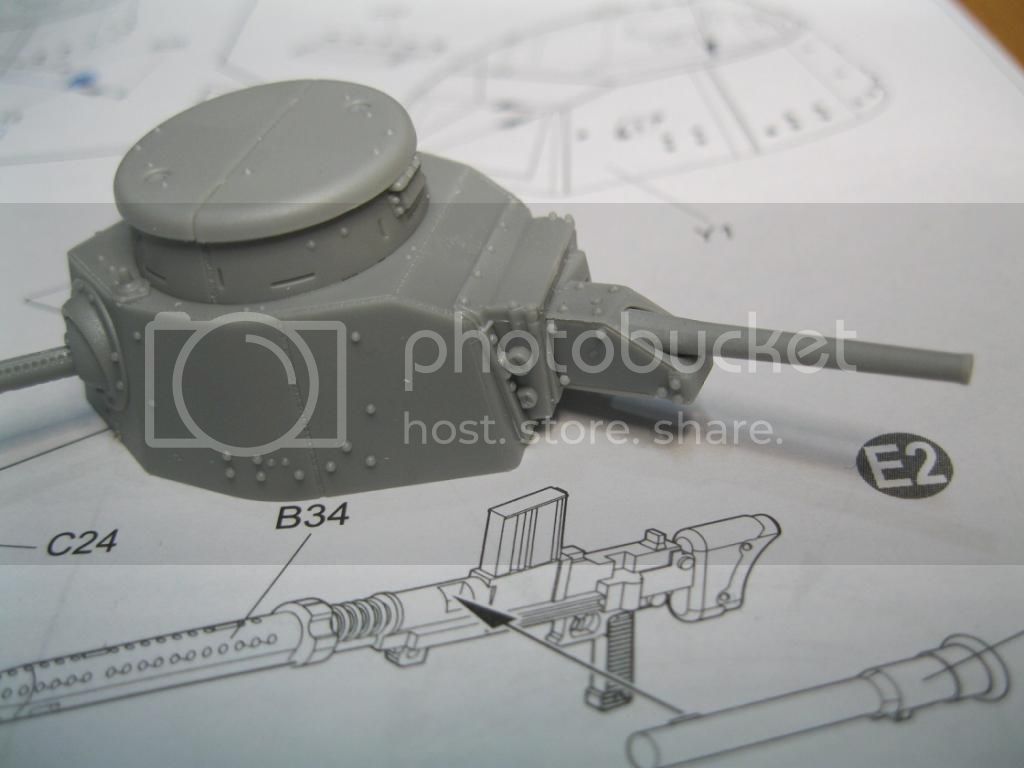
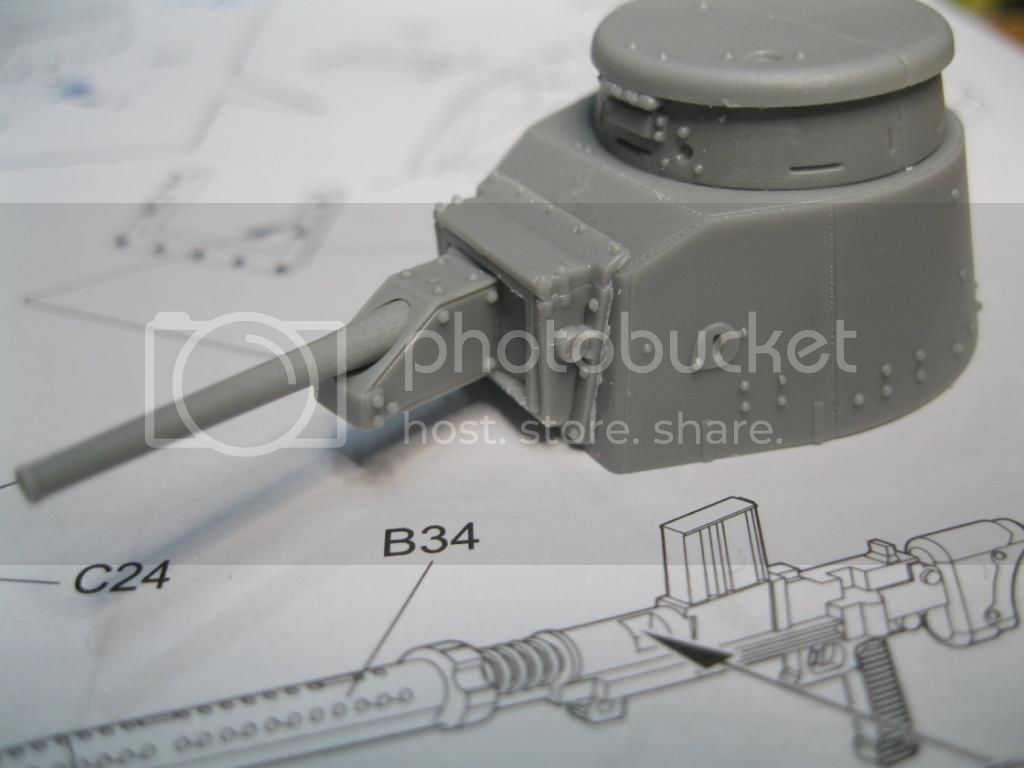
Thank you, Jeff. Feeling much better now. I was able to get a bit more done on this kit. Next up in the build is the turret. I would love to keep it open but these appear to have been buttoned up in the charge across the runway. The cupola is very nicely detailed, though I wish there was a way to have molded the vision slits open.


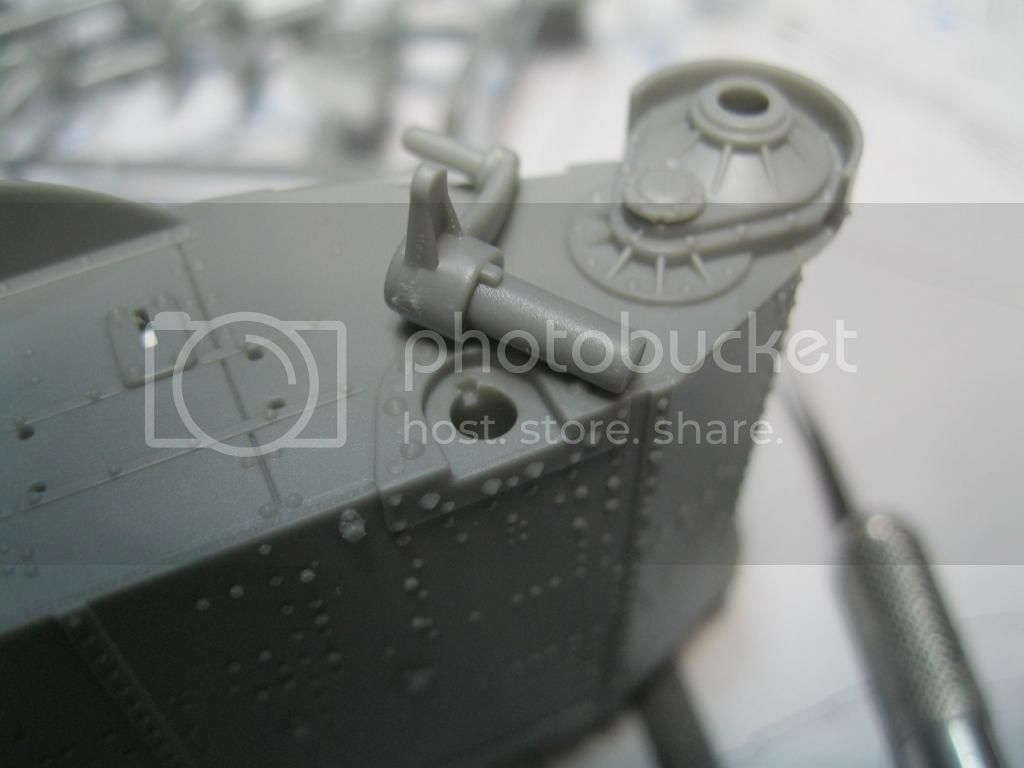
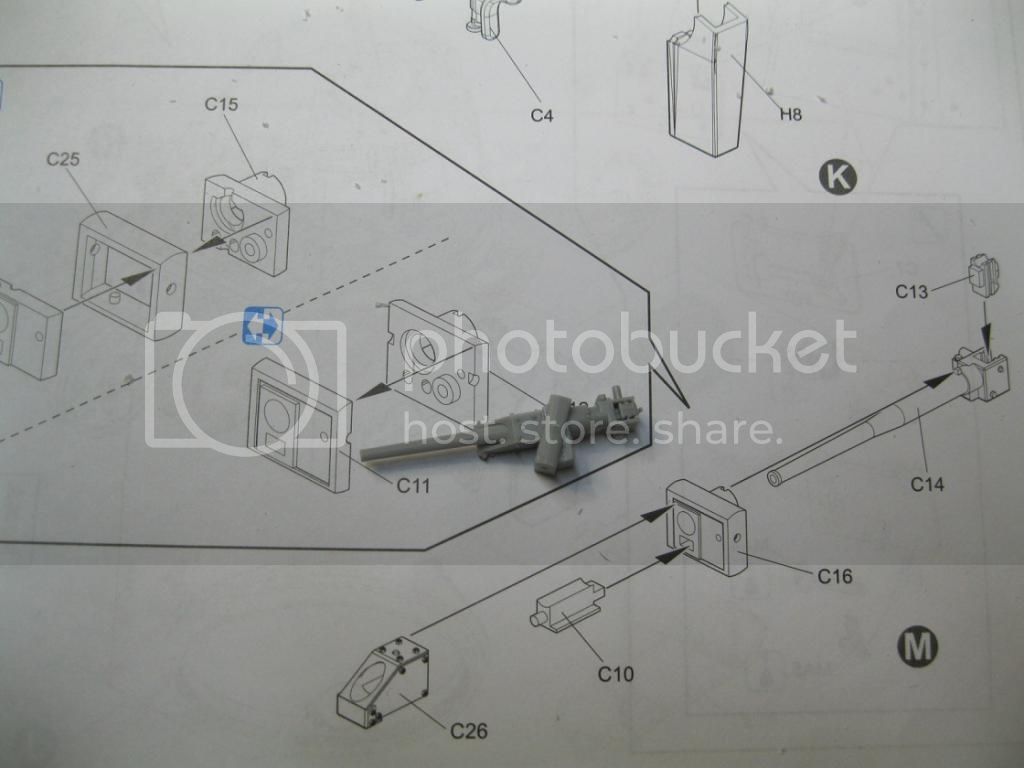
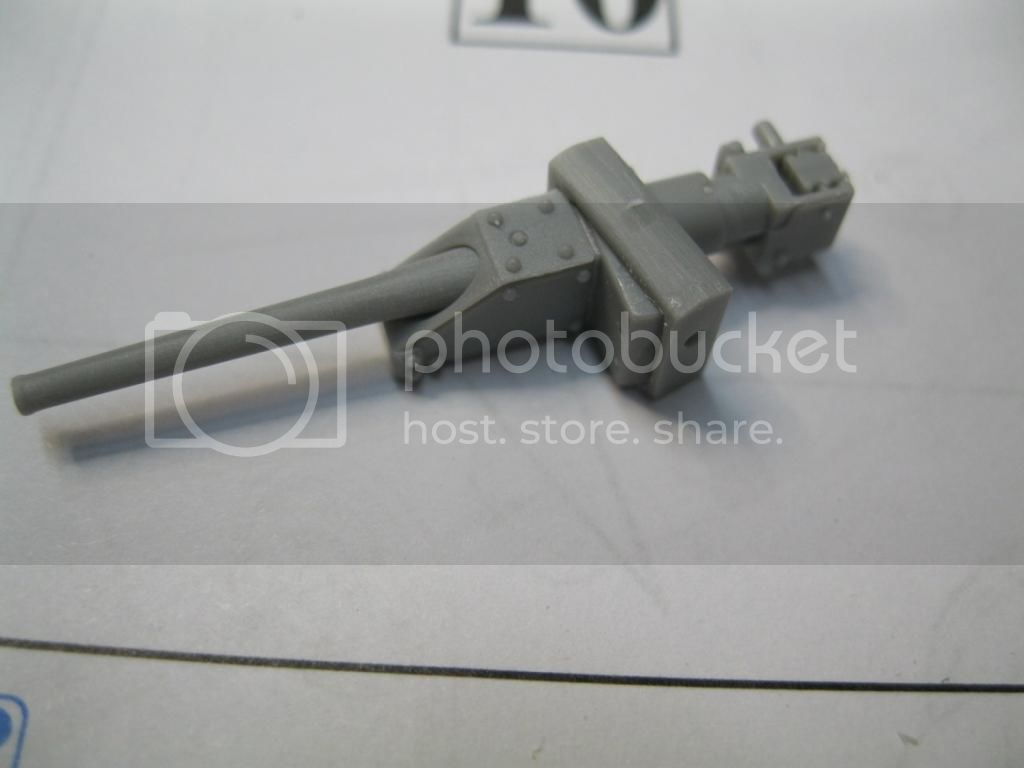
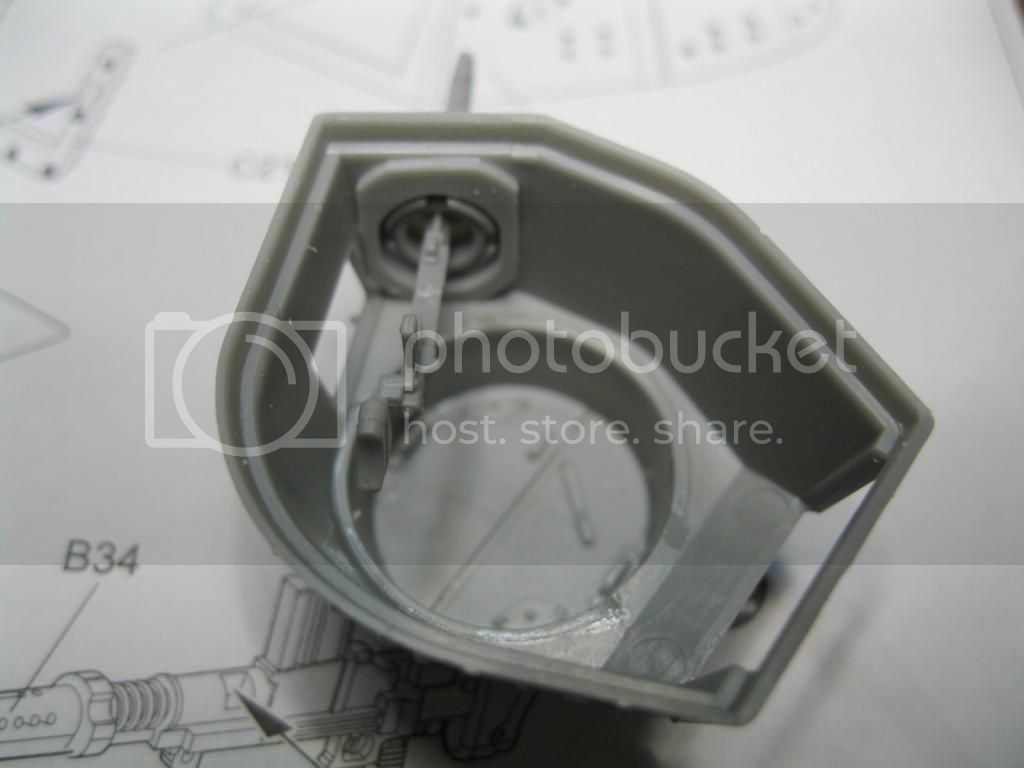
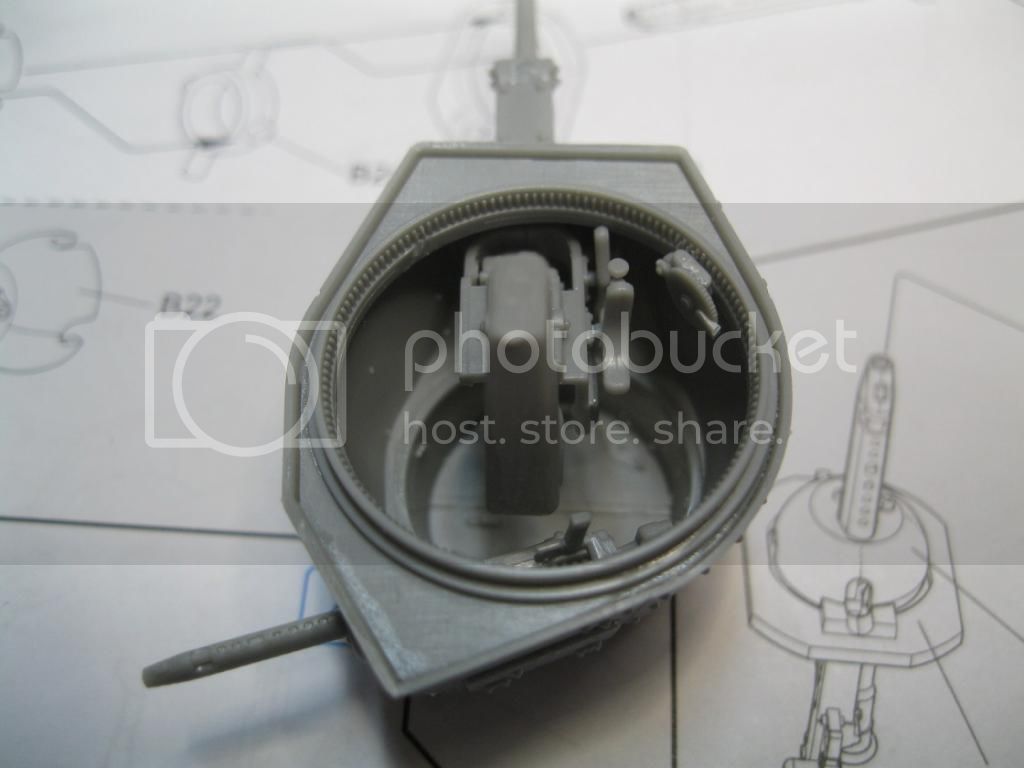
Next up is the turret base and turret armament. The base has a hand crank that is finely detailed. For the second time I cut the hand crank off-the handle shown in the instructions is in fact not molded on-just a stub that looks like a sprue attachment point. As it will not be seen I didn't worry about it. The main gun is built into two sub assemblies, with the breech shield and shell catcher a separate part that will mount inside once the main gun section is assembled. Two options of mount are provided; one will allow the gun to traverse left and right a small degree, the other is fixed. I wanted more movement and better detail.


The main gun parts needed a bit of work and dry fitting to get things into place and make sure they worked. The turret MG and mount were added and the main gun then installed. This was a very tight office and would have kept the commander very busy.


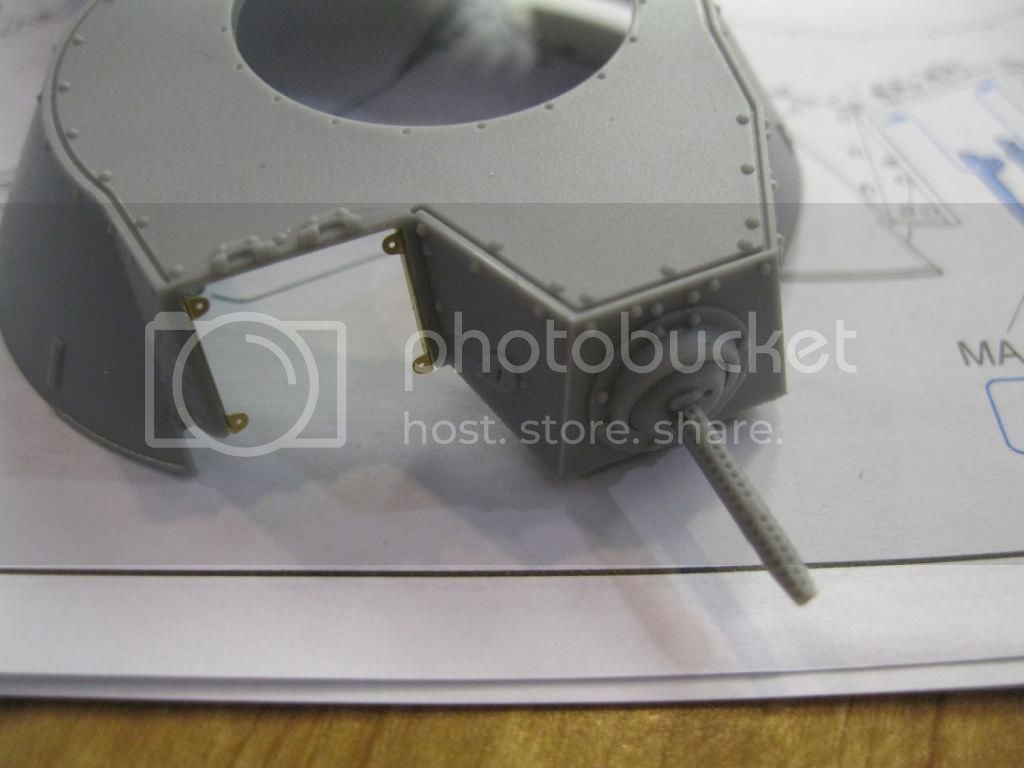
Two options are offered for the turret port hatch. One with the vision slots molded shut and one that receives etch parts. I opted for the latter because of the open vision slots. Then the main gun was completed and the turret was done.


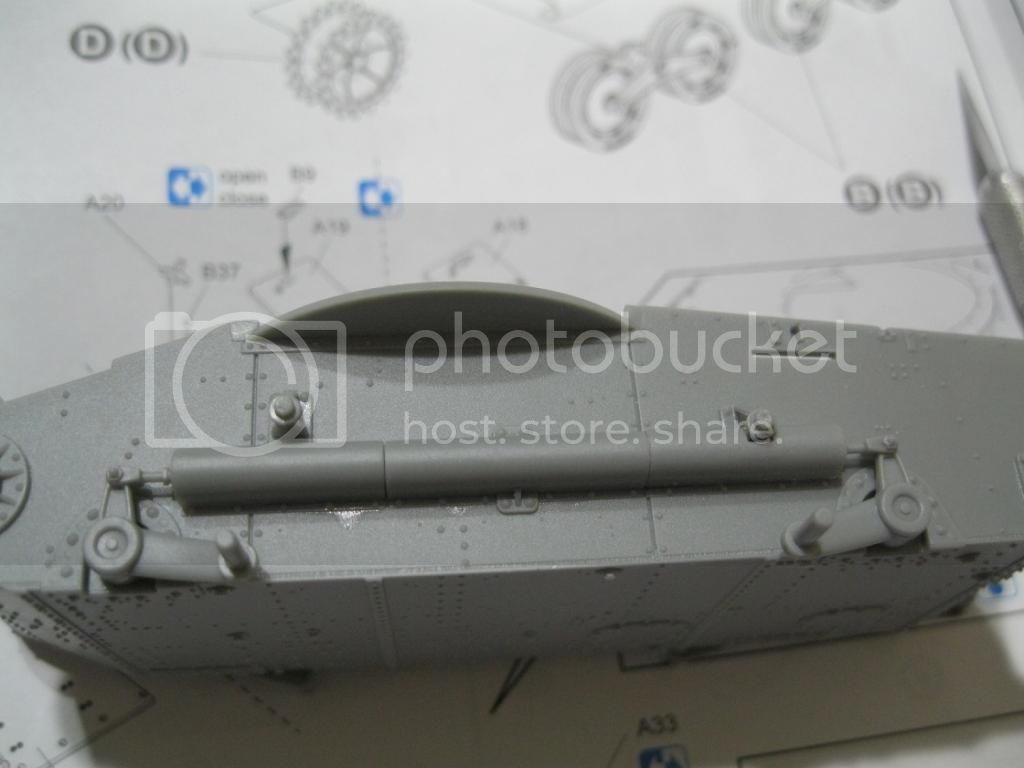
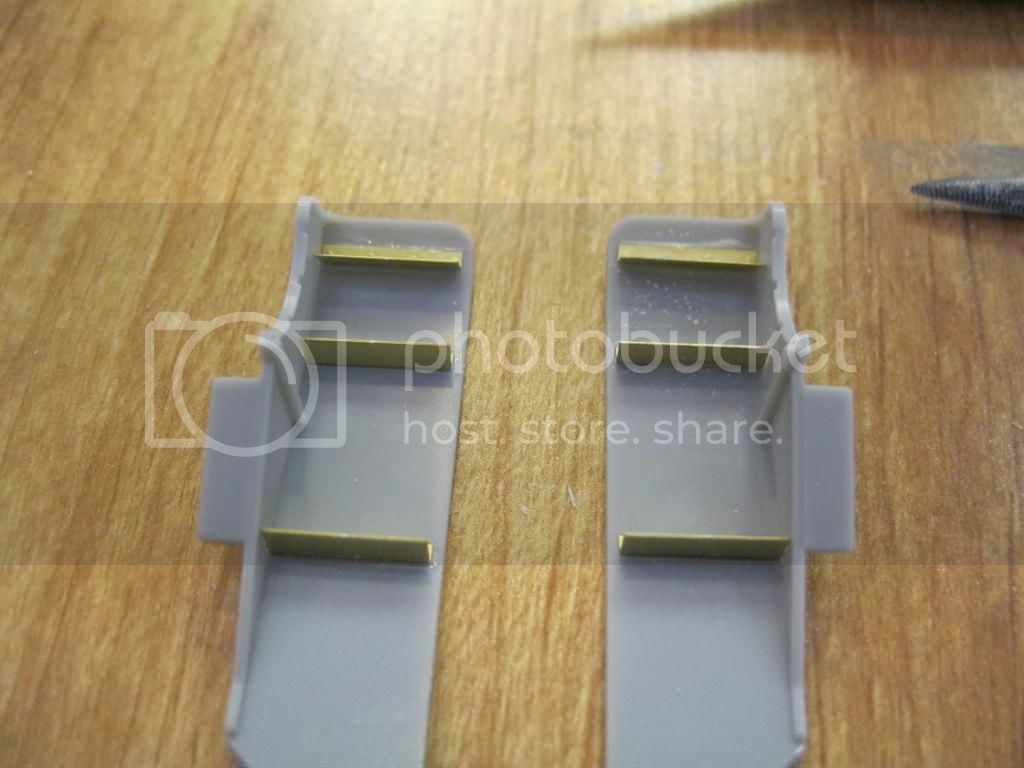
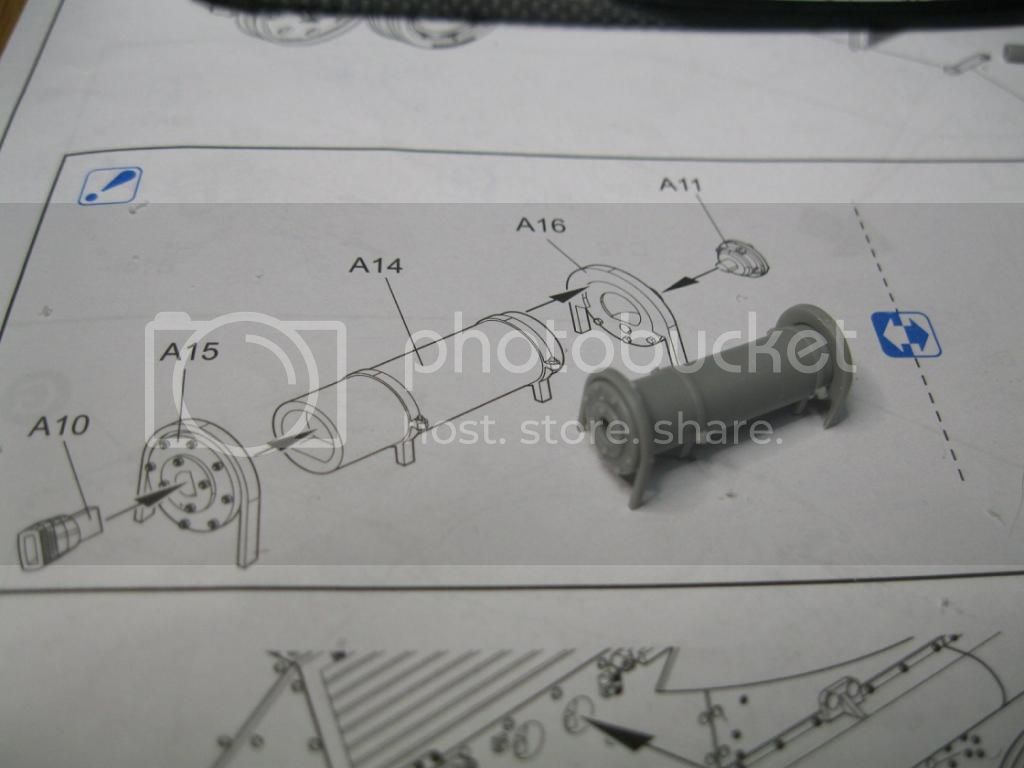
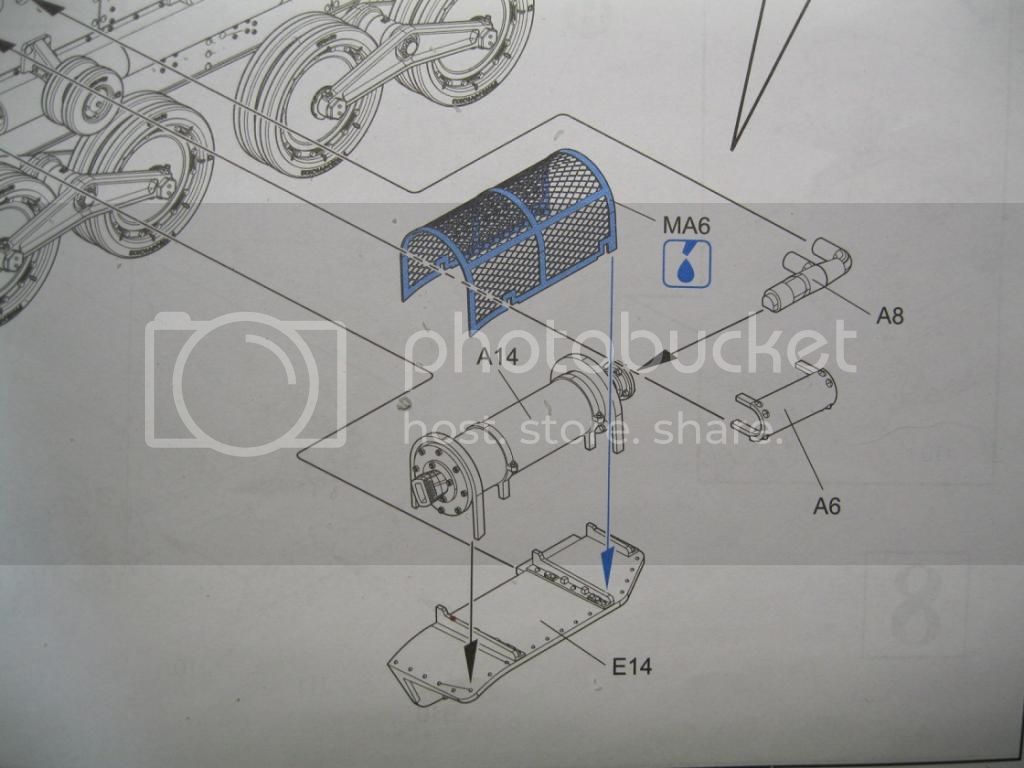
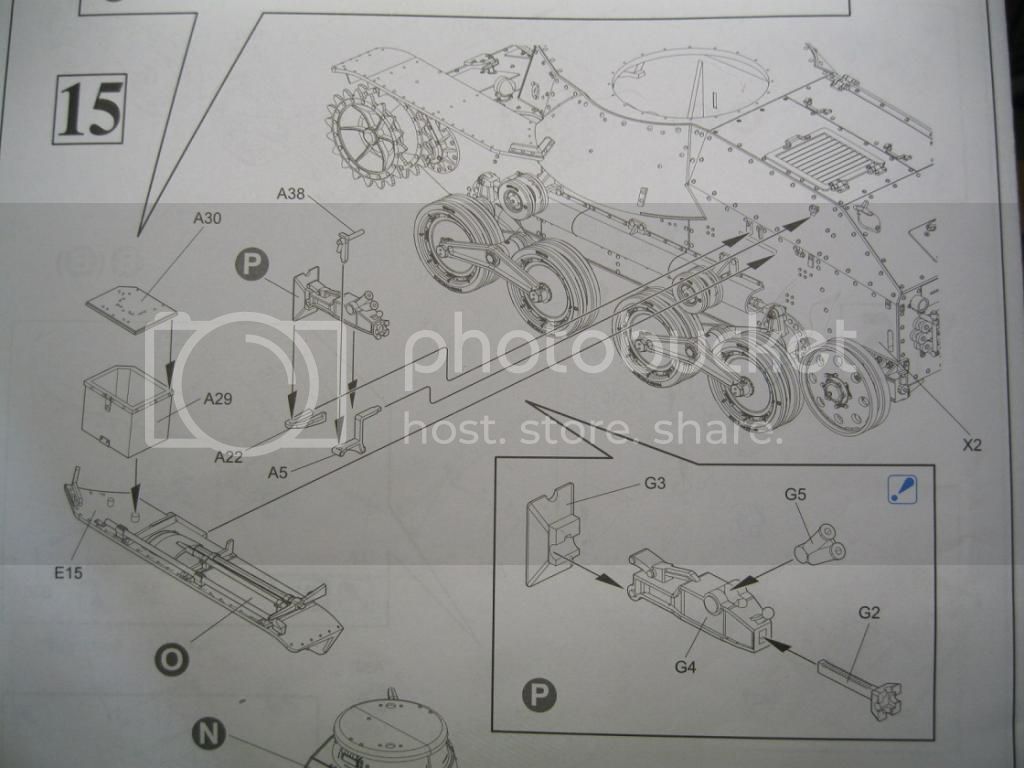
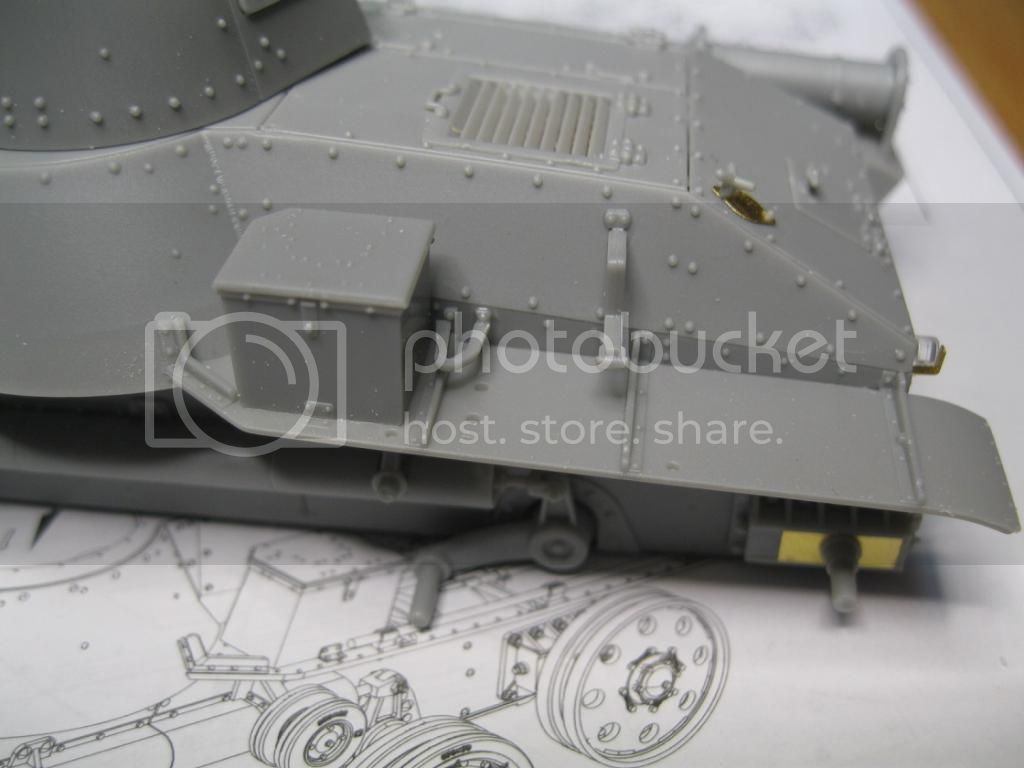
The next steps complete the lower rear hull. The large engine access door receives an etch screen insert and a pair of lock down clamps. I installed the fender first and then placed the assembled muffler, minus the screen at this point. It will be placed after painting. A protector plate is placed over the exhaust pipe.


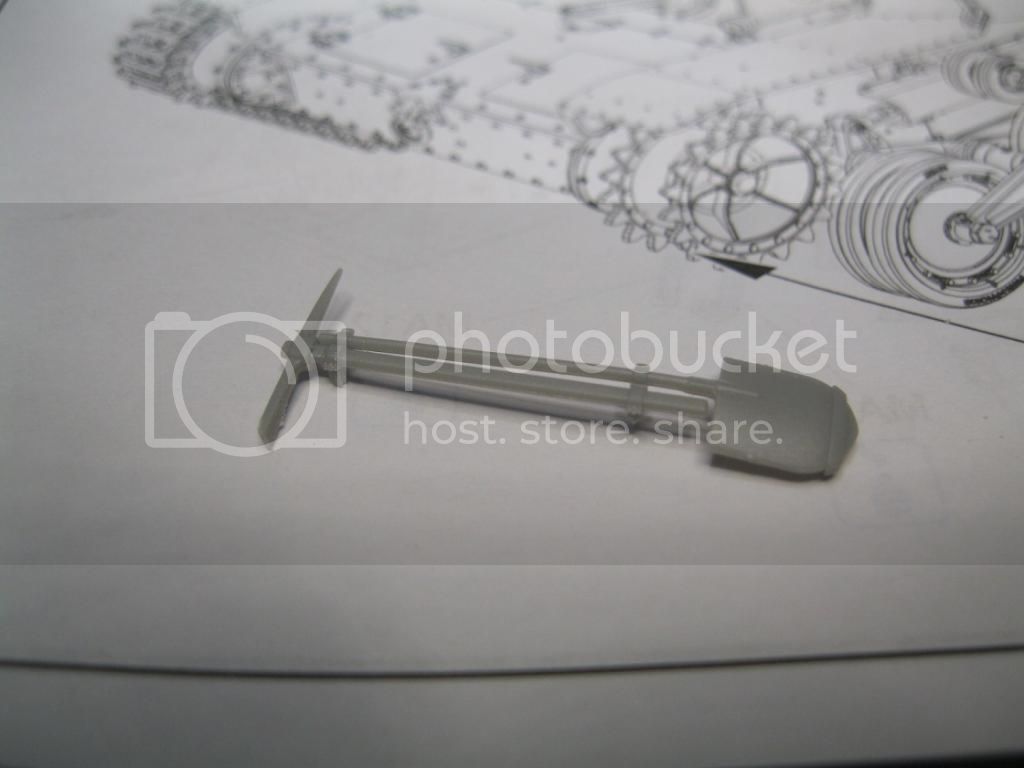
On the opposite side the fender gets a tool box. I assembled the jack and tools but held off on placing them until after painting. The jack is very nicely detailed but is not hollowed out to allow the neck to be inserted in. You have to cut it off to place the lifting plate.


I still haven't settled on the driver's visor plate. I am trying to cobble together a suitable driver figure from spares so I don't know if it will be open or closed yet. Other than that I am ready to paint. I am looking over all the information I can right now. One source suggests that the hull below the track guards was left in the khaki base with the multi color camo pattern over the rest of the tank. Also, the yellow disruptive stripe appears to have been a very pale yellow color. It is very hard finding detailed discussion information on Japanese armor. Everyone can tell you about a particular Tiger or pz. IV, with colors, parts, crew members and their families, even when and what time it was built. Japanese armor is a different story. I'll have to keep doing research.
white4doc
#429
Visit this Community
Massachusetts, United States
Joined: October 14, 2003
KitMaker: 1,086 posts
Armorama: 964 posts
Posted: Monday, October 27, 2014 - 07:58 AM UTC
Russ, I'm working on the same kit at the moment started on the suspension last night, but I tend to jump around while stuff sets up. I think I'll build along with you if that's okay. Akiro Takizawa posts over on Missing Lynx on the Japanese Modeling board, he's been pretty helpful with info on IJA/IJN armor. If you're really daring I ran across someone doing an interior on his Type 95.
Charlie-66
#186
Visit this Community
Texas, United States
Joined: May 24, 2006
KitMaker: 771 posts
Armorama: 750 posts
Posted: Monday, October 27, 2014 - 09:34 AM UTC
Russ, I'm in the painting stages on one of these for the OOTB2 campaign. It's a great kit, and the fit is amazing!
Tojo72
Visit this Community
North Carolina, United States
Joined: June 06, 2006
KitMaker: 4,691 posts
Armorama: 3,509 posts
Posted: Monday, October 27, 2014 - 09:42 AM UTC
I will save this one for the future as I have one in the stash.Looks great so far.
russamotto
Visit this Community
Utah, United States
Joined: December 14, 2007
KitMaker: 3,389 posts
Armorama: 2,054 posts
Posted: Monday, November 03, 2014 - 01:40 PM UTC
I have started to paint, and paused. First, the camo patterns shown on the box side really don't correspond to anything I can see in photos at Peleliu. The disruptive stripes seem fairly limp and boring but photos show them to be bold, fairly wide and the entire pattern is heavily scalloped. I have been able to make out camouflage on the lower hull sides in some photos from different locations but none on the Peleliu tanks. There is a lot of dust, and most of the photos are of burnt out and badly damaged tanks, but even with that there is a lack of contrast, and reading available information it was apparently common for tanks not to be painted on the lower sides-too much of a hassle to work around the running gear, just like on models, I guess.

Initially I made my own masks to start the camouflage pattern, but the few close up photos available show it is clearly brush painted and the under coats are often visible through the lighter colors. In particular, the yellow disruptive stripe shows the underlying colors.

The other issue is determining which colors exactly would be shown. Going with Karekusa-iro or the light brown color, which matches well (I have read) to Tamiya dark earth, I can cover the entire tank. It makes a nice primer coat and if I really mess up also allows for easy paint removal. The lower hull sides below the track guards will remain in this color, with no camo over the top. Next coat would be the kusa-iro, or dark green background for the southern front (Pacific ocean area). Current photos of Peleliu show lots of vegetation which reports state is how the island appeared before much of the vegetation was destroyed by bombardment. The next color would be Tuchi-iro, or the dark brown. I was using Tamiya dark brown with about 10-15% blue added. The Vallejo color appears to match this fairly well, though not quite as dark. The final color, Karekusa-iro, is listed as a khaki color but in the Vallejo set is a greener tint. Vallejo states the early color is Tsuchi-kusa-iro, a more yellow tint of light green. The disruptive stripe color I am looking at is more of a sand yellow color, and not the bright yellow normally seen applied.

I'll try to get some in progress shots of the work to show what I am working at. If anyone has any suggestions or better information I would appreciate it.
JPTRR
Staff MemberManaging Editor
RAILROAD MODELING
#051
Visit this Community
Tennessee, United States
Joined: December 21, 2002
KitMaker: 7,772 posts
Armorama: 2,447 posts
Posted: Monday, November 03, 2014 - 02:01 PM UTC
Russ,

Good thread on building what looks like a neat lil' model!
russamotto
Visit this Community
Utah, United States
Joined: December 14, 2007
KitMaker: 3,389 posts
Armorama: 2,054 posts
Posted: Sunday, April 05, 2015 - 09:52 PM UTC
Well, I made several attempts at getting a paint scheme down. Using Tamiya paints as a base allowed me to remove my work and start over with a clean canvas. I found and used this photo as a reference point.


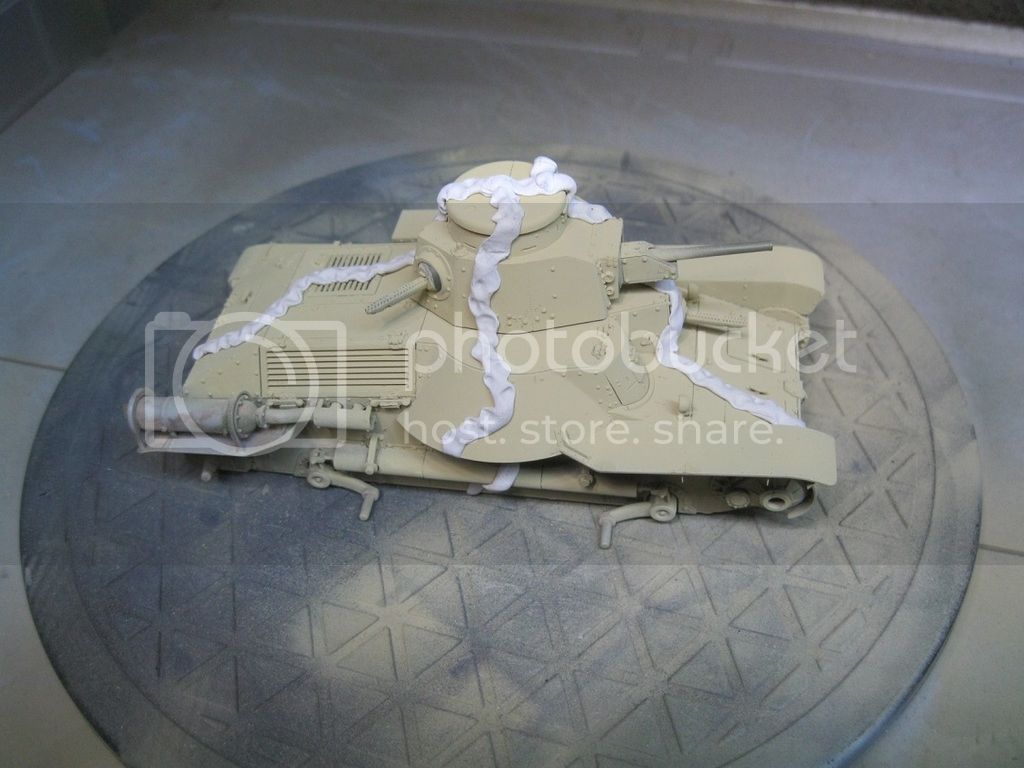
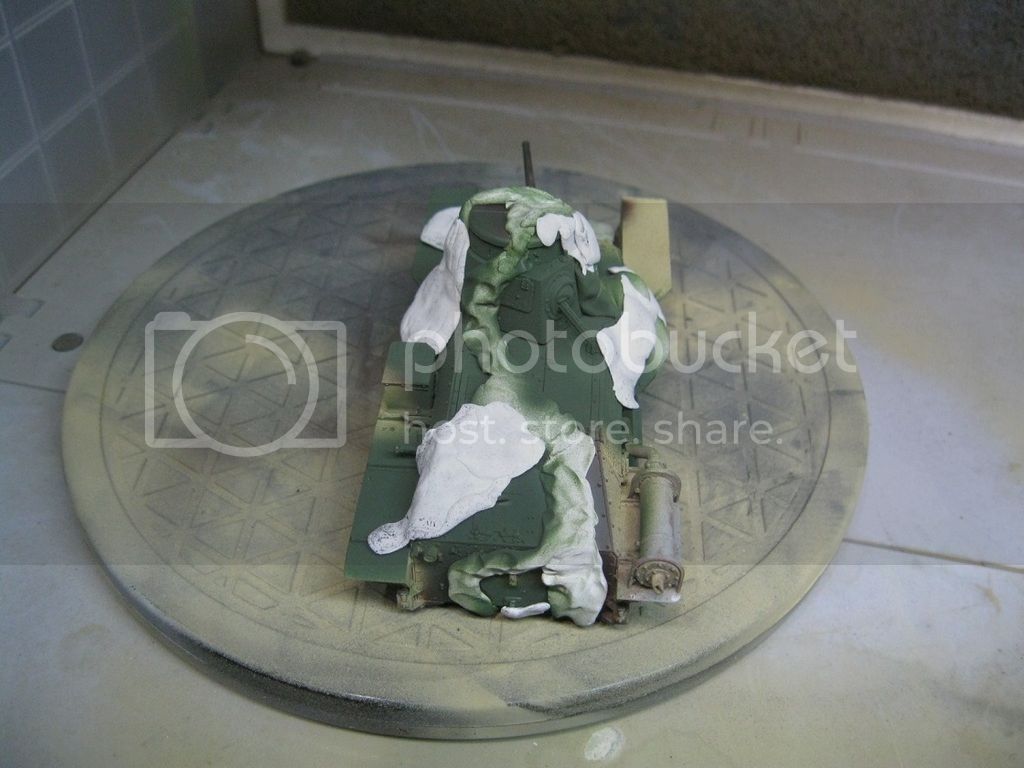
I went with a very faded yellow paint as a base/primer coat and then used poster tac as a mask. I tried free hand painting but kept getting paint seepage along join lines.


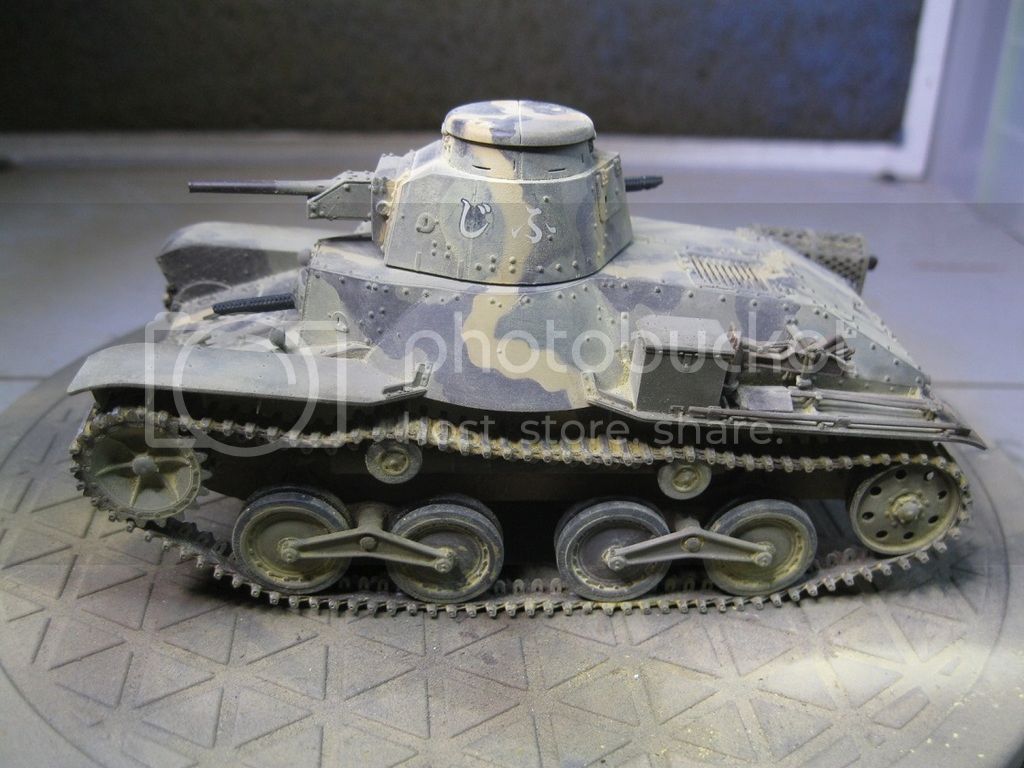
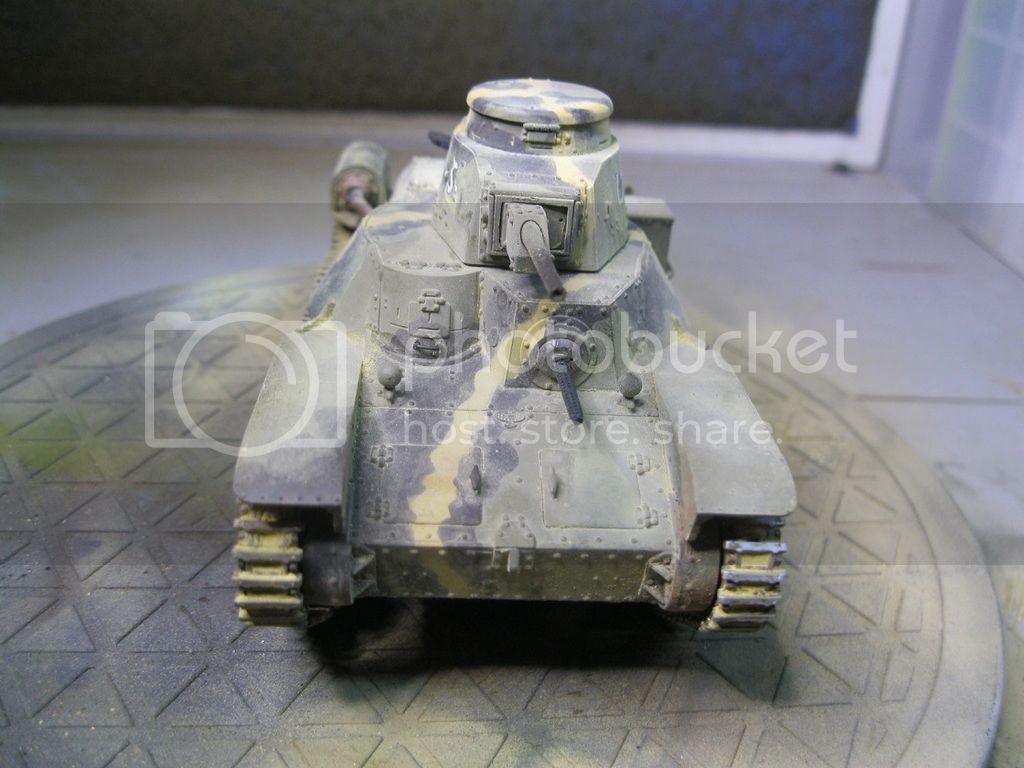
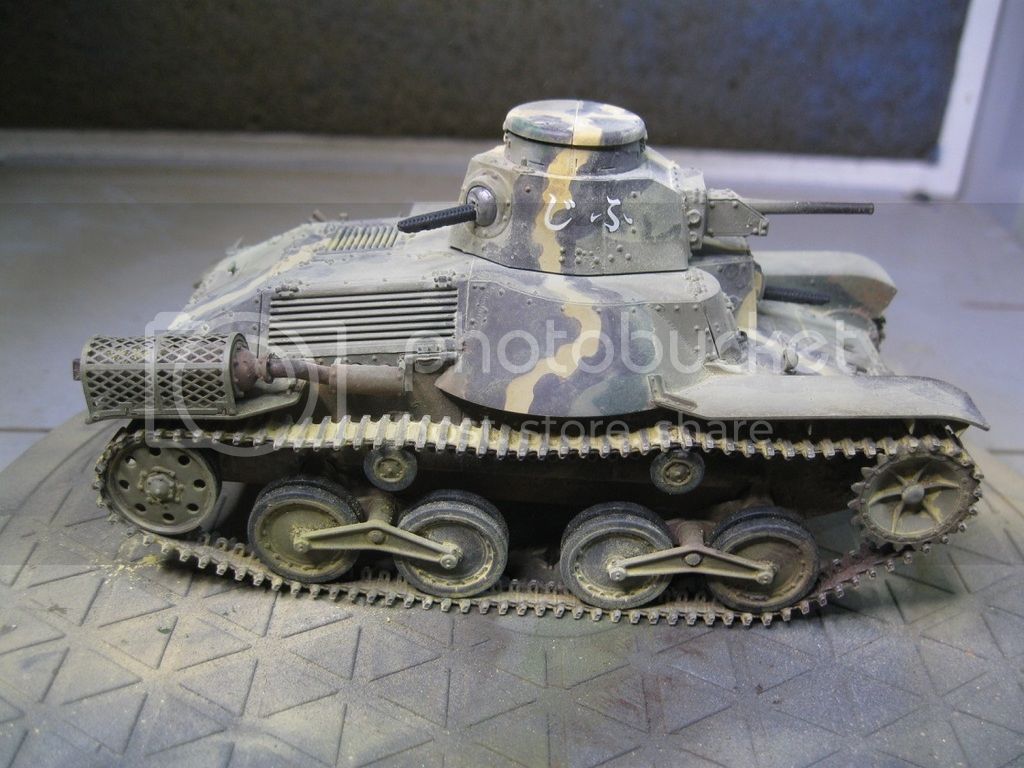
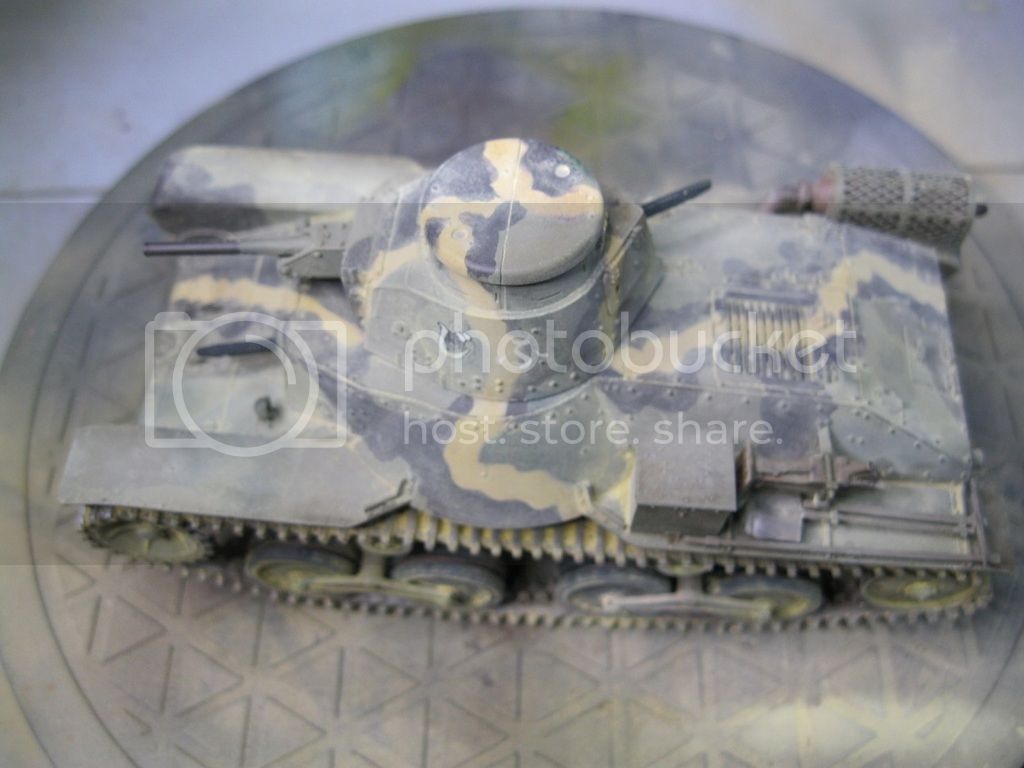
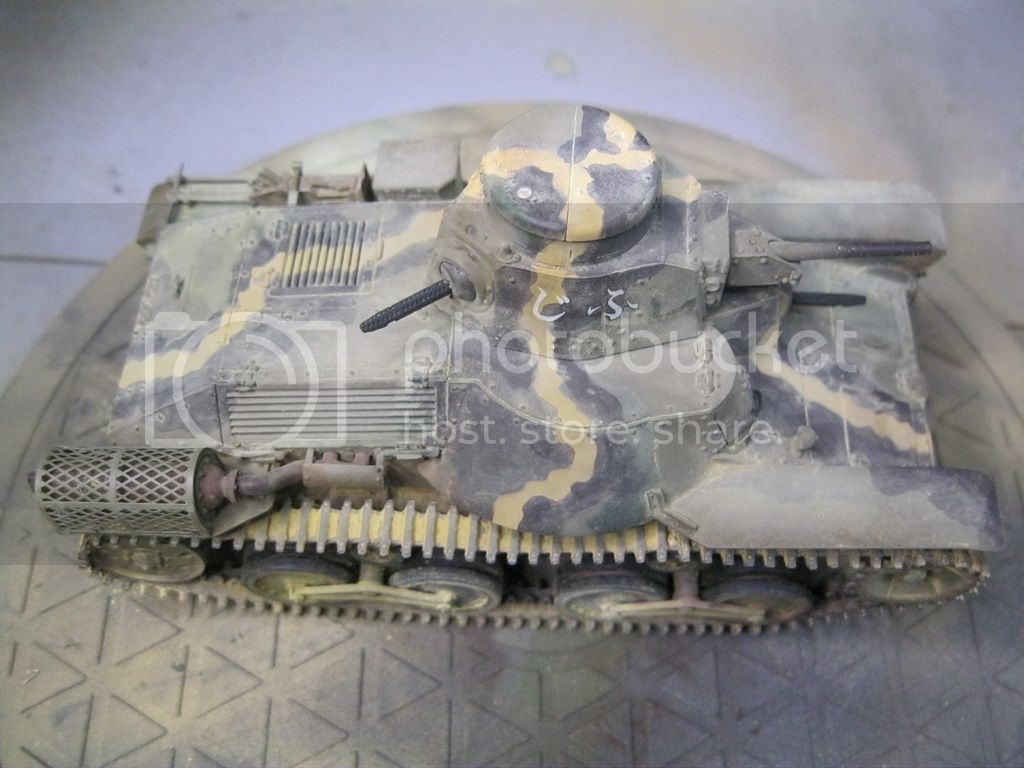
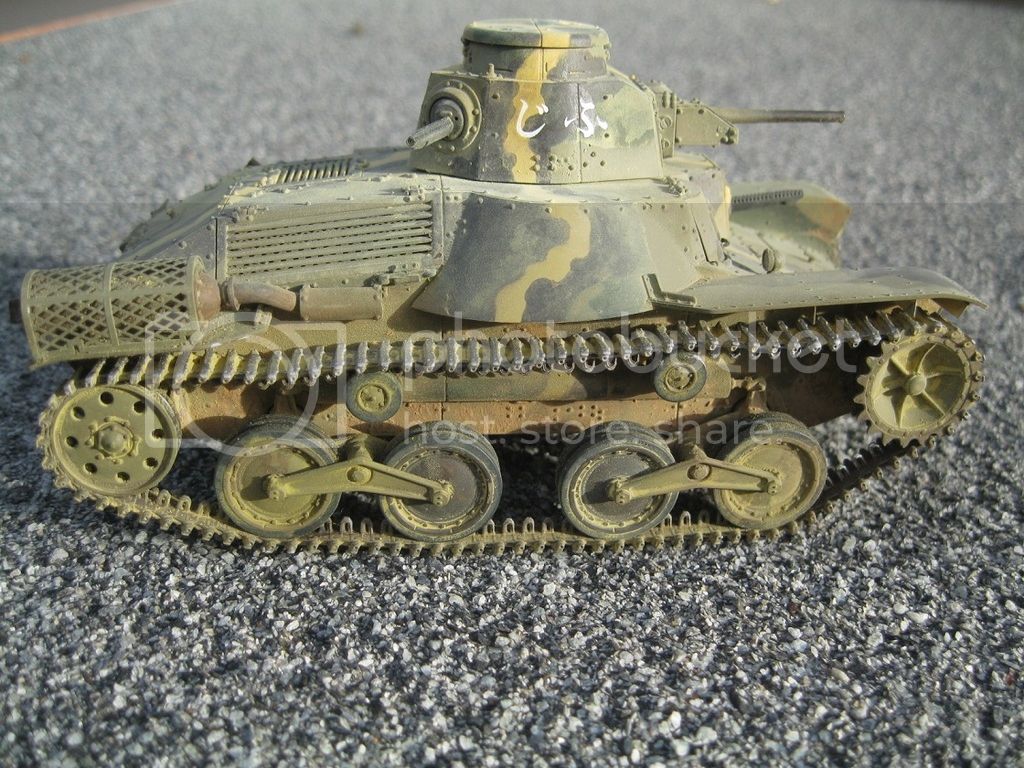
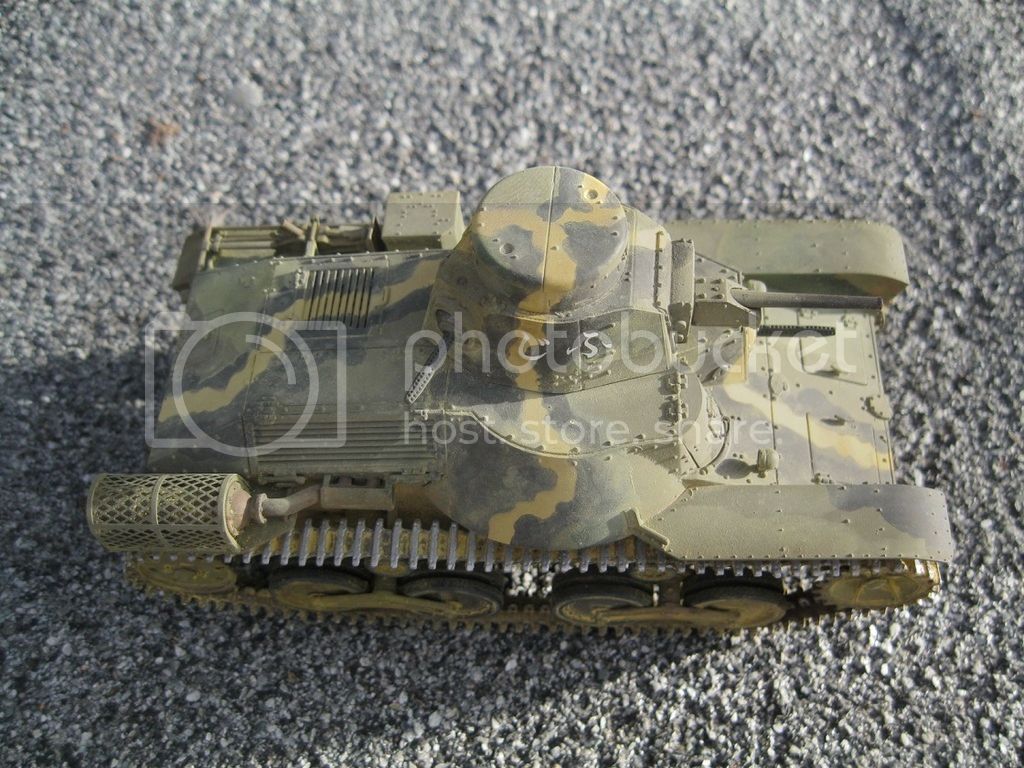
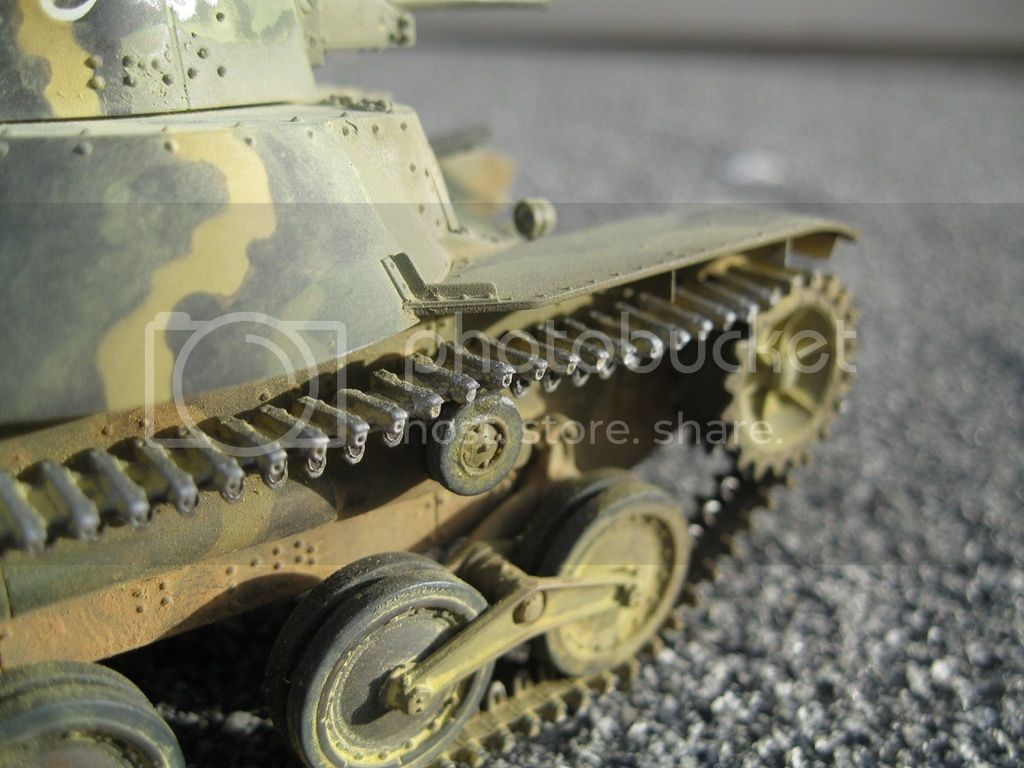
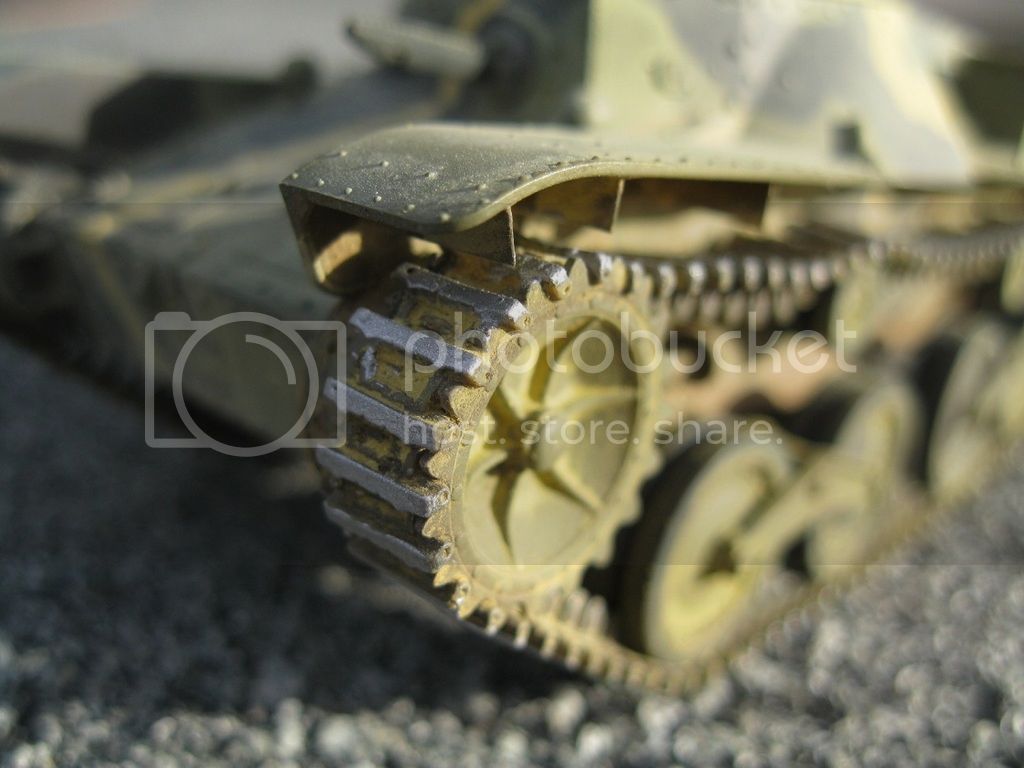
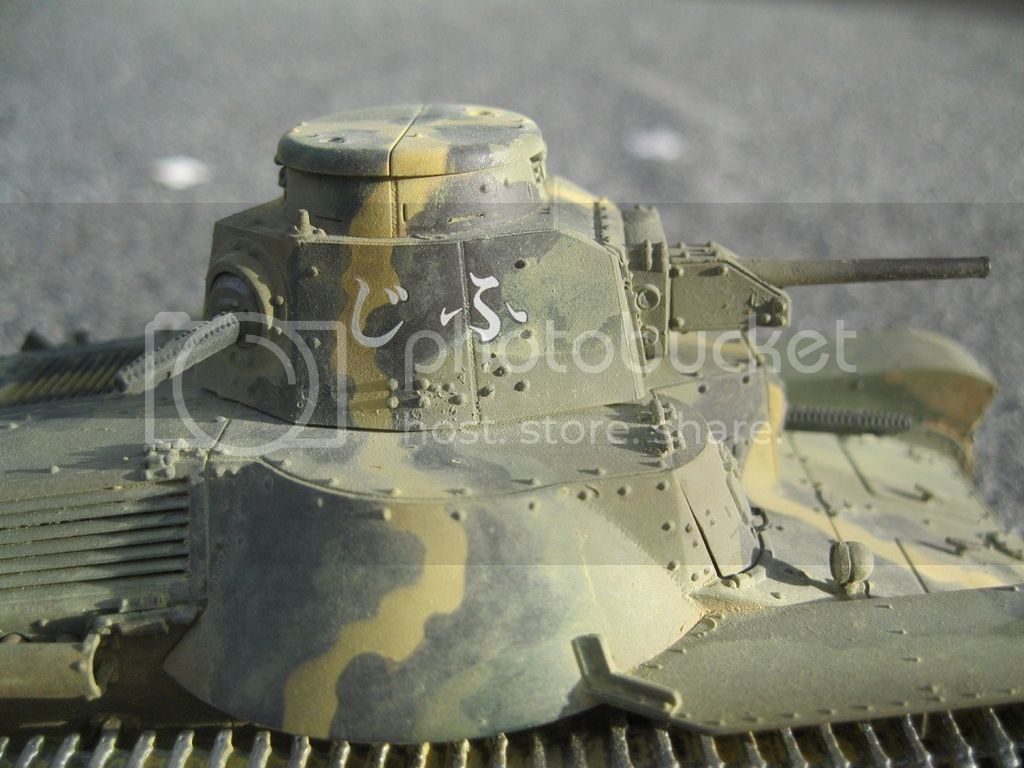
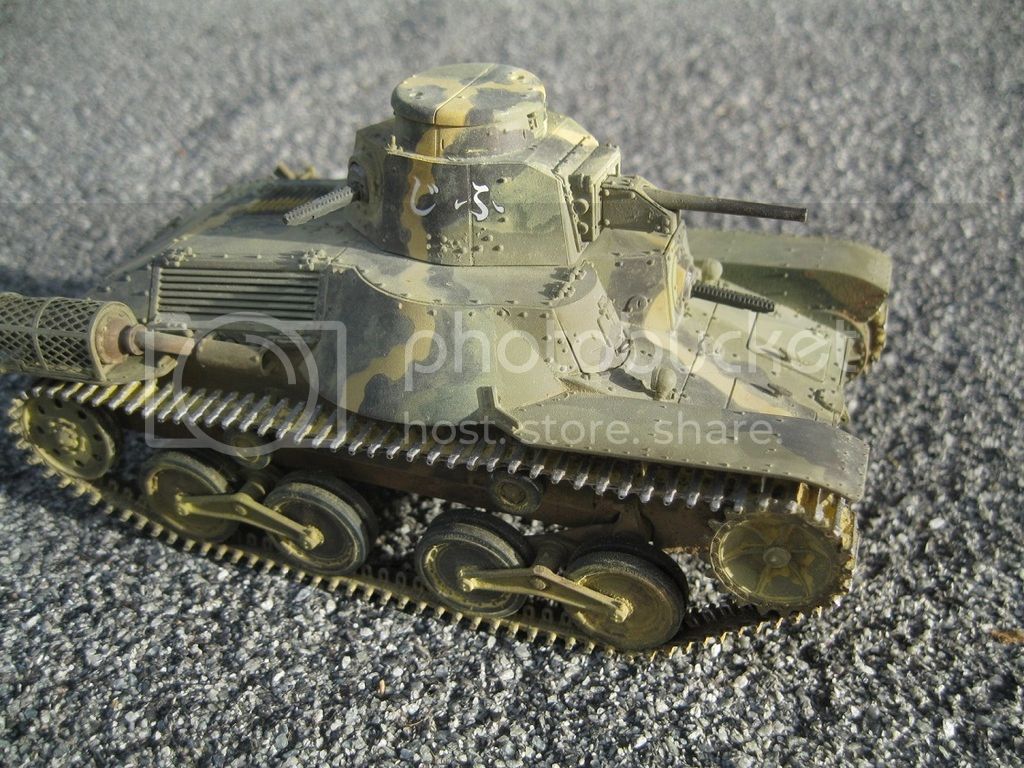
The yellow was a little too faded so I blended some yellow ochre oil paint over the lines carefully, which gave a better and more varied tone which is not clearly visible in the photos. The green is Tamiya IJA green, which gave me uneven color spots, with some glossy looking areas. Vallejo paints from their IJA set, dark brown and Kare Kusa Iro finished things off. I used kit supplied decals that approximated the markings in the photo after my freehand attempts at Japanese lettering failed. Then a light wash with Raw Umber oil followed by a dusting with ground pastels to see how it would affect the look of the paint underneath. I painted the muffler several shades of mottled brown, black and rust. Tracks were painted metallic gray, washed with burnt umber and a muddy mix of the same pastel dust and mineral spirit. The tracks were too long so I removed two links per side. I glued the ends around the drive sprocket, then used CA glue to attach a thin piece of wire on the inside of the tracks, just behind the guide horns. When placed over the return rollers, I was able to bend the wire carefully to get the sagged appearance.


I need to finish the tracks, removing some of the pastel and shining up the track faces and also tone down the dust. Instead of silvering, the decal on the left turret side has glossed up the spot of green underneath. Vallejo sand wash may hide that. I will also need to find a suitable base. It is nearly there. If I missed anything let me know, and thanks for watching.
russamotto
Visit this Community
Utah, United States
Joined: December 14, 2007
KitMaker: 3,389 posts
Armorama: 2,054 posts
Posted: Sunday, April 12, 2015 - 10:40 PM UTC
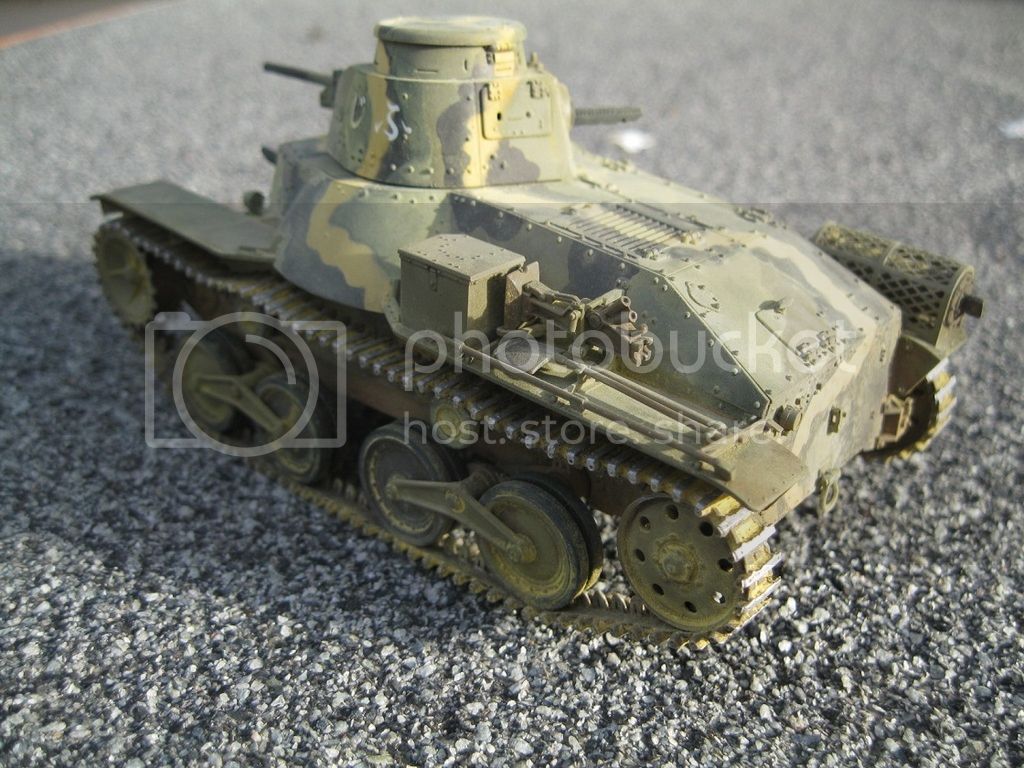
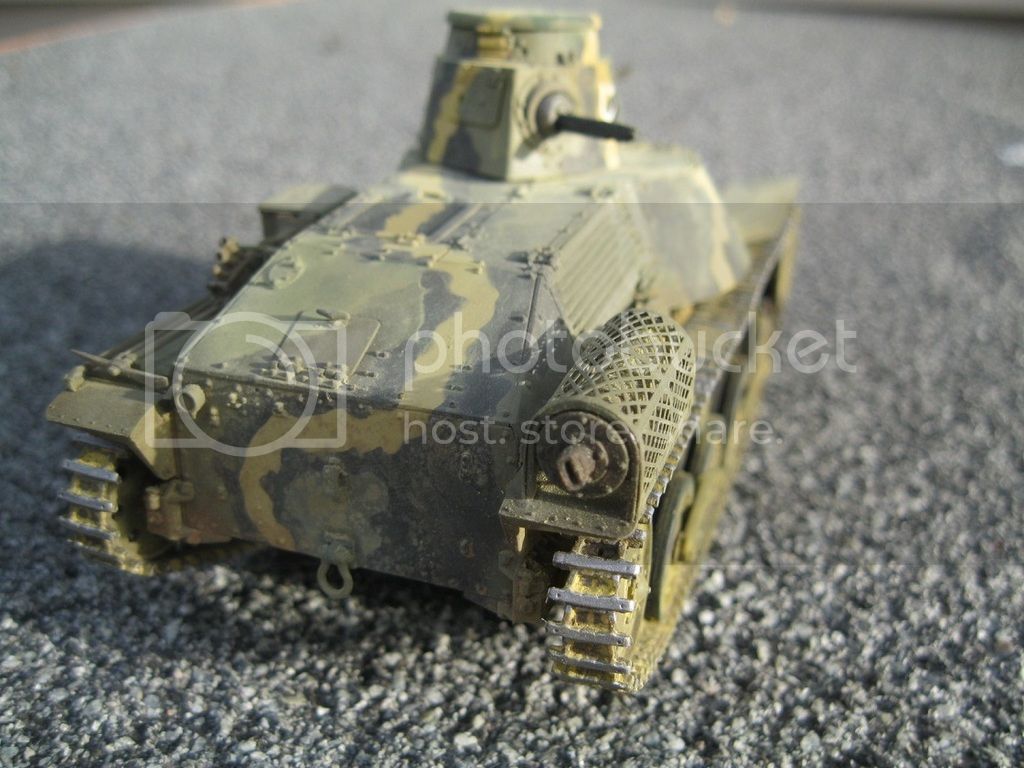
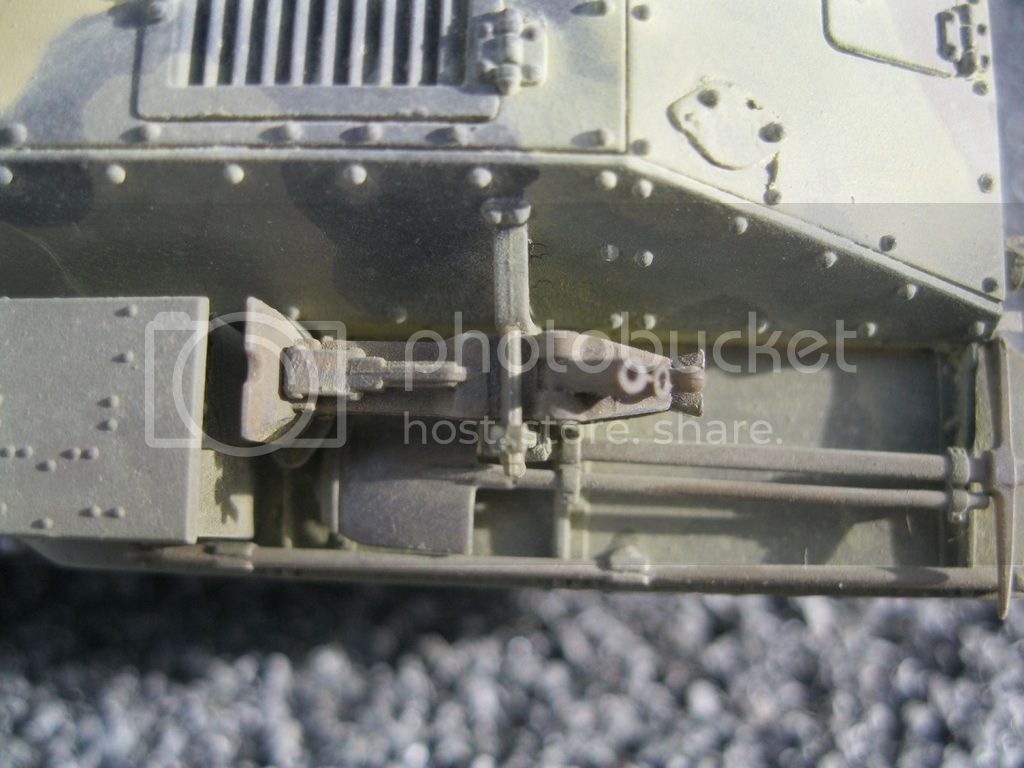
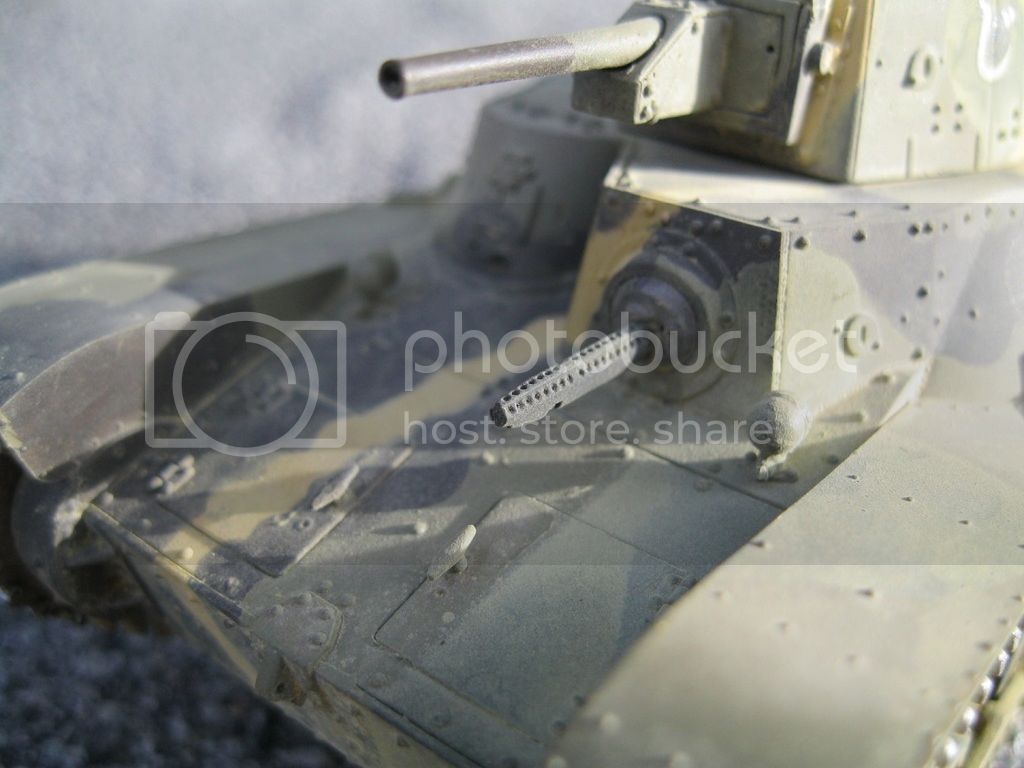
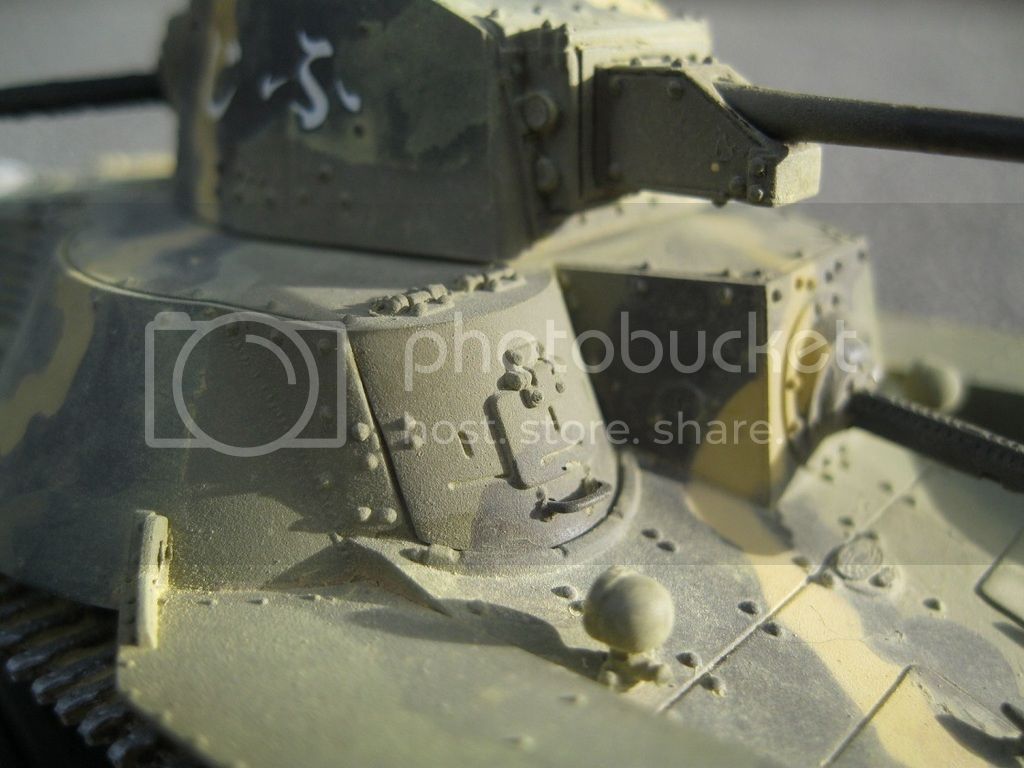
Here is the kit. No base as of yet but I took some photos in natural sunlight.


Now I just have to wait for Dragon to release the type 97. This is a really nice kit, though the DS tracks were already brittle when I put them on. Thanks for looking.

 _GOTOTOP