So, I’ve been playing with this little Vignette over the years. The Italeri Gate section started off as a practice piece to try some paint colors and weathering. It then started to involve into a little more when I ran across the neat little wood base. I then found a scrap section of cobblestone to add to the base.
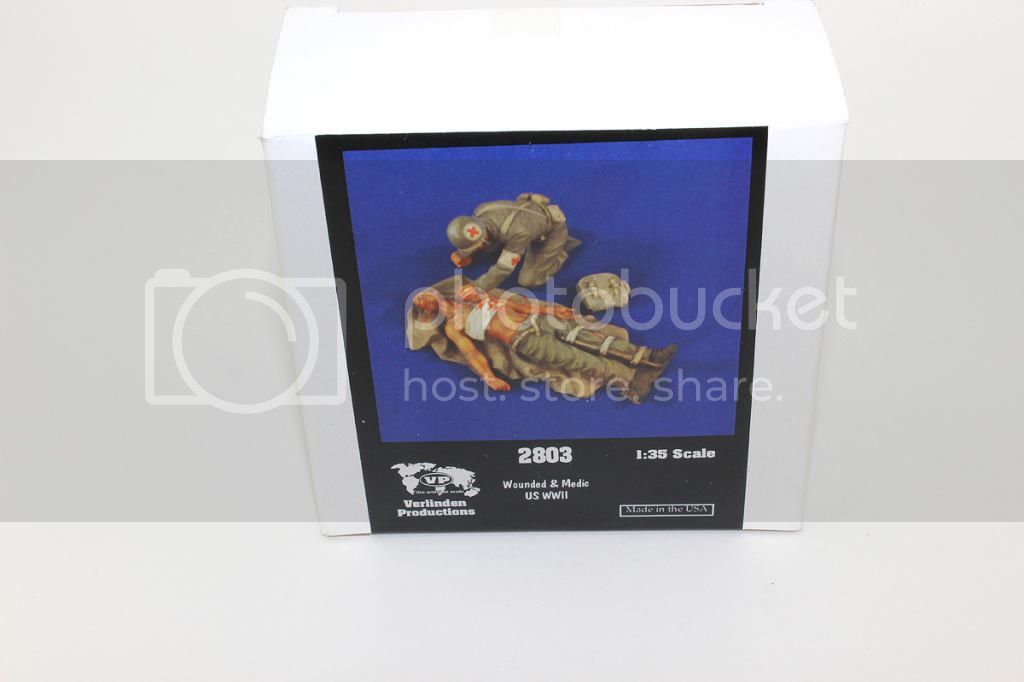
I could never make up my mind as to what kind of figures to use on this little project. I settled on Verlinden Productions Wounded & Medic US WWII #2803 as I feel it’s the perfect size to fill the space in front of the gate wall perfectly.
My plan is to refine the weathering on the gate wall with some current techniques I have learned in recent years.
This is the gate wall with base and cobblestone section.
The Verlinden Productions #2803 Wounded GI and Medic.
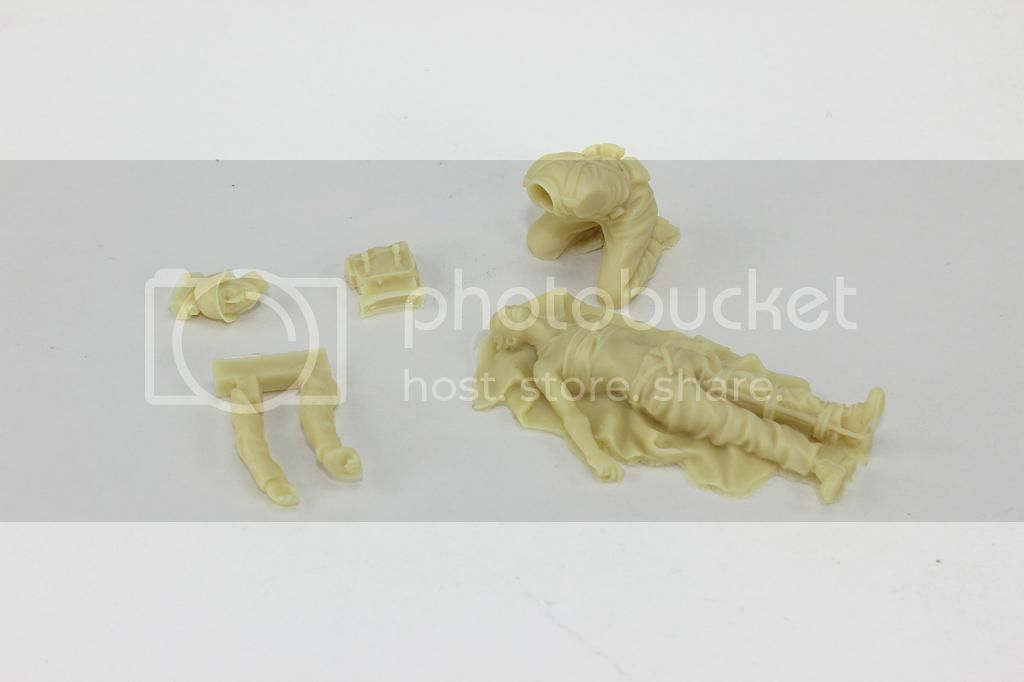
The resin pieces all laid out. There is plenty of detail for painting!
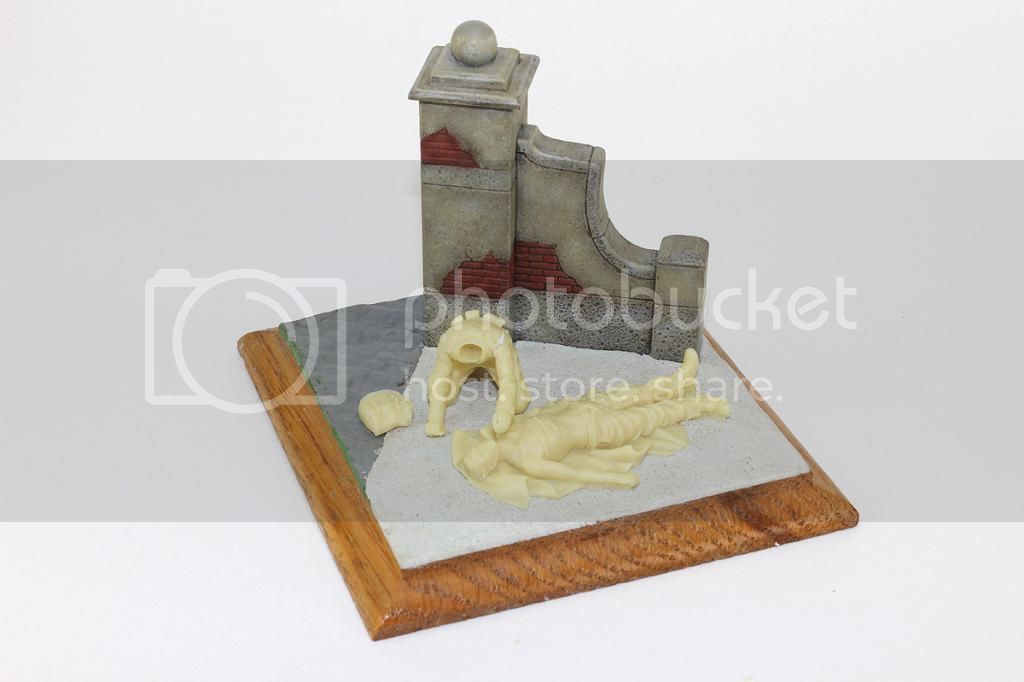
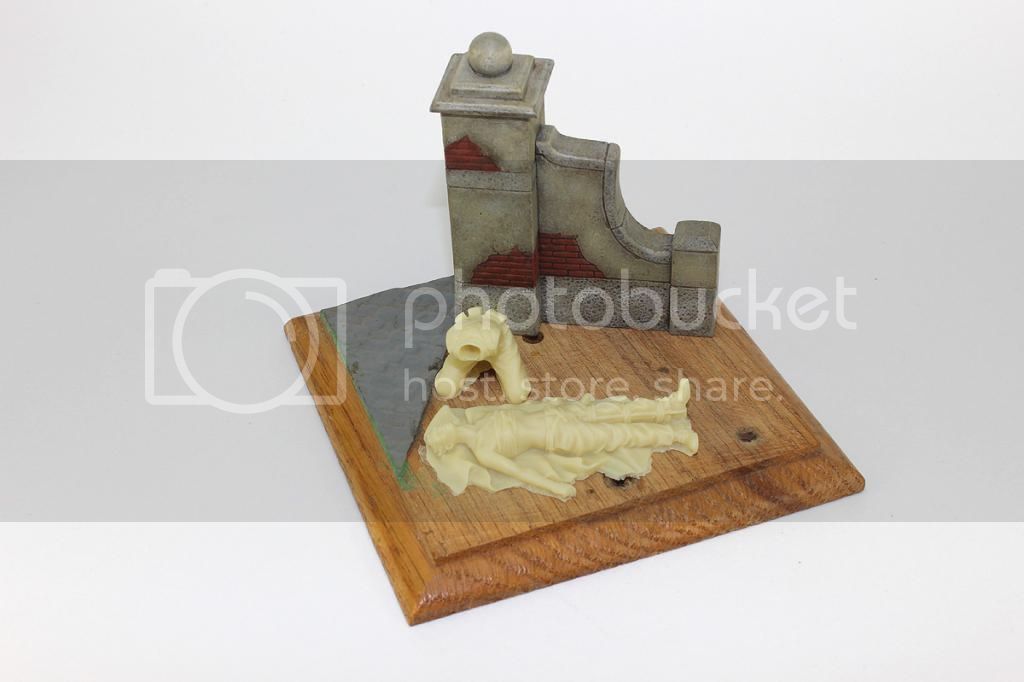
And finally, the figures laid out on the base to get a feel of how they will fit.
Dioramas
Do you love dioramas & vignettes? We sure do.
Hosted by Darren Baker, Mario Matijasic
Verlinden Wounded GI and Medic Vignette
Big-John
Ohio, United States
Joined: August 12, 2010
KitMaker: 731 posts
Armorama: 711 posts
Joined: August 12, 2010
KitMaker: 731 posts
Armorama: 711 posts
Posted: Saturday, November 08, 2014 - 04:27 PM UTC
jrutman
Pennsylvania, United States
Joined: April 10, 2011
KitMaker: 7,941 posts
Armorama: 7,934 posts
Joined: April 10, 2011
KitMaker: 7,941 posts
Armorama: 7,934 posts
Posted: Saturday, November 08, 2014 - 08:22 PM UTC
Nice beginnings!
J
J
cutigerfan
South Carolina, United States
Joined: February 21, 2010
KitMaker: 133 posts
Armorama: 85 posts
Joined: February 21, 2010
KitMaker: 133 posts
Armorama: 85 posts
Posted: Sunday, November 09, 2014 - 01:34 AM UTC
Great idea John. I've always loved the concept of small dioramas/ vignettes over the much larger ones. Again, great concept. Look forward to seeing more pictures.
Big-John
Ohio, United States
Joined: August 12, 2010
KitMaker: 731 posts
Armorama: 711 posts
Joined: August 12, 2010
KitMaker: 731 posts
Armorama: 711 posts
Posted: Tuesday, November 11, 2014 - 06:06 AM UTC
Hi guys Thanks for having a look
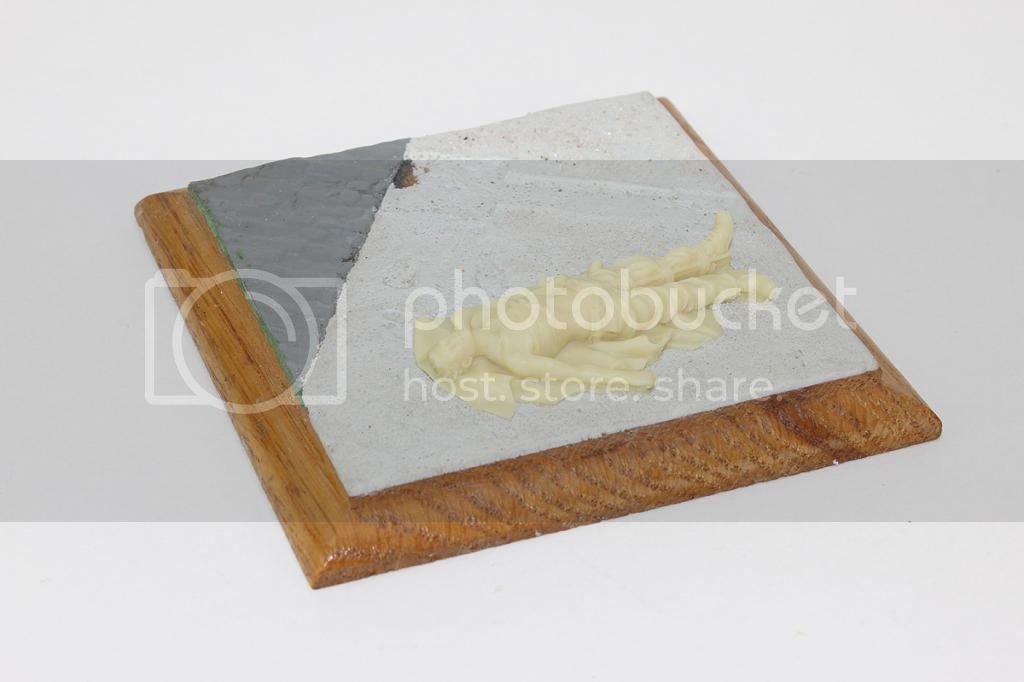
The base was given some ground cover using epoxy putty with a little sand sprinkled over it for texture.
Then the figures and gate wall section were pressed into the groundwork. The wall and medic will be removed for painting, but the wounded GI is a permanent fixture now.
The base was given some ground cover using epoxy putty with a little sand sprinkled over it for texture.
Then the figures and gate wall section were pressed into the groundwork. The wall and medic will be removed for painting, but the wounded GI is a permanent fixture now.
Big-John
Ohio, United States
Joined: August 12, 2010
KitMaker: 731 posts
Armorama: 711 posts
Joined: August 12, 2010
KitMaker: 731 posts
Armorama: 711 posts
Posted: Saturday, November 15, 2014 - 02:59 AM UTC
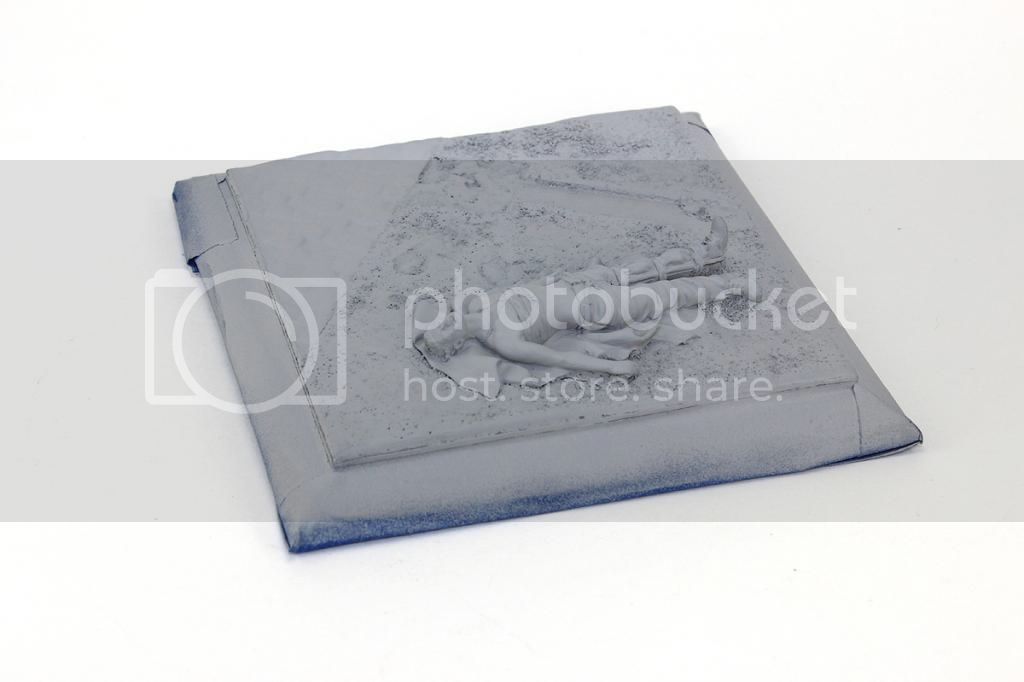
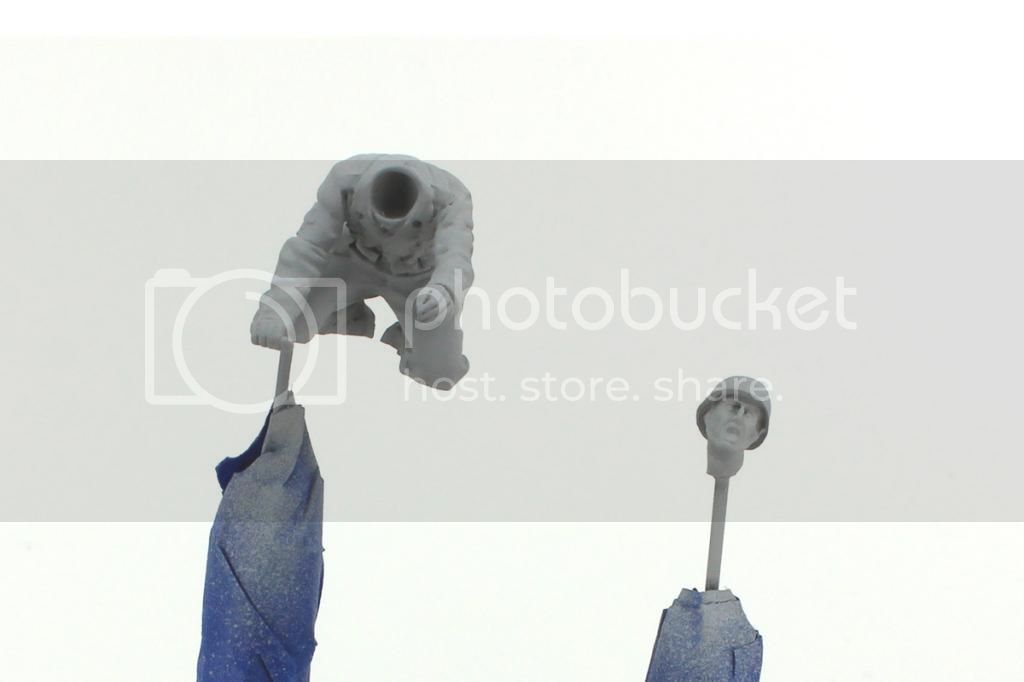
The base and figures were given a coat of automotive primer from a rattle can. I now have a clear path to start adding color.