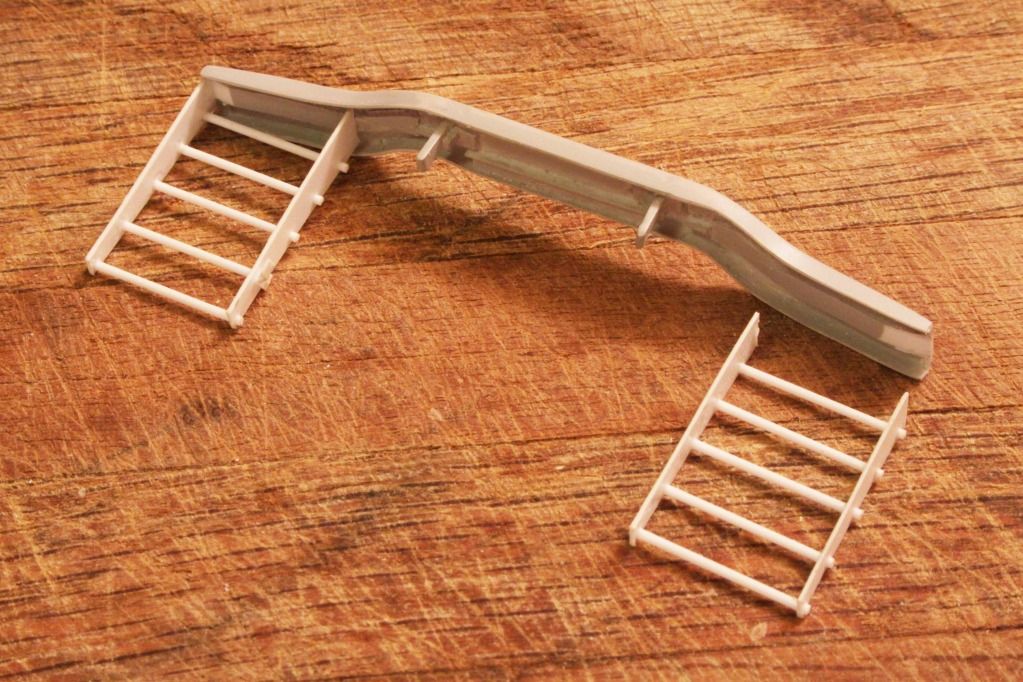
Moving on to the ladder racks for the Big Mack:
Again I cut four pieces of Evergreen strip approximately one inch longer than the finished length of the piece. I stacked then together gluing just the ends of the strips.
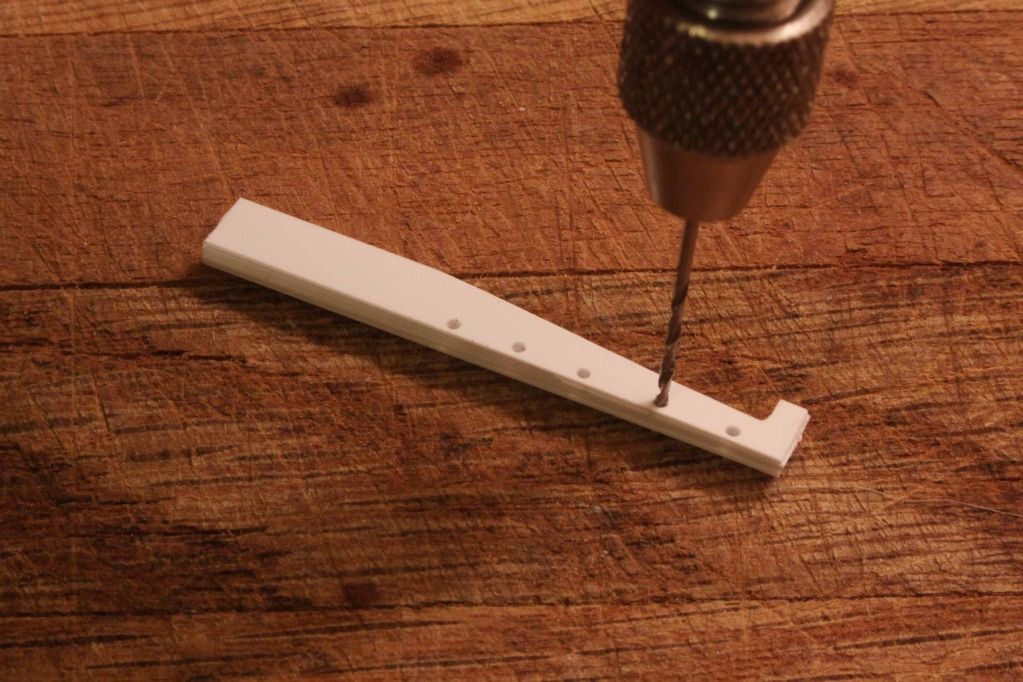
As with the Bumper Braces I drilled them all at the same time (BY HAND - no motors here) and used a saw and files to form the part stack into the finished profile.
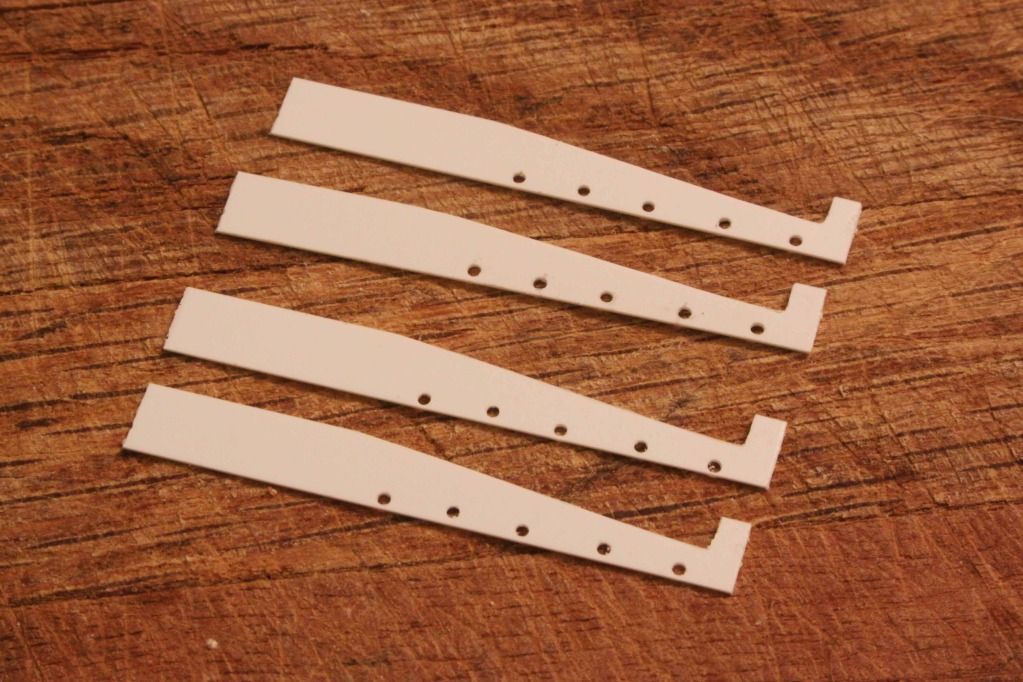
In the case of ladder building however, an additional step is necessary:
Cut the parts free of the stack BUT continue to leave a bit of excess strip stock temporarily on each end.
Now using thicker strip stock cut four IDENTICAL spacer bars. Use these spacers as a gluing jig to hold the ladder rails the desired distance apart.
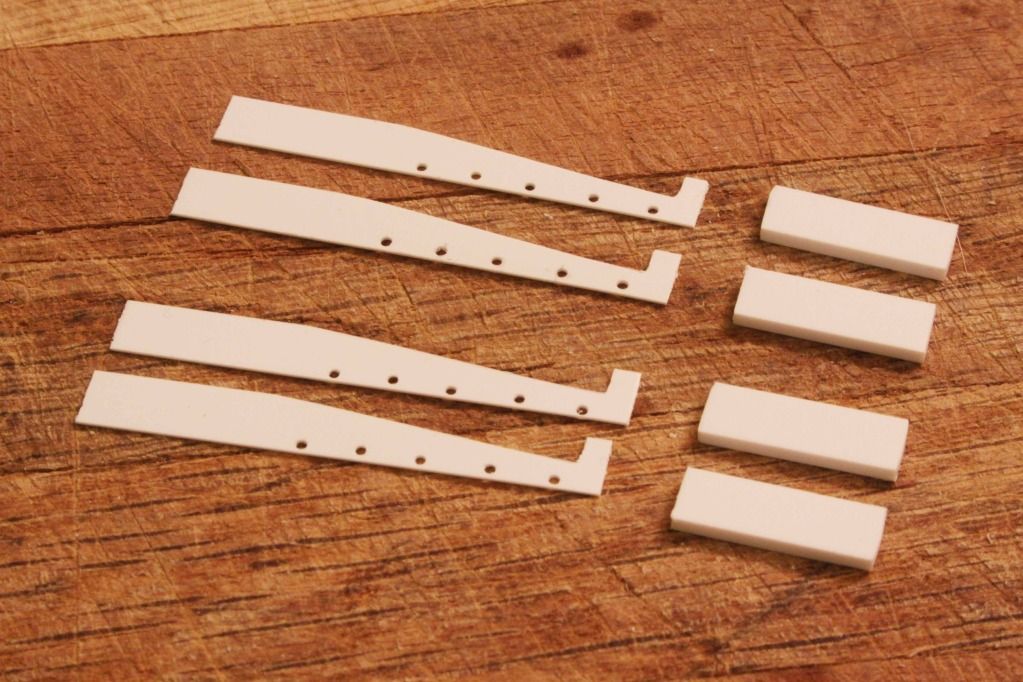
In the photo below, I have glued the spacers bars to the ends of the ladder rails. And I have begun inserting Evergreen rod into the drill holes to form the ladder rungs and gluing them in place.
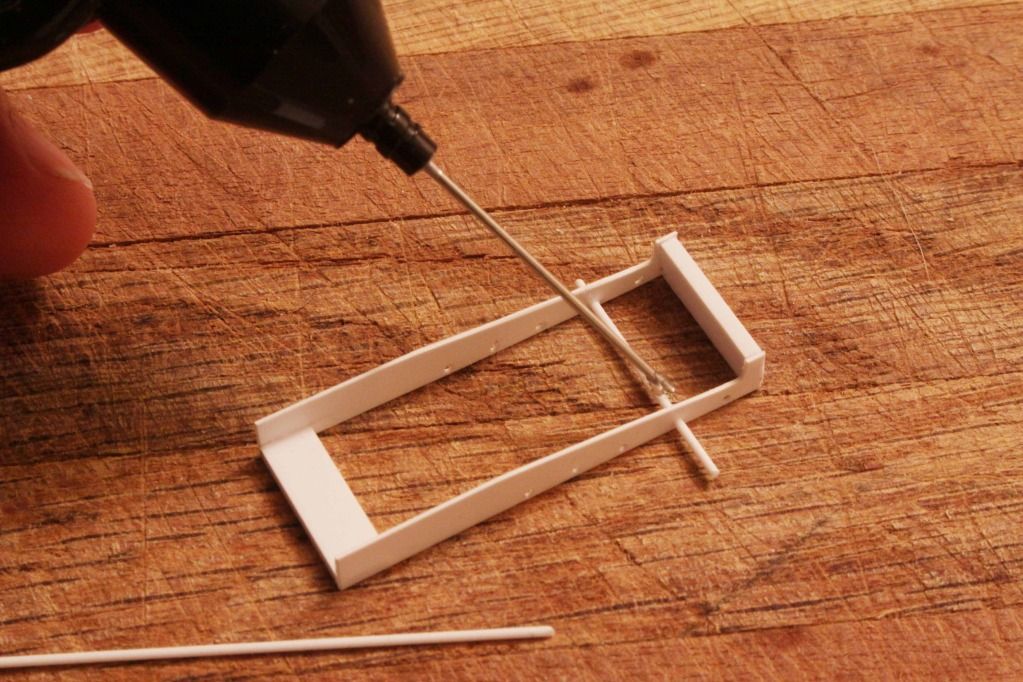
Once dry and firmly set-up trim the ladder rungs just slightly longer the the width of the finished ladder to represent spot welds or bolt heads holding the ladder rungs to the side rails.
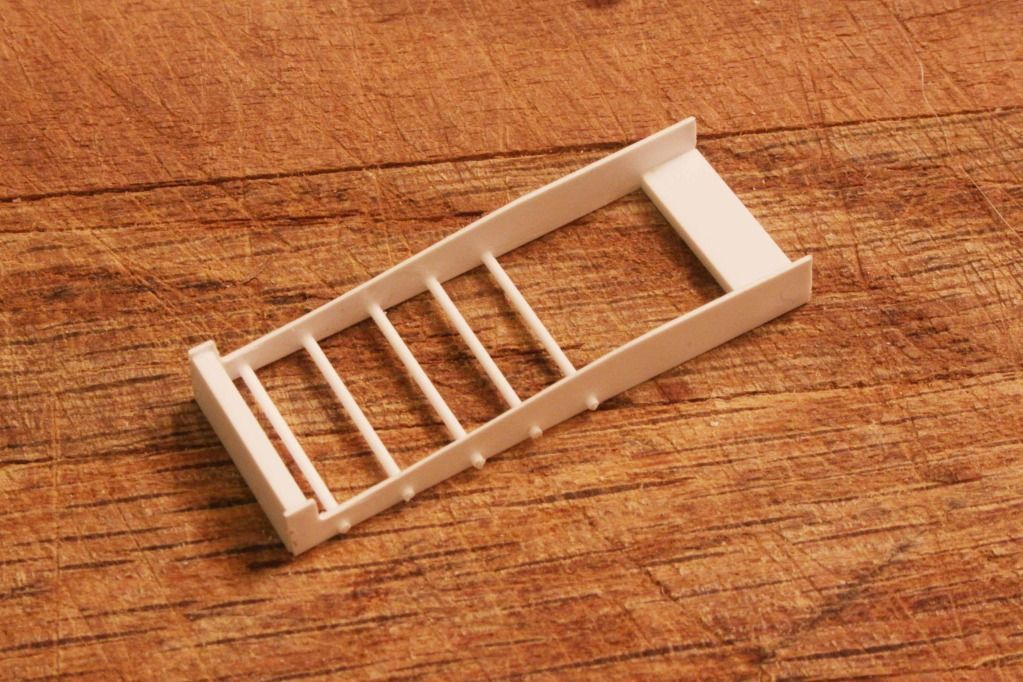
Finally, cut the overall ladder to the desired length.