Posted: Saturday, February 07, 2015 - 08:12 PM UTC
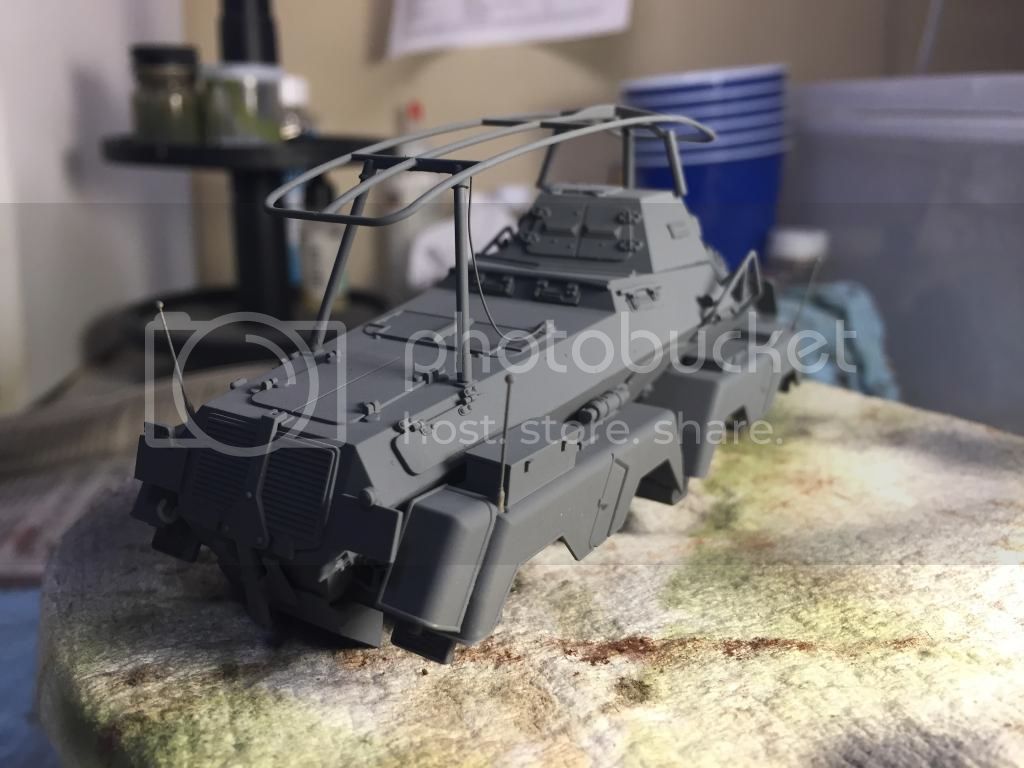
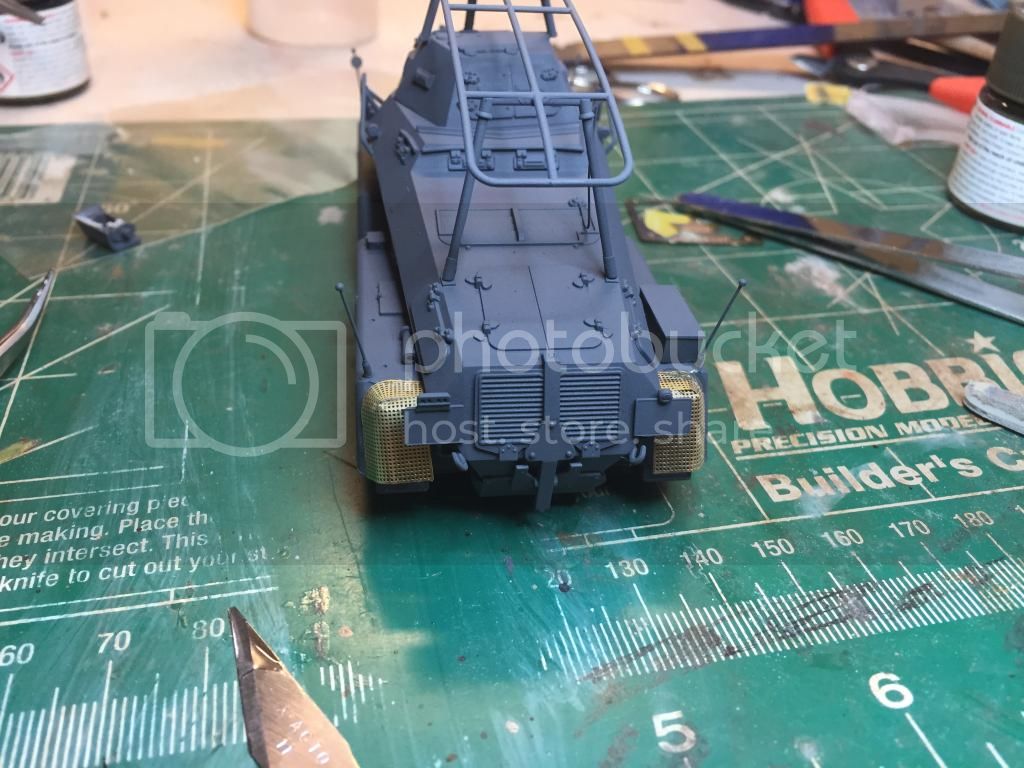
I'm currently engaged in building up Tamiya's 1/48 Sd.Kfz. 232. I've always thought this was a neat looking vehicle and was glad to receive it as a Christmas present. Construction was quick and typical Tamiya. Only minor filling was required in a couple spots where the upper and lower hull sections joined. I added brass width indicators and a MG 34 barrel from Aber, as well as wiring for the radio antenna. Other than these additions it is build OOB. The model is primed and ready to paint. Matt
BornToDig
Maryland, United States Joined: December 25, 2002
KitMaker: 345 posts
Armorama: 311 posts
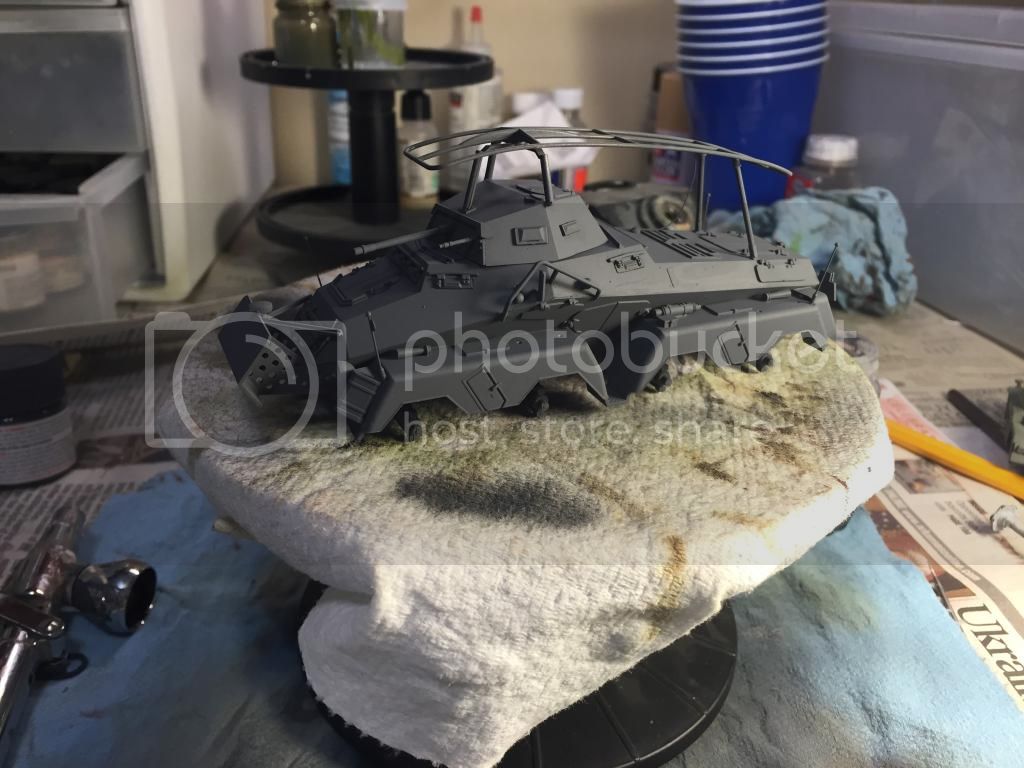
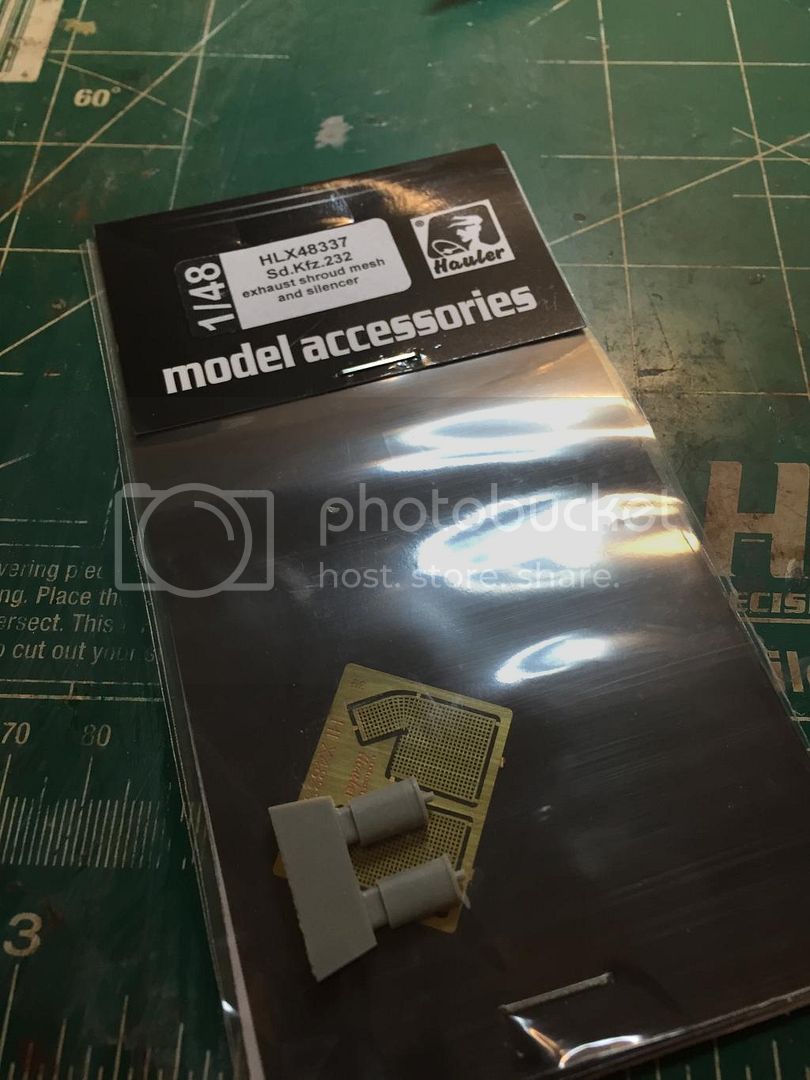
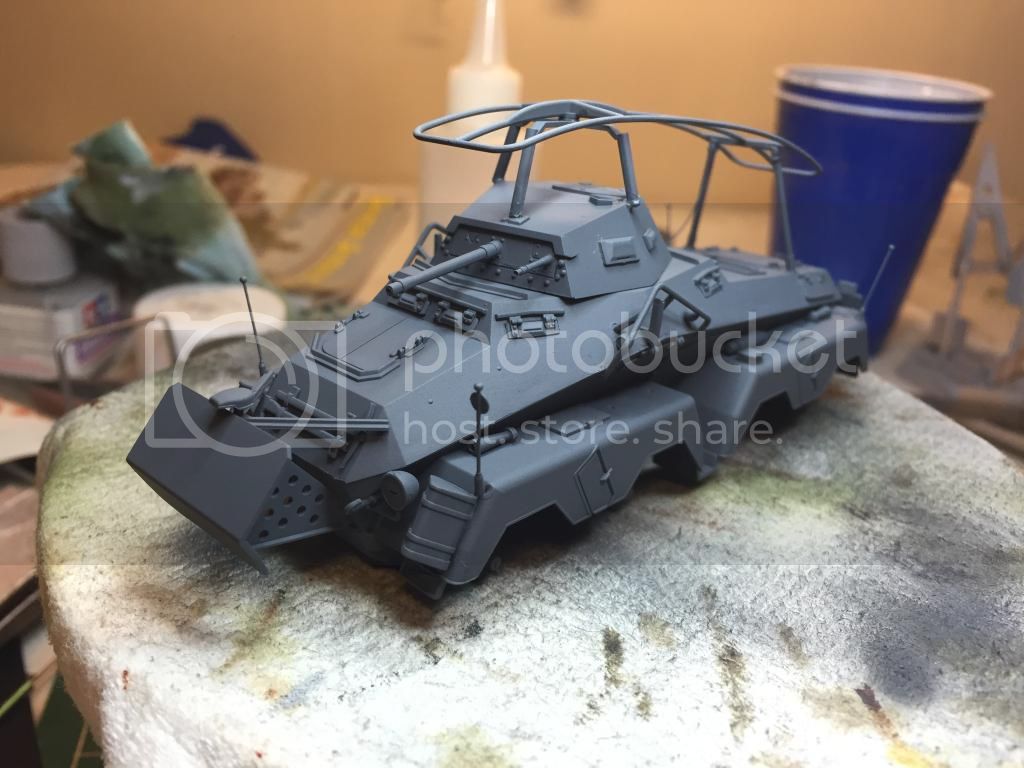
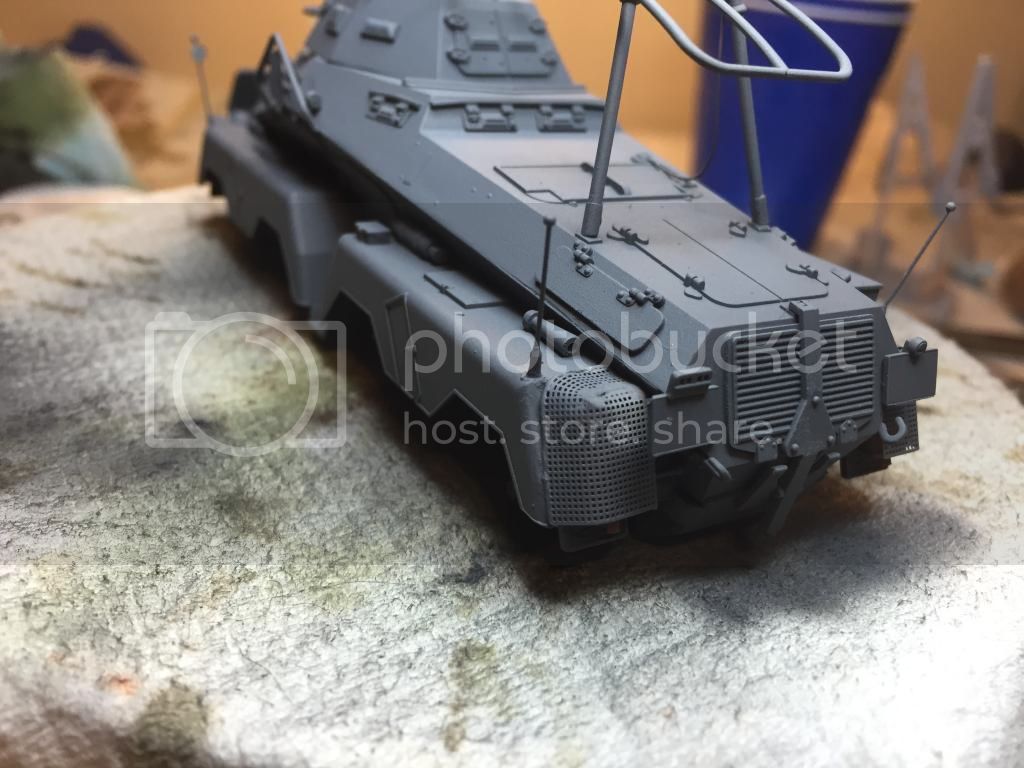
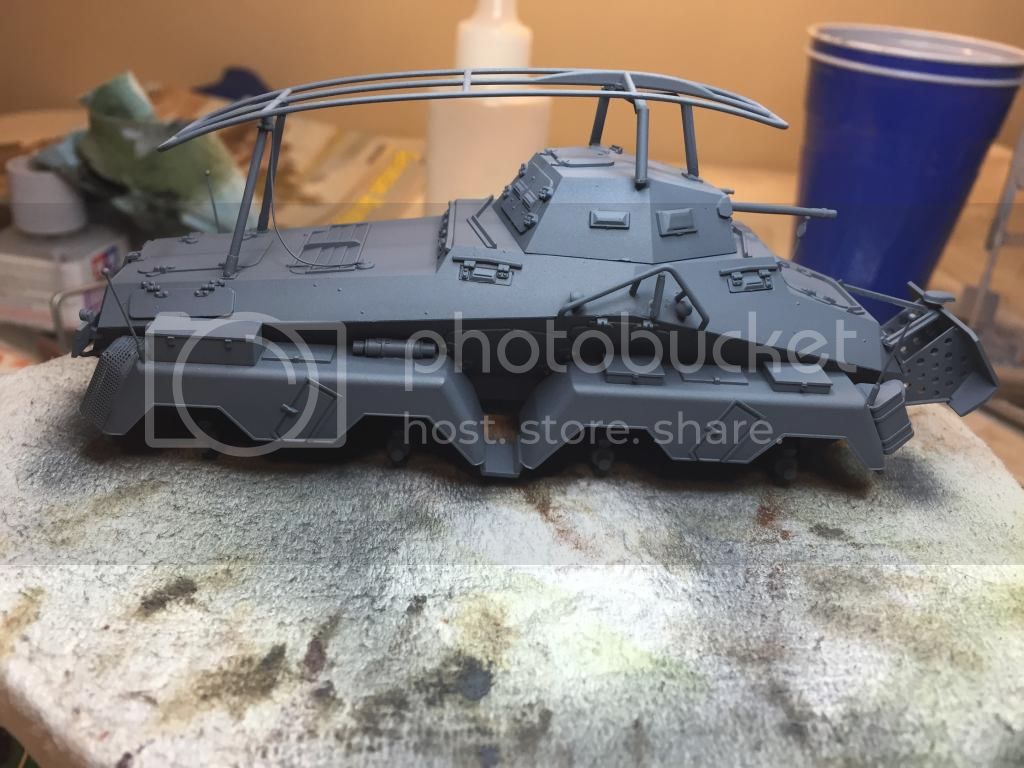
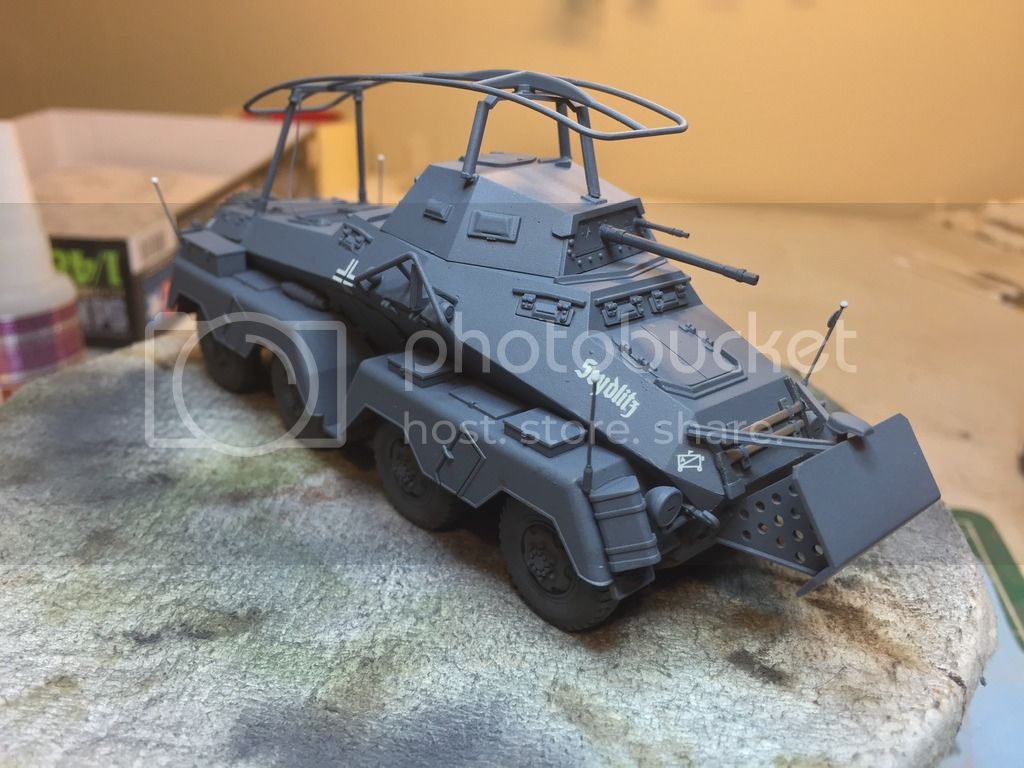
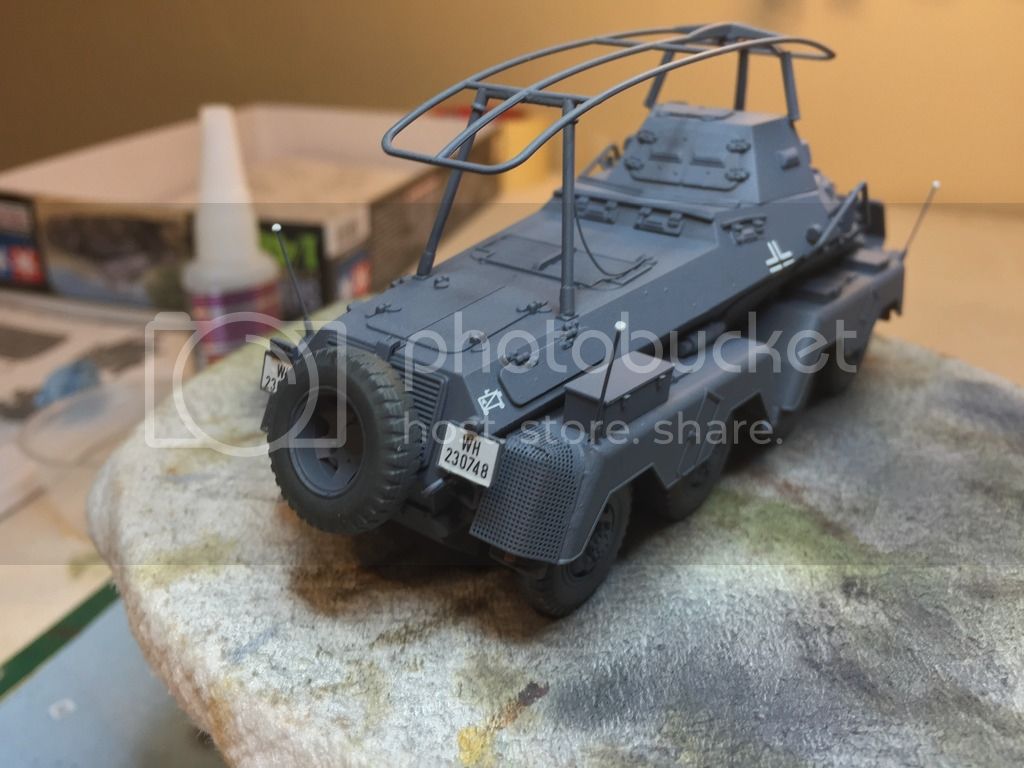
I took some advise from the track48 forum and replaced the kit muffler and exhaust shield with Hauler's PE and resin exhaust set. Definitely a better look I think. I had a moment of terror while instaling the sheilds as I dropped the model and it bounced off my desk and fell a couple feet to the floor. All but one of the antenna mounts snaped, three of the width indicators bent, and one came off. Luckily the breaks were clean and the width indicators could be bent back into palce. I've got everything patched up and painted and you really can't tell that it fell. Base painting is now complete and once I weather the under carriage I'll add the wheels and move on to decaling and detailing.
AFVFan
North Carolina, United States Joined: May 17, 2012
KitMaker: 1,980 posts
Armorama: 1,571 posts
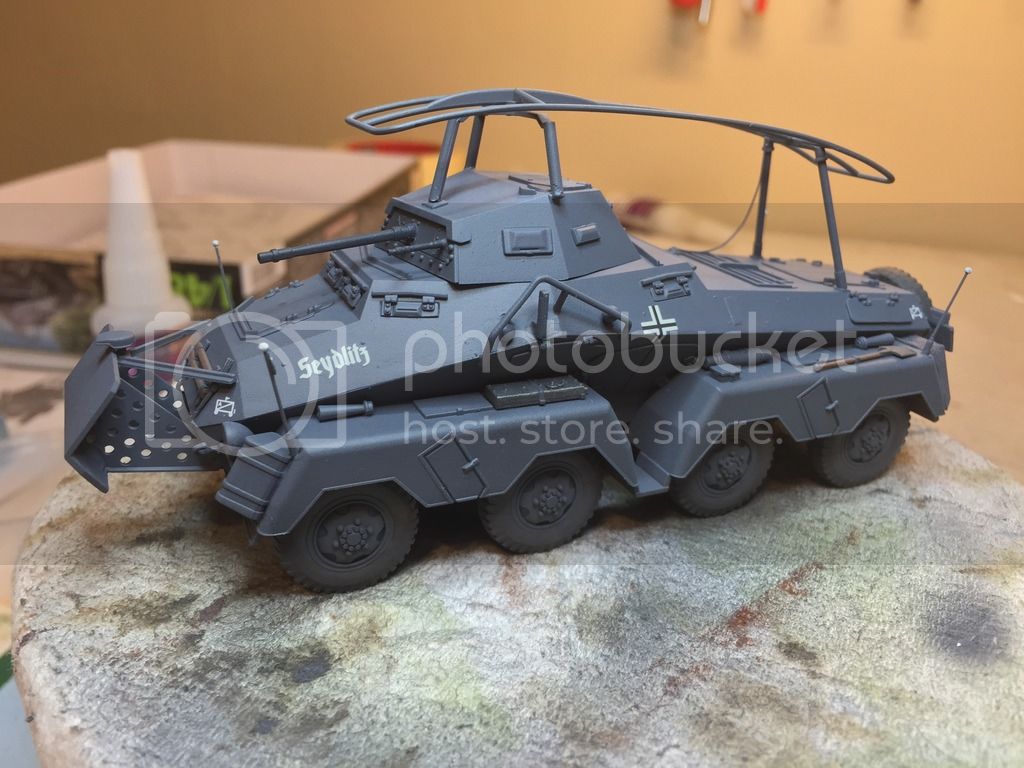
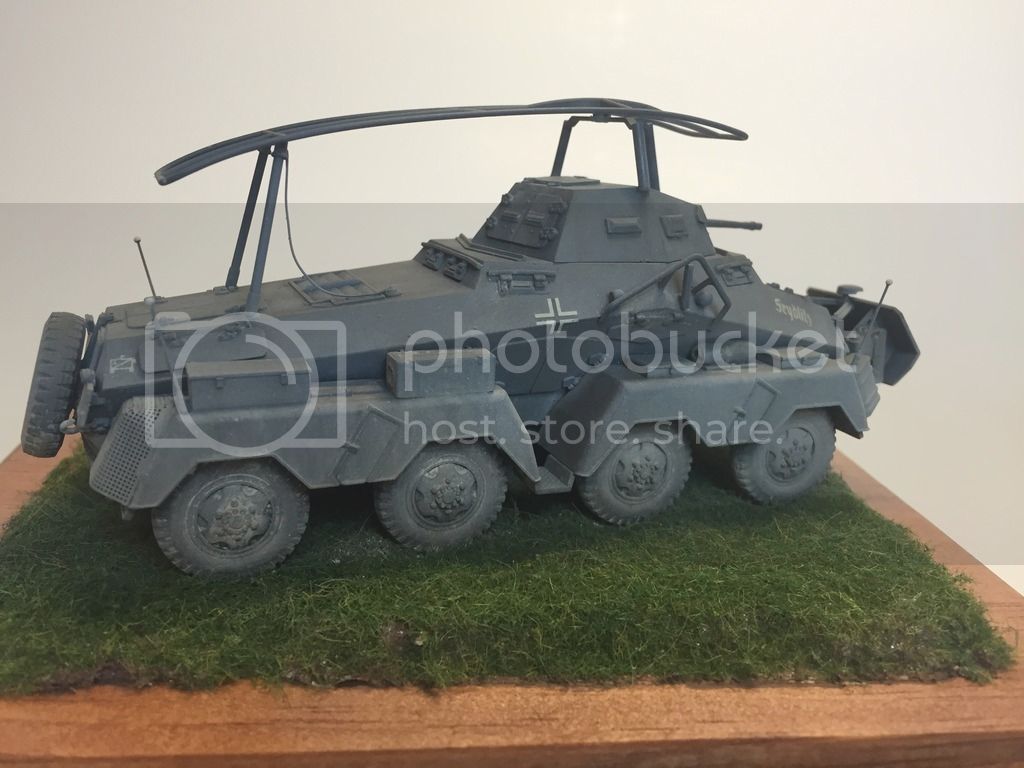
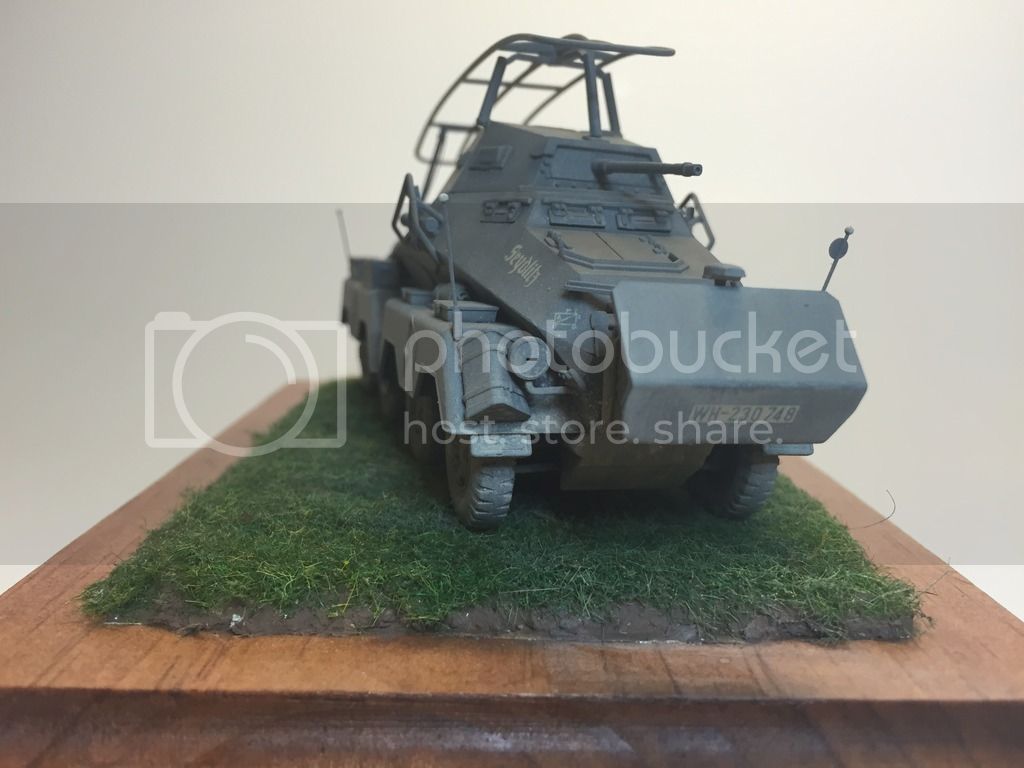
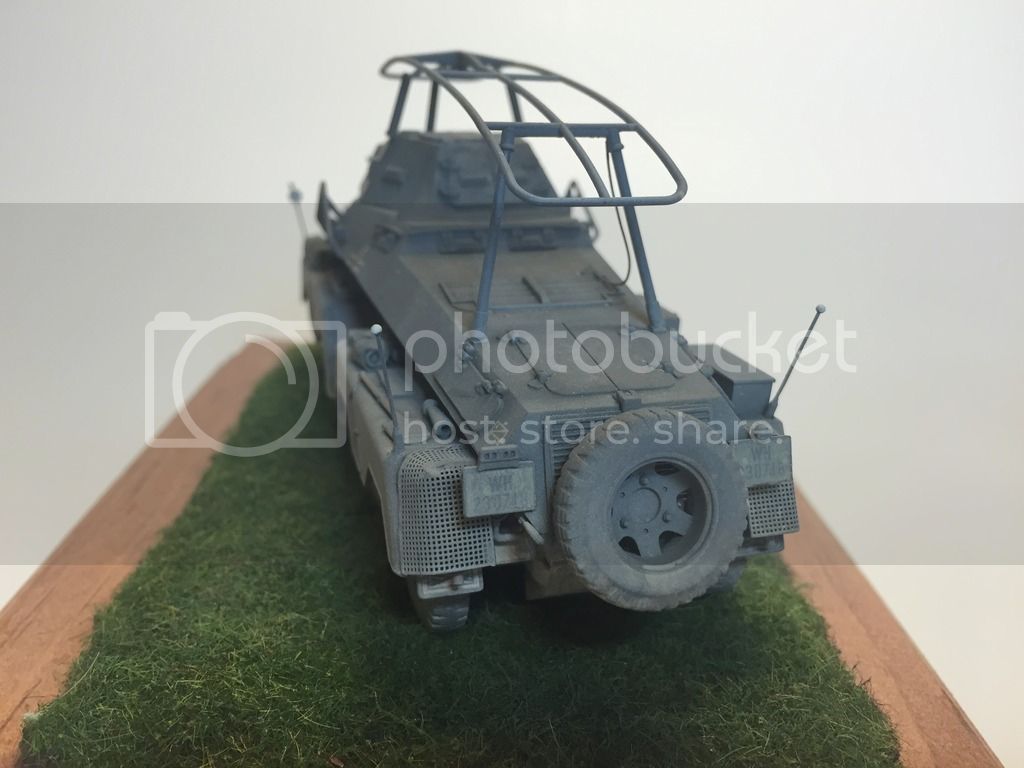
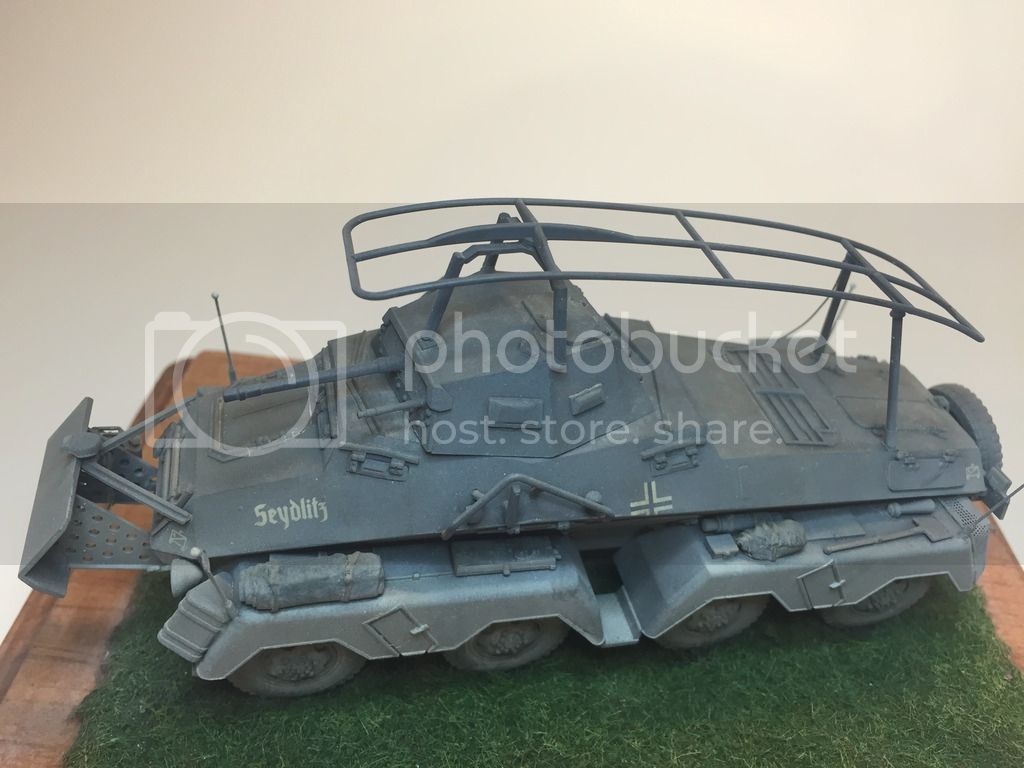
The 232 is coming along. Assembly is complete, the undercarriage is weathered (not pictured), and the decals are applied. Now it is time for my favorite part; weathering.
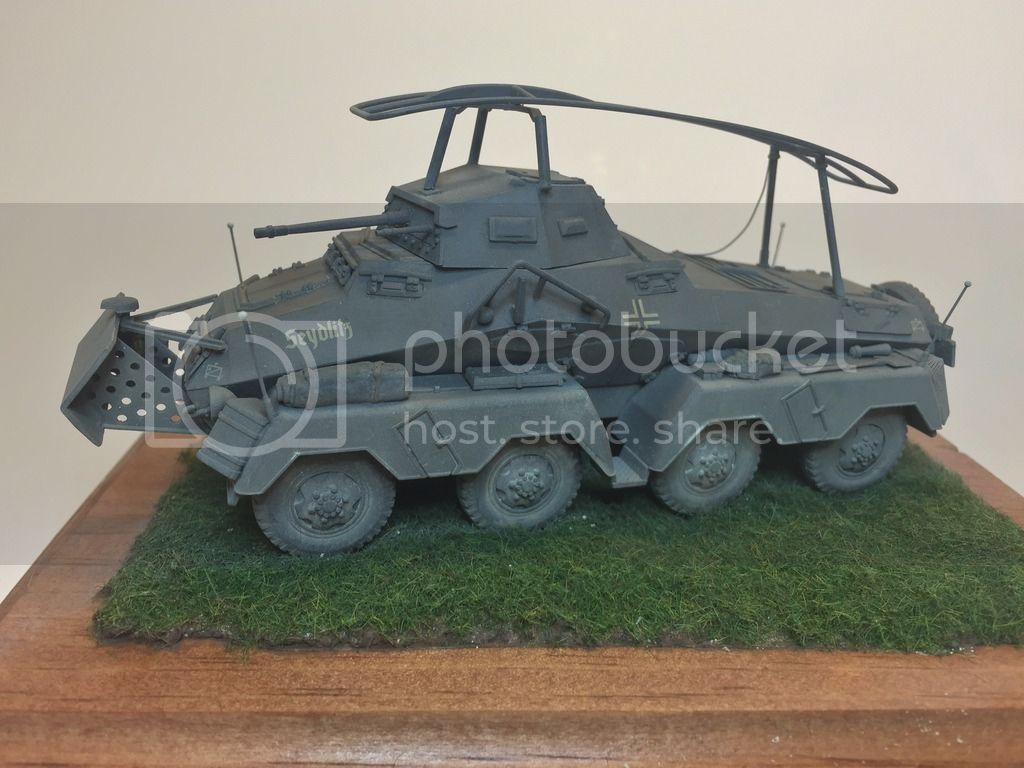
I completed my Sd.Kfz. 232 last night. Weathering was a challenge to me as I had to adapt my technique to such a dark colored vehicle. A lot of my weathering just seemed to disappear into the paint. I applied an filter of heavily thinned Tamiya buff to lighten the model some and prepare it for dusting. When it came time to apply the dust and dirt effects I used tips from an excellent article by Carlos Cuesta from The Weathering Magazine: Dust, Dirt, and Earth. The article is called "Panzer Grey and Dust" and was exactly what I needed to get the effect I wanted on this model. I am pretty happy with how it turned out.