Michigan, United States
Joined: July 05, 2006
KitMaker: 112 posts
Armorama: 106 posts
Posted: Saturday, February 28, 2015 - 11:35 PM UTC
New York, United States
Joined: January 21, 2008
KitMaker: 2,531 posts
Armorama: 859 posts
Posted: Sunday, March 01, 2015 - 12:02 AM UTC
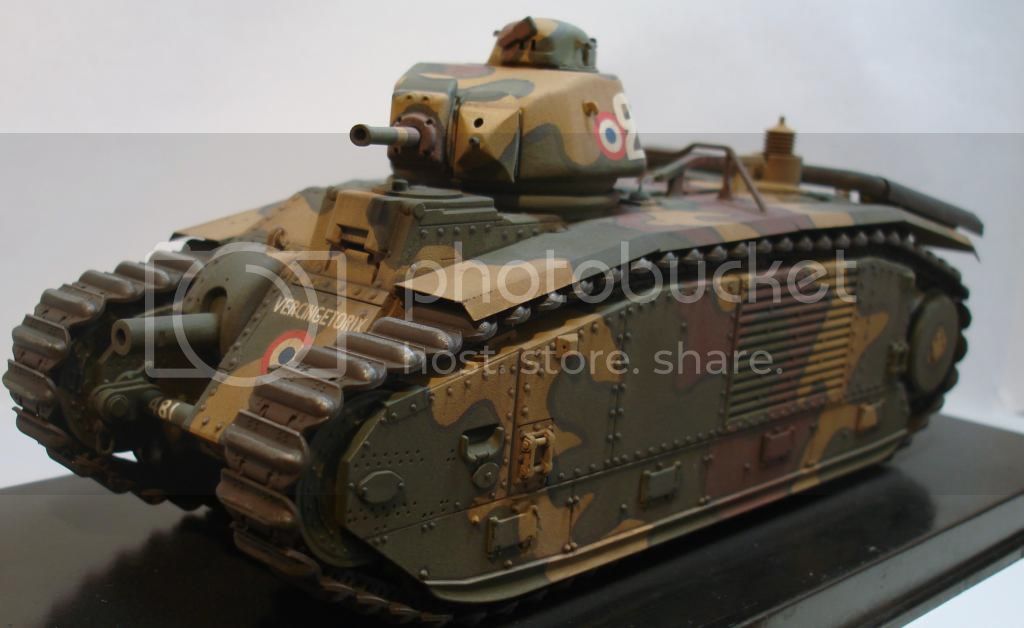
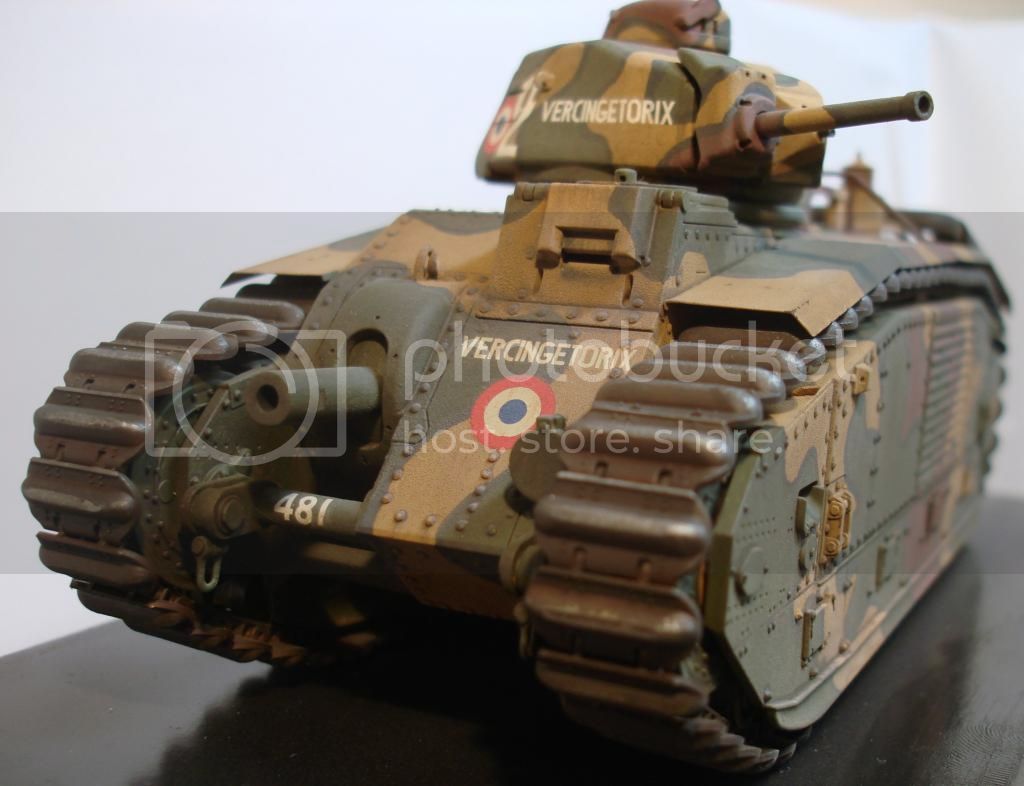
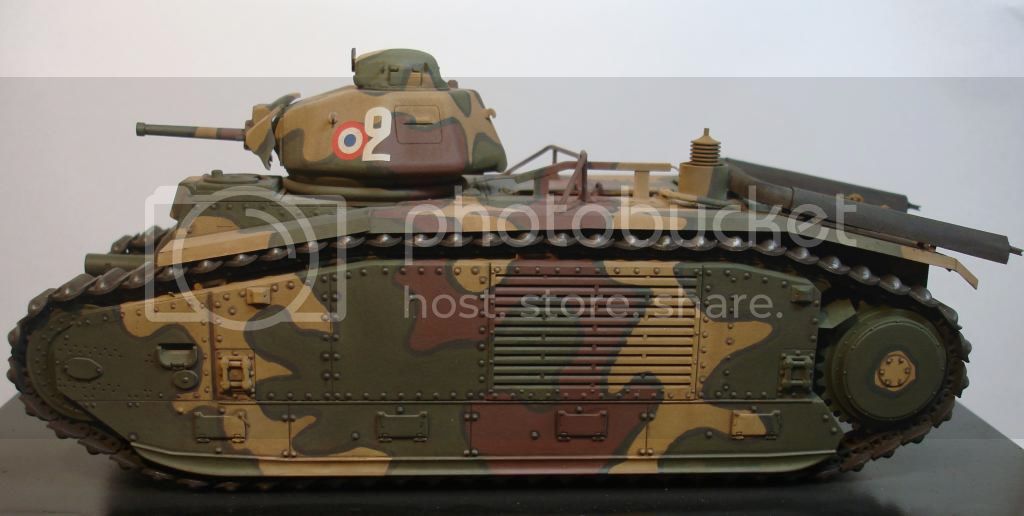
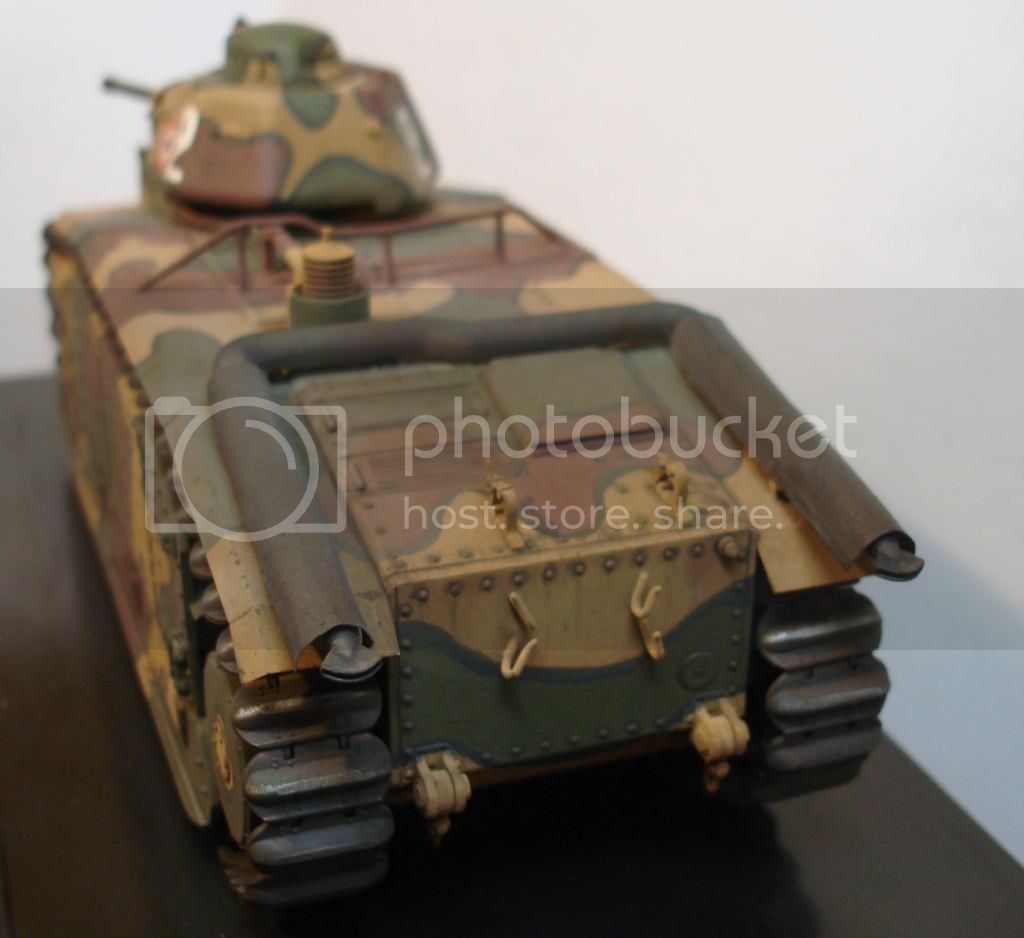
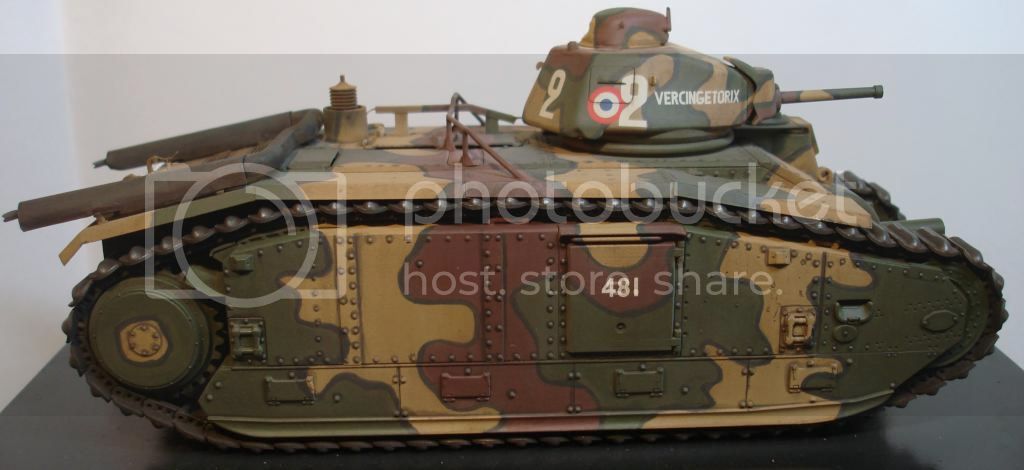
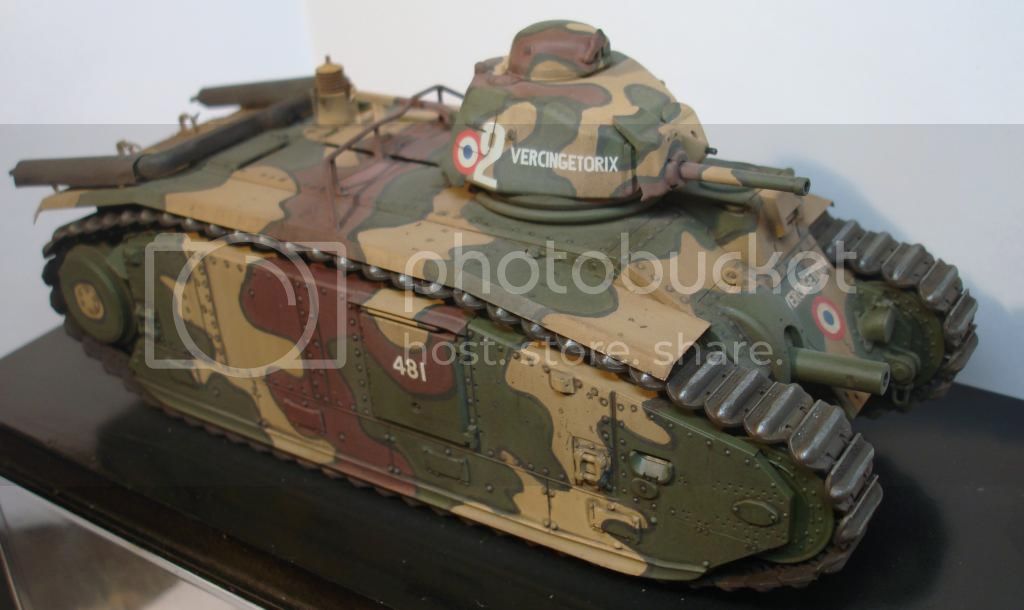
Very nice, the camo came out great.

Al
JPTRR
 Managing Editor
#051
Tennessee, United States
Joined: December 21, 2002
KitMaker: 7,772 posts
Armorama: 2,447 posts
Posted: Sunday, March 01, 2015 - 12:29 AM UTC
Josh,
Excellent Char bis! Love the understated yet effective weathering. Looks like a flawless build, too.
If they demand your loyalty, give them integrity; if they demand integrity, give them your loyalty.--Col John Boyd, USAF
“Any plan where you lose your hat is a bad plan.”
North Carolina, United States
Joined: May 17, 2012
KitMaker: 1,980 posts
Armorama: 1,571 posts
Posted: Sunday, March 01, 2015 - 04:34 AM UTC
Glad you created the thread Josh. This is a build that deserves recognition. I'm with Al on the camo job.
Iowa, United States
Joined: May 12, 2014
KitMaker: 542 posts
Armorama: 539 posts
Posted: Sunday, March 01, 2015 - 04:39 AM UTC
very good; great camo pattern; got this kit in my stash; thanks for the inspiration
Michigan, United States
Joined: July 05, 2006
KitMaker: 112 posts
Armorama: 106 posts
Posted: Sunday, March 01, 2015 - 04:51 AM UTC
Thank you all for the compliments

This kit was a fun change for me as I usually build german armor. I actually have another frenchy on deck, I started on my Hobby Boss Panhard EBR 10.

Massachusetts, United States
Joined: December 02, 2014
KitMaker: 109 posts
Armorama: 97 posts
Posted: Tuesday, March 17, 2015 - 06:01 PM UTC
I'm just finishing up a Heller SOMUA s35 (I now know why it's called the "headache in a box") and, coincidentally, I'm about to turn my attention to a Char B1 bis that I built a few years ago. Ordered up some photo etch from Eduard to upgrade the kit; then I'll repaint it. This is a great looking build that I can use for an example and for motivation. Love the camo scheme.
"I know now that there's no one thing that's true. It's all true."--Hemingway
On the bench:
Hobby Boss T-28
bill_c
 Campaigns Administrator
New Jersey, United States
Joined: January 09, 2008
KitMaker: 10,553 posts
Armorama: 8,109 posts
Posted: Tuesday, March 17, 2015 - 08:49 PM UTC
Gauteng, South Africa
Joined: January 07, 2015
KitMaker: 18 posts
Armorama: 18 posts
Posted: Tuesday, March 17, 2015 - 10:19 PM UTC
Lovely neat paint job.

Stockholm, Sweden
Joined: October 15, 2013
KitMaker: 444 posts
Armorama: 428 posts
Posted: Wednesday, March 18, 2015 - 03:58 AM UTC
Nice job! Is it per reference photos that the scale of the camo is larger on the hull than on the turret?
California, United States
Joined: April 28, 2007
KitMaker: 79 posts
Armorama: 53 posts
Posted: Wednesday, March 18, 2015 - 05:44 AM UTC
Nice job on the camo. I plan on getting the Tamiya Somua S35 and was wondering how you did the thin black demarcation lines so neatly. Did you just use a fine pointed brush or maybe a micro brush?
Michigan, United States
Joined: July 05, 2006
KitMaker: 112 posts
Armorama: 106 posts
Posted: Wednesday, March 18, 2015 - 07:56 AM UTC
I used a small pointed brush. I airbrushed everything in the tan color, then I hand brushed the red brown and green, then finally went over it with the black. I used the Tamiya paints and learned one thing, you have to constantly mix them every minute or so to get a good finish with a paintbrush. I am glad you like the end results, thanks everyone again for the compliments.


 Al
Al


