_GOTOBOTTOM
Armor/AFV: Softskins
Softskins group discussions.
Hosted by Darren Baker
Italeri 15 CWT with Breda 20/65
SiStorey
Visit this Community
England - North East, United Kingdom
Joined: March 14, 2014
KitMaker: 242 posts
Armorama: 161 posts
Posted: Friday, August 07, 2015 - 12:51 PM UTC
Hi everyone, trying to get through as many models as I can as I have far to many and have started on this little softskin 15 CWT from Italeri.

It is a lot further forward than this I just have not got the pics uploaded yet. Enjoy!

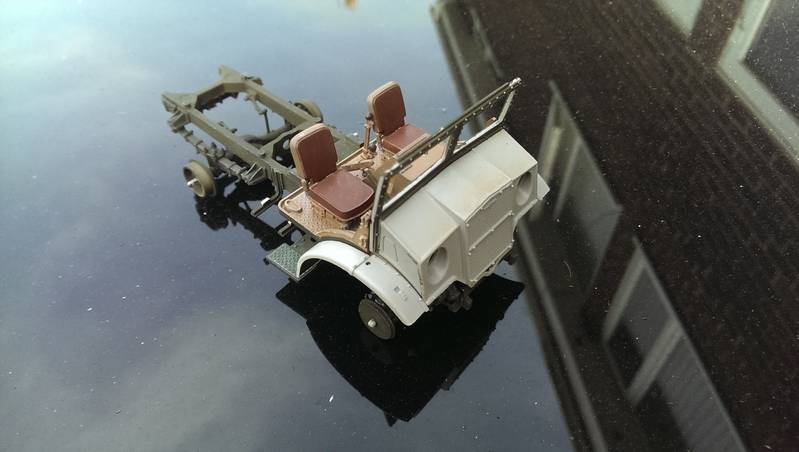
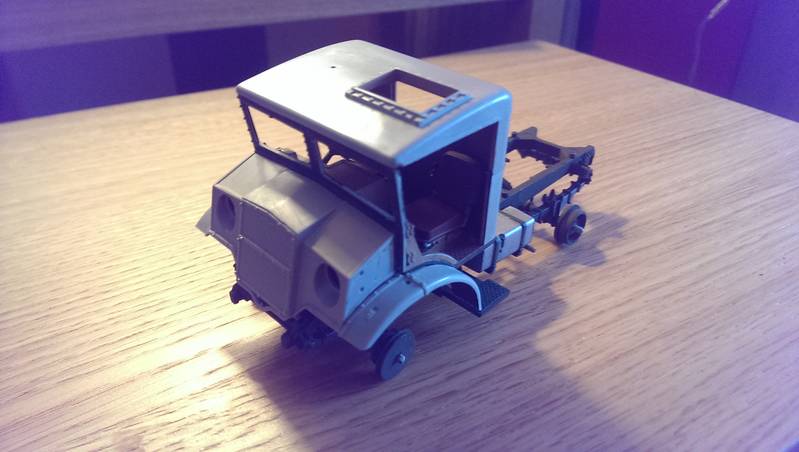
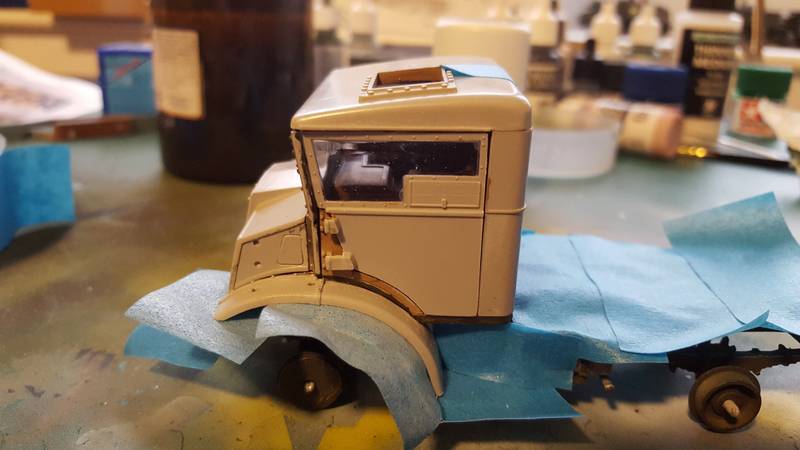
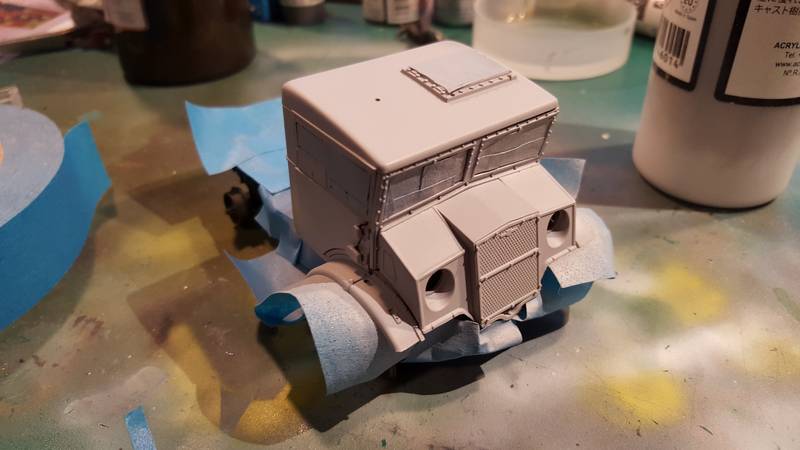
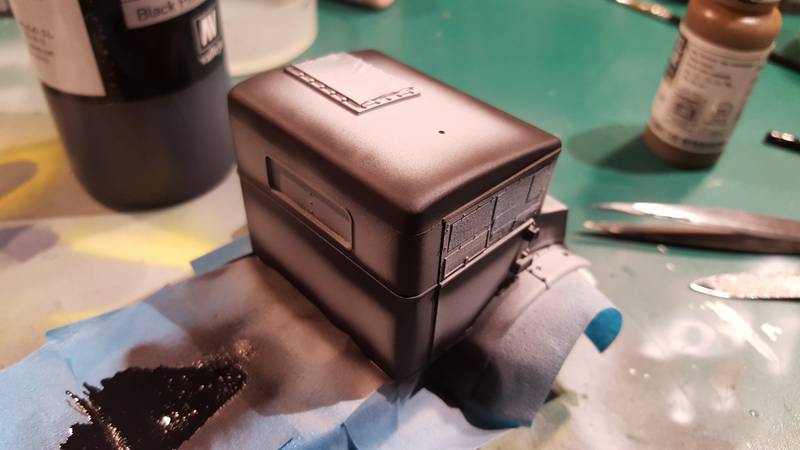
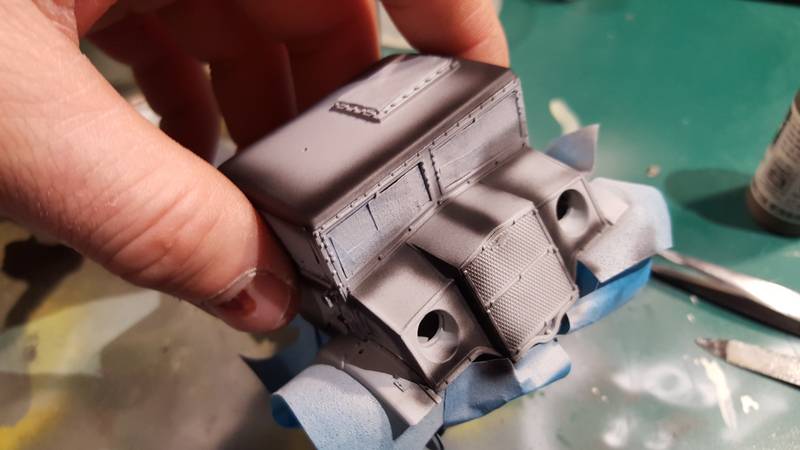
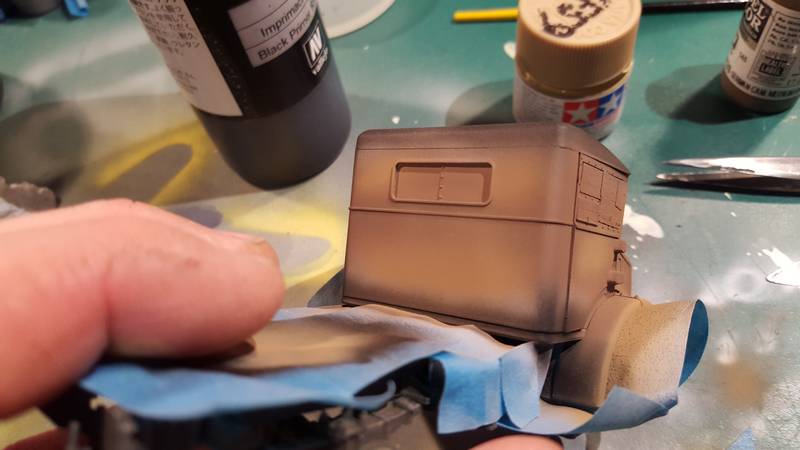
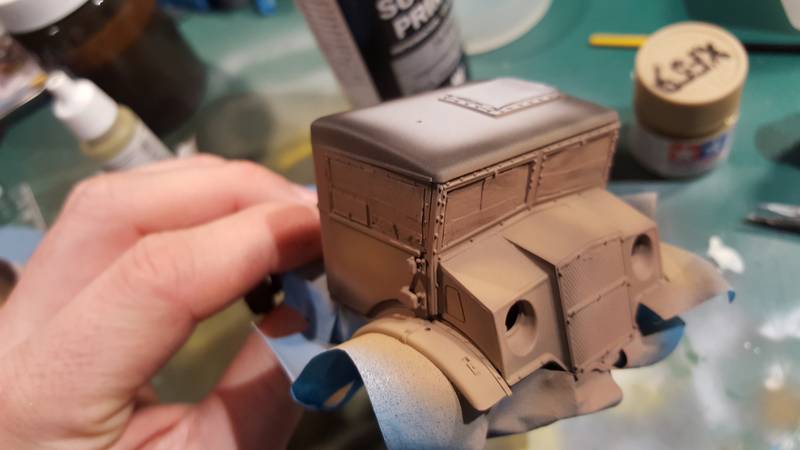
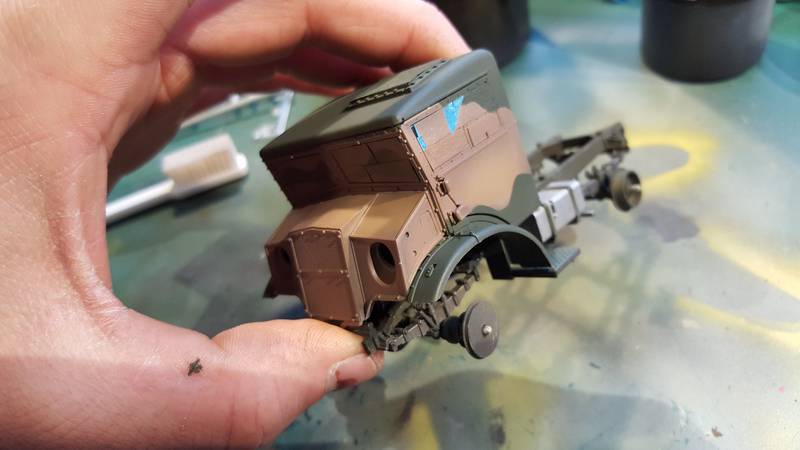
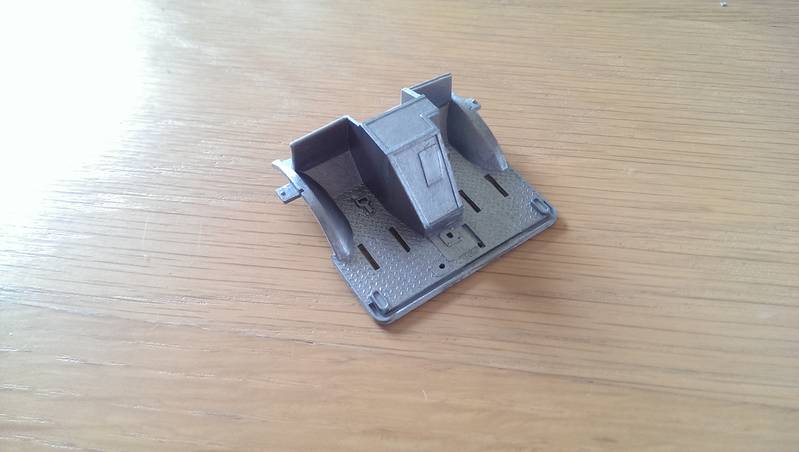
This is the cab compartment being built and painted. Firstly it got a coat of silver as a base coat.


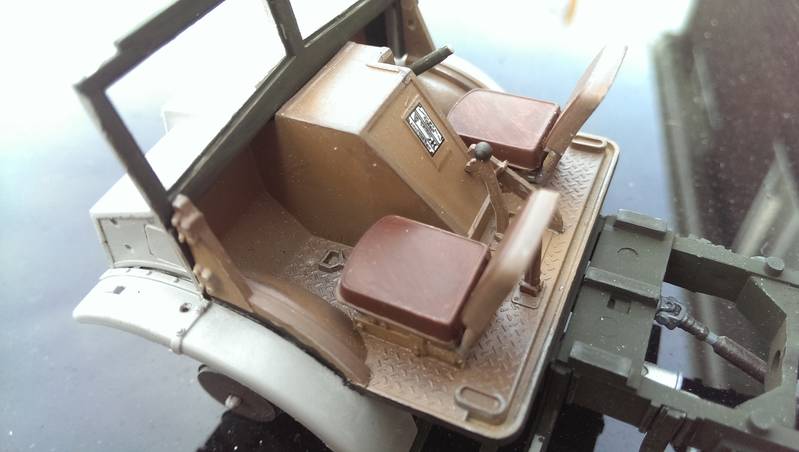
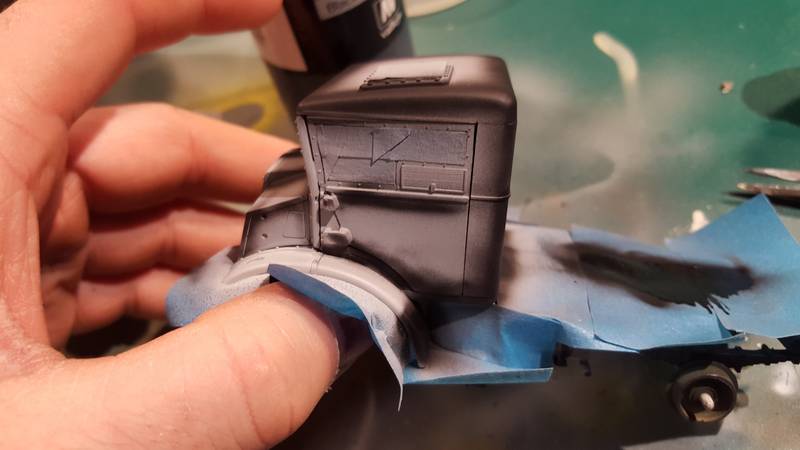
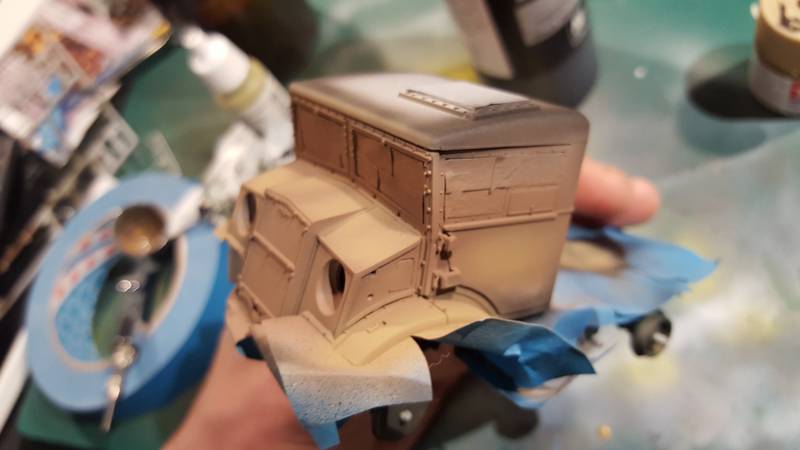
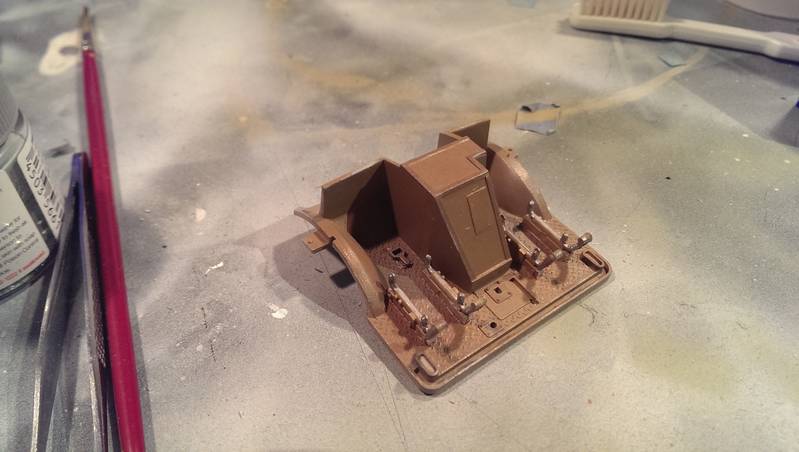
After giving the inside a coat of brown, some dry brushing and detailing it ended up looking like this.


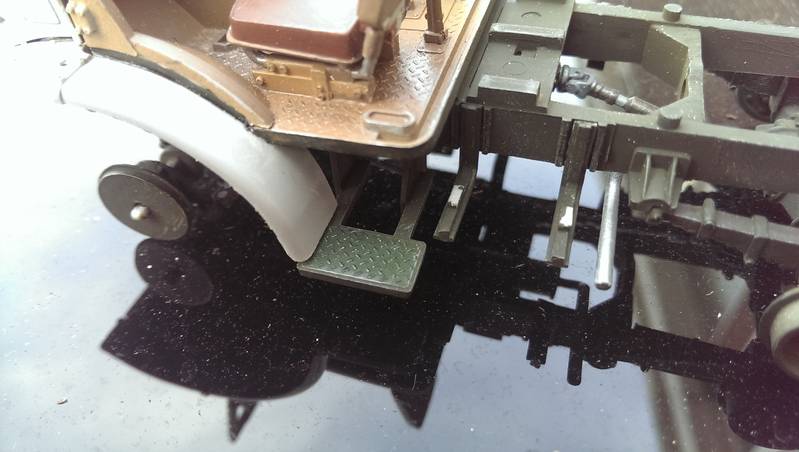
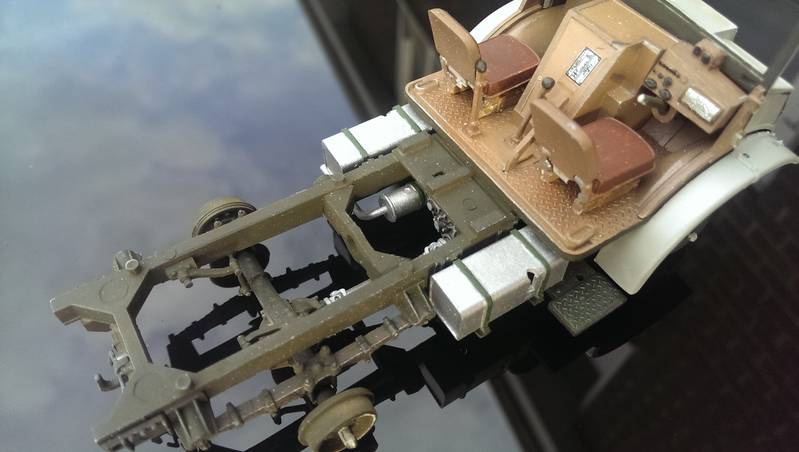
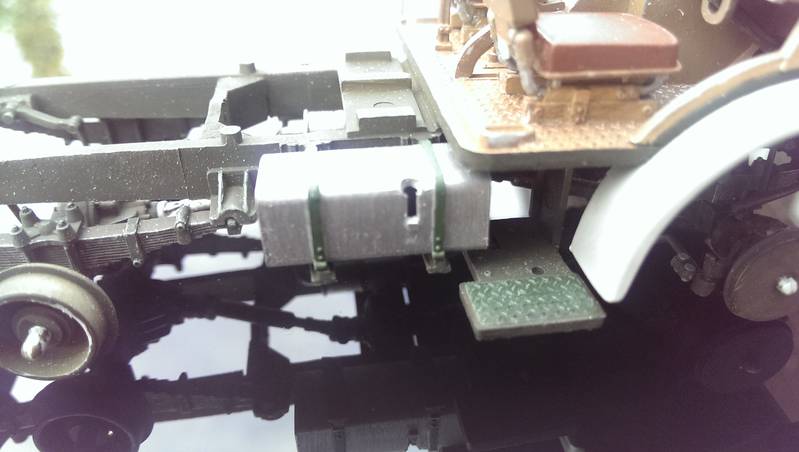
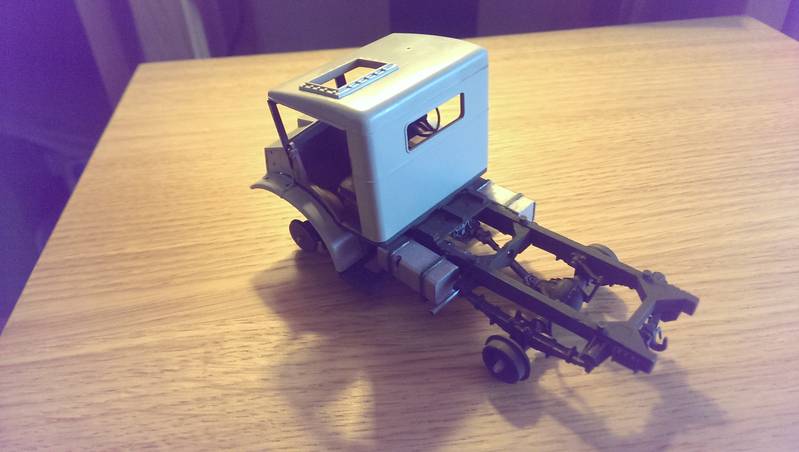
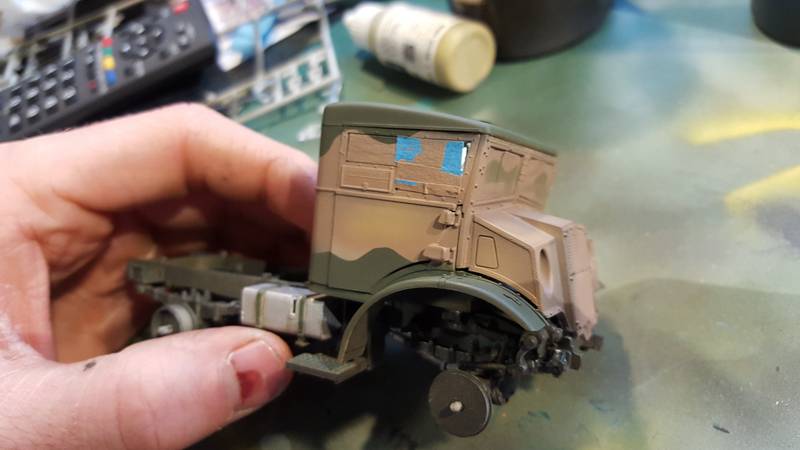
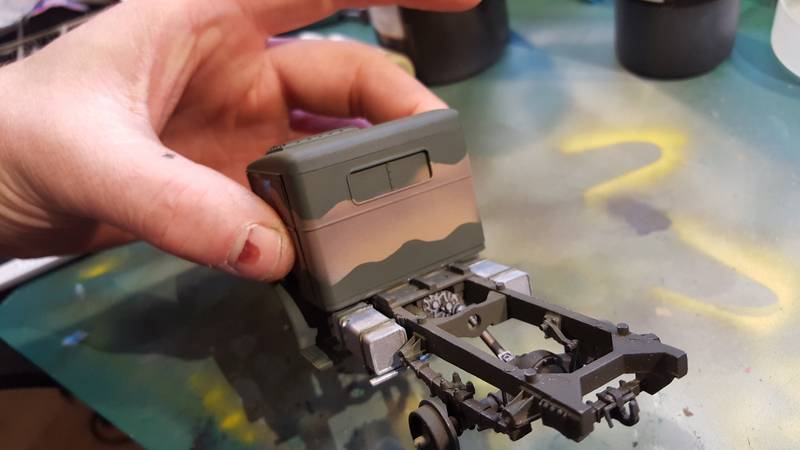
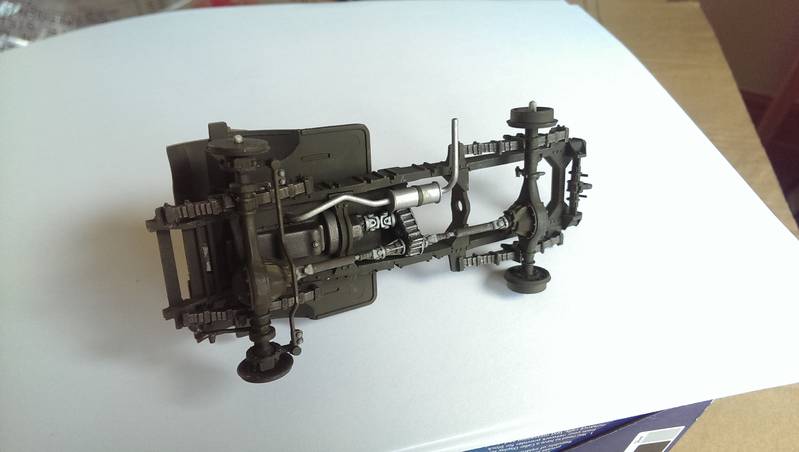
Chassis built and painted.


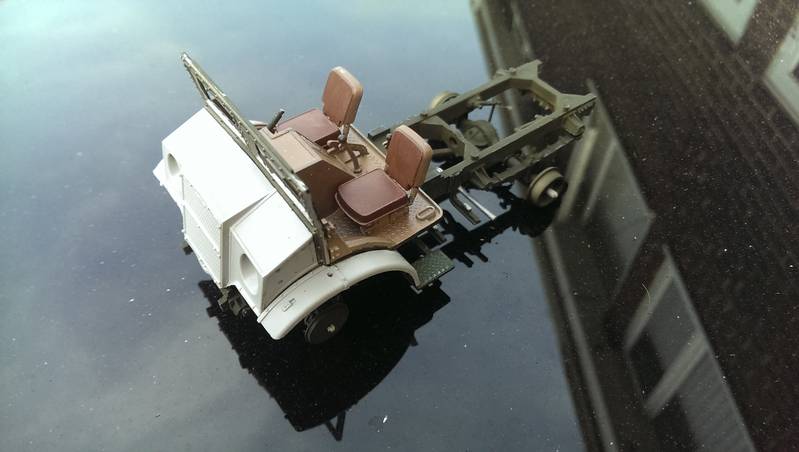
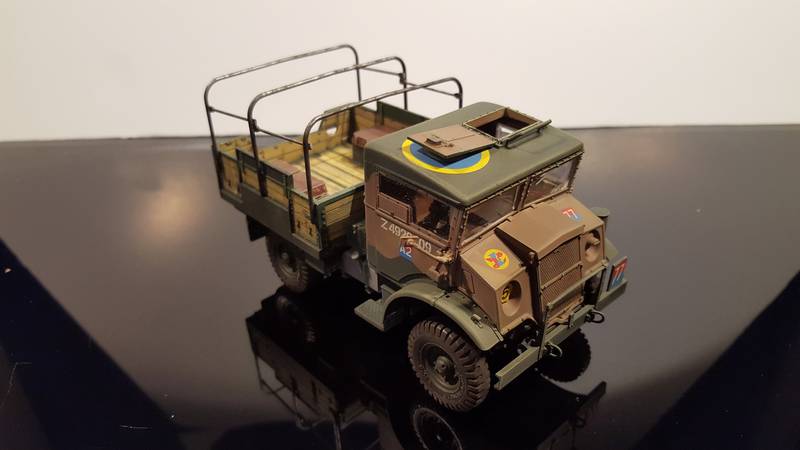
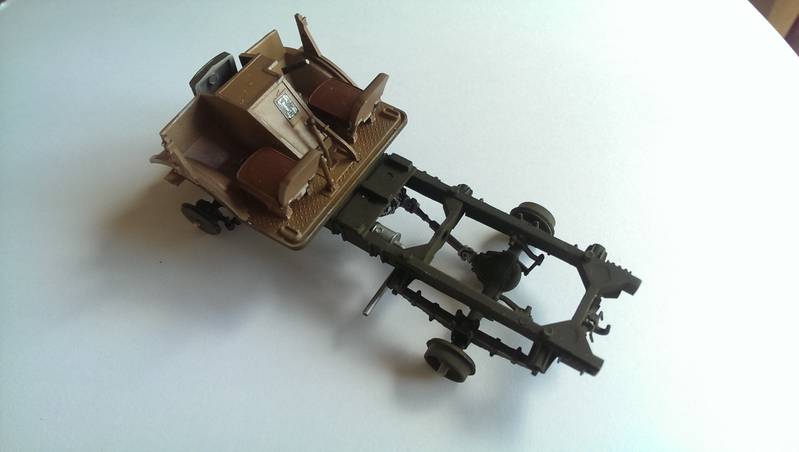
And finally the marriage of the cab and chassis.


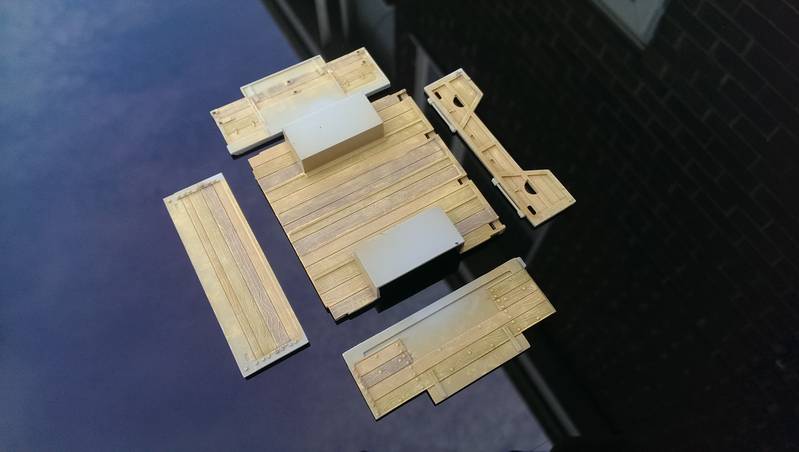
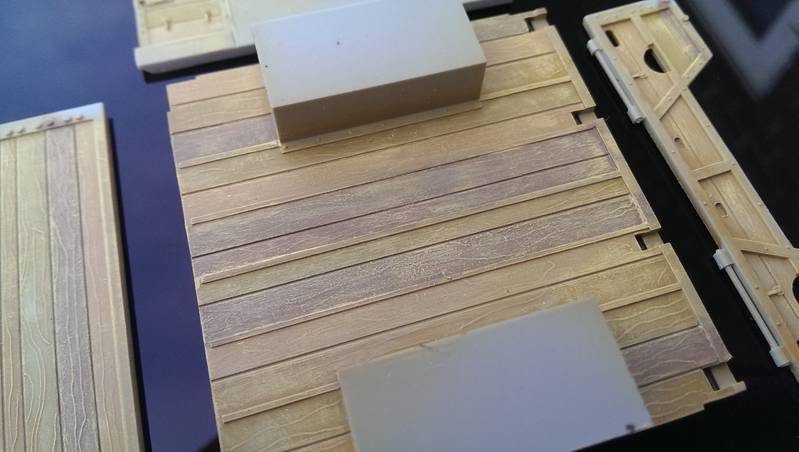
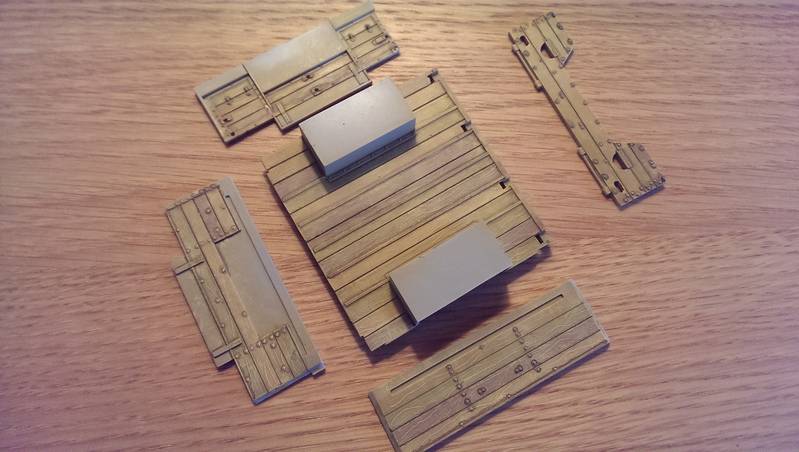
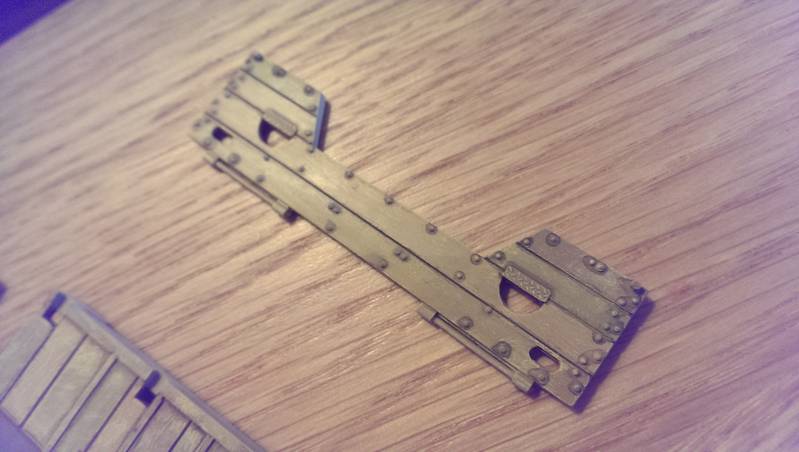
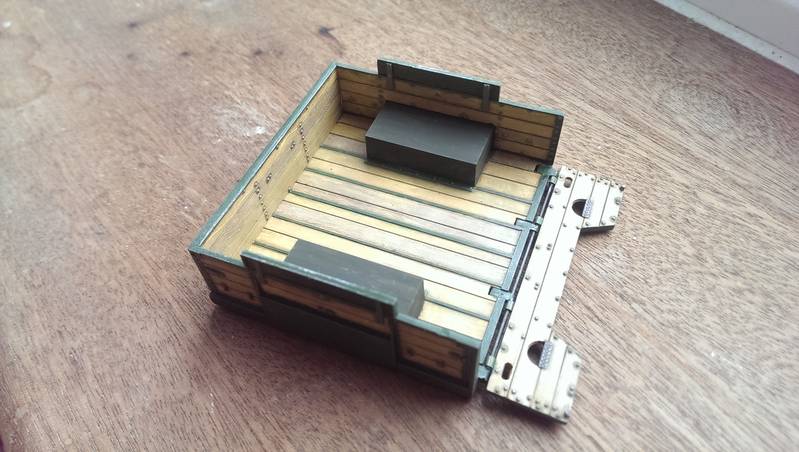
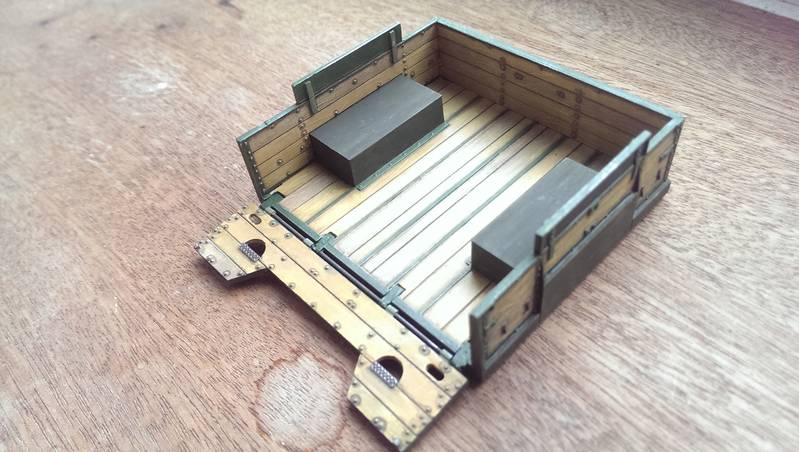
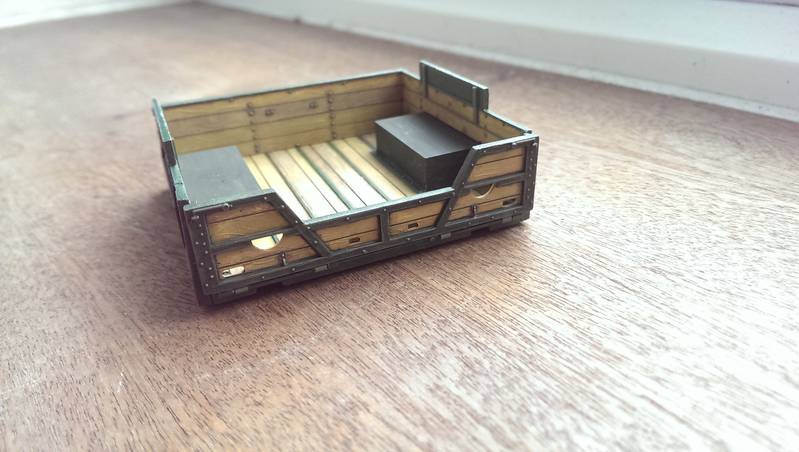
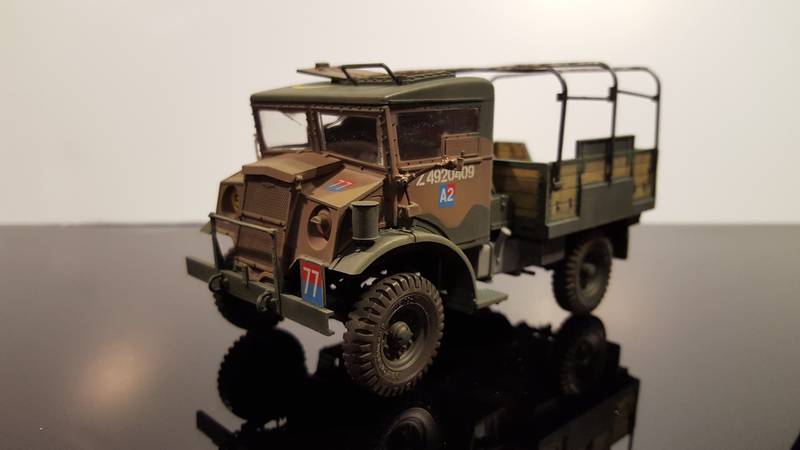
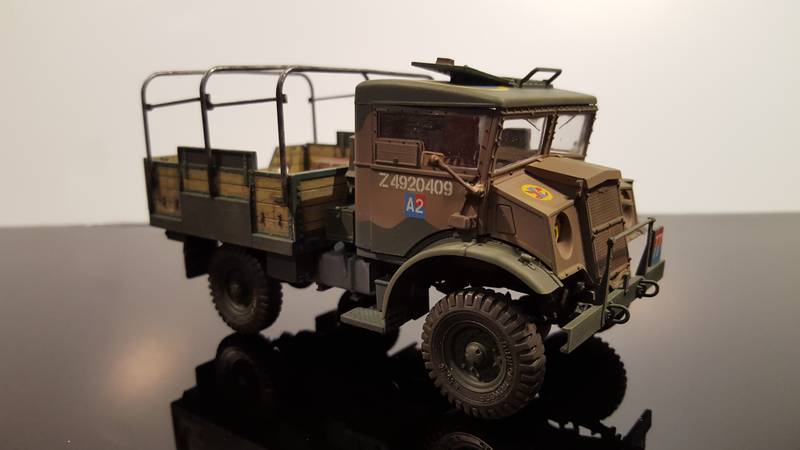
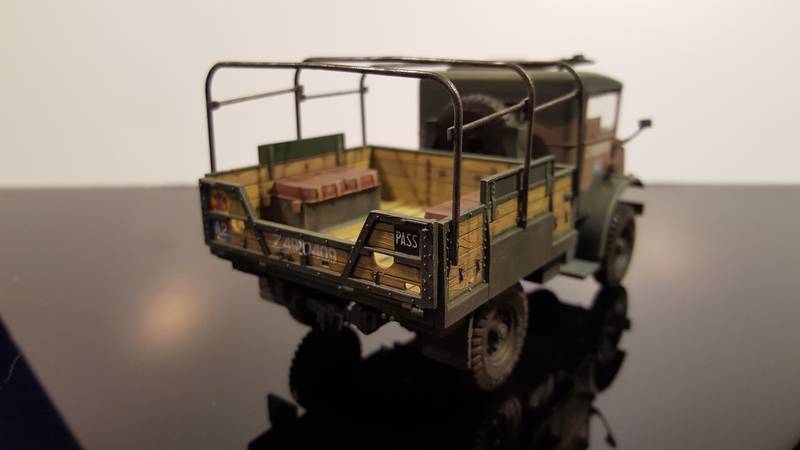
I have starter the read of the truck, painting all the wood but need to upload the pics. Will do that soon I will.

Cheers
Kilo_Uniform
Visit this Community
Gauteng, South Africa
Joined: July 03, 2015
KitMaker: 280 posts
Armorama: 135 posts
Posted: Friday, August 07, 2015 - 01:59 PM UTC
Looking good Si

This kit is on my wish-list so I will be following your build closely.

Kobus
SiStorey
Visit this Community
England - North East, United Kingdom
Joined: March 14, 2014
KitMaker: 242 posts
Armorama: 161 posts
Posted: Friday, August 07, 2015 - 06:03 PM UTC
Hi Kobus, thanks for you interest.

The models not bad, detailing's pretty good to be honest, the wood effect on the load compartment has been made some the grain comes out of the wood rather than the other inwards like actual wood but bar that its good. Just lots of edge sanding which is a pain.

More pics to follow soon.

Si
SiStorey
Visit this Community
England - North East, United Kingdom
Joined: March 14, 2014
KitMaker: 242 posts
Armorama: 161 posts
Posted: Wednesday, August 12, 2015 - 10:40 PM UTC
Hi everyone, well after a bit of luck with a change of job I have a lot more time to do what I want, so the CWT is getting a lot of attention now.

Today's progress consisted of getting the cab stuck together and some of the under parts like fuel tanks etc.

Firstly I added the mud guards and the front of the cab, nothings painted yet bar the inside but that's tomorrows job.


Did a little detailing with a pencil on the steps and inside the cab to make it look a little more worn.


I've also done the wood on the back loading compartment. Woods not my strong suit so if anyone knows of anything else I could do to make it look more realistic just let me know.


And finally I added the part built fuel tanks. I know that on the instructions they are painted green but I think I'm going to leave them silver, just make them dusty.


That's all for today. Thanks for viewing!!
bat-213
Visit this Community
Canada
Joined: December 30, 2011
KitMaker: 902 posts
Armorama: 788 posts
Posted: Thursday, August 13, 2015 - 11:17 AM UTC
your kit is looking great.cant wait to see it finished .
Kilo_Uniform
Visit this Community
Gauteng, South Africa
Joined: July 03, 2015
KitMaker: 280 posts
Armorama: 135 posts
Posted: Thursday, August 13, 2015 - 11:50 AM UTC
Nice work Si - taking notes and following closely.

Kobus
SiStorey
Visit this Community
England - North East, United Kingdom
Joined: March 14, 2014
KitMaker: 242 posts
Armorama: 161 posts
Posted: Thursday, August 13, 2015 - 07:11 PM UTC
Hi everyone, thanks for the support. Managed to get some more done today. Put together the roof and rear part of the cab and then spent about 4 hours working on the load compartment.

Firstly I gave the load compartment some weathering effect thing, stuck watered down vallejo black/brown in all the wood slats and around the screws/bolts on the wood.


Whilst that was drying I went about constructing the roof and read part of the cab, adding the steering wheel and giving it a little detailing work.


Once the load compartment was dry I went about painting all the metal work green, using different shades to green so it didn't look flat. Doing that and a dry brushing of light green and silver it gave it a slightly worn look.


Just to add the seats and some other little bits and bobs to it and then its just a good weathering to make it look dirty.

Thanks once again for watching.
SiStorey
Visit this Community
England - North East, United Kingdom
Joined: March 14, 2014
KitMaker: 242 posts
Armorama: 161 posts
Posted: Monday, January 18, 2016 - 10:48 PM UTC
Hi everyone, sorry for the massive delay on putting up new stuff. Got a new phone and have only just worked out how to find the photos on it to pull onto my laptop.

Anyways the CWT is now complete. Took me Bloody long enough but its done!

Hope everyone has enjoyed this build and if there is anything you think I could do to make it better just let me know.

So after the rear was completed I moved on to the cab exterior. Fit was good, could have been better but it fitted so cant really grumble.


After the base coat a bit of shading.


Then the first of the colour coats. An Earthy brown colour.


Then the green for the remained of the camouflage.


I'll Upload the completed photos soon. I need to upload them to my computer.

Cheers
Kilo_Uniform
Visit this Community
Gauteng, South Africa
Joined: July 03, 2015
KitMaker: 280 posts
Armorama: 135 posts
Posted: Tuesday, January 19, 2016 - 10:20 AM UTC
Hi Si

Glad to see that you got the time to finish this model - looking good!

Keep up the good work.

Regards,
Kobus
SiStorey
Visit this Community
England - North East, United Kingdom
Joined: March 14, 2014
KitMaker: 242 posts
Armorama: 161 posts
Posted: Tuesday, January 19, 2016 - 12:38 PM UTC
Hi Kobus, I know, been far to busy but now I'm making time for it.

So here it is, all painted and finished.


Hope everyone has enjoyed.

Cheers
Dangeroo
#023
Visit this Community
Zurich, Switzerland
Joined: March 13, 2009
KitMaker: 2,058 posts
Armorama: 1,656 posts
Posted: Tuesday, January 19, 2016 - 01:08 PM UTC
Nice work Si, especially like the wood. The Breda will be towed I guess (not on the back)?

SiStorey
Visit this Community
England - North East, United Kingdom
Joined: March 14, 2014
KitMaker: 242 posts
Armorama: 161 posts
Posted: Tuesday, January 19, 2016 - 01:24 PM UTC
Well I already made the gun thinking it would fit in the back but it doesn't so I'll just fill the back up with jerry cans and barrels I think. Cheers though for the compliment.
SDavies
Visit this Community
England - South East, United Kingdom
Joined: January 09, 2010
KitMaker: 979 posts
Armorama: 959 posts
Posted: Tuesday, January 19, 2016 - 02:04 PM UTC
Very nice model of a rather odd looking truck !
SiStorey
Visit this Community
England - North East, United Kingdom
Joined: March 14, 2014
KitMaker: 242 posts
Armorama: 161 posts
Posted: Tuesday, January 19, 2016 - 02:17 PM UTC
Thank you Steven, yeah I know what you mean, someone back in the day must have designed it and went hmmm that looks good, even though its so weirdly shaped.

Cheers
bat-213
Visit this Community
Canada
Joined: December 30, 2011
KitMaker: 902 posts
Armorama: 788 posts
Posted: Friday, January 22, 2016 - 11:35 AM UTC
great work on the build. very nice.
SiStorey
Visit this Community
England - North East, United Kingdom
Joined: March 14, 2014
KitMaker: 242 posts
Armorama: 161 posts
Posted: Sunday, January 24, 2016 - 10:09 PM UTC
Thanks Roy
 _GOTOTOP