_GOTOBOTTOM
Armor/AFV: Modern Armor
Modern armor in general.
Hosted by Darren Baker
Quick Leopard 2A6 for you all
chnoone
Visit this Community
Armed Forces Europe, United States
Joined: January 01, 2009
KitMaker: 1,036 posts
Armorama: 1,033 posts
Posted: Wednesday, November 11, 2015 - 11:10 PM UTC
In 2004 the German Army conducted a larger EX in late autumn with all the goodies like LUCHS, GEPARD, MARDER 1A3 etc. and the early Leo 2A6 from PzBat. 64.
Since there is some extensive video coverage available from M&N Pictures (also teaser on Utube) I got stuck with this particular tank having the rubber skirts and a turret number amongst other interesting features like the swapped frontal skirt sections and some scars.
Here's the real thing:


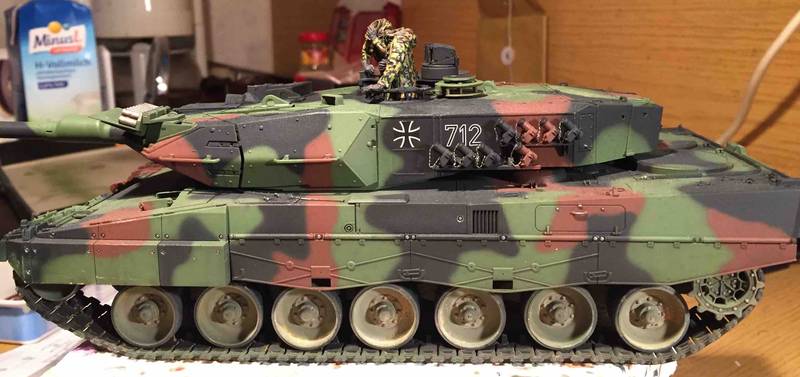
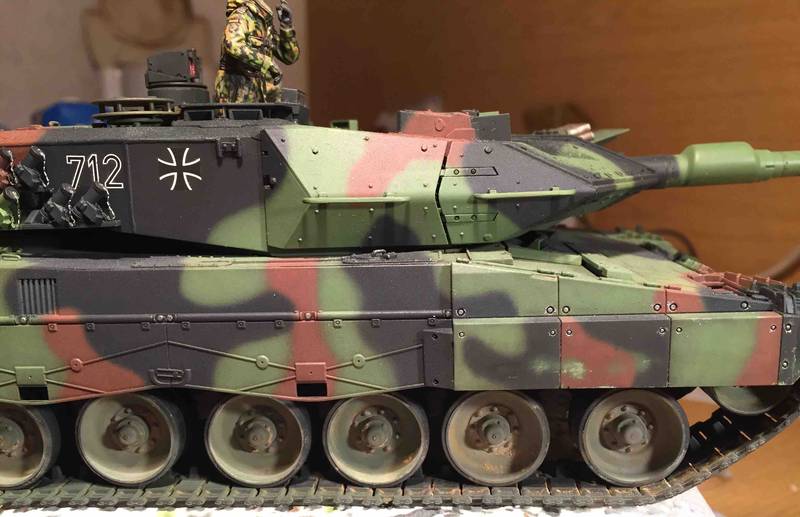
And here the reproduction:


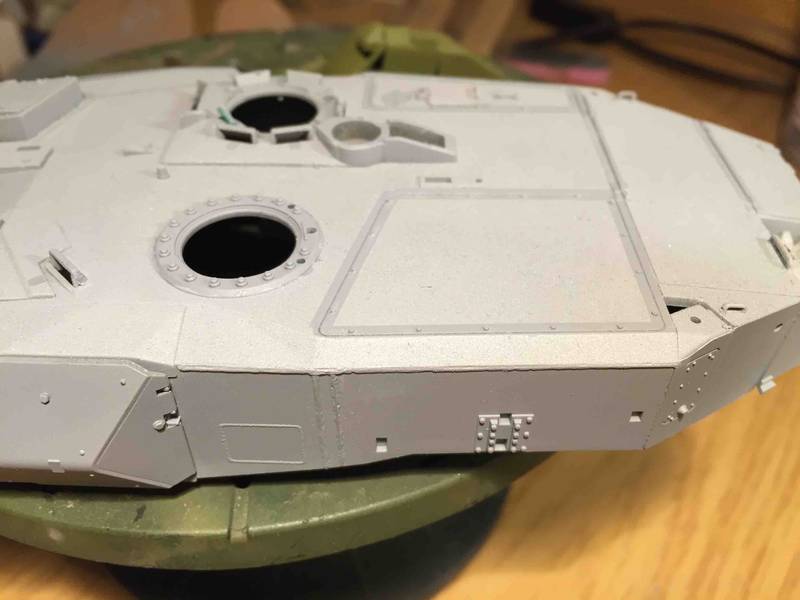
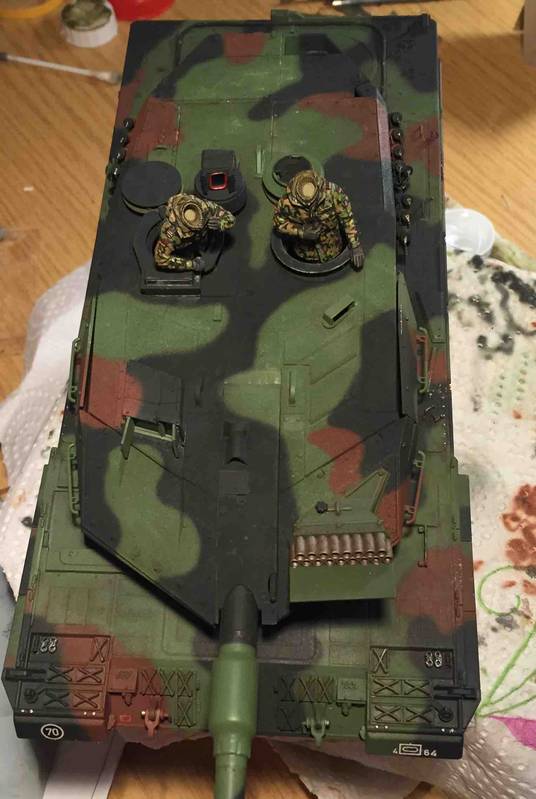
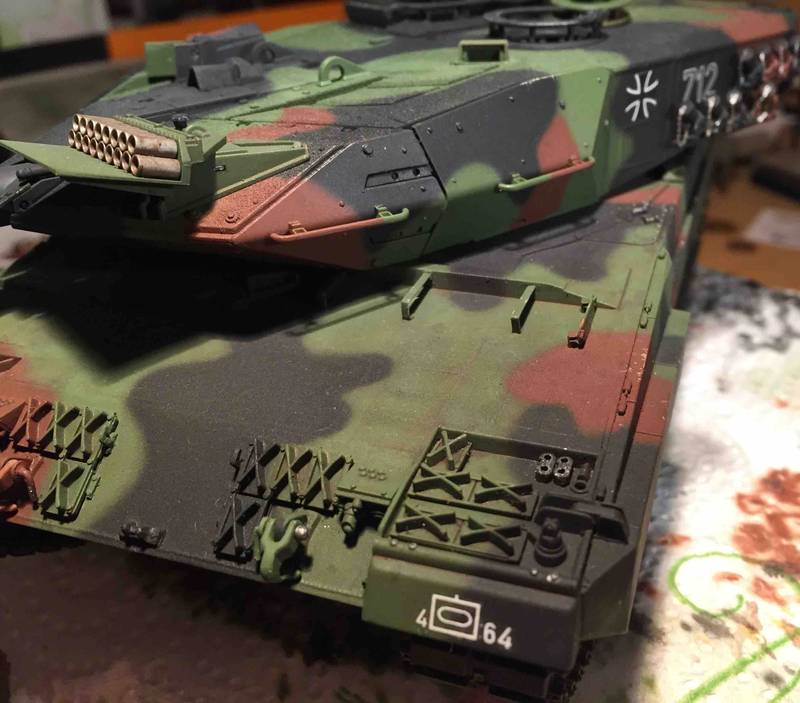
I'm fiddling around with the crew and the turret baskets ... have completed the "basic" wash with oils ... sealed it with "Clear" and Mr Hobby flat varnish ... and then it will be but in storage since I be off to a new overseas project soon.
So like most of my other kits all the finishing details will be done over the next couple of years

Cheers
Christopher
MissAnna
Visit this Community
Colorado, United States
Joined: November 11, 2015
KitMaker: 99 posts
Armorama: 96 posts
Posted: Wednesday, November 11, 2015 - 11:29 PM UTC
Nice! I can see the quality of your paint work, and the weathering really brings it to life.

The only problem with this forum is I keep seeing things that I want to buy after Y'all post your work.
chnoone
Visit this Community
Armed Forces Europe, United States
Joined: January 01, 2009
KitMaker: 1,036 posts
Armorama: 1,033 posts
Posted: Wednesday, November 11, 2015 - 11:35 PM UTC

Quoted Text

Nice! I can see the quality of your paint work, and the weathering really brings it to life.

The only problem with this forum is I keep seeing things that I want to buy after Y'all post your work.


Thankx

But do not despairs .... Santa is on his way soon

Cheers
Christopher
grunt136mike
Visit this Community
Florida, United States
Joined: November 24, 2012
KitMaker: 1,896 posts
Armorama: 1,858 posts
Posted: Thursday, November 12, 2015 - 07:44 AM UTC
Hi;

"GEEE"---I think that you should leave it As Is--And Title it as the HEADLESS HOURSEMEN !!

(GREAT WORK) !!

CHEERS; MIKE.
brekinapez
Visit this Community
Georgia, United States
Joined: July 26, 2013
KitMaker: 2,272 posts
Armorama: 1,860 posts
Posted: Thursday, November 12, 2015 - 08:45 AM UTC
Looks great, but why didn't you model the rearmost skirt on the righthand side in the up position as shown in the pics of the real thing?

Just curious.
chnoone
Visit this Community
Armed Forces Europe, United States
Joined: January 01, 2009
KitMaker: 1,036 posts
Armorama: 1,033 posts
Posted: Thursday, November 12, 2015 - 02:24 PM UTC
Thanx guys !

Well Mike I got their heads ready so I am just adjusting the crew "headless" because I might have to cut their boots off to make them fit and "finalizes" the uniform camo. That modern German camo is really a big big challenge to make it look somehow right. And when that's done the heads and the wiring to the headsets will come on as the last task to prevent any damage.
I am thinking of putting a driver in with hatch open ... but with the shadow produced by the turret overhang .... I'll have to see if that effort is even noticed at all.

Shell the EX went on for some days and their was actually some snowfall involved (see Utube link) so my Idea was to put the model on a base with some light snow on the ground. During that phase this tank had the rear skirt down ... never the less I did initially intend to install them in a "up" position anyway but ............ the distinctive rubber pattern on the inside is not reproduced.
I used the rubber skirts sections from MENGs Leo 2A4 (front sections are from PSM in resin), but unlike their Leopard 1 models, these skirts lack this distinctive feature on the inside.
I tried using the rear section from ProArt-Models which has these details ... but they didn't quite match in size. So back to square one
Here is the Utube link where you see the 712 right at the beginning :

https://www.youtube.com/watch?v=Ua-A9K8_8Jk

Cheers
Christopher
Sgt_Pickle
Visit this Community
Kaunas, Lithuania
Joined: March 01, 2013
KitMaker: 105 posts
Armorama: 103 posts
Posted: Thursday, November 12, 2015 - 07:46 PM UTC
What did you use for anti-slip?
chnoone
Visit this Community
Armed Forces Europe, United States
Joined: January 01, 2009
KitMaker: 1,036 posts
Armorama: 1,033 posts
Posted: Wednesday, November 18, 2015 - 03:17 AM UTC

Quoted Text

What did you use for anti-slip?


Leo's, Stryker and other "European" AFV have a more or less identical Anti-Slip surface applied, probably due to identical production machinery /equipment use by the different manufactures.
I take TAMIYA Grey Putty, dilute it with some turpentine till it matches "Mr. Surfacer" in it consistency.
Take a old/spare airbrush and spray it under higher pressure on to the surface from about 10 cm distance, it will "splatter" a bit but that is what you want till you build it up to the strength you desire.
The real "trick" to achieving this "smoother" anti-slip comes with the final layer.
Dilute it a little more and the spray this for a further distance of about 25 - 30 cm over former. The putty will already start drying in the air a make a very fine and even top coat.
My very good experiences/results are only with Tamiya Putty so I don't know if the same resulst can be achieved using another Putty.

Hope this helps !
Cheers
Christopher
 _GOTOTOP