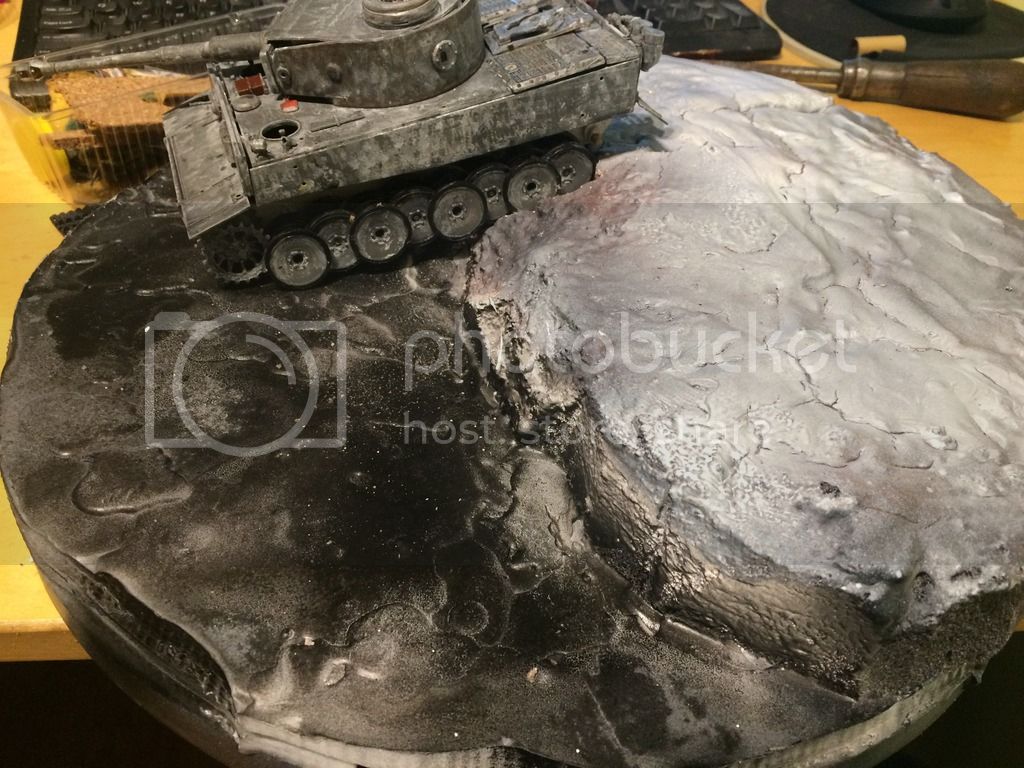
Hi I am Hubert and this will be my first progress build on a forum. The deathline is around march.This is the first kit with a full interior i glued together.I want to make a destroyed(first time destroying a model) tiger diorama of it.I am kinda playing around with it dont really know how to progress further.
Do you have any ideas,suggestions how I should do it? And what to keep in mind what usually happens when a tiger/tank gets burned down/destroyed.
Hosted by Darren Baker
Destroyed Tiger (HELP)
Underdog
Wojewodztwo Wielkopolskie, Poland
Joined: April 25, 2015
KitMaker: 30 posts
Armorama: 30 posts
Joined: April 25, 2015
KitMaker: 30 posts
Armorama: 30 posts
Posted: Monday, December 28, 2015 - 04:54 AM UTC
GeraldOwens
Florida, United States
Joined: March 30, 2006
KitMaker: 3,736 posts
Armorama: 3,697 posts
Joined: March 30, 2006
KitMaker: 3,736 posts
Armorama: 3,697 posts
Posted: Monday, December 28, 2015 - 08:29 AM UTC
Quoted Text
Hi I am Hubert and this will be my first progress build on a forum. The deathline is around march.This is the first kit with a full interior i glued together.I want to make a destroyed(first time destroying a model) tiger diorama of it.I am kinda playing around with it dont really know how to progress further.
Do you have any ideas,suggestions how I should do it? And what to keep in mind what usually happens when a tiger/tank gets burned down/destroyed.
Well, the time to ask that was before everything was glued together. When a tank suffers an internal explosion, all the sheet metal items are shredded, and the blast may lift the turret off its ring. In the case of the Tiger, the ammunition stowed in the sponsons often blows the bottom of the sponsons downward onto the tracks. It may also crack and lift part of the upper deck. The fuel tanks would also explode, causing massive damage in the engine compartment. The radiators would be crushed and shredded, and access panels would be lifted out of place. Rubber tires would be reduced to ashes on some or all of the road wheels. Exterior paint might char to gray ash, or flake away entirely, leaving metal rusted from the heat.
I've seen photos of modern AFVs that suffered internal explosions, and all the internal sheet metal looked liked shredded beer cans on the fighting compartment floor. Nothing was recognizable.
Given that you have assembled nearly everything, I'd suggest "destroying" your next tank project, and just build this one intact. Or, you could depict an abandoned vehicle that had suffered a disabling shot to the running gear, perhaps, that did not penetrate the fighting compartment.
edoardo
Milano, Italy
Joined: November 30, 2007
KitMaker: 642 posts
Armorama: 234 posts
Joined: November 30, 2007
KitMaker: 642 posts
Armorama: 234 posts
Posted: Monday, December 28, 2015 - 01:22 PM UTC
Hi Hubert,
what Gerard says is, alas, right... so very hard to damage the Tiger at this stage.
To have a wonderful guide to 'tank destruction' search for Rob Ferreira works on this same site: he is a real master.
I myself was inspired by his work and tried it a couple of times (T-34 and Italian M13/40 Semovente) so, if you care, you could also have a look at my work.
Hope to have been helpful
ciao
Edo
chauvel
Queensland, Australia
Joined: February 14, 2015
KitMaker: 155 posts
Armorama: 154 posts
Joined: February 14, 2015
KitMaker: 155 posts
Armorama: 154 posts
Posted: Saturday, January 09, 2016 - 02:25 PM UTC
Great idea for a project Hubert, especially since destroyed Tigers weren't exactly a common sight compared to, say, a Sherman. The other guys are right though. A bit of pre-planning in the initial build stages would be better. Even more so with the Tiger as it's greatest defensive weapon was it's frontal armour. Therefore most rounds to defeat a Tiger were generally fired at its rear, disabling the engine or at the running gear.
HTH for some ideas for your project
M4A1Sherman
New York, United States
Joined: May 02, 2013
KitMaker: 4,403 posts
Armorama: 4,078 posts
Joined: May 02, 2013
KitMaker: 4,403 posts
Armorama: 4,078 posts
Posted: Saturday, January 09, 2016 - 06:01 PM UTC
Quoted Text
Great idea for a project Hubert, especially since destroyed Tigers weren't exactly a common sight compared to, say, a Sherman. The other guys are right though. A bit of pre-planning in the initial build stages would be better. Even more so with the Tiger as it's greatest defensive weapon was it's frontal armour. Therefore most rounds to defeat a Tiger were generally fired at its rear, disabling the engine or at the running gear.
HTH for some ideas for your project
The photos of destroyed Shermans vs. destroyed Tigers depends on which reference material you're looking at. Yes, there are lots of photos of destroyed US/Allied Armor, but it should be remembered that there were A LOT of War Correspondents and Signal Corps photographers afield to catch numerous photos of everything you could possibly think of. Conversely, by 1942/43, Reichspropaganda photographers were NOT ALLOWED to photograph destroyed German equipment. Nevertheless, there are enough photos taken by US/Allied photographers, of abandoned/destroyed Tiger Is and TONS of other German equipment that has run out of gas, shredded by US/British aerial attacks, mechanical breakdowns, and/or Engine Bay fires, (in the case of Panthers, Tigers I & II), which are copiously shown in the various and many reference and historical books available to gain ideas from.
It should be remembered that the bigger German tanks, (Panthers, Tigers I & II) were prone to having an undue amount of mechanical problems in proportion to the small numbers of these vehicle that were actually produced. These behemoths were under-powered, and their Transmissions couldn't stand up for very long in having to transmit this lack of power required to move these grossly overweight vehicles. Broken Torsion Bars also plagued Panthers, Tigers I & IIs throughout their short history. The aforementioned maladies, a general lack of fuel (Panthers, Tigers I & II ate fuel at a prodigious rate!) and an alarming propensity for Engine Bay fires kept a goodly amount of these heavy-weights from ever even reaching the battlefield.
In many photos, German tanks, especially the big ones, are shown in the photo without any discernable damage. It should also be remembered that German Tank Crews, especially towards the end of the war, suffered from a lack of specialized mechanical knowledge and/or ability, which caused them to abandon their vehicles rather than to try to repair them. Too many "Tiger fans" put their blinders on concerning the "Big Cats'" various faults- some have even brought up the question of how these German heavyweights would have fared if put up against modern armor such as Russian/Soviet T-72s thru T-80s and (gasp!) M1-series Abrams'! I'll leave that for the WOT fans...
My point in the above observations is just to say that maybe your Tiger I can be salvaged without having to resort to applying catastrophic damage to your model. You might just open up your Engine Grates, and maybe remove an Air Cleaner or two, to convey the impression of a "mechanical breakdown". Or, you could "open up" one of the Tracks, to simulate a "Track separation"". In either case, there are numerous German Tanker Figures available on the market today to simulate virtually any kind of "vehicle maintenance"...
BTW- American vehicles, including Shermans, were MUCH MORE mechanically dependable than ANY other vehicles in ANY other Army during WWII. To wit- Your typical German Tank had a Track-life of roughly 500 miles. American Tracked Vehicles had a designed-in "average" Track-life of 2500 miles. Engines and Drive-lines were also far superior, as far as regular service-life and ease of maintenance is concerned.
It should also be remembered that many more M4-series tanks were destroyed FROM AMBUSH, rather than from actual "one-on-one" confrontations with German Armor. If US/Allied Armor was aware of German Armor in their operating area, we surrounded the German Armor when possible, dispatching it by mass of force, or calling in Artillery or Close-support Fighter-Bombers, or preferably, even by by-passing the German Armor entirely, leaving it to "wither on the vine". Such was the case, especially during the race across France in the ETO, with Patton and Bradley at the helms of their respective Armies...
jrutman
Pennsylvania, United States
Joined: April 10, 2011
KitMaker: 7,941 posts
Armorama: 7,934 posts
Joined: April 10, 2011
KitMaker: 7,941 posts
Armorama: 7,934 posts
Posted: Saturday, January 09, 2016 - 08:55 PM UTC
Yes! What HE said!
J
J
M4A1Sherman
New York, United States
Joined: May 02, 2013
KitMaker: 4,403 posts
Armorama: 4,078 posts
Joined: May 02, 2013
KitMaker: 4,403 posts
Armorama: 4,078 posts
Posted: Monday, January 11, 2016 - 10:09 PM UTC
Quoted Text
Yes! What HE said!
J
THANK YOU JERRY!!!
Underdog
Wojewodztwo Wielkopolskie, Poland
Joined: April 25, 2015
KitMaker: 30 posts
Armorama: 30 posts
Joined: April 25, 2015
KitMaker: 30 posts
Armorama: 30 posts
Posted: Sunday, January 17, 2016 - 10:46 PM UTC
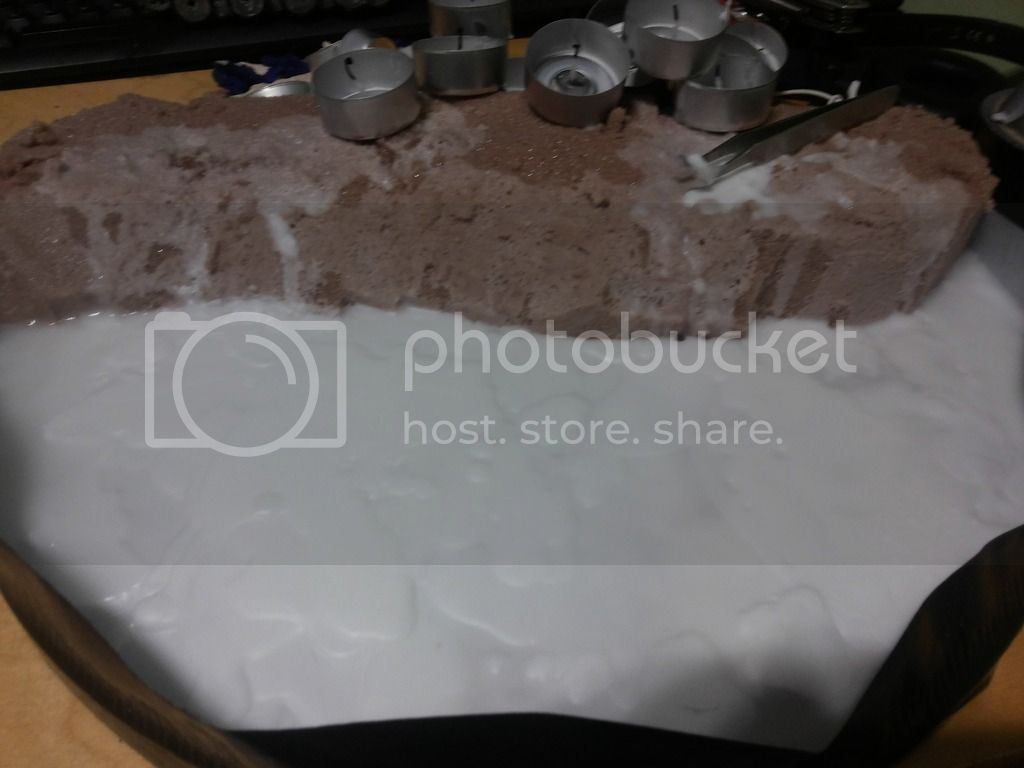
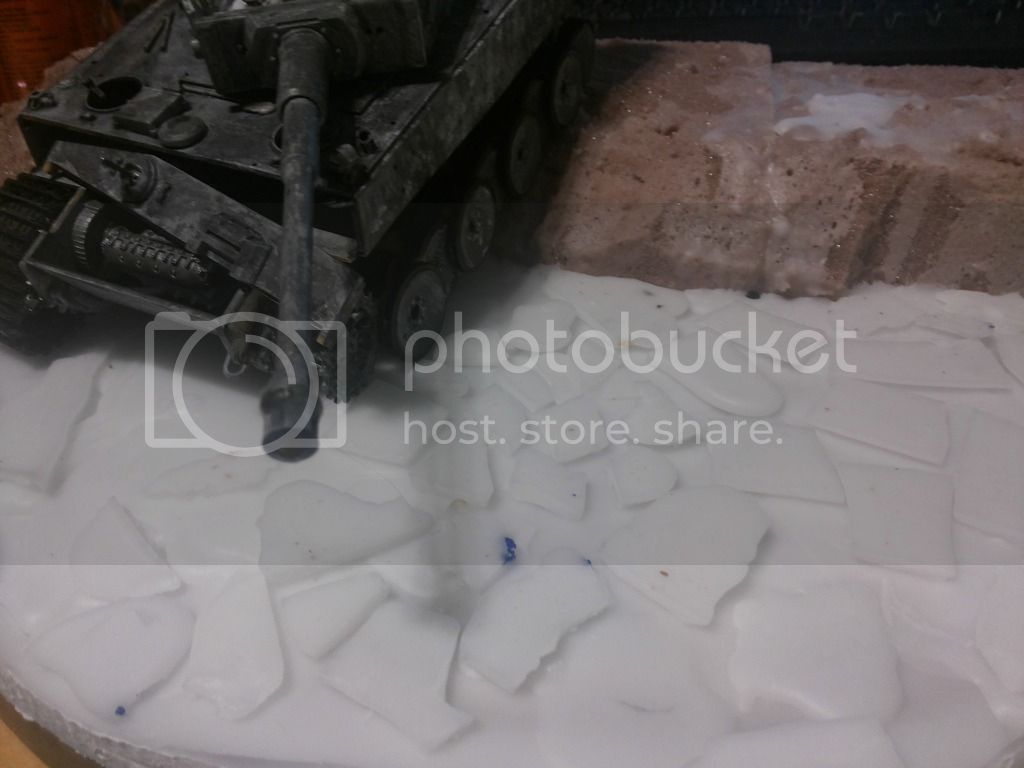
Thanks for the replies.I am back now I have a week break from school. Can finally progress further with this project.I started making the diorama with candle wax and foam(experimenting a lot recently).The photos were taken at 3 am with my phone so sorry for the bad quality.
Underdog
Wojewodztwo Wielkopolskie, Poland
Joined: April 25, 2015
KitMaker: 30 posts
Armorama: 30 posts
Joined: April 25, 2015
KitMaker: 30 posts
Armorama: 30 posts
Posted: Friday, February 12, 2016 - 10:20 PM UTC
Small update,finally I have decided what i want to do with it.Also made a figure to add to the diorama.