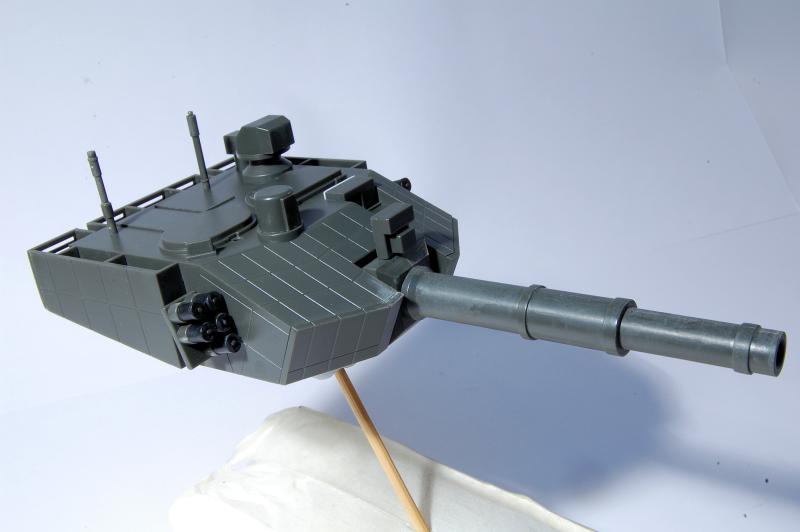
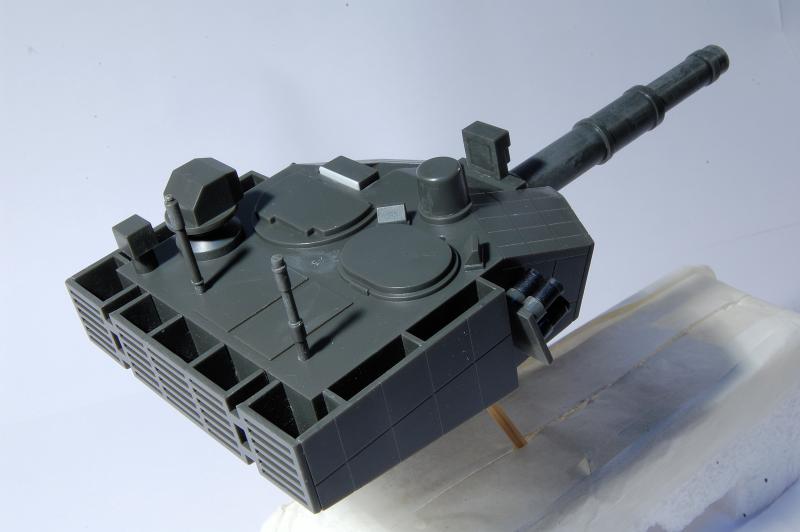
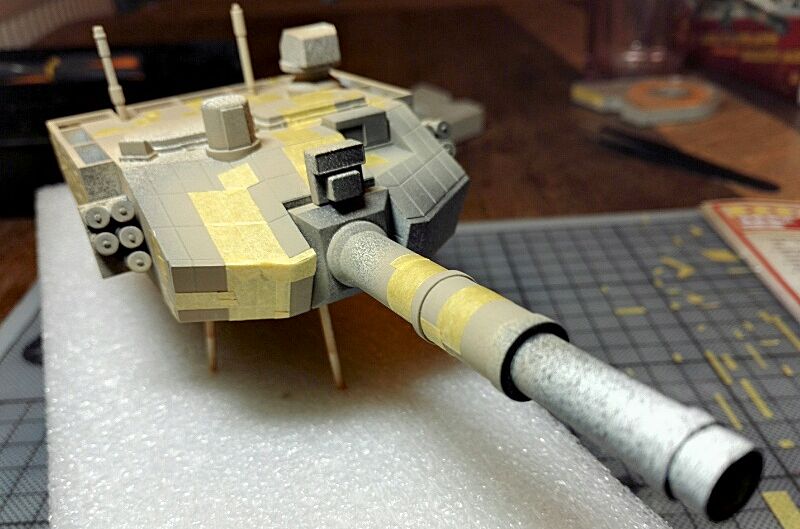
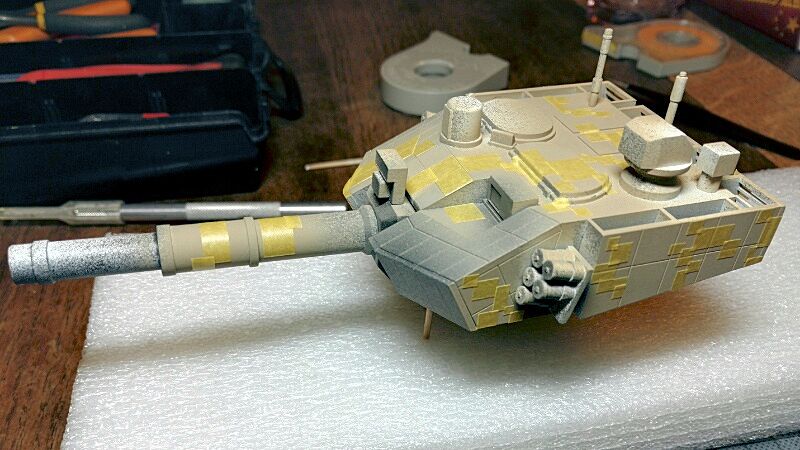
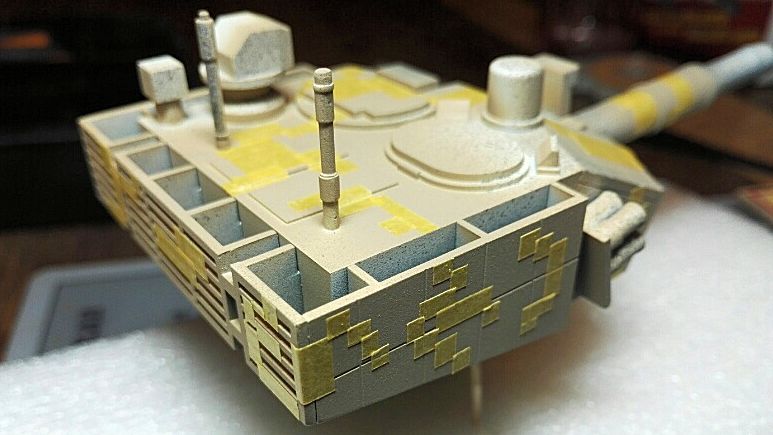
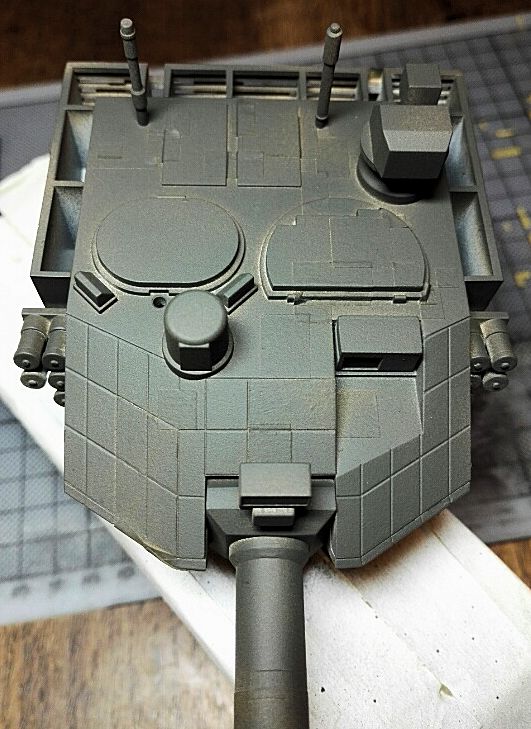
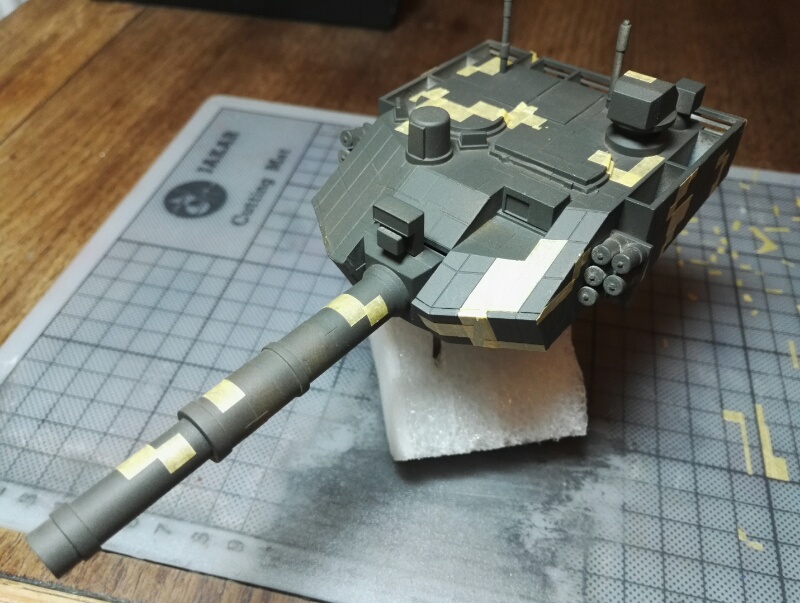
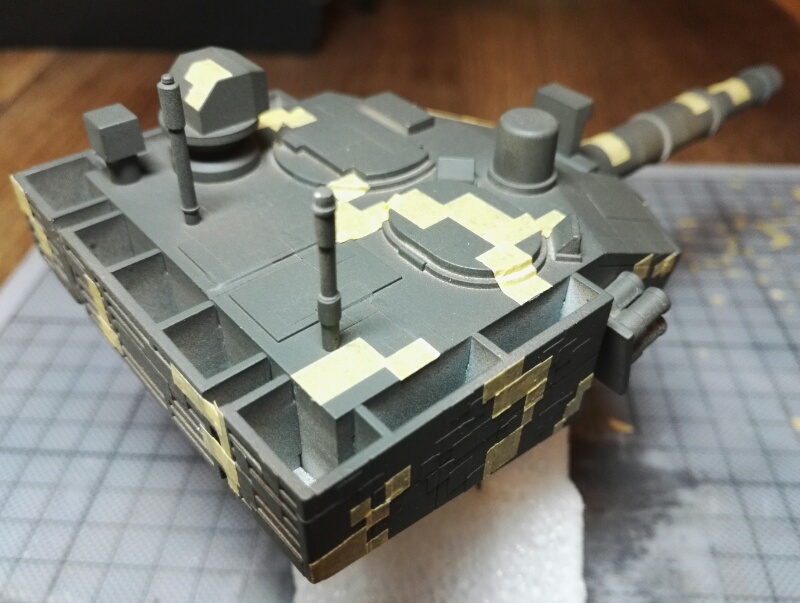
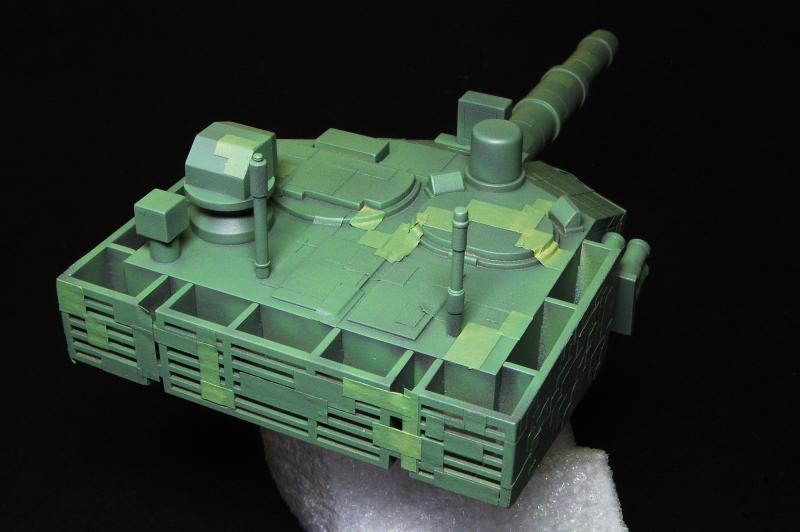
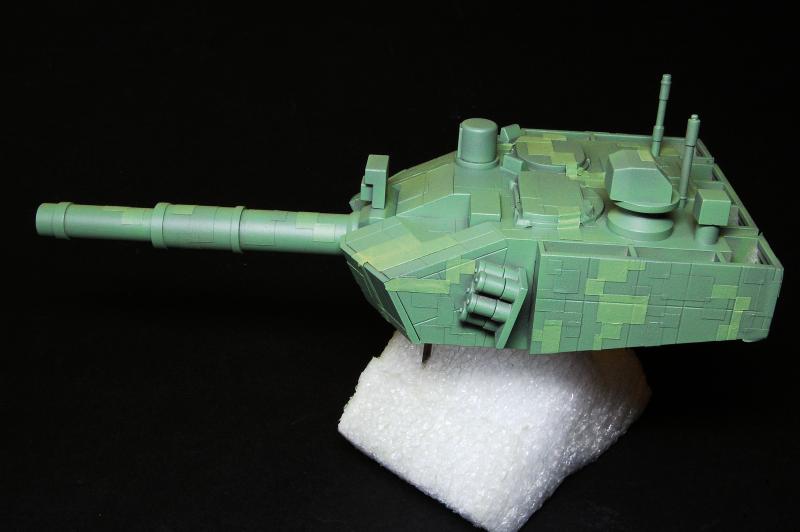
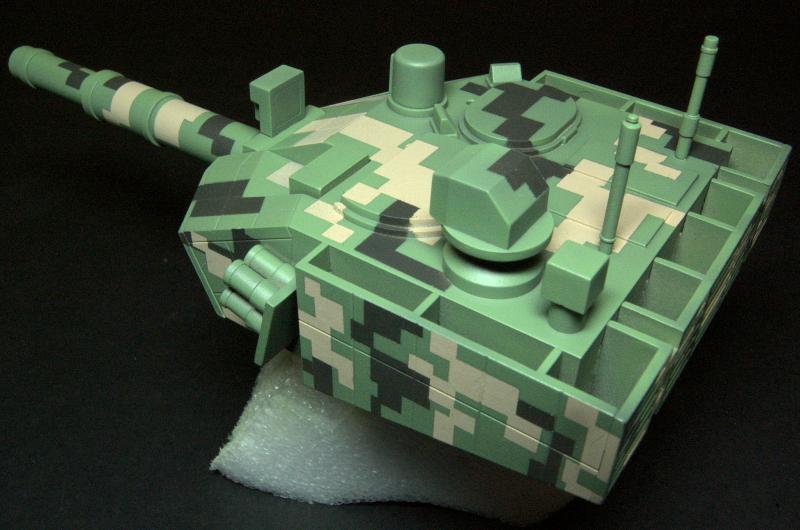
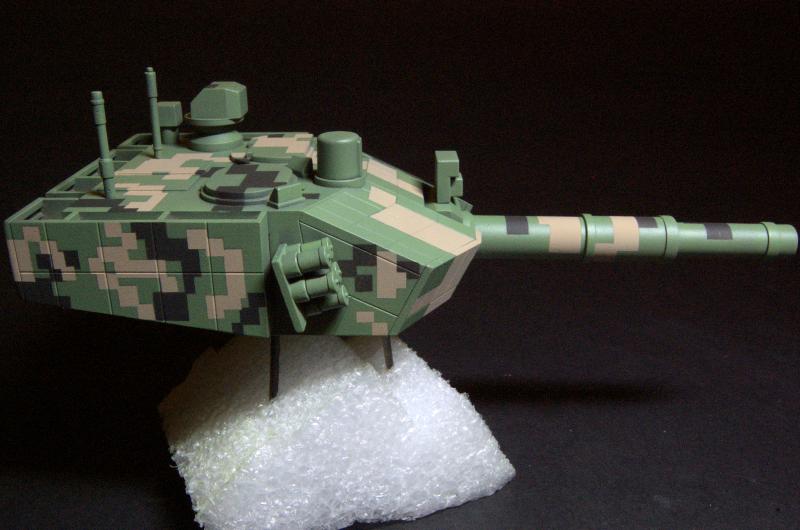
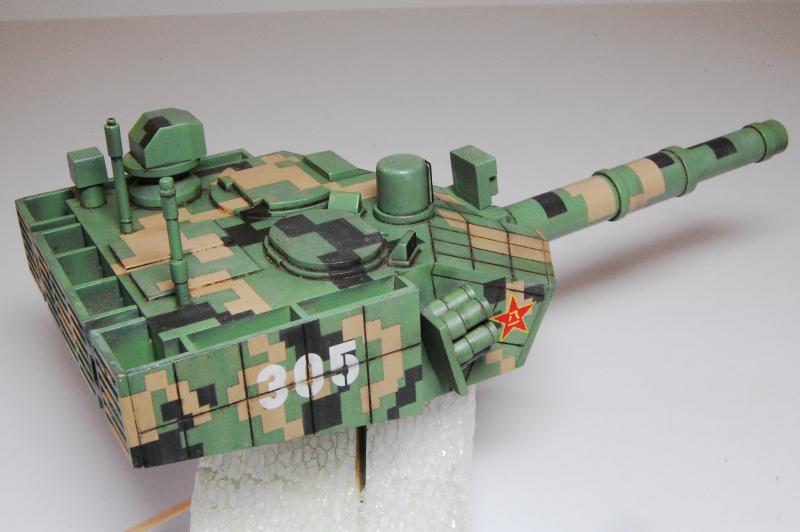
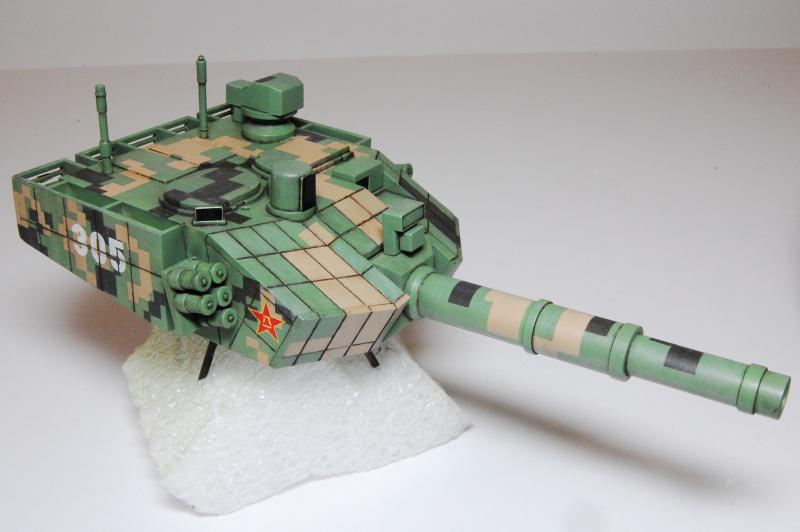
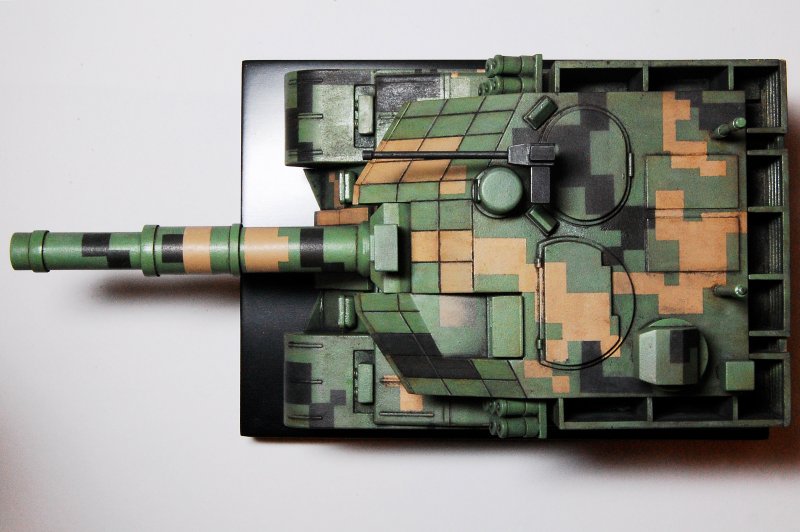
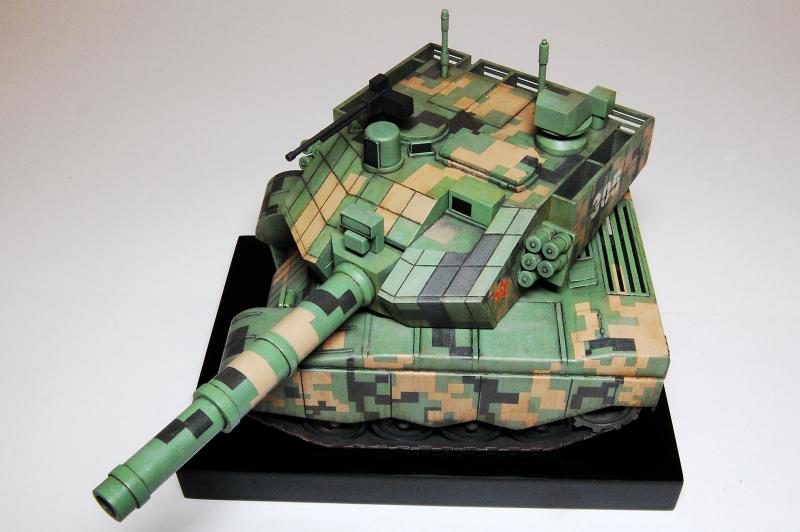
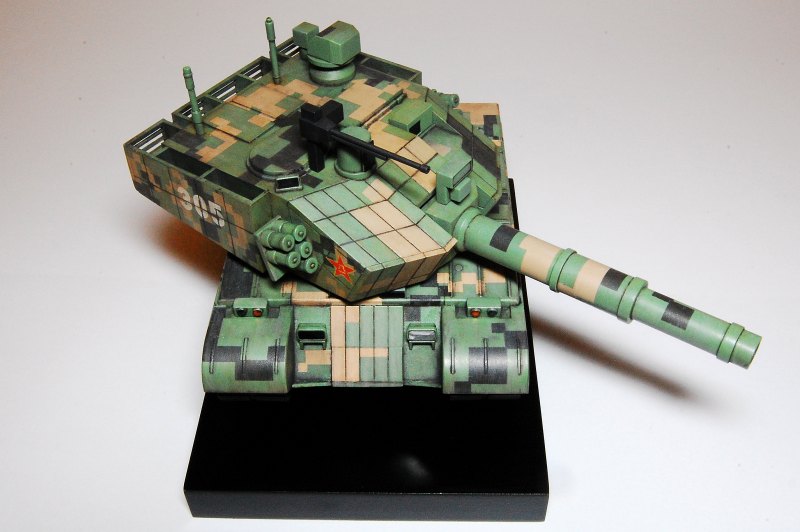
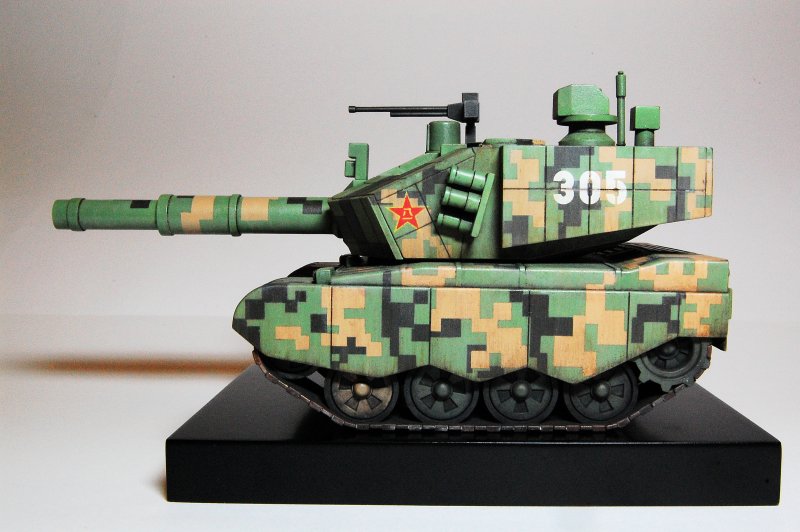
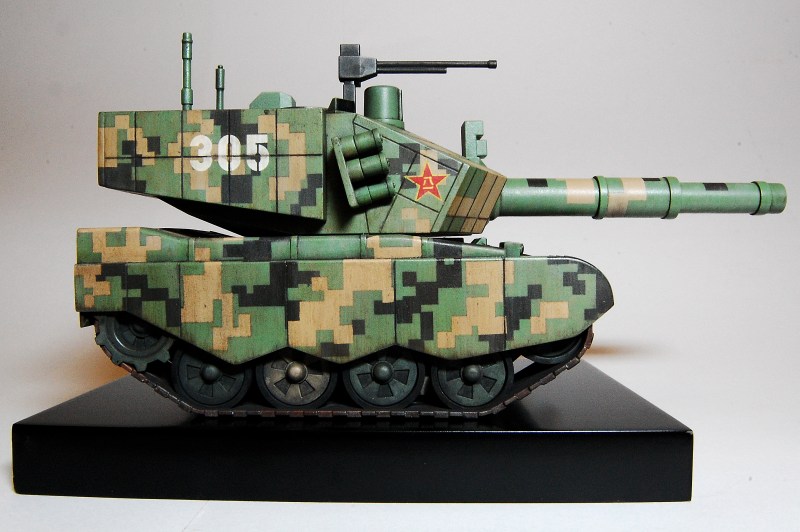
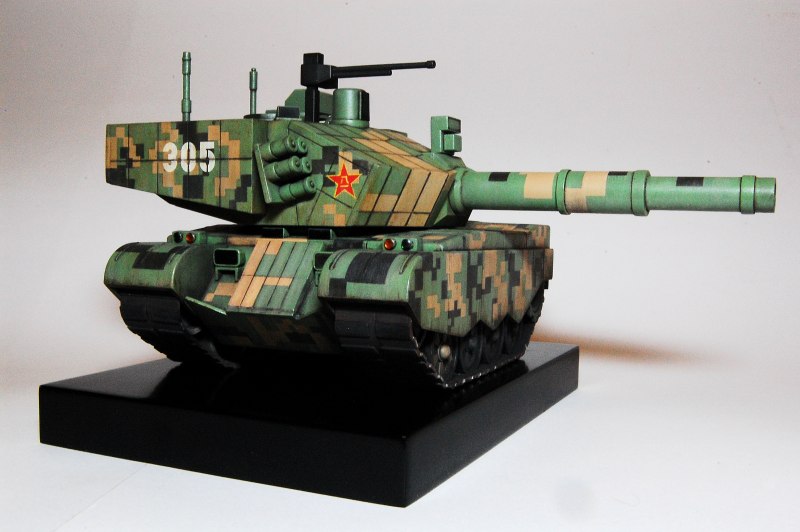
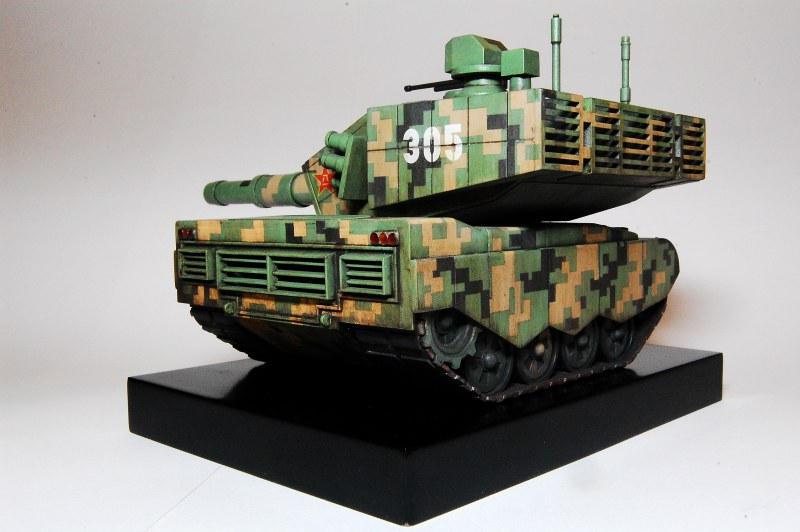
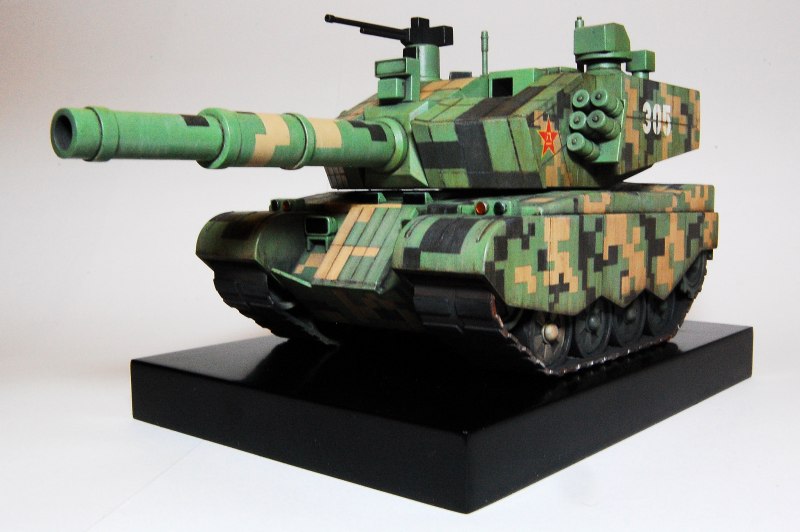
The turret is almost as big as the body of the tank, as can be seen from the first photo, then gets even bigger once the racks and armour are added to the back and sides. The added details of the range finder, periscopes etc. are cleanly moulded and well shaped, albeit simplified. A couple of relatively fiddly bits were the smoke launchers, where each grenade had to have seams removed and the sprue connector sanded down consistently for the end cap; note they are all pointing in the same direction. The gun also required a bit of work to get the lengthways join acceptably hidden. It does elevate a little, and stays where it is put, i.e. it doesn't droop.
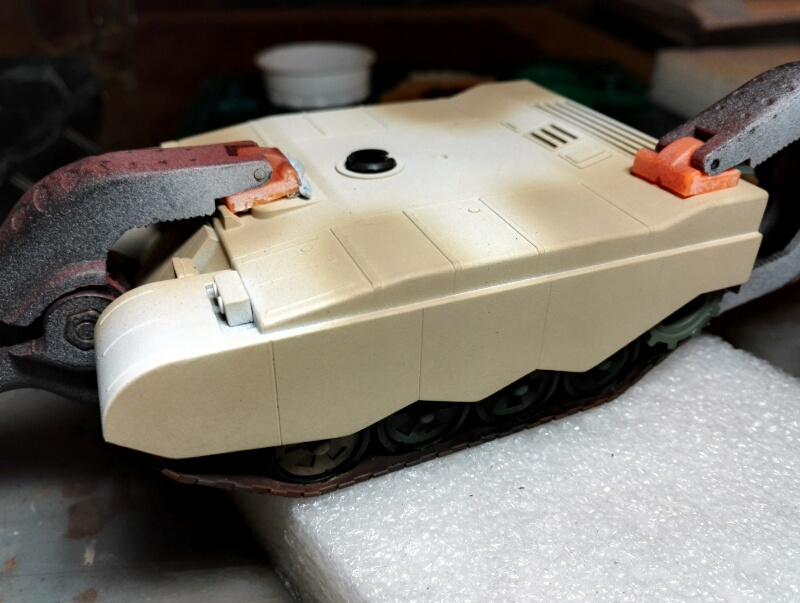
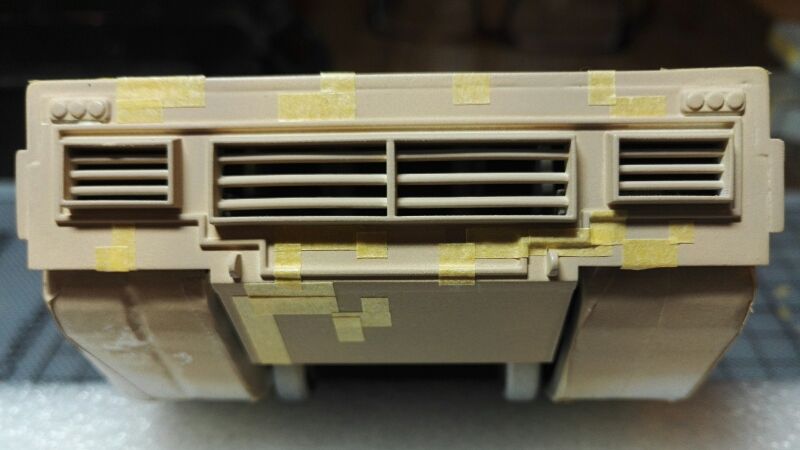
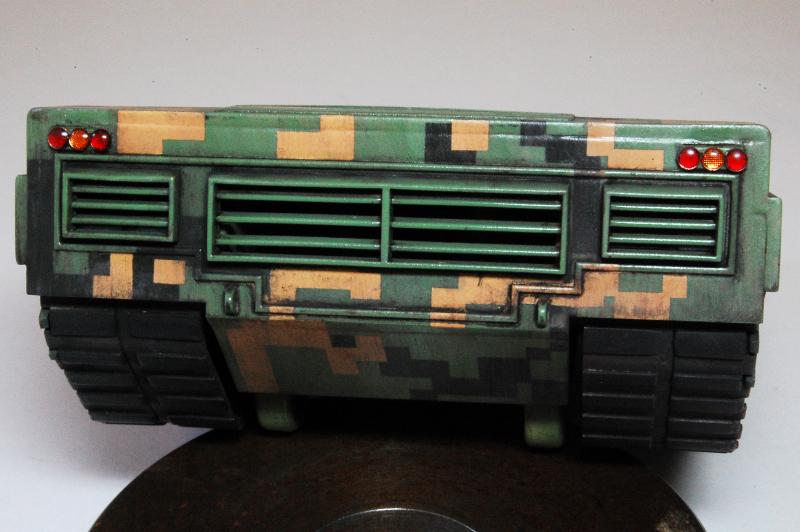
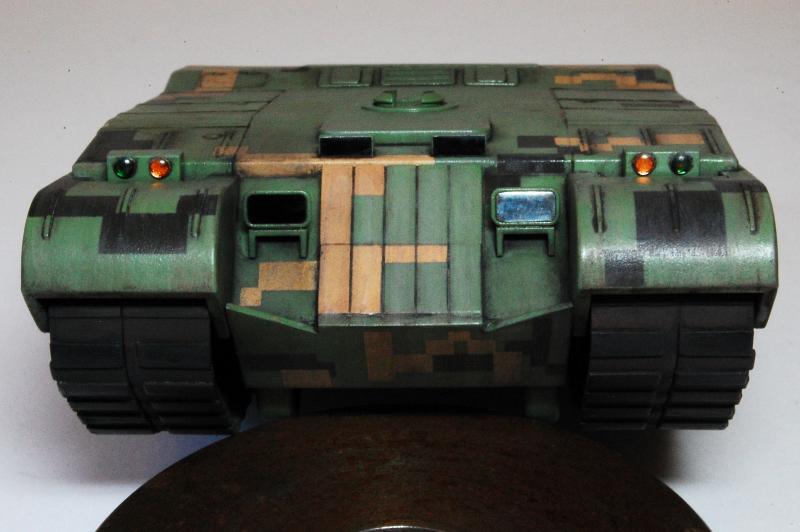
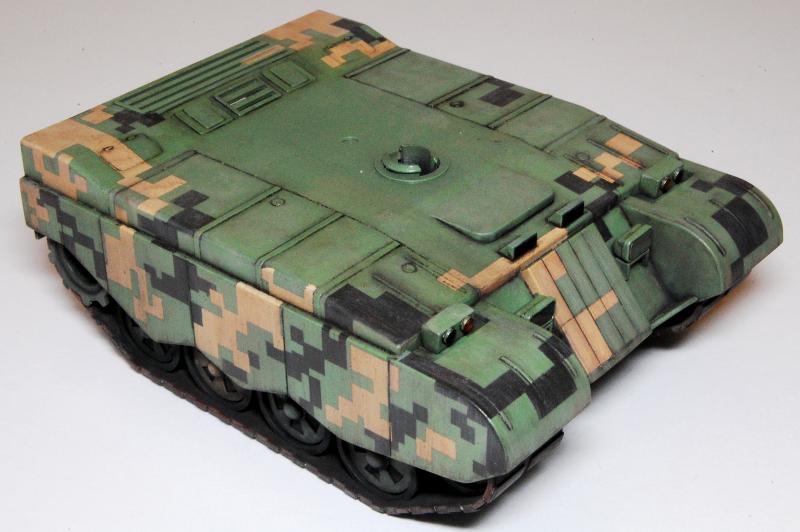
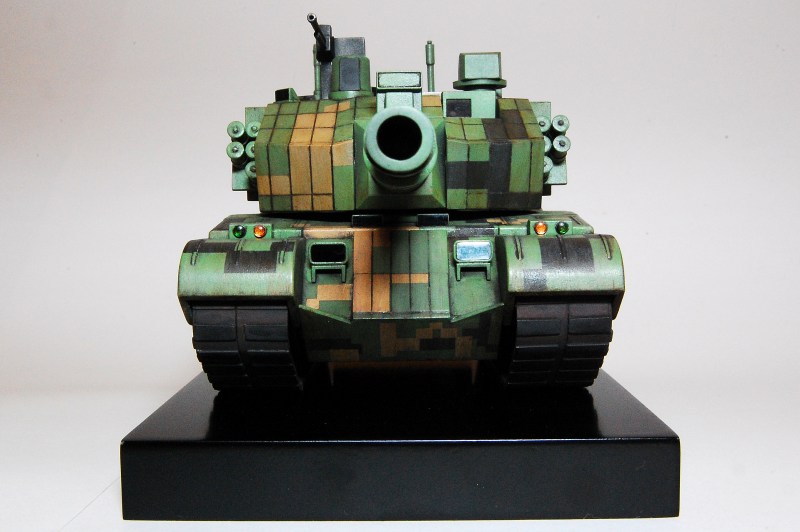
Visible is a bit of white styrene inserted to block the open back of one of the turret details, and this was also done with the front lamps on the hull.
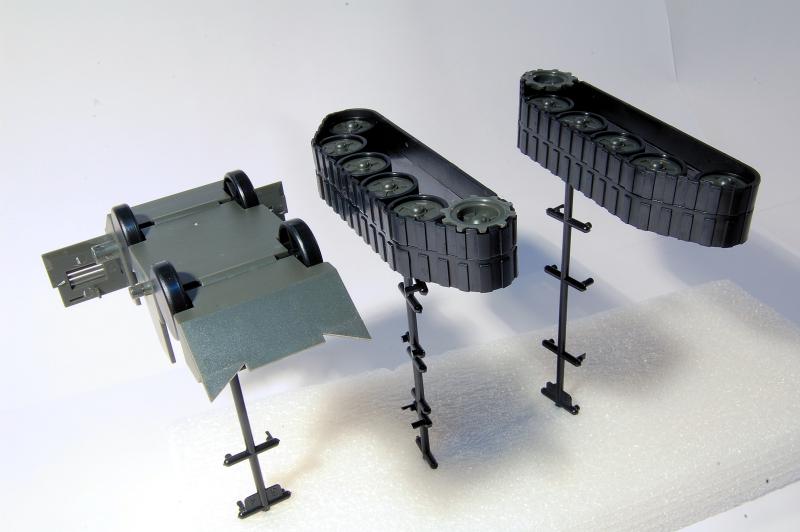
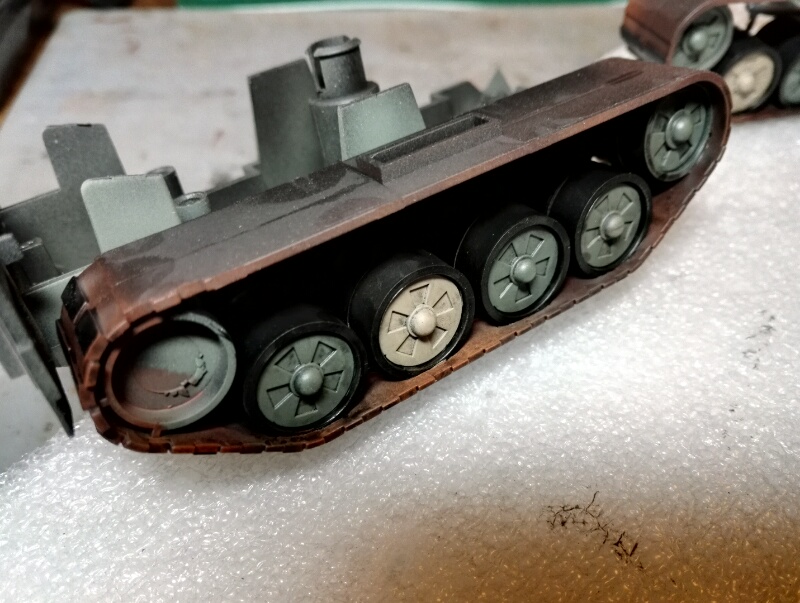
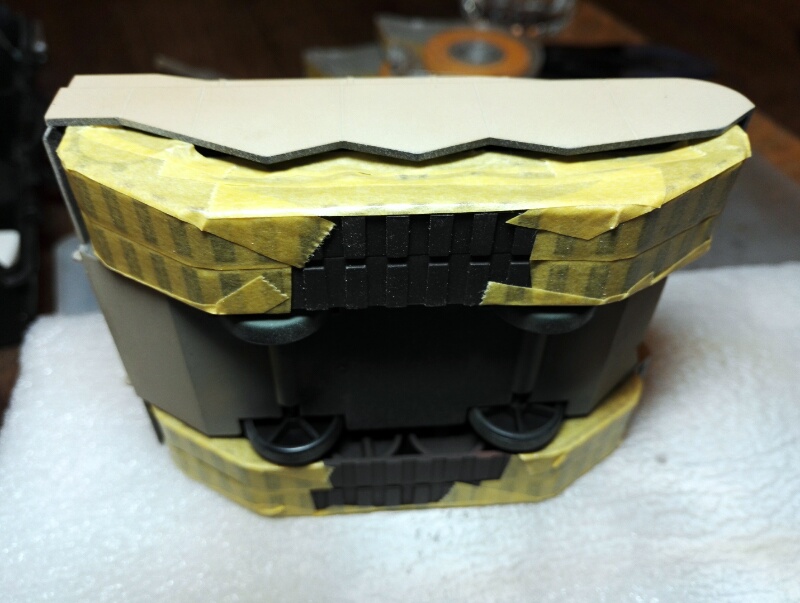
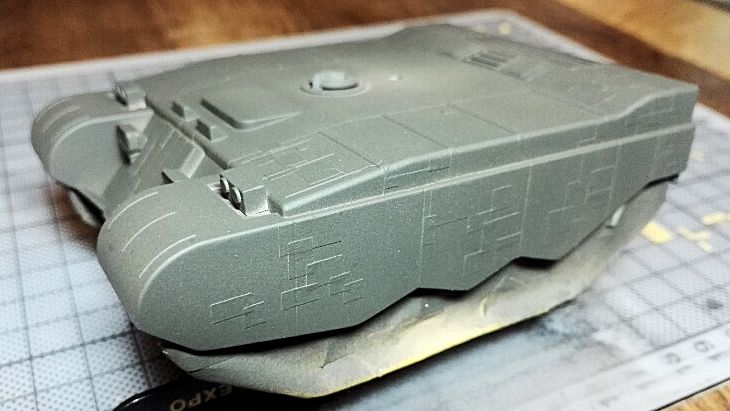
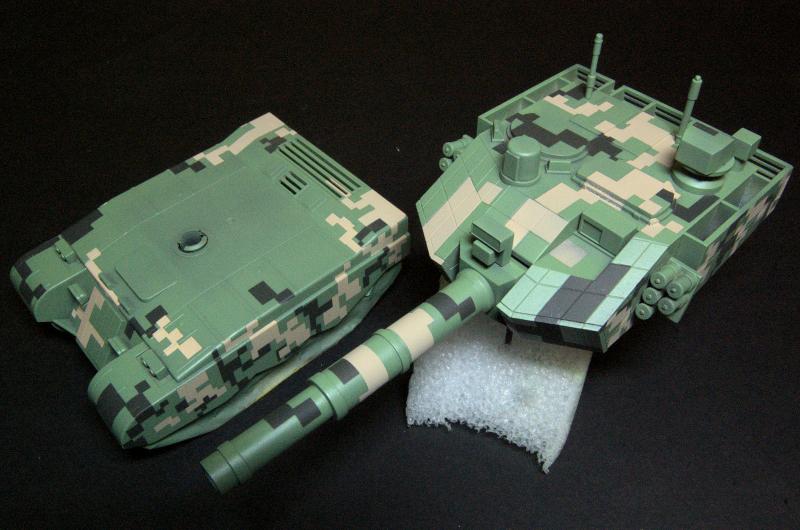
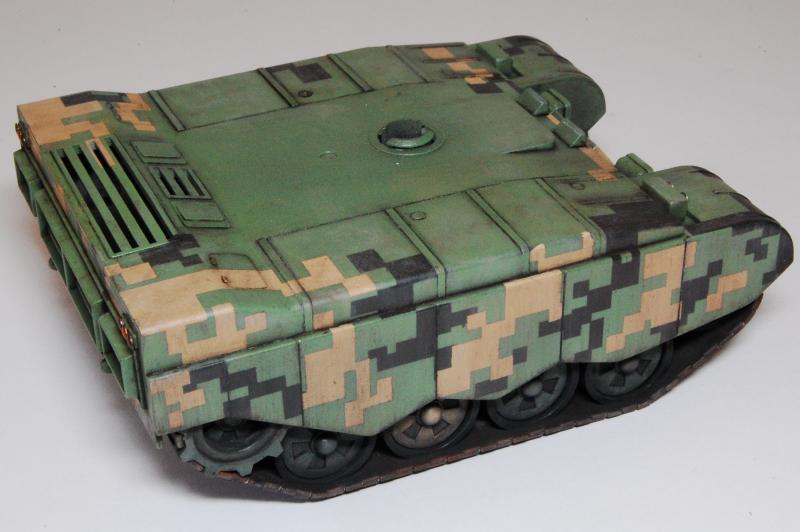
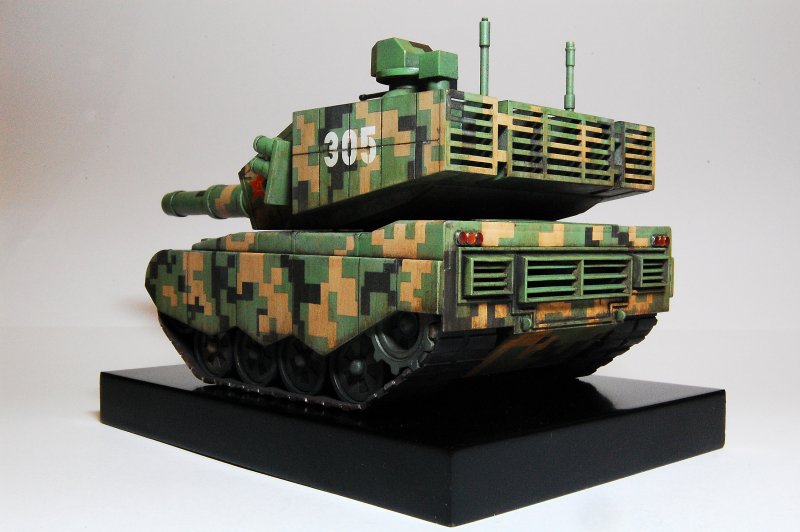
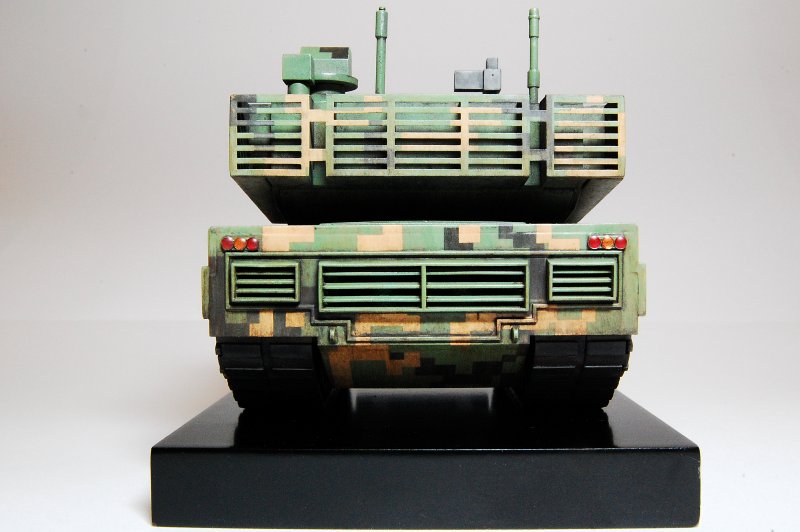
Note the inner "toy wheels" attached to the hull bottom, and the width of the back plate already attached. A mistake I made was to pop the wheel centres into the track units before painting - I was just trying it out and had assumed I could easily pop them back out again so that I could paint the track and tyre unit separately, then insert the painted wheels in. I realised however that prising the wheel centre back out risked noticeable damage being done to the rim or tyre, so I had to leave them in and mask them for painting, much more time consuming. The sprocket on the other hand does come off quite easily.
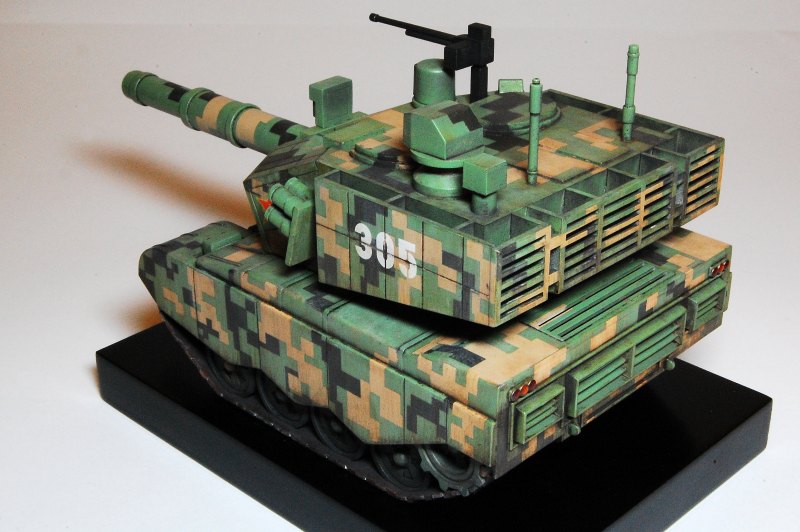
Another error was to just try out of the fit of the turret onto the hull by pushing the connector in the hull bottom into the turret hole - getting it back off took considerable force and leverage as the connector spreads out once it goes through the turret hole, and part of the connector cracked, though it seems to be have been rescued by some cement (yeah, the problems even a kids' kit can create...)
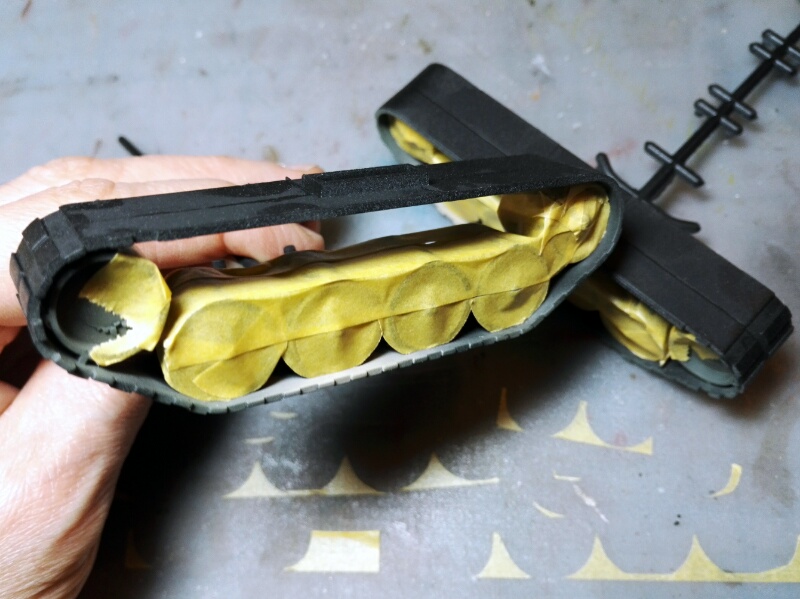
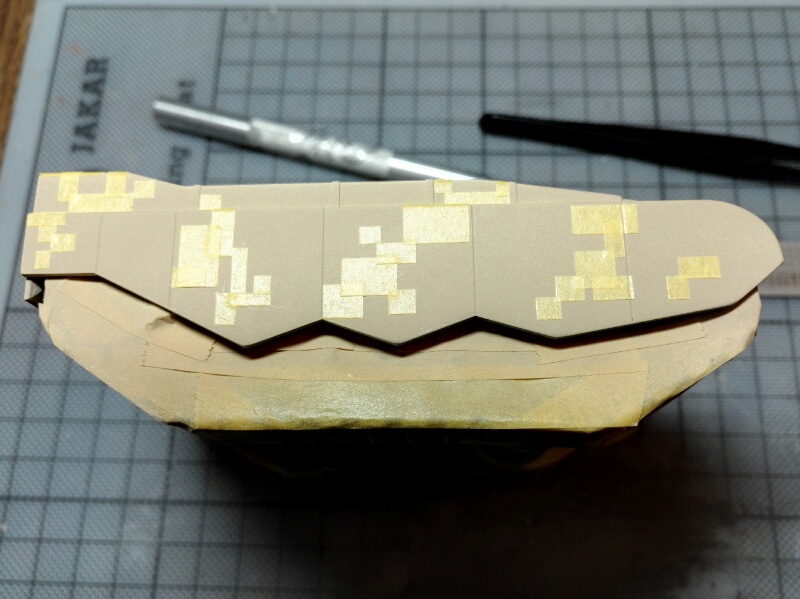
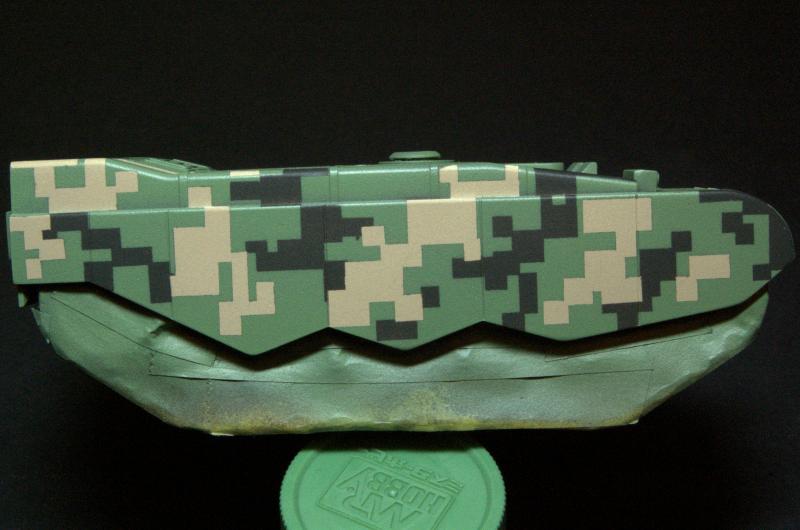
Note that the lengthways join of the track units is visible, but I have left it like that. The tracks aren't - obviously - at all accurate, so I'm just going with how they came out. Any ideas of superdetailing a model like this have to be kind of put to one side, I think. I am looking for some alternative proper decals, as opposed to the provided stickers however, but haven't found any suitable yet.
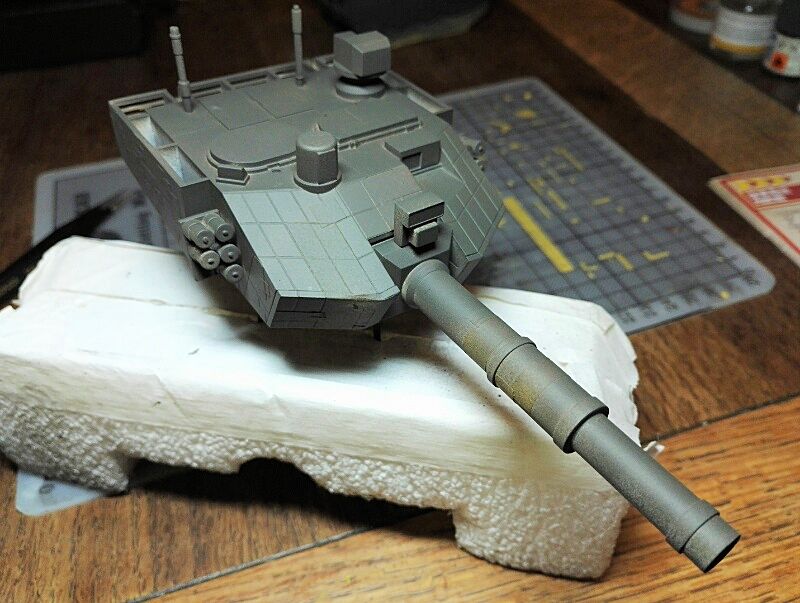
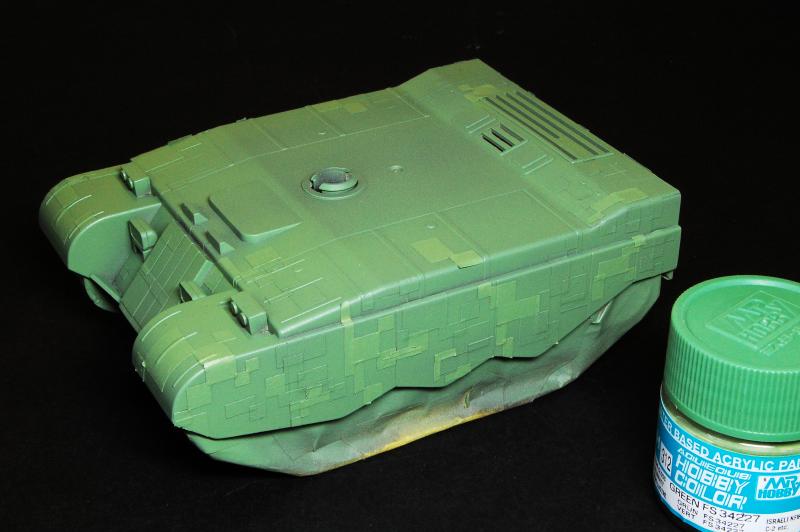
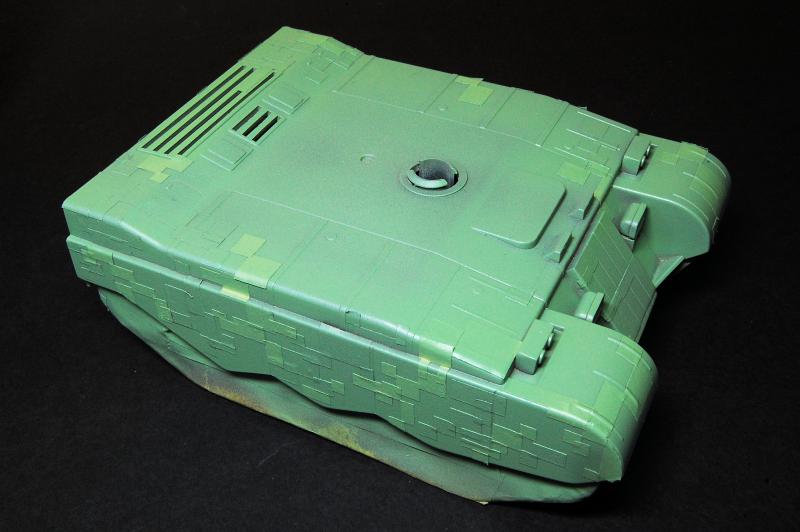
I'll post further photos of it being painted later.