Quoted Text
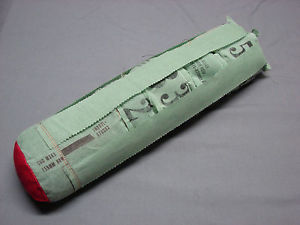
Can you tell me what happens to the tie strips on the Green propellent bag? Are those just packed into the tube and burned? Thanks Stuart
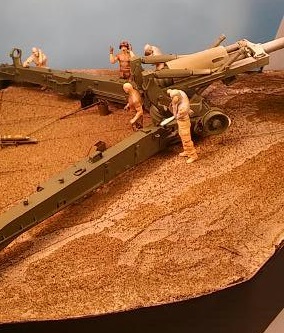
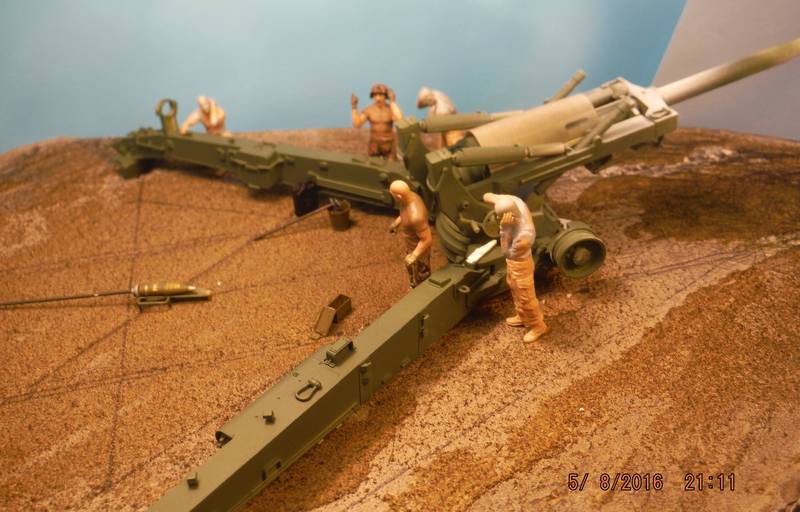
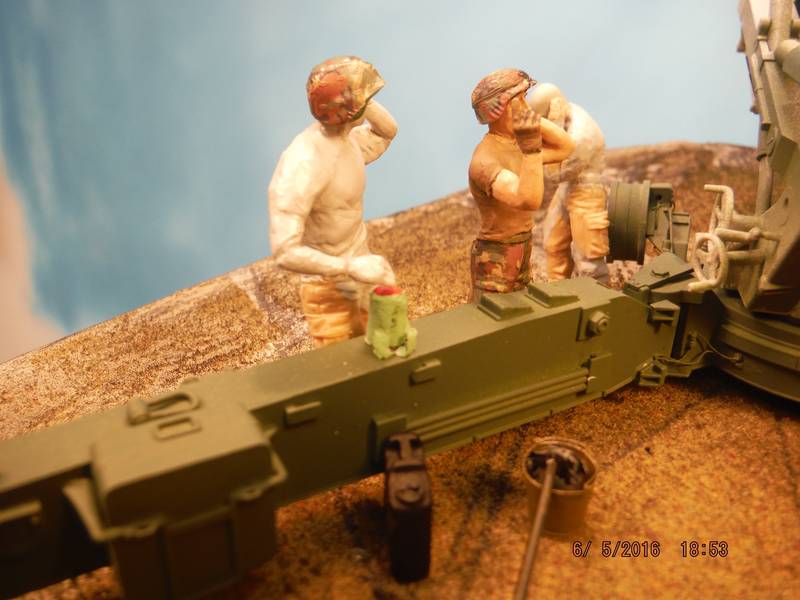
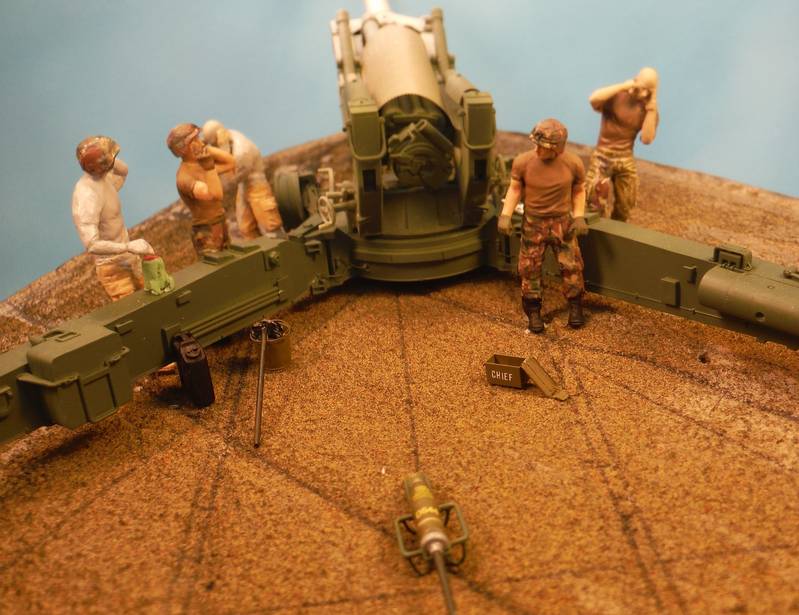
Yup, that's exactly what happens. The increments which are used (from the base with the red igniter pad on the bottom and numbers 1 through whatever charge is called for) are placed in the breech, and everything is consumed when fired.
I don't know if it's still done this way, but in my 155mm SP unit in the 70's, the powder man when inserting the propellant charge always said, "I see red, breech closed" to indicate that he had placed the charges in correctly with the igniter pad to the rear. When the primer fires through the hole in the breech block it sets off the igniter pad first which then sets off the powder, sending the projo on its way.
As an aside, the breech block on the SP tube would lock into a cam type plate with a handle to stay in the open position as part of the recoil process and remain open after firing.
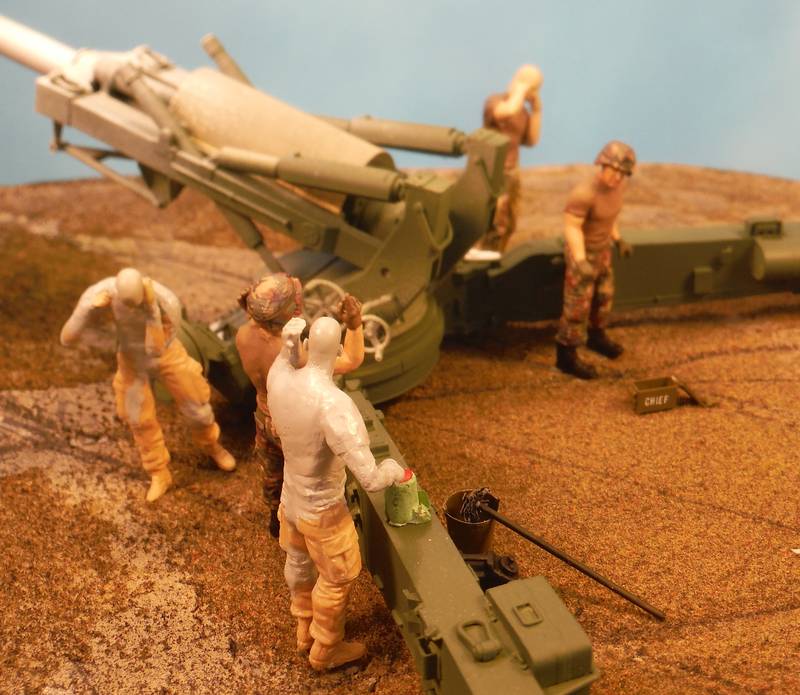
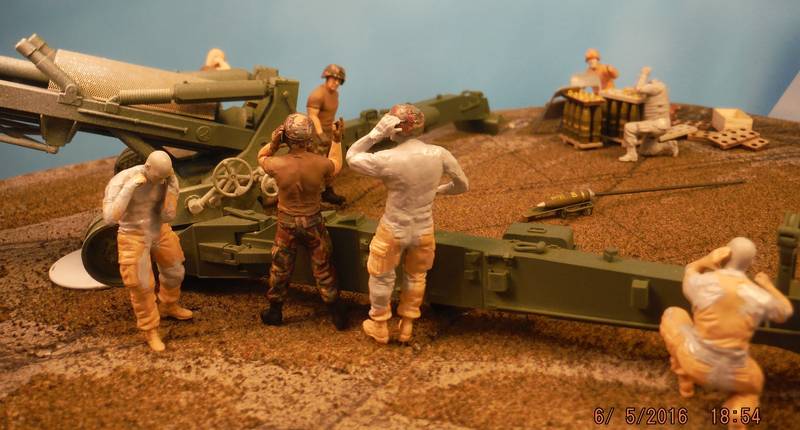
The breech block was spring loaded and when the handle on the plate was lifted up, it would slam shut. To prevent serious injury, when the powder man placed the charges into the breech, he would stand facing the breech block with his left arm extended and left hand right in the middle of the open block and then with the powder charge in his right hand, place it into the breech with his right arm crossed over the TOP of his left arm. The idea was that if some how the breech block arm was lifted and the breech block accidentally closed the motion of the push back on his left arm UNDER his right arm would pull the right arm out of the way. After placing the charges in, he would say "I see red" and then lift the handle and close the breech.
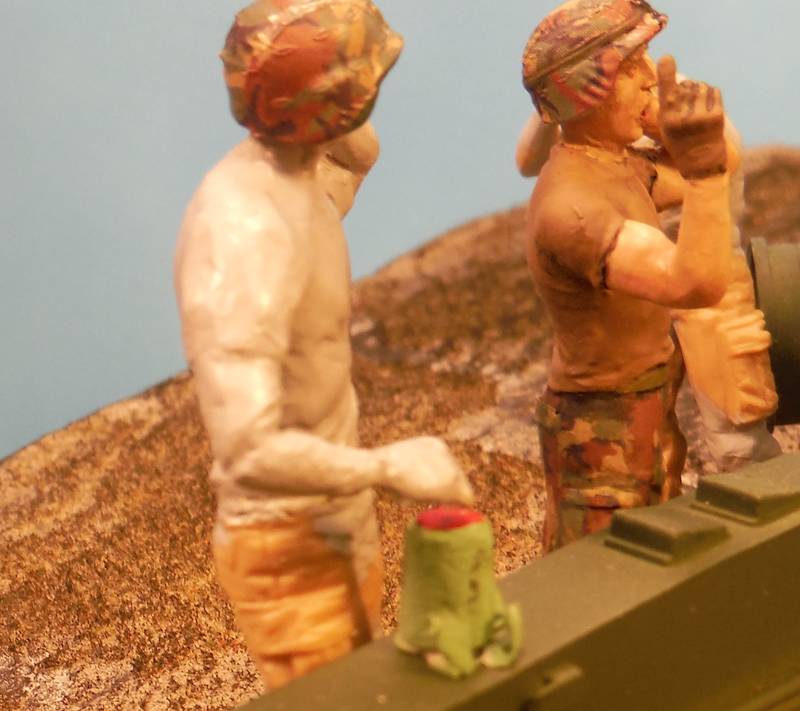
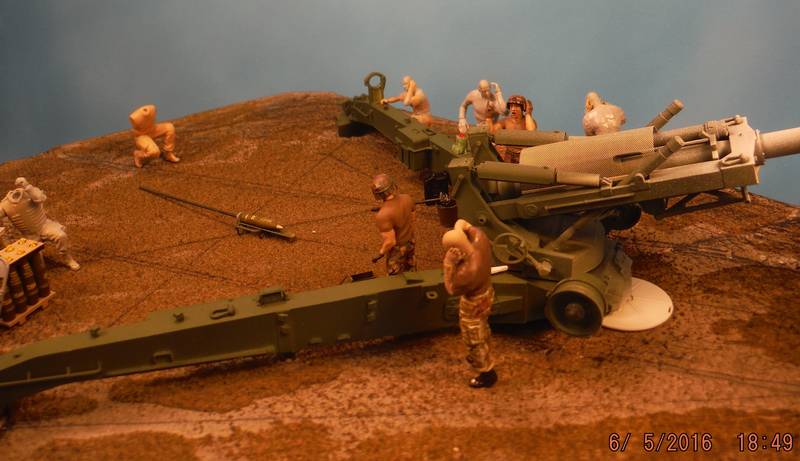
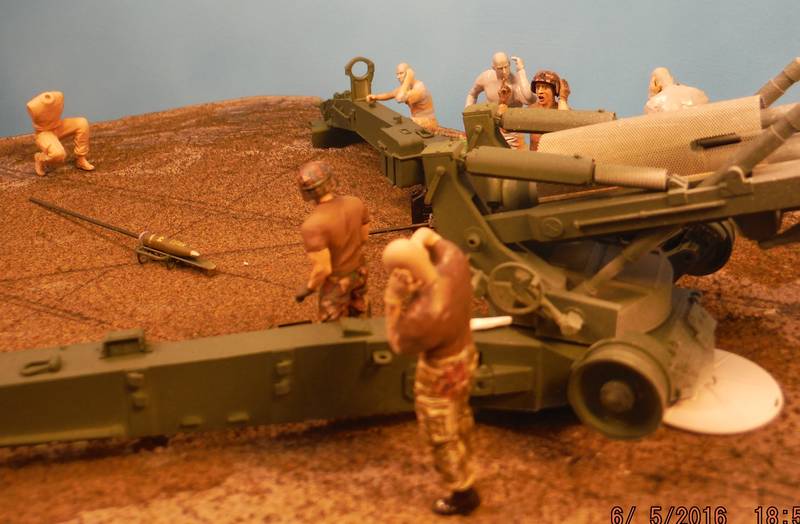
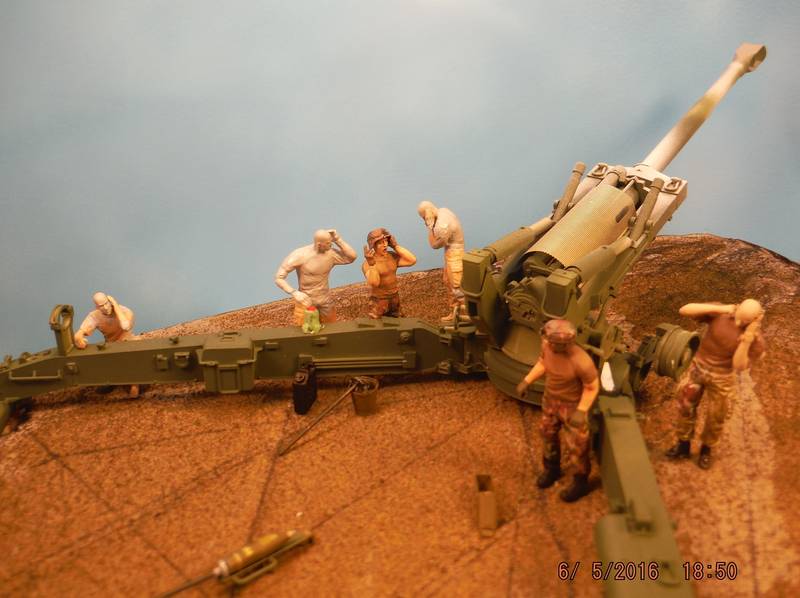
The left over increments not fired were taken to the rear of the piece and held over the head of the cannoneer until the piece was fired so that a visual check could be made (by subtraction) that the correct powder charge was being fired. Once the rounds left the tube, the excess charges were dropped into the pit. At the end of a firing session, ALL the excess powder bags from all the pieces in the battery were lined up single file in a row on the ground and burned up. Don't think you're allowed to do that anymore, but it sure was fun!!