Hi,
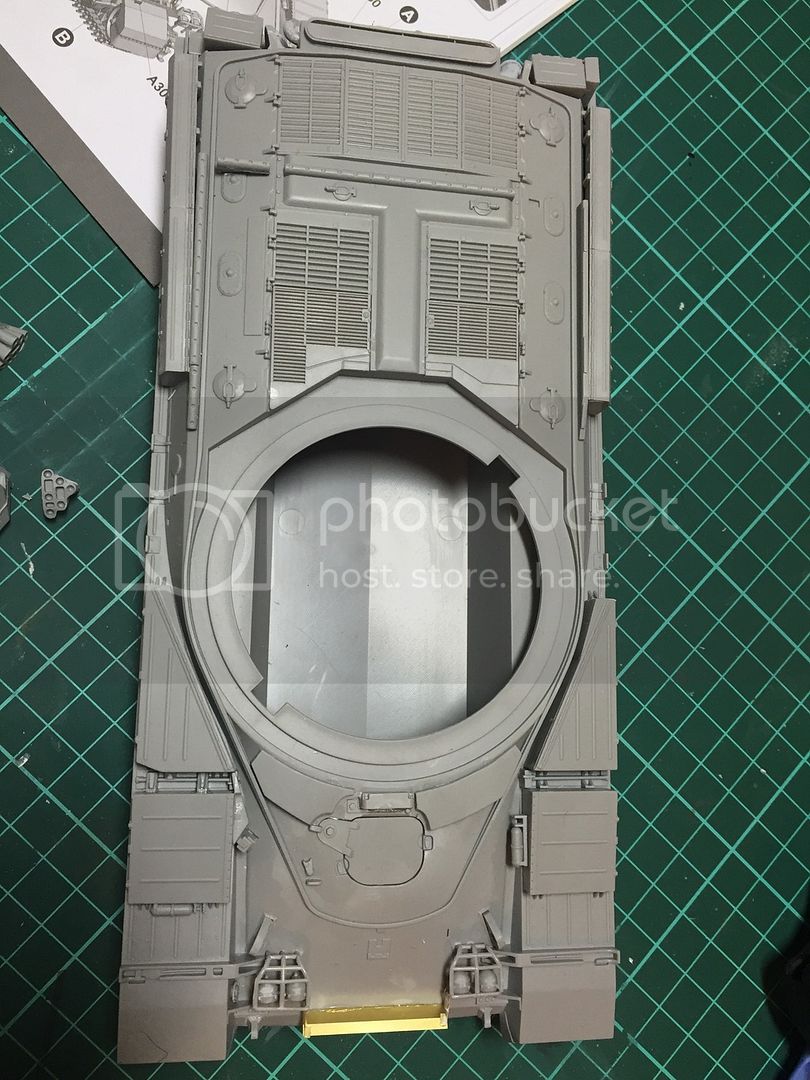
Started my build yesterday of Takom's new Chieftain Mk.11. Having purchased the venerable Tamiya kit many many years ago, it was interesting to see just how accurate this new modern kit was. To be fair, to compare the two is like comparing an old wooden cart from the Stone Age to a Bugati Veyron. They are completely worlds apart. My initial thoughts on the Takom kit were very favourable, with well molded parts, slide molding and clear instructions. So on with the build.....
Lower Hull
I started as per the instructions by building the road wheels, idlers and drive sprockets. Word of warning, part N which attaches to each of the front idlers, is not easy to find!! I had to do a search on Google to locate a Mk.10 review which explained where it was. Both parts are molded to the underside of the turret piece.
There are some sprue attachment points that require delicate cleaning up, but the plastic is strong enough to withstand careful sanding.
Once all the wheels were completed, they were placed to one side whilst I built up the suspension units. The suspension units are a multi part affair, with very delicate fine parts. However, the delicate arms were able to be clipped off the sprue without snapping as well as being cleaned up with both scalpel and sanding stick.
I then failed to correctly read the instructions where it states that several 1mm holes needed drilling into the underside of the upper hull before it is attached to the lower hull tub. In any case, the join of both upper and lower hull parts was great, with only a small amount of Tamiya thin used.
The rear hull plate is then attached and the gun travel lock is built up. The instructions say that it shouldn't be glued, but unless you have four hands it will be a struggle. I glued mine with Tamiya thin and then swiftly glued it to the rear hull plate with no issues. I built all three exhausts up and then covered them with a stippled coat of Mr Surfacer 500 to help with the rust application later on.
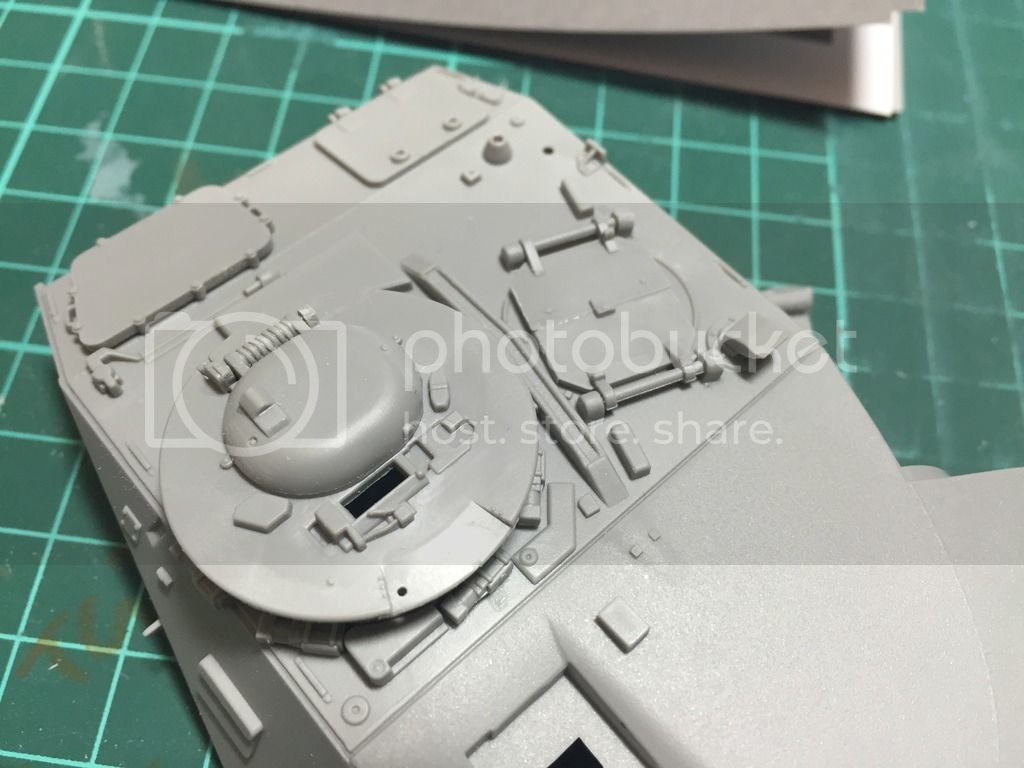
The last part was the scraping off of some raised plastic on the upper hull to the rear of the drivers hatch. It would appear that the four raised parts that need removing were for the Mk.5 version. They were simply initially snipped with some clippers and then a small chisel used to remove most of the remaining plastic. A skinny stick was then used to remove the remaining material and a high grit stick used to give a relatively smooth finish.
That's it so far. Hoping to finish some more off today......
Hosted by Darren Baker
Takom Chieftain Mk.11 build blog
toby2282
England - North West, United Kingdom
Joined: July 15, 2005
KitMaker: 195 posts
Armorama: 112 posts
Joined: July 15, 2005
KitMaker: 195 posts
Armorama: 112 posts
Posted: Tuesday, February 02, 2016 - 11:55 AM UTC
Taylortony
United Kingdom
Joined: November 30, 2010
KitMaker: 126 posts
Armorama: 102 posts
Joined: November 30, 2010
KitMaker: 126 posts
Armorama: 102 posts
Posted: Tuesday, February 09, 2016 - 06:37 PM UTC
Looking fwd to this
flugwuzzi
Lower Austria, Austria
Joined: November 02, 2007
KitMaker: 633 posts
Armorama: 599 posts
Joined: November 02, 2007
KitMaker: 633 posts
Armorama: 599 posts
Posted: Wednesday, February 10, 2016 - 01:57 AM UTC
Nice start on your Chieftain ... looking good so far. I follow with interest. Thx for the hint with part N ... same problem here ;-)
Cheers
Walter
Cheers
Walter
Posted: Wednesday, February 10, 2016 - 02:05 AM UTC
Looking good! I'll be looking forward to watching this build.
Gary
Gary
Armorsmith
Pennsylvania, United States
Joined: April 09, 2015
KitMaker: 1,063 posts
Armorama: 1,000 posts
Joined: April 09, 2015
KitMaker: 1,063 posts
Armorama: 1,000 posts
Posted: Wednesday, February 10, 2016 - 02:34 AM UTC
Very nice looking kit. Hope to build it one day myself. As I am new to modern armor(formerly WWII German)I will be following with great interest.
phantom8747
Alabama, United States
Joined: March 09, 2015
KitMaker: 281 posts
Armorama: 273 posts
Joined: March 09, 2015
KitMaker: 281 posts
Armorama: 273 posts
Posted: Wednesday, February 10, 2016 - 06:31 PM UTC
I've got the Mark 10 but have not started it yet.Will be watchimg your build blog.
toby2282
England - North West, United Kingdom
Joined: July 15, 2005
KitMaker: 195 posts
Armorama: 112 posts
Joined: July 15, 2005
KitMaker: 195 posts
Armorama: 112 posts
Posted: Thursday, February 25, 2016 - 01:20 AM UTC
Small update this week as my days off work didn't quite go to plan!!! Thanks for all your comments. I have to say that the kit is very nice. This is the second Takom kit that I've built (after the C2 Mexas) and it's good to see that Takom have learnt from some of their errors.
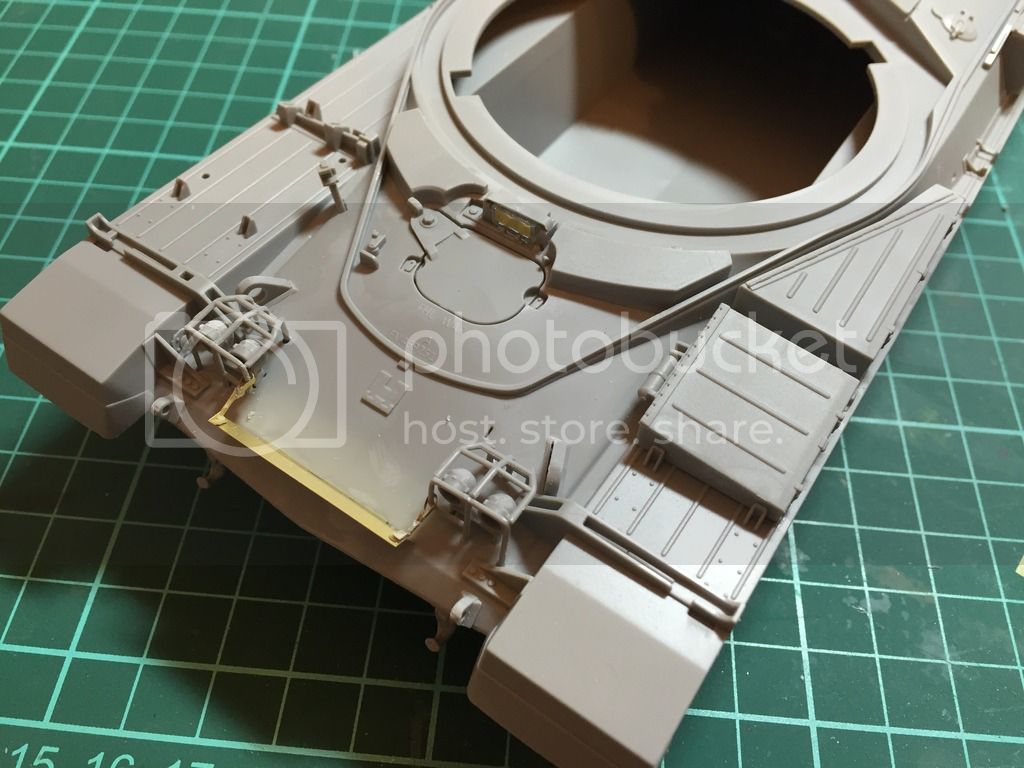
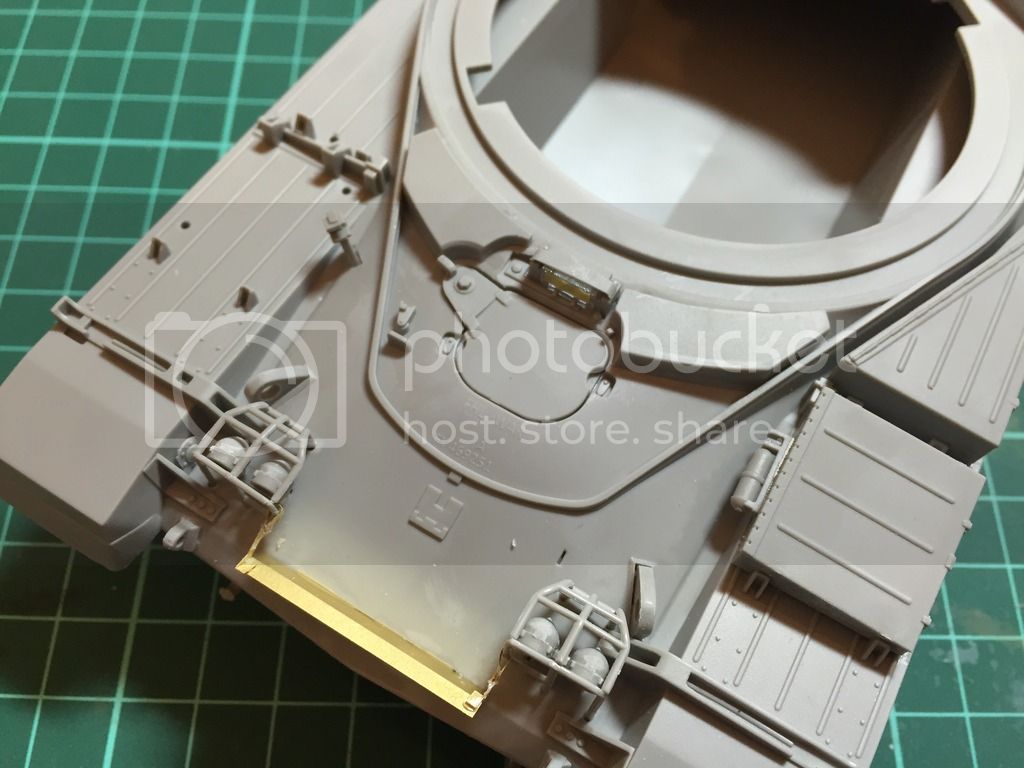
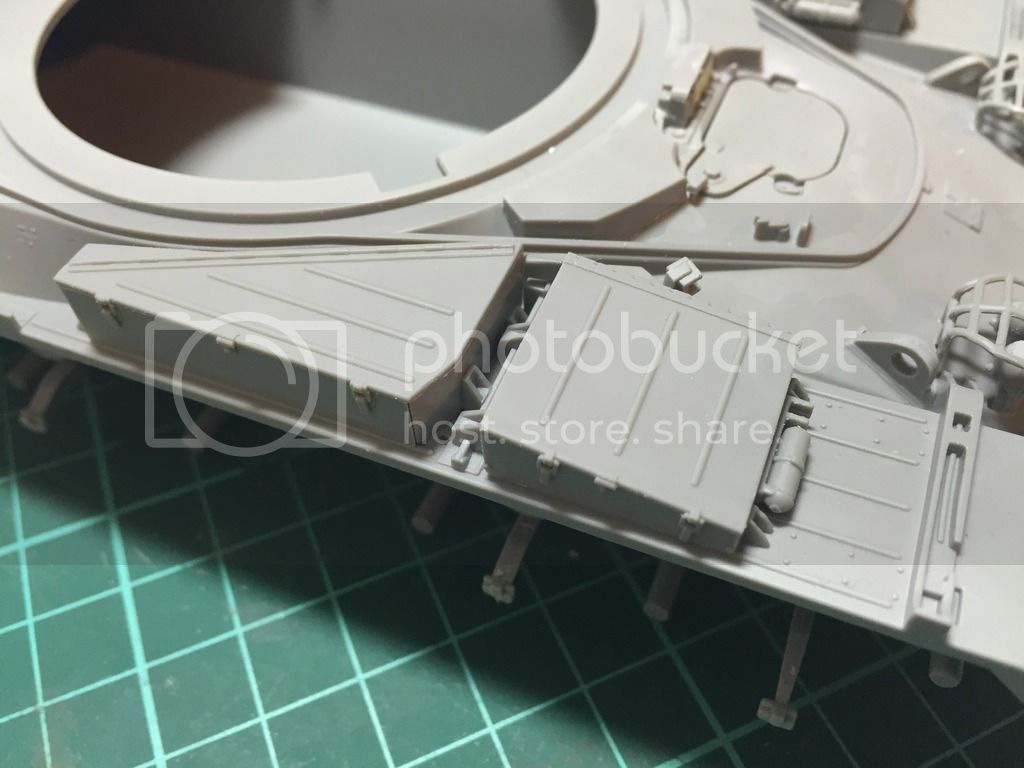
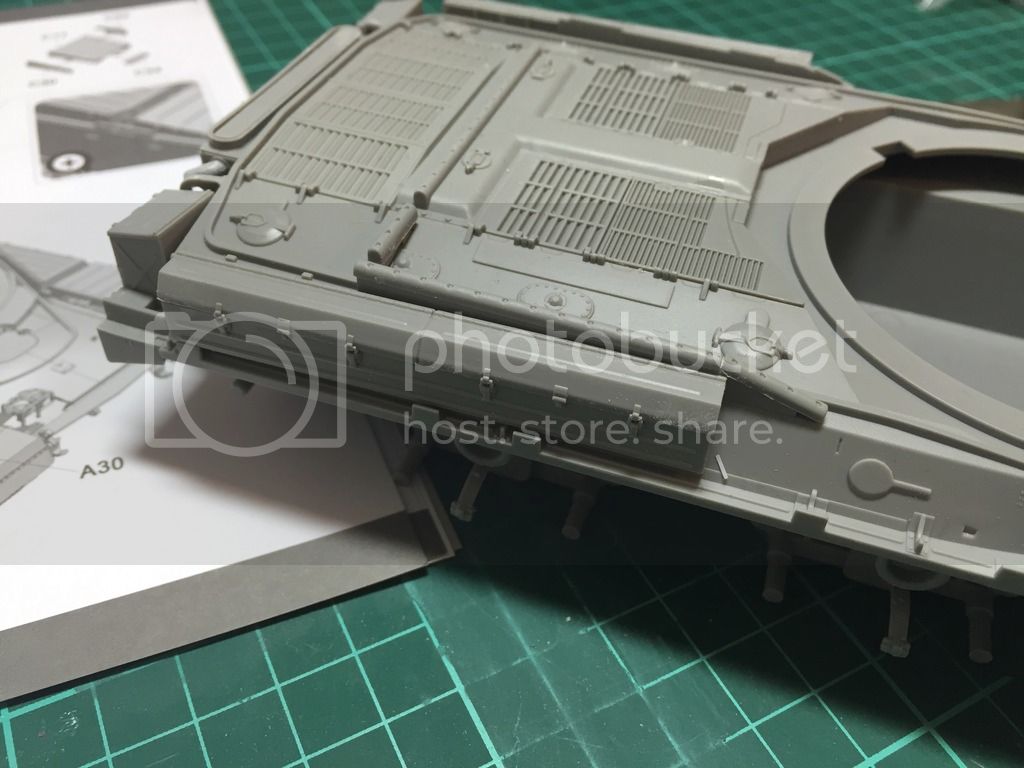
The hull is fully completed now. I added the final tool and stowage boxes as well as the splash guard in front of the drivers position and extra armour around it. Unfortunately Photobucket isn't playing this evening and won't let me download all of the photos???!!!
I had quite a bit of difficulty in gluing the splash guard supports to the splash guard. I used gorilla glue, thin CA and medium CA as well as using activator on the CA glue, and nothing seemed to stay put. Eventually I managed to get them to hold, but it didn't look pretty. I don't know if its the metal they're using or something within the etch process, but nothing would hold, and having glued lots of things with these glues, i know that its not them.
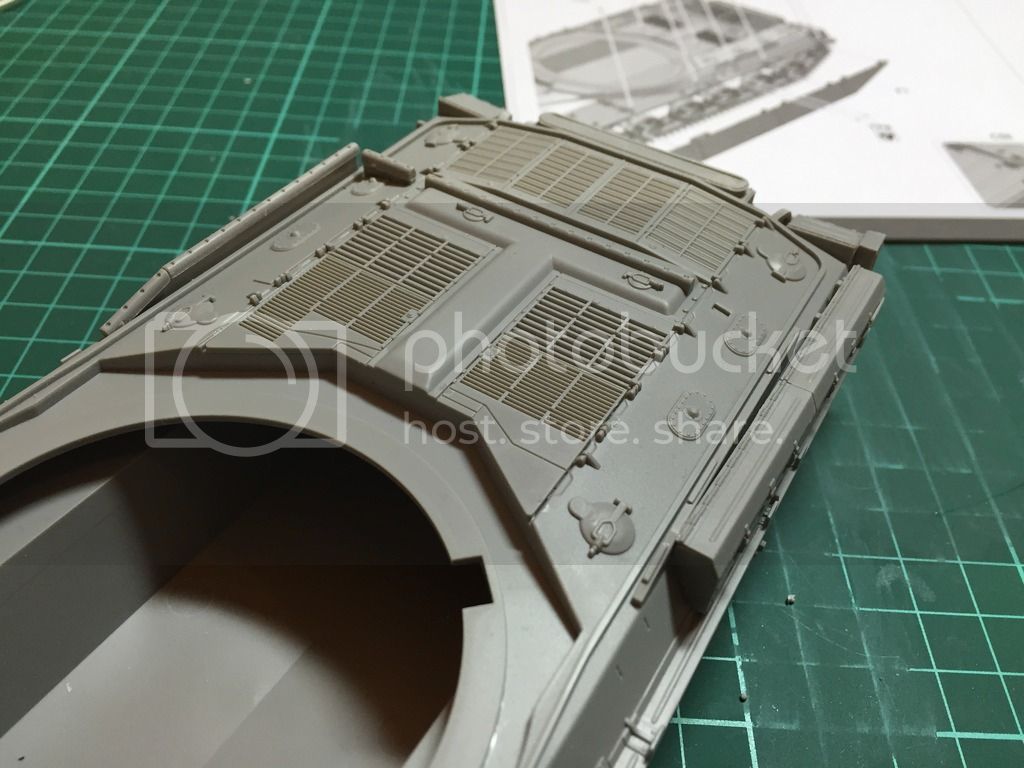
All the stowage and tool boxes are fitted, and all that is left is the etch grills over the engine. Im sure that i won't have a problem gluing these, i just didn't fancy another long messy fight.
So the next update will have the turret building along with the grilles being fitted. If i have the time I will prime the lower hull ready for paint. I'm looking to build it as a vehicle taking part in the REFORGER exercises during the 1980's, although I've not decided yet whether or not to add the camp nets that most seemed to have around the barrels etc..
Armorsmith
Pennsylvania, United States
Joined: April 09, 2015
KitMaker: 1,063 posts
Armorama: 1,000 posts
Joined: April 09, 2015
KitMaker: 1,063 posts
Armorama: 1,000 posts
Posted: Thursday, February 25, 2016 - 01:42 AM UTC
Seems to be coming along nicely. Very clean build to this point.
TankManNick
California, United States
Joined: February 01, 2010
KitMaker: 551 posts
Armorama: 543 posts
Joined: February 01, 2010
KitMaker: 551 posts
Armorama: 543 posts
Posted: Thursday, February 25, 2016 - 02:00 AM UTC
Might want to try cleaning the PE - 91% alcohol I've heard used to de-grease it. (Of course I totally forgot that on some screens I installed just 2 days ago!)
Curious about your build order. I'm doing a Mk 11 right now but I'm putting the tracks on before the hull top. You're not concerned you are going to knock off the hull details putting the tracks on later?
toby2282
England - North West, United Kingdom
Joined: July 15, 2005
KitMaker: 195 posts
Armorama: 112 posts
Joined: July 15, 2005
KitMaker: 195 posts
Armorama: 112 posts
Posted: Thursday, February 25, 2016 - 02:29 AM UTC
I haven't attached the wheels or skirts, so will attach the tracks and wheels once I've painted the lower hull sides, then attach the side armour plates. The tracks and wheels can then be masked and painted. I did the same with my C2 Mexas and didn't have a problem.
laikneth
Singapore / 新加坡
Joined: September 24, 2013
KitMaker: 75 posts
Armorama: 63 posts
Joined: September 24, 2013
KitMaker: 75 posts
Armorama: 63 posts
Posted: Thursday, February 25, 2016 - 05:59 AM UTC
Hi i built a mk 11 a while back. had some problems putting the tracks onto the sprocket after i attached the hull top.
solve the problem by cutting the the track at the teeth hole so that i can slide the track onto the the sprocket teeth at the top of the sprocket, then glued the on other track at the other side of the sprocket teeth.
you may want to do the track before you glue on the hull top.
solve the problem by cutting the the track at the teeth hole so that i can slide the track onto the the sprocket teeth at the top of the sprocket, then glued the on other track at the other side of the sprocket teeth.
you may want to do the track before you glue on the hull top.
toby2282
England - North West, United Kingdom
Joined: July 15, 2005
KitMaker: 195 posts
Armorama: 112 posts
Joined: July 15, 2005
KitMaker: 195 posts
Armorama: 112 posts
Posted: Monday, March 14, 2016 - 03:01 AM UTC
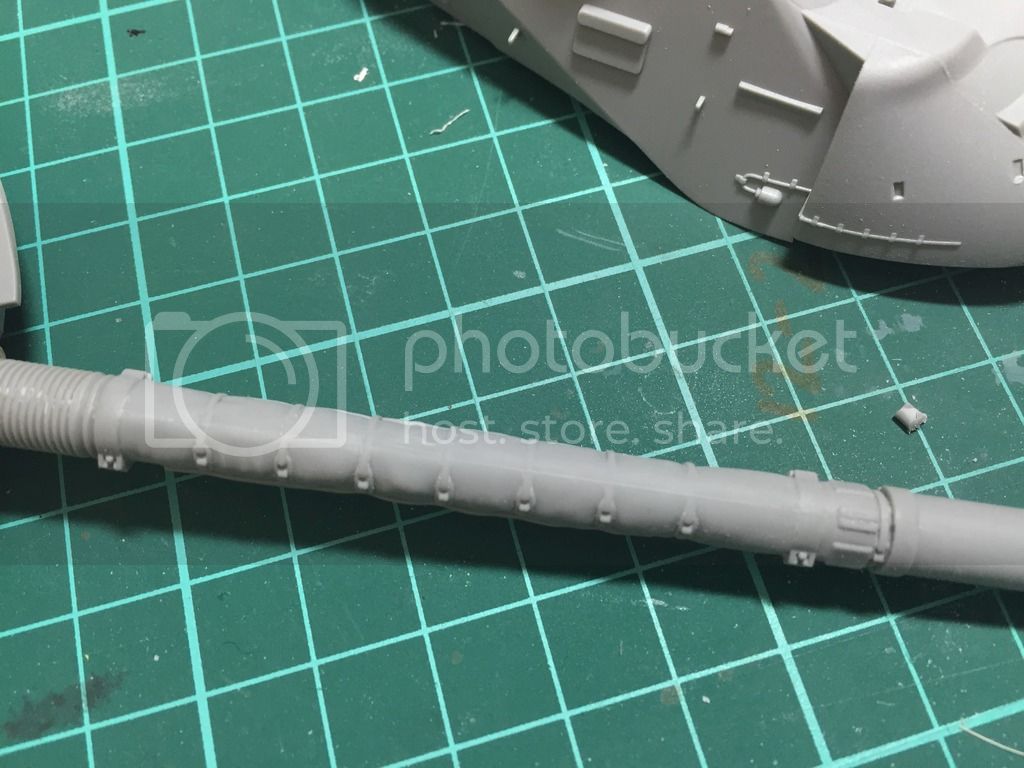
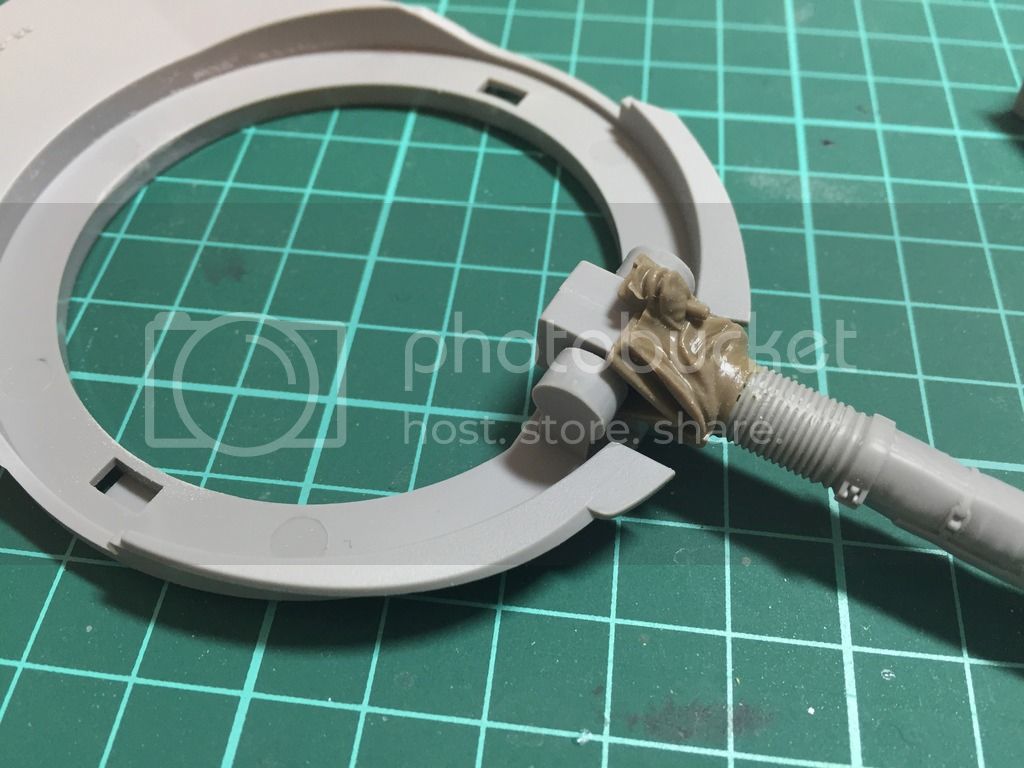
A bit more of an update tonight. I finished off the main styrene pieces from the hull. There's a few small pieces to add followed by the etch grilles. I want to get the tracks put together, painted and fitted before I start adding pieces that may ping off!! I thus started on the turret, gluing together the two piece barrel (it's actually 4, but the main part is two pieces). There was some sanding with a selection of skinny sticks along with some very light scraping with a curved Xacto blade. The vinyl cover was glued in with thicker glue. I'll see how that dries tomorrow. It may require a small amount of Mr Surfacer just to improve the texture and give the paint something to grip to. The loaders station is a simple few pieces that glue together nicely. The commanders station has all the periscopes to build but I want to work out how I'm going to mask them and unmask them later after the main paintwork before I fit them. Looking through the instruction booklet, there's not a huge amount more to do before I can add primer and paint!! Anyway here's the pictures.
LeoCmdr
Alberta, Canada
Joined: January 19, 2005
KitMaker: 4,085 posts
Armorama: 3,917 posts
Joined: January 19, 2005
KitMaker: 4,085 posts
Armorama: 3,917 posts
Posted: Saturday, April 23, 2016 - 10:49 AM UTC
Any updates on your build Toby?
I'm interested to see how the build is progressing OOB and any details need to be added.
Removed by original poster on 04/24/16 - 18:15:42 (GMT).
toby2282
England - North West, United Kingdom
Joined: July 15, 2005
KitMaker: 195 posts
Armorama: 112 posts
Joined: July 15, 2005
KitMaker: 195 posts
Armorama: 112 posts
Posted: Saturday, April 23, 2016 - 11:25 PM UTC
Sorry Jason. The build has stagnated recently due to my dads health. I had planned to get some done last week but wasn't able to. I am hoping to try and find some time this coming week to get the build part completed and photos uploaded.
RLlockie
United Kingdom
Joined: September 06, 2013
KitMaker: 1,112 posts
Armorama: 938 posts
Joined: September 06, 2013
KitMaker: 1,112 posts
Armorama: 938 posts
Posted: Saturday, April 23, 2016 - 11:51 PM UTC
You might want to remove the wading rail behind the transverse depression stop rail, as these were removed when the raised transmission covers were fitted.
It might be me but the gun travel crutch looks a bit squiffy too - the transverse components should be horizontal but look to angle down a bit on the RHS.
I don't know how visible they will be on the final model but the brackets that attach the trackguard bins to the hull fire extinguisher pull handle brackets do not extend all the way down on the real tank. They were moulded that way to make it possible to extract the upper hull from the mould but they only extend down as far as the top of the vertical plate which supports the pull cable, so the undercuts could be removed for better authenticity. Tamiya didn't even provide them but it forced me to measure up the real ones for mine so I had to figure out how they looked😀
iowabrit
Iowa, United States
Joined: November 06, 2007
KitMaker: 585 posts
Armorama: 557 posts
Joined: November 06, 2007
KitMaker: 585 posts
Armorama: 557 posts
Posted: Sunday, April 24, 2016 - 12:05 AM UTC
It also appears that you have the splash plate in front of the drivers hatch fitted incorrectly. the lower edge of the brass piece should fit into the thin slot in the hull top between the headlights with the folded top edge facing forward. Like you say, its a really nice kit to put together. I have built the Mk 5 and have the Mk 11 in my stash...I will also be getting the Mk 2
TankManNick
California, United States
Joined: February 01, 2010
KitMaker: 551 posts
Armorama: 543 posts
Joined: February 01, 2010
KitMaker: 551 posts
Armorama: 543 posts
Posted: Sunday, April 24, 2016 - 01:34 AM UTC
Quoted Text
You might want to remove the wading rail behind the transverse depression stop rail, as these were removed when the raised transmission covers were fitted.
I don't know how visible they will be on the final model but the brackets that attach the trackguard bins to the hull fire extinguisher pull handle brackets do not extend all the way down on the real tank. They were moulded that way to make it possible to extract the upper hull from the mould but they only extend down as far as the top of the vertical plate which supports the pull cable, so the undercuts could be removed for better authenticity. Tamils didn't even provide them but it forced me to measure up the real ones for mine so I had to figure out how they looked😀
Good catches! I should be able to snip the wading rail on my Mk 11 even though I have paint on already. For those side brackets, I see what you mean - but I'll never be able to fix that now it's built. I'll have to remember it for the next build. (I checked out the Mk 11 walkaround on Prime Portal.) This is one tank I should be able to improve on as I have three more in the stash and want the Mk 2 also! Usually I find out all the things to improve and then never build another model of that type. (OK didn't mean to highjack the thread!)
LeoCmdr
Alberta, Canada
Joined: January 19, 2005
KitMaker: 4,085 posts
Armorama: 3,917 posts
Joined: January 19, 2005
KitMaker: 4,085 posts
Armorama: 3,917 posts
Posted: Sunday, April 24, 2016 - 02:08 AM UTC
Thanks for the update Toby. No rush at all, family first!
LeoCmdr
Alberta, Canada
Joined: January 19, 2005
KitMaker: 4,085 posts
Armorama: 3,917 posts
Joined: January 19, 2005
KitMaker: 4,085 posts
Armorama: 3,917 posts
Posted: Sunday, April 24, 2016 - 02:10 AM UTC
Quoted Text
You might want to remove the wading rail behind the transverse depression stop rail, as these were removed when the raised transmission covers were fitted.
It might be me but the gun travel crutch looks a bit squiffy too - the transverse components should be horizontal but look to angle down a bit on the RHS.
I don't know how visible they will be on the final model but the brackets that attach the trackguard bins to the hull fire extinguisher pull handle brackets do not extend all the way down on the real tank. They were moulded that way to make it possible to extract the upper hull from the mould but they only extend down as far as the top of the vertical plate which supports the pull cable, so the undercuts could be removed for better authenticity. Tamils didn't even provide them but it forced me to measure up the real ones for mine so I had to figure out how they looked😀
Any chance you can highlight these areas on an image(s)?
Posted: Sunday, April 24, 2016 - 03:02 AM UTC
I cannot be sure if these are what he is talking about.
Thirian24
Oklahoma, United States
Joined: September 30, 2015
KitMaker: 2,493 posts
Armorama: 2,344 posts
Joined: September 30, 2015
KitMaker: 2,493 posts
Armorama: 2,344 posts
Posted: Sunday, April 24, 2016 - 03:13 AM UTC
How did I miss this? Looks great. These kits look nice. Can't wait to get my hands on a few.
ChrisJohnson
Joined: June 02, 2005
KitMaker: 65 posts
Armorama: 53 posts
KitMaker: 65 posts
Armorama: 53 posts
Posted: Sunday, April 24, 2016 - 03:30 AM UTC
Quoted Text
It also appears that you have the splash plate in front of the drivers hatch fitted incorrectly. the lower edge of the brass piece should fit into the thin slot in the hull top between the headlights with the folded top edge facing forward. Like you say, its a really nice kit to put together. I have built the Mk 5 and have the Mk 11 in my stash...I will also be getting the Mk 2
If you look closely at the images, he has the splash plate fitted correctly with the bend at the top and the supports fitted to the bent section.
Cheers,
Chris
iowabrit
Iowa, United States
Joined: November 06, 2007
KitMaker: 585 posts
Armorama: 557 posts
Joined: November 06, 2007
KitMaker: 585 posts
Armorama: 557 posts
Posted: Sunday, April 24, 2016 - 07:02 AM UTC
Quoted Text
Quoted TextIt also appears that you have the splash plate in front of the drivers hatch fitted incorrectly. the lower edge of the brass piece should fit into the thin slot in the hull top between the headlights with the folded top edge facing forward. Like you say, its a really nice kit to put together. I have built the Mk 5 and have the Mk 11 in my stash...I will also be getting the Mk 2
If you look closely at the images, he has the splash plate fitted correctly with the bend at the top and the supports fitted to the bent section.
Cheers,
Chris
YUp, I can see that now. I think the way the plate reflected the light in the last few pics made me think it had been removed and then refitted incorrectly. I know when I was building my Mk 5 I must have broken that part off four or five times while handling the model.
LeoCmdr
Alberta, Canada
Joined: January 19, 2005
KitMaker: 4,085 posts
Armorama: 3,917 posts
Joined: January 19, 2005
KitMaker: 4,085 posts
Armorama: 3,917 posts
Posted: Sunday, April 24, 2016 - 11:33 AM UTC
Quoted Text
I cannot be sure if these are what he is talking about.
OK....I think the Voyager Model PE sets correct this issue.