_GOTOBOTTOM
Armor/AFV: Axis - WWII
Armor and ground forces of the Axis forces during World War II.
Hosted by Darren Baker
1/35 Italeri KfZ15 Funkwagon build.
fhvn4d
#159
Visit this Community
Massachusetts, United States
Joined: April 07, 2008
KitMaker: 803 posts
Armorama: 564 posts
Posted: Tuesday, March 15, 2016 - 02:22 AM UTC
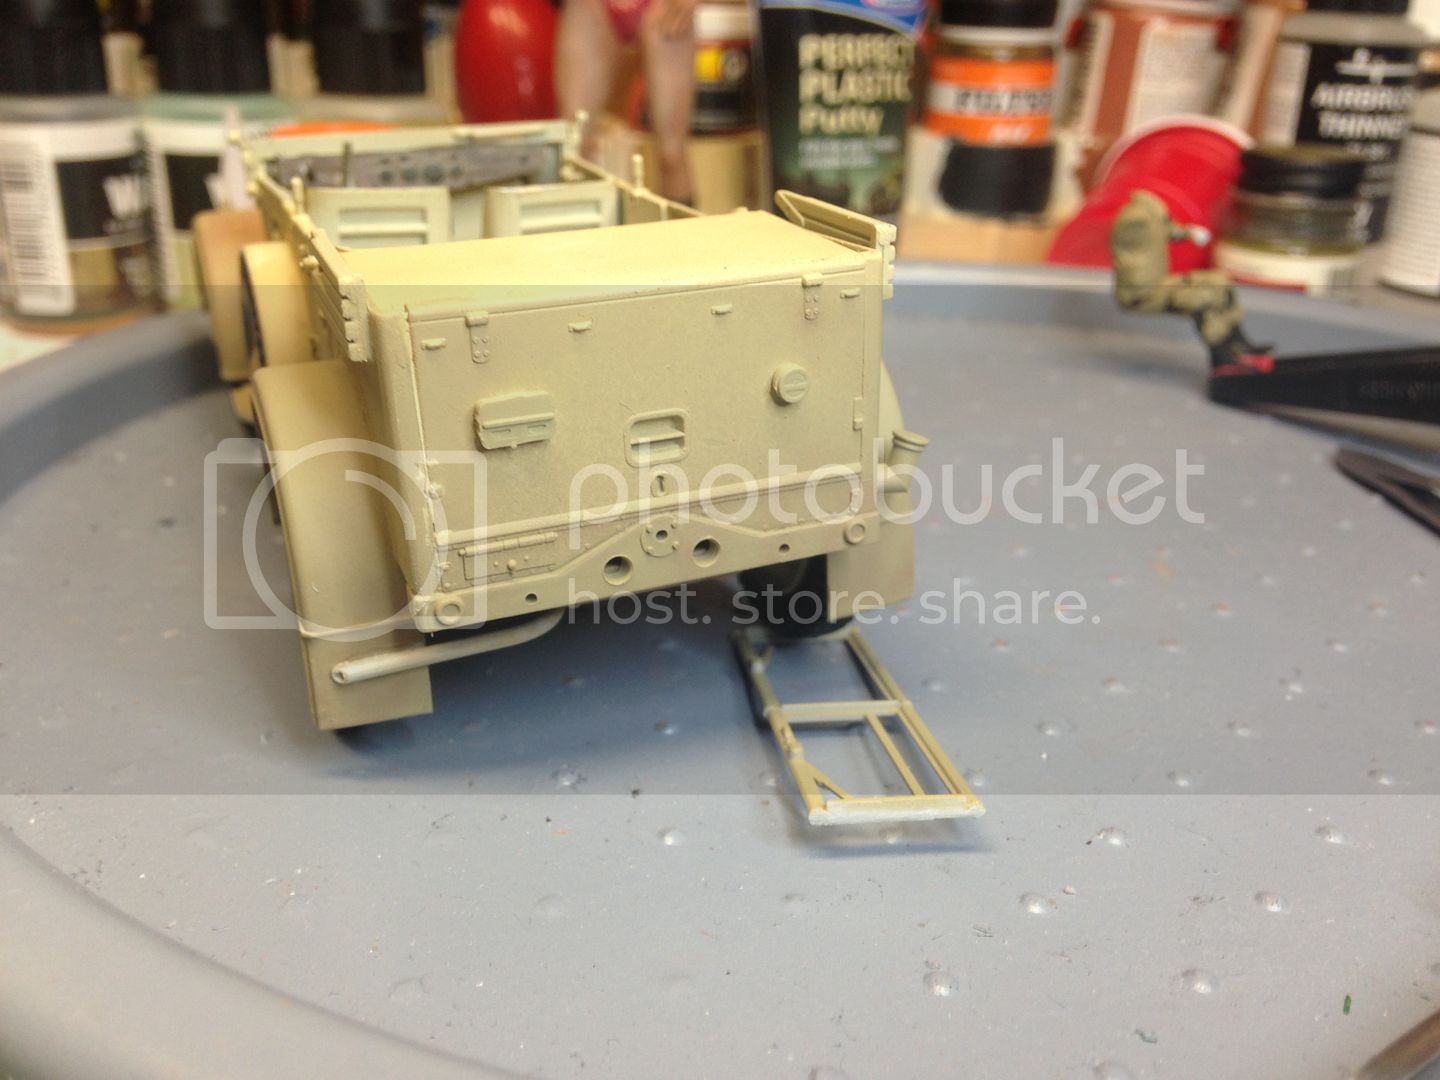
After reviewing this kit from Italeri, I began to contemplate how to go about construction. The kit comes with lots of fine details and small parts, so I was fairly sure there would be moments of frustration, and I have not been disappointed LOL. Construction began with the cars body, and within the second step I found that some really great detail would be hidden by the trunk. I did a bit of research in hopes that I could find an open trunk top, but to no avail. SO, alas, the trunk is closed!

Step 1 and 2 have you constructing the passenger area of the cab, and aside from the previously mentioned hidden detail its pretty straight forward. Part 116 in step one is called out wrong but other than that things are goodthere.


In step 2 the balance of the passenger area is built up, and a word of caution about small parts.. I broke two of them in this step despite my initial attempt to keep the small pieces up front from breaking off...

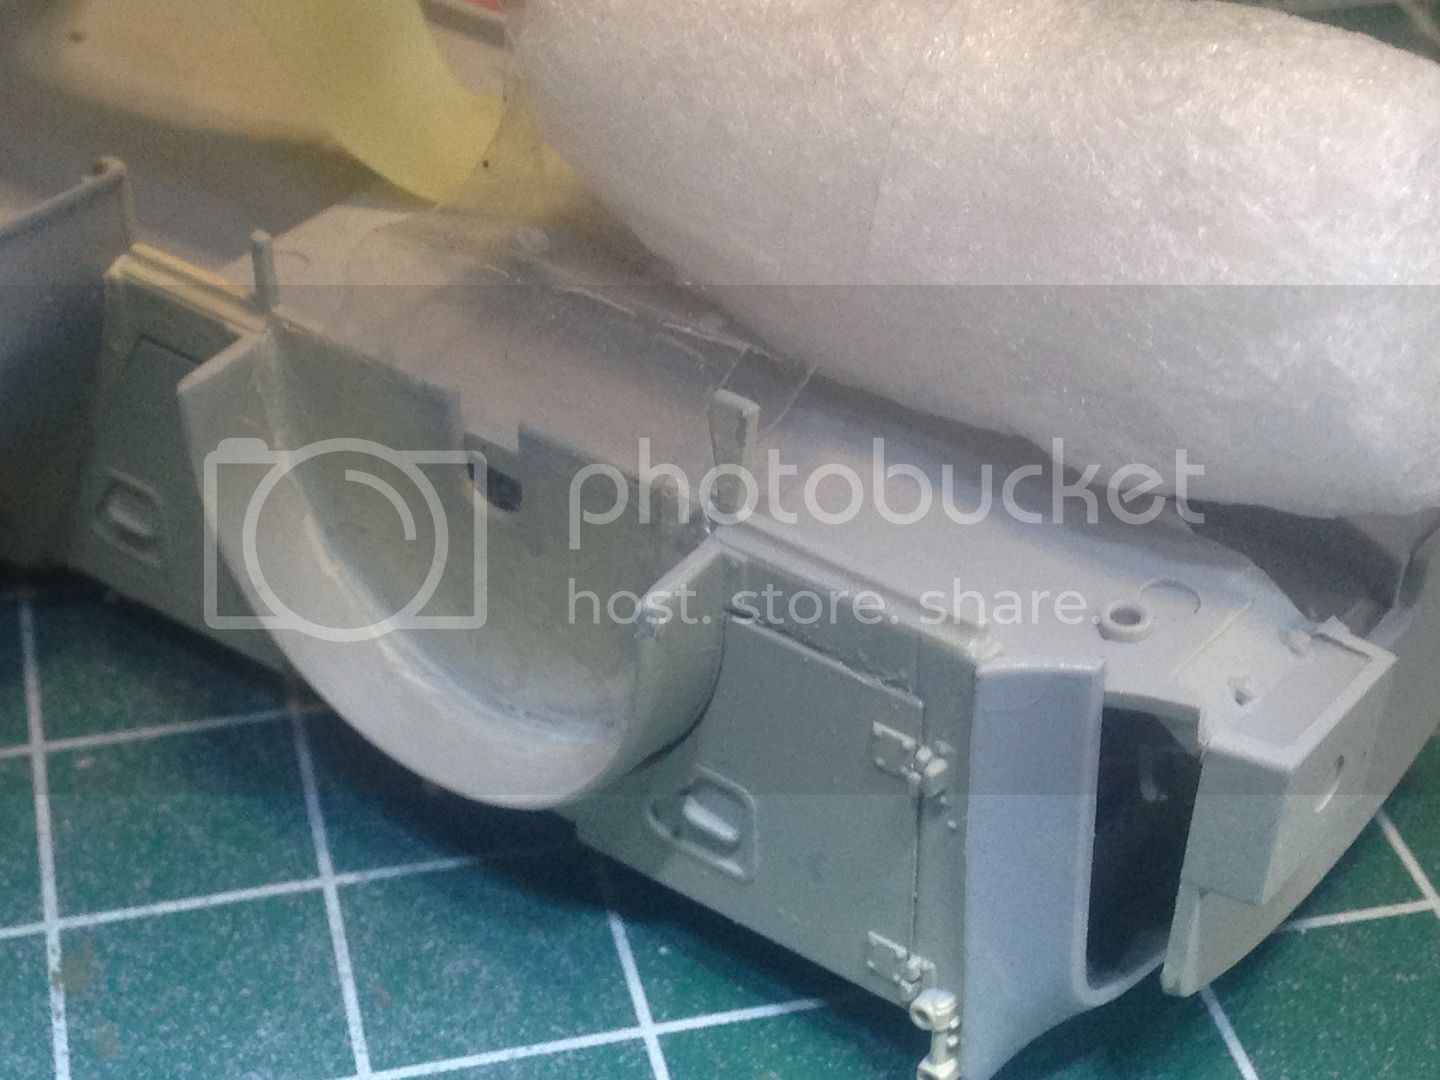


How well it worked.....
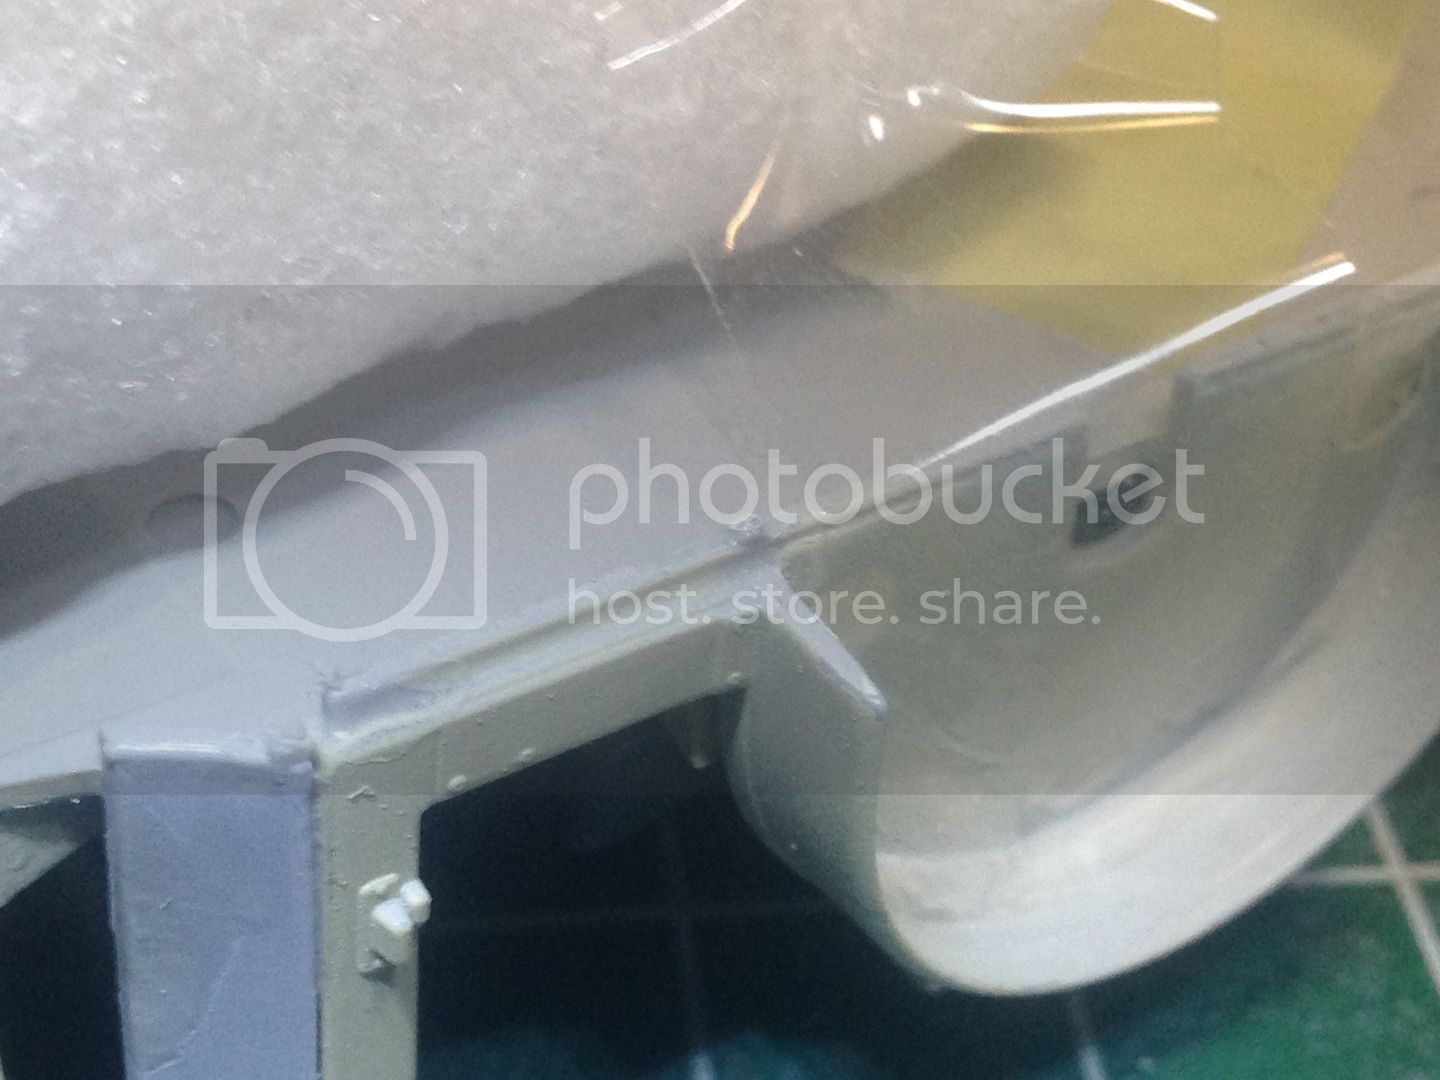


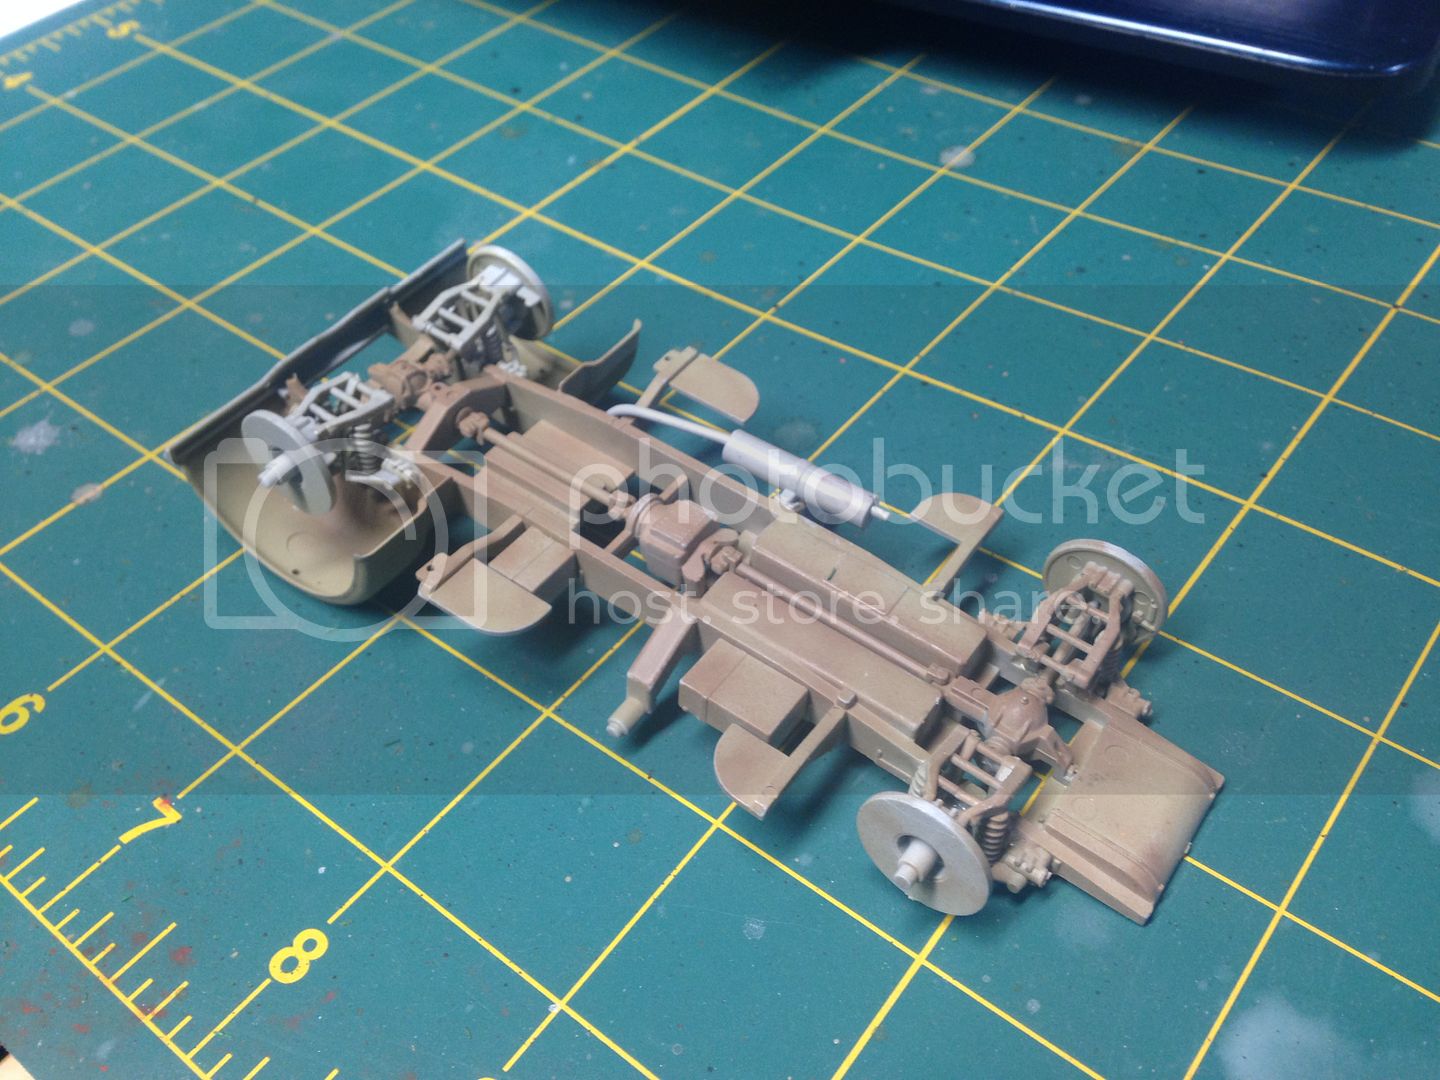
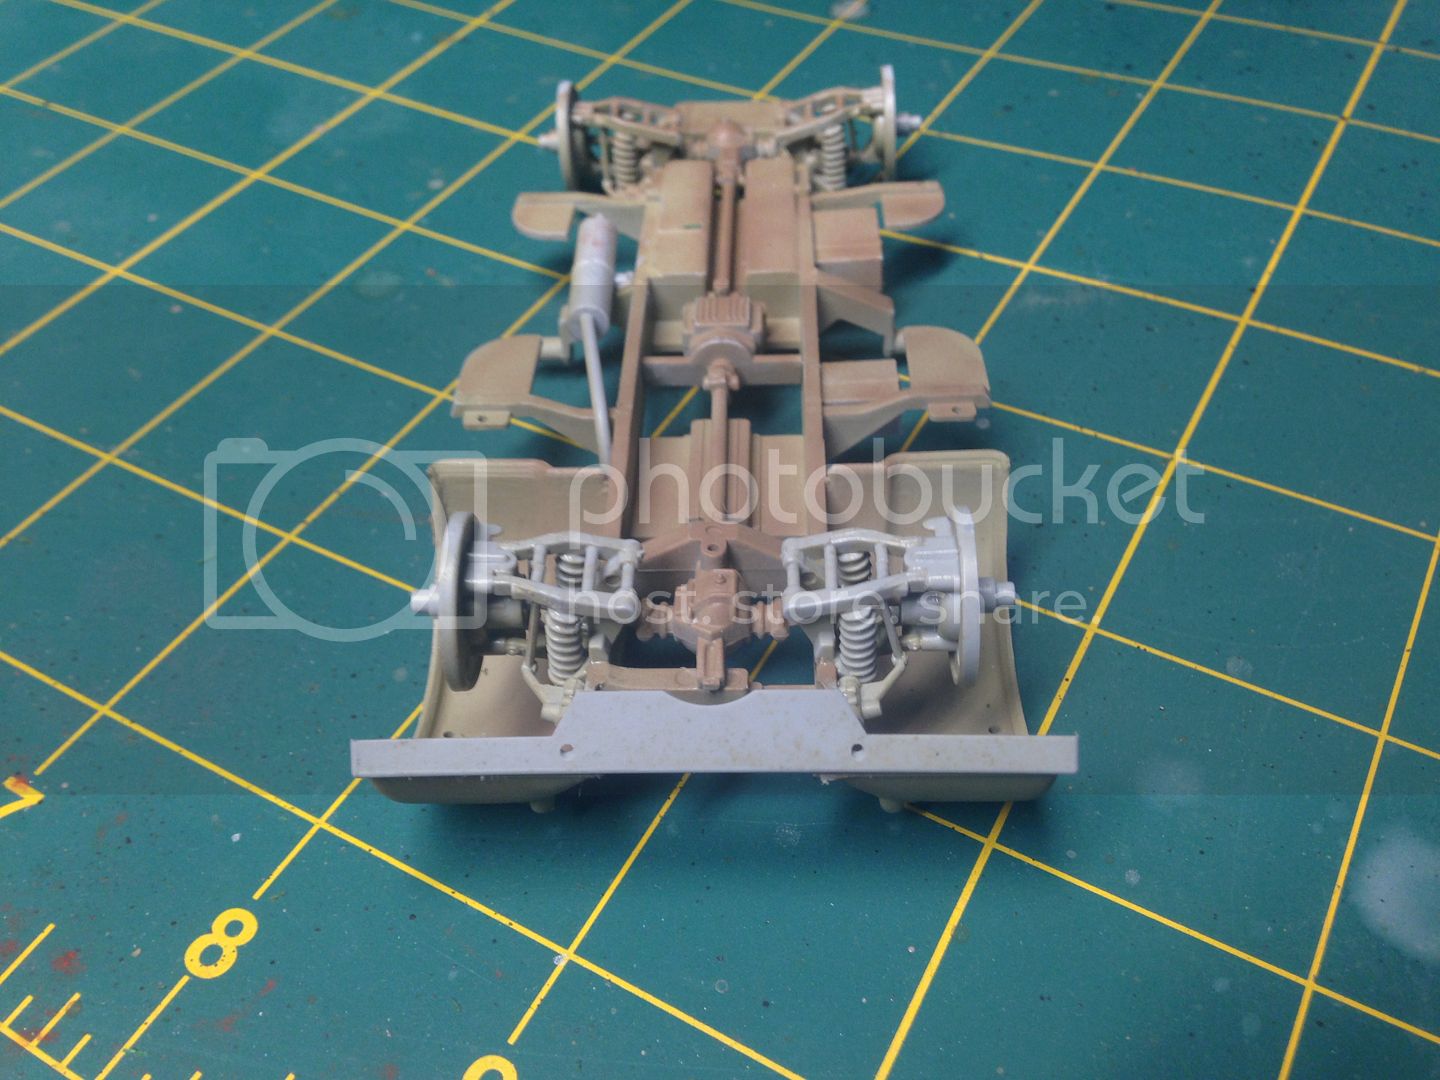
Construction begins on the frame. Very detailed and intricate construction of the four suspensions. Lost one part to the winds trying to get it off the tree.

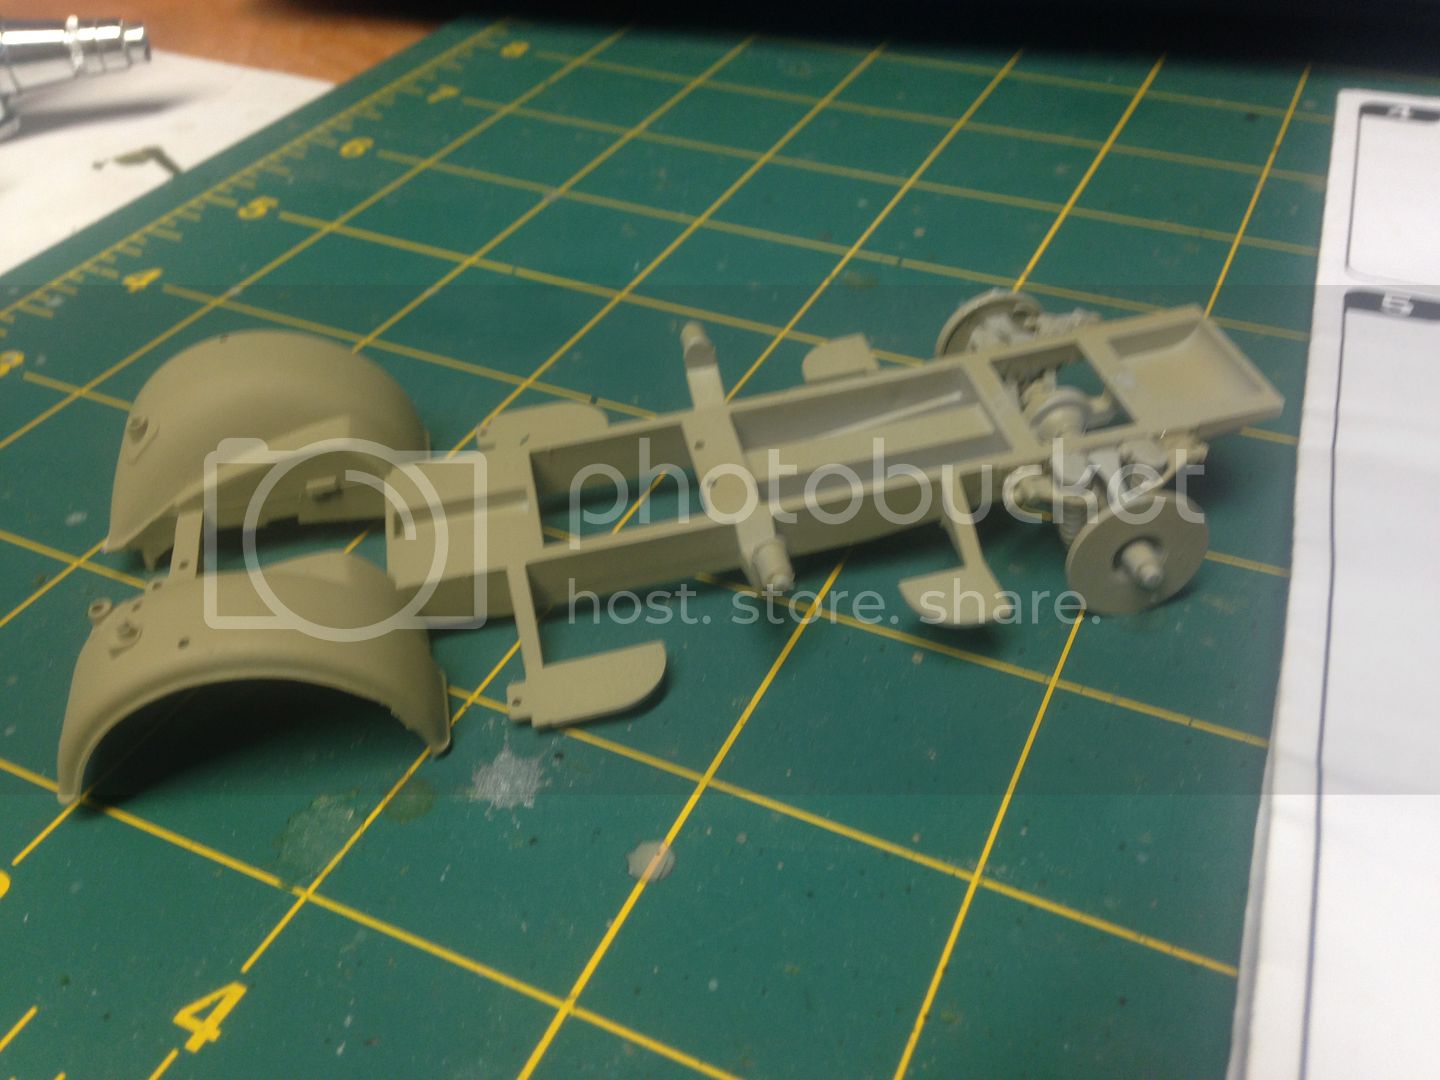


Stay tuned as there will be more to come!


justsendit
Visit this Community
Colorado, United States
Joined: February 24, 2014
KitMaker: 3,033 posts
Armorama: 2,492 posts
Posted: Tuesday, March 15, 2016 - 03:14 AM UTC

Quoted Text

... My initial attempt to keep the small pieces up front from breaking off ...


I feel your pain brother — all too familiar with breaking those parts! After a bunch of mishaps, I just put them aside until it came time to assemble the body / frame … and then it was on to breaking off the mirrors … repeatedly!

Looking forward to your progress!

PS: If you’re into it, DEF.Models makes a really nice set of resin wheels: 'Horch Kfz.15 Wheel Set – sagged'

—mike
fhvn4d
#159
Visit this Community
Massachusetts, United States
Joined: April 07, 2008
KitMaker: 803 posts
Armorama: 564 posts
Posted: Tuesday, March 15, 2016 - 07:09 AM UTC
The struggle is real right Mike!!!! I chose to leave all those mirrors and handles OFF the model because I KNOW where they will be after I put them on.... EVERYWHERE! LOL. Seriously though, I was a bit overwhelmed at all the potential little bits to break and like you.. I just left that piece that broke off somewhere in the box till its time to mate body to frame and then its getting put on with that new UV activated epoxy!!.
fhvn4d
#159
Visit this Community
Massachusetts, United States
Joined: April 07, 2008
KitMaker: 803 posts
Armorama: 564 posts
Posted: Friday, March 18, 2016 - 03:29 AM UTC
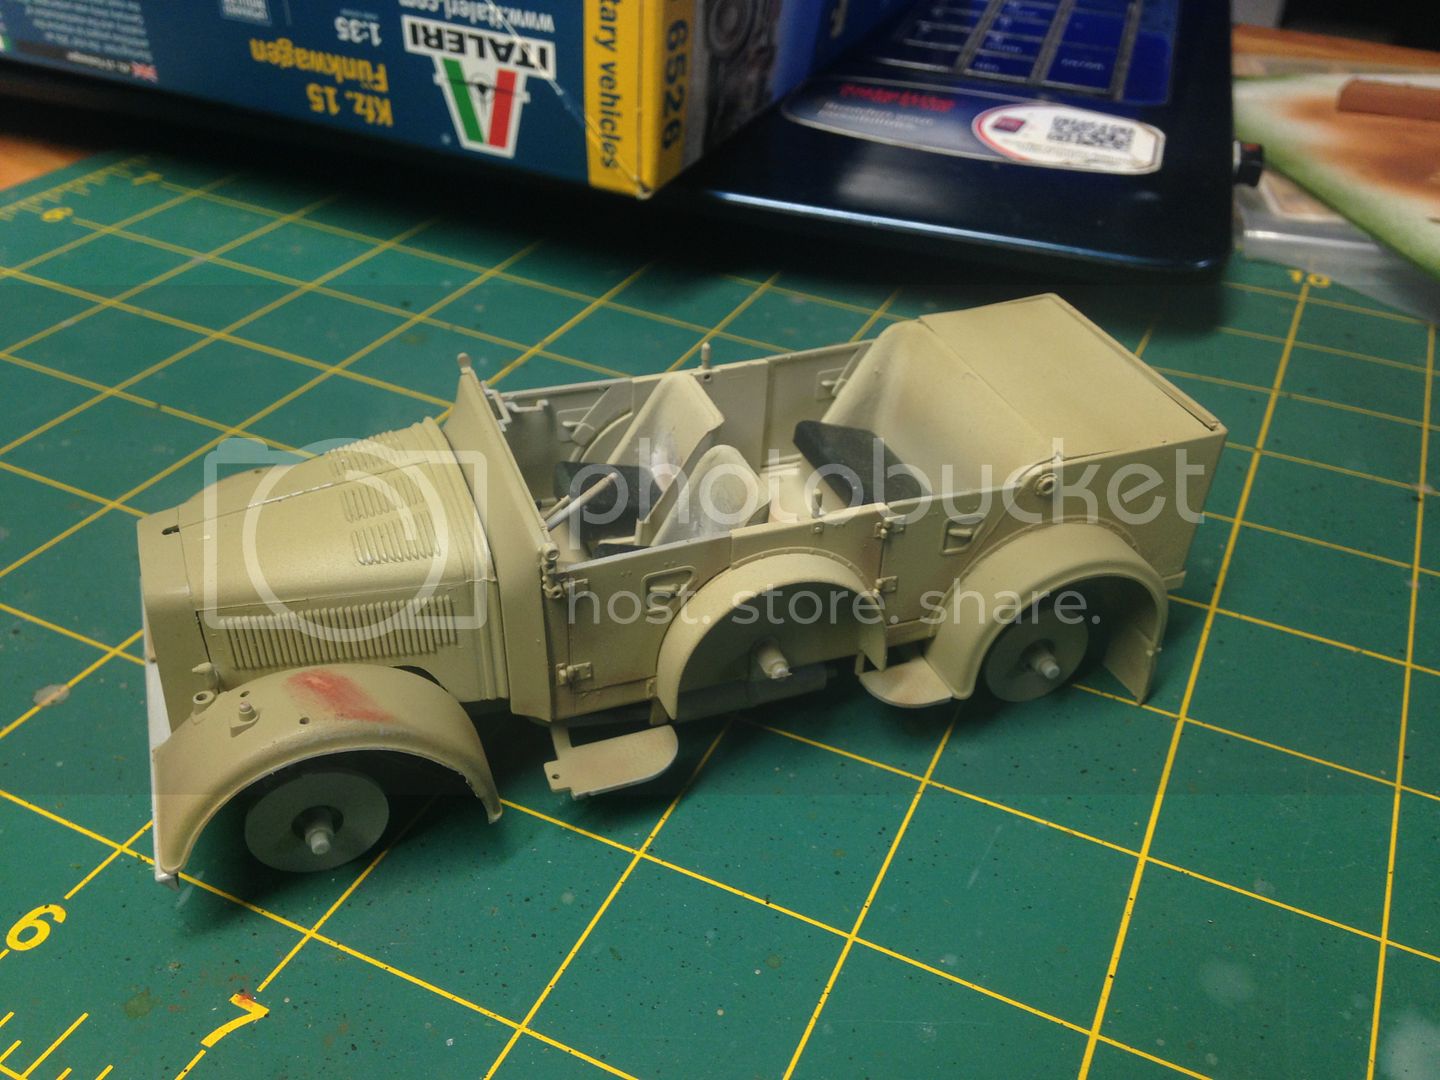
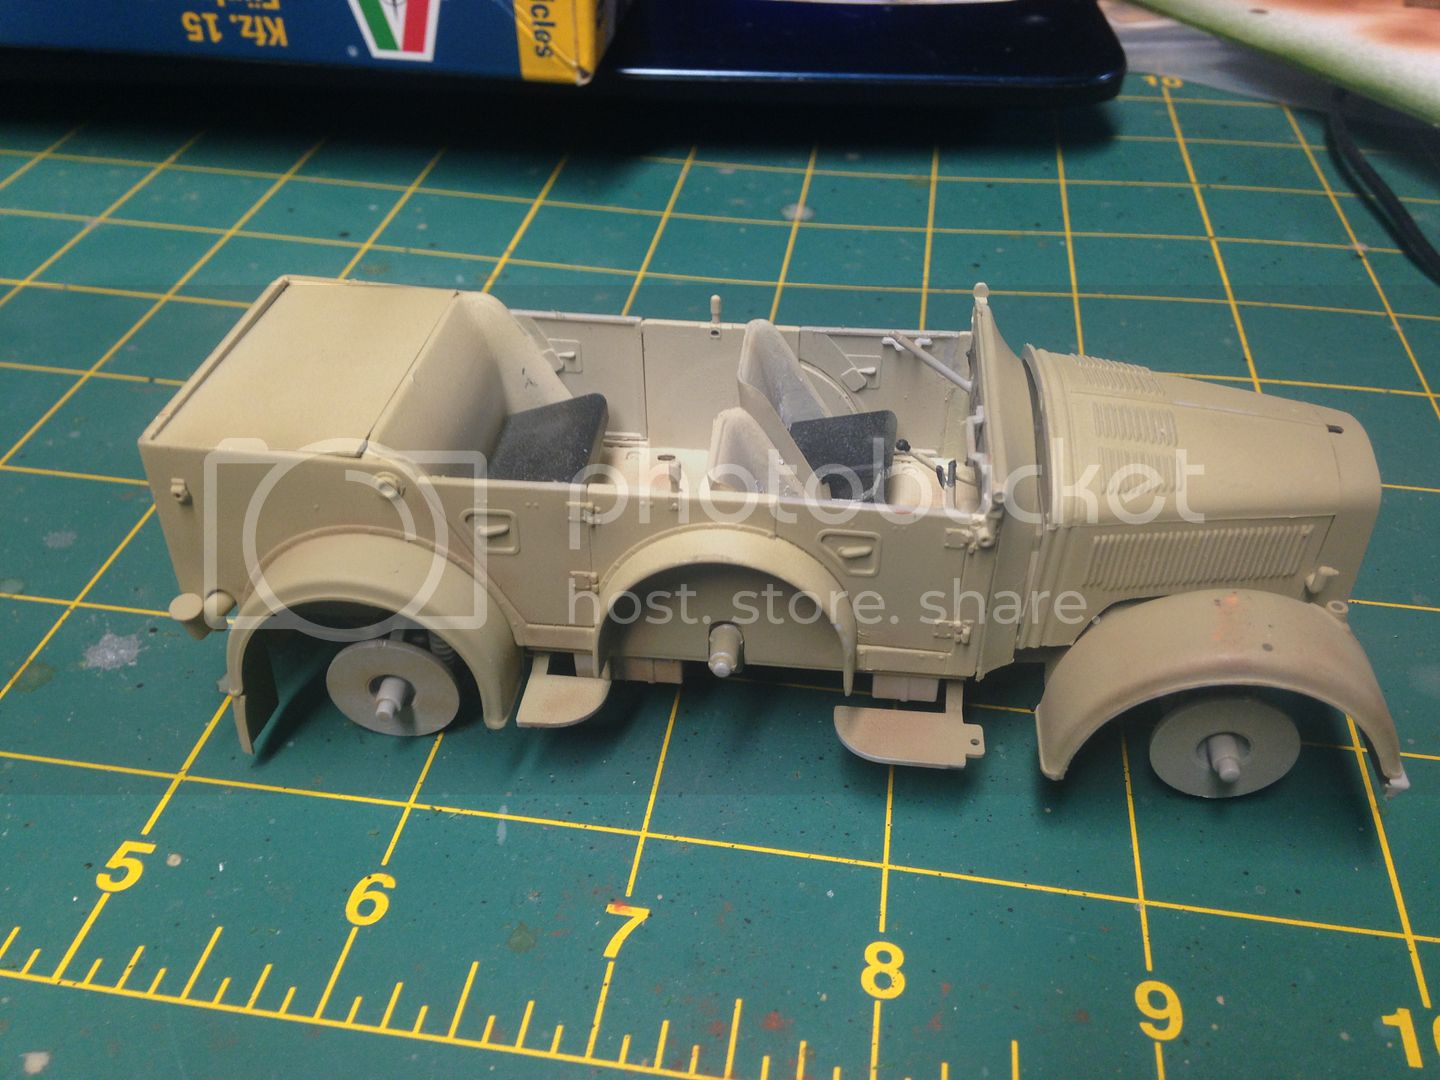
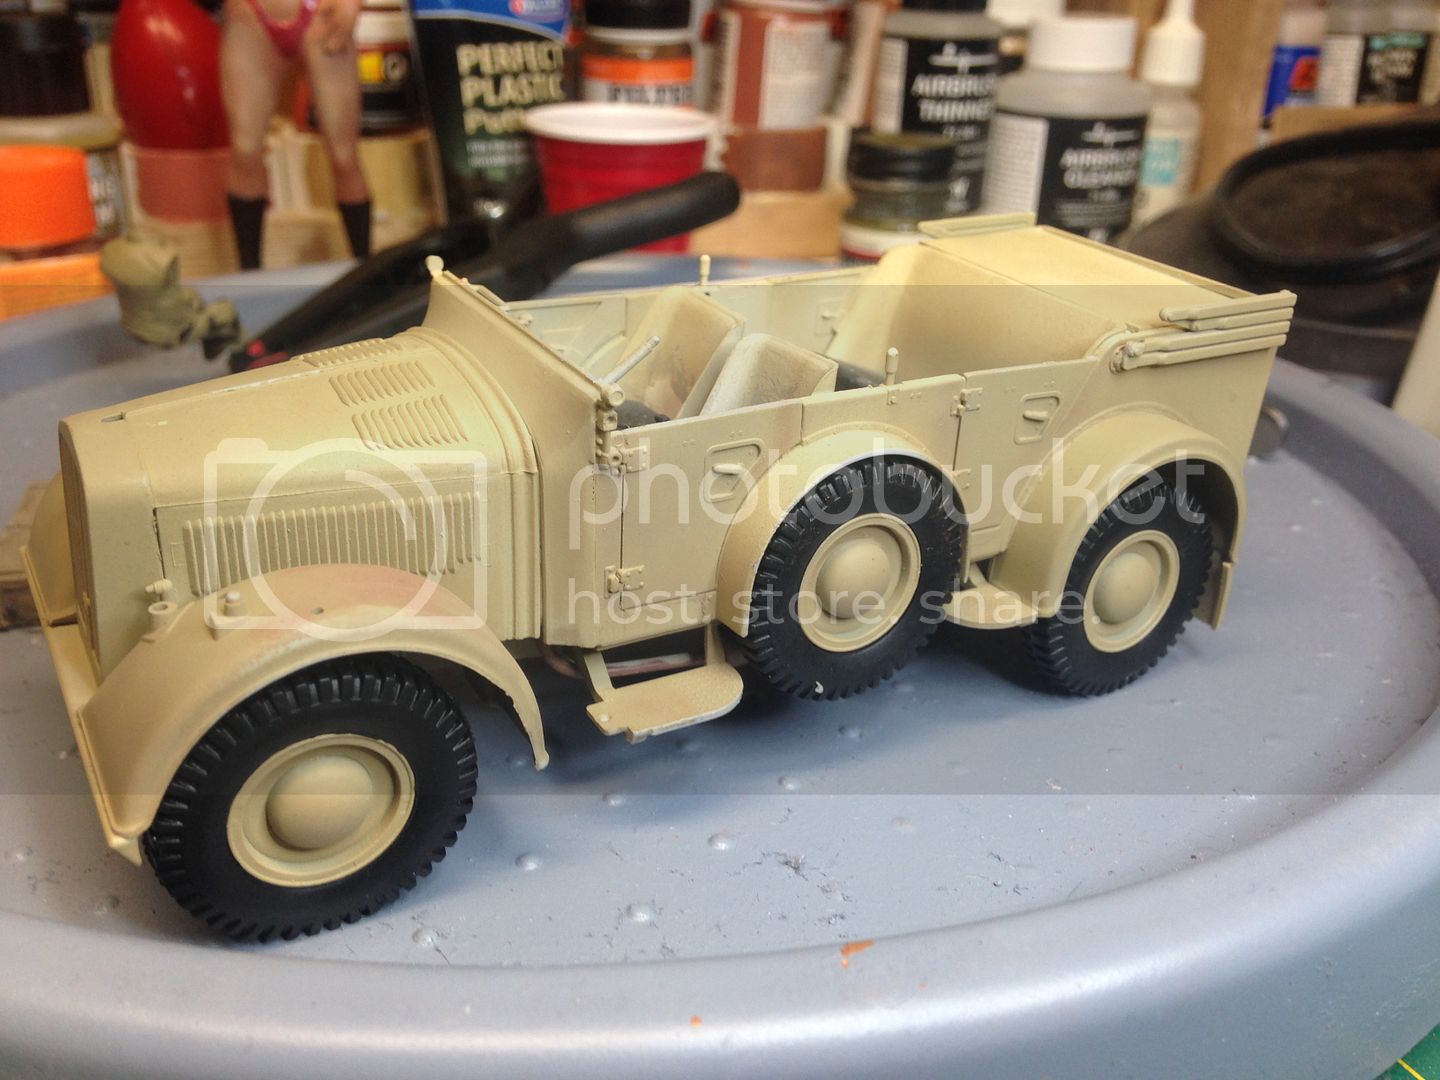
Got some more work done on the wagon, despite the unseasonably warm New England weather drawing me out of my man cave. In step 3 where the cab is completed (and step 4) I strongly recommend you consider weather or not to hold off on the small parts till the build is near complete. I was initially very skeptical about all these little parts and their locations, but I have to say, patience and SAWING them off the sprue has been relatively rewarding. As mentioned before I fired off one piece of the suspension by trying to cut it off the sprue with nippers initially so put them aside!


Step 5 is the chassis details, and along with step 6 builds into a really intricate and very nice (IMO) representation of suspensions, transmissions, drive shafts, and exhaust. Pay close attention in step 5 to what parts you are cutting off and putting on, I strongly urge you to orient the model according to the instructions and take each suspension sub assembly on its own, and LET THEM DRY! (Ill never have proper toe on one wheel because I accidentally manipulated it while it was drying)


The body is now loosely attached to the frame, and the frame is done with construction.


Thats all for now. Hoping next week to close it up and finish painting and weathering!
justsendit
Visit this Community
Colorado, United States
Joined: February 24, 2014
KitMaker: 3,033 posts
Armorama: 2,492 posts
Posted: Thursday, April 07, 2016 - 04:31 AM UTC
Hey Brian, How’s the Funkwagen coming along? Haven’t seen an update in a few weeks. Team motivation here! … at least until all my mirrors break off and I am no longer motivated!

—mike
fhvn4d
#159
Visit this Community
Massachusetts, United States
Joined: April 07, 2008
KitMaker: 803 posts
Armorama: 564 posts
Posted: Thursday, April 07, 2016 - 04:04 PM UTC
HAHAHAHAH MIKE!!!! Its very fitting you say that! I am kinda at that point where all the fun big stuff is just about on and its time to put the little bits on!! I havent been doing any real modelling in a couple weeks as I am down at the AMPS Nationals in Sumter SC, and we drove here from MA enjoying the sights along the way!!!! I did a really big cleanup of my desk for the sake of doing it, and that stalled my building a little to, because a clean desk is not easy to work on!!!! I have to keep REACHING for tools that should be scattered around me LOL... Have no fear, I intend to put this one to bed on my return!
fhvn4d
#159
Visit this Community
Massachusetts, United States
Joined: April 07, 2008
KitMaker: 803 posts
Armorama: 564 posts
Posted: Tuesday, April 19, 2016 - 05:34 PM UTC
Just a quick update, mostly for you Mike!!! Glad to know someones still looking LOL. I was off the bench for a few weeks going to AMPS Nationals and a few other things, but sat down yesterday to get some real "work" done LOL. Closed up some gaps in the body, took a stroll through the paint again, and put some new skins on!!! pretty soon its all gonna be little bits left to put on and make a suitable base and call it done!


Modelrob
Visit this Community
Arizona, United States
Joined: October 20, 2015
KitMaker: 304 posts
Armorama: 293 posts
Posted: Tuesday, April 19, 2016 - 05:38 PM UTC
It's looking good Brian, those small bits are always so much fun.

Robert
justsendit
Visit this Community
Colorado, United States
Joined: February 24, 2014
KitMaker: 3,033 posts
Armorama: 2,492 posts
Posted: Tuesday, April 19, 2016 - 11:47 PM UTC

Quoted Text

Just a quick update, mostly for you Mike!!! Glad to know someones still looking LOL. ...


Haha! Don't mind me Brian! I just lurk around the forums to coax members along with their builds ... no pressure, though!

The Funkwagen is looking good. I like the color ... nice work!

Just a question ... why is it driving over the windshield? ... Crunch!!!

—mike
fhvn4d
#159
Visit this Community
Massachusetts, United States
Joined: April 07, 2008
KitMaker: 803 posts
Armorama: 564 posts
Posted: Wednesday, April 20, 2016 - 12:40 AM UTC
LOL glad you noticed that !! I was dry fitting the windshield to the model to see where it would sit and if I was going to use the other option (canvas covered)
fhvn4d
#159
Visit this Community
Massachusetts, United States
Joined: April 07, 2008
KitMaker: 803 posts
Armorama: 564 posts
Posted: Wednesday, May 04, 2016 - 06:08 AM UTC
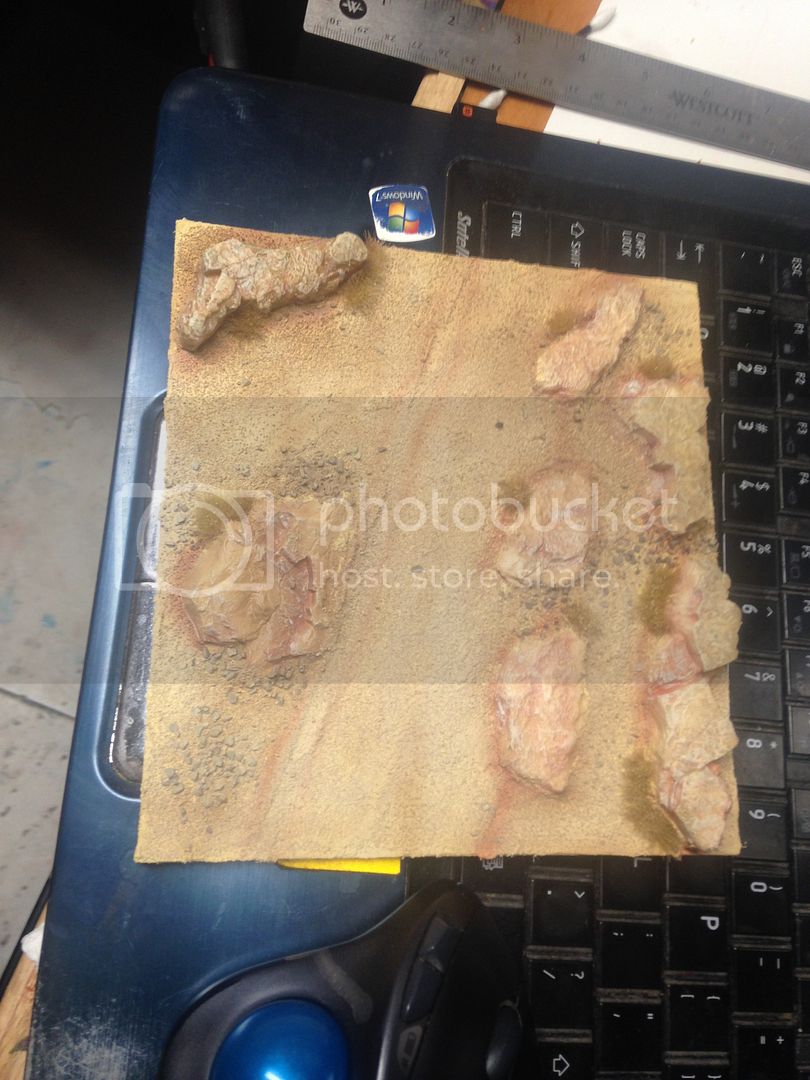
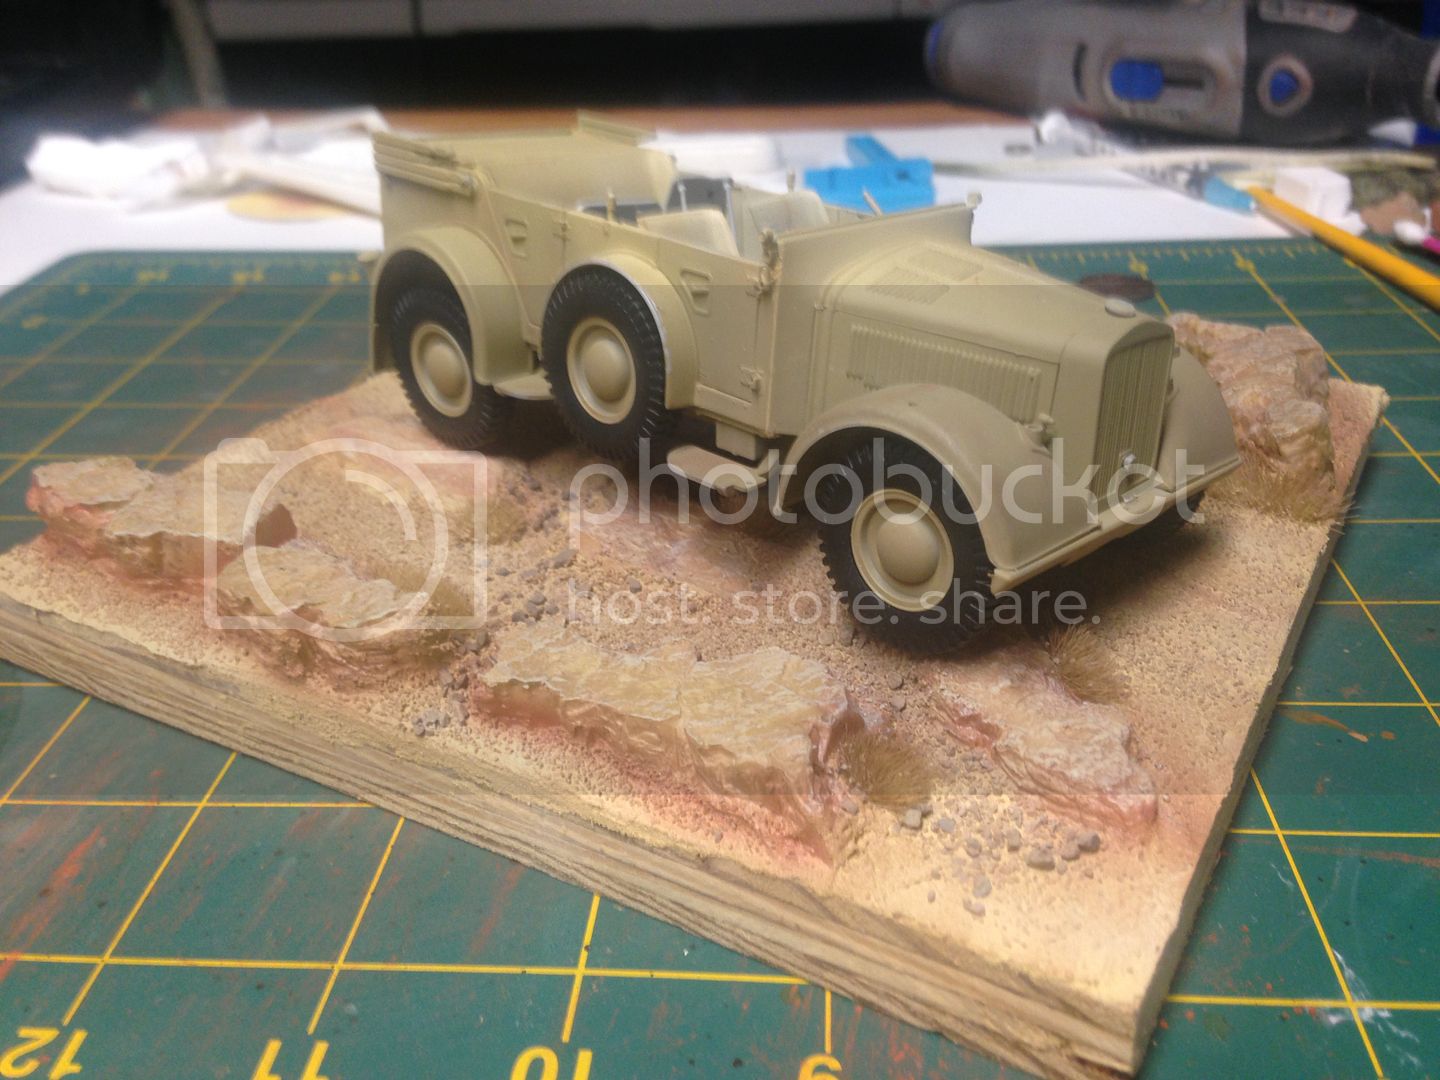
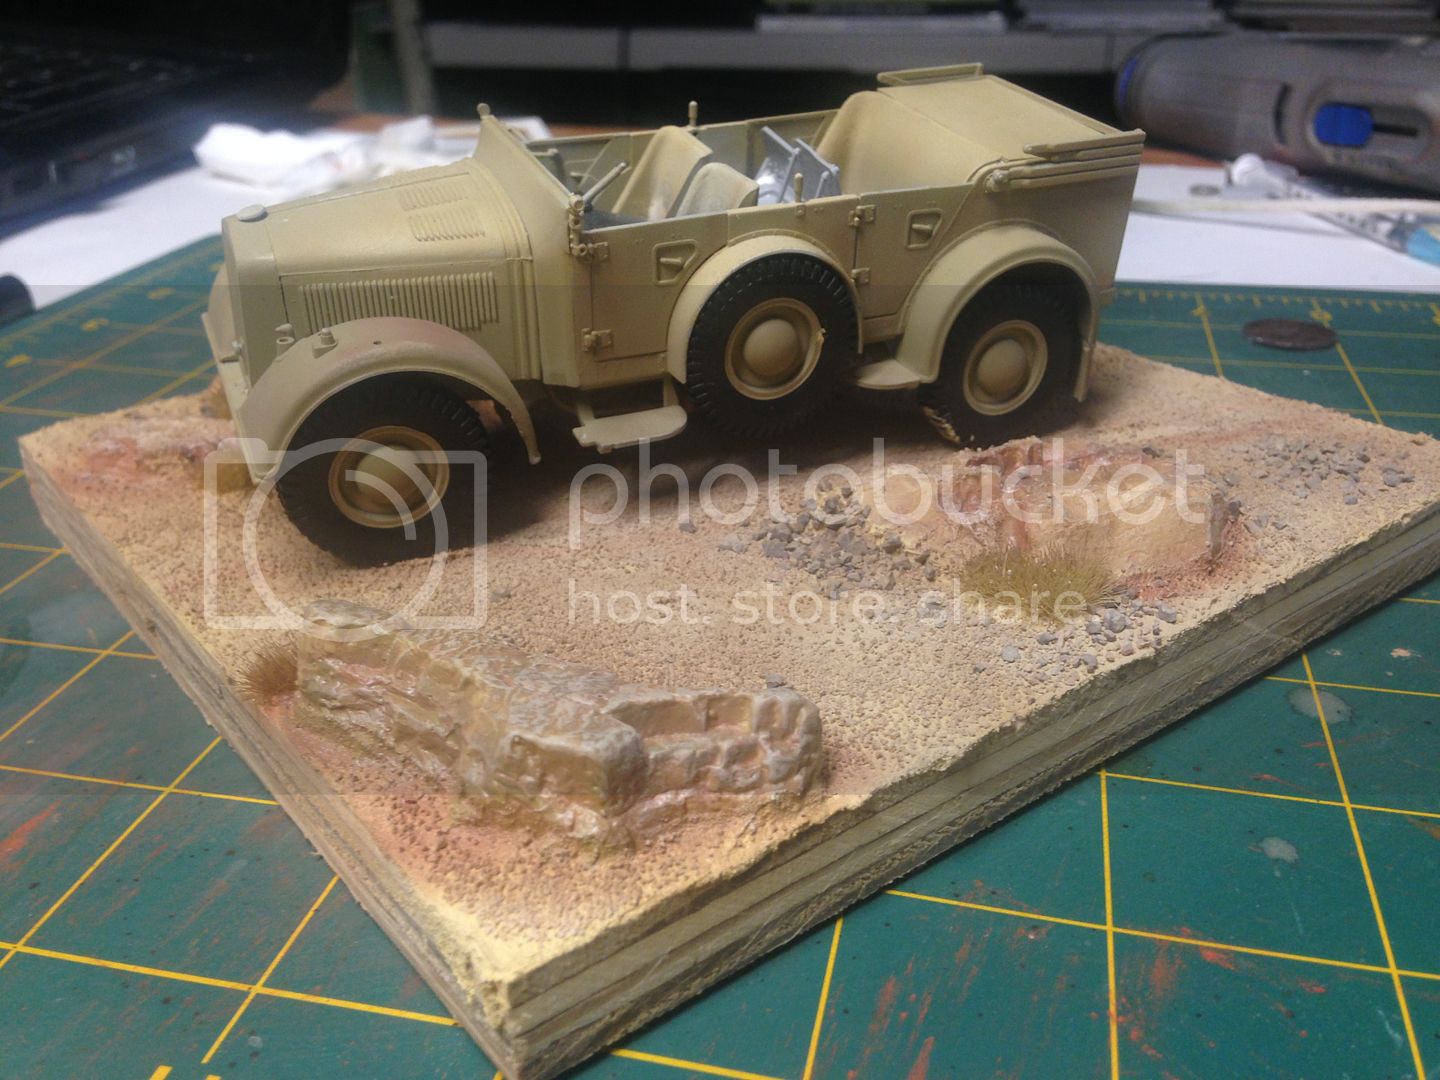
Not alot of work on the funkwagon, some small bits added and another couple of shots of paint to cover some holidays. Spent some time messing around with a base for it. I SUCK at scenery stuff.. what are your suggestions??


justsendit
Visit this Community
Colorado, United States
Joined: February 24, 2014
KitMaker: 3,033 posts
Armorama: 2,492 posts
Posted: Thursday, May 05, 2016 - 12:00 AM UTC
Hey Brian, The base looks really good so far!

One observation ... Keep in mind that tires tend to bulge when navigating rocky ground. In your scenario, doing something to give the tires a slightly weighted look could really add to the realism of your vignette. IMHO.

Cheers!
—mike
fhvn4d
#159
Visit this Community
Massachusetts, United States
Joined: April 07, 2008
KitMaker: 803 posts
Armorama: 564 posts
Posted: Friday, September 02, 2016 - 06:27 PM UTC
I havent realized how LONG its been since I worked on this or posted an update, so here goes!!!

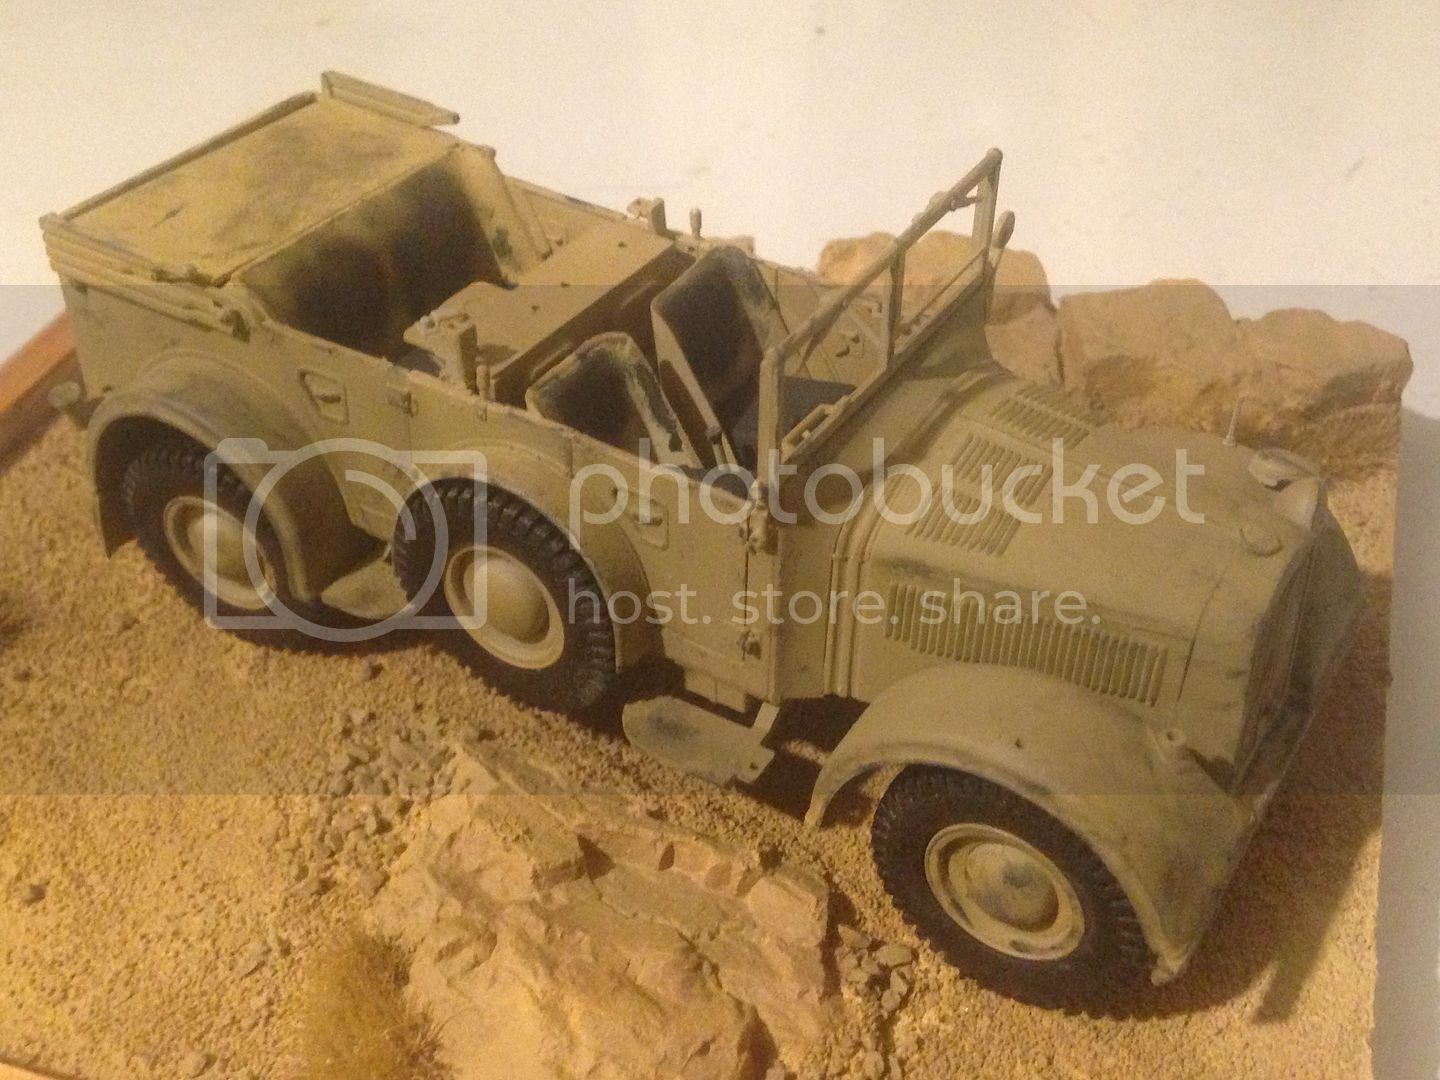
The vehicle has begun to get its weathered look and has bee secured to its base... the base is (hopefully) glued to the first two pieces of decorative moulding. Next up will be some shadow tones, pigments, and maybe a coat of matt varnish...oh yeah, and a steering wheel and the radios to close it up! LOL


 _GOTOTOP