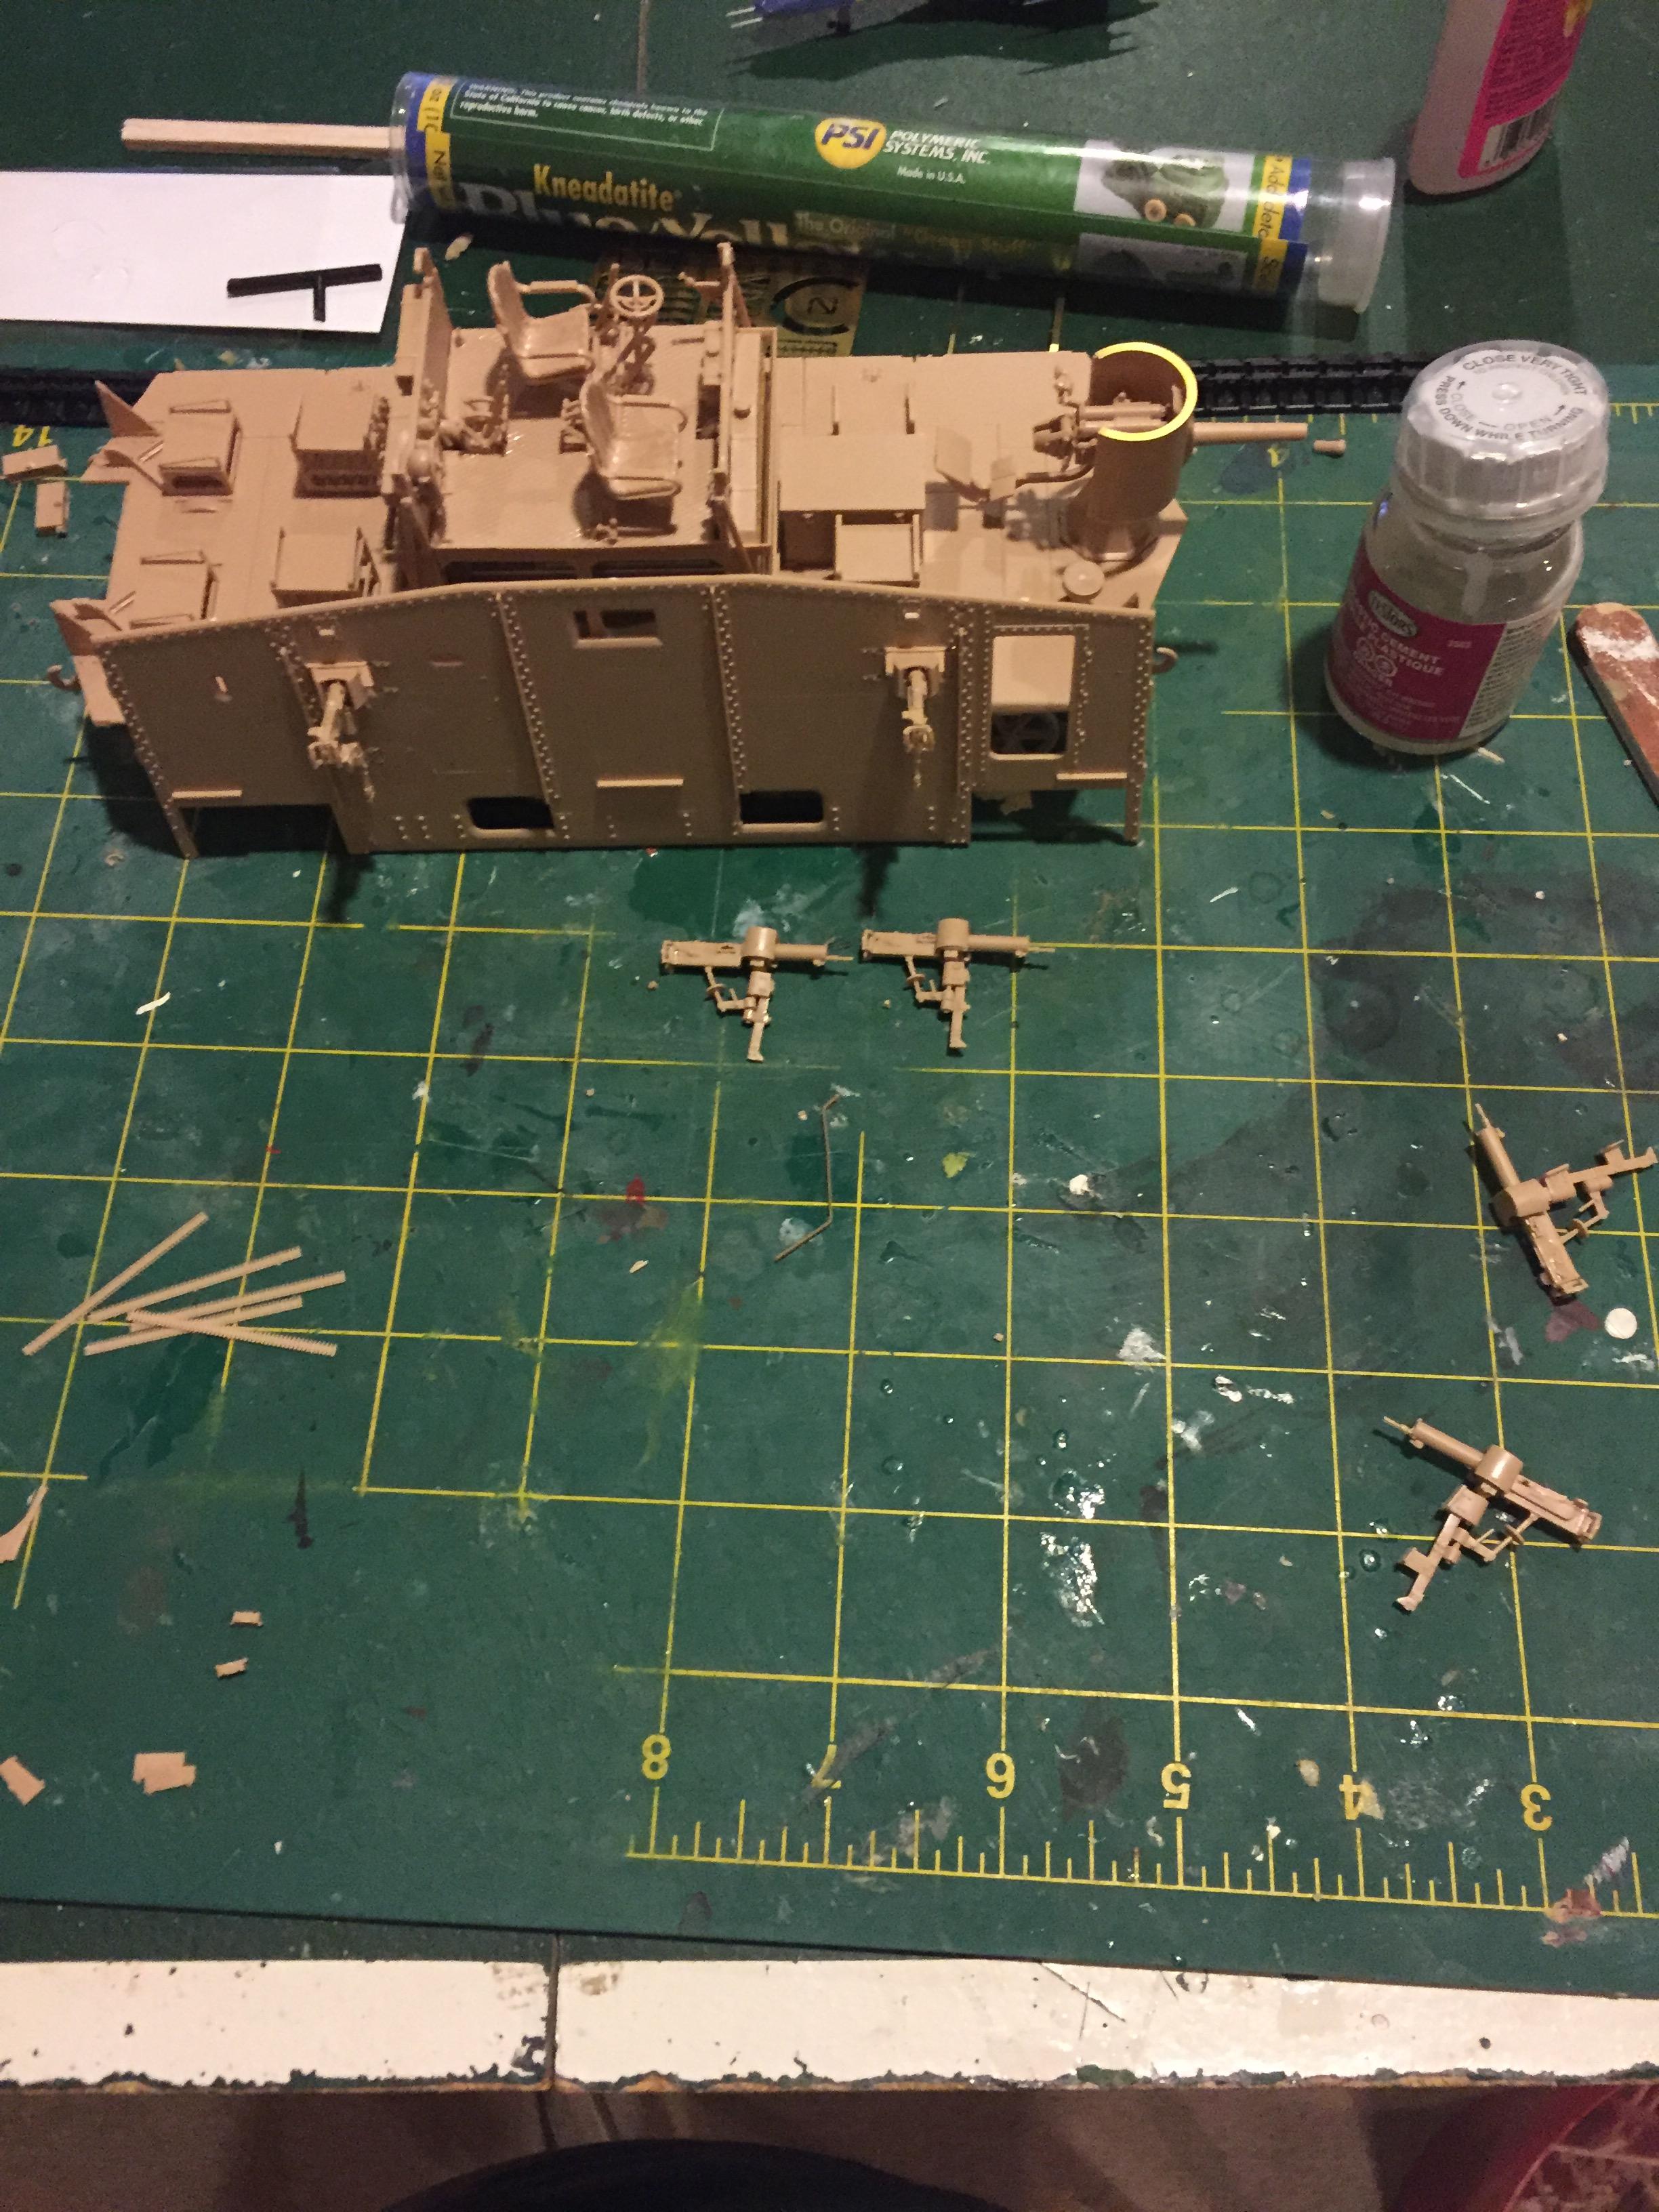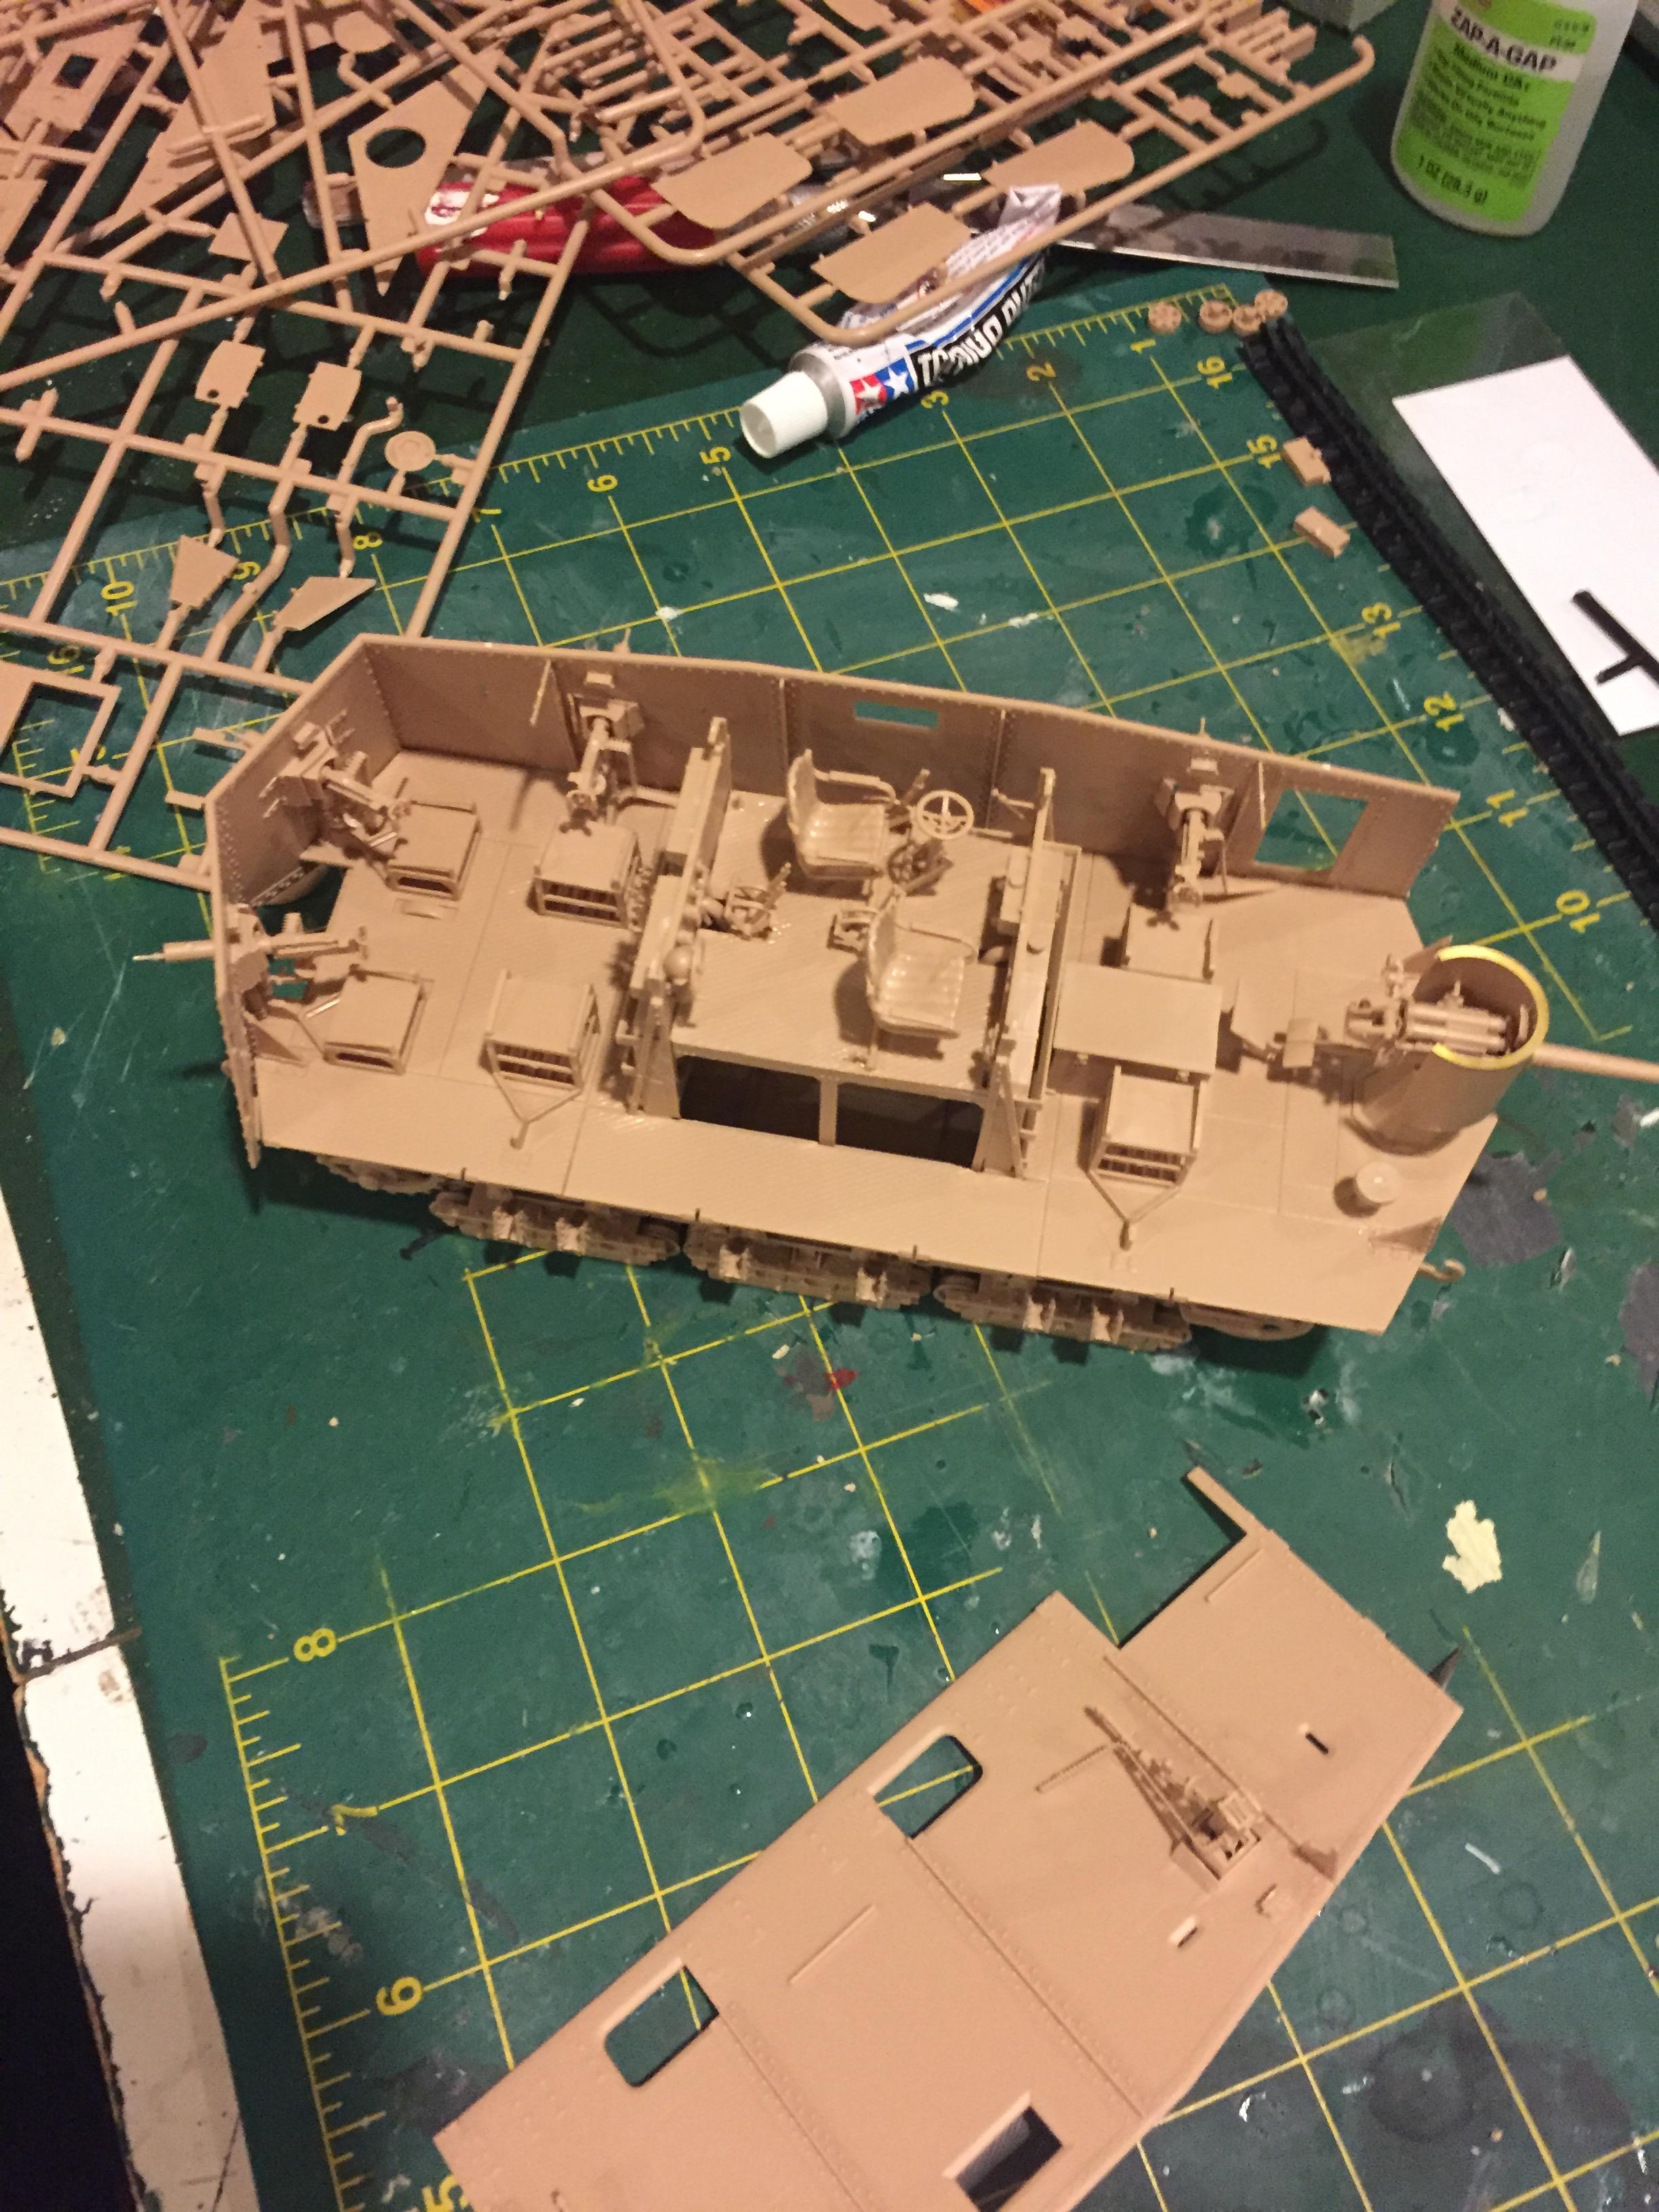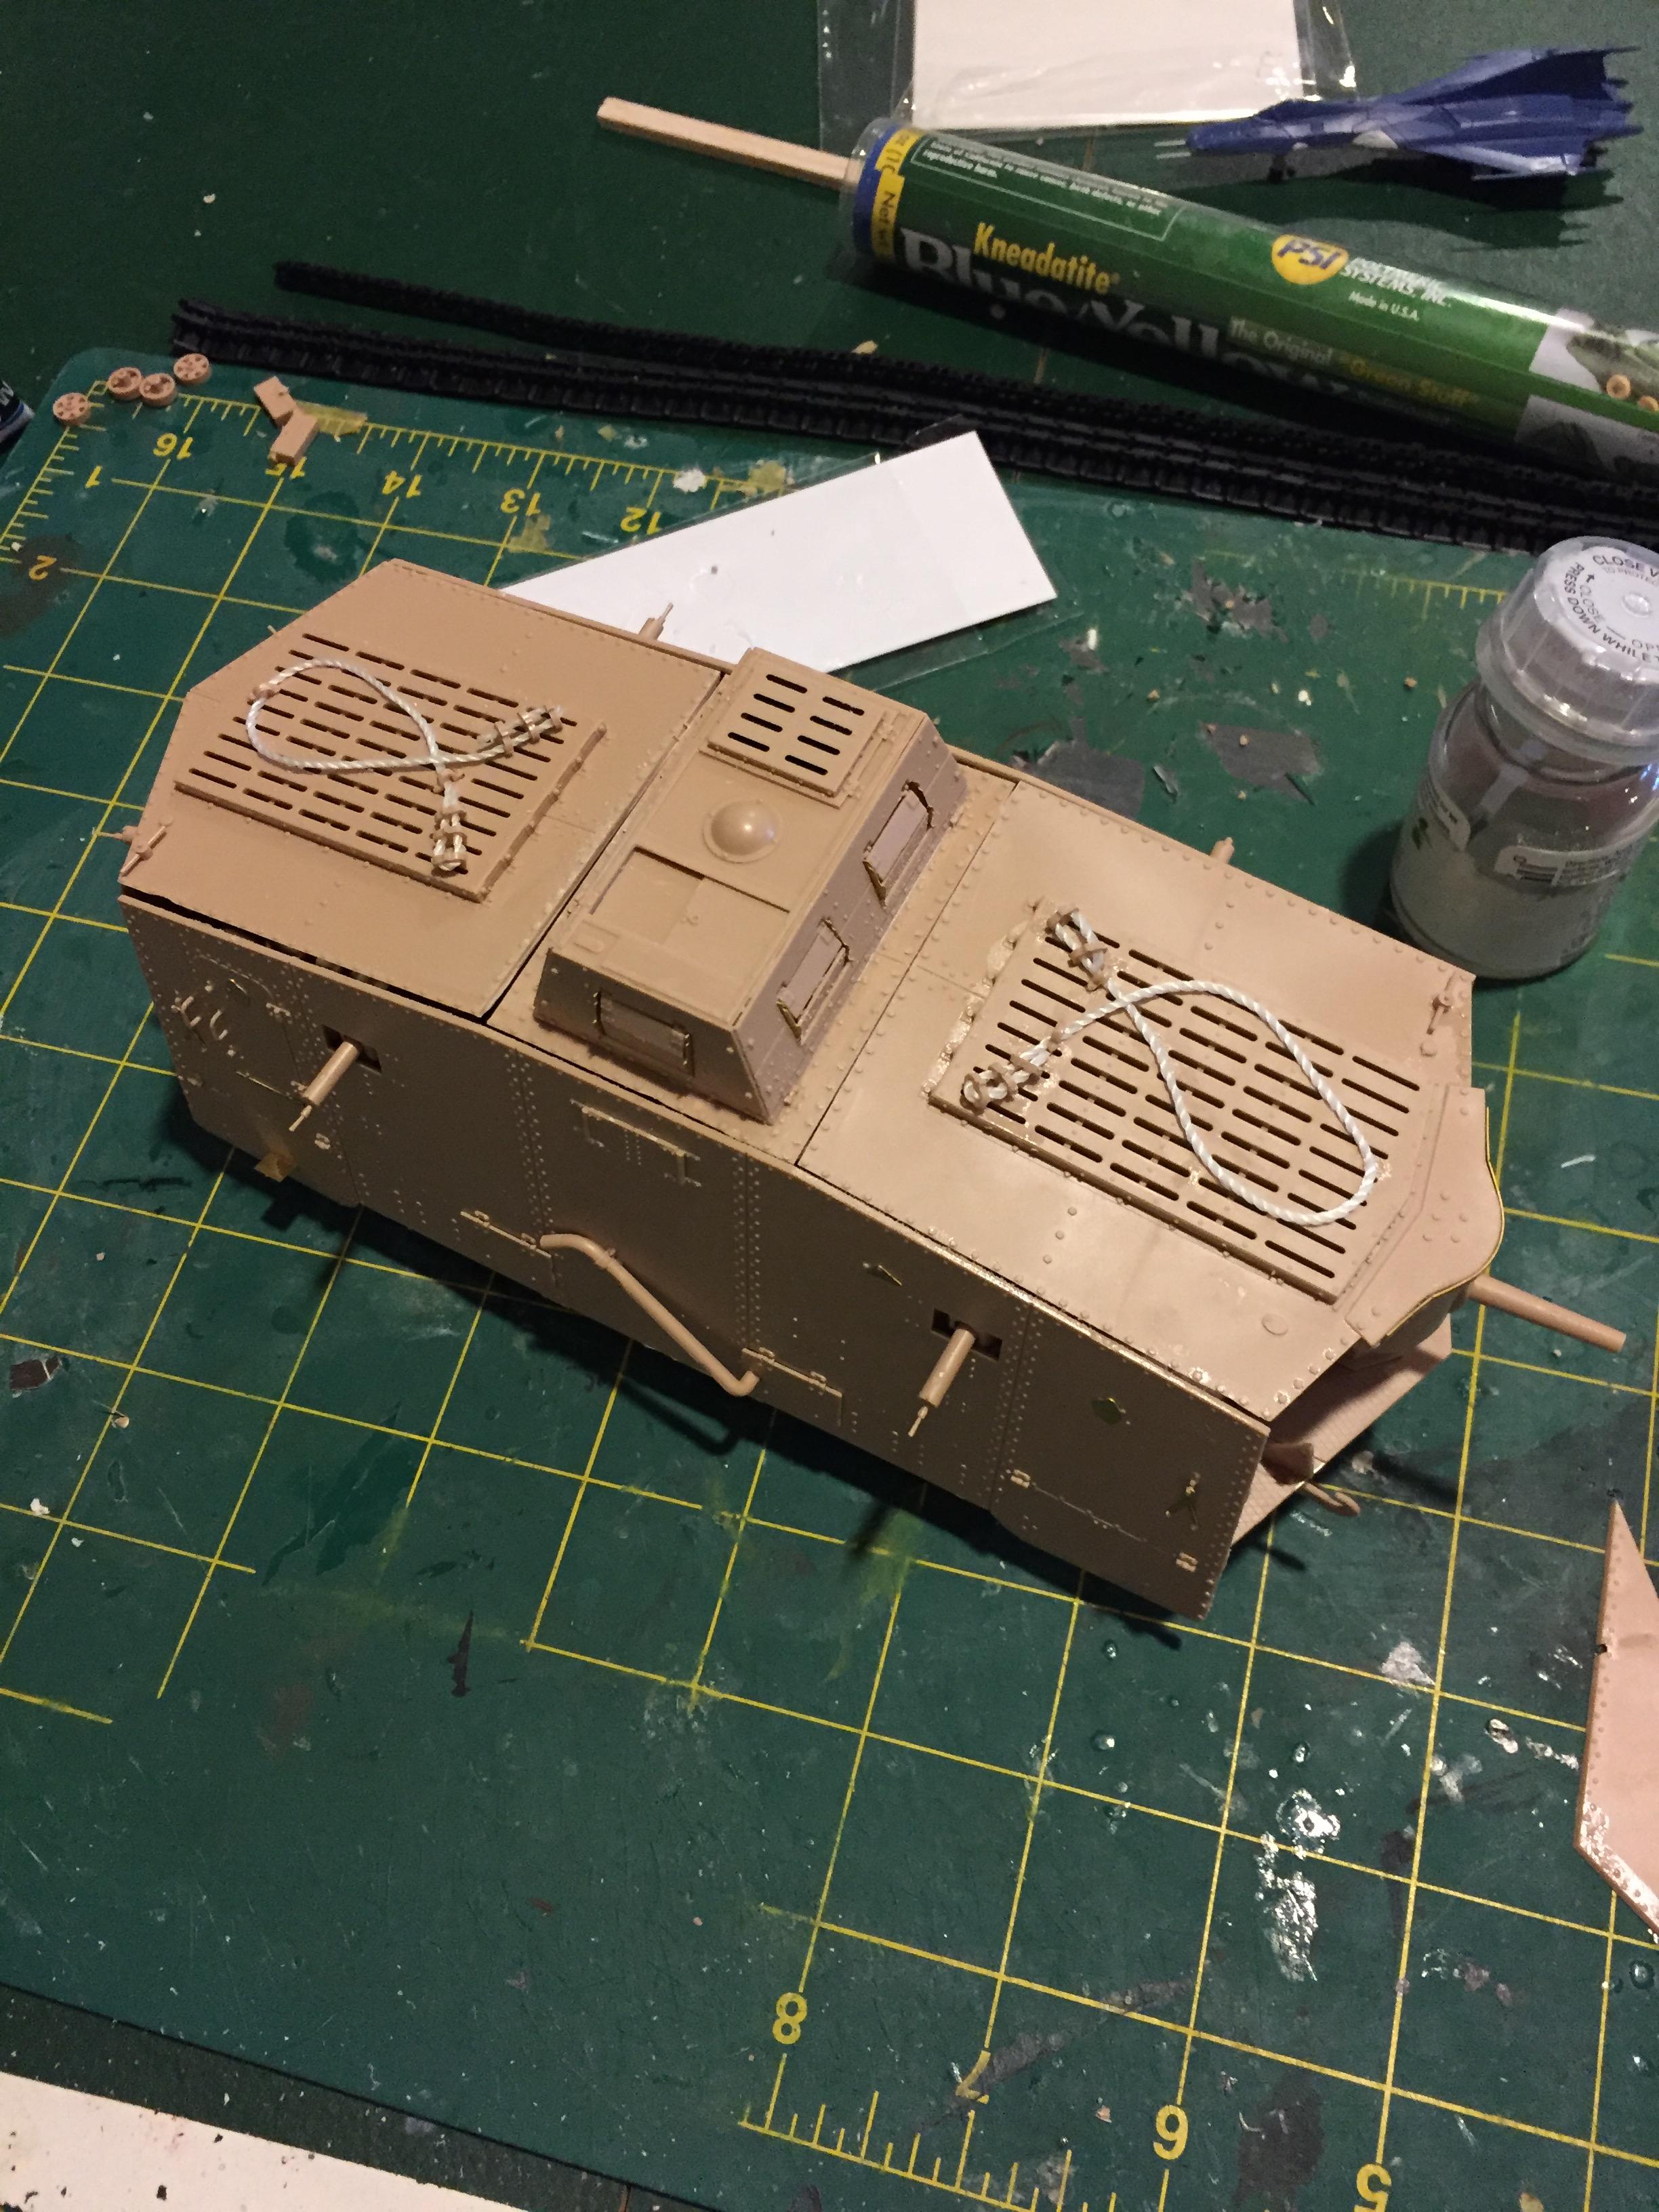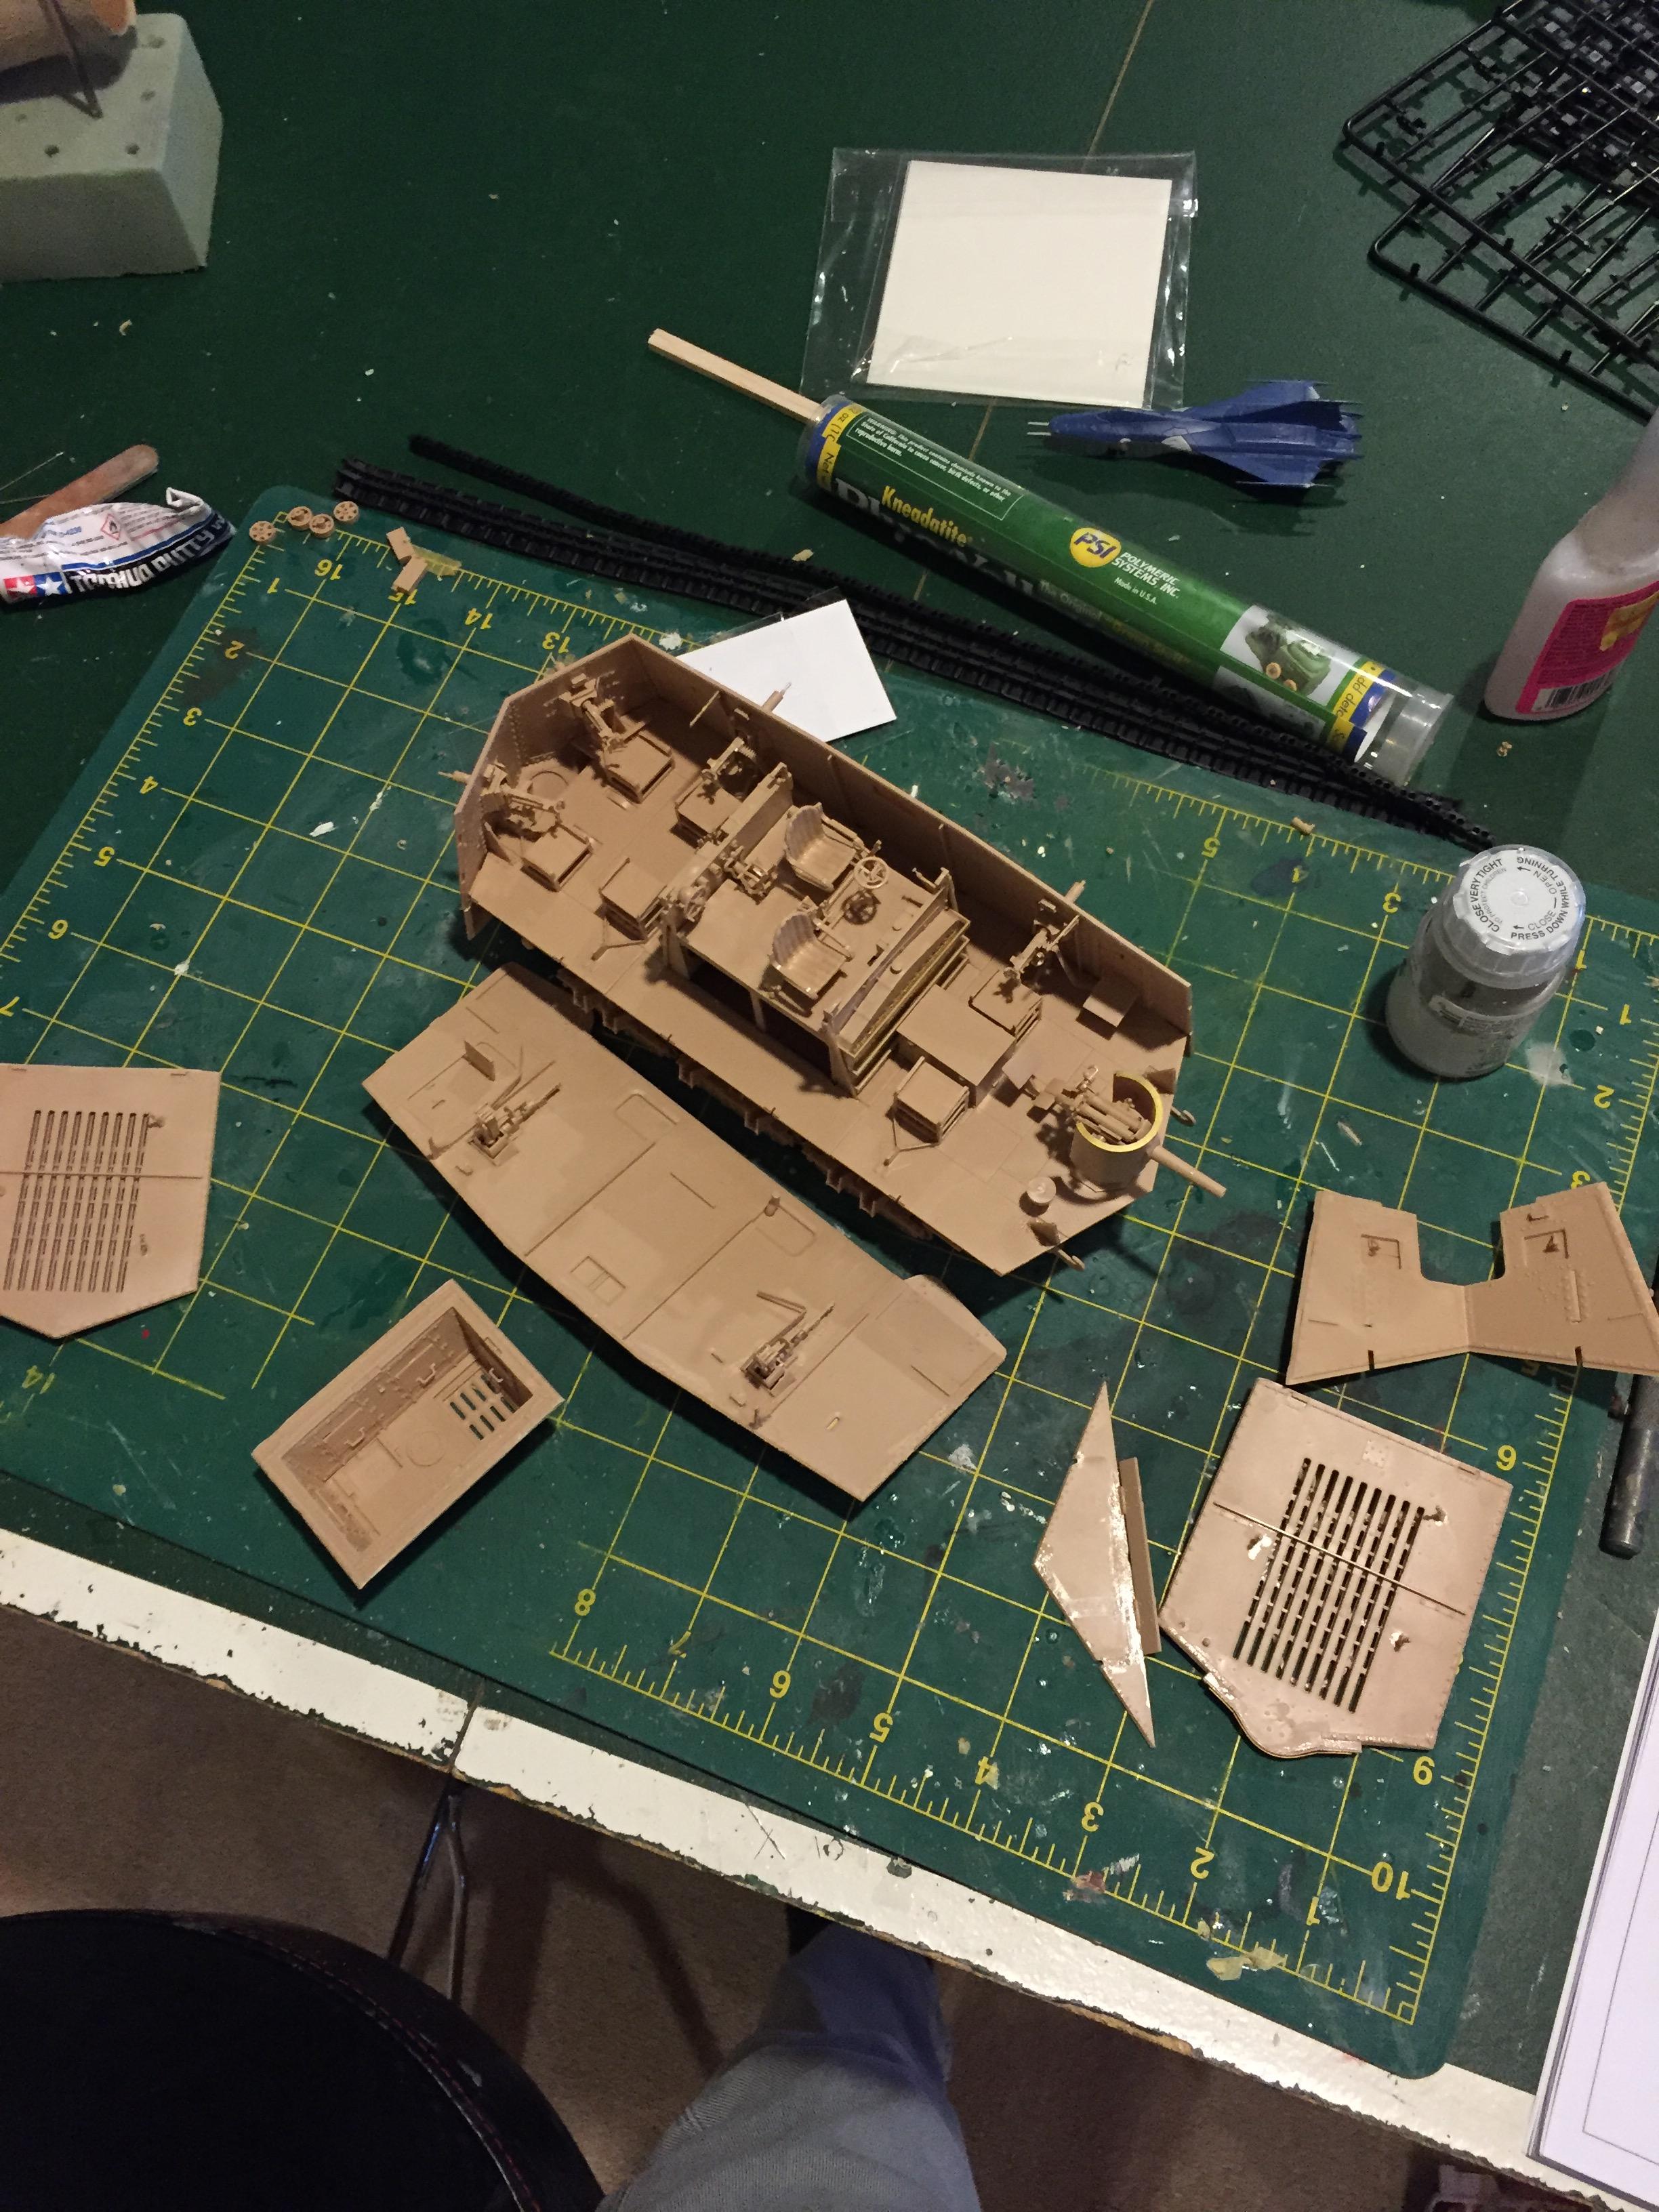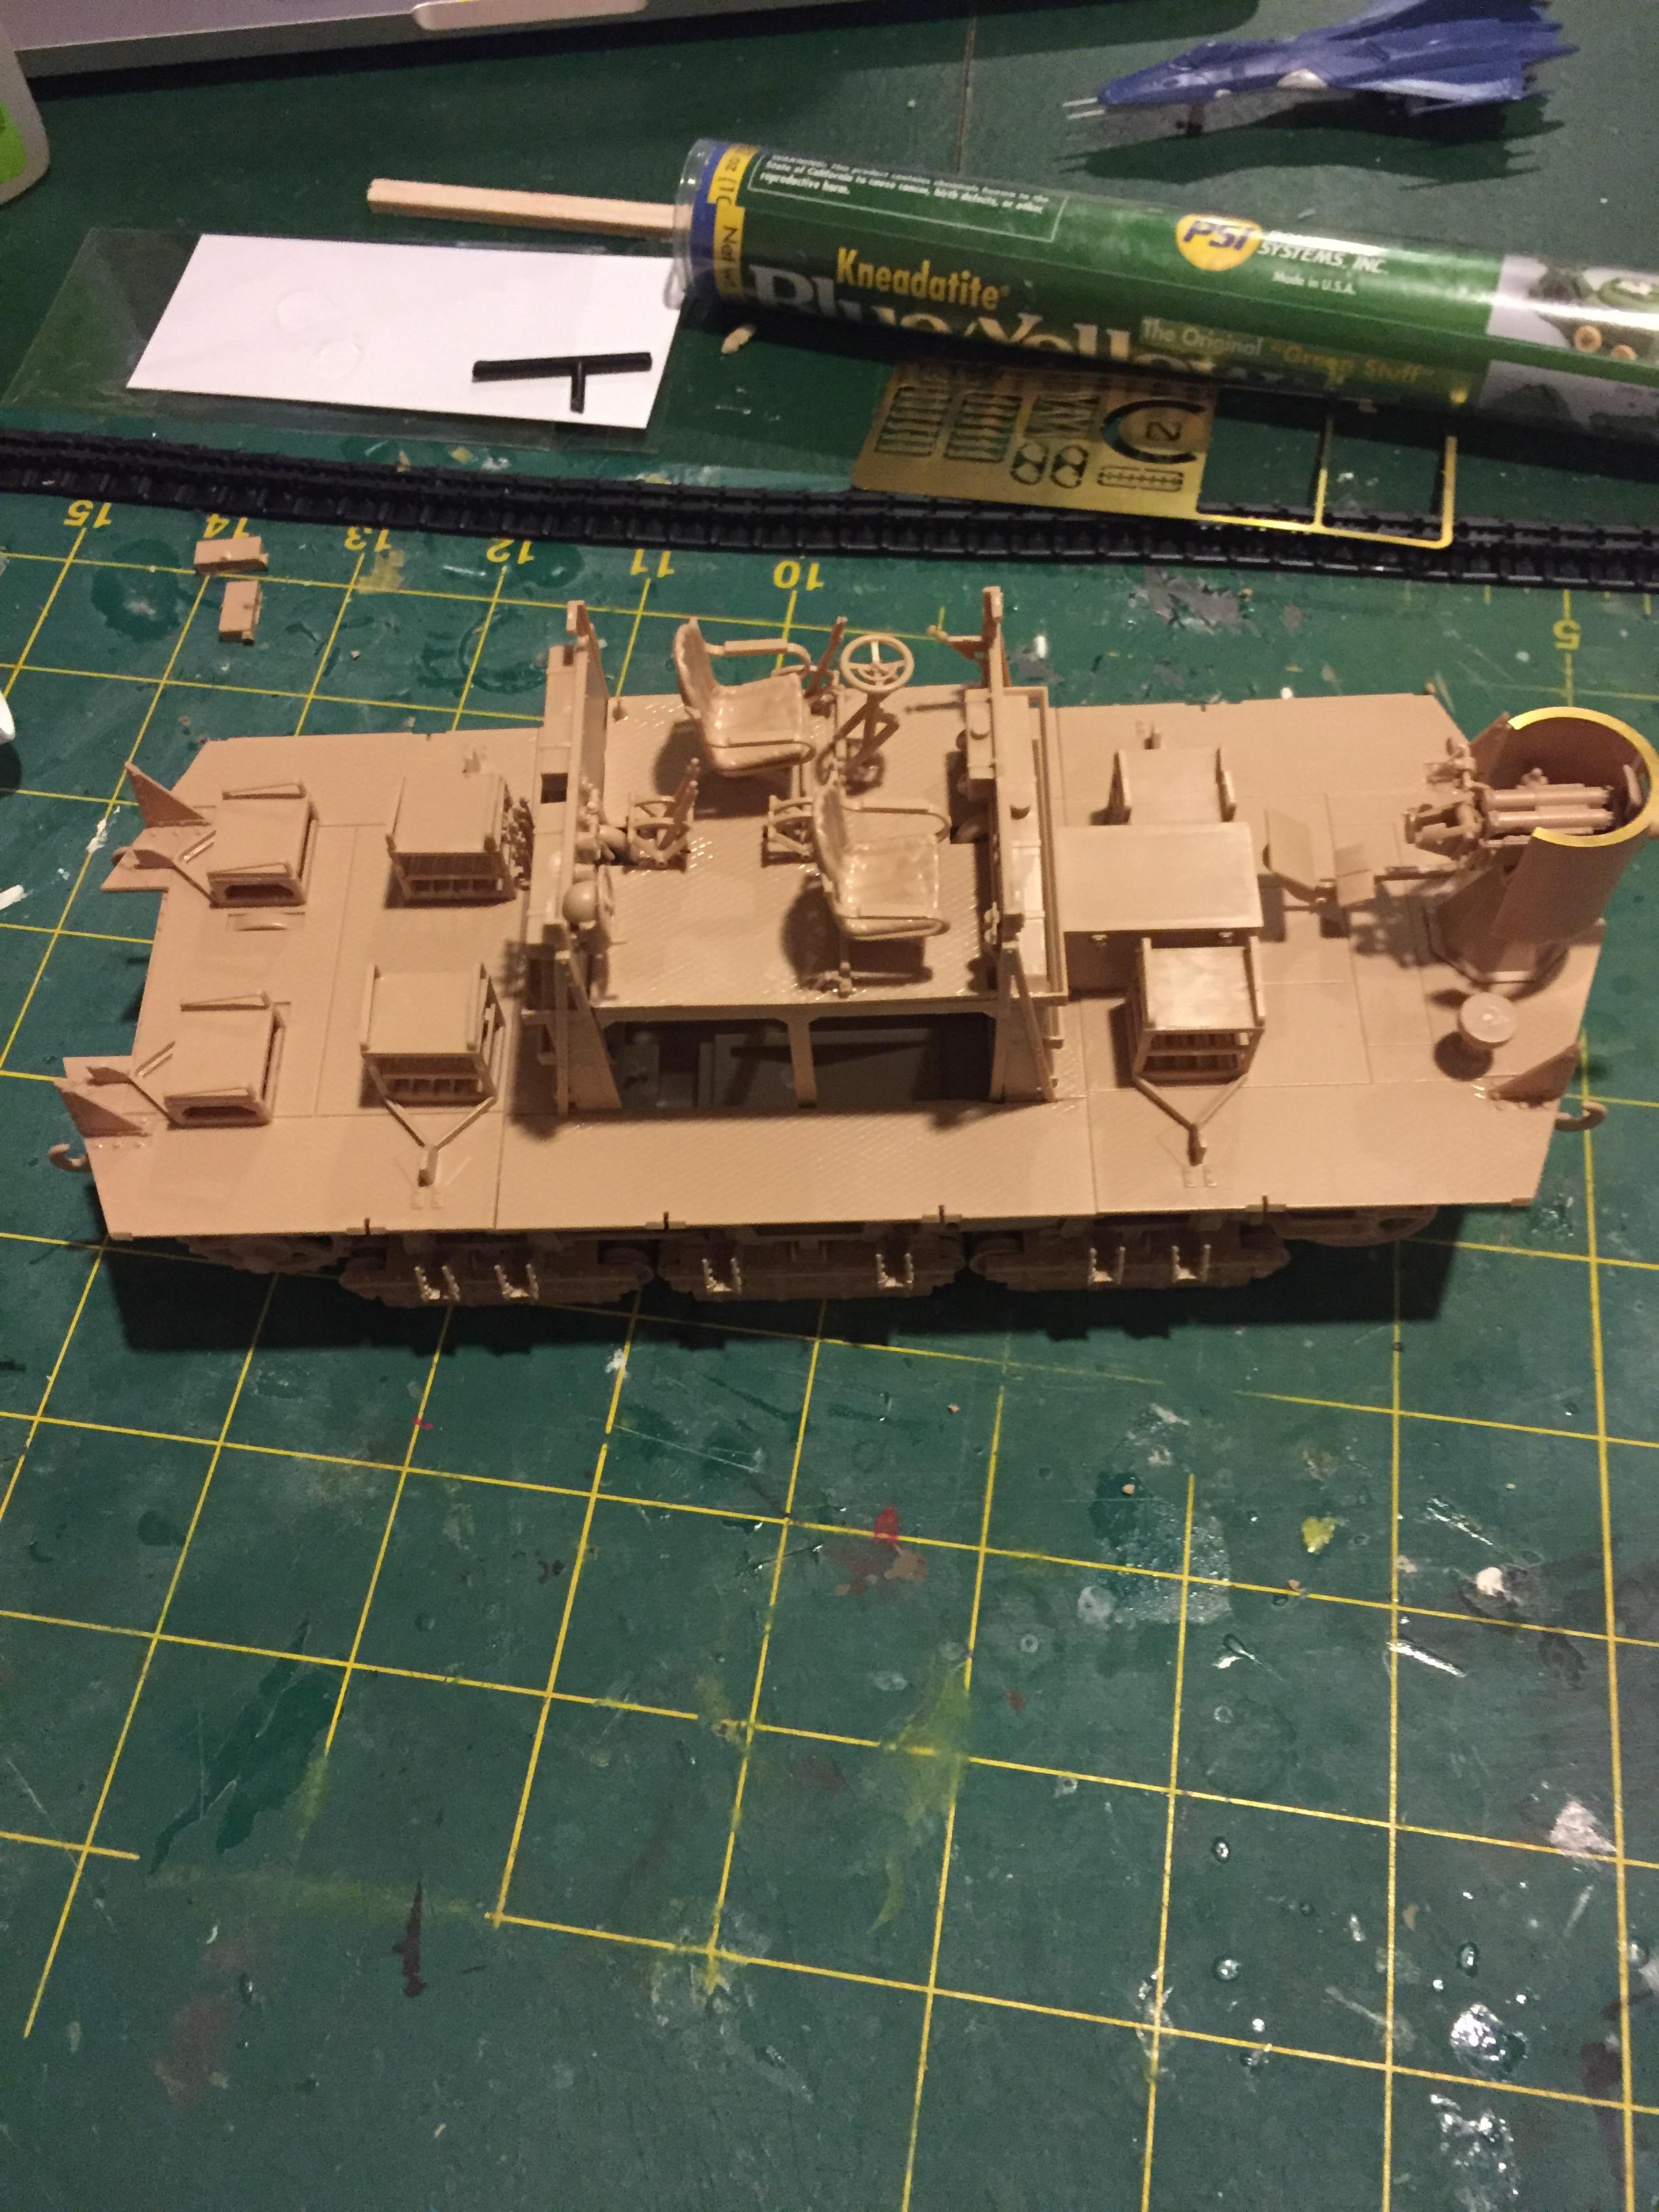
Started this beast yesterday and already finished most of the interior... I'm taking a break before starting on the 6 machine guns
So far everything is fitting perfectly. There is, however, a bit of flash here and there, and nearly all of the pin marks are those nasty half-cylinder types. Nothing a second with a knife can't take care of.
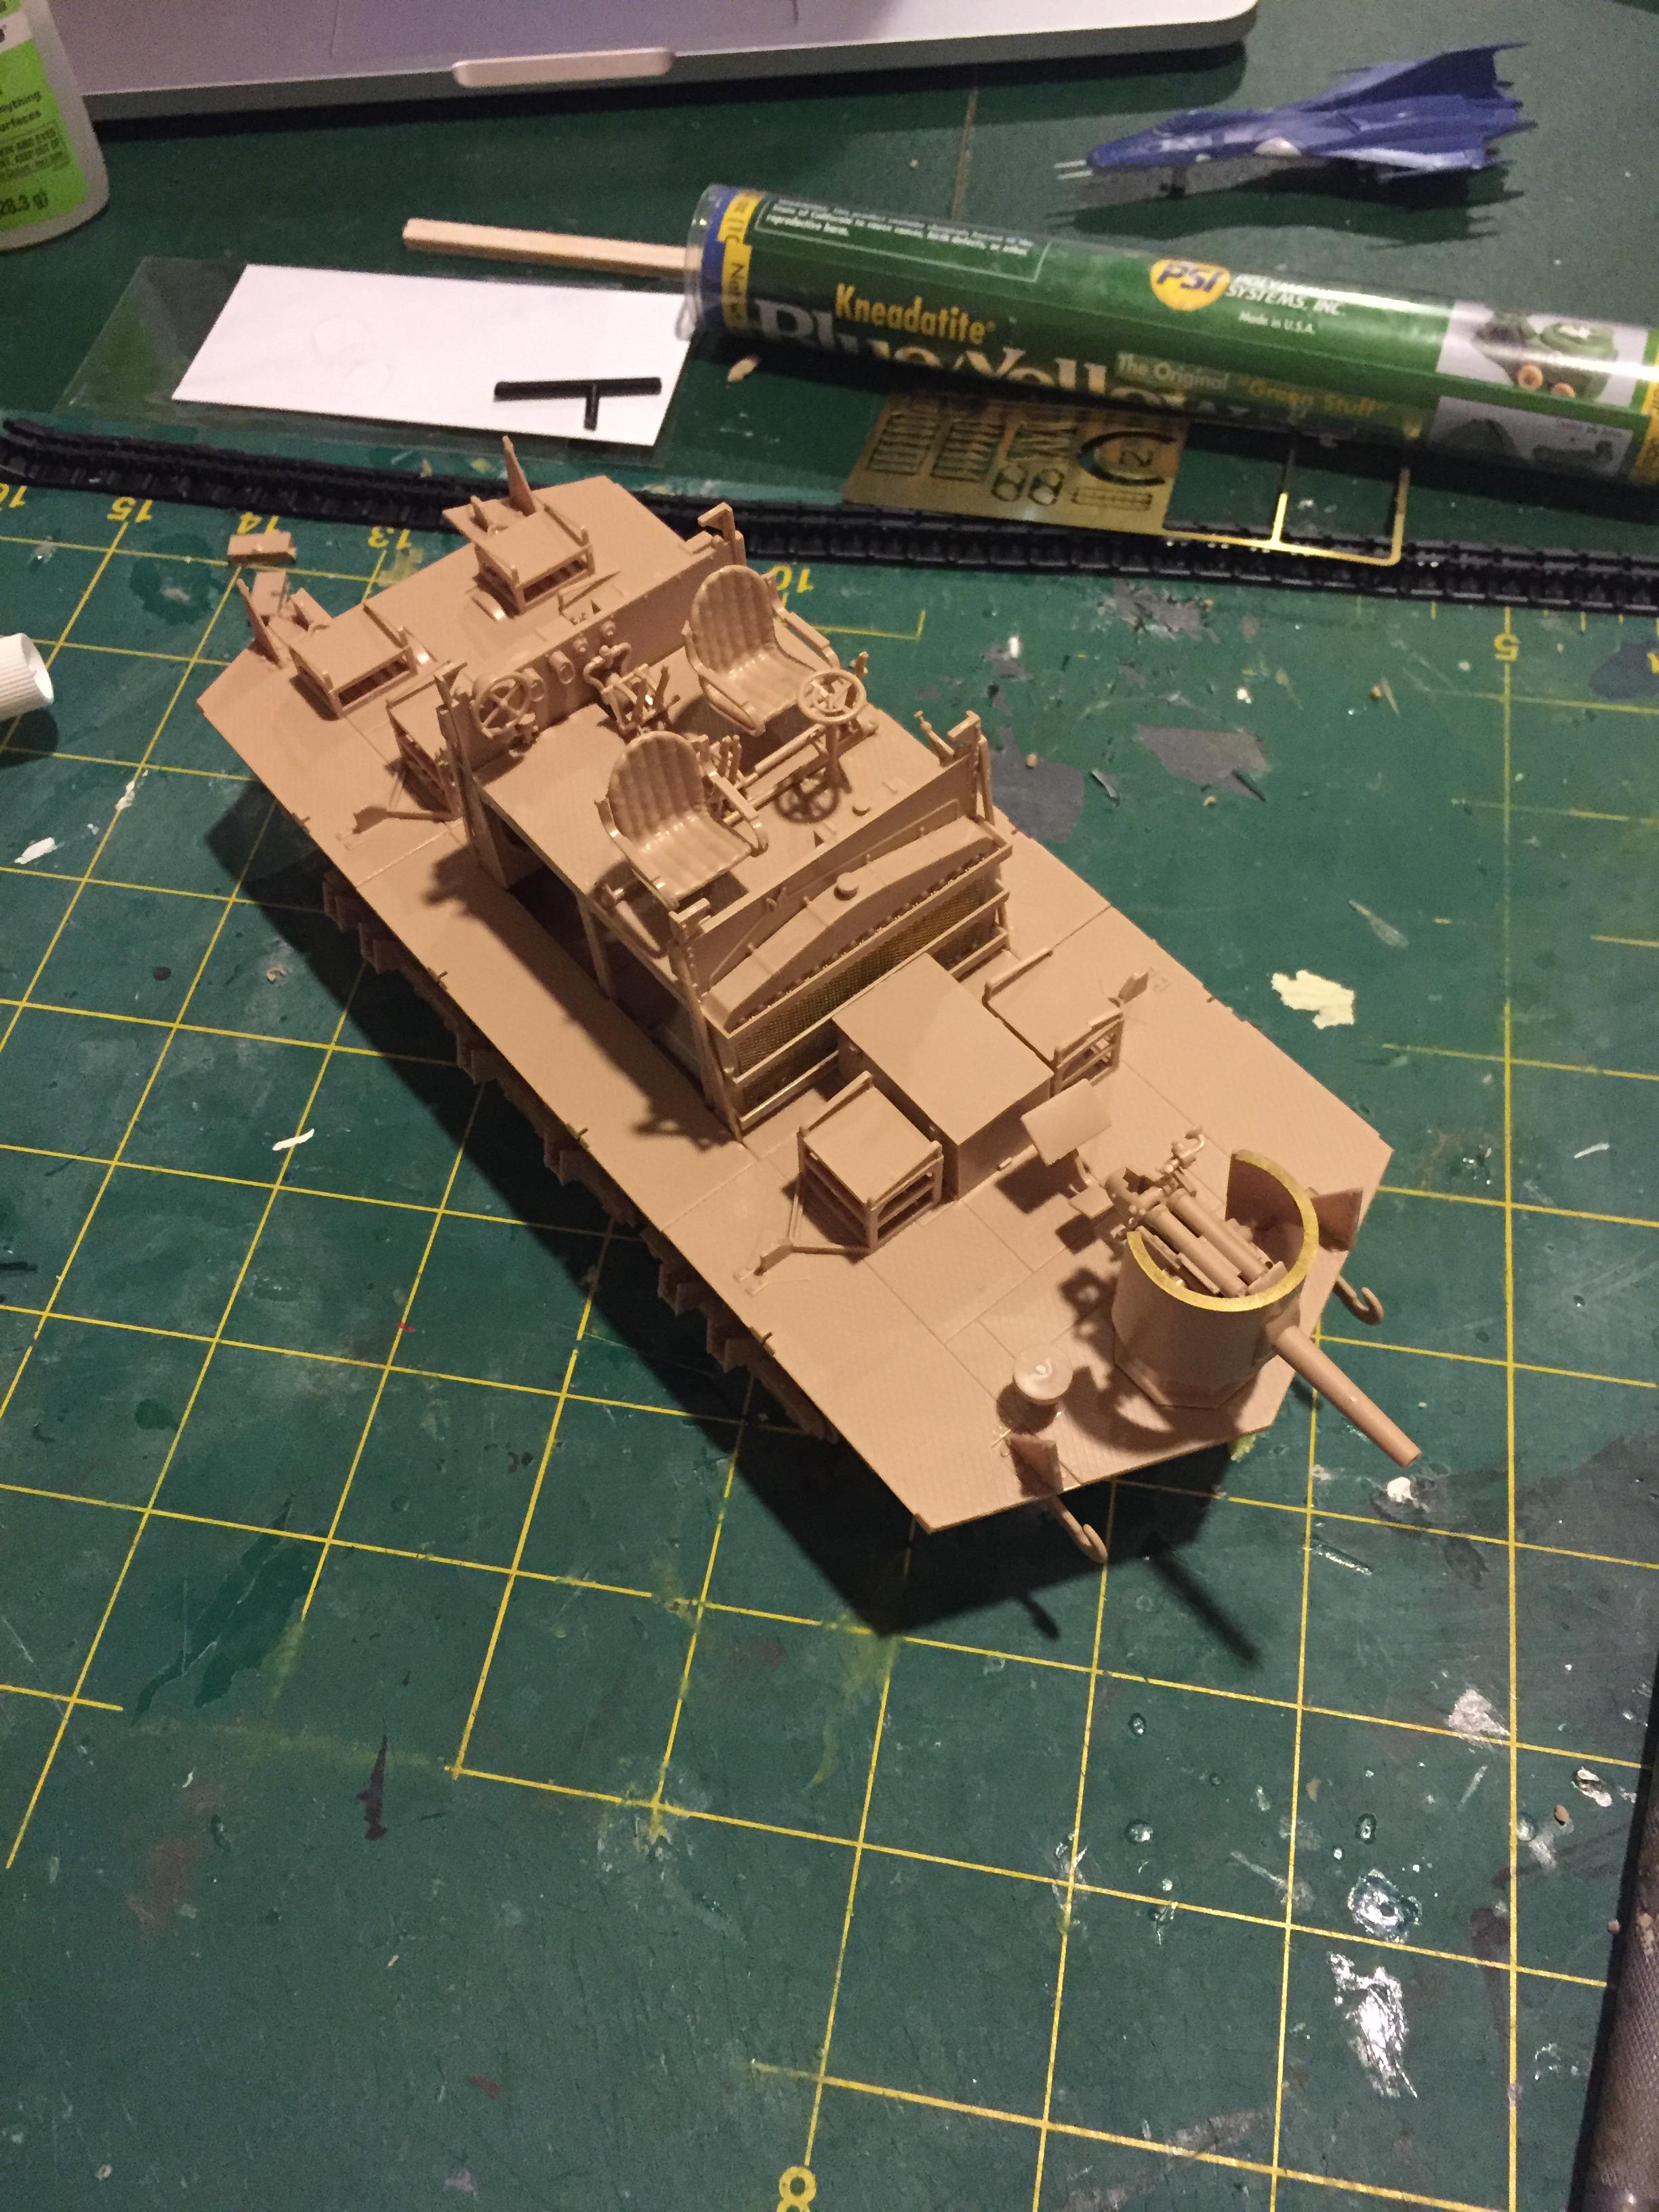
I'm hoping to have this model mostly or all the way complete by the end of the week, as I return to Iowa for college on Saturday. I'll be posting updates as I make progress!
Hosted by Darren Baker
A7V - Meng 1/35 WIP
jasperck
Massachusetts, United States
Joined: December 14, 2010
KitMaker: 79 posts
Armorama: 79 posts
Joined: December 14, 2010
KitMaker: 79 posts
Armorama: 79 posts
Posted: Monday, March 28, 2016 - 06:00 AM UTC
jasperck
Massachusetts, United States
Joined: December 14, 2010
KitMaker: 79 posts
Armorama: 79 posts
Joined: December 14, 2010
KitMaker: 79 posts
Armorama: 79 posts
Posted: Monday, March 28, 2016 - 07:48 AM UTC
Making more progress. Gonna have to start painting soon!
jasperck
Massachusetts, United States
Joined: December 14, 2010
KitMaker: 79 posts
Armorama: 79 posts
Joined: December 14, 2010
KitMaker: 79 posts
Armorama: 79 posts
Posted: Tuesday, March 29, 2016 - 02:26 AM UTC
Construction is done and the beast is ready for some paint.
I cut the roof into 3 pieces using a razor saw because the piece was warped and I want to keep the top panels removable to show off all that interior detail. If I had left it as one piece, it wouldn't have sat anywhere close to flat.
jasperck
Massachusetts, United States
Joined: December 14, 2010
KitMaker: 79 posts
Armorama: 79 posts
Joined: December 14, 2010
KitMaker: 79 posts
Armorama: 79 posts
Posted: Thursday, March 31, 2016 - 08:28 AM UTC
Black primer, white basecoat with a drop of sand mixed in, detail painting, glosscoat, burnt umber/black oil wash.
After I took that picture, I did a few touchups, added some chips, and sprayed a flat coat. Now on to exterior painting!
jasperck
Massachusetts, United States
Joined: December 14, 2010
KitMaker: 79 posts
Armorama: 79 posts
Joined: December 14, 2010
KitMaker: 79 posts
Armorama: 79 posts
Posted: Wednesday, June 01, 2016 - 08:50 AM UTC
I'm back! Not that anyone is following this build. Eh, maybe it'll show up under "new" on the homepage.
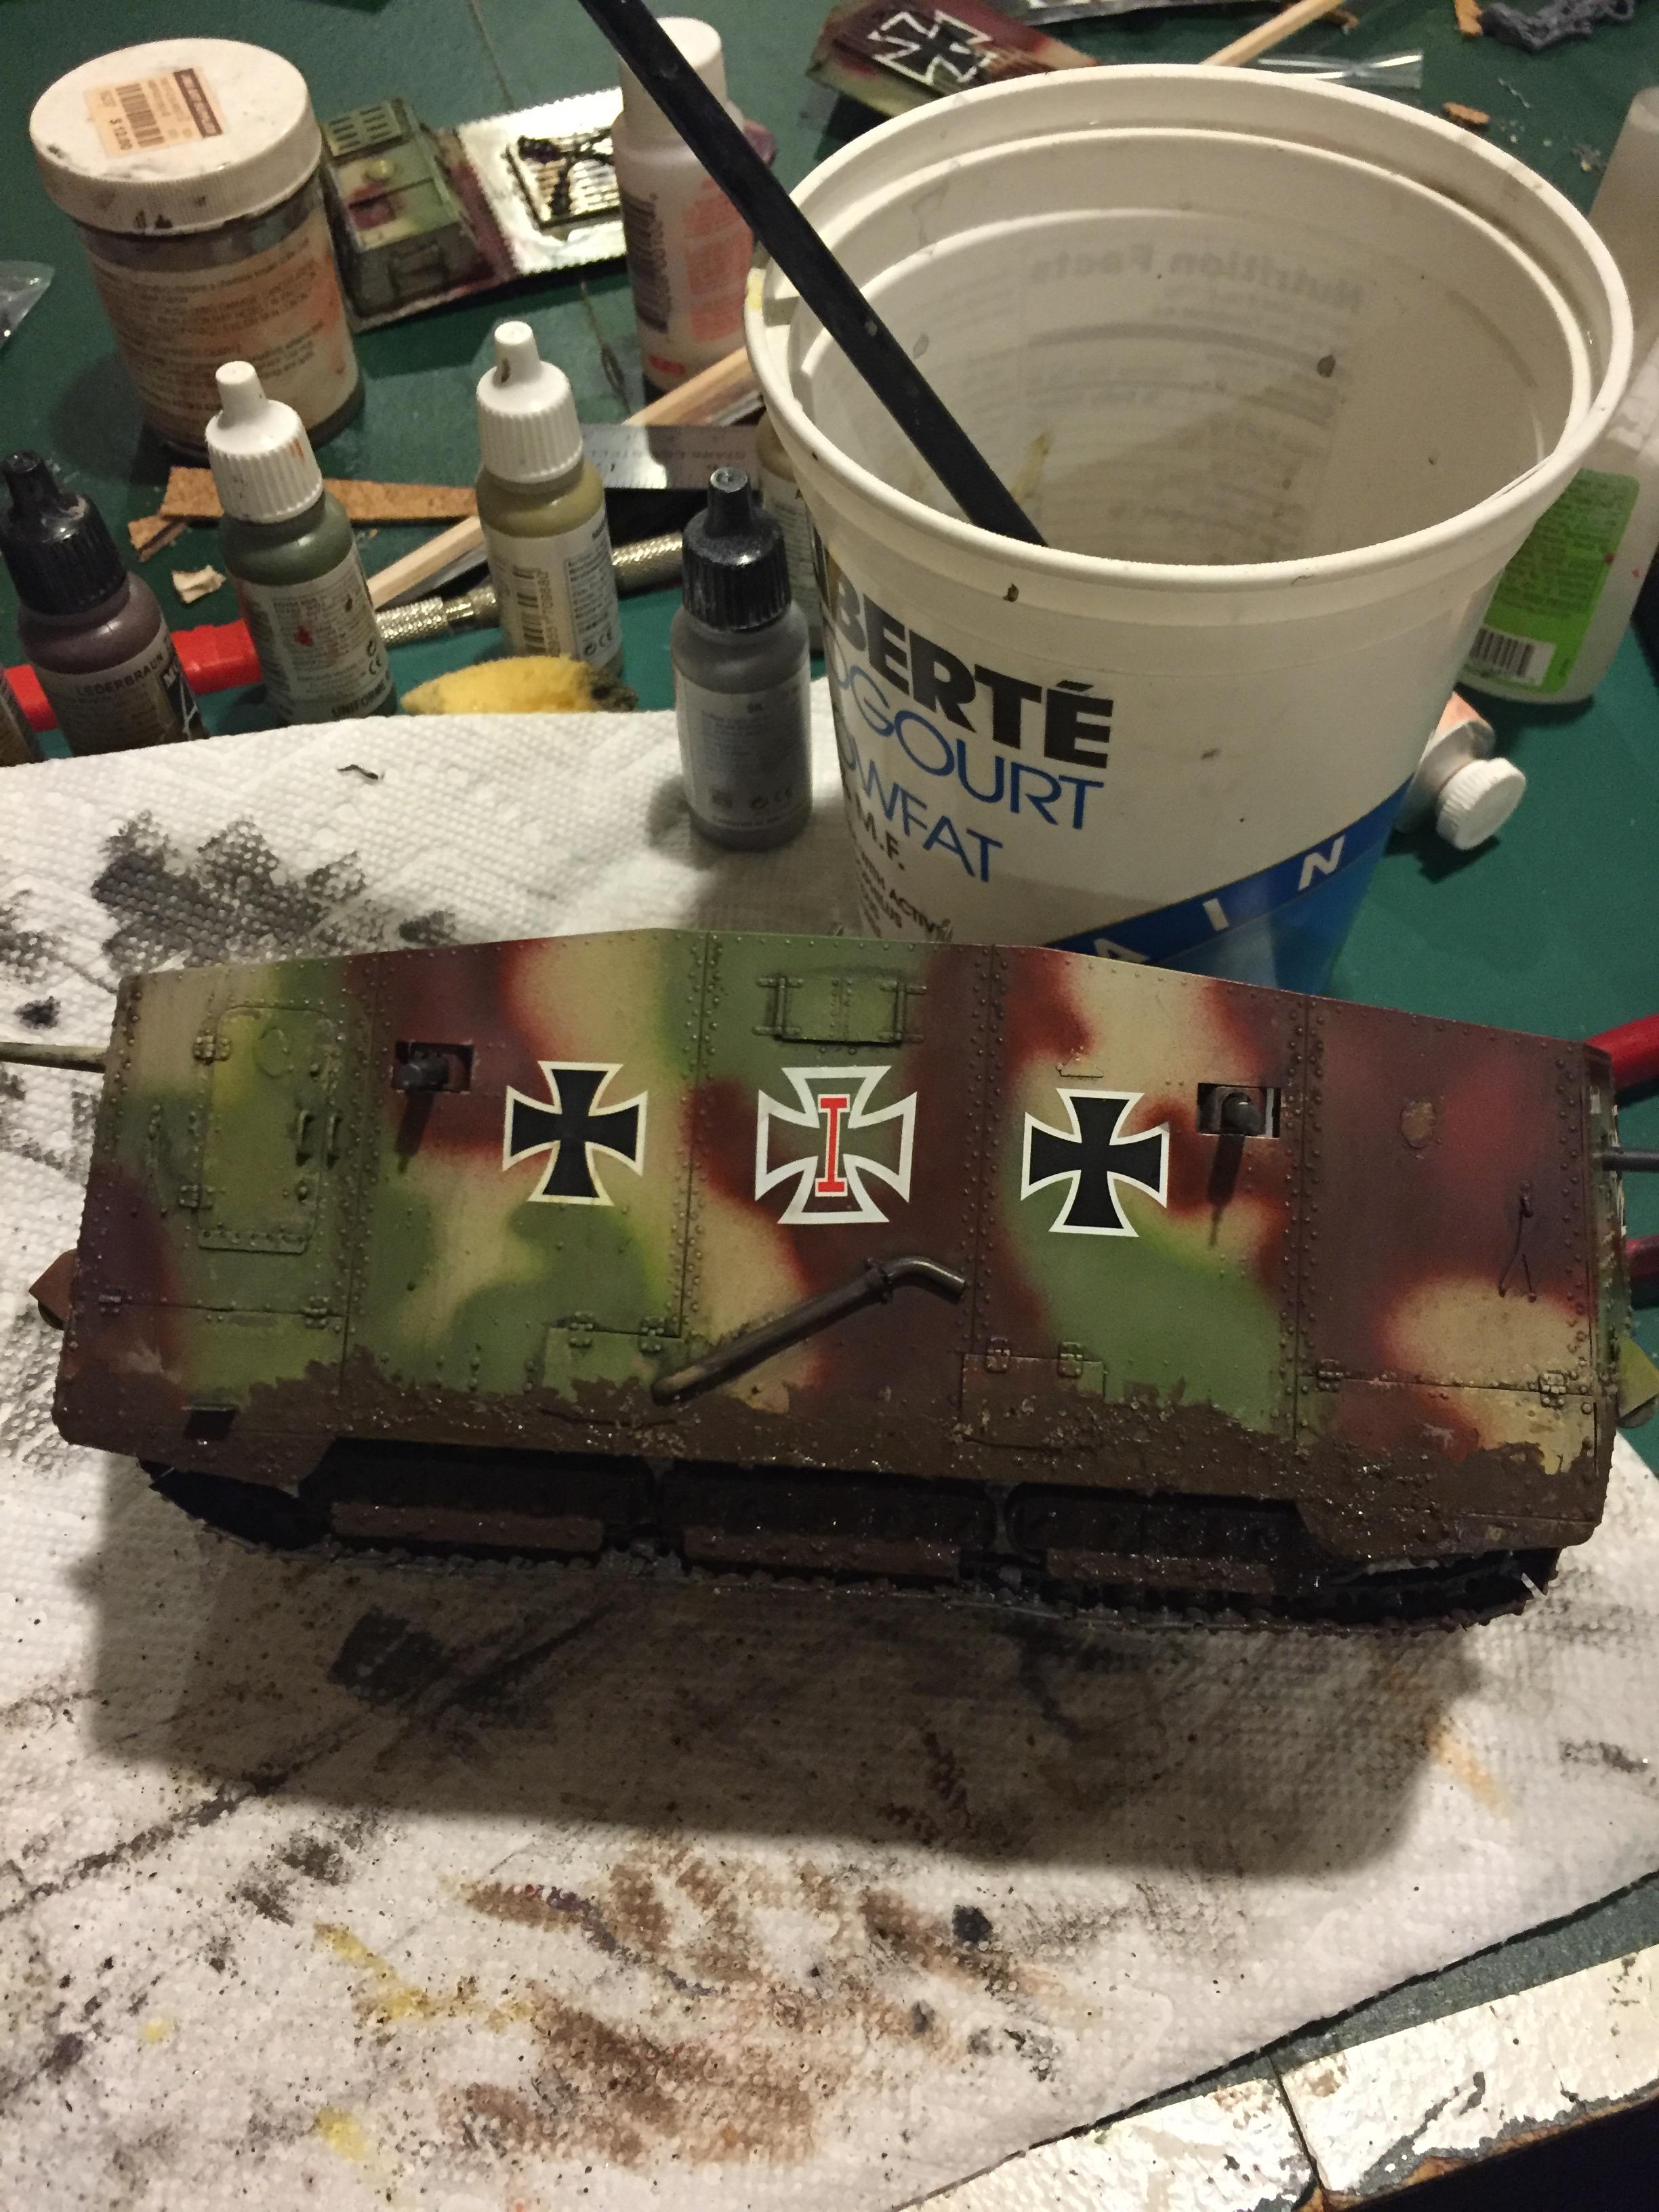
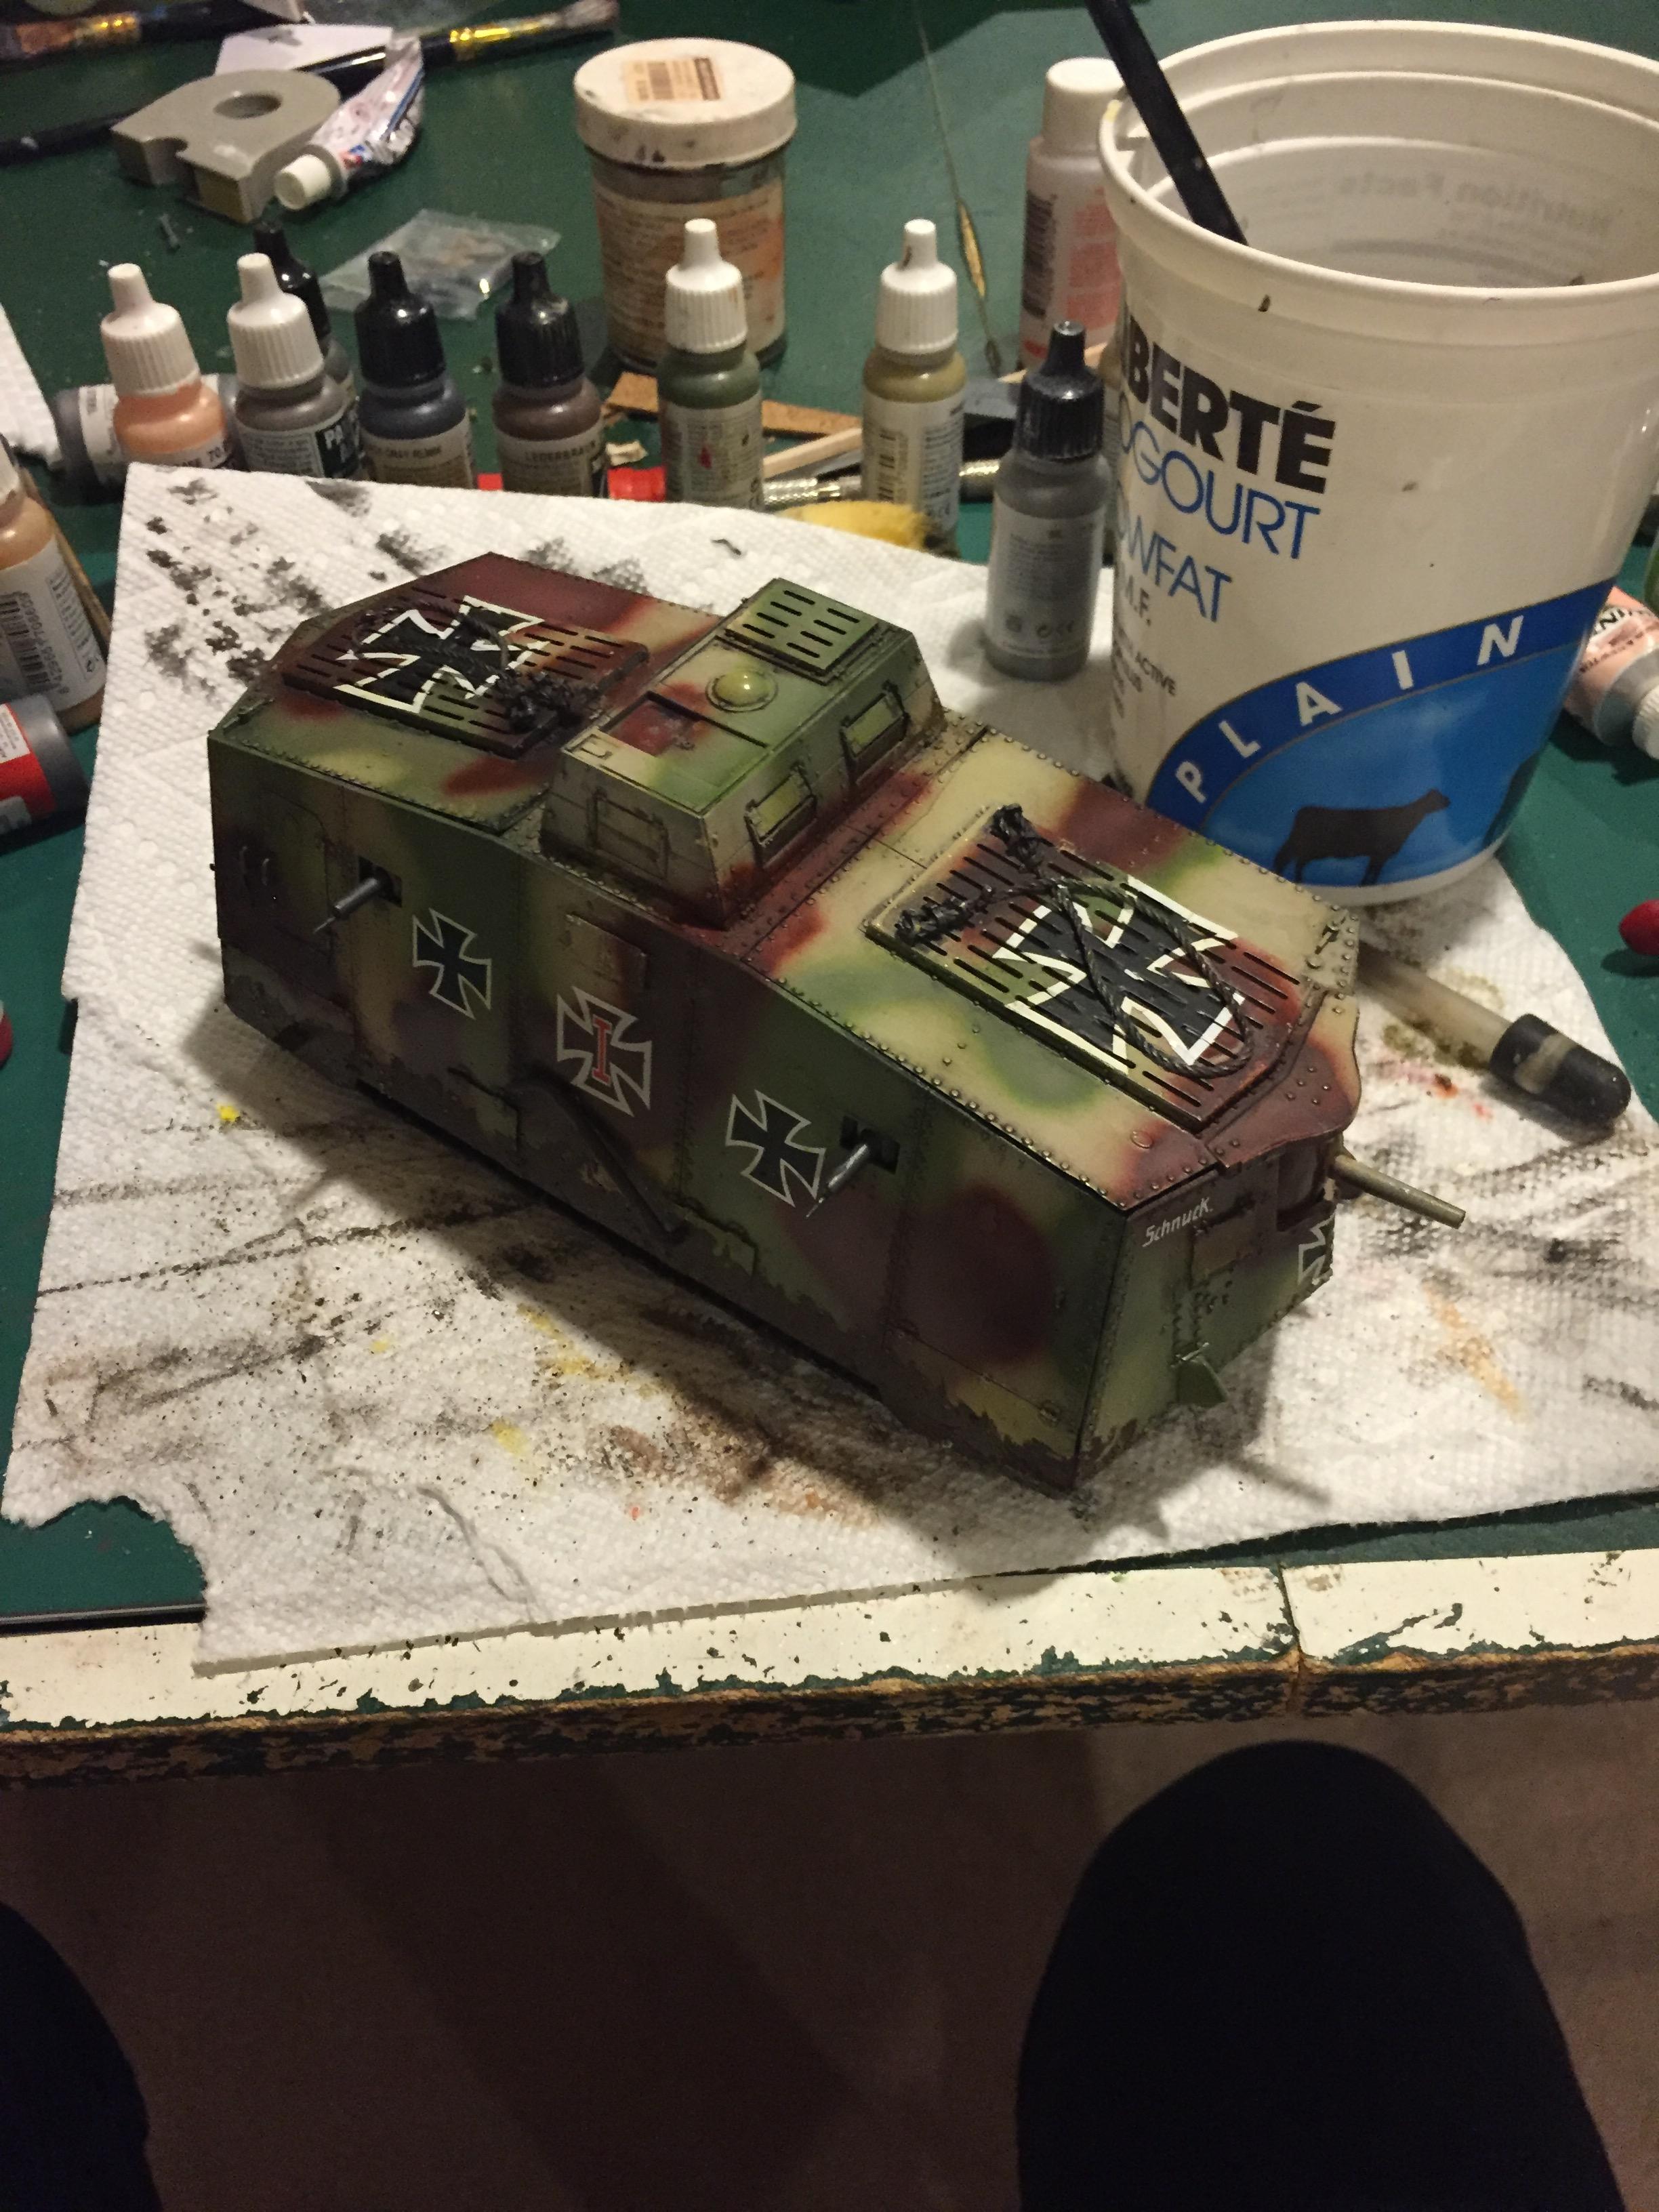
NEARING COMPLETION.
Here's what I've done since the last update...
-Primed with Vallejo polyurethane black primer
-Camo with Vallejo Model Air acrylics (sand, mahogany, camo light green/light grey green 50/50 mix) with gentle color modulation
-Chipping using sponge and liner brush
-Lacquer gloss coat and wash with Flory Models black and brown clay washes
-Selective washing and filtering with dark brown and yellow oils to bring out certain panels
-Mud base using plaster, Williamsburg artist's pigment, and fine sand
Tomorrow I'll clean up the mud and add some more pigments, dirt, etc. to tidy up the effect.
Posted: Wednesday, June 01, 2016 - 10:25 AM UTC
This model is a far cry from the Tauro one that came out when I was much younger and had more hair. I build modern exclusively but like to look at all periods. This one stands out. WW I is fascinating to me. This lumbering beast must have been a fearsome sight indeed. You have done a great job so far. I really like the vibrancy of your camouflage. I hate to see it get hidden under too much weathering!
Regards,
Eric
Regards,
Eric
TAFFY3
New York, United States
Joined: January 21, 2008
KitMaker: 2,531 posts
Armorama: 859 posts
Joined: January 21, 2008
KitMaker: 2,531 posts
Armorama: 859 posts
Posted: Thursday, June 02, 2016 - 12:06 AM UTC
Looking good Jasper, like the camo especially. :-Al
jasperck
Massachusetts, United States
Joined: December 14, 2010
KitMaker: 79 posts
Armorama: 79 posts
Joined: December 14, 2010
KitMaker: 79 posts
Armorama: 79 posts
Posted: Friday, June 03, 2016 - 01:42 AM UTC
Thanks for the kind words everyone!
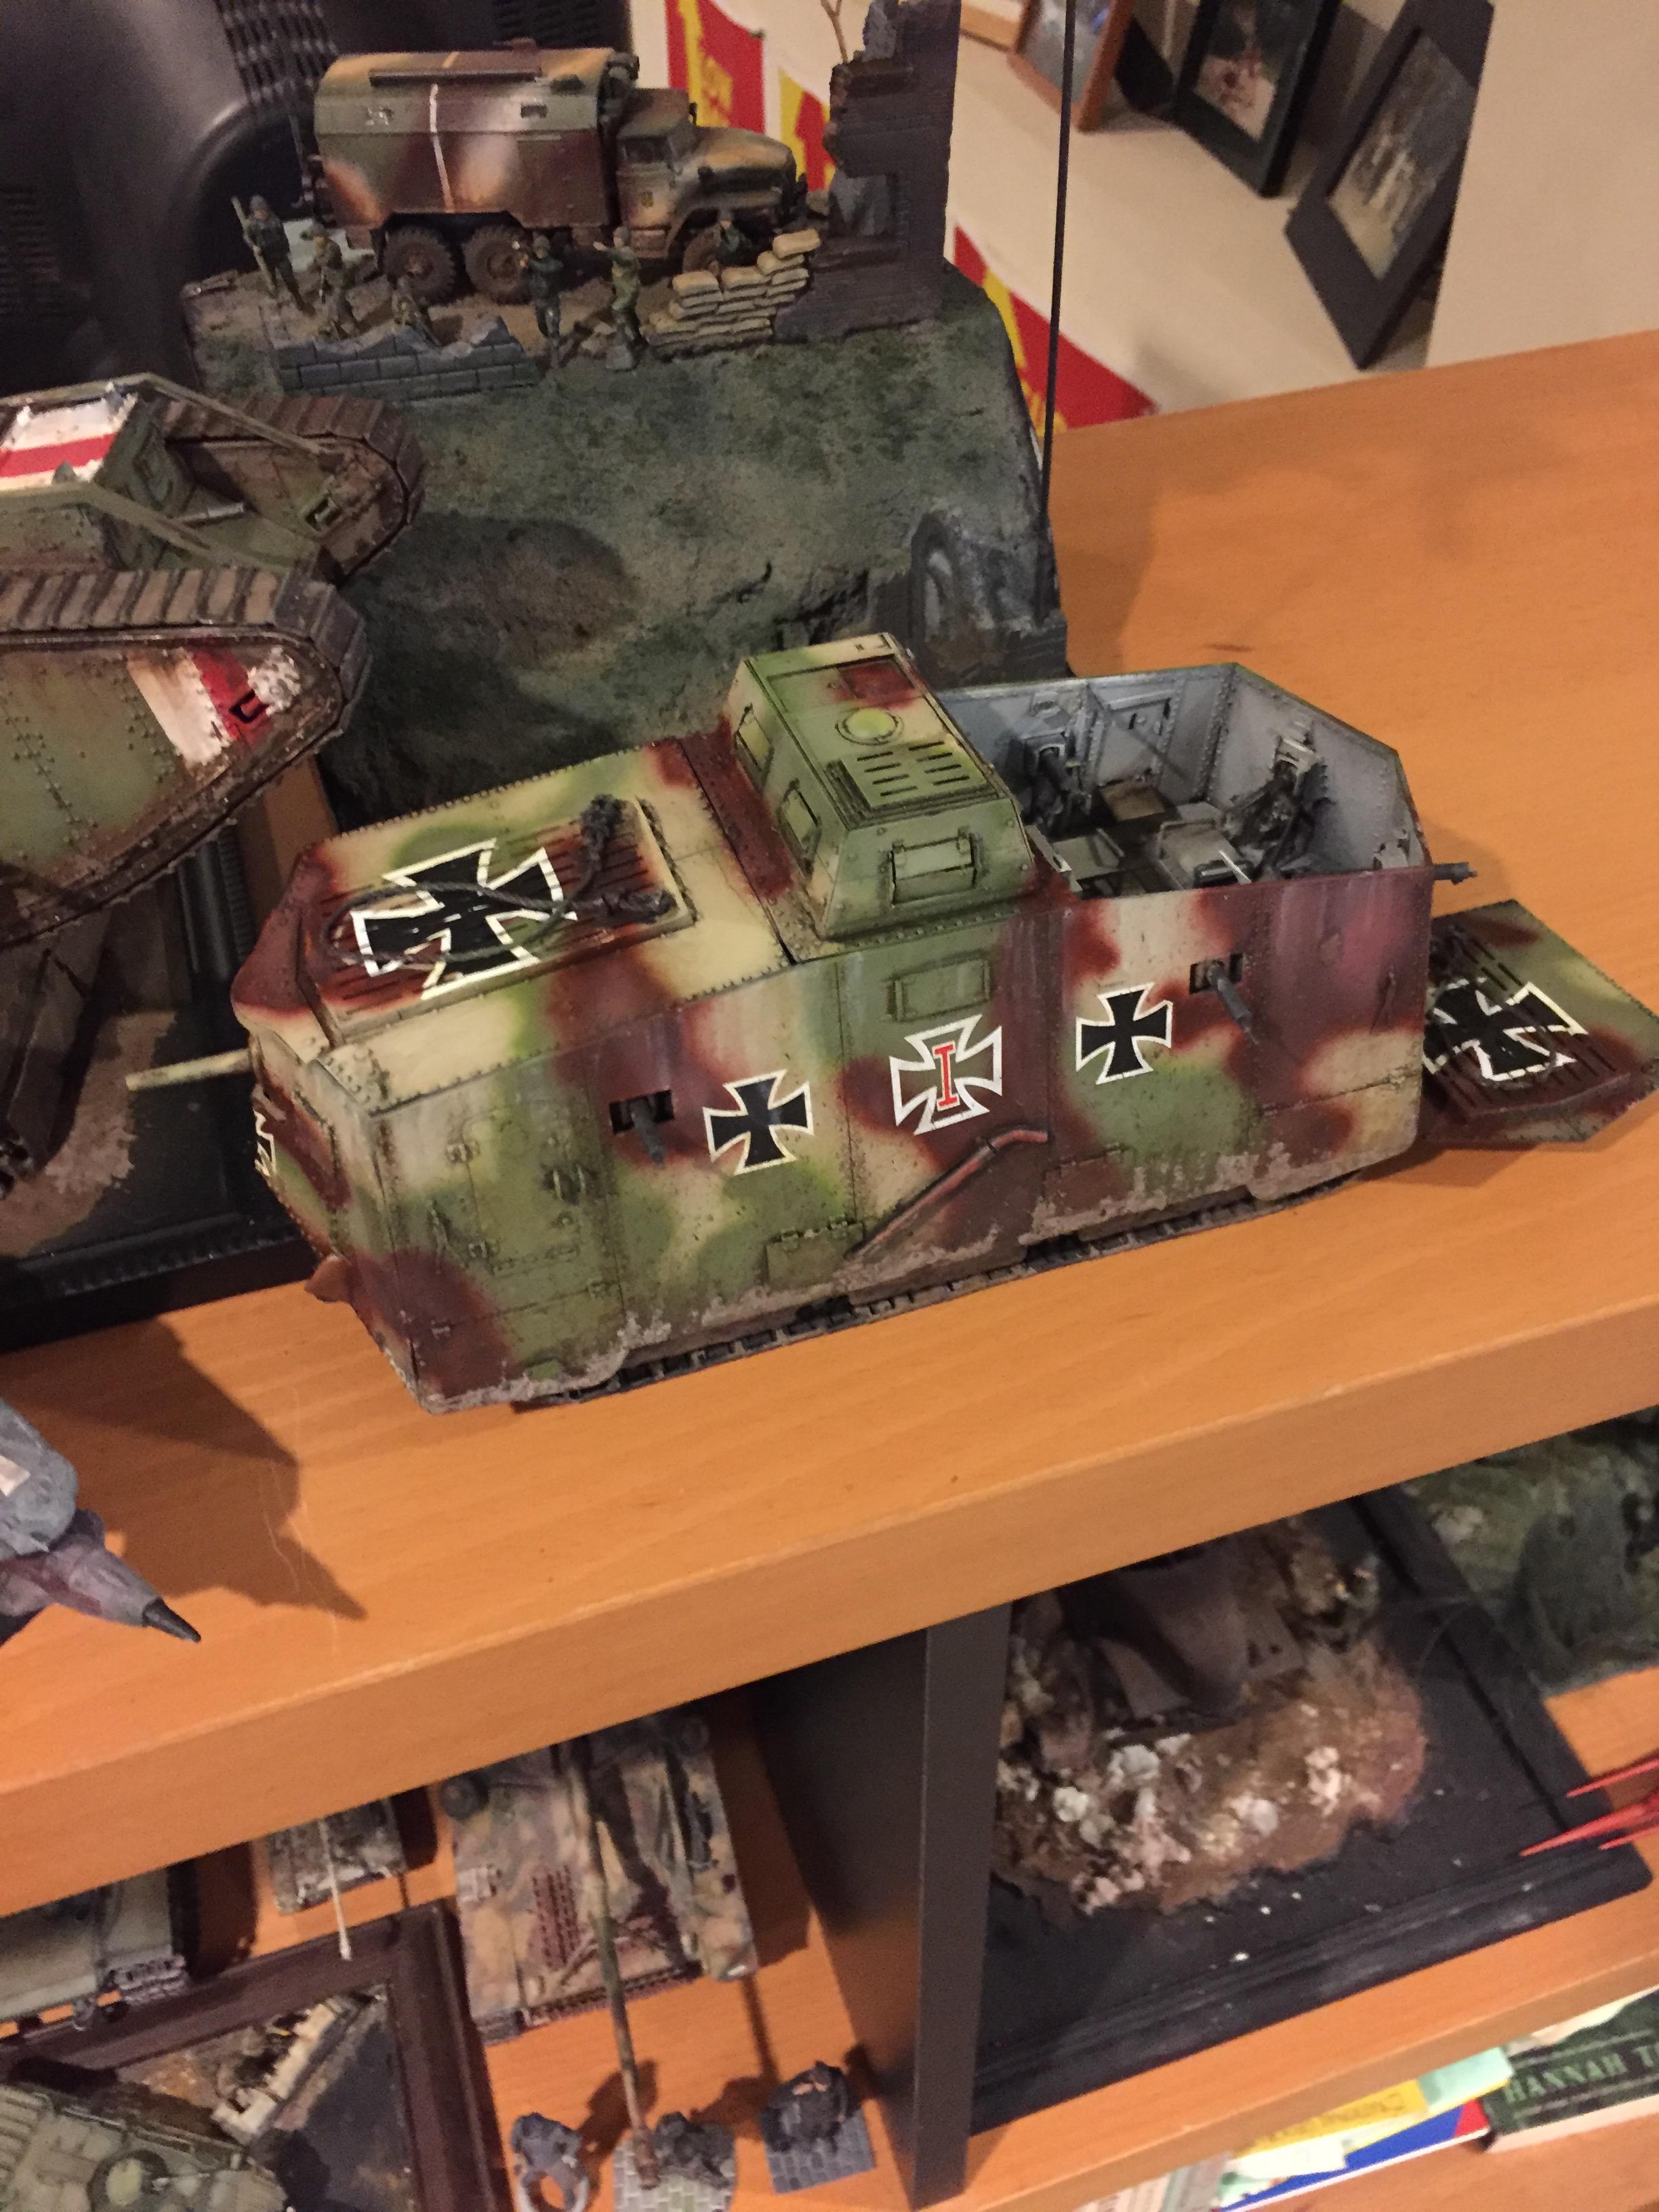
I'm calling this baby finished. I did three layers in all of mud and dust using artist's pigments and plaster mixed with water. I also added some rainmarks using oils... They look stark in the photo but are much more subtle in real life. All in all, I'm pretty proud of the finished model.
My next build is already in progress... Pictures will come soon!
Posted: Friday, June 03, 2016 - 02:25 AM UTC
Dude,
That is awesome! I don't know how I missed this one. Execcent painting! What a bus!
Gaz
That is awesome! I don't know how I missed this one. Execcent painting! What a bus!
Gaz