_GOTOBOTTOM
Armor/AFV: Axis - WWII
Armor and ground forces of the Axis forces during World War II.
Hosted by Darren Baker
Battle of the Bulge - Panther G
Johnny-Vendetta
Visit this Community
Nordrhein-Westfalen, Germany
Joined: November 30, 2014
KitMaker: 6 posts
Armorama: 6 posts
Posted: Sunday, April 24, 2016 - 03:09 PM UTC
Hi,

this will be my Build log of a Panther G during the german offensive in the Ardennes. It will be part of a diorama I'm planning to build in the future. Everything is still in conception phase so sharing your thoughts and knowledge with me would be helpful to me.

My intention was a to display the time of Kampfgruppe Peiper in the area of La Gleize as it is just 60km away from where I live and I plan to visit. A long diorama of 1-1,5m was my idea where one or maybe two Panthers would fit together with figures, a Sdkfz 251 and of course a Tiger II.

That's the rough idea of the diorama but let me share some progress of the Panther.

This is what will be used:

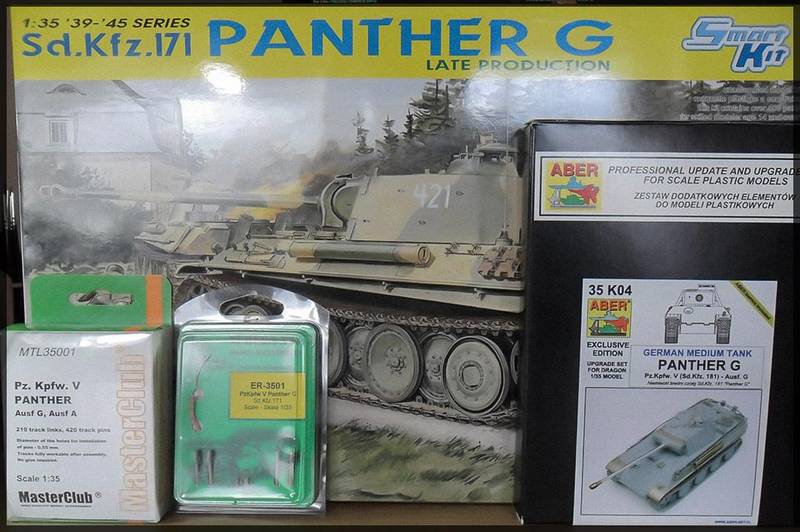
Dragon Panther G - 6268
Aber Model Complete set - 35K04
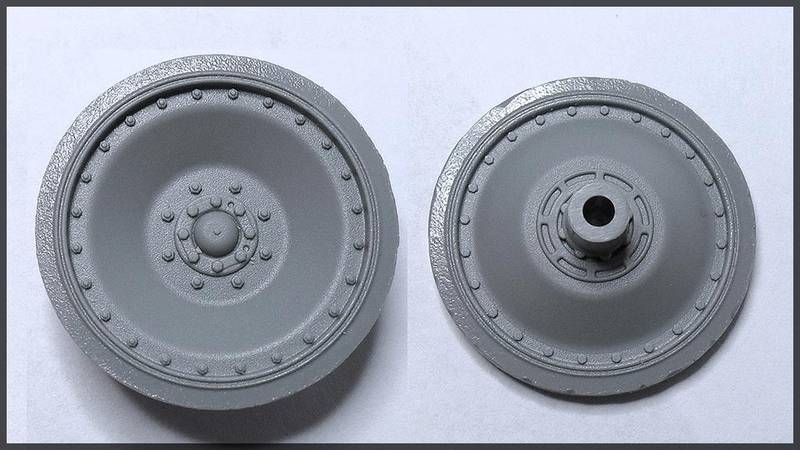
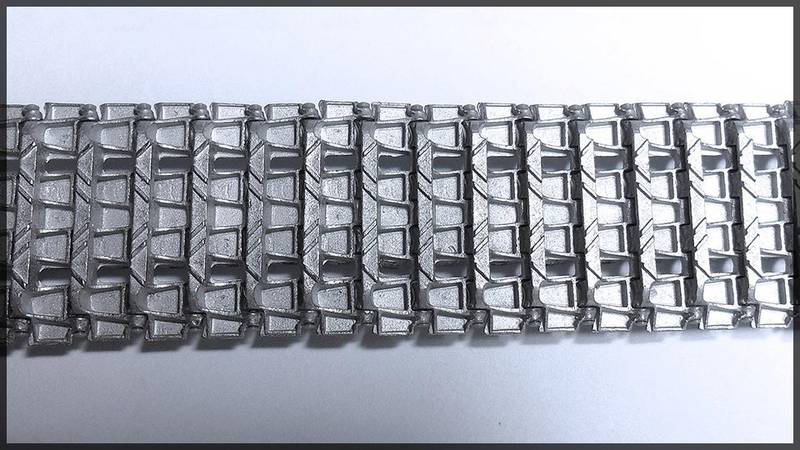
Masterclub Metal Tracks - MTL35001
Eureka Towing Cable - ER3501


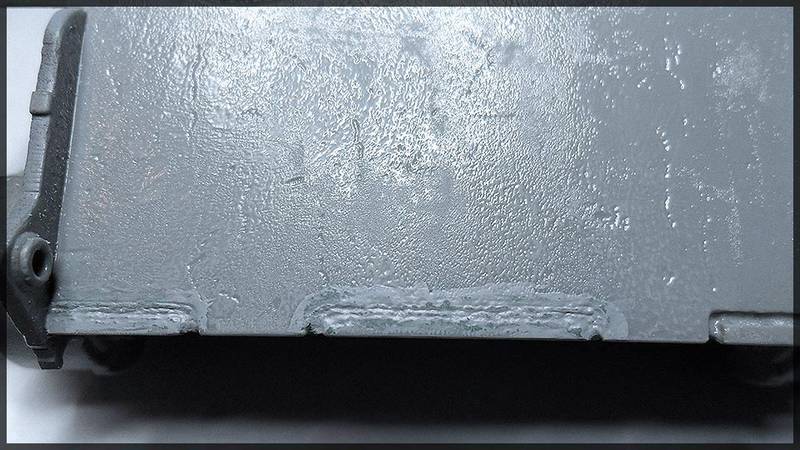
Hull and Turret is assemblied and glued together


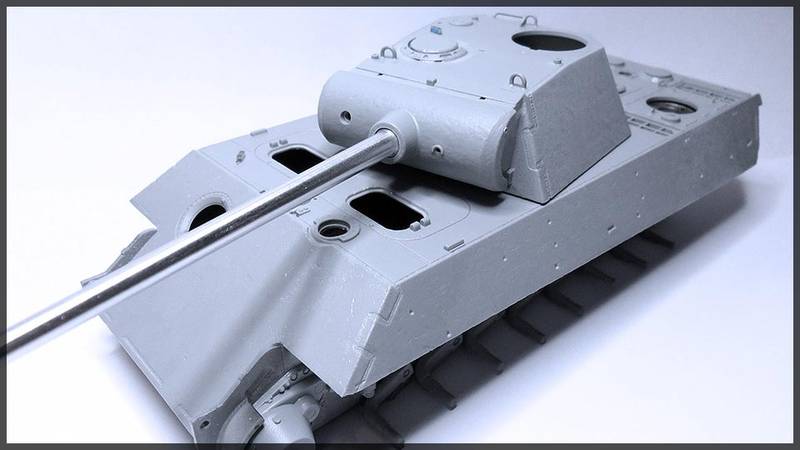
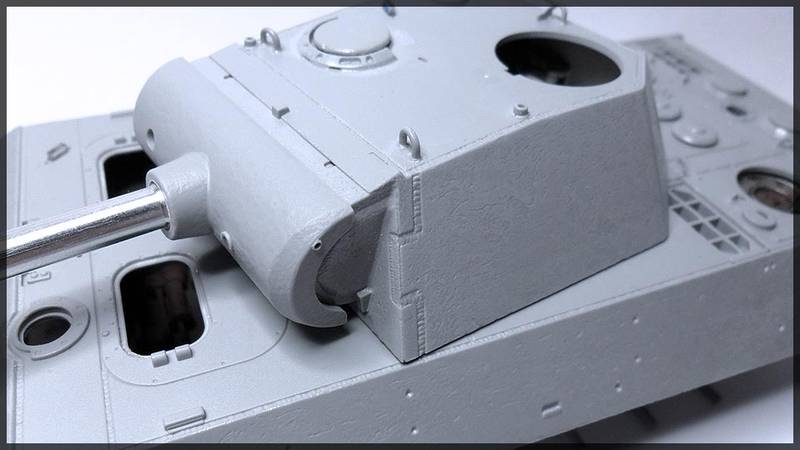
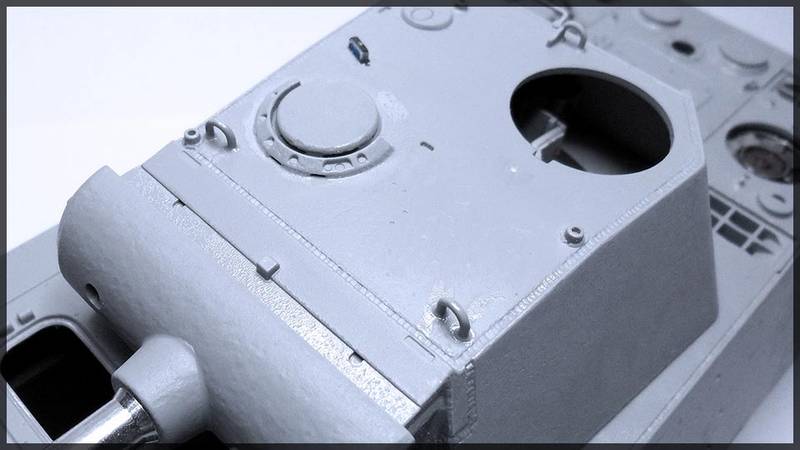
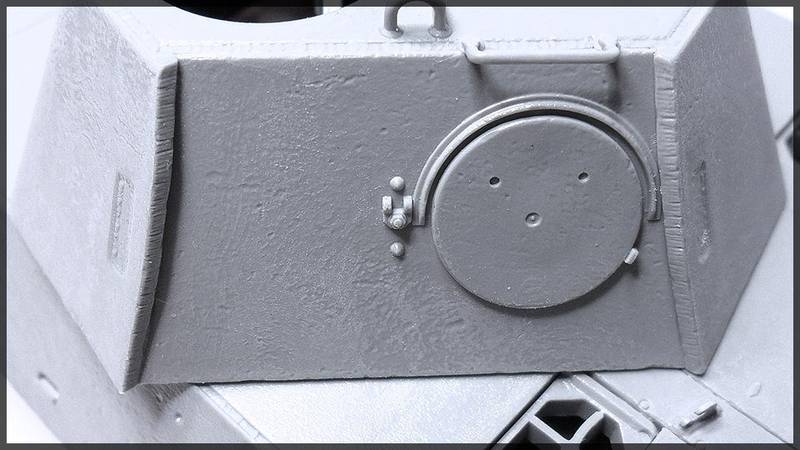
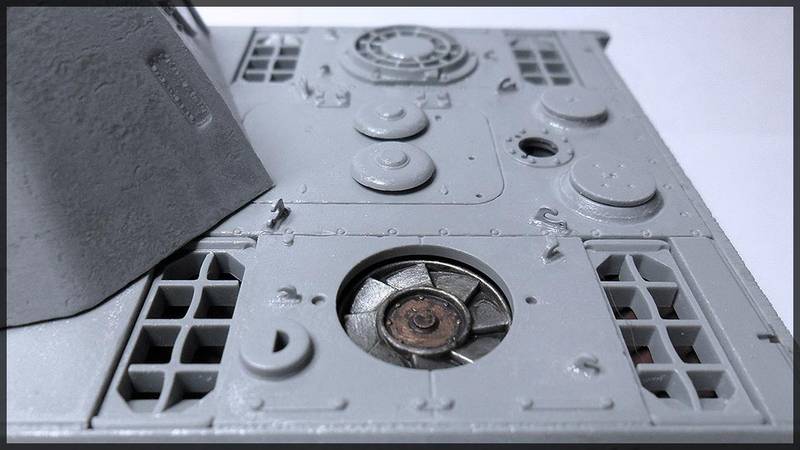
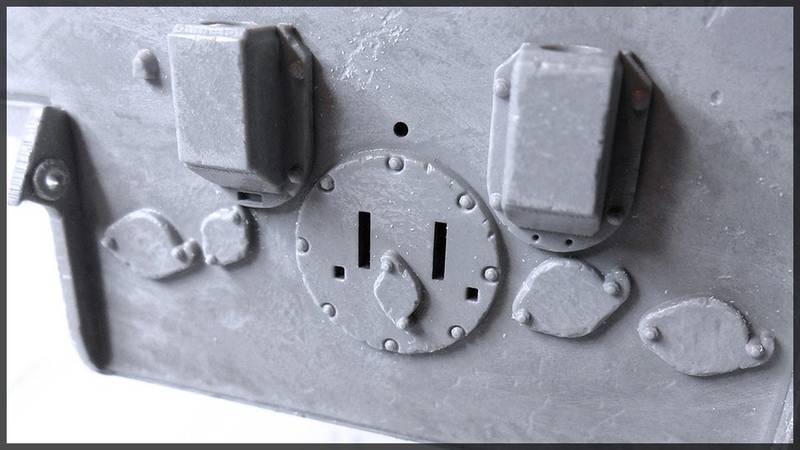
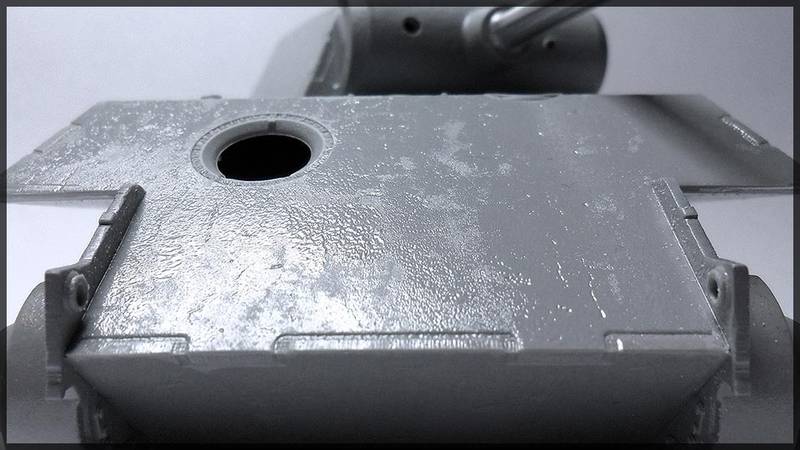
As you can see I'm working on the steel texturing and adding lots of damage to the entire model. My Intention is not to be hyper realistic, as most of the damage is out of scale and unrealistic, but for aesthetic reasons to break up those perfect straight lines and edges and so on. Just a few cm away from the model and the damage and texturing starts to fade and it looks more like a tank than a model.

Which tank it will be I have not decided yet, it goes towards LSSAH 214 but like I said it's all open for thoughts.

A few words about the Masterclub Tracks which are really nice but a pita to clean up. Did someone here had similar experience?

Hope you join this Topic
Regards
Cuny12
Visit this Community
Australia
Joined: April 04, 2010
KitMaker: 378 posts
Armorama: 348 posts
Posted: Sunday, April 24, 2016 - 03:12 PM UTC
If you haven't already try and grab the Panther in colour by waldamar trojca great book packed with some good references for Ardennes panthers.

Cheers Ben.
Modelrob
Visit this Community
Arizona, United States
Joined: October 20, 2015
KitMaker: 304 posts
Armorama: 293 posts
Posted: Sunday, April 24, 2016 - 04:21 PM UTC
Looks like it will be an interesting build. Nice work so far.

Robert
Thirian24
Visit this Community
Oklahoma, United States
Joined: September 30, 2015
KitMaker: 2,493 posts
Armorama: 2,344 posts
Posted: Sunday, April 24, 2016 - 04:49 PM UTC
Very nice. I'll be watching this.
Tojo72
Visit this Community
North Carolina, United States
Joined: June 06, 2006
KitMaker: 4,691 posts
Armorama: 3,509 posts
Posted: Sunday, April 24, 2016 - 06:16 PM UTC
Looks good so far,that little vent fan is really good.

For future builds,take a look at Spade Ace Tracks,I had a set for my Tiger and they were flawless.I never tried Masterclub though.
Johnny-Vendetta
Visit this Community
Nordrhein-Westfalen, Germany
Joined: November 30, 2014
KitMaker: 6 posts
Armorama: 6 posts
Posted: Tuesday, April 26, 2016 - 01:39 PM UTC
Hi,
Thanks for the kind words.
I've been working on the front weld seams, not finished yet. I tried to replicate the weld pattern of two shaky lines instead of a half circular pattern. I'm no experienced modeler for that be critical please so I can improve my skills. Squadron Green Putty was used softened with Tamiya Extra Thin Cement.


What do you think?
GazzaS
#424
Visit this Community
Queensland, Australia
Joined: April 23, 2015
KitMaker: 4,648 posts
Armorama: 2,248 posts
Posted: Tuesday, April 26, 2016 - 02:35 PM UTC
Johnny,
I like your ideas! That fan is awesome! I'll be following, too.
TopSmith
Visit this Community
Washington, United States
Joined: August 09, 2002
KitMaker: 1,742 posts
Armorama: 1,658 posts
Posted: Tuesday, April 26, 2016 - 07:24 PM UTC
I do like those weld lines.
Johnny-Vendetta
Visit this Community
Nordrhein-Westfalen, Germany
Joined: November 30, 2014
KitMaker: 6 posts
Armorama: 6 posts
Posted: Tuesday, April 26, 2016 - 10:37 PM UTC
Hi guys,

I liked the weld seams too, so I removed them
I forgot to trim the upper and lower front plates as they are displayed at one level by dragon where they mesh. So the weld should go upwards from the lower hull end to the upper hull. Now I'm tyring out some weld seam techniques on a evergreen sheet and will hopefully get as near as possible to the original.

Update:

So after trying to replicate those multi weld lines with an evergreen rod and liquid cement, I completely messed it up.
The lines are way to big that it looks like one big weld on the front plate instead of joining two plates together.
Have to think about a way how to repair it.


Regards
 _GOTOTOP