_GOTOBOTTOM
Яusso-Soviэt Forum: WWII Soviet Armor
For discussions related to WW2 era Soviet armor.
MiniArt SU-122 (early prod) build log
Silantra
Visit this Community
Putrajaya, Malaysia
Joined: March 04, 2004
KitMaker: 2,511 posts
Armorama: 913 posts
Posted: Monday, September 19, 2016 - 02:00 PM UTC
Fellas,

This part of the year i automatically get a boost. This is my 8th kit this year after completed 4 kit recently. I pick up the kit last week and a few hours after that i started the build... anyway, i would also give a build review of the kit as i go along. I hope this build would be a smooth sail.

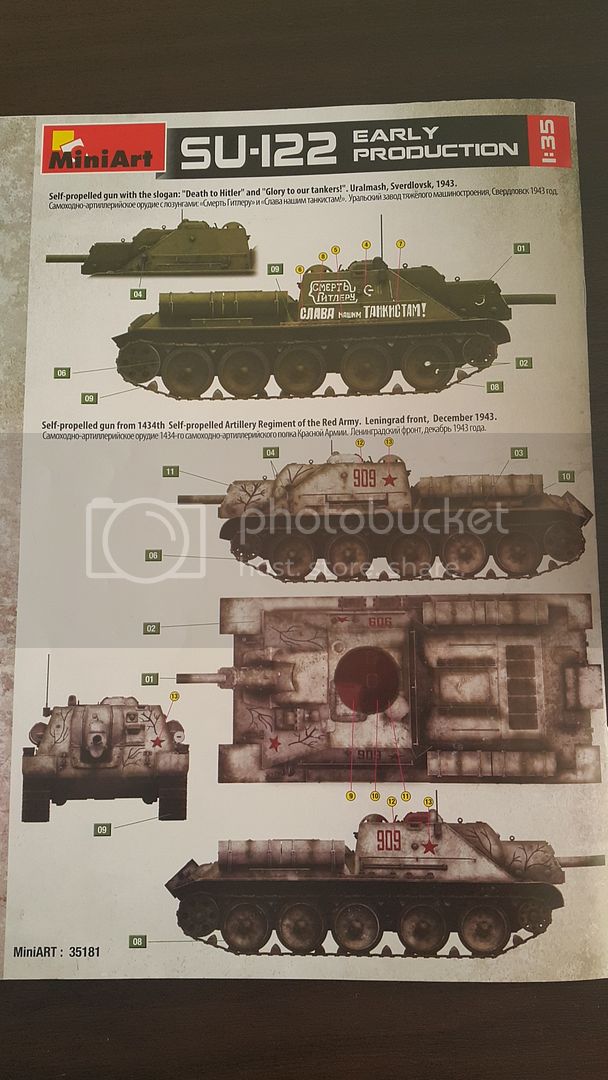
I was amazed and attracted to the nice box art of this kit (rather that the full interior kit box art.) I simply love the box art and decided to do the kit as illustrated.

Open up the box and u will get this :
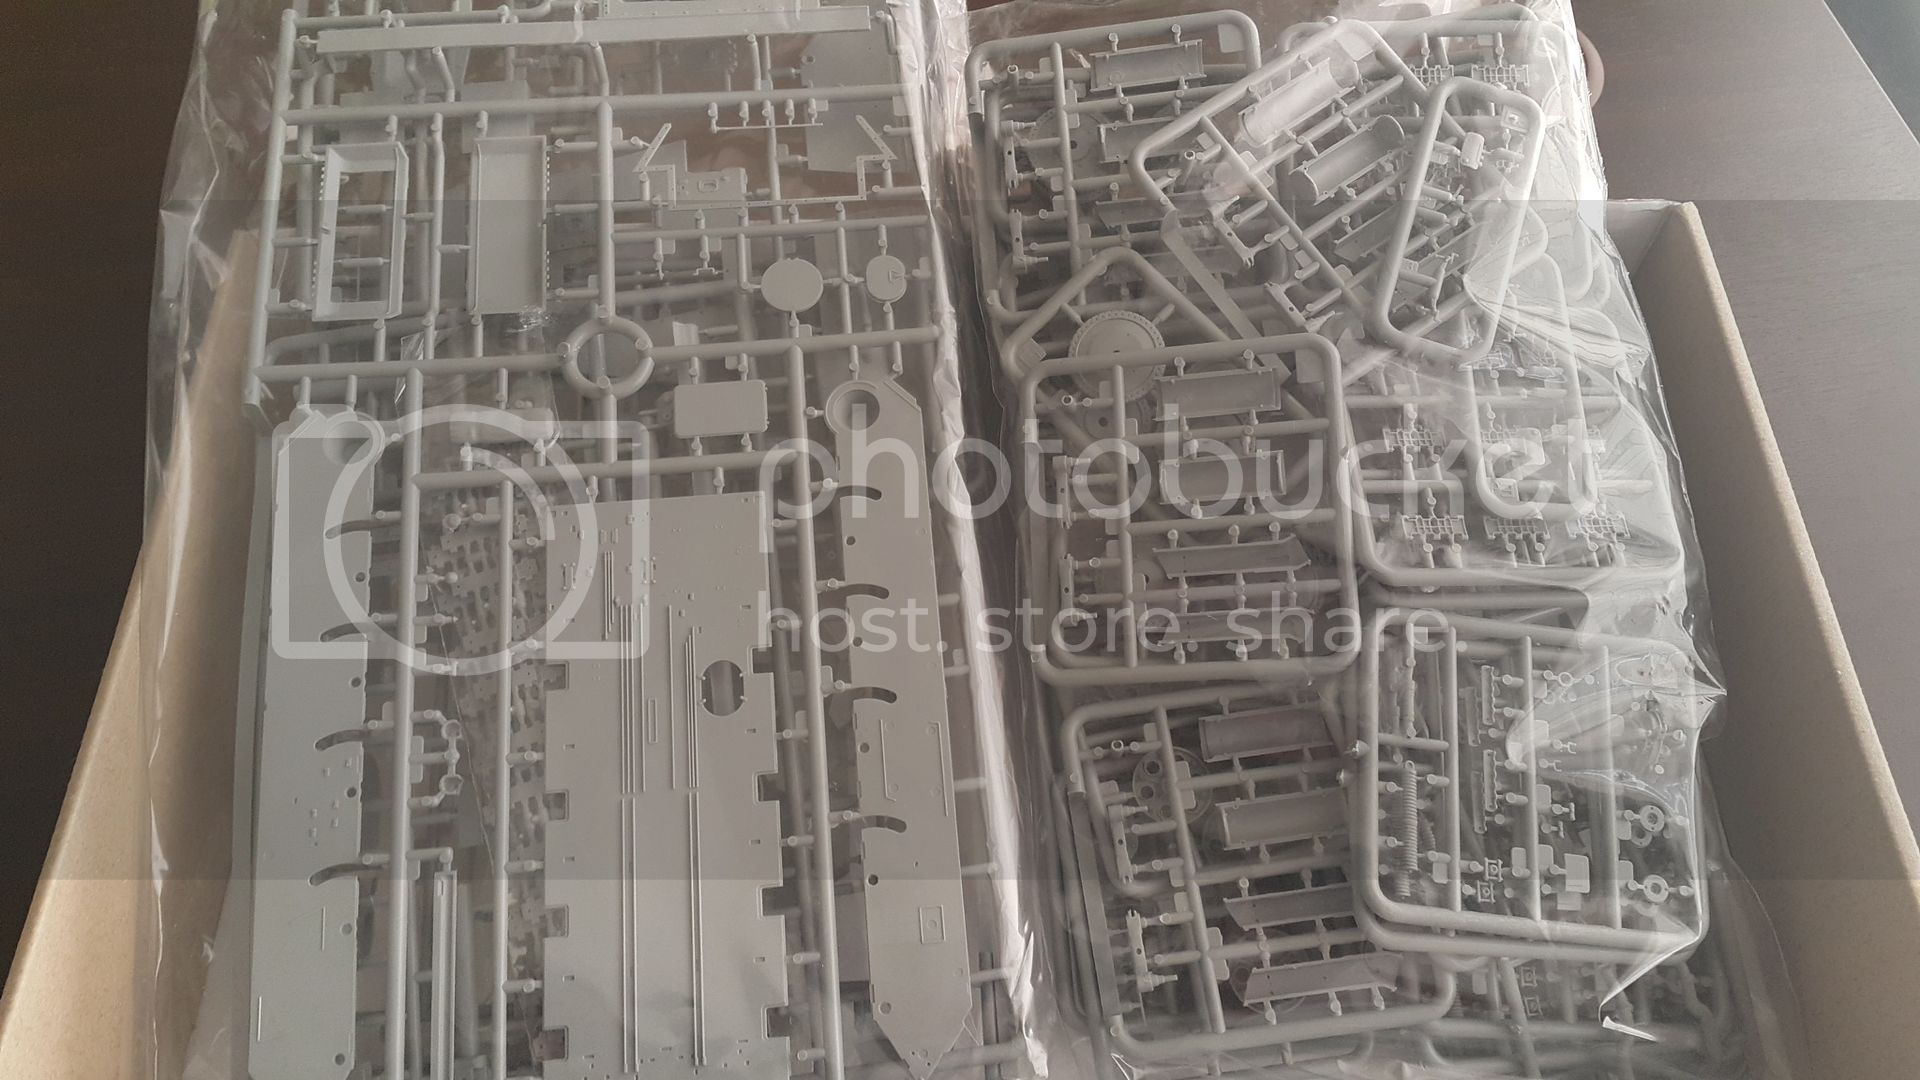


The manual is booklet type. 14 pages of instruction with colored pages for the cover and the painting guide pages.
Color reference are all superb with 5 major paint manufacturer are called.


Part breakdown are as follows 488 plastic, 4 clear parts, and PE sum up to 565 parts overall.

Step one required to assemble the floor interior and suspension system.


The lower hull consist of separate parts for the floor, side wall and front n rear panel. Looking at manuals as well as my previous bad experience with this kind of assemblies, make me nervous and anticipated that the fitting maybe not good.

there are 4 of this in each side.


after a few hours.. managed to get the spring assembled. Also noted that the fit was so far excellent. I would like to compliment MiniArt for this.


this kit also gives partial interior for the beast. U get a few seats, some details for the floor and wall... but none could be seen if u chose to close all hatches.
i omitted some of the interior parts that are too small to handle..
Some parts are over engineered. for example this spring ..
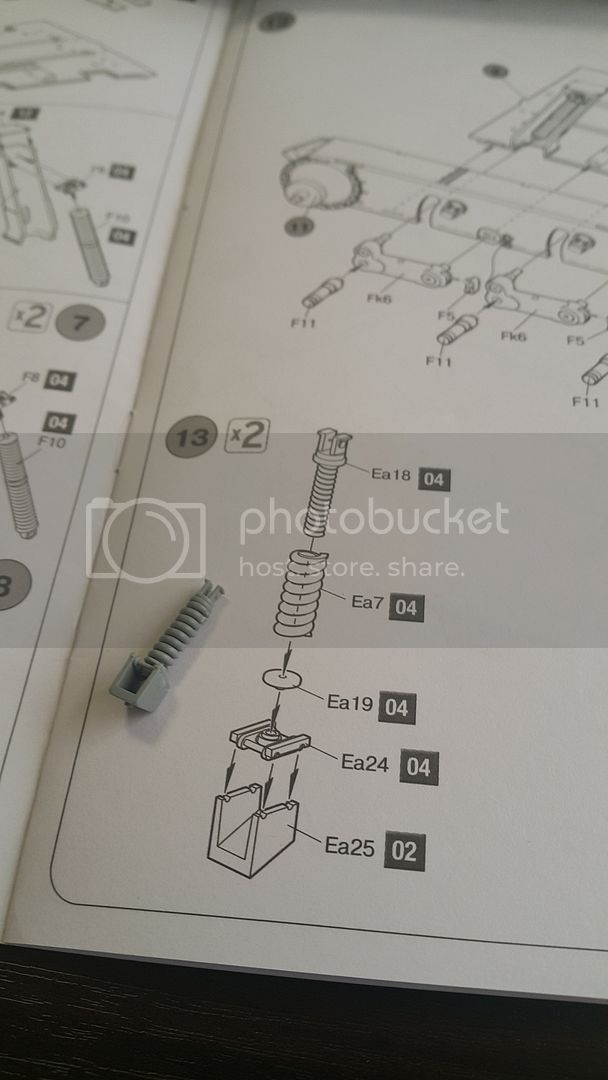
Part Ea7 is plastic spring molded with the sprue. Kinda crazy to attempt this step. I managed to make 2 of this.

One thing, all of the springs are molded with the sprue on the spring surface it self.
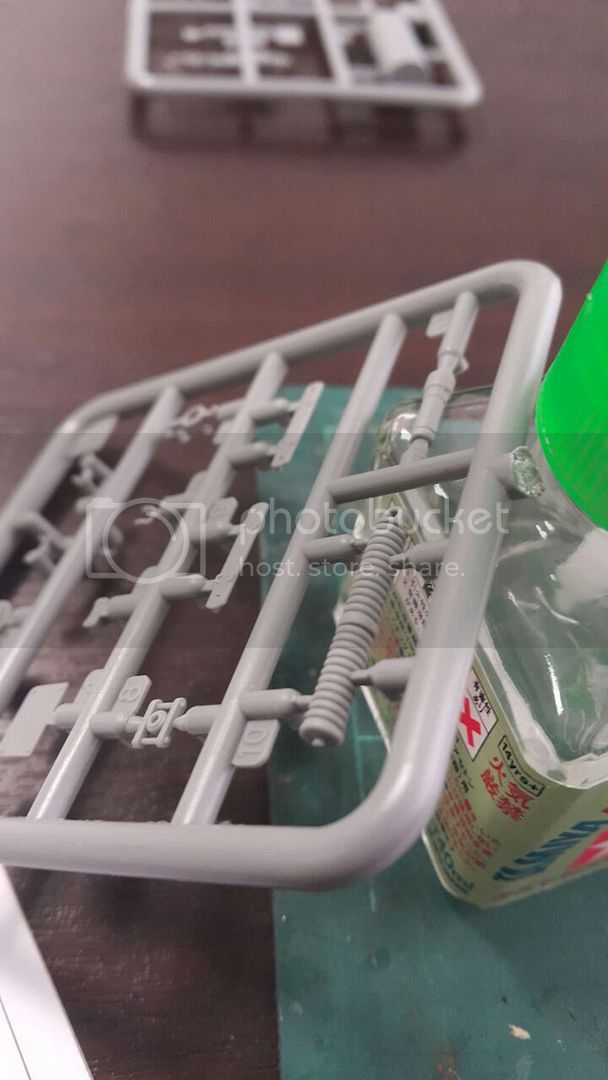
Cleaning that up will consume time..but alas, it wont be seen if u align the spring carefully.

The build went on smoothly...
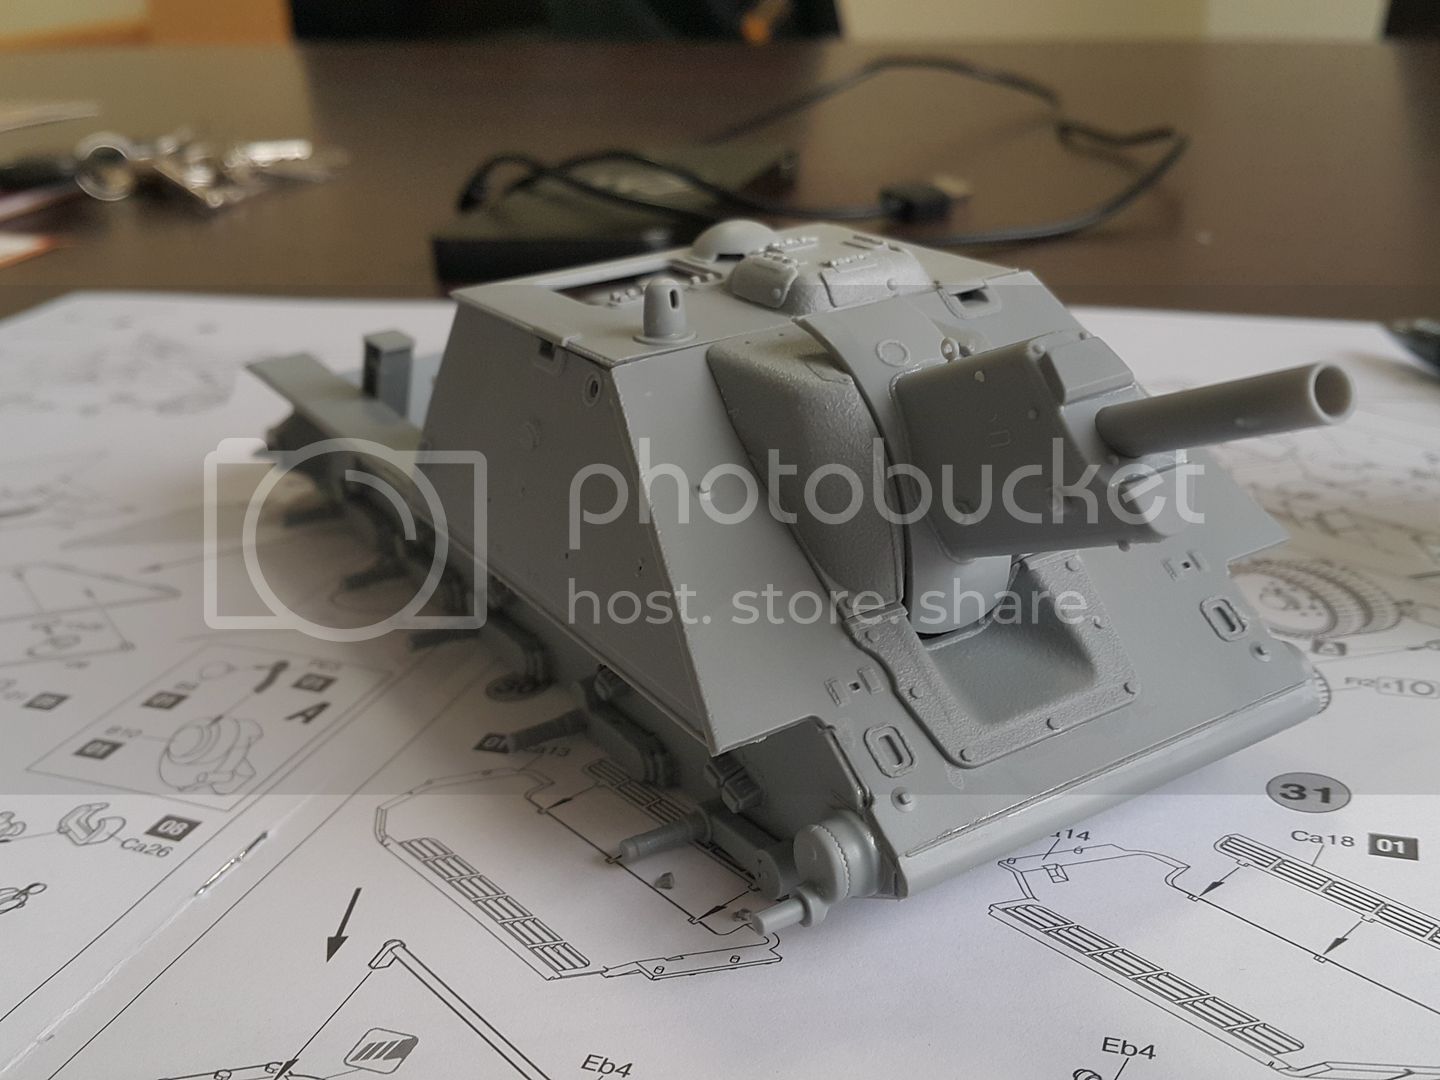
the gun are next. Fitting is still excellent but some parts have visible seamlines...

this is all the progress so far...


will be back for more...

thanks for looking


Sil
cheswickthecat
Visit this Community
Washington, United States
Joined: October 13, 2007
KitMaker: 212 posts
Armorama: 208 posts
Posted: Monday, September 19, 2016 - 07:44 PM UTC
Sil, you do really nice work so for sure I'll be following this build!
Terry
Silantra
Visit this Community
Putrajaya, Malaysia
Joined: March 04, 2004
KitMaker: 2,511 posts
Armorama: 913 posts
Posted: Tuesday, September 20, 2016 - 05:30 AM UTC

Quoted Text

Sil, you do really nice work so for sure I'll be following this build!
Terry


Thanks Terry.... progress will be slower as office load is getting on the way...

will be back soon...

cheers,

Sil
Silantra
Visit this Community
Putrajaya, Malaysia
Joined: March 04, 2004
KitMaker: 2,511 posts
Armorama: 913 posts
Posted: Wednesday, September 21, 2016 - 11:41 AM UTC
Another small update.
Starting to take shape..


Fitting is still great except for the gun manlet which has to be assemble carefully.. i did some mistake resulted that the join will need filler later on.
What a shame that all of the interior wont be seen.

Will be back for more... thanks

Sil
Silantra
Visit this Community
Putrajaya, Malaysia
Joined: March 04, 2004
KitMaker: 2,511 posts
Armorama: 913 posts
Posted: Monday, May 08, 2017 - 09:43 AM UTC
wow,,it been a while since i update this build...
actually i continue with this build only 2 weeks ago...

i assembled almost everything except for the interior details as well as some small PEs, for example the PE for grab handles that holds the spare tracks, etc. Small parts like grab handles are easily broken. The railing on the hull were also molded in such a way that easily broken into pieces even during removal from the sprue. I tried the next one with extra careful but they broke too. so i replace them with brass wire. Phew..

with that i begin the painting stage. First i prime with Mr Surfacer black. this is my first time using this. The finished is a bit of satin black. I'm kinda like it.


then i spray white and yellow as the first preshading for russian 4BO green.


then i spray vallejo russian 4BO to all parts.


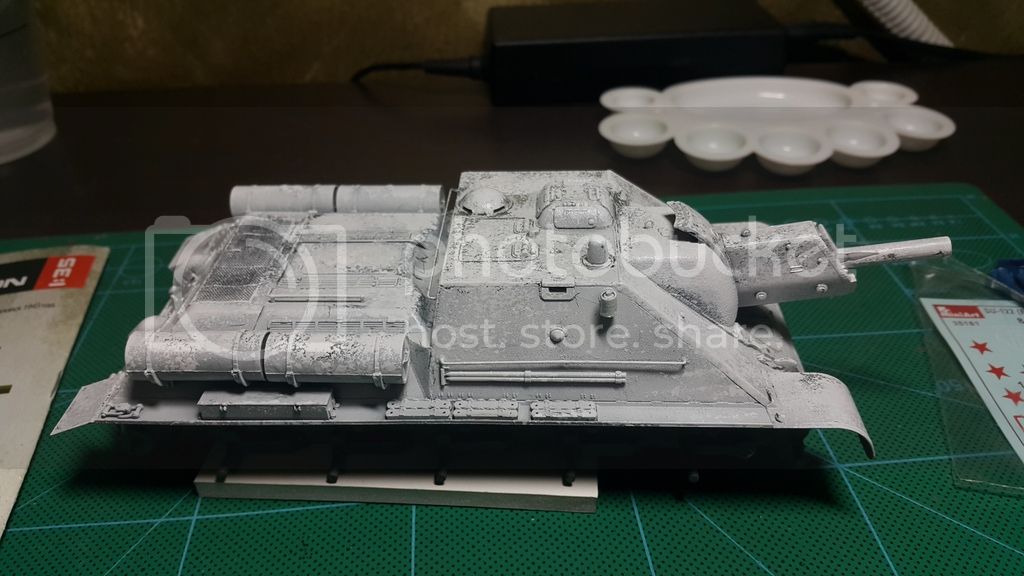
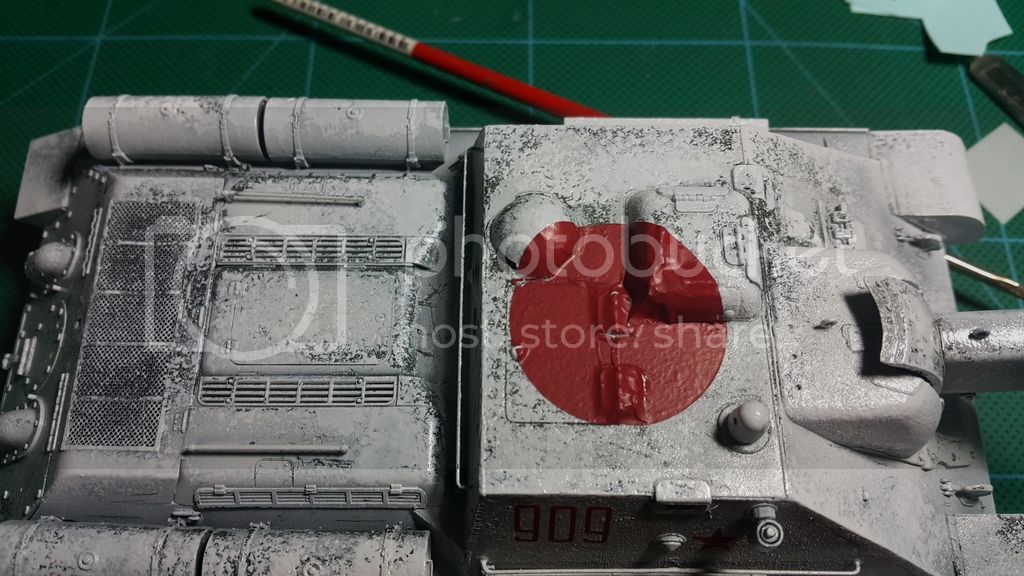
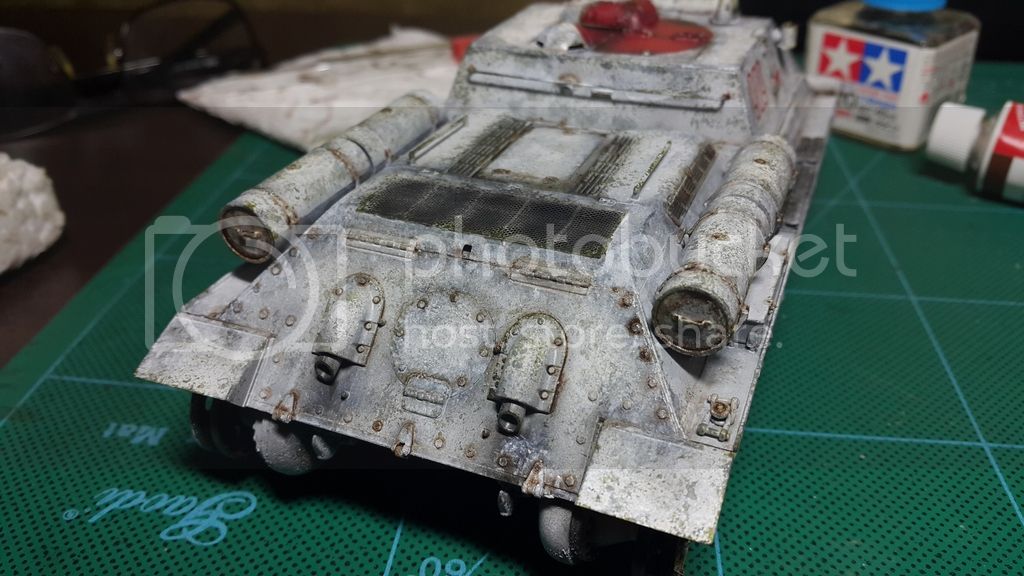
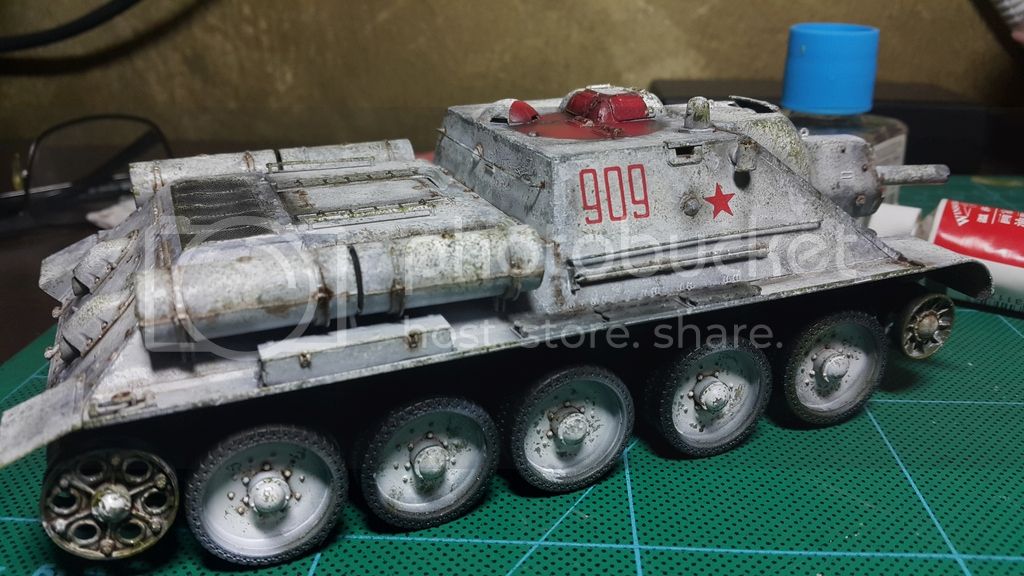
I'm going to paint as the scheme on the box art, so i misted with flat white all over the hull. I used tamiya flat white.

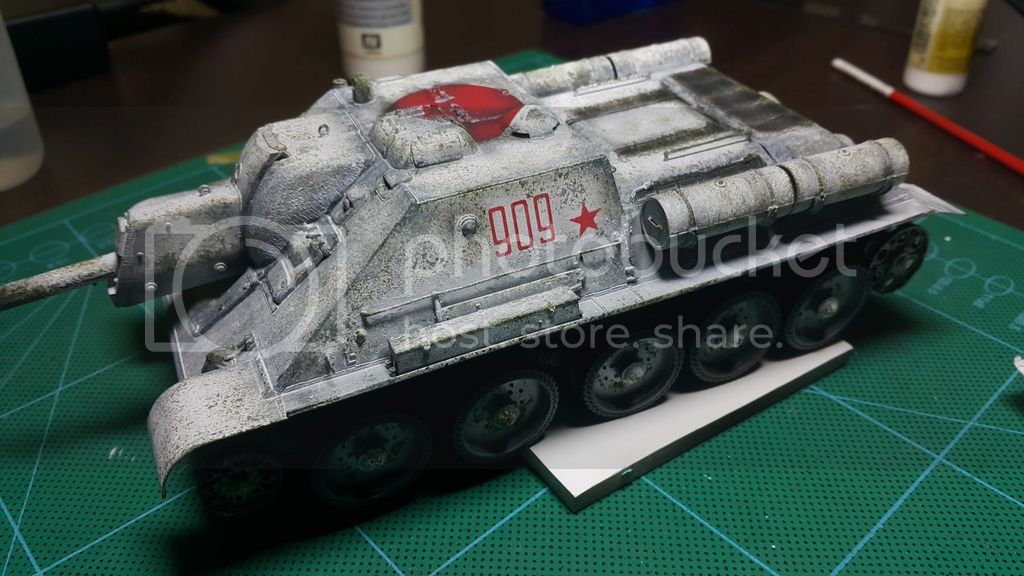
Im not really good at winter white wash, and IIRC this my second attempt on this. Please comment and guide me if im wrong.


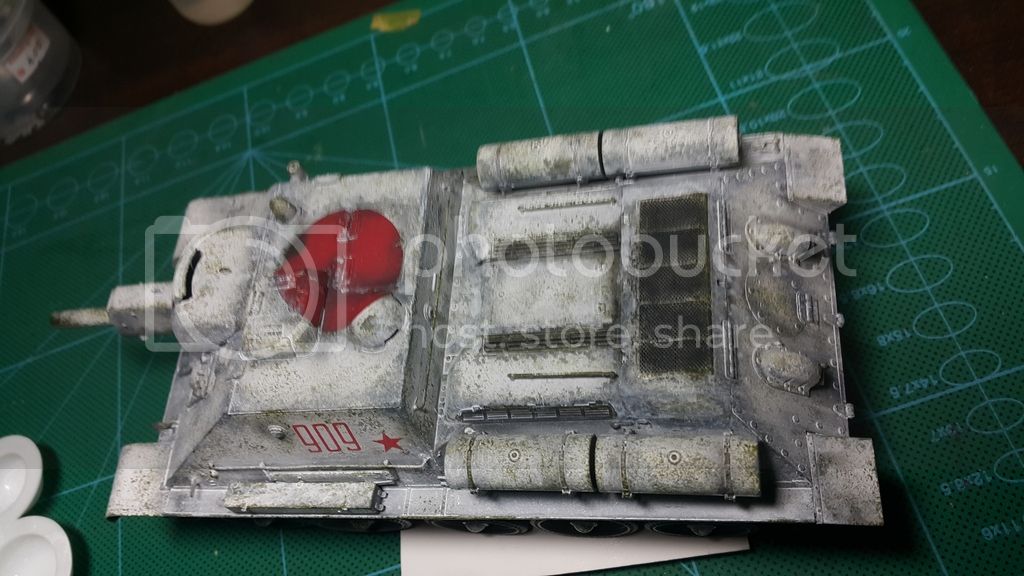
then i add variety of white, apply with brush and sponge vallejo white, off-white in no specific pattern.


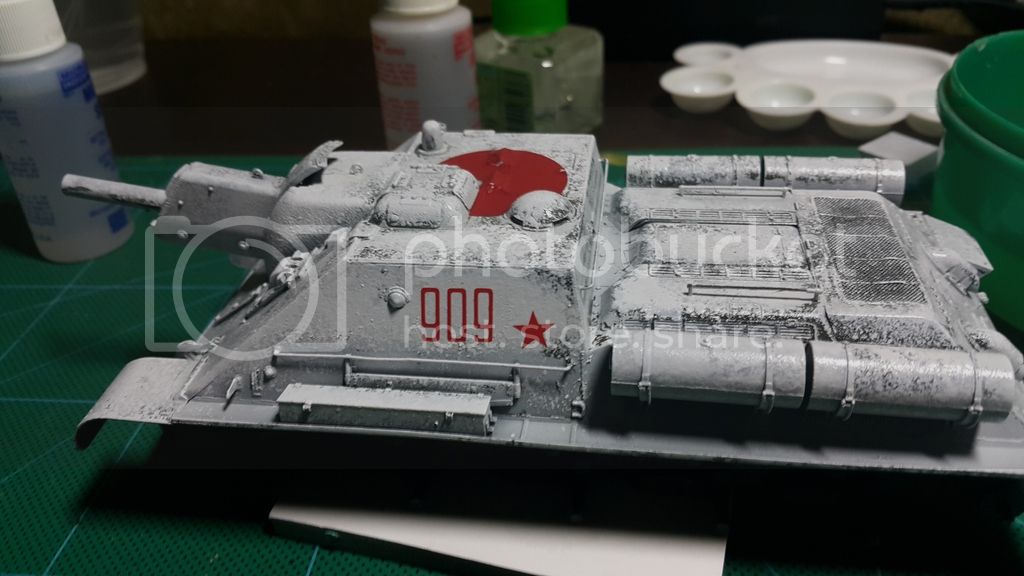
then, i coated with gloss clear to prepare for decals.

decals are simple. turret number, stars and a large rounnd on top of the hull.


the round decal, however ar every problematic to applied. They consisted of 3 parts which have to be put on the large hinges, round curved and many more details. after using setting solution, the decals somehow cracked.


the round shape will need a little touch up works later.

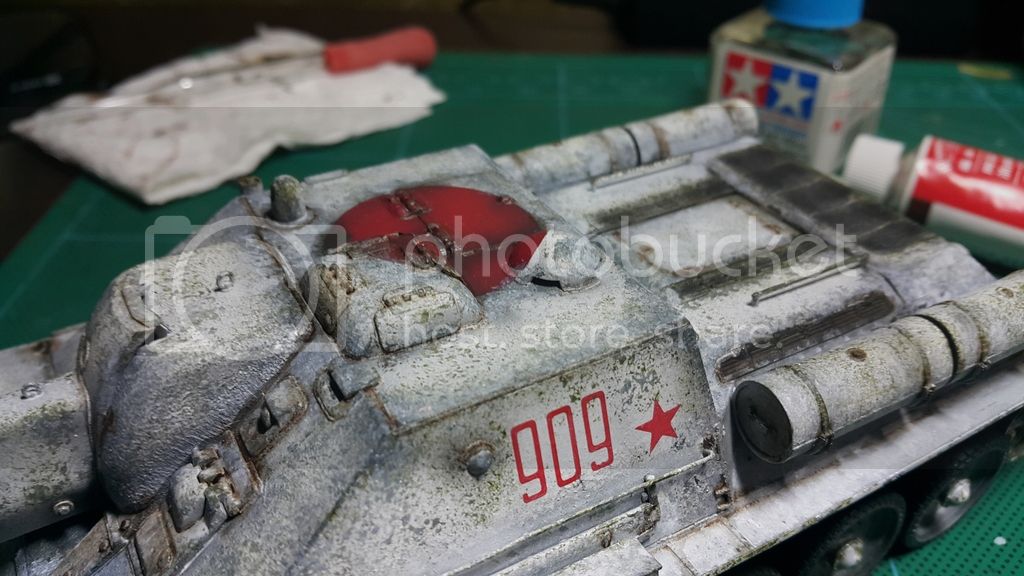
Next i simulated paint chipping using green and applied with sponge.


to soften down the green hue, i wash it with vallejo white above the green chipped.
ai also spray with tamiya smoke into the grille and louvers.


Next, oil washes,,,i used burnt umber mix with black and applied to all small detail i.e nuts, the crevices etc.


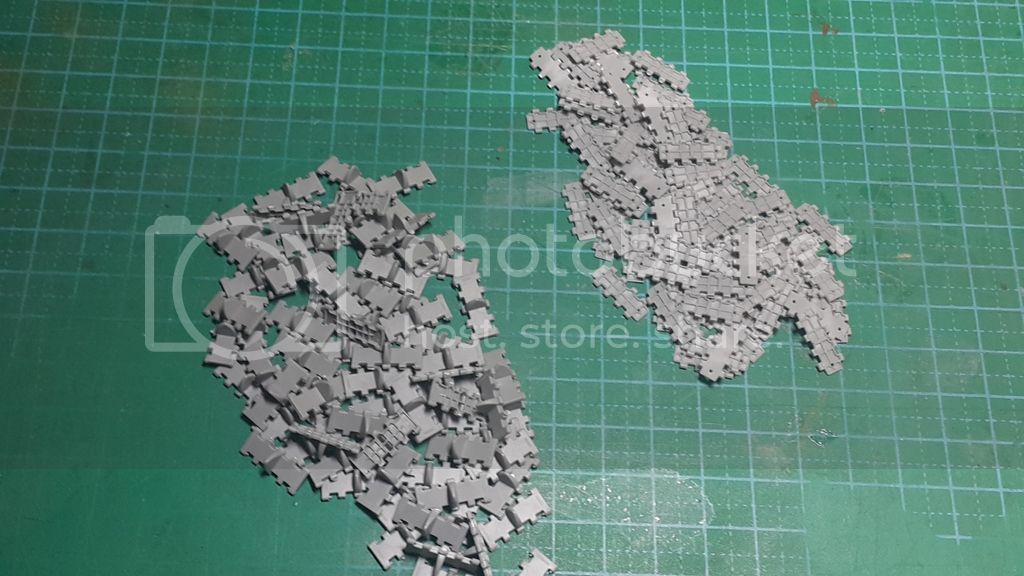
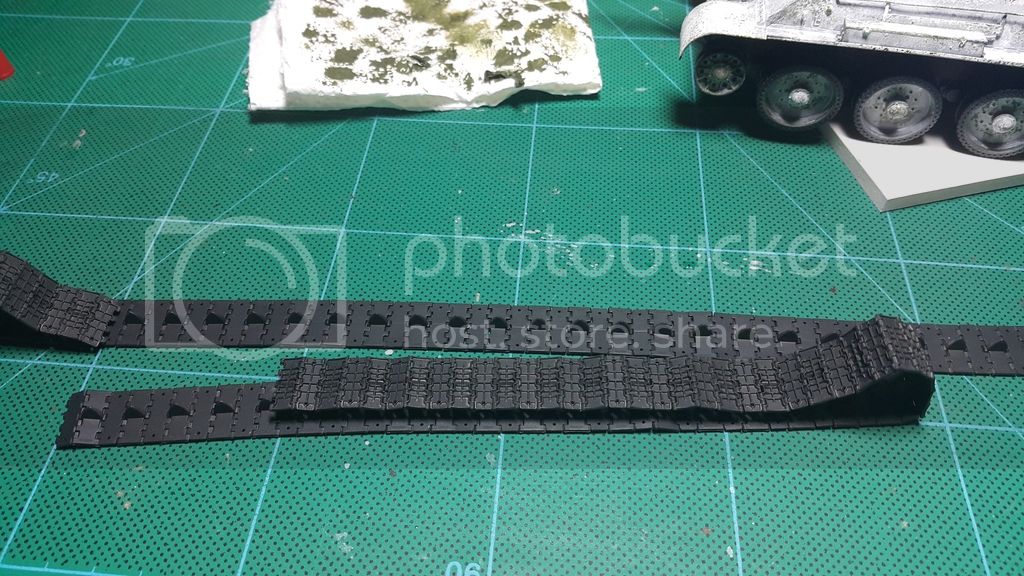
Meanwhile, the tracks..lots of tracks. The manual called for 37 links of part A and 37 links on part B in one side, so duplicate them twice on both side. The surface details for the tracks is superb. Miniart did the serial number on the tracks. Very nice feature.
Removing the tracks from the sprue and cleaning it up was a very lengthy process. I spend 2.5 hours just for this alone


The tracks are design to be snap fitted together, but extra careful when pushing the parts down as the small 'nipple' or pin join will easily break. I sacrificed 5 tracks in order for me to learn the correct method. Lucky for me that miniart provided extra tracks parts.


I primed the tracks with black once again


these are some of the photos..there are many more step and still long way to go.

thanks for looking. I appreciated any comments or criticism for this build

Sil
 _GOTOTOP