


I'm going to be doing a build of a mid-proudction Tiger I by Dragon with a mix of Verlinden and CMK interiors, Aber photo etch (though it's the early version, couldn't find any mids anywhere), Aber barrel, Archer decals, and Alpine Miniature crew.
I'd like to mention that I'm by no means a subject matter expert, so I'm likely to botch some of the terminology or historical accuracy. So any help in those regards will always be well received.
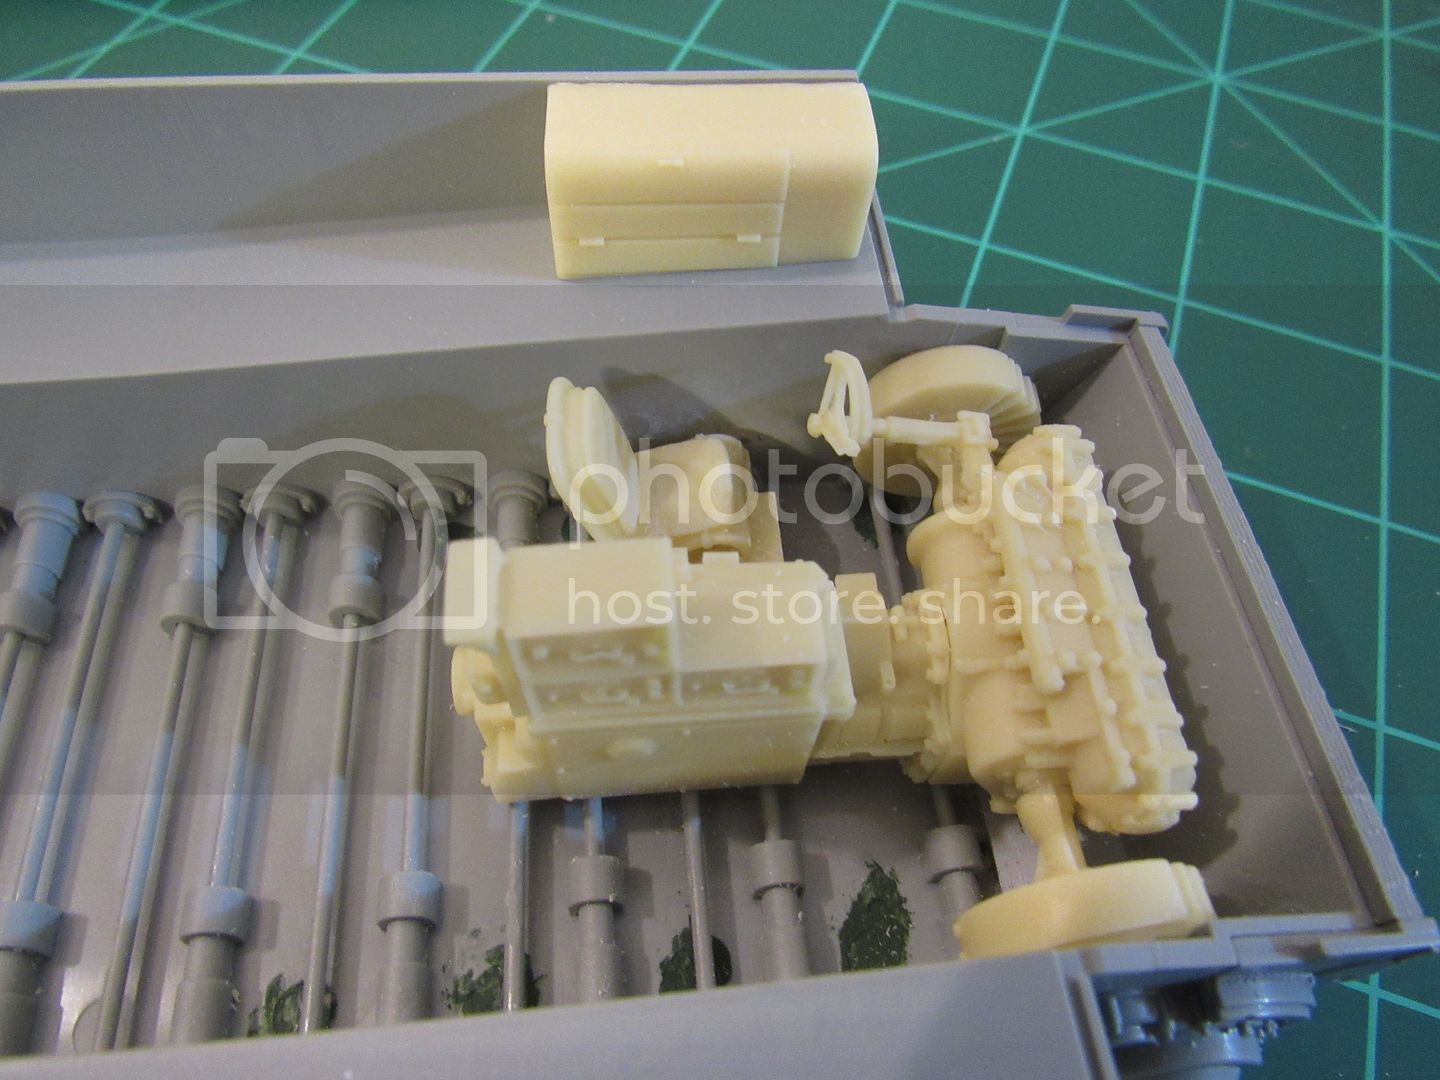
Well, let's get to the build. So here are my components that I'm going to be utilizing.

I glued the torsion bars in and immediately began working on the interior from Verlinden's Through the Hatch set. The resin's bright, yellow color certainly added to the challenge of placement.

The transmission didn't fit properly, so I had to sand down the components a few times and dry fit just to be sure. After that, I began work on the central radio assembly and the driver's seat.
I'm too embarrassed to say how many times I had to pry the tread plate off and re-position it. Suffice it to say, it was a lot and in the end I'm still not fully satisfied. The radio operator's seat was much more seamless of an installation. Once it was in, I drilled out the holes of the support strut and got it all glued down.


From here, I plan to start on the CMK interior set. Thanks for checking out my build, I'm very excited to continue this build. It's definitely a creative outlet I've missed. I'll leave you all with a drawing I did, in the spirit of this community.


