_GOTOBOTTOM
Armor/AFV: IDF [Israeli Defense Forces]
Armor and AFVs of the IDF army from 1947-today.
Hosted by Darren Baker
Merkava MK3 Baz with Nochri Dalet Mine roller
Djsdragon
Visit this Community
West-Vlaaderen, Belgium
Joined: December 03, 2006
KitMaker: 115 posts
Armorama: 11 posts
Posted: Saturday, October 29, 2016 - 11:49 PM UTC
Hello dear viewers, this is the start of my latest build. It is the Merkava MK3 Baz from Meng with tracks from Friul and a lot of photo etch from Voyager.


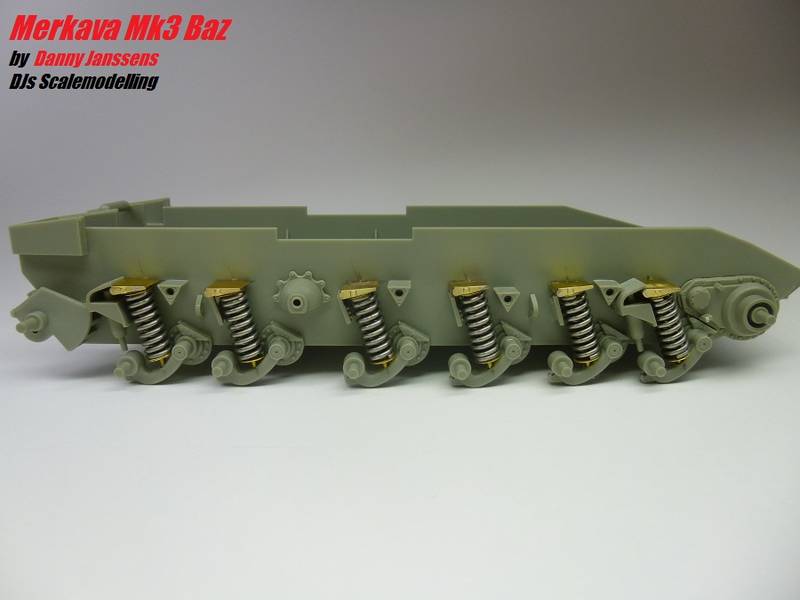
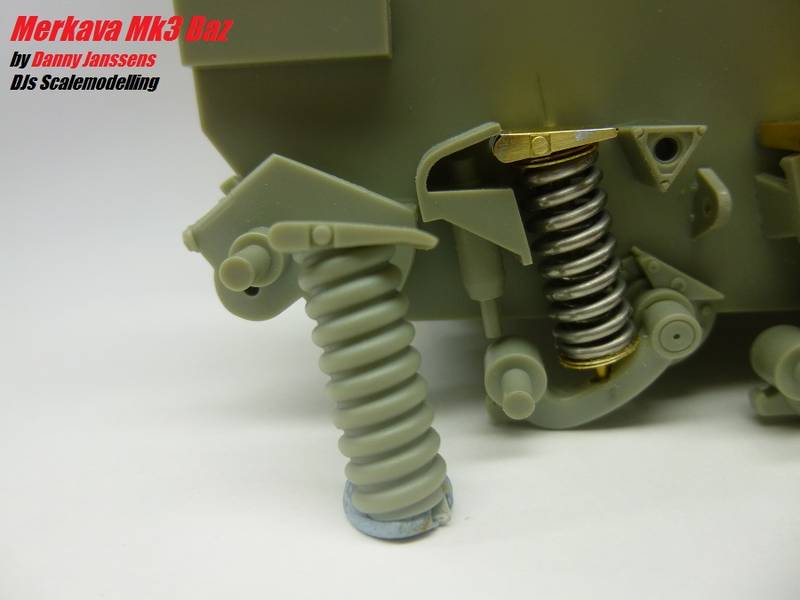
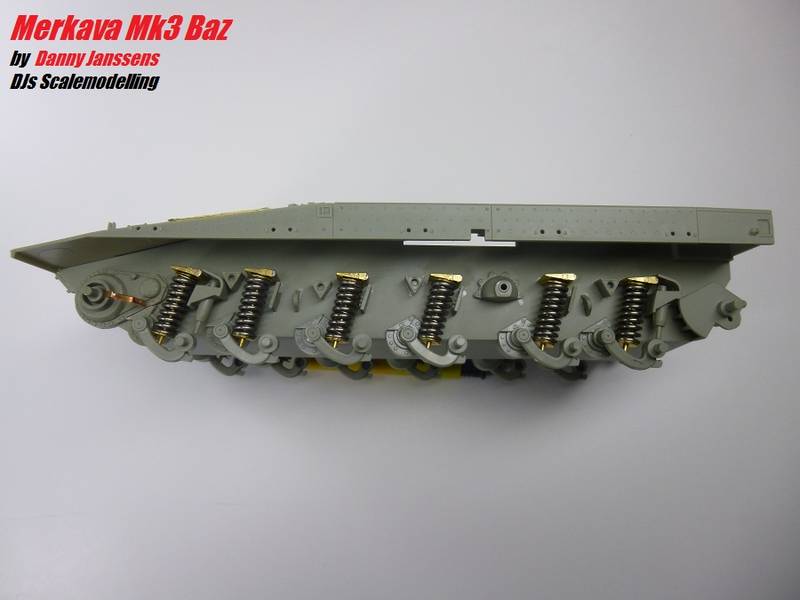
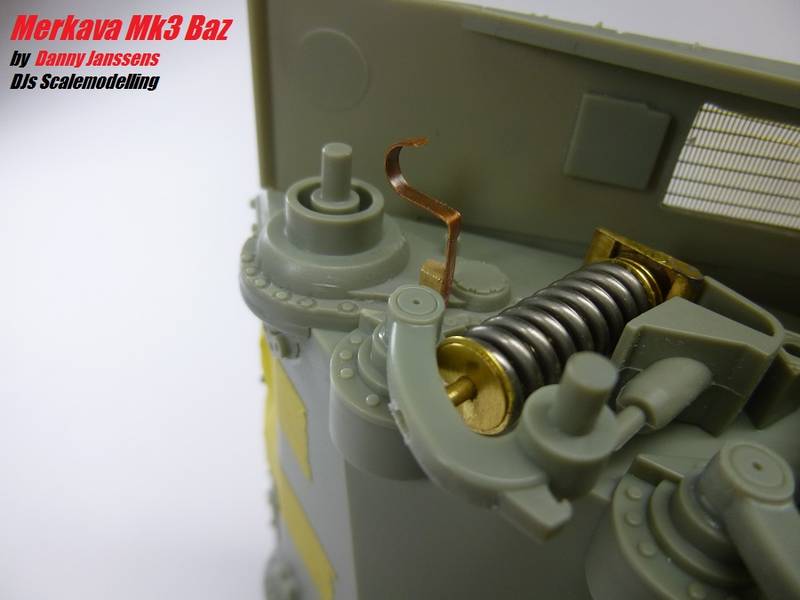
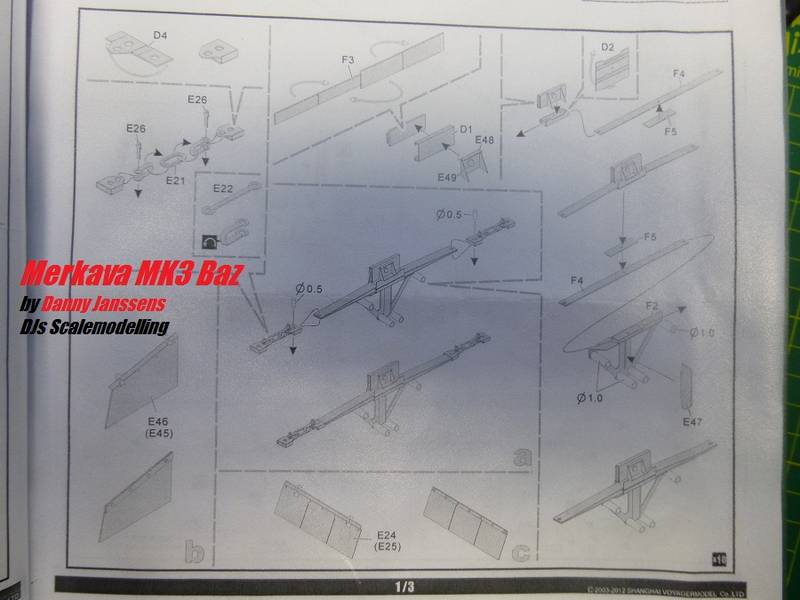
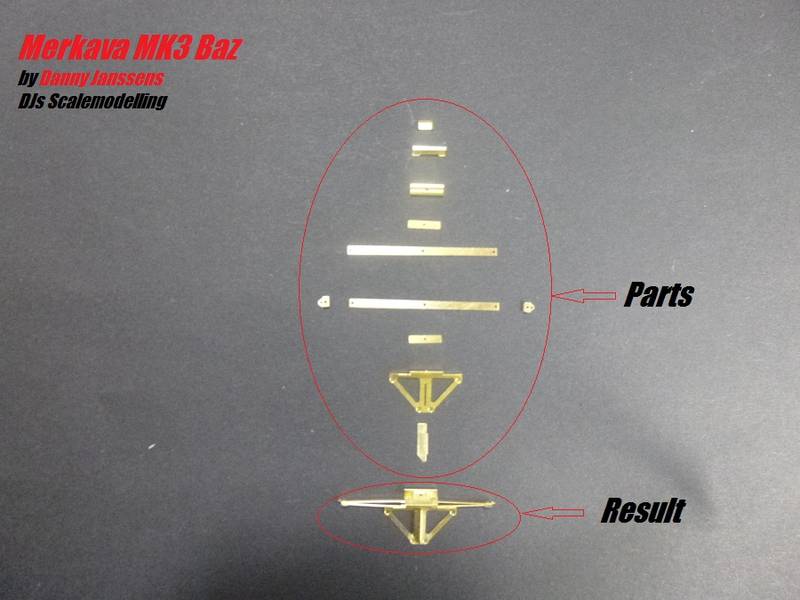
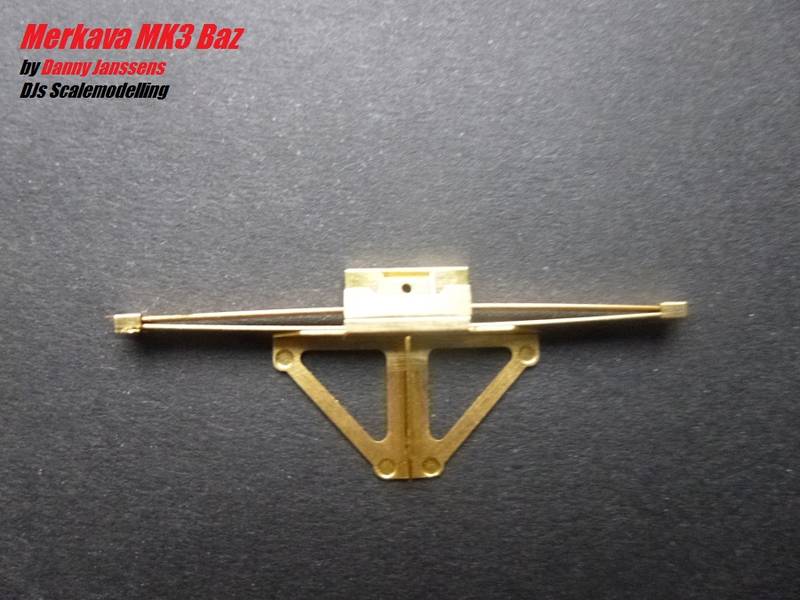
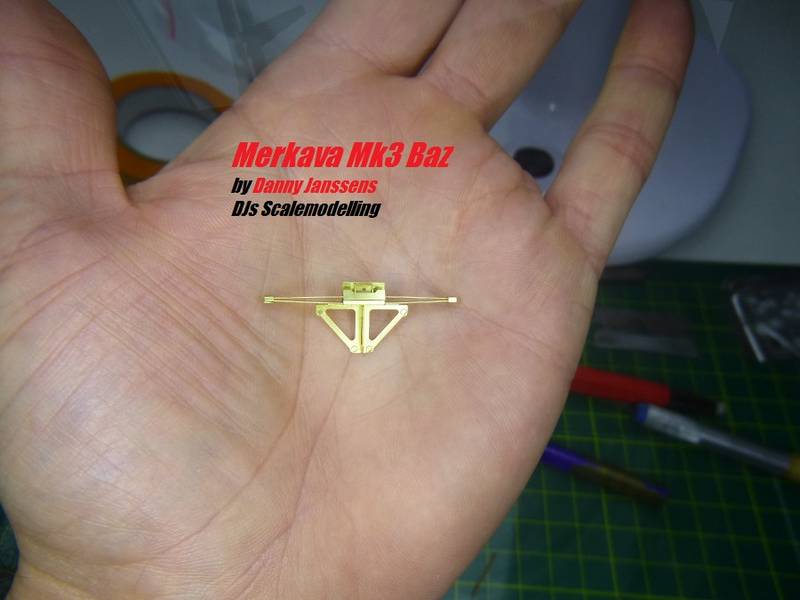
The kit springs are replaced with the one from Voyager, a hell of a job


The mud scribers from the kit were not that good and are replaced by scratchbuild ones


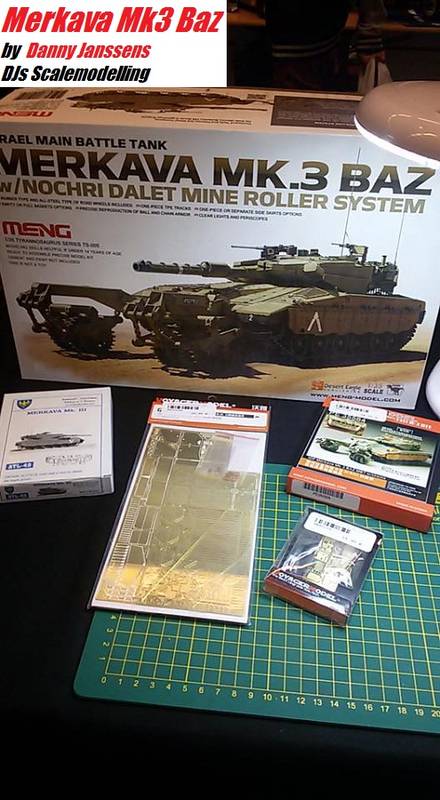
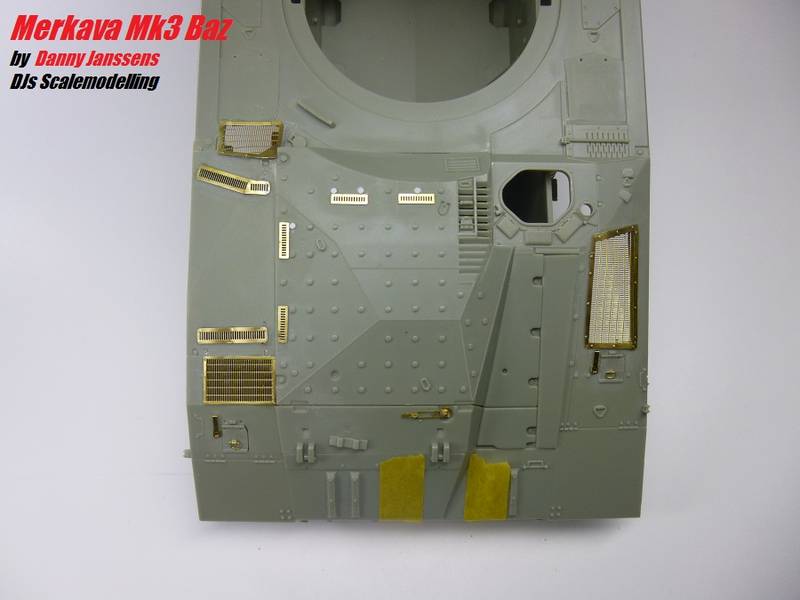
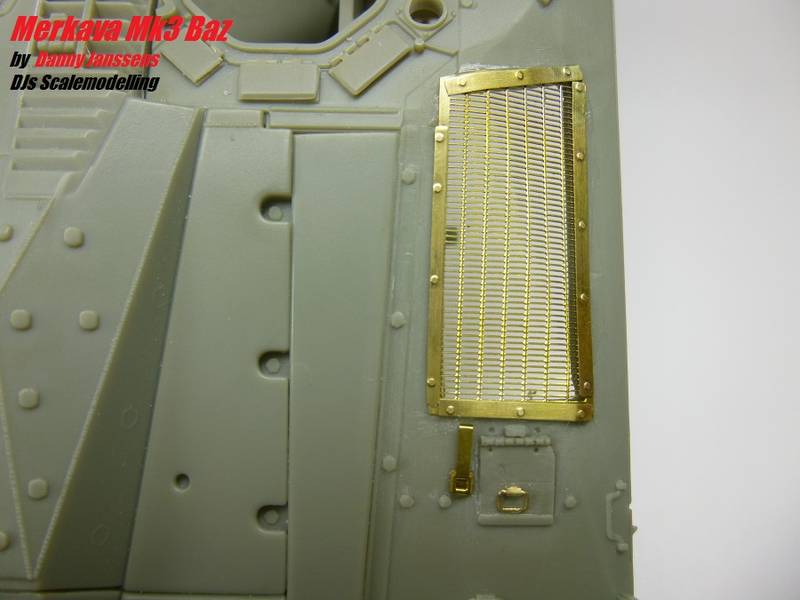
The Photo etch grills


After a afternoon removing, cleaning, folding the pieces for the side skirts the assemble can start


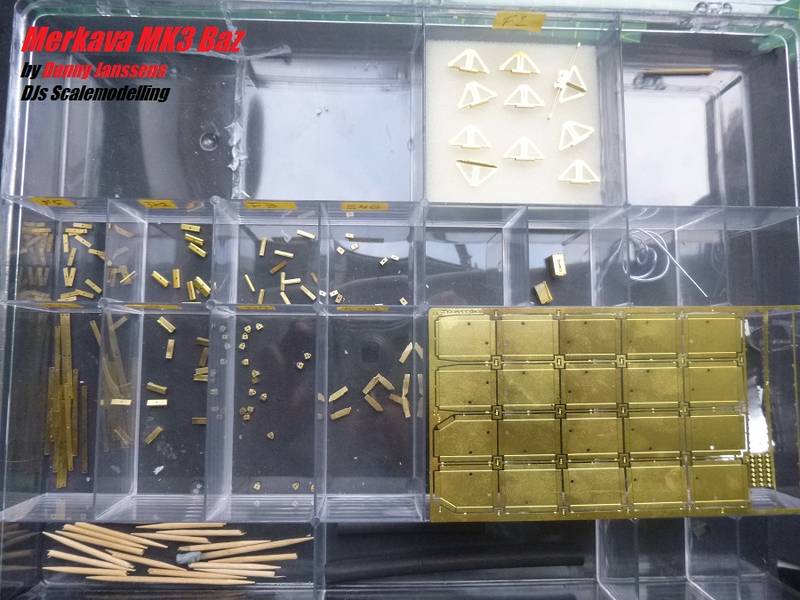
One down, nine to go


Until the next update
WXerock
#450
Visit this Community
California, United States
Joined: July 19, 2015
KitMaker: 672 posts
Armorama: 668 posts
Posted: Sunday, October 30, 2016 - 12:37 AM UTC
Danny, that is some very clean work with the photo etch. Do the metal springs come with the Voyager set or did you make them yourself?

Regards,

Eric
Djsdragon
Visit this Community
West-Vlaaderen, Belgium
Joined: December 03, 2006
KitMaker: 115 posts
Armorama: 11 posts
Posted: Sunday, October 30, 2016 - 02:10 AM UTC

Quoted Text

Danny, that is some very clean work with the photo etch. Do the metal springs come with the Voyager set or did you make them yourself?

Regards,

Eric


Thx Eric, the springs are from voyager , i just put a brass bar in the middle so everything would keep in place
GTDeath13
Visit this Community
Attica, Greece / Ελλάδα
Joined: June 12, 2015
KitMaker: 921 posts
Armorama: 919 posts
Posted: Tuesday, November 01, 2016 - 04:18 PM UTC
I will be watching this with great interest, since it is one of my next projects.

Do you plan to replace the barel as well?
Djsdragon
Visit this Community
West-Vlaaderen, Belgium
Joined: December 03, 2006
KitMaker: 115 posts
Armorama: 11 posts
Posted: Tuesday, November 01, 2016 - 04:46 PM UTC

Quoted Text

I will be watching this with great interest, since it is one of my next projects.

Do you plan to replace the barel as well?


Yes the barrel will be replaced with a self made alu barrel because there is no aftermarket alu barrel for the merkava
cabasner
Visit this Community
Nevada, United States
Joined: February 12, 2012
KitMaker: 1,083 posts
Armorama: 1,014 posts
Posted: Tuesday, November 01, 2016 - 04:53 PM UTC
Hi there....fantastic work! I have the same Voyager photo etch stuff that I plan to use on my next Meng Merkava. Question: with respect to the PE grills, did you cut out the plastic beneath the grills first, or did you just place the photo etch grill parts over the existing plastic? If you cut out the plastic, how did you do it? Thanks for any help!
Djsdragon
Visit this Community
West-Vlaaderen, Belgium
Joined: December 03, 2006
KitMaker: 115 posts
Armorama: 11 posts
Posted: Tuesday, November 01, 2016 - 11:07 PM UTC

Quoted Text

Hi there....fantastic work! I have the same Voyager photo etch stuff that I plan to use on my next Meng Merkava. Question: with respect to the PE grills, did you cut out the plastic beneath the grills first, or did you just place the photo etch grill parts over the existing plastic? If you cut out the plastic, how did you do it? Thanks for any help!


Hello, Thx for the kind words. To answer your question. For the Big PE grills i did cut away the plastic beneath the grills. How i did it. Drill holes allong the outside of the plastic grill , then with a sharp knife cut away the rest of the plastic between the holes. After that i trimed down the rest until it has the same hight as the hull. For the small grills i just trimmed the plastic. Hope you understand my explanation a bit.
youngtiger1
Visit this Community
California, United States
Joined: May 14, 2008
KitMaker: 534 posts
Armorama: 344 posts
Posted: Wednesday, November 02, 2016 - 12:56 PM UTC
Nice project and clean work. I'm blown away by how much pride guys here take in showing each step with clear and sharp photographs. It in itself is a lot of work and time away from the build and it shows that you guys care about every aspect of this hobby. So, I thank you for sharing your...time!!

I will follow along and enjoy this wonderful work
youngtiger1
Visit this Community
California, United States
Joined: May 14, 2008
KitMaker: 534 posts
Armorama: 344 posts
Posted: Tuesday, January 31, 2017 - 11:35 AM UTC
Danny, any update for us brother? Sure would love to see what else you have done in this bad boy.
Djsdragon
Visit this Community
West-Vlaaderen, Belgium
Joined: December 03, 2006
KitMaker: 115 posts
Armorama: 11 posts
Posted: Tuesday, January 31, 2017 - 10:37 PM UTC
No update for the moment, because i am working on a other project as well, Mi 24 hind helicopter, you can find this build on my fb page DJs Scalemodelling if you are interested, I hope to continue the merkava in a few months.
Nagmakava
Visit this Community
England - East Anglia, United Kingdom
Joined: October 18, 2012
KitMaker: 116 posts
Armorama: 110 posts
Posted: Wednesday, February 01, 2017 - 11:44 PM UTC
Lovely work on that etch metal - watching this build with interest!
SoftskinFan
Visit this Community
Georgia, United States
Joined: January 30, 2017
KitMaker: 110 posts
Armorama: 102 posts
Posted: Thursday, February 02, 2017 - 01:08 AM UTC
Wow! That photo etch looks great -- and not easy to work with! I have gone back and forth on whether I want to use additional PE on the kit I'm just starting, and I think I have decided not to. I have not worked with it a lot (just what comes in the box, never aftermarket frets) and find it pretty challenging. Prior to working with it, I thought I had a fairly comprehensive vocabulary of profanity. I have invented some new words that even surprised me as a result of attempting to add PE handholds to a Ural grille. My hat is off to you, Danny!
SoftSkinFan
 _GOTOTOP