Hosted by Darren Baker
Dragon Bergepanzer 38(t) HETZER mit 2cm Flak
Tank1812

Joined: April 29, 2014
KitMaker: 1,112 posts
Armorama: 886 posts

Posted: Tuesday, November 29, 2016 - 09:14 PM UTC
I am still confused by the 2 in 1 advert. Being "Berge", I would have thought to be an option (may still be) with more items but the instructions only call out different bases for the flak as a differences.
CJ3B

Joined: April 11, 2006
KitMaker: 245 posts
Armorama: 235 posts

Posted: Tuesday, November 29, 2016 - 09:21 PM UTC
Yes, that is precisely the difference... two different AA mounts...
CJ3B

Joined: April 11, 2006
KitMaker: 245 posts
Armorama: 235 posts

Posted: Tuesday, November 29, 2016 - 09:43 PM UTC
Brief update... some work done early AM today...
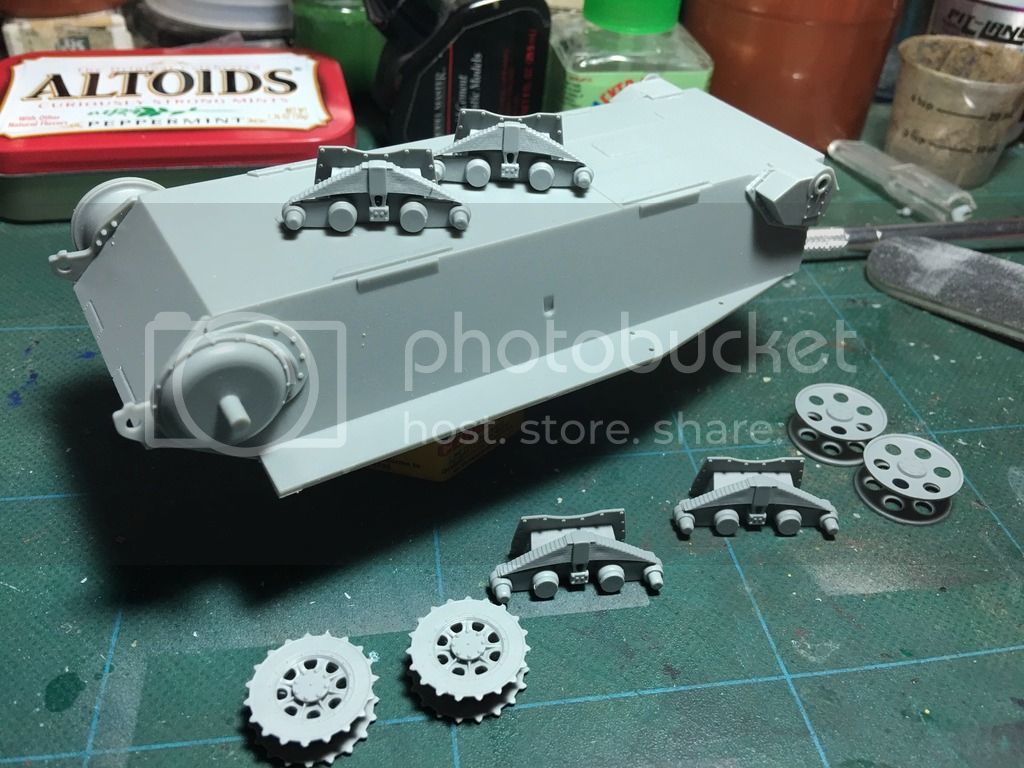
Suspension parts completed... What I found strange is that the suspension bases have a hole that matches with the suspension spring mounts, as if to make them "workable," but could not find a pin. Didn't want to waste time trying to make them workable, so if fixed them in place. Pic before fixing to hull:
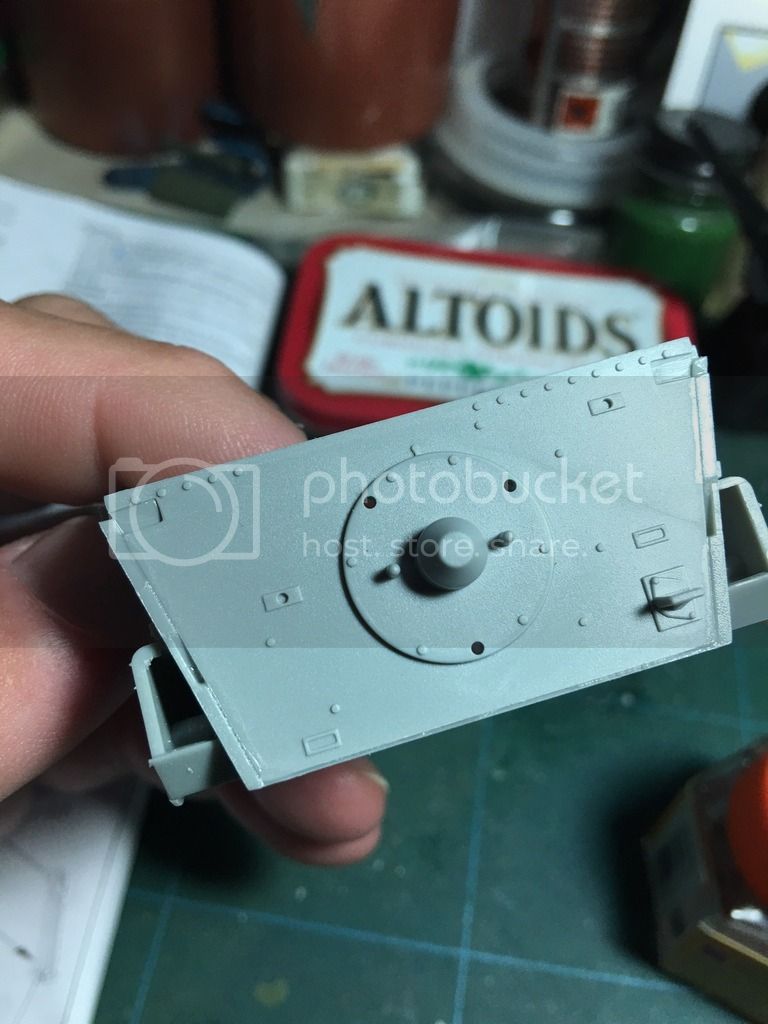
Rear hull plate attached... did not attach any additional (delicate parts) in order to protect them from the assembly process; fits like a glove:
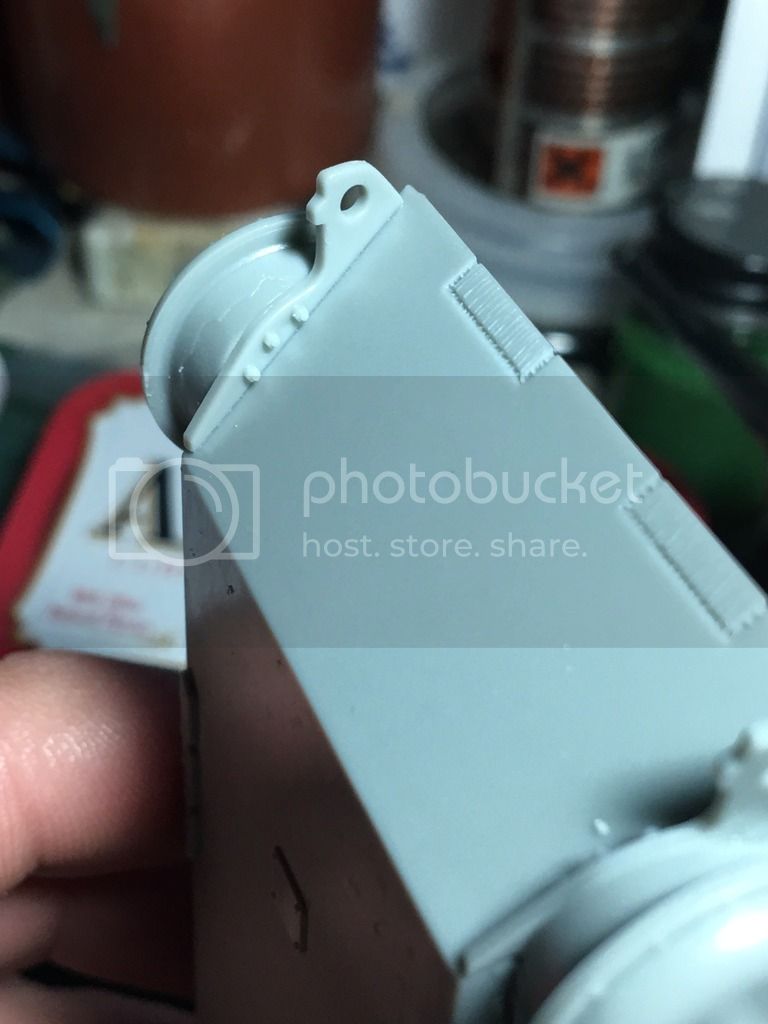
Front drive attached; again, very nice, tight fit:

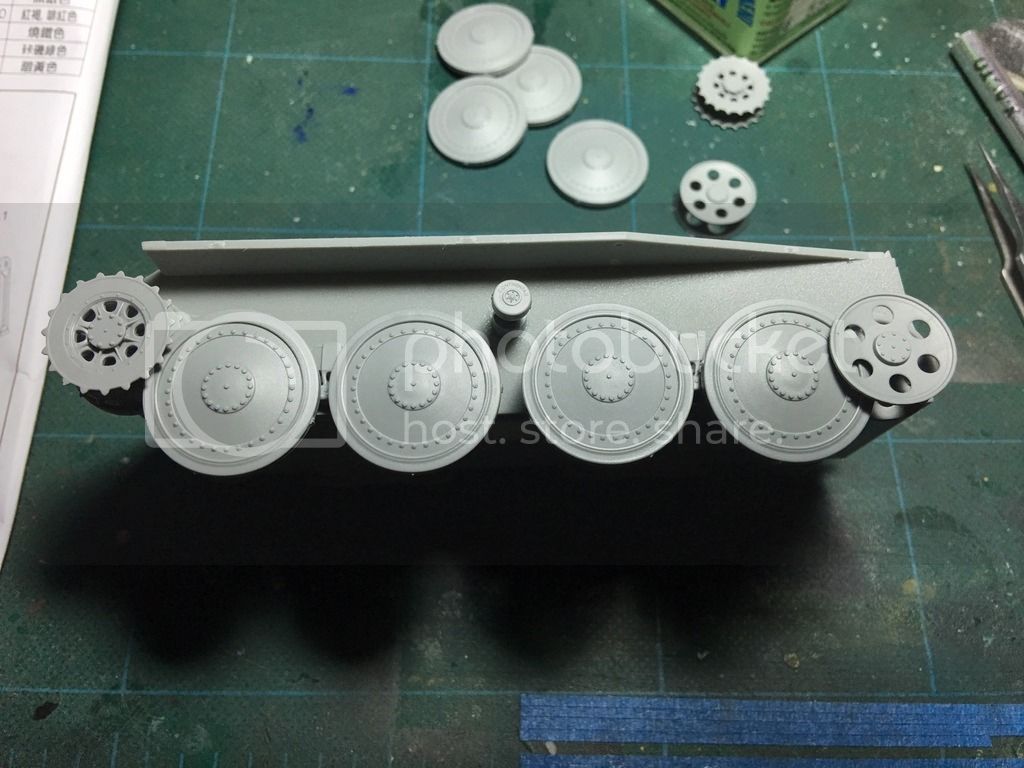
How everything fits; just presented in place for pics. I used the roadwheels with the higher (late) bolt design. Also note that the rear idler is adjustable... sprue gates still not sanded... that will be done later today:
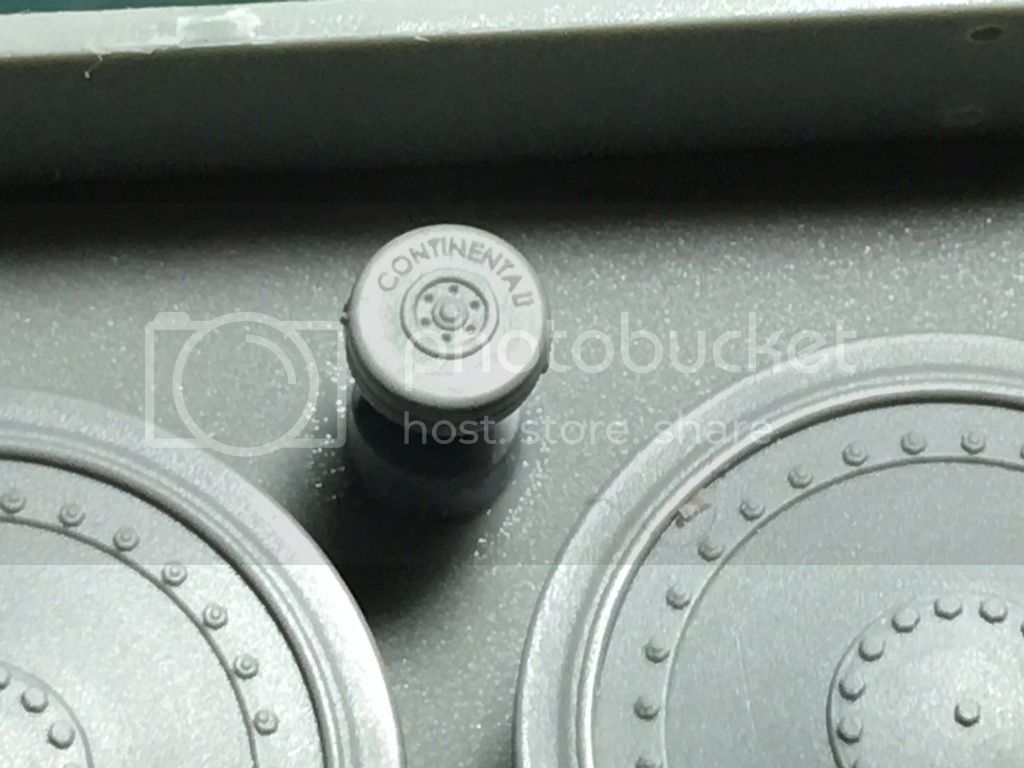

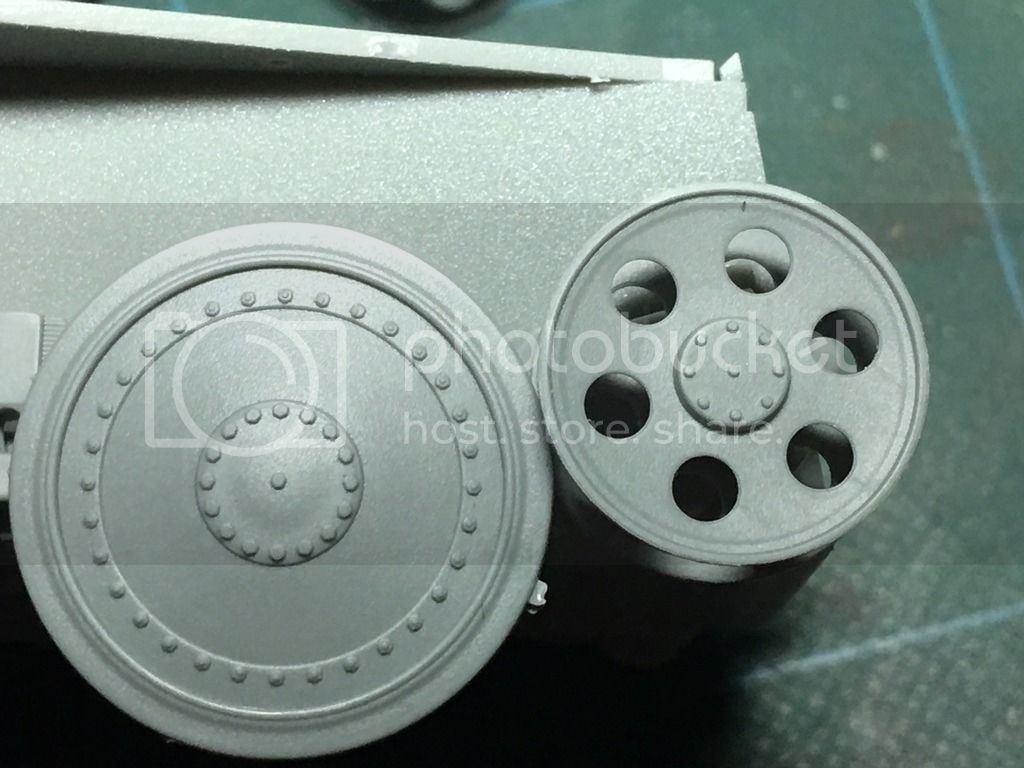
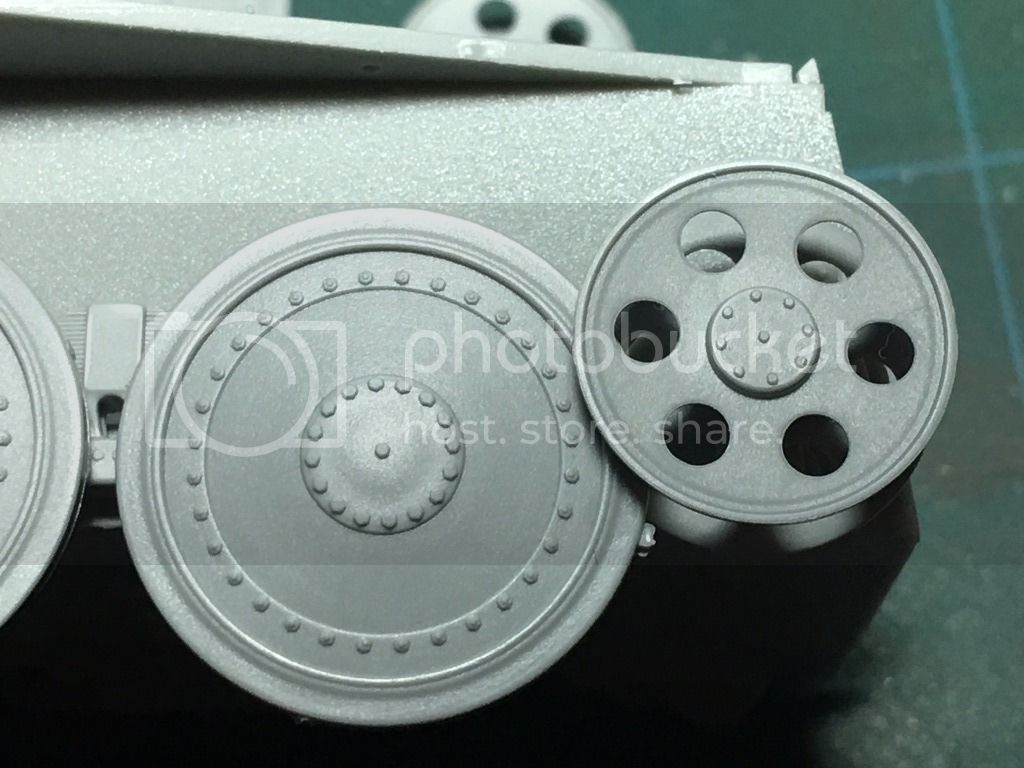
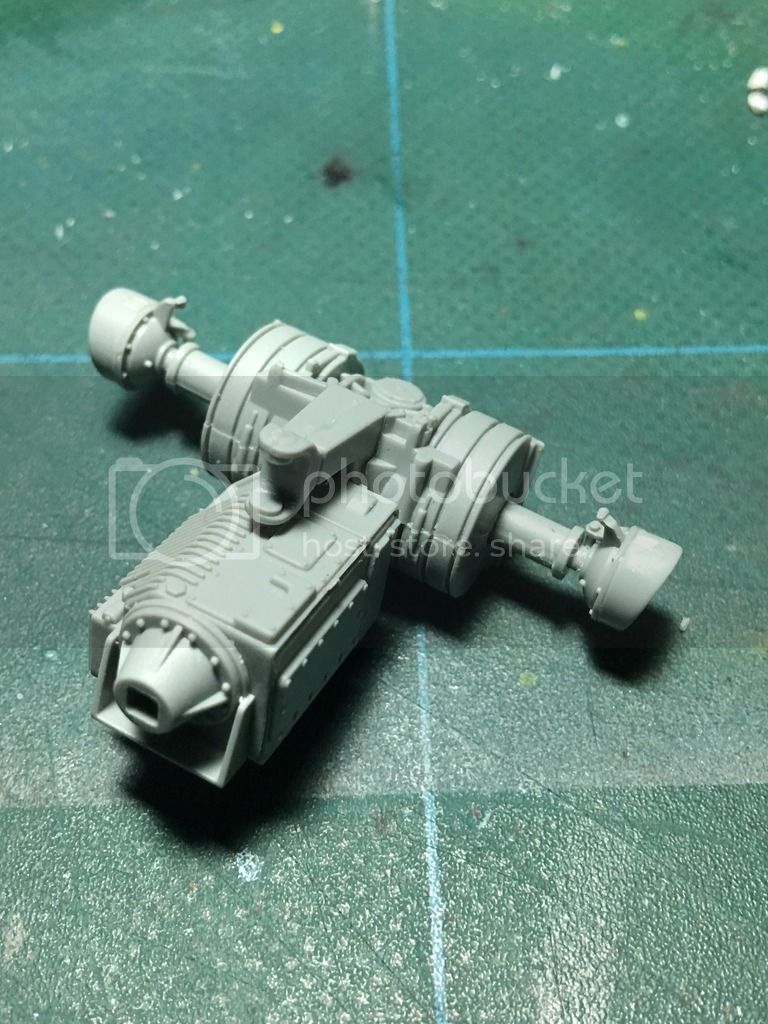
Here is a part that instruction are kind of unclear, at least to me, the drivetrain assembly. Some confusion with the assembly images versus parts assembly... I screwed up the first time attaching the brace composed of parts D42/D52. Noticed immediately that it was off when attaching the rear tranny assembly. Readjusted position of the brace, and immediate fit was perfect.

Also, the drive shaft assemblies from housing to hull are delicate, and slow setting glue should be used for adjustments that had to be done to the assembly when setting up in hull. Very nice detail, but no marks or holes in hull are available for installation. Found that the rear tranny assembly does not touch hull floor, so I used a small piece of sprue attached to the bottom in order to line up the shafts to the sides of the hull. If tranny assembly was forced to meet the hull bottom plate, the shafts would be completely misaligned. In the end, it looked nice, but be ready for finicky assembly/setting. Still a WIP... not glued to the hull for pending detail work purposes:


There is still some work to be done on the hull; thinking of eliminating the escape hatch, and the instructions require to eliminate the hull braces for gun base installation. Still unsure of what base to build... Feedback welcome on gun base platform A or B!
That is all for now... please stayed tuned! And again, any feedback or questions welcome... will try to answer as best as possible in a timely manner.
Suspension parts completed... What I found strange is that the suspension bases have a hole that matches with the suspension spring mounts, as if to make them "workable," but could not find a pin. Didn't want to waste time trying to make them workable, so if fixed them in place. Pic before fixing to hull:

Rear hull plate attached... did not attach any additional (delicate parts) in order to protect them from the assembly process; fits like a glove:

Front drive attached; again, very nice, tight fit:


How everything fits; just presented in place for pics. I used the roadwheels with the higher (late) bolt design. Also note that the rear idler is adjustable... sprue gates still not sanded... that will be done later today:


Here is a part that instruction are kind of unclear, at least to me, the drivetrain assembly. Some confusion with the assembly images versus parts assembly... I screwed up the first time attaching the brace composed of parts D42/D52. Noticed immediately that it was off when attaching the rear tranny assembly. Readjusted position of the brace, and immediate fit was perfect.

Also, the drive shaft assemblies from housing to hull are delicate, and slow setting glue should be used for adjustments that had to be done to the assembly when setting up in hull. Very nice detail, but no marks or holes in hull are available for installation. Found that the rear tranny assembly does not touch hull floor, so I used a small piece of sprue attached to the bottom in order to line up the shafts to the sides of the hull. If tranny assembly was forced to meet the hull bottom plate, the shafts would be completely misaligned. In the end, it looked nice, but be ready for finicky assembly/setting. Still a WIP... not glued to the hull for pending detail work purposes:


There is still some work to be done on the hull; thinking of eliminating the escape hatch, and the instructions require to eliminate the hull braces for gun base installation. Still unsure of what base to build... Feedback welcome on gun base platform A or B!
That is all for now... please stayed tuned! And again, any feedback or questions welcome... will try to answer as best as possible in a timely manner.
Tank1812

Joined: April 29, 2014
KitMaker: 1,112 posts
Armorama: 886 posts

Posted: Tuesday, November 29, 2016 - 10:25 PM UTC
I am going to use option A, as I think of it as more improvised of the two options, kinda like the design. Plus it appears easier to figure out.
jps

Joined: February 06, 2006
KitMaker: 147 posts
Armorama: 140 posts

Posted: Tuesday, November 29, 2016 - 10:29 PM UTC
The hull braces do not belong there I would remove them. I thoink if it were me I would cut a thin piece of plastic to coner the floor, that way I could remove the escape hatch and he ejector pin marks. I would run a small weld bead in the visible corners of the floor (sides and rear).


CJ3B

Joined: April 11, 2006
KitMaker: 245 posts
Armorama: 235 posts

Posted: Tuesday, November 29, 2016 - 10:36 PM UTC
Yes, that is part of my pending work... hull braces are coming off.
CJ3B

Joined: April 11, 2006
KitMaker: 245 posts
Armorama: 235 posts

Posted: Tuesday, November 29, 2016 - 10:37 PM UTC
I have to look and the instructions with more attention for the mount... I'd like the simplest one for assembly's sake, but I would like a more "different", rushed fieldwork shop look...
By the way, since there has been discussion of the ineffective design related to being unable to engage ground targets, and being this mucho more than anything a "what if", what do you guys think of modifying the front hull plate with some kind of cut that would allow a bit of additional gun depression? Maybe perform a horizontal cut, stopping before where front and side plates meet? Just wondering what you guys think...
By the way, since there has been discussion of the ineffective design related to being unable to engage ground targets, and being this mucho more than anything a "what if", what do you guys think of modifying the front hull plate with some kind of cut that would allow a bit of additional gun depression? Maybe perform a horizontal cut, stopping before where front and side plates meet? Just wondering what you guys think...
Tank1812

Joined: April 29, 2014
KitMaker: 1,112 posts
Armorama: 886 posts

Posted: Tuesday, November 29, 2016 - 11:00 PM UTC
To me the easiest thing to do, would be to raise the gun platform. That way you could have 360d field of fire. Unless there is some other reason I would think that would be fast way in the field. The crew protection could be done with welded on shields around the gun, sort like the T-34 Flakpnazer http://beutepanzer.ru/Beutepanzer/su/t-34/t-34flak/t-34-flak.htm
CJ3B

Joined: April 11, 2006
KitMaker: 245 posts
Armorama: 235 posts

Posted: Friday, December 02, 2016 - 04:06 PM UTC
Ok, busy week at work, so here is a short update, dealing mostly with AA mount selection.
I built up both versions A and B. I will definitely go with version B; more interesting-looking, and the gun will sit a tad higher on the mount. I did also liked the fact that ammo cans or magazines can be nestled in the base.
First pic, mounts A and B comparison... both start out with beam assemblies, but the A (left) uses only a flat top and complete, while B is more engaging...

Next pic is mount A completed... as simple as that.
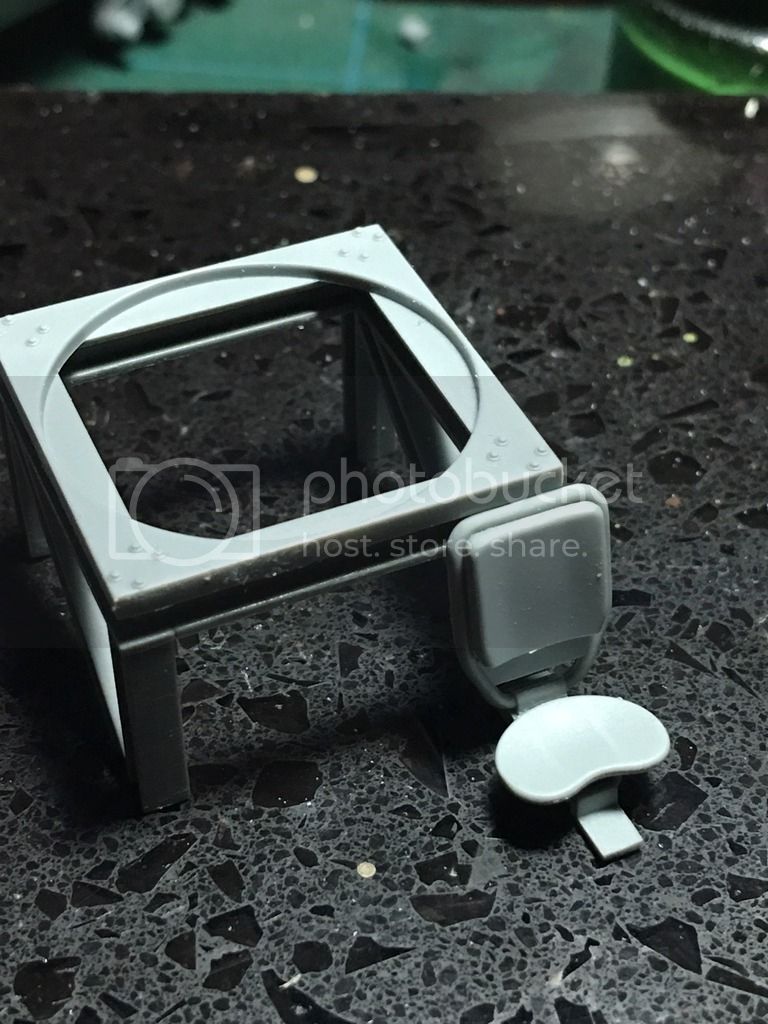
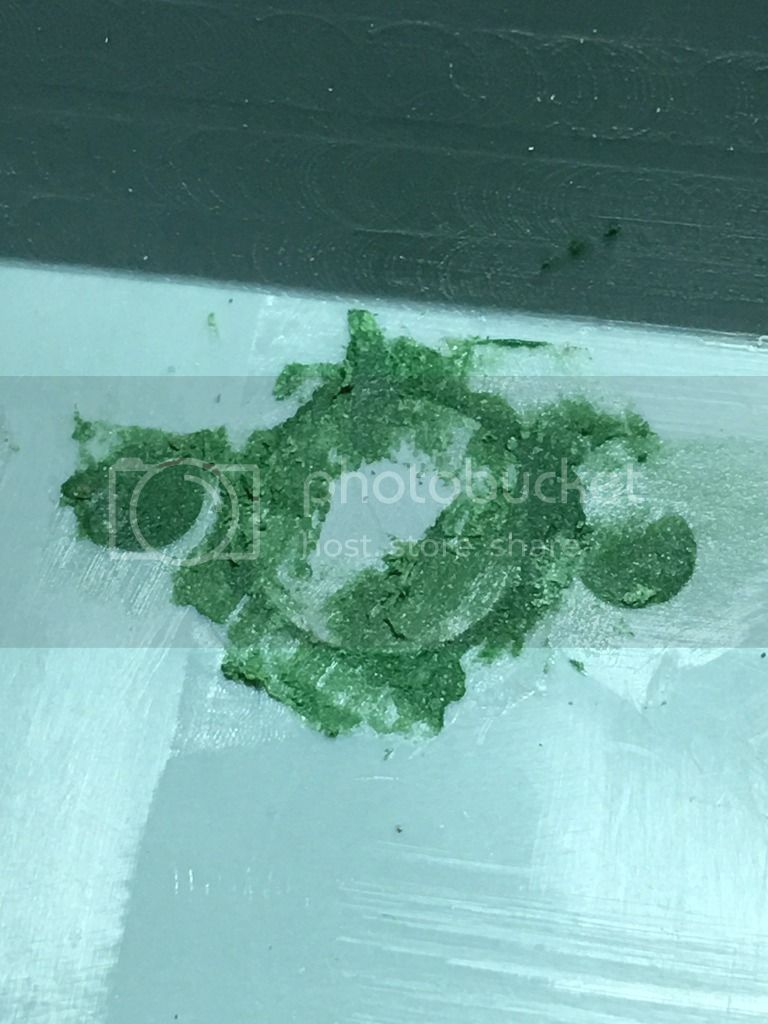
I am also sealing the escape hatch, since I have read that Hetzers did not have these hatches. some depressions also filled... now, setting aside to dry while I work on gun mount B...
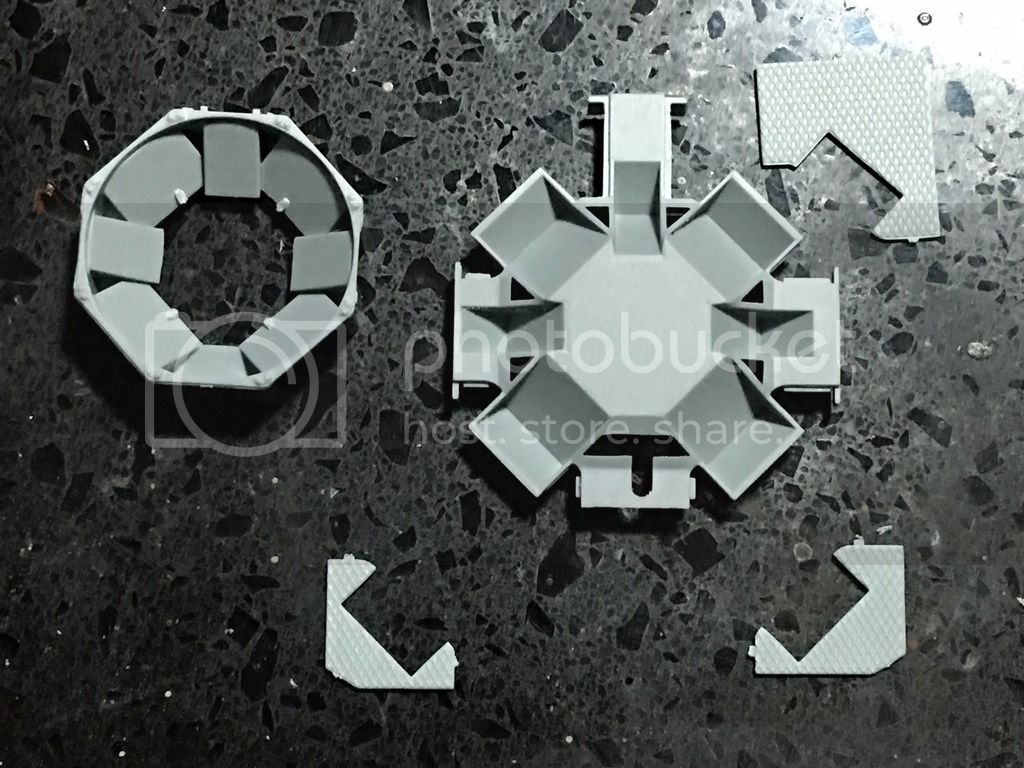
Mount B parts breakdown (partial). Some cuts have to be made on a couple of pieces will have to be performed in order to make it fit. parts breakdown is simple, but again, a couple of cuts need to be performed.
Side by side gun mounts... A on left, B on right; now you see why I preferred mount B for use on this kit.
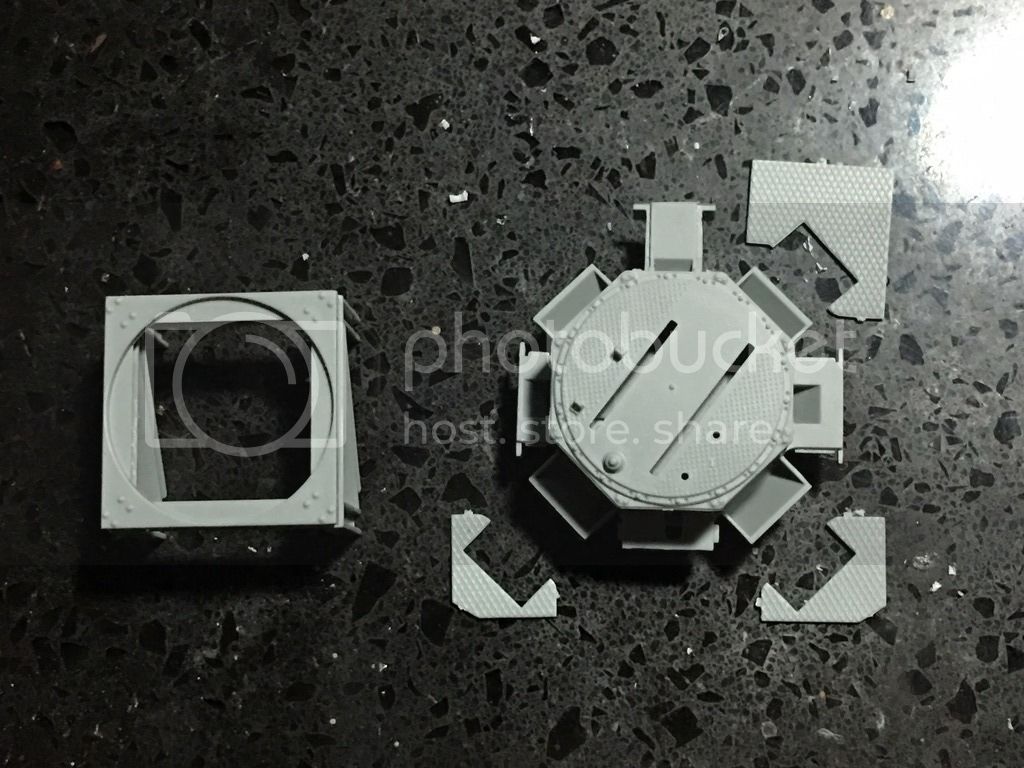
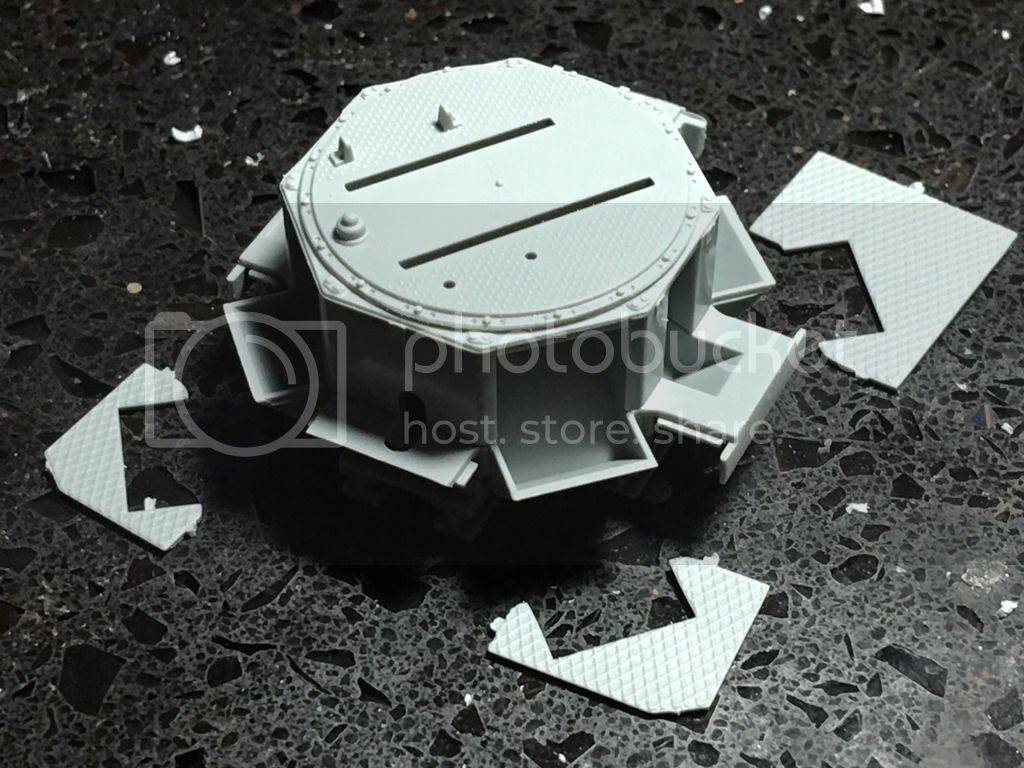
Base for mount B. This is composed of 6 parts. the close up of the cut I performed is required in order to have the beams contact the base as required. I no cut is done, the base will sit at an angle, and the beams would not contact the base. Install sequence follows:


When ready to glue the parts, I will place some stretched sprue as well in order to simulate a weld where the cut on the beam was done.
That was basically all of the time I had this week to work on. I wanted to continue with the blog in order to keep it updated as best as possible. Now, to see what I can do during the weekend... Have a great one!
I built up both versions A and B. I will definitely go with version B; more interesting-looking, and the gun will sit a tad higher on the mount. I did also liked the fact that ammo cans or magazines can be nestled in the base.
First pic, mounts A and B comparison... both start out with beam assemblies, but the A (left) uses only a flat top and complete, while B is more engaging...

Next pic is mount A completed... as simple as that.

I am also sealing the escape hatch, since I have read that Hetzers did not have these hatches. some depressions also filled... now, setting aside to dry while I work on gun mount B...

Mount B parts breakdown (partial). Some cuts have to be made on a couple of pieces will have to be performed in order to make it fit. parts breakdown is simple, but again, a couple of cuts need to be performed.

Side by side gun mounts... A on left, B on right; now you see why I preferred mount B for use on this kit.


Base for mount B. This is composed of 6 parts. the close up of the cut I performed is required in order to have the beams contact the base as required. I no cut is done, the base will sit at an angle, and the beams would not contact the base. Install sequence follows:


When ready to glue the parts, I will place some stretched sprue as well in order to simulate a weld where the cut on the beam was done.
That was basically all of the time I had this week to work on. I wanted to continue with the blog in order to keep it updated as best as possible. Now, to see what I can do during the weekend... Have a great one!

Modelrob

Joined: October 20, 2015
KitMaker: 304 posts
Armorama: 293 posts

Posted: Friday, December 02, 2016 - 04:18 PM UTC
The build is looking great Jorge. Can't wait to see it finished.
Robert
Robert
Tank1812

Joined: April 29, 2014
KitMaker: 1,112 posts
Armorama: 886 posts

Posted: Friday, December 02, 2016 - 05:40 PM UTC
Looking good. Nice find on the beam cut for option B.
CJ3B

Joined: April 11, 2006
KitMaker: 245 posts
Armorama: 235 posts

Posted: Friday, December 02, 2016 - 07:52 PM UTC
Brief update of a bit of more work done today.
Cut the mount as required, and found another little mistake on the base; pics are self-explanatory... easy enough work with the right tools!
2nd error found:
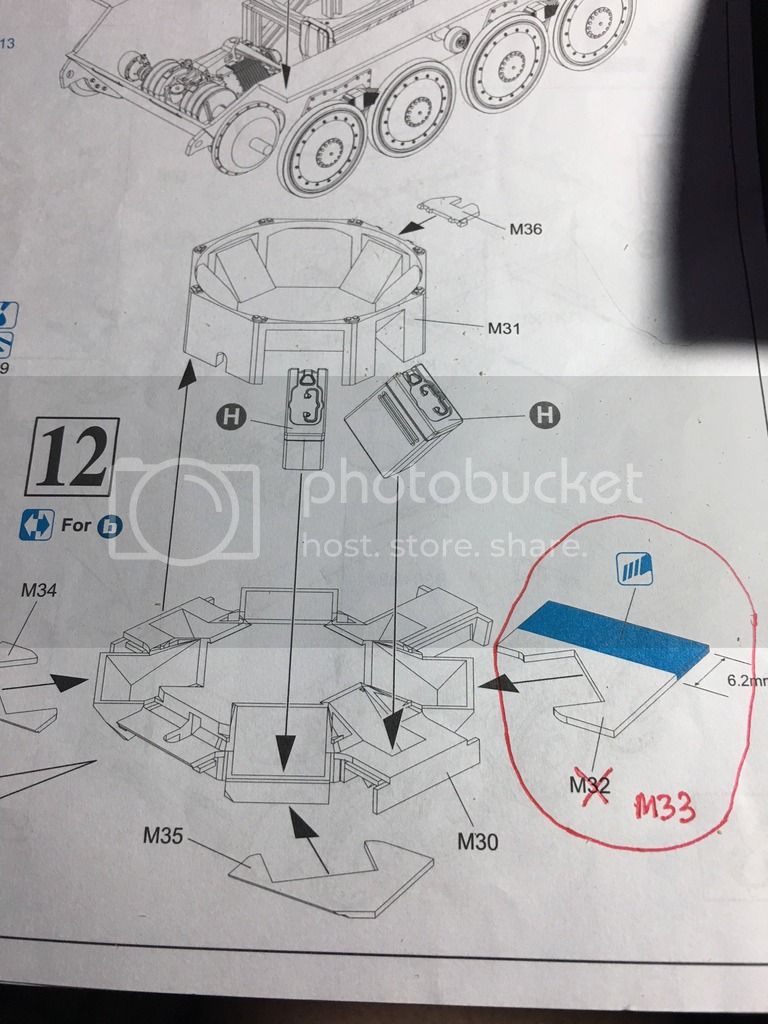


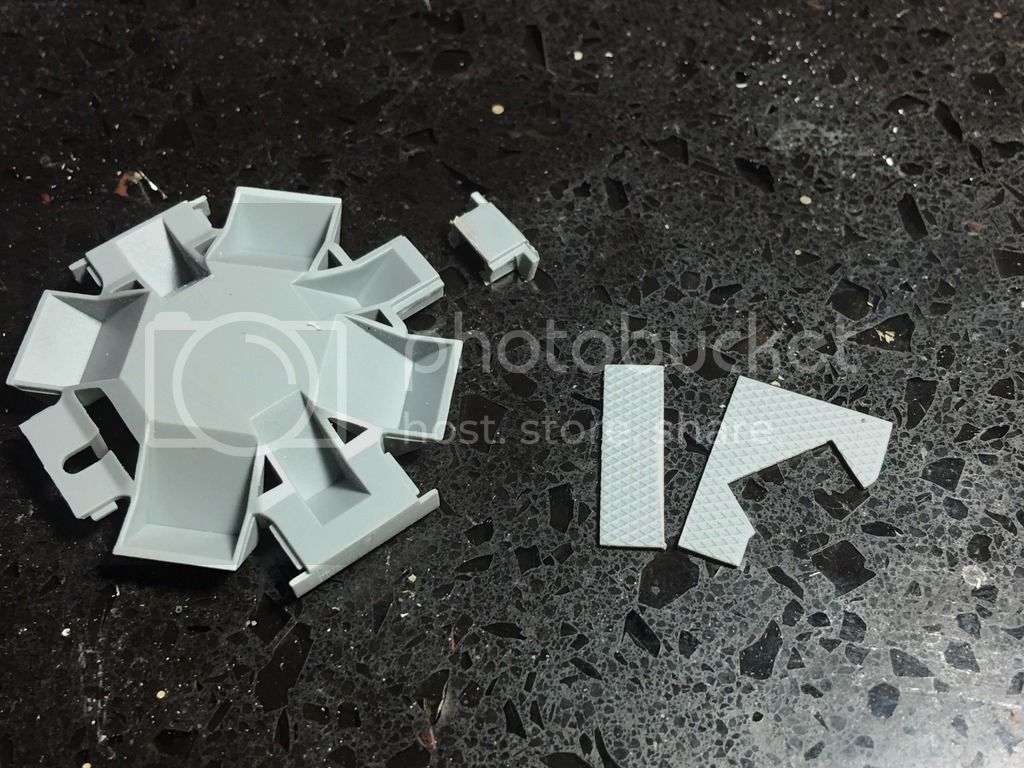
Nothing glued here yet... just setting up layout, since the hull has no markings. This looks WAY better/cluttered/busy than with mount A. Happy with decision taken.
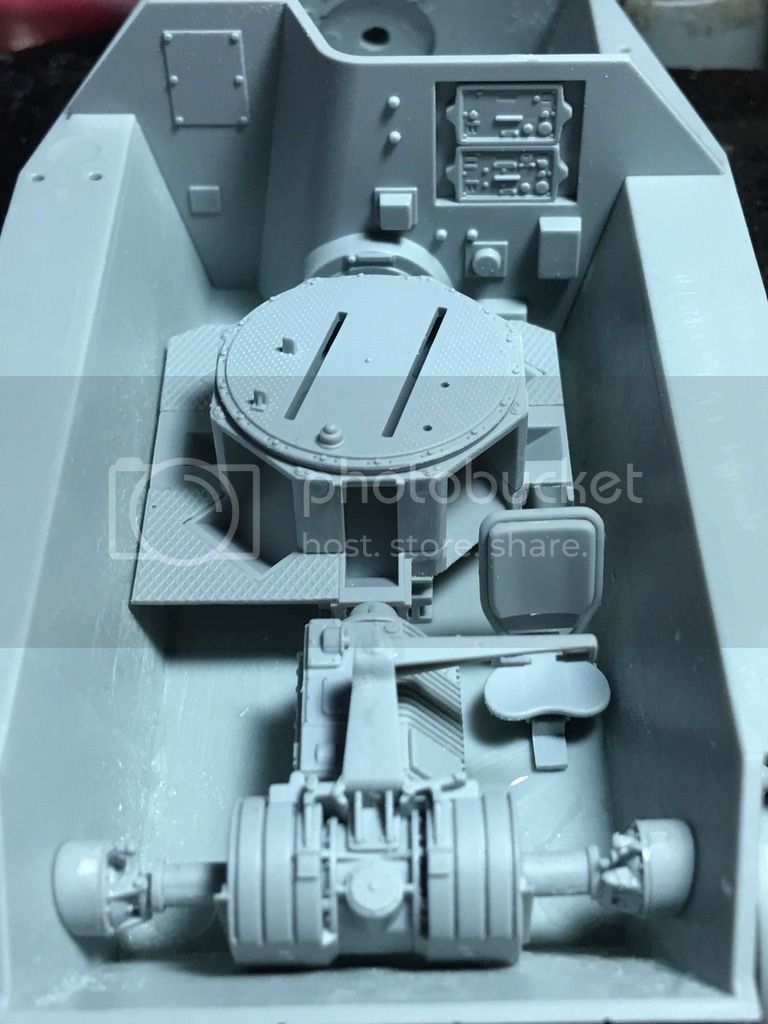

Hope you like what you have seen to date!
Cut the mount as required, and found another little mistake on the base; pics are self-explanatory... easy enough work with the right tools!
2nd error found:


Nothing glued here yet... just setting up layout, since the hull has no markings. This looks WAY better/cluttered/busy than with mount A. Happy with decision taken.


Hope you like what you have seen to date!
CJ3B

Joined: April 11, 2006
KitMaker: 245 posts
Armorama: 235 posts

Posted: Friday, December 02, 2016 - 07:54 PM UTC
By the way, I ***may*** cut out the radios, prep some kind of radio box, and see what I can do... I really don't like the radios as is right now.
And if the mods can spare me some extra time, I would me more than pleased to paint the kit as well. I can't bear the thought of working on a nice build, and leave without any paint!
And if the mods can spare me some extra time, I would me more than pleased to paint the kit as well. I can't bear the thought of working on a nice build, and leave without any paint!

jps

Joined: February 06, 2006
KitMaker: 147 posts
Armorama: 140 posts

Posted: Friday, December 02, 2016 - 08:21 PM UTC
[quote]By the way, I ***may*** cut out the radios, prep some kind of radio box, and see what I can do... I really don't like the radios as is right now.
I have the Hetzer Sig33 coming and something WILL be done with the radio area.
Don't get me wrong the radio is almost OK but the lack of depth behind it bothers me. I may just cut out the lowered area and build the compartment and add depth to the radio face and reinstall the radio. Heck, I would cover it with a tarp/zeltbahn before I left it as is.

panamadan

Joined: July 20, 2004
KitMaker: 1,513 posts
Armorama: 1,449 posts

Posted: Friday, December 02, 2016 - 08:43 PM UTC
Check out this build a of a bergepanzer 38t- http://www.militarymodelling.com/forums/postings.asp?th=54255
Dan
Dan
M4A1Sherman

Joined: May 02, 2013
KitMaker: 4,403 posts
Armorama: 4,078 posts

Posted: Friday, December 02, 2016 - 10:29 PM UTC
Quoted Text
Check out this build a of a bergepanzer 38t- http://www.militarymodelling.com/forums/postings.asp?th=54255
Dan
Ditto for me- The only difference is that I used the NEW CONNECTIONS Conversion in my build...

CJ3B

Joined: April 11, 2006
KitMaker: 245 posts
Armorama: 235 posts

Posted: Saturday, December 03, 2016 - 10:17 PM UTC
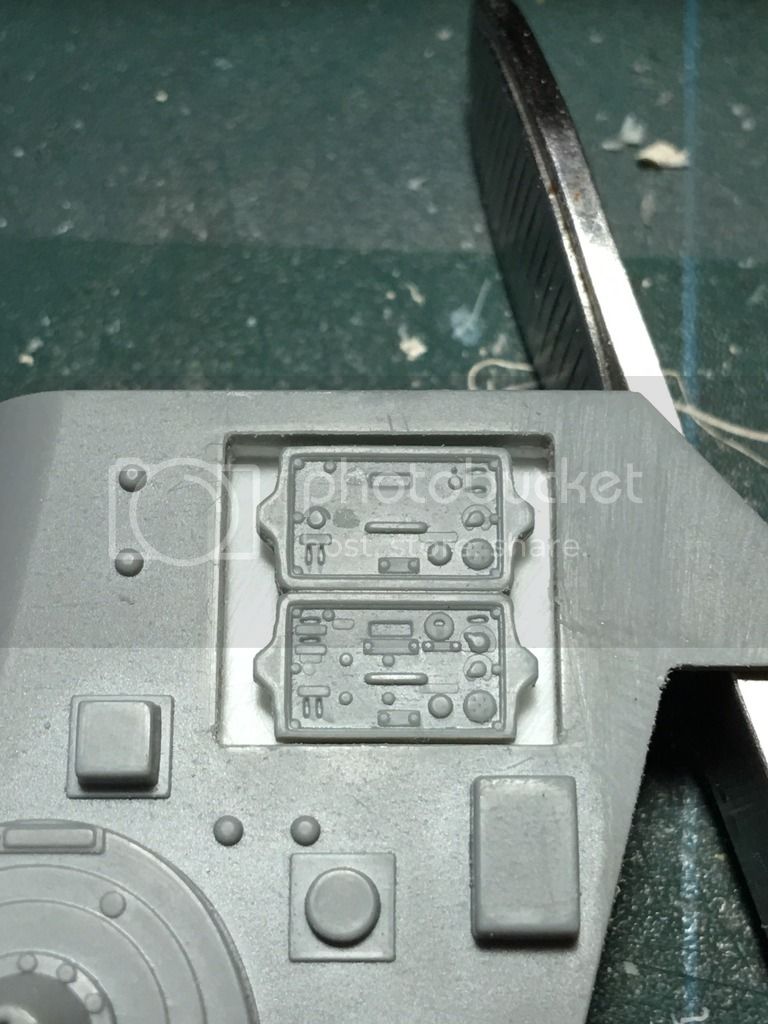
Hello All! A bit of work done today... Radio area reworked on rear compartment hull.
I basically removed the complete radio faces from the wall par with a new Xacto blade, and squared away the opening:
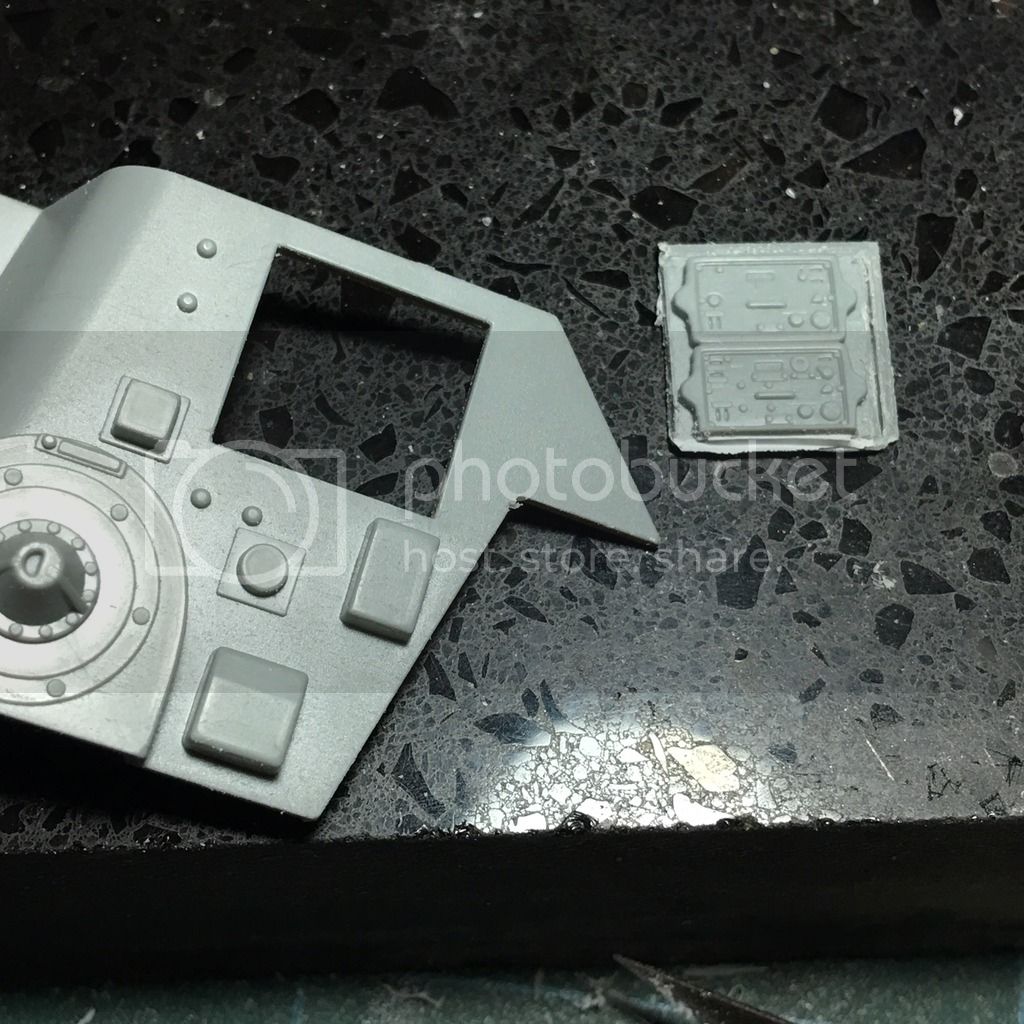
After cleanup/filing the square opening, with the Xacto, I removed all of the excess plastic from the radios. also, a bit of styrene strip (thick) was added as a frame and to add depth at the wall rear, surrounding the opening:
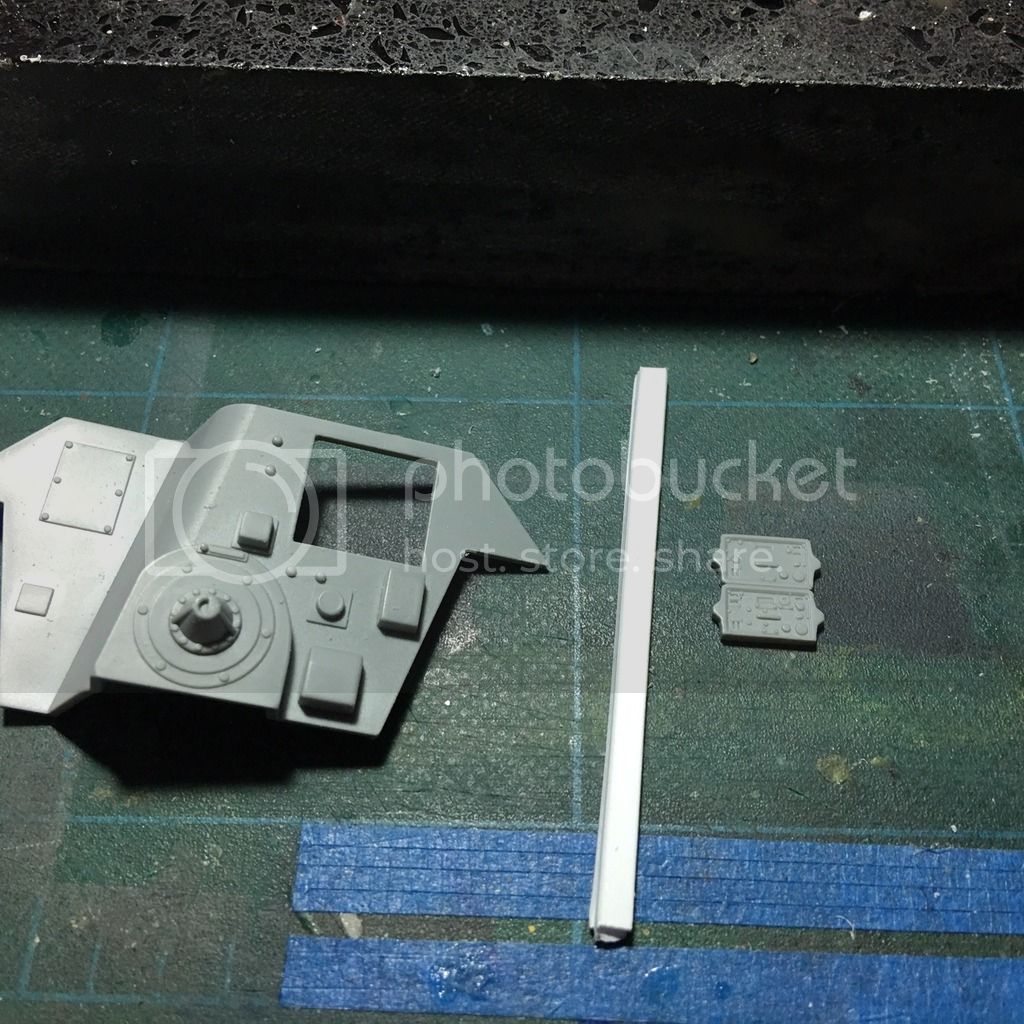
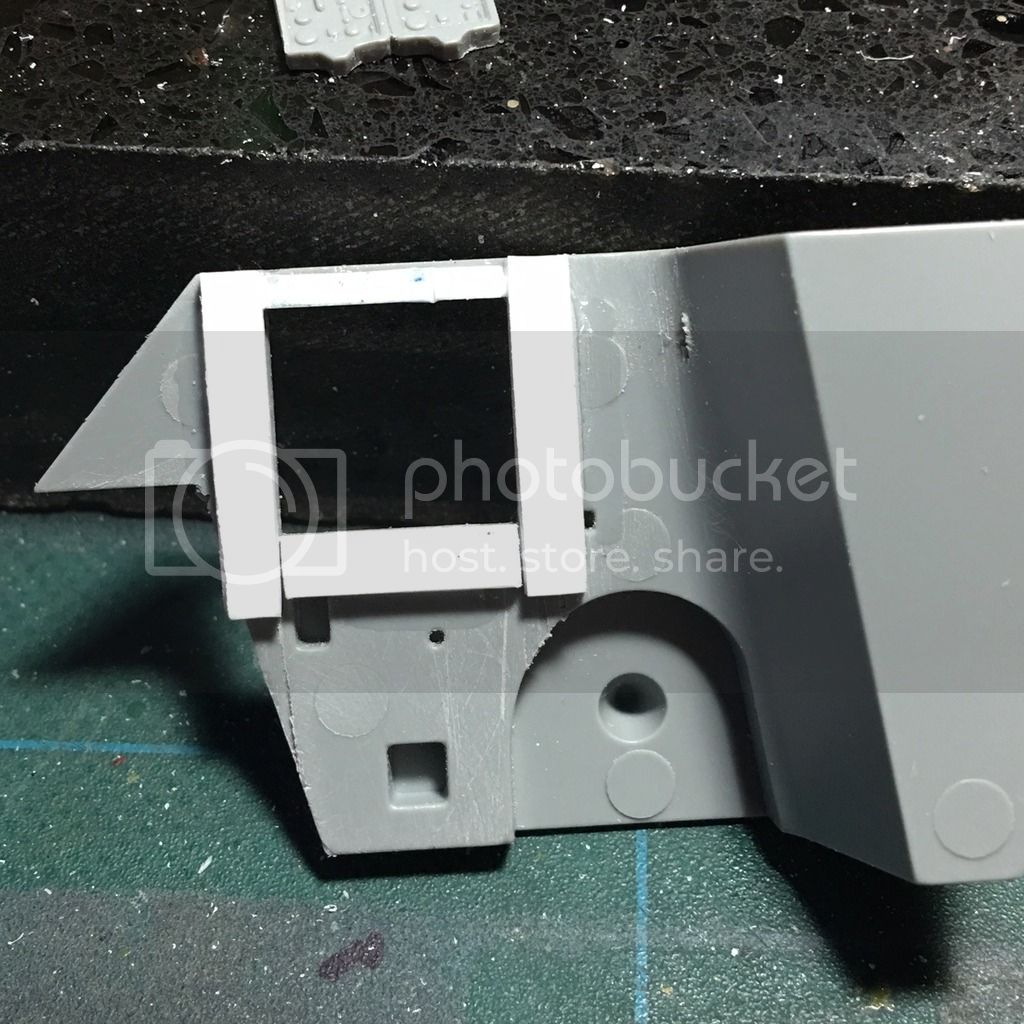
I then prepared the rear of the opening, and using the original radio faces as template, cut an additional piece to add the same to te radio rear (so it projects to the front).
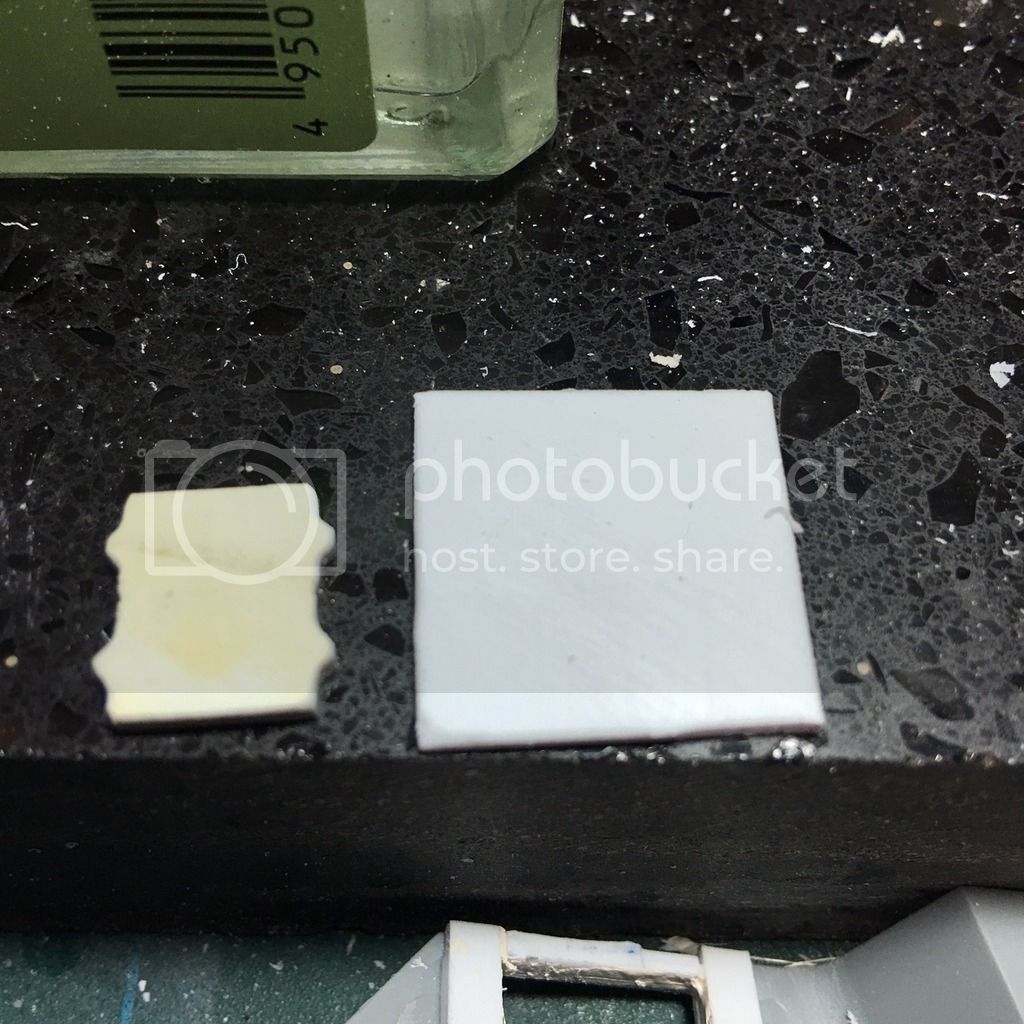
New rear plate installed; has a better depth simulation:

And the finished look... the radios now have more depth to them, and looks way better that original, especially with the top hull installed:
That is it for now... duty call (home chores!)... have a good one!
I basically removed the complete radio faces from the wall par with a new Xacto blade, and squared away the opening:

After cleanup/filing the square opening, with the Xacto, I removed all of the excess plastic from the radios. also, a bit of styrene strip (thick) was added as a frame and to add depth at the wall rear, surrounding the opening:


I then prepared the rear of the opening, and using the original radio faces as template, cut an additional piece to add the same to te radio rear (so it projects to the front).

New rear plate installed; has a better depth simulation:

And the finished look... the radios now have more depth to them, and looks way better that original, especially with the top hull installed:

That is it for now... duty call (home chores!)... have a good one!
Tank1812

Joined: April 29, 2014
KitMaker: 1,112 posts
Armorama: 886 posts

Posted: Saturday, December 03, 2016 - 10:22 PM UTC
I like the new look.

catdude01

Joined: December 05, 2013
KitMaker: 314 posts
Armorama: 253 posts

Posted: Sunday, December 04, 2016 - 05:36 PM UTC
Very nice work Jorge, looking forward to see the painting part! 

knewton


Joined: June 19, 2013
KitMaker: 1,217 posts
Armorama: 1,092 posts
Posted: Monday, December 05, 2016 - 11:52 AM UTC
Hello Jorge,
nice work thus far, keep it up!
Out of interest, is the tranny done, or are there more parts to add? The reason I ask is that Griffon make a nice detail set, #35011, that would add to this area of the kit; and, the area to the right of the tranny, what goes there, please? If anything?
I've brought this kit and am waiting for it to arrive, so am following your build with interest.
thanks,
Kylie
CJ3B

Joined: April 11, 2006
KitMaker: 245 posts
Armorama: 235 posts

Posted: Monday, December 05, 2016 - 04:54 PM UTC
Hello Kylie!
Tranny is done, at least OOB; no more kit parts to add.
I will check out the Griffon set to see if I can integrate it into this build, but again, maybe a bit of scratch can complete it, since the gun and front plate will cover some of the extra work then.
The build is nice... a bit finicky, and instructions not so clear on a number of occasions, and outright wrong a couple of times in part numbers, but again, it is a hobby, and I do enjoy the build process.
In my opinion, good to excellent details on the kit, and options are what make it interesting.
Got some more work done, so the update should come soon.
Thanks for your feedback!
Tank1812

Joined: April 29, 2014
KitMaker: 1,112 posts
Armorama: 886 posts

Posted: Monday, December 05, 2016 - 05:01 PM UTC
The only part your missing is E3, steering controls.
Interior view

http://www.xenophon-mil.org/americanwarmuseum/hetzerdriverpsns.htm
The Griffon set.
http://www.griffonmodel.com/product_view.asp?id=32&classid=39
There is some work that can be added to area.
Interior view

http://www.xenophon-mil.org/americanwarmuseum/hetzerdriverpsns.htm
The Griffon set.
http://www.griffonmodel.com/product_view.asp?id=32&classid=39
There is some work that can be added to area.
CJ3B

Joined: April 11, 2006
KitMaker: 245 posts
Armorama: 235 posts

Posted: Monday, December 05, 2016 - 06:11 PM UTC
Steering controls are there and added in a later pic... the image you sent is helpful... will add some of the details. Thanks!
Tank1812

Joined: April 29, 2014
KitMaker: 1,112 posts
Armorama: 886 posts

Posted: Monday, December 05, 2016 - 06:55 PM UTC
Doh! I see that now, I skipped over the mount photos.
ivanhoe6

Joined: April 05, 2007
KitMaker: 2,023 posts
Armorama: 1,234 posts

Posted: Monday, December 05, 2016 - 08:49 PM UTC
Quoted Text
The Swiss version of the hetzer, the G 13, has a floor escape hatch. They were apparently added to WWII Production hetzers when they were sold to Switzerland. Possibly DML worked off a G 13 to design the kit.
If it is an escape hatch it doesn't belong on a WWII hetzer.
Wonder why Dragon hasn't kitted a G13? They were in use until 1973. C'mon Dragon, It's only another sprue or two !
BTW, I really like the link & length track idea !
Thanks Jorge for doing this build log for all of us !
 |


