Good afternoon folks!
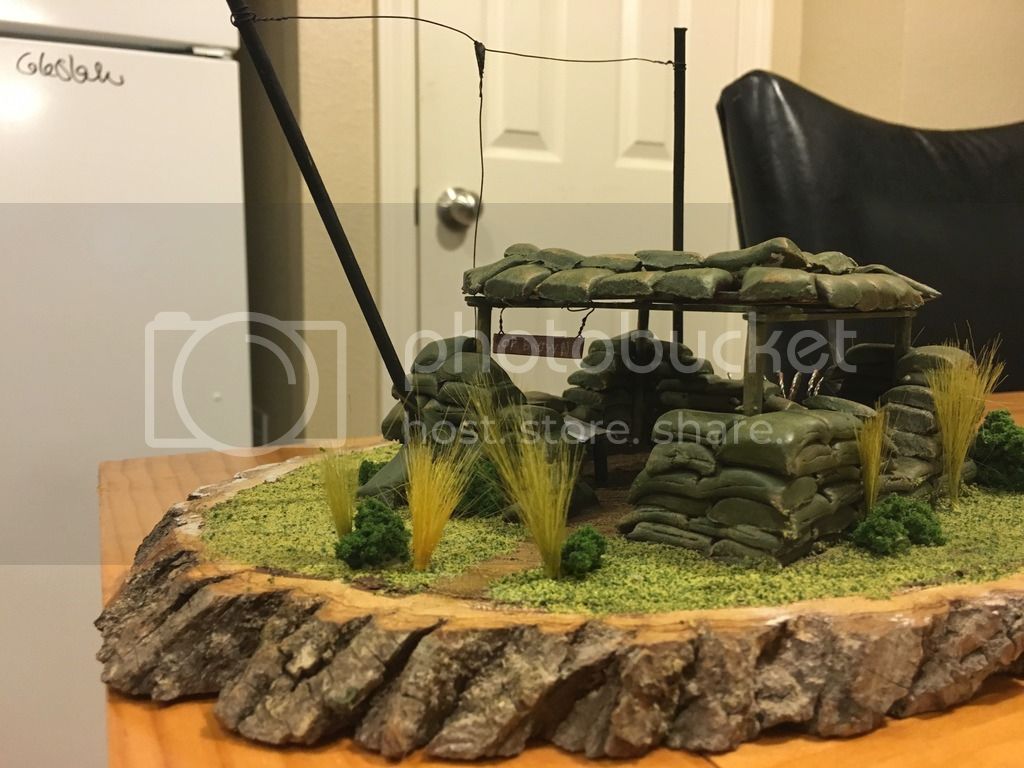
I recently made the jump to actual diorama building after researching and learning some basic techniques and I decided to give it a try. I'm calling it a WW2 piece, thou its not based on any specific pictures. See below, and let me know what you think!
Empty and unmanned:
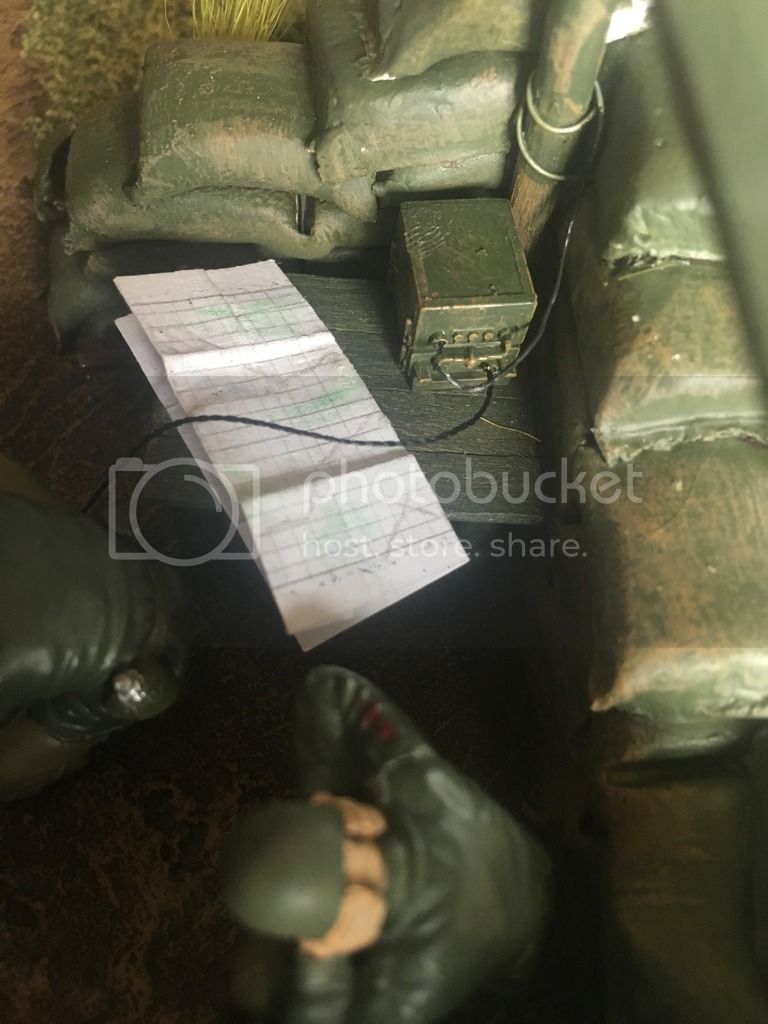
Manned:
Map Radio and field table
Barbed Wire
Entry Point
Its far from perfect but I had a good time building it and learned a lot. hope you like it and I would love to hear your thoughts and way I can improve! Thanks for looking.
Hosted by Darren Baker
OP Brown
Blackjack40
Kansas, United States
Joined: February 17, 2016
KitMaker: 18 posts
Armorama: 18 posts
Joined: February 17, 2016
KitMaker: 18 posts
Armorama: 18 posts
Posted: Wednesday, December 07, 2016 - 02:35 AM UTC
Removed by original poster on 12/07/16 - 22:02:29 (GMT).
Biggles2
Quebec, Canada
Joined: January 01, 2004
KitMaker: 7,600 posts
Armorama: 6,110 posts
Joined: January 01, 2004
KitMaker: 7,600 posts
Armorama: 6,110 posts
Posted: Thursday, December 08, 2016 - 08:54 PM UTC
Good first attempt! Tweak your techniques a bit for even better results.
j76lr
New Jersey, United States
Joined: September 22, 2006
KitMaker: 1,081 posts
Armorama: 1,066 posts
Joined: September 22, 2006
KitMaker: 1,081 posts
Armorama: 1,066 posts
Posted: Monday, January 23, 2017 - 05:21 AM UTC
nice job , keep up the good work
HeavyArty
Florida, United States
Joined: May 16, 2002
KitMaker: 17,694 posts
Armorama: 13,742 posts
Joined: May 16, 2002
KitMaker: 17,694 posts
Armorama: 13,742 posts
Posted: Monday, January 23, 2017 - 07:20 PM UTC
Good first attempt. A couple pointers for you though. First, work on basic modeling skills. The figures have huge mold seam lines all over them. These should all be sanded/filed down before painting. They are very noticeable and detract from the overall scene. The figures look very shiny as well. Fabric used for uniforms is generally flat with no sheen to it. You need to hit them with a coat of dull coat to tone them down. Watch out on hand-painted patches and such. Usually, modelers don't have a steady enough hand nor a small enough brush to hand-paint 1/35 patches. Your "1" is huge and, not correct for (I assume) a 1st Infantry Division, "Big Red One" patch. It should have a green shield around it (like below).
The same on the Captain's insignia on his helmet; way too big, and it would have been silver for WWII. If you are interested, there are decal companies that make patch and rank decals that are very nice. Lastly, the cable you have rolled to replicate concertina wire would be huge, think massive power line cable. Actual concertina is quite thin, just full of razors that make it really nasty (I know, as I have been tangled up in it).
The groundwork is really nice and looks great. Keep working at it and they will only get better.