Hi Dale & Joe,
I don't have experience with any spraybooth yet, it is indeed a compact model.
It will be most used for 1/35 tanks, but also some 1/72 and 1/144 models. So hopefully it will do the job.
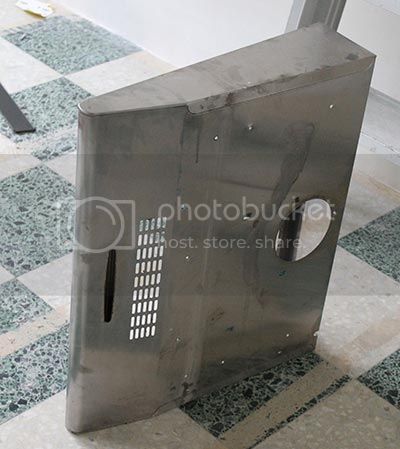
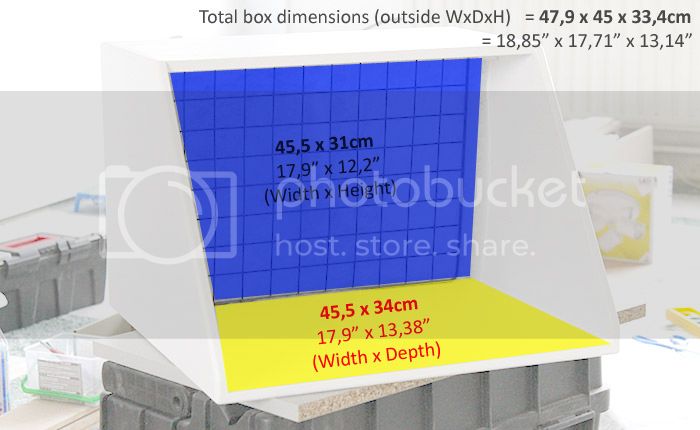
I based my design a little bit on those popular 'Hobby Craft...ventus' spraybooths types...
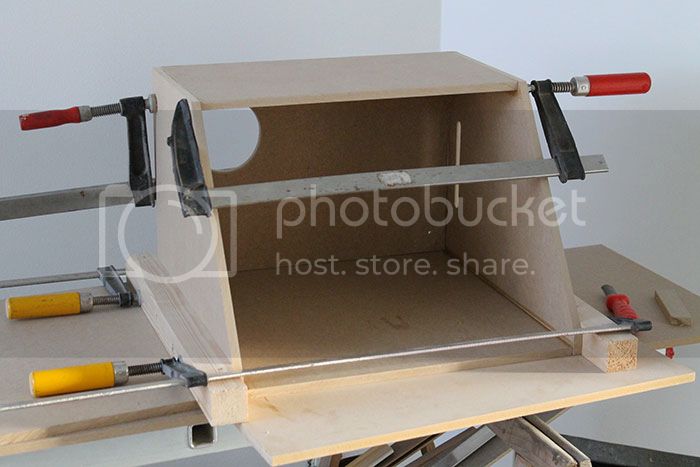
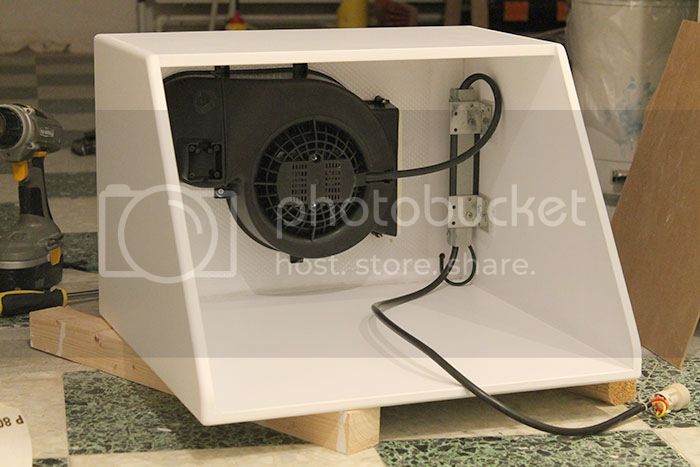
In this pic I added the dimensions (bottom area 45,5 x 34cm ... Filter area 45,5 x 31cm)
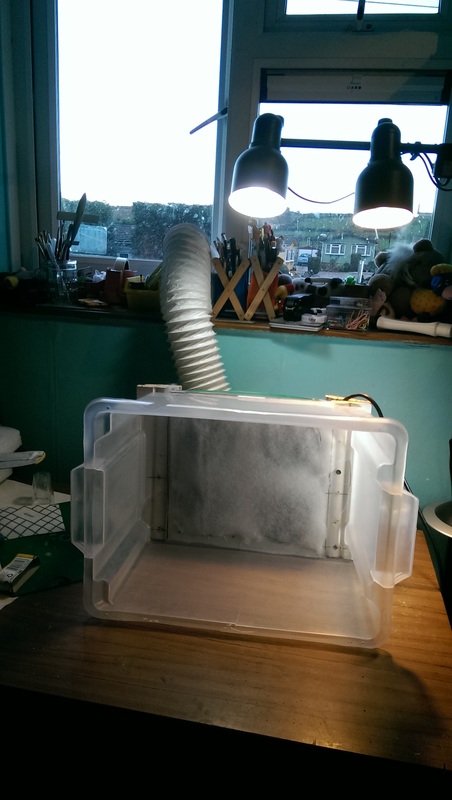
Today I finished the spraybooth, I started by cutting some cheap grids (towell-household-thing)
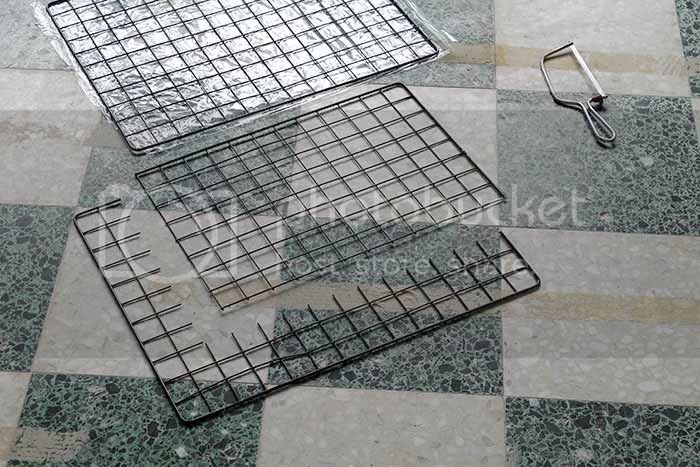
There will be 2 grids installed and between those grids I'll place the filter.
Here I drilled holes through the bottom, the grid is secured with 4 tie-wraps. (works like a hinge for maintenance)
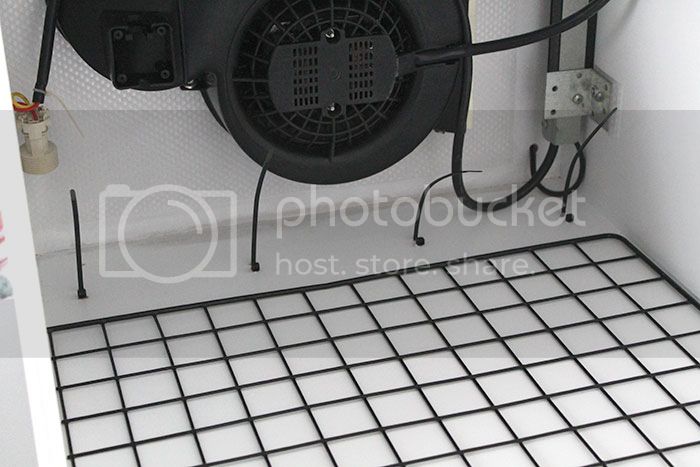
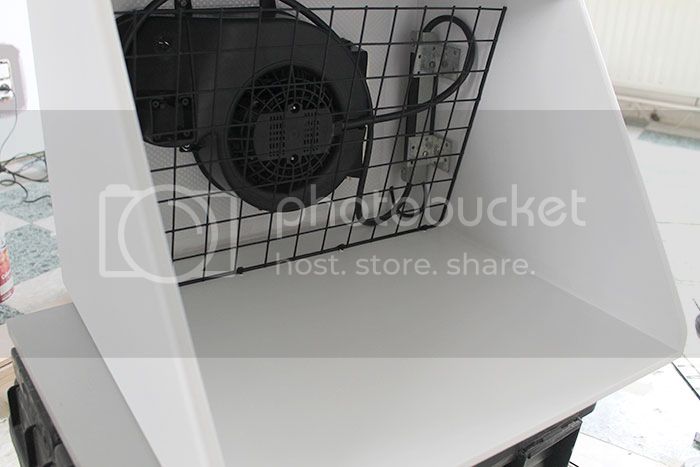
The first grid mounted.
For the light I planned to use IKEA "DIODER" (4x LED strip), but before installing I did a test and it seemed to be insufficient for a spraybooth (better suited for lighting diorama's).
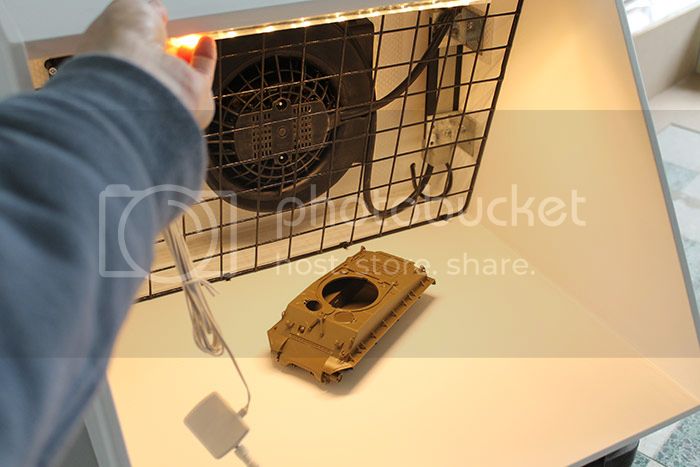
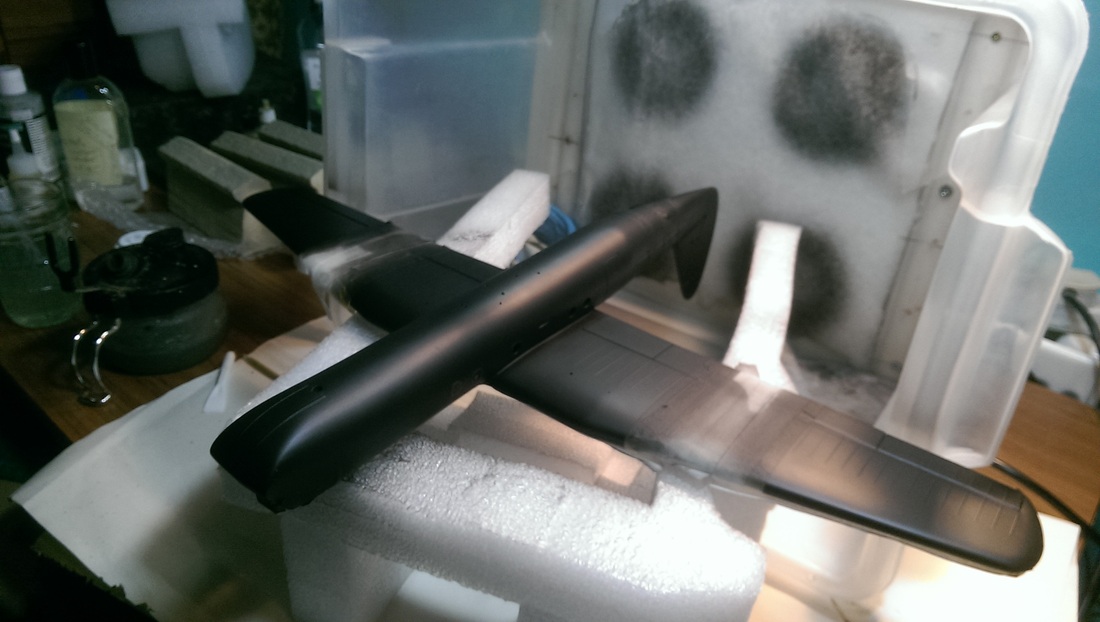
I reccently bought a LED working lamp (10watt - 3700kelvin - 700LM), and I think this one works better. I decided to not yet connect it to the speed/light buttons and will test some other lights later...
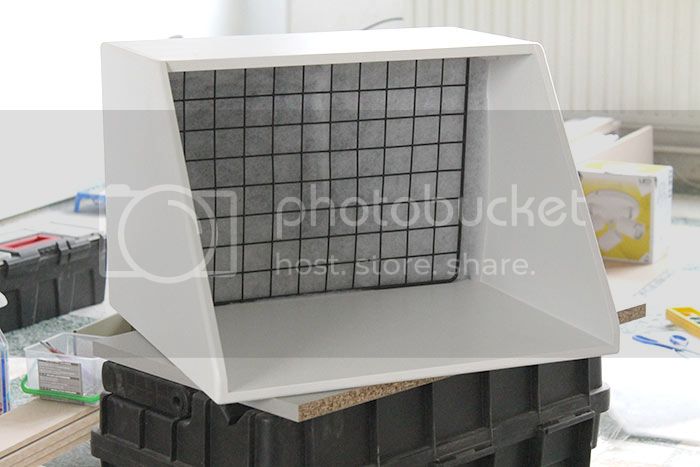
Here I installed the filter between the grids, at the moment it's just 1 layer of cheap kitchen-hood-filter, does anyone have recommendations for other cheap filter solutions?
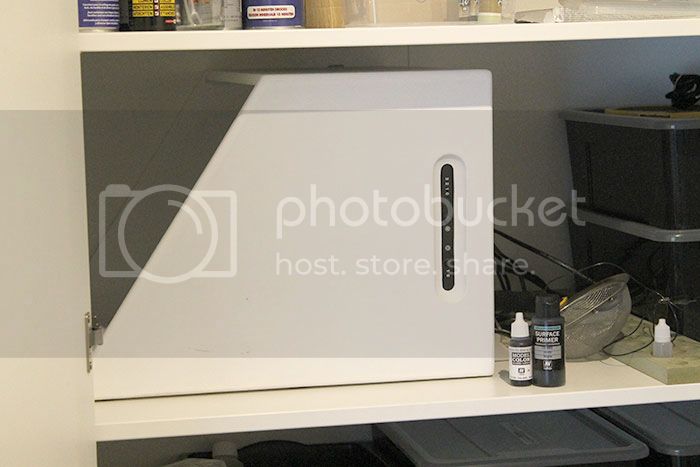
The spraybooth fits in my closet, which is great

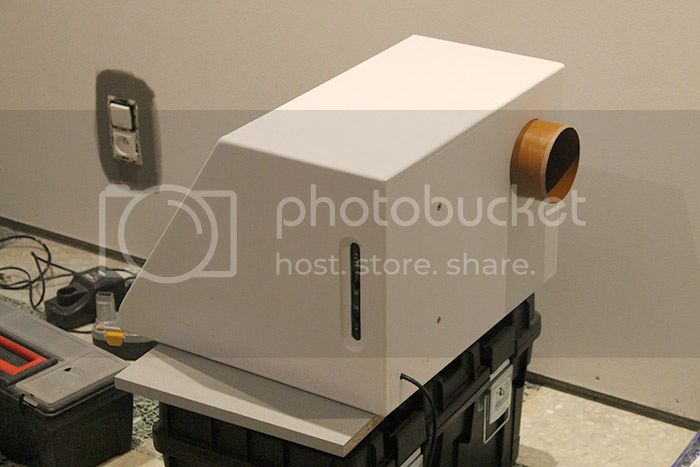
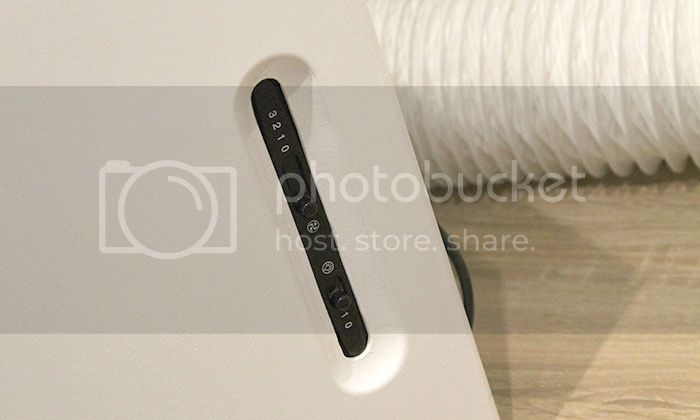
Here you can see the buttons for fan speed (0-1-2-3) and light (0-1)
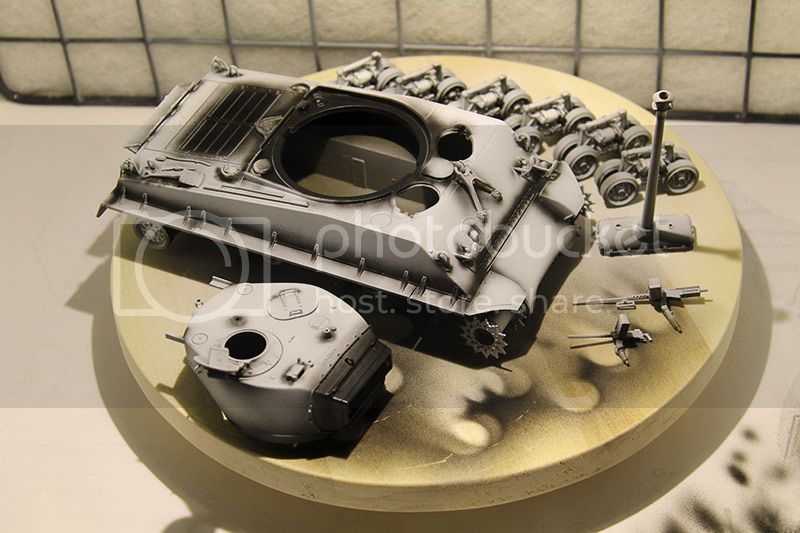
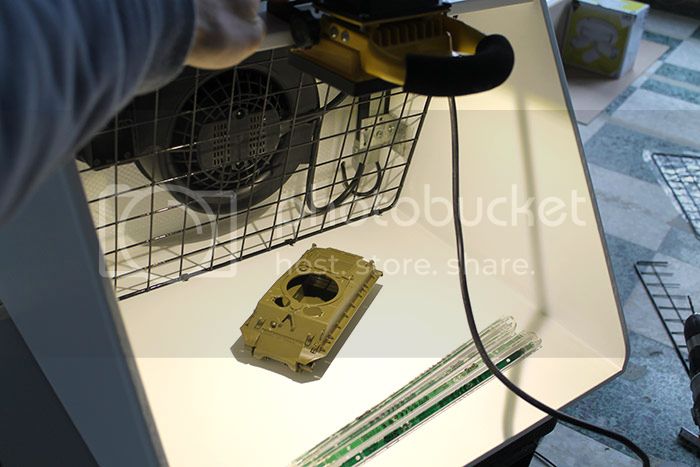
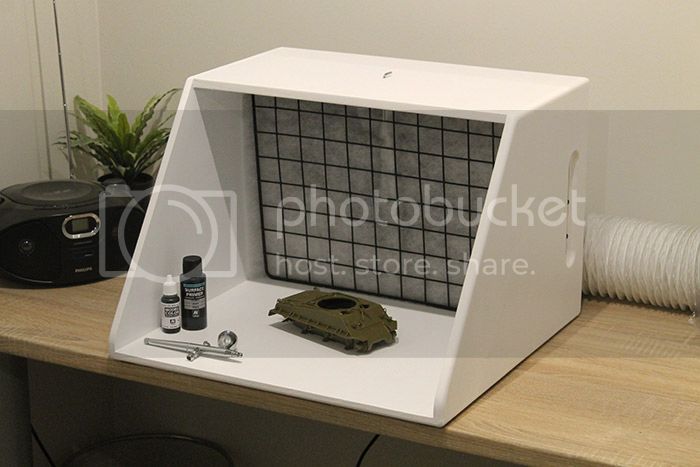
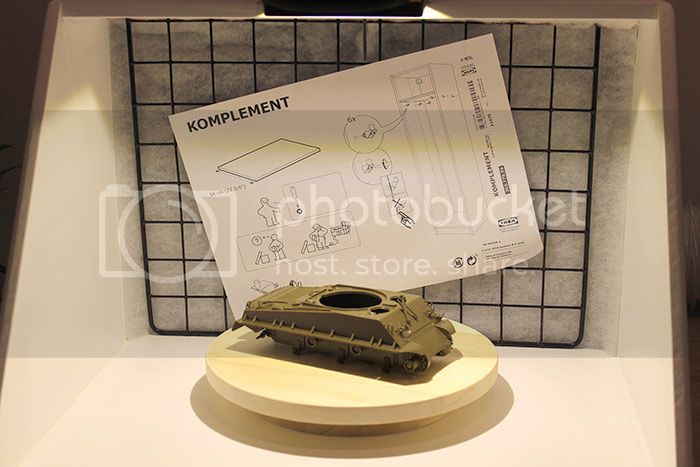
This picture gives a better look at the scale; My model in progress (Italeri Sherman 1/35) and some vallejo bottles.
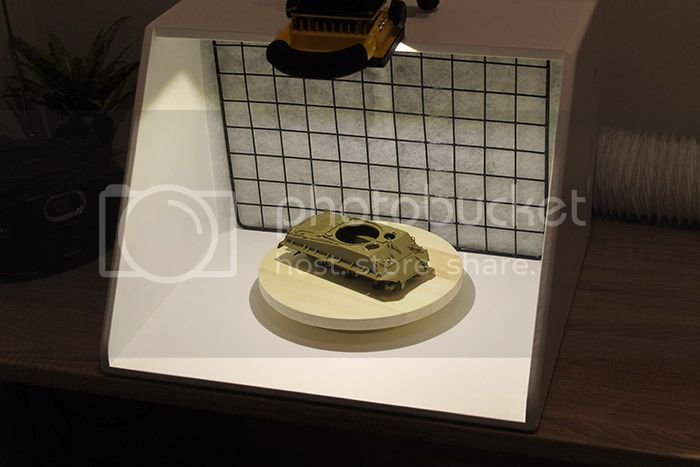
I still needed a rotating disk to spray models more easily, I found this IKEA "SNUDDA" cheese-disk (good bearing and bottom rubber)
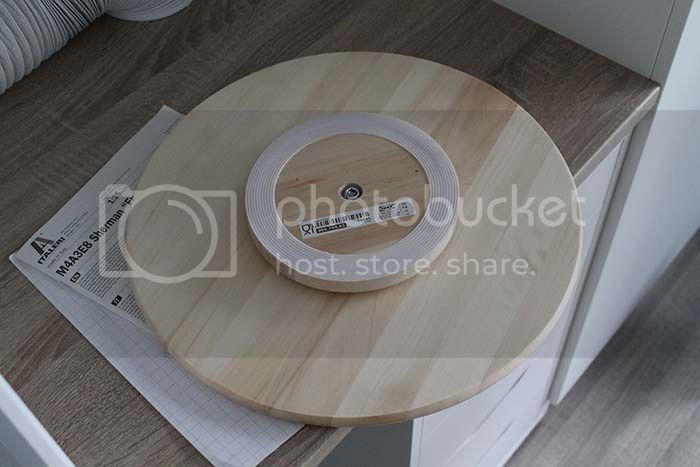
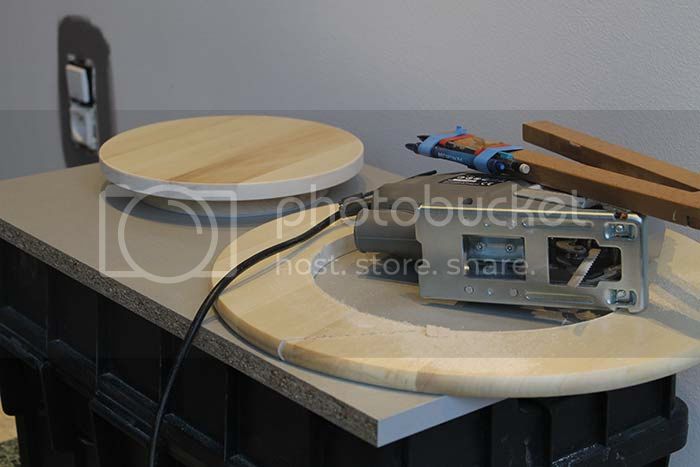
But 39cm (15.35") is too large for me, so I made it 24cm (9.4") with a jig saw and some sanding.
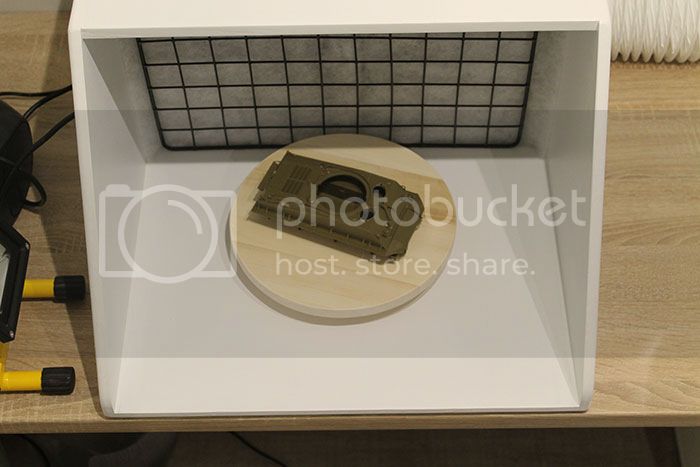
topview
The LED spotlight on top
I haven't yet tested it with my airbrush, but for now I did the A4 paper test and it worked fine with the first speed setting.
The Sherman needs a bit more work before painting, but I'm looking forward now to get it airbrushed!

Thanks for reading & kind regards
Steven