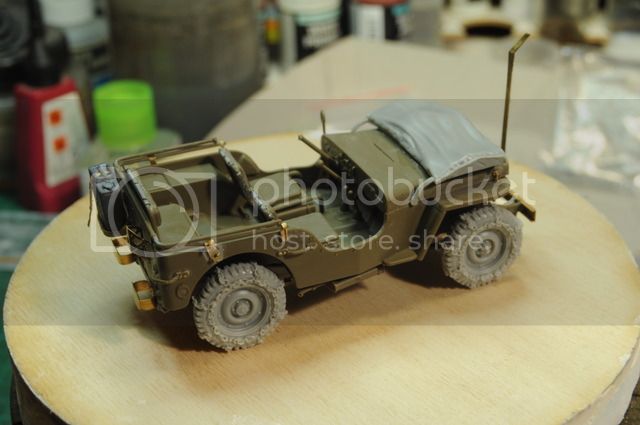
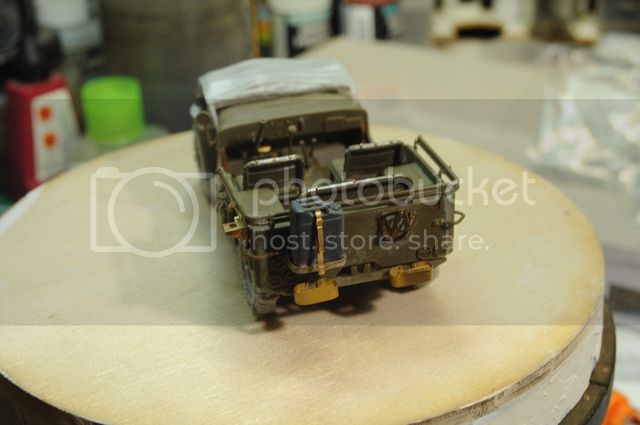
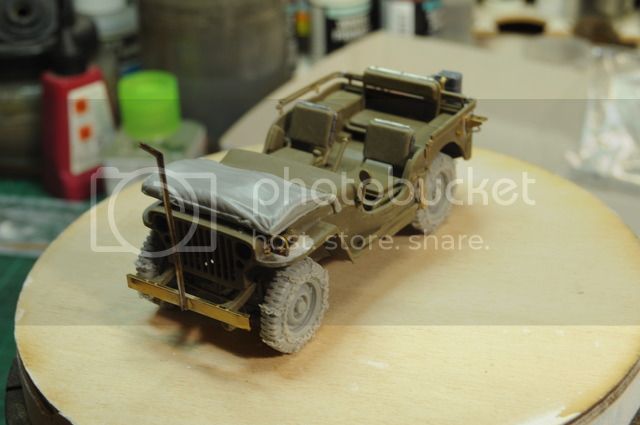
Porto, Portugal
Joined: December 13, 2011
KitMaker: 3 posts
Armorama: 2 posts
Posted: Wednesday, January 25, 2017 - 09:34 PM UTC
Hi,
I'm working in following project:
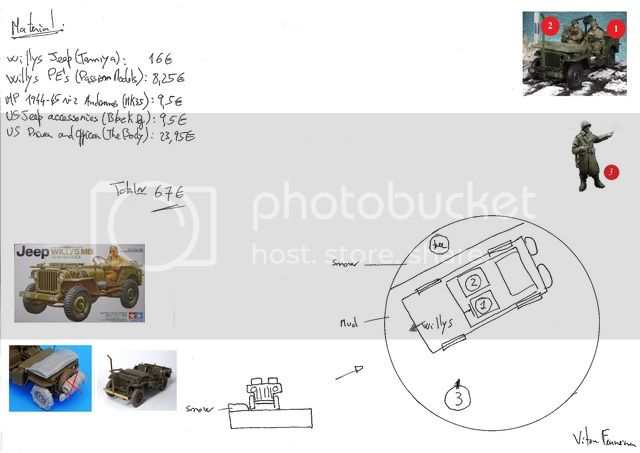
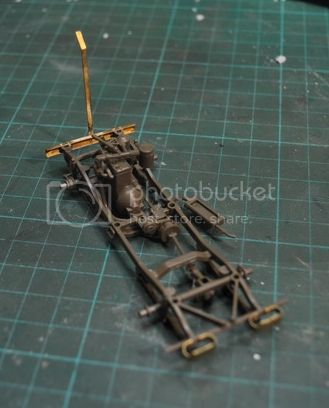
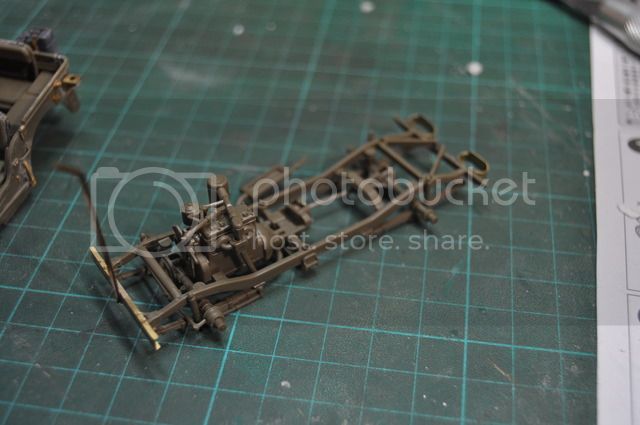
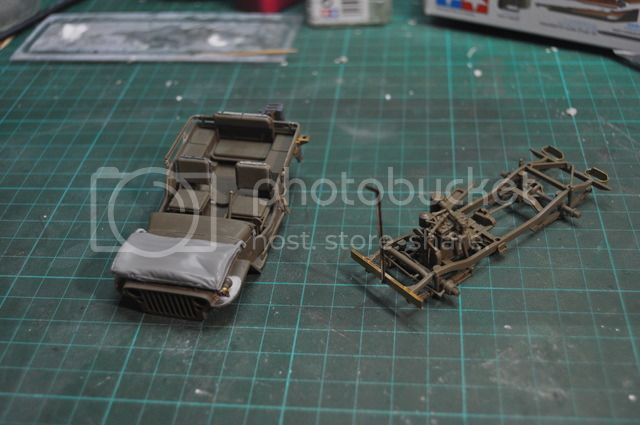
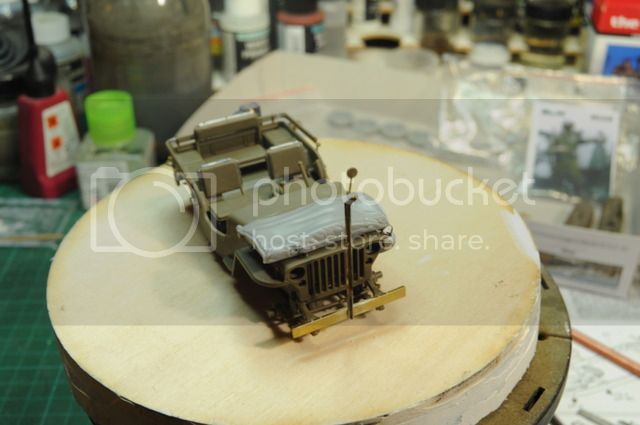
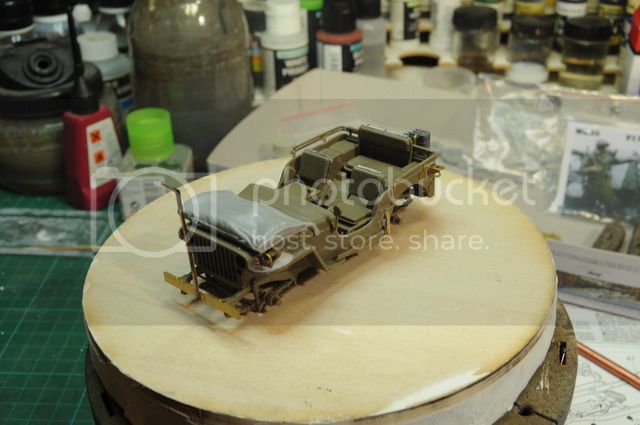
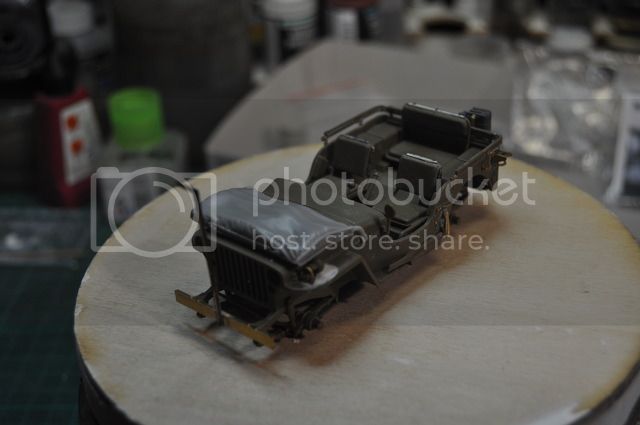
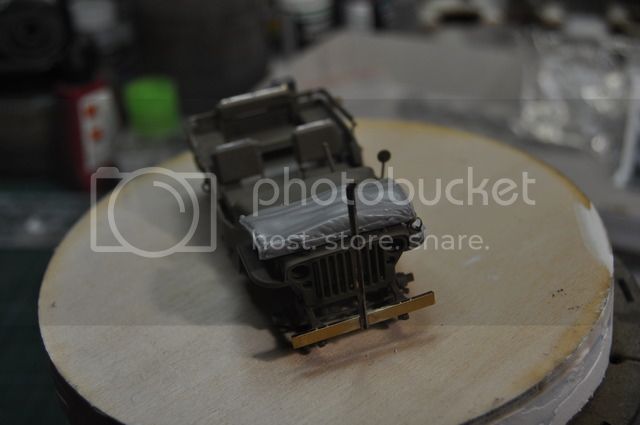
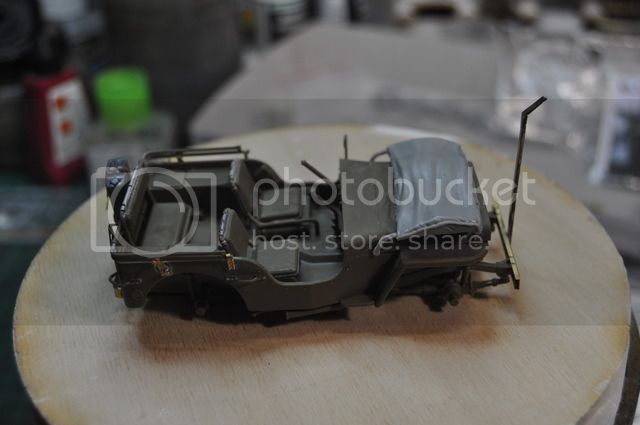
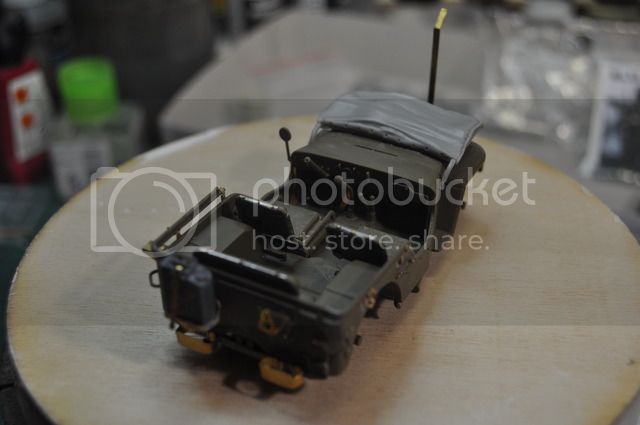
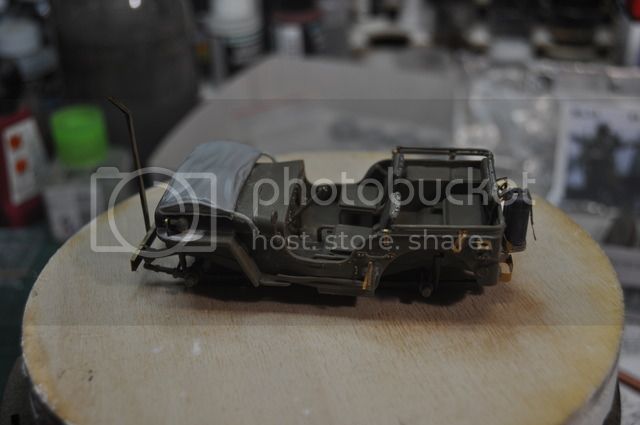
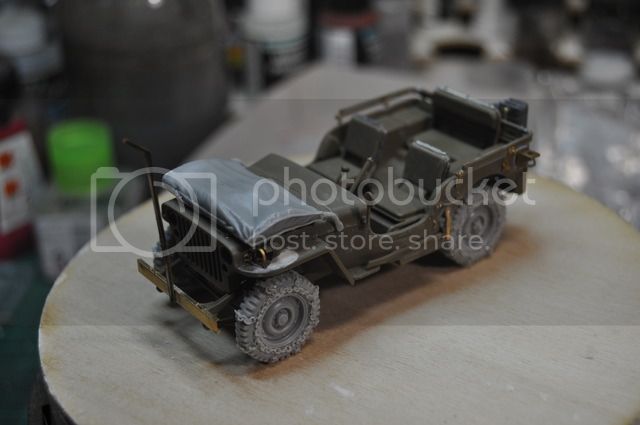
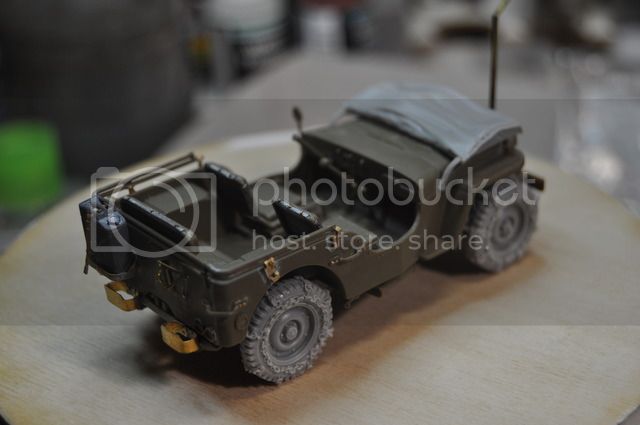
The Willys is almost assembled and one figure is also assembled (the driver).
I'll post photos soon
Best regards,
Vitor
Porto, Portugal
Joined: December 13, 2011
KitMaker: 3 posts
Armorama: 2 posts
Posted: Thursday, January 26, 2017 - 03:19 PM UTC

#084
Quebec, Canada
Joined: September 14, 2005
KitMaker: 2,485 posts
Armorama: 743 posts
Posted: Thursday, January 26, 2017 - 03:50 PM UTC
So far, very nice!
Looking forward to seeing it in snow.
Cheers,
Joe
Arizona, United States
Joined: January 18, 2006
KitMaker: 1,866 posts
Armorama: 1,808 posts
Posted: Friday, January 27, 2017 - 10:14 PM UTC
Great job. I wish I could see and handle all the small PE bits. I've built a few of these over the years and it is a fun kit.
The bolts on the side and rear corner grab handles are not level, they are offset on the mounting tabs. Inside the front bumper, between the frame rails, is an oak beam to add some strength. It is held in place by the inner bumper bolts on each side. The bumpers are not very strong and bend easier than a car bumper of the era.
The hole in the front bumper should not be covered up. It is for the hand crank to start the engine. The wire cutter is often re-enforced with a piece of angle iron flattened at the end with a hole drilled through and bolted to the front cross member. The other end was welded or bolted to the wire cutter.
The steering wheel on the WWII Jeeps was a metal spoke with an early plastic covering. The plastic was an olive green, so worn off paint will show that color.
I found a nifty feature on the forums called HIDE USER.
I was going to try it on myself and go stealth, but it only works on other users.

#034
Setubal, Portugal
Joined: April 26, 2002
KitMaker: 1,718 posts
Armorama: 1,130 posts
Posted: Saturday, January 28, 2017 - 03:40 PM UTC
Tel Aviv-Yafo, Israel
Joined: June 03, 2014
KitMaker: 277 posts
Armorama: 66 posts
Posted: Saturday, January 28, 2017 - 06:21 PM UTC
Thats not the road to Amblève!!
Good looking jeep, keep it up, the PE is adding much.
How are you going to paint the chains on the tires?
Thanks,
Bryan
Florida, United States
Joined: May 14, 2012
KitMaker: 730 posts
Armorama: 624 posts
Posted: Saturday, February 04, 2017 - 11:07 PM UTC
Great start Vitor, will be following your build.
Dave

"No beast so fierce but knows some touch of pity.
But I know none, and therefore am no beast."
California, United States
Joined: January 06, 2013
KitMaker: 98 posts
Armorama: 98 posts
Posted: Sunday, February 05, 2017 - 12:31 AM UTC
Ardennes- I'm in. I'll be follow your progress with this project. Nice build so far.


