_GOTOBOTTOM
Figures
Military figures of all shapes and sizes.
First attempt at scratch figures
Northern_Lad
Visit this Community
United Kingdom
Joined: September 17, 2012
KitMaker: 462 posts
Armorama: 417 posts
Posted: Thursday, July 06, 2017 - 01:29 AM UTC
Hello,

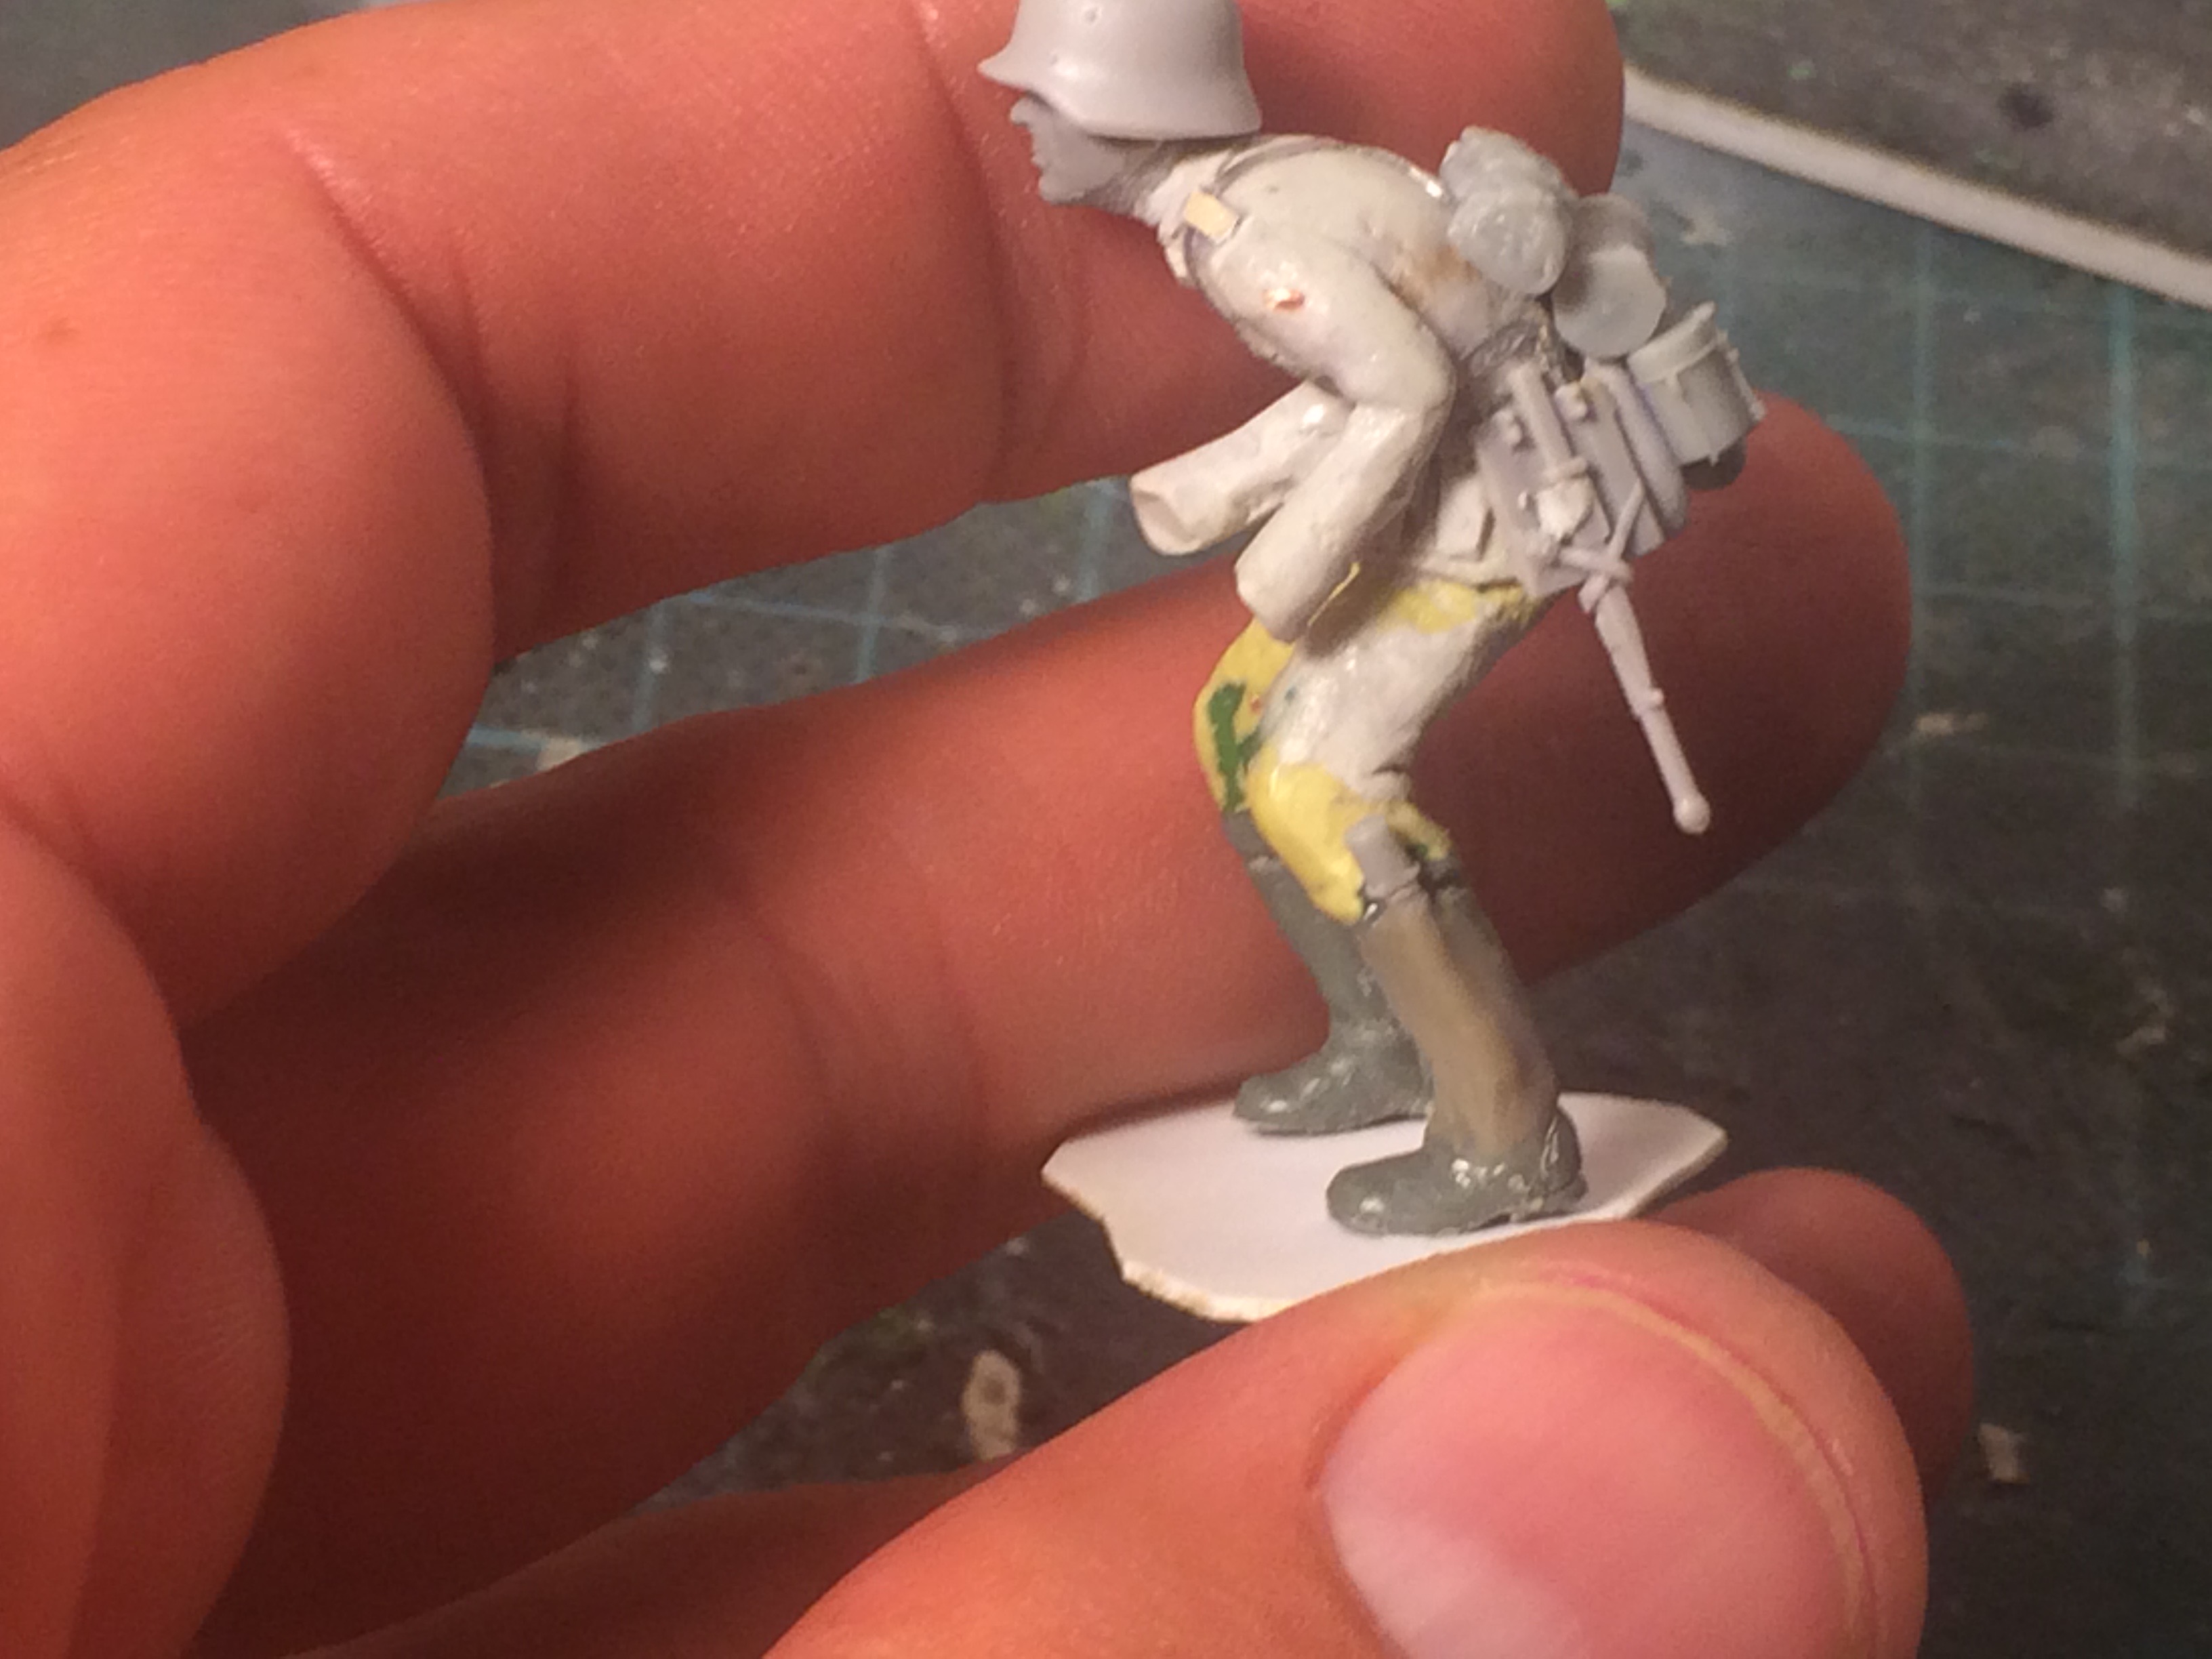
Inspired by a lot of great work on figures on Armorama, I’ve tried my hand at scratching a couple of my own, with the help of kit-supplied heads, hands and boots. They’re sort of coming together. Here are some progress pics. Hope you like.

Early days - just armatures. I read a cool book called Anatomy for sculptors and it seems the best way to go is to have an upper torso connected with hips/pelvis to give more realistic s-bend-kind of form…


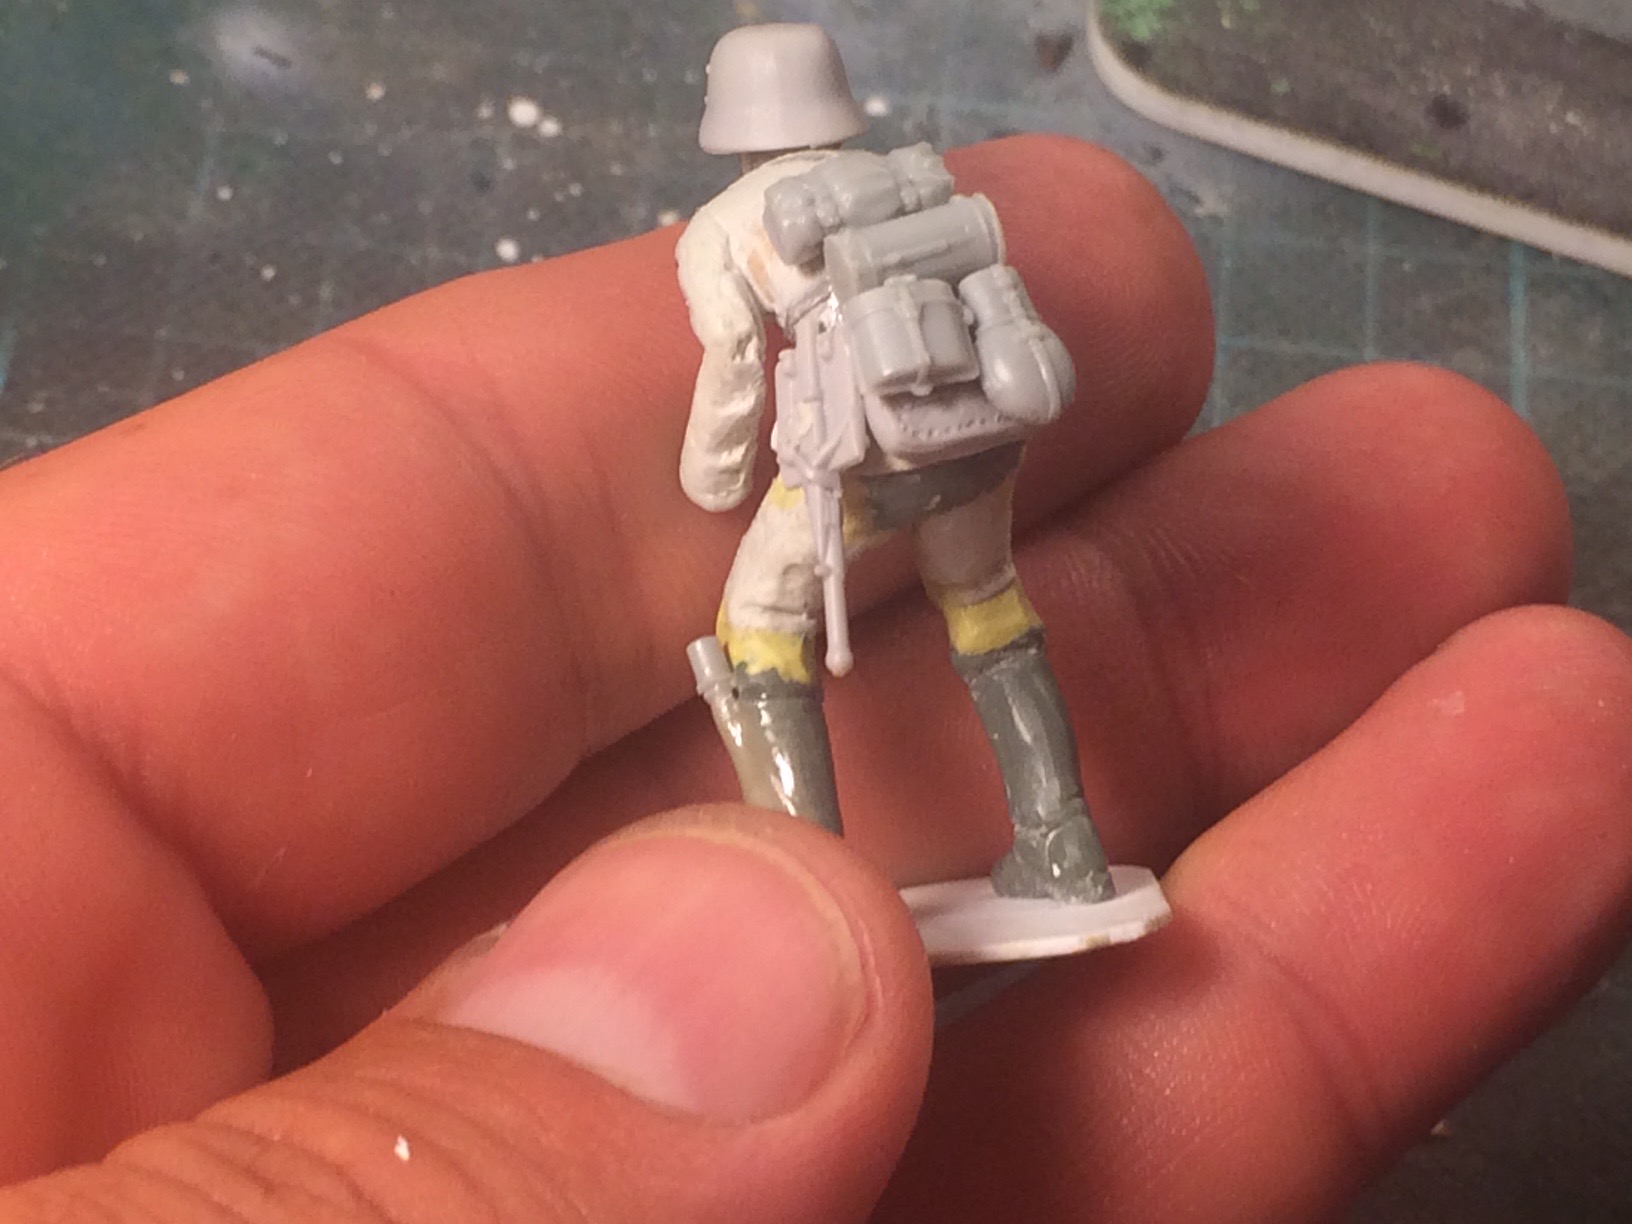
and from another angle.


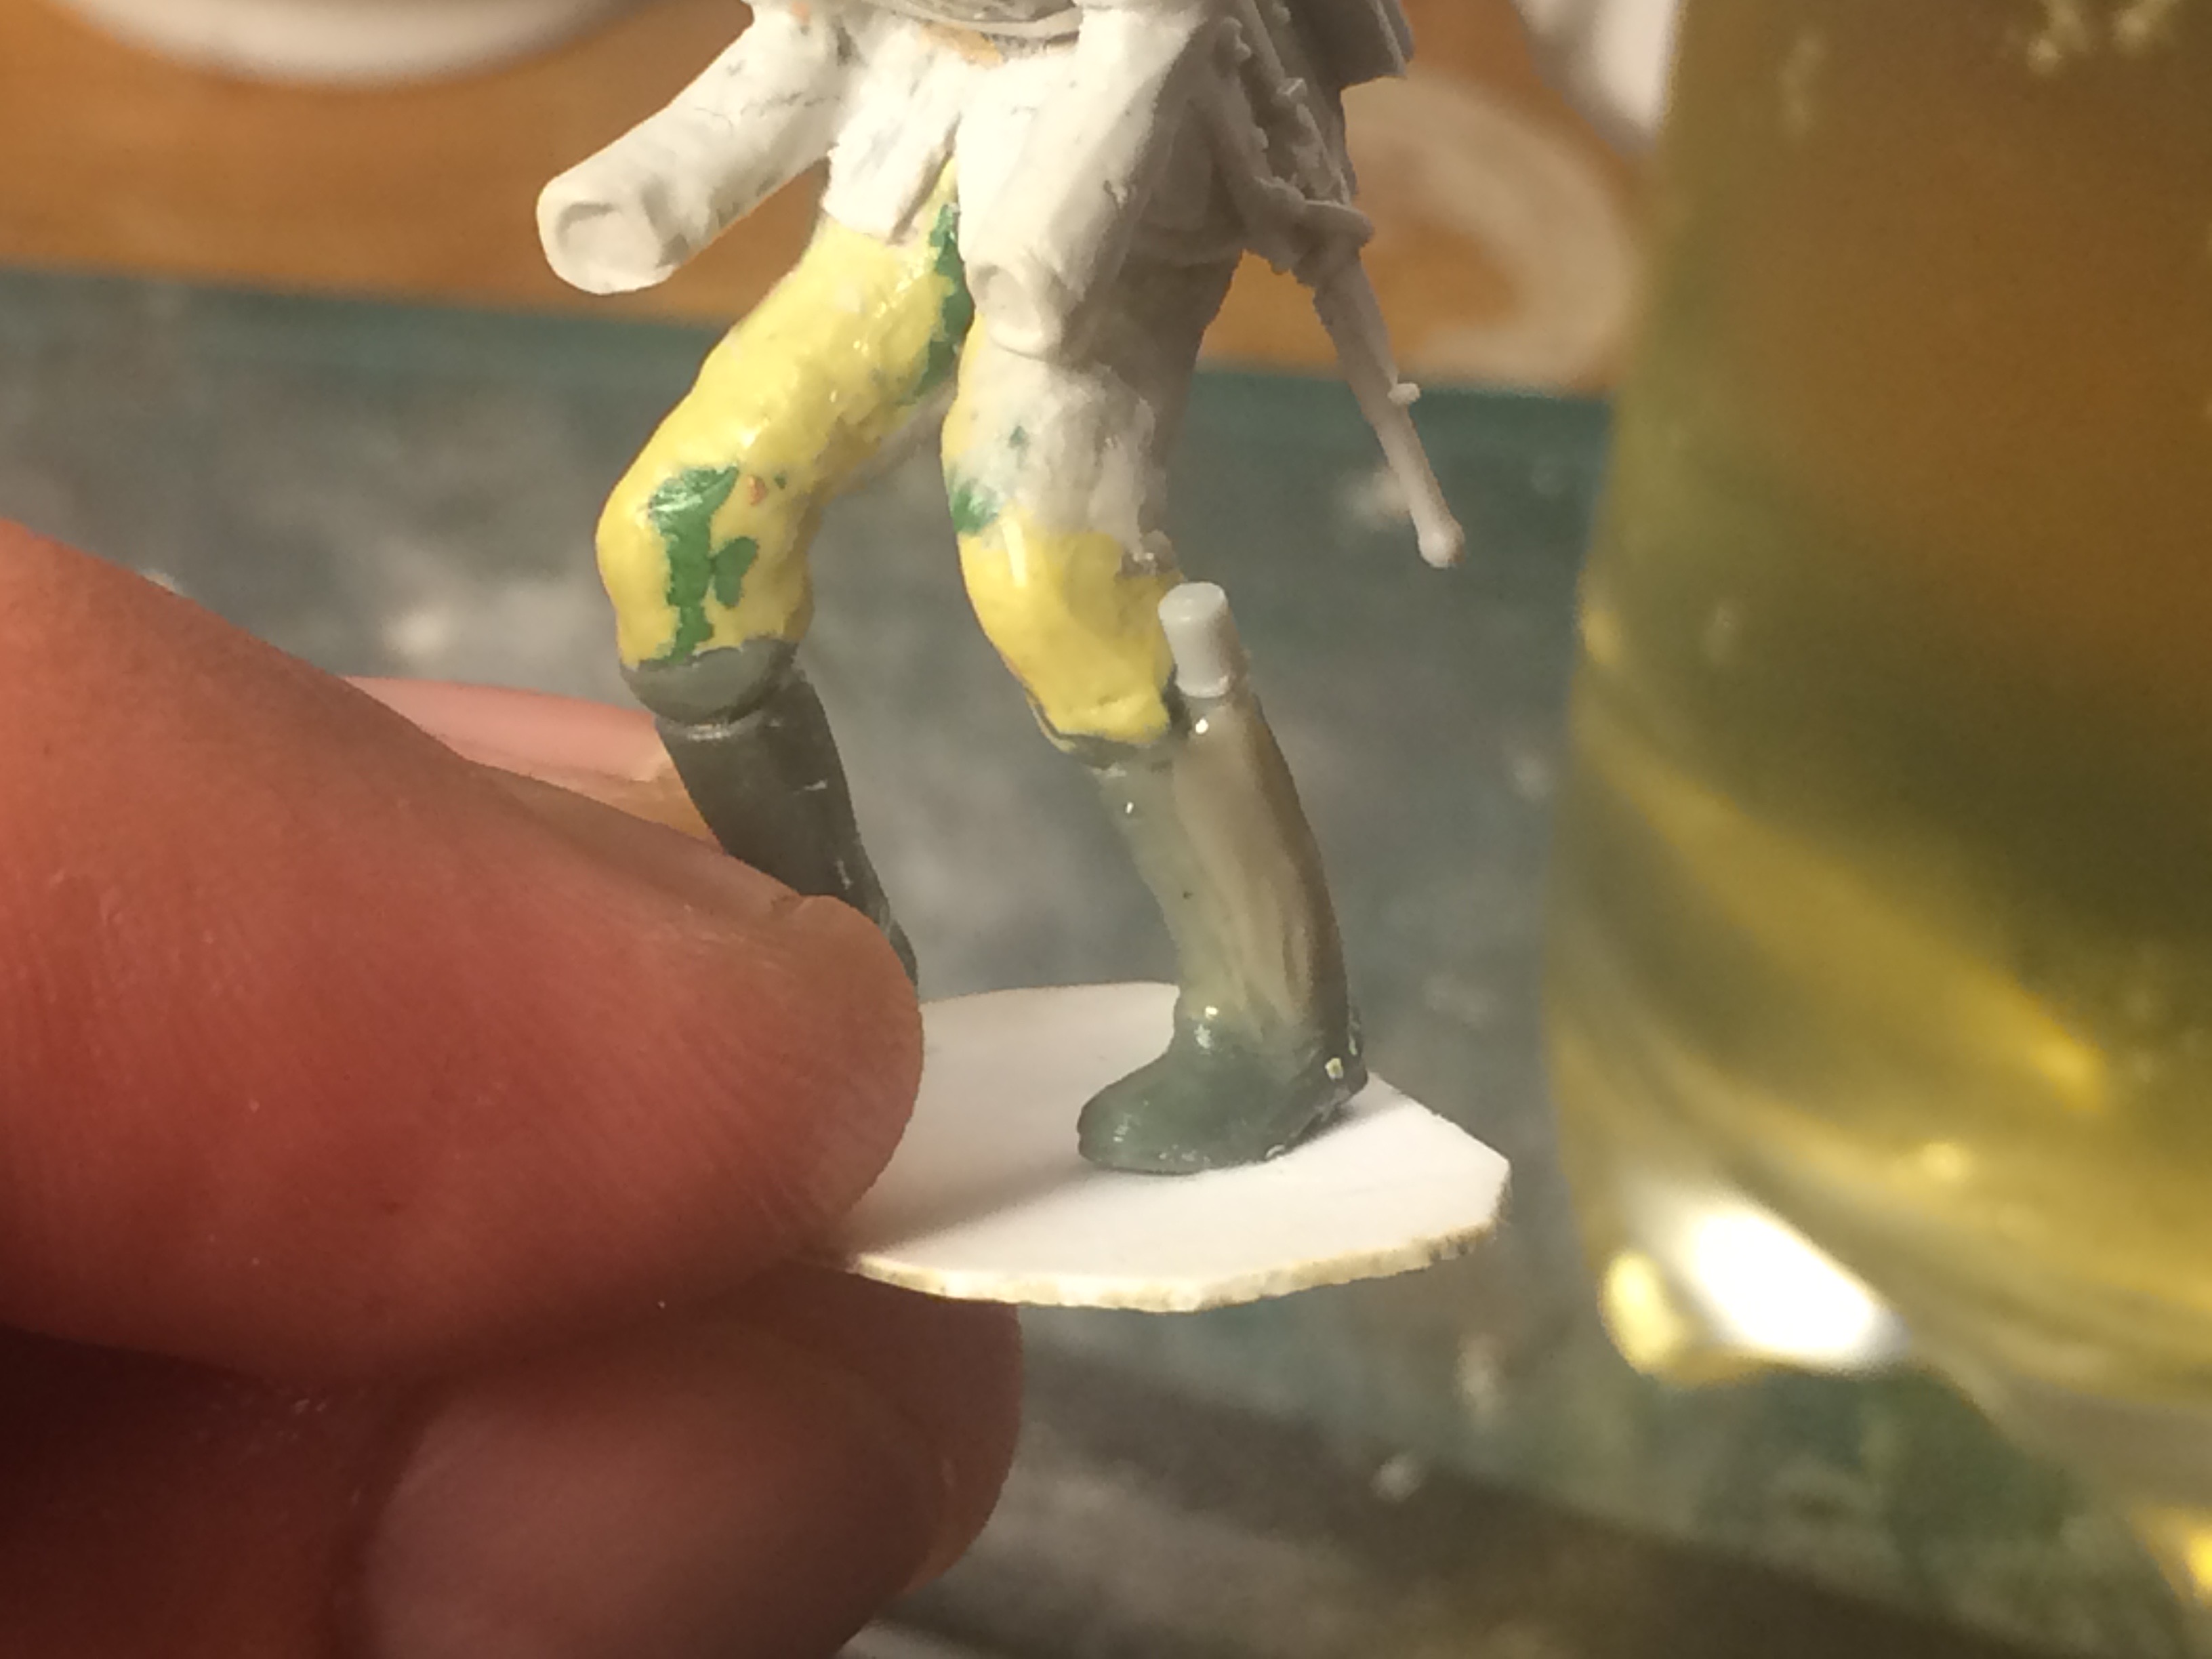
some green stuff added to give more mass. and they now have boots.


More green stuff added as an anchor for the putty to be added later. They have necks/collars now too.
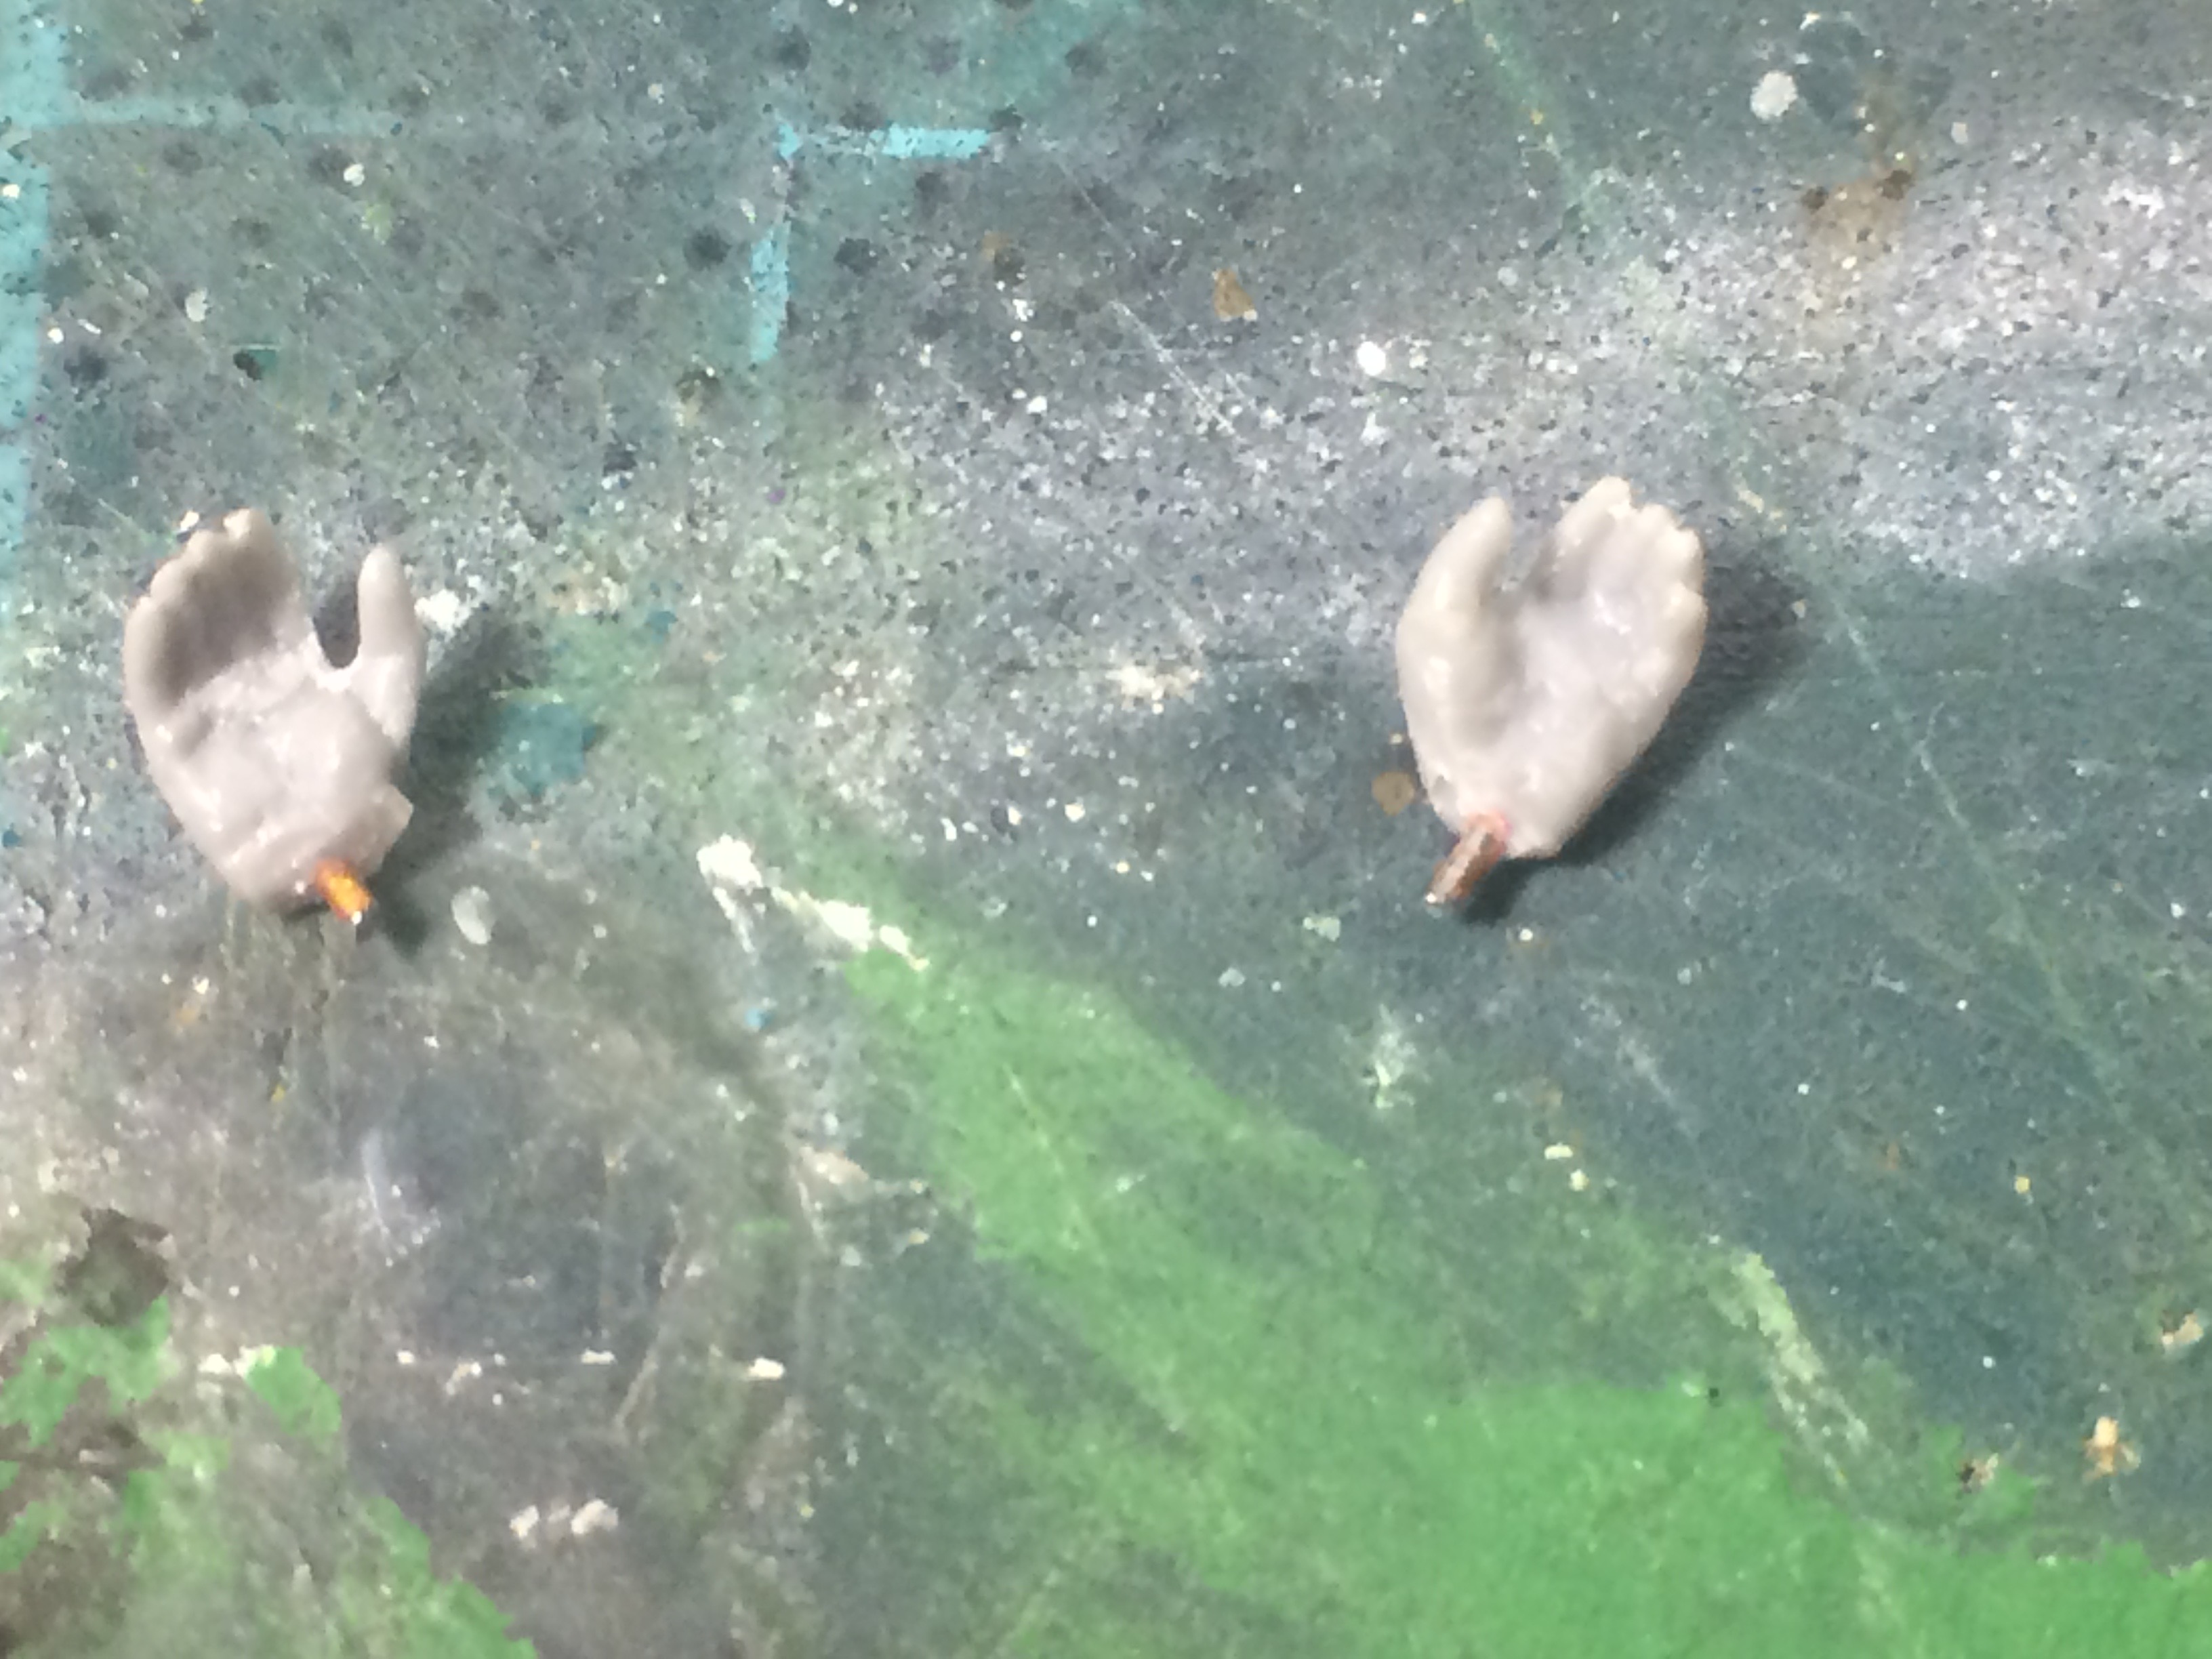


A head (think it’s from a MiniArt figure) and some hands of unknown providence…


and from another angle


the casualty has a head now too (think it’s a Masterbox head - not sure).


another angle.


I still need to add more mass, work on definition of joints, and give them uniforms, creases, kit, etc. Lots to do.

comments welcome

Cheers

Matthew
marcb
Visit this Community
Overijssel, Netherlands
Joined: March 25, 2006
KitMaker: 1,244 posts
Armorama: 1,226 posts
Posted: Thursday, July 06, 2017 - 01:39 AM UTC
I'm still on the fence working up courage to start sculpting.
You're poses seem very natural. Especialy like the arched back of the carrying figure.
Well done!
Mortifa
#464
Visit this Community
British Columbia, Canada
Joined: December 02, 2016
KitMaker: 267 posts
Armorama: 196 posts
Posted: Thursday, July 06, 2017 - 02:45 AM UTC
Looks good.
firstcircle
Visit this Community
England - South East, United Kingdom
Joined: November 19, 2008
KitMaker: 2,249 posts
Armorama: 2,007 posts
Posted: Thursday, July 06, 2017 - 04:47 AM UTC
Very nice start, looks like fun. Is the casualty going to be conscious and moving, or totally out of it? Just thinking that if not moving a little by himself, his legs would be straight out, not bent?
RobH
Visit this Community
United Kingdom
Joined: March 12, 2002
KitMaker: 352 posts
Armorama: 238 posts
Posted: Thursday, July 06, 2017 - 12:31 PM UTC
Really good start Matthew!

Proportionally they look good, decent animation - in the future some small tweaks to the poses may make them look a little more dynamic.....the guy doing the carrying could be looking up, or head back a little, to imply the strain on the act of dragging.......

what type of putty will you be using for the main sculpting?
jrutman
Visit this Community
Pennsylvania, United States
Joined: April 10, 2011
KitMaker: 7,941 posts
Armorama: 7,934 posts
Posted: Thursday, July 06, 2017 - 06:26 PM UTC
Great start and I admire your courage to do this !
I would suggest a few things for a more natural look. First,humans are very heavy,so the two figs should be touching,the dragged figs shoulder area should be touching the legs of the standing guy. The dragged guys' shoulders would be concave at the front slightly and his waist would be more bent towards the ground as well as his legs. They would be almost bent back a bit to conform with gravity. The casualtys' head would be more dramatic and natural if he had his chin on his chest and laying to one side.
The best thing to do is try these poses yourself or even better,get two others to do it and take pics. All the best sculptors do this. Take pics from all angles,etc
Not trying to sound like a know it all,just am really pumped up that you have the cajones to attempt this and my advice is meant as encouragement.
J
Northern_Lad
Visit this Community
United Kingdom
Joined: September 17, 2012
KitMaker: 462 posts
Armorama: 417 posts
Posted: Thursday, July 06, 2017 - 09:29 PM UTC
Thanks Marc, Richard, Matthew, Rob and Jerry for nice words and helpful comments.

Yep, the casualty is a deadweight so legs do need to be straight out in front of him, and his butt does need to be lower to the ground, and his back touching the legs of the dragging guy.

Thanks Jerry for the pointers on the shoulders too. They should be more concave now I think about it.

The putty I’ll be using for the main sculpt, Rob, is Apoxie-Sculpt. It’s a two part epoxy I think. I’ve never used it before. Let’s see how it works out. Before I get started with that I’m going to have to cut away some of the miliput around the casualty's knees and pelvis to get more of a c bend, and perhaps lower the dragging guys arms so they’re closer to his knees. His head straining upwards would also add to the fig as well.

Thanks for all the helpful comments.

Lots more work to do.

Cheers

Matthew
jrutman
Visit this Community
Pennsylvania, United States
Joined: April 10, 2011
KitMaker: 7,941 posts
Armorama: 7,934 posts
Posted: Thursday, July 06, 2017 - 10:19 PM UTC
I almost hate to add at this point,after all the barrage of suggestions,but the standing guys hands would work better being under the armpits of the casualty. The position he is in now would rely on just the hand grip to pull the dead weight. See what I mean ? It may be too far into the project to make that change though.
J
11Bravo_C2
Visit this Community
Texas, United States
Joined: May 12, 2015
KitMaker: 475 posts
Armorama: 394 posts
Posted: Thursday, July 06, 2017 - 11:59 PM UTC

Quoted Text

Yep, the casualty is a deadweight so legs do need to be straight out in front of him, and his butt does need to be lower to the ground, and his back touching the legs of the dragging guy.

Thanks Jerry for the pointers on the shoulders too. They should be more concave now I think about it.

The putty I’ll be using for the main sculpt, Rob, is Apoxie-Sculpt. It’s a two part epoxy I think. I’ve never used it before. Let’s see how it works out. Before I get started with that I’m going to have to cut away some of the miliput around the casualty's knees and pelvis to get more of a c bend, and perhaps lower the dragging guys arms so they’re closer to his knees. His head straining upwards would also add to the fig as well.

Thanks for all the helpful comments.

Lots more work to do.

Cheers

Matthew


Matthew, all suggestions are valid and you might be able to "fix" some issues, but for a first timer, they look awesome!

Pretty sure a lot of the people that see them won't notice. {not counting us that is }
marcb
Visit this Community
Overijssel, Netherlands
Joined: March 25, 2006
KitMaker: 1,244 posts
Armorama: 1,226 posts
Posted: Friday, July 07, 2017 - 12:08 AM UTC
Just occured to me, wouldn't the carried figure be more bent at the waist?
Northern_Lad
Visit this Community
United Kingdom
Joined: September 17, 2012
KitMaker: 462 posts
Armorama: 417 posts
Posted: Sunday, July 09, 2017 - 08:49 PM UTC
Okay. So I’ve done a little re-work on the figs. Actually, the casualty is a completely new build. I’ll probably take the hands from causality mkI and add them to casualty mkII.


You'll see in the picture below I have adjusted the angle of the arms - this is how arms would hang if the carrier-guy is picking the casualty up under the armpits and the casualty is out of it.


Time to add more mass. And the carrier's tash may have to go too.

Cheers

Matthew
jrutman
Visit this Community
Pennsylvania, United States
Joined: April 10, 2011
KitMaker: 7,941 posts
Armorama: 7,934 posts
Posted: Sunday, July 09, 2017 - 11:18 PM UTC
YES !!! The angle of the arms is very natural now as is the waist position. I think maybe you let the boots go out too far now though. In a relaxed position,your fee would not go to the ground like that but stay at an angle . See what I mean ? Put on some heavy shoes and lay like that to see what I mean. Once again,you are doing brilliantly and don't get discouraged !
J
11Bravo_C2
Visit this Community
Texas, United States
Joined: May 12, 2015
KitMaker: 475 posts
Armorama: 394 posts
Posted: Monday, July 10, 2017 - 12:01 AM UTC

Quoted Text

YES !!! The angle of the arms is very natural now as is the waist position. I think maybe you let the boots go out too far now though. In a relaxed position,your fee would not go to the ground like that but stay at an angle . See what I mean ? Put on some heavy shoes and lay like that to see what I mean. Once again,you are doing brilliantly and don't get discouraged !
J


Maybe shrapnel shattered both femurs,
jrutman
Visit this Community
Pennsylvania, United States
Joined: April 10, 2011
KitMaker: 7,941 posts
Armorama: 7,934 posts
Posted: Monday, July 10, 2017 - 06:46 AM UTC

Quoted Text

YES !!! The angle of the arms is very natural now as is the waist position. I think maybe you let the boots go out too far now though. In a relaxed position,your feet would not go to the ground like that but stay at an angle . See what I mean ? Put on some heavy shoes and lay like that to see what I mean. Once again,you are doing brilliantly and don't get discouraged !
J

MrCompletely
Visit this Community
Saitama-ken, Japan / 日本
Joined: February 12, 2016
KitMaker: 128 posts
Armorama: 120 posts
Posted: Monday, July 10, 2017 - 08:35 AM UTC
This is something I've wished I could do for EVER! I did actually make an attempt once, but it was so awful I didn't try again. But maybe this will inspire me to give it another whirl. One minor problem though is getting the right materials. Though they are here (in Japan) I'm sure, it's not always easy finding them.
Northern_Lad
Visit this Community
United Kingdom
Joined: September 17, 2012
KitMaker: 462 posts
Armorama: 417 posts
Posted: Monday, July 10, 2017 - 11:57 AM UTC
After a bit more work the figs looks like this...


The casualty was resting on the carriers legs when they were armatures. Now, with more mass, and hands added, the casualty is more in front. This is annoying, but I'm going to have to accept it. Apart from that I'm quite pleased with how these guys are turning out.

Cheers

Matthew
Northern_Lad
Visit this Community
United Kingdom
Joined: September 17, 2012
KitMaker: 462 posts
Armorama: 417 posts
Posted: Monday, July 10, 2017 - 01:04 PM UTC
I might reposition the arms of the carrier so that the the casualty is resting on the carrier's legs. something like this...


More work to do tonight!
jrutman
Visit this Community
Pennsylvania, United States
Joined: April 10, 2011
KitMaker: 7,941 posts
Armorama: 7,934 posts
Posted: Monday, July 10, 2017 - 08:02 PM UTC
That is a brilliant solution and works very well as it makes it more believable. it would take an extremely strong guy to hold someone up with their arms almost straight out like that.
Now,look at the starting point for your figures at the beginning of this thread,then compare it to where you are now. Much much improvement IMHO,
J
Northern_Lad
Visit this Community
United Kingdom
Joined: September 17, 2012
KitMaker: 462 posts
Armorama: 417 posts
Posted: Monday, July 10, 2017 - 08:06 PM UTC

Quoted Text

That is a brilliant solution and works very well as it makes it more believable. it would take an extremely strong guy to hold someone up with their arms almost straight out like that.
Now,look at the starting point for your figures at the beginning of this thread,then compare it to where you are now. Much much improvement IMHO,
J


Thanks for your suggestions, Jerry. Yes, scratching figures is like taking two steps forward then one back and then repeat (and again). I like it though. It's a fun process.

Cheers

Matthew
RobH
Visit this Community
United Kingdom
Joined: March 12, 2002
KitMaker: 352 posts
Armorama: 238 posts
Posted: Friday, July 14, 2017 - 11:15 PM UTC
some positive improvements as you're going along, and kudos for listening and heeding advice!!!

The Apoxie Sculpt is good stuff.....if it's good enough for Alpine Miniatures, it's good enough for the rest of us!!!

when I say your figures, it reminded me of a small vignette I'd seen at the world expo show recently held in Chicago.

However, I simply couldn't find the photo again....

I have now, and here it is......the twist of a neck etc adds drama and urgency to the piece....
willc453
Visit this Community
United States
Joined: October 07, 2009
KitMaker: 55 posts
Armorama: 45 posts
Posted: Sunday, August 20, 2017 - 07:59 AM UTC
Figures are looking good. Watched a couple of Youtube videos where the modeler is doing the same thing. I'm not quite ready for that, being satisfied (for now) by mixing arms/legs. And how's the Apoxy mold resin working out for you? Happened to catch a Youtube video mentioning/using this stuff. Using Milliput on my figures after watching 2 videos and now wonder how the 2 compare to each other.
Steven000
Visit this Community
Antwerpen, Belgium
Joined: August 07, 2016
KitMaker: 191 posts
Armorama: 120 posts
Posted: Sunday, August 20, 2017 - 05:14 PM UTC
Looks very good so far Matthew,
I like to watch sculpting figures, thanks for sharing the progress.

Kind regards
Steven
jrutman
Visit this Community
Pennsylvania, United States
Joined: April 10, 2011
KitMaker: 7,941 posts
Armorama: 7,934 posts
Posted: Sunday, August 20, 2017 - 06:30 PM UTC
It would be nice to see an update? Any more progress? I hope that you stayed with it?
J
Northern_Lad
Visit this Community
United Kingdom
Joined: September 17, 2012
KitMaker: 462 posts
Armorama: 417 posts
Posted: Wednesday, August 23, 2017 - 03:53 AM UTC
Thanks for the continued interest in the hero and casualty combo, fellas. I’m making progress slowly. Real life - the old adage goes - got in the way of modelling.

They’re a real multimedia mish-mash. I’ve used Miliput regular, Miliput fine, Apoxie sculpt, Gorilla super glue gel (to fill pock marks and nasty seams) and plastic sprue melted in Humbrol liquid poly. The webbing is made from (slightly) upper end wine foil. And I used belt buckles and eagles on the breast of the field blouse from the Alliance-modelworks 1:35 German WWII figure detail set - not that they are really discernible from the pics.

By the way, I did change the angle of the hero's arms so they are closer to his body. I think it looks more natural now.

Here it the hero of the day fig…

His hat is just tacked on for the moment with Elmers glue. It’ll come off for painting.


It’s maybe a cliche but I quite like the potato masher grenade down the boot look (and I’m quite pleased with the result). The extra boot material, once I’d filed down a little of the stick of the grenade and stuck it to the fig, is made from old sprue melted in Humbrol liquid poly. Good stuff.


And here is the casualty. He may get a helmet also, but maybe not.


The casualty's hands kept getting knocked off so I decided to drill out the figs arms and add v. thin wire to the hands for a stronger connection when I join the two.


I’ll soon post pics of the casualty with hands and marry the two together temporarily. Paint will follow. I might just get them finished by Christmas!

I'm aware that I have not got the webbing right at the front, and the pockets on the field blouses should have scalloped flaps for early war Germans. I may fix this yet.

Cheers

Matthew
jrutman
Visit this Community
Pennsylvania, United States
Joined: April 10, 2011
KitMaker: 7,941 posts
Armorama: 7,934 posts
Posted: Wednesday, August 23, 2017 - 06:08 PM UTC
Yes ! Lots of very nice progress for sure ! Keep going.
J
 _GOTOTOP