_GOTOBOTTOM
Armor/AFV: Axis - WWII
Armor and ground forces of the Axis forces during World War II.
Hosted by Darren Baker
Jagdpanther 302 - Normandy
Obersoldaten
Visit this Community
Alba, Romania
Joined: May 01, 2017
KitMaker: 10 posts
Armorama: 10 posts
Posted: Friday, July 28, 2017 - 01:58 AM UTC
Hello everyone! This is one of my grand projects and id like to share this with you.
This is my first post of this kind so I'm sorry if it's not going to be professional enough.

I'm trying to depict Jagdpanther 302 that was seen in Normandy.


For this project I got the deluxe PE set from ABER. I'm thinking of getting Friul tracks but I don't think I can model them in moving position. I also need to model some umbrellas, it's not going to be difficult tho but I want to finish the figures first.

I got this Achtung Jabo figure set because it was the only one that had matching uniforms with the real crew. It's going to be a big challenge for me to model them in the right positions. I'm considering getting some resin heads and most probably I'll do so.
varanusk
Staff MemberManaging Editor
ARMORAMA
Visit this Community
Santa Cruz de Tenerife, Spain / Espaņa
Joined: July 04, 2013
KitMaker: 1,288 posts
Armorama: 942 posts
Posted: Friday, July 28, 2017 - 06:48 AM UTC
Hello Stefan,
A nice project indeed, and with some interesting extras.

Keep us informed of your progress!
dhines
Visit this Community
Nova Scotia, Canada
Joined: November 17, 2015
KitMaker: 407 posts
Armorama: 373 posts
Posted: Friday, July 28, 2017 - 07:18 AM UTC
Hi Stefan, looks like a great project. I look forward to future updates. There is a set of plastic umbrellas, I have a set but cant remember if its made by Plus models or Bronco. I will have a look at the stash and see if I can give you the kit #. Best of luck with your project. Best regards....Dale
Bravo1102
Visit this Community
New Jersey, United States
Joined: December 08, 2003
KitMaker: 2,864 posts
Armorama: 2,497 posts
Posted: Friday, July 28, 2017 - 10:03 AM UTC
It's counter productive to use workable track to model a tank in motion. They have to be glued and posed just so, with the top run nearly straight not quite kissing the road wheels and the slight bow in front under the sprocket as it pulls the track along.

Cooler yet if you can pose the tank turning. People can never figure out why the track looks so different from side to side.

Anyway, looks exciting and hope you find the umbrellas.
sxeandy
Visit this Community
England - East Anglia, United Kingdom
Joined: October 25, 2005
KitMaker: 55 posts
Armorama: 42 posts
Posted: Friday, July 28, 2017 - 12:40 PM UTC
Royal Model do a panzer crew with umberellas ref 413 I think
Obersoldaten
Visit this Community
Alba, Romania
Joined: May 01, 2017
KitMaker: 10 posts
Armorama: 10 posts
Posted: Friday, July 28, 2017 - 02:51 PM UTC
Hello everyone!


this is the actual scene I'm trying to model. Same tank, but in a rainy time.

Carlos thank you!

Dale, I'll keep in mind your kind help offer, but first I want to try and model the umbrellas myself. The ones from Bronco seem too thick. They look like a nice kit if I won't be in the mood of modeling my own.

Stephen, I think it can be easy to model a tank in motion using workable track too. You have to firmly glue the sprocket and idler wheel on the tank and then glue the tracks on the idler in such a way that you leave enough track length between the sprocket and the idler to represent the tracks in moving position. They'll naturally shape. My only fear is that the metal tracks are too heavy and the glue won't be enough to keep them in place. (hope you understand what I mean. I not that good at explaining stuff in English )

Andy, I didn't know about this kit. Looks really good, but it doesn't fully satisfy me. The uniforms are almost, but not quite what I'm looking for. I'll keep it in mind as an option tho.

Something interesting in this kit. I have to say I bought this same kit 2 times. It looks like this time (last) it came with some
new interior parts that were not present the first time I got it. Maybe Dragon is planning a Jagdpanther with interior. Who knows?


A problem I have is that the barrel with canvas cover that I bought from Panzer Art won't fit in the early mantle.

Obersoldaten
Visit this Community
Alba, Romania
Joined: May 01, 2017
KitMaker: 10 posts
Armorama: 10 posts
Posted: Monday, July 31, 2017 - 01:52 AM UTC
OK

It's time.

First, I was thinking about showing you the tools I use. As a teenager, I was quite dumb and I invested all my money into new model kits and never in better tools or in tools that were actually necessary. I always improvised. But I forgive myself. Now I'm 19 and for some time, I started acquiring some better tools but there's still a long way (through my thin wallet). For those who'll say that I got the most expensive aftermarket for the most expensive kit - well, it was quite an effort. It's not like I'm poor or anything, but modeling is quite an expensive hobby when you don't have your own job.


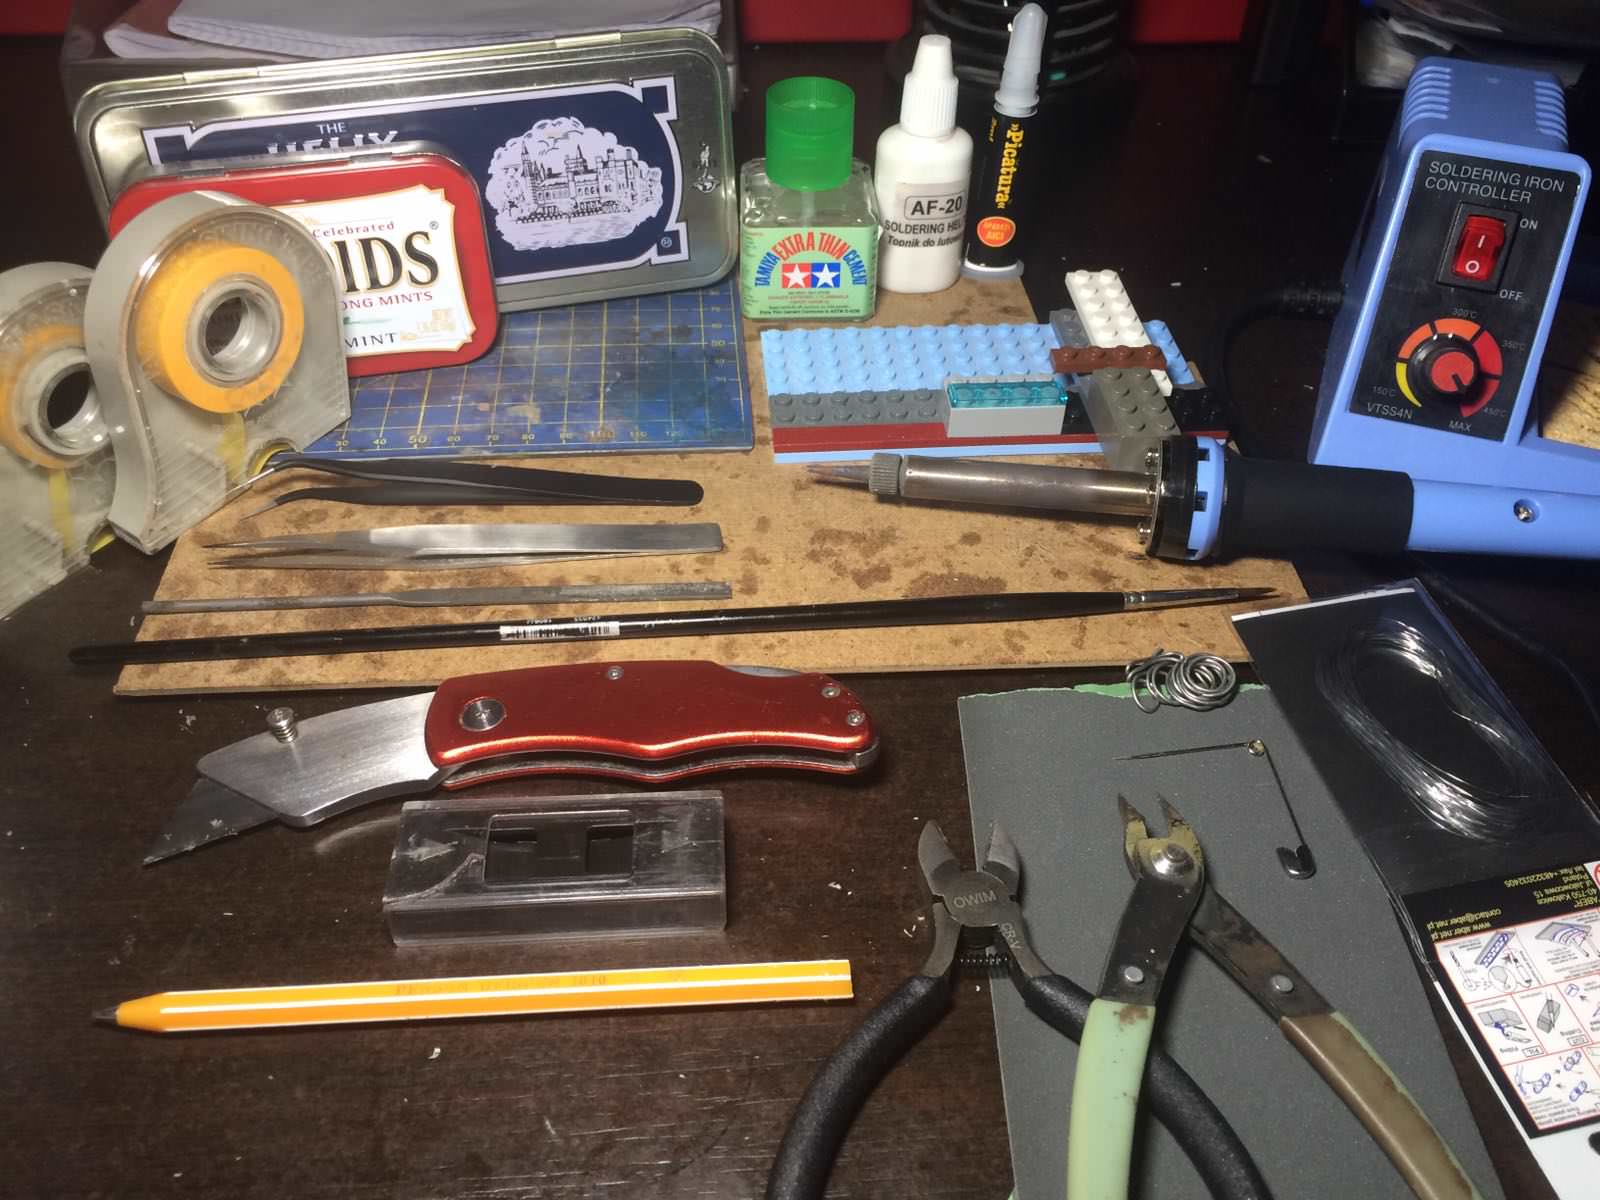
-The metal boxes I use for storing diverse small parts or parts I'm working on.
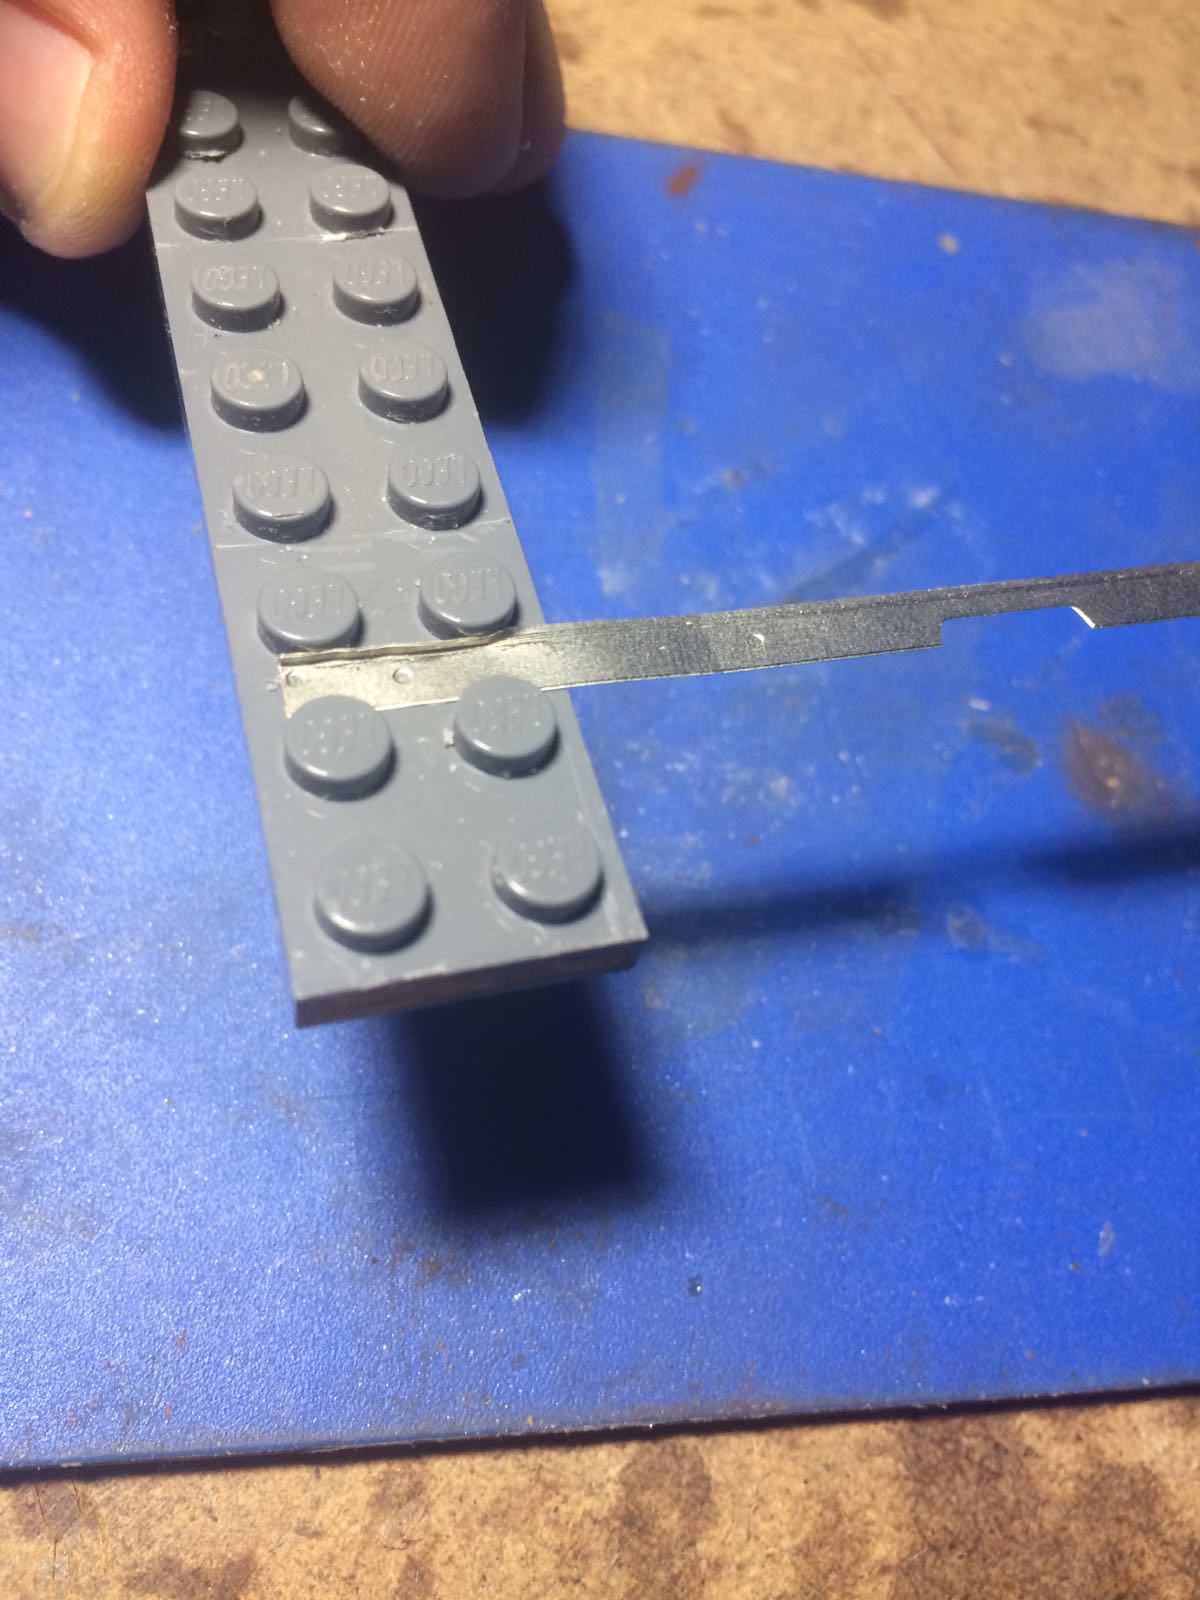
-The lego parts you see, I'm using them for bending PE parts. (improvising for now) They do the job for medium to bigger parts. For small PE parts, I use the tweezers or something else.
-The white bottle "AF-20" is the soldering flux from Aber that I use. I apply the flux between the PE and soldering wire. It facilitates a strong and healthy fit.
-The wires you see of 2 different diameters are the soldering wires. The thin one is for detail work and I got it from Aber. The other one is from an electronics stuff shop.
-The black with yellow writing "Picatura" is a very good quality fast hardening glue out here.
Aaand the rest of the stuff is quite basic. I think everyone knows what they are.


I feel quite bad. I've completed most of the plastic build. But I have an excuse card and I'm going to use it. I left for you what is most interesting, sparing you from losing time on boring stuff. For example, these damned side skirts. I had quite some trouble with them.

This is how I bent them first. (below)


And this is how it looks after I straighten it. (in this case, it's also burned because I removed some solder joints, but the shape is the same) (below)


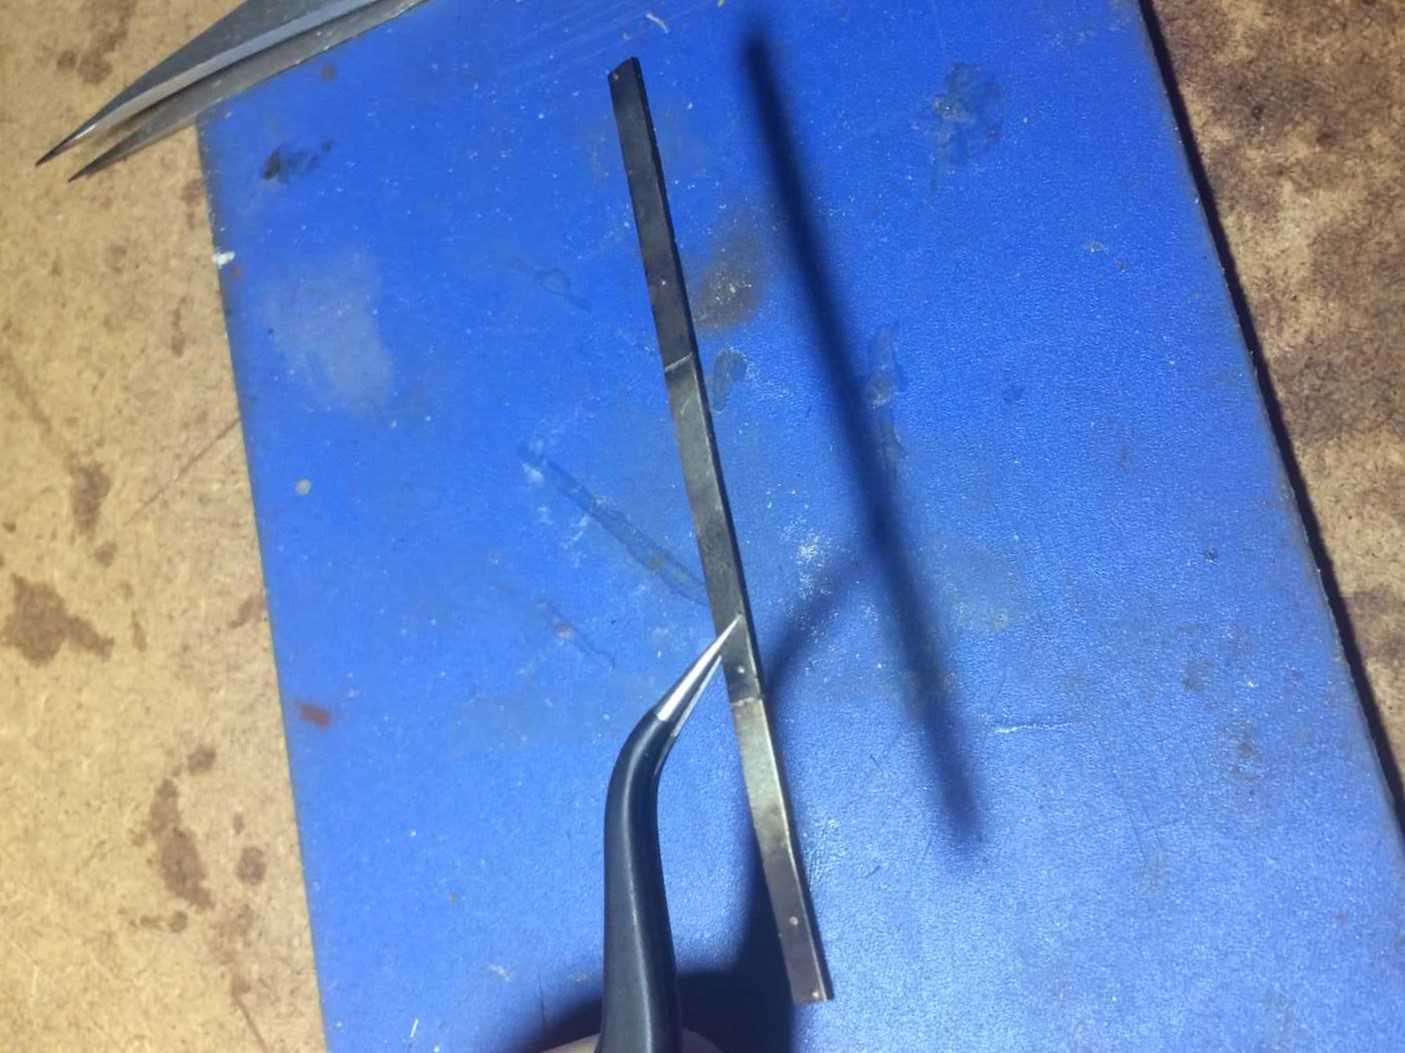
And this is how I manage to put them together straight. (below)


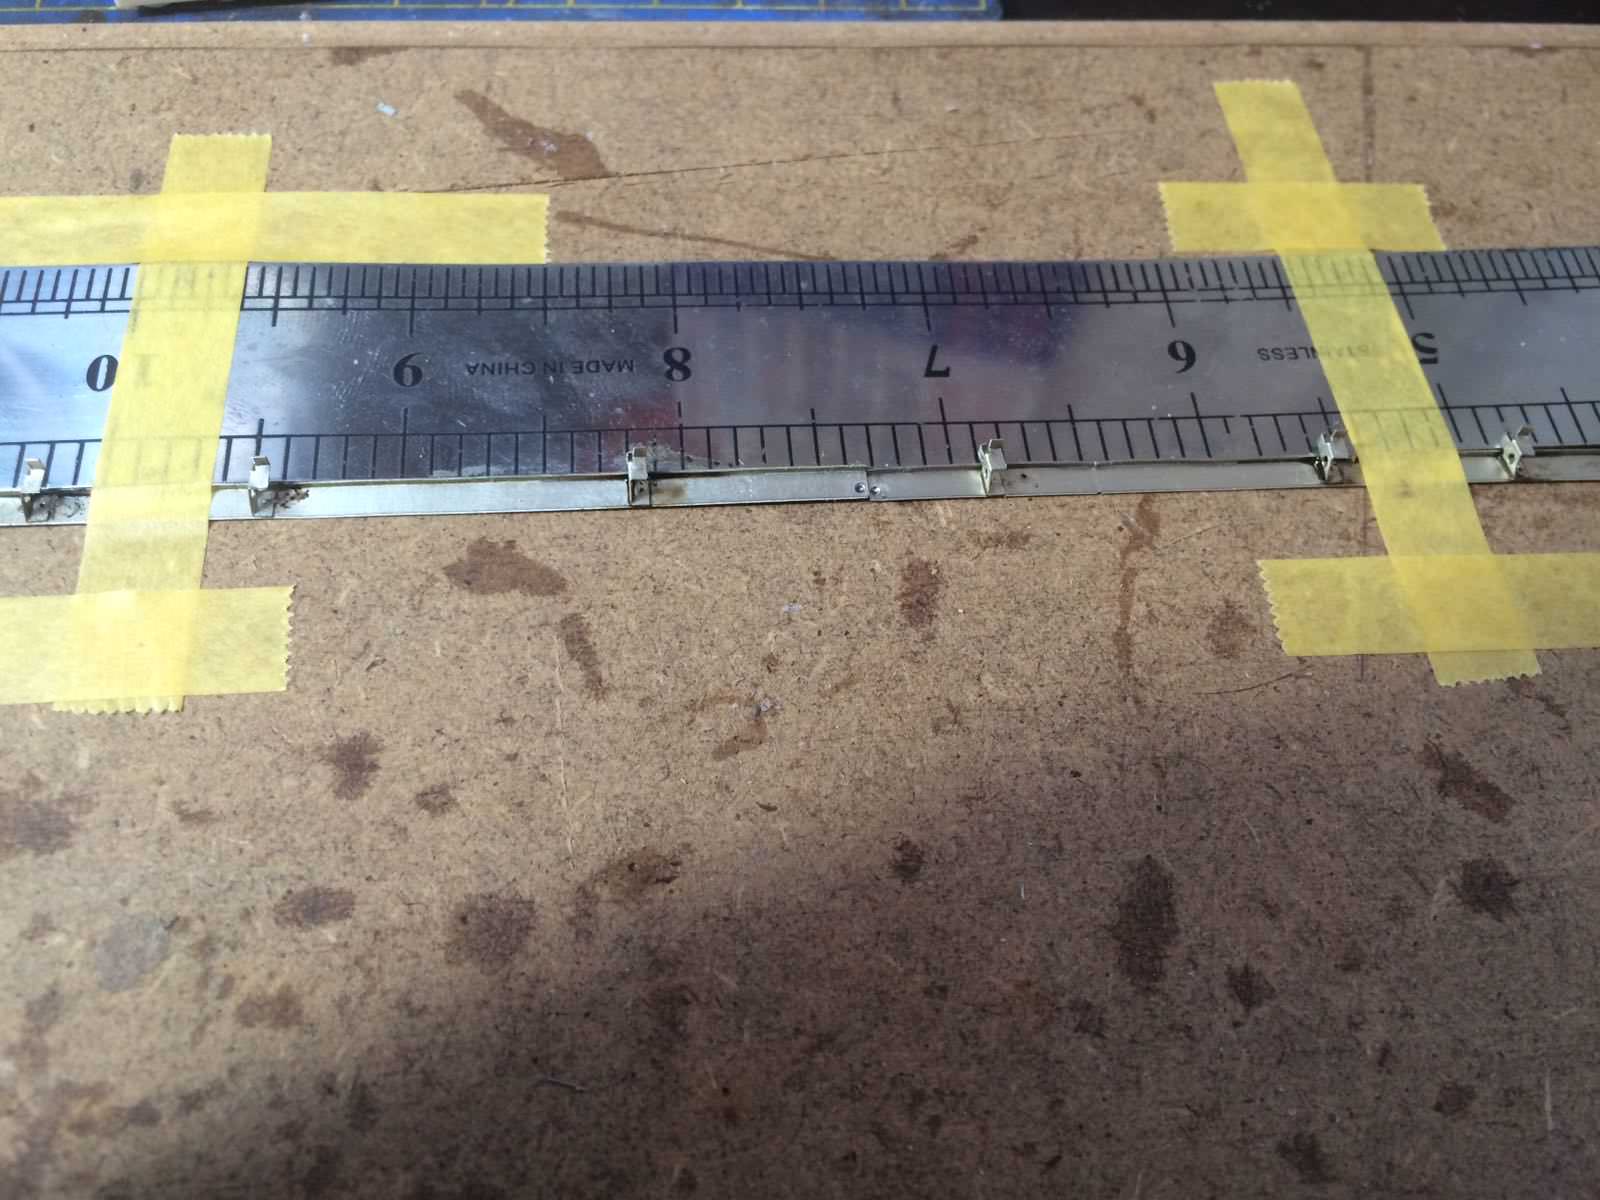
The problem is that I soldered the parts that hold the side skirt plates too inward and I had to unsolder everything and do it again.

Now I'll show you how I did the zimmerit on the fenders. Not very smart. I hated it. But it looks very good. Practically I took the fender with zimmerit provided into the kit and I sanded it until there was only a thin foil of plastic left. Then it took very easily to shape of the damaged fender made out of PE. (below)


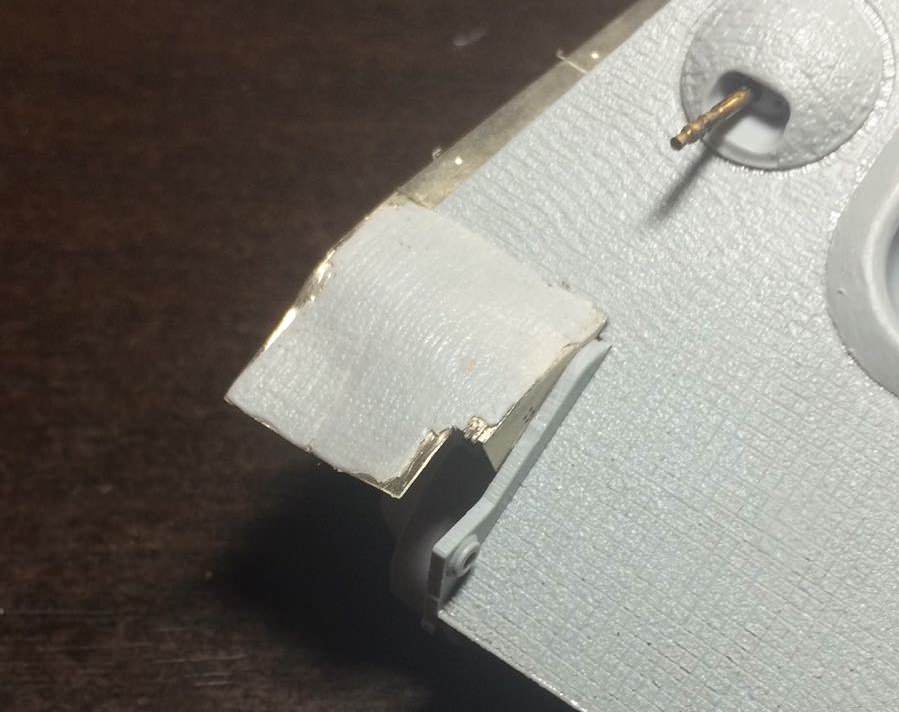
One is finished, I just have to do the other.

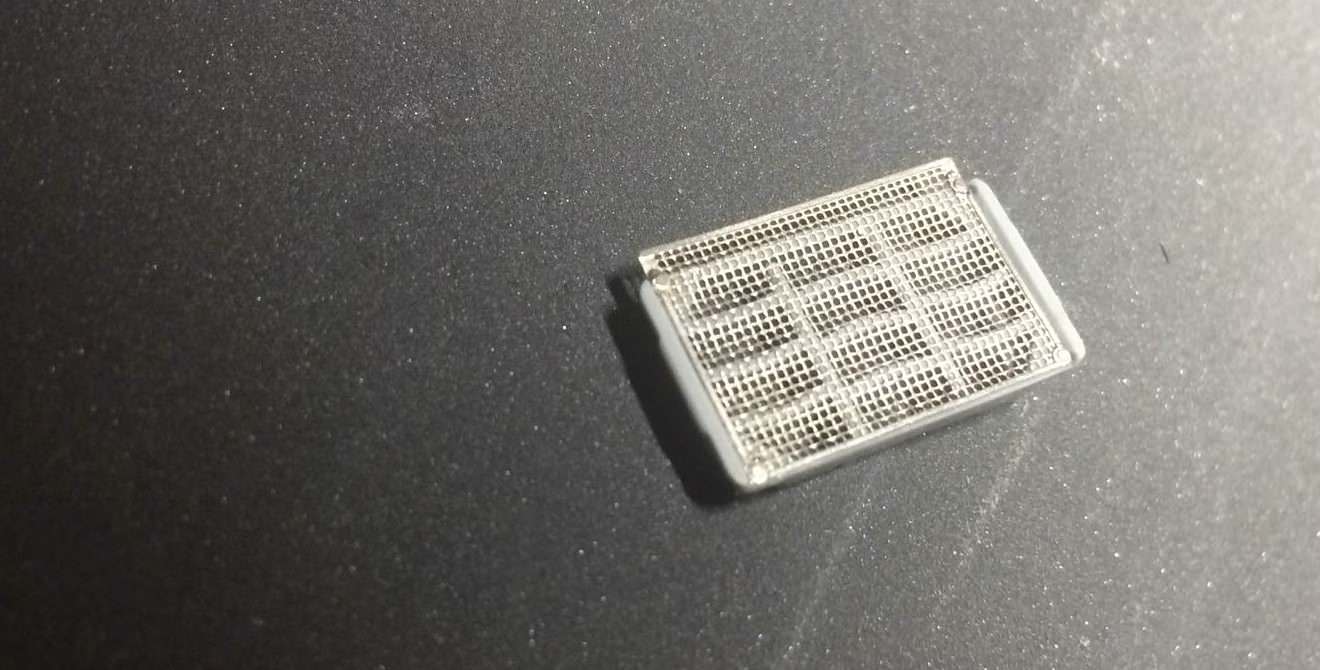
Another thing I did was shaping the engine grills with the back of the paintbrush. (below)


Next, I'll be working on the storage box, the shovel, the fire extinguisher, the driver viewports and whatever else I manage.

This is my first Build log kind of post so please, if you think of something I did wrong or I can improve, let me know. I myself will try to improve the overall quality but constructive criticism is always appreciated.

Also. Is the quality of the photos good enough? I have an iPhone 5s and it doesn't have such a great camera, but it's a lot easier to use than my dedicated photo camera.

Now some questions I have:

1) I want to use brass rods to make the handles. What thickness should I use?

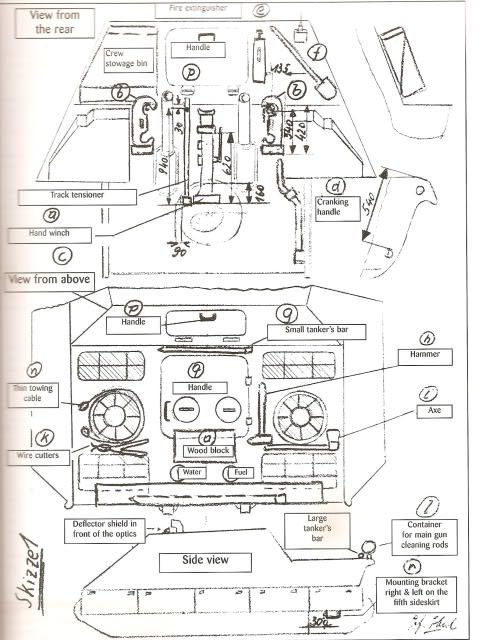
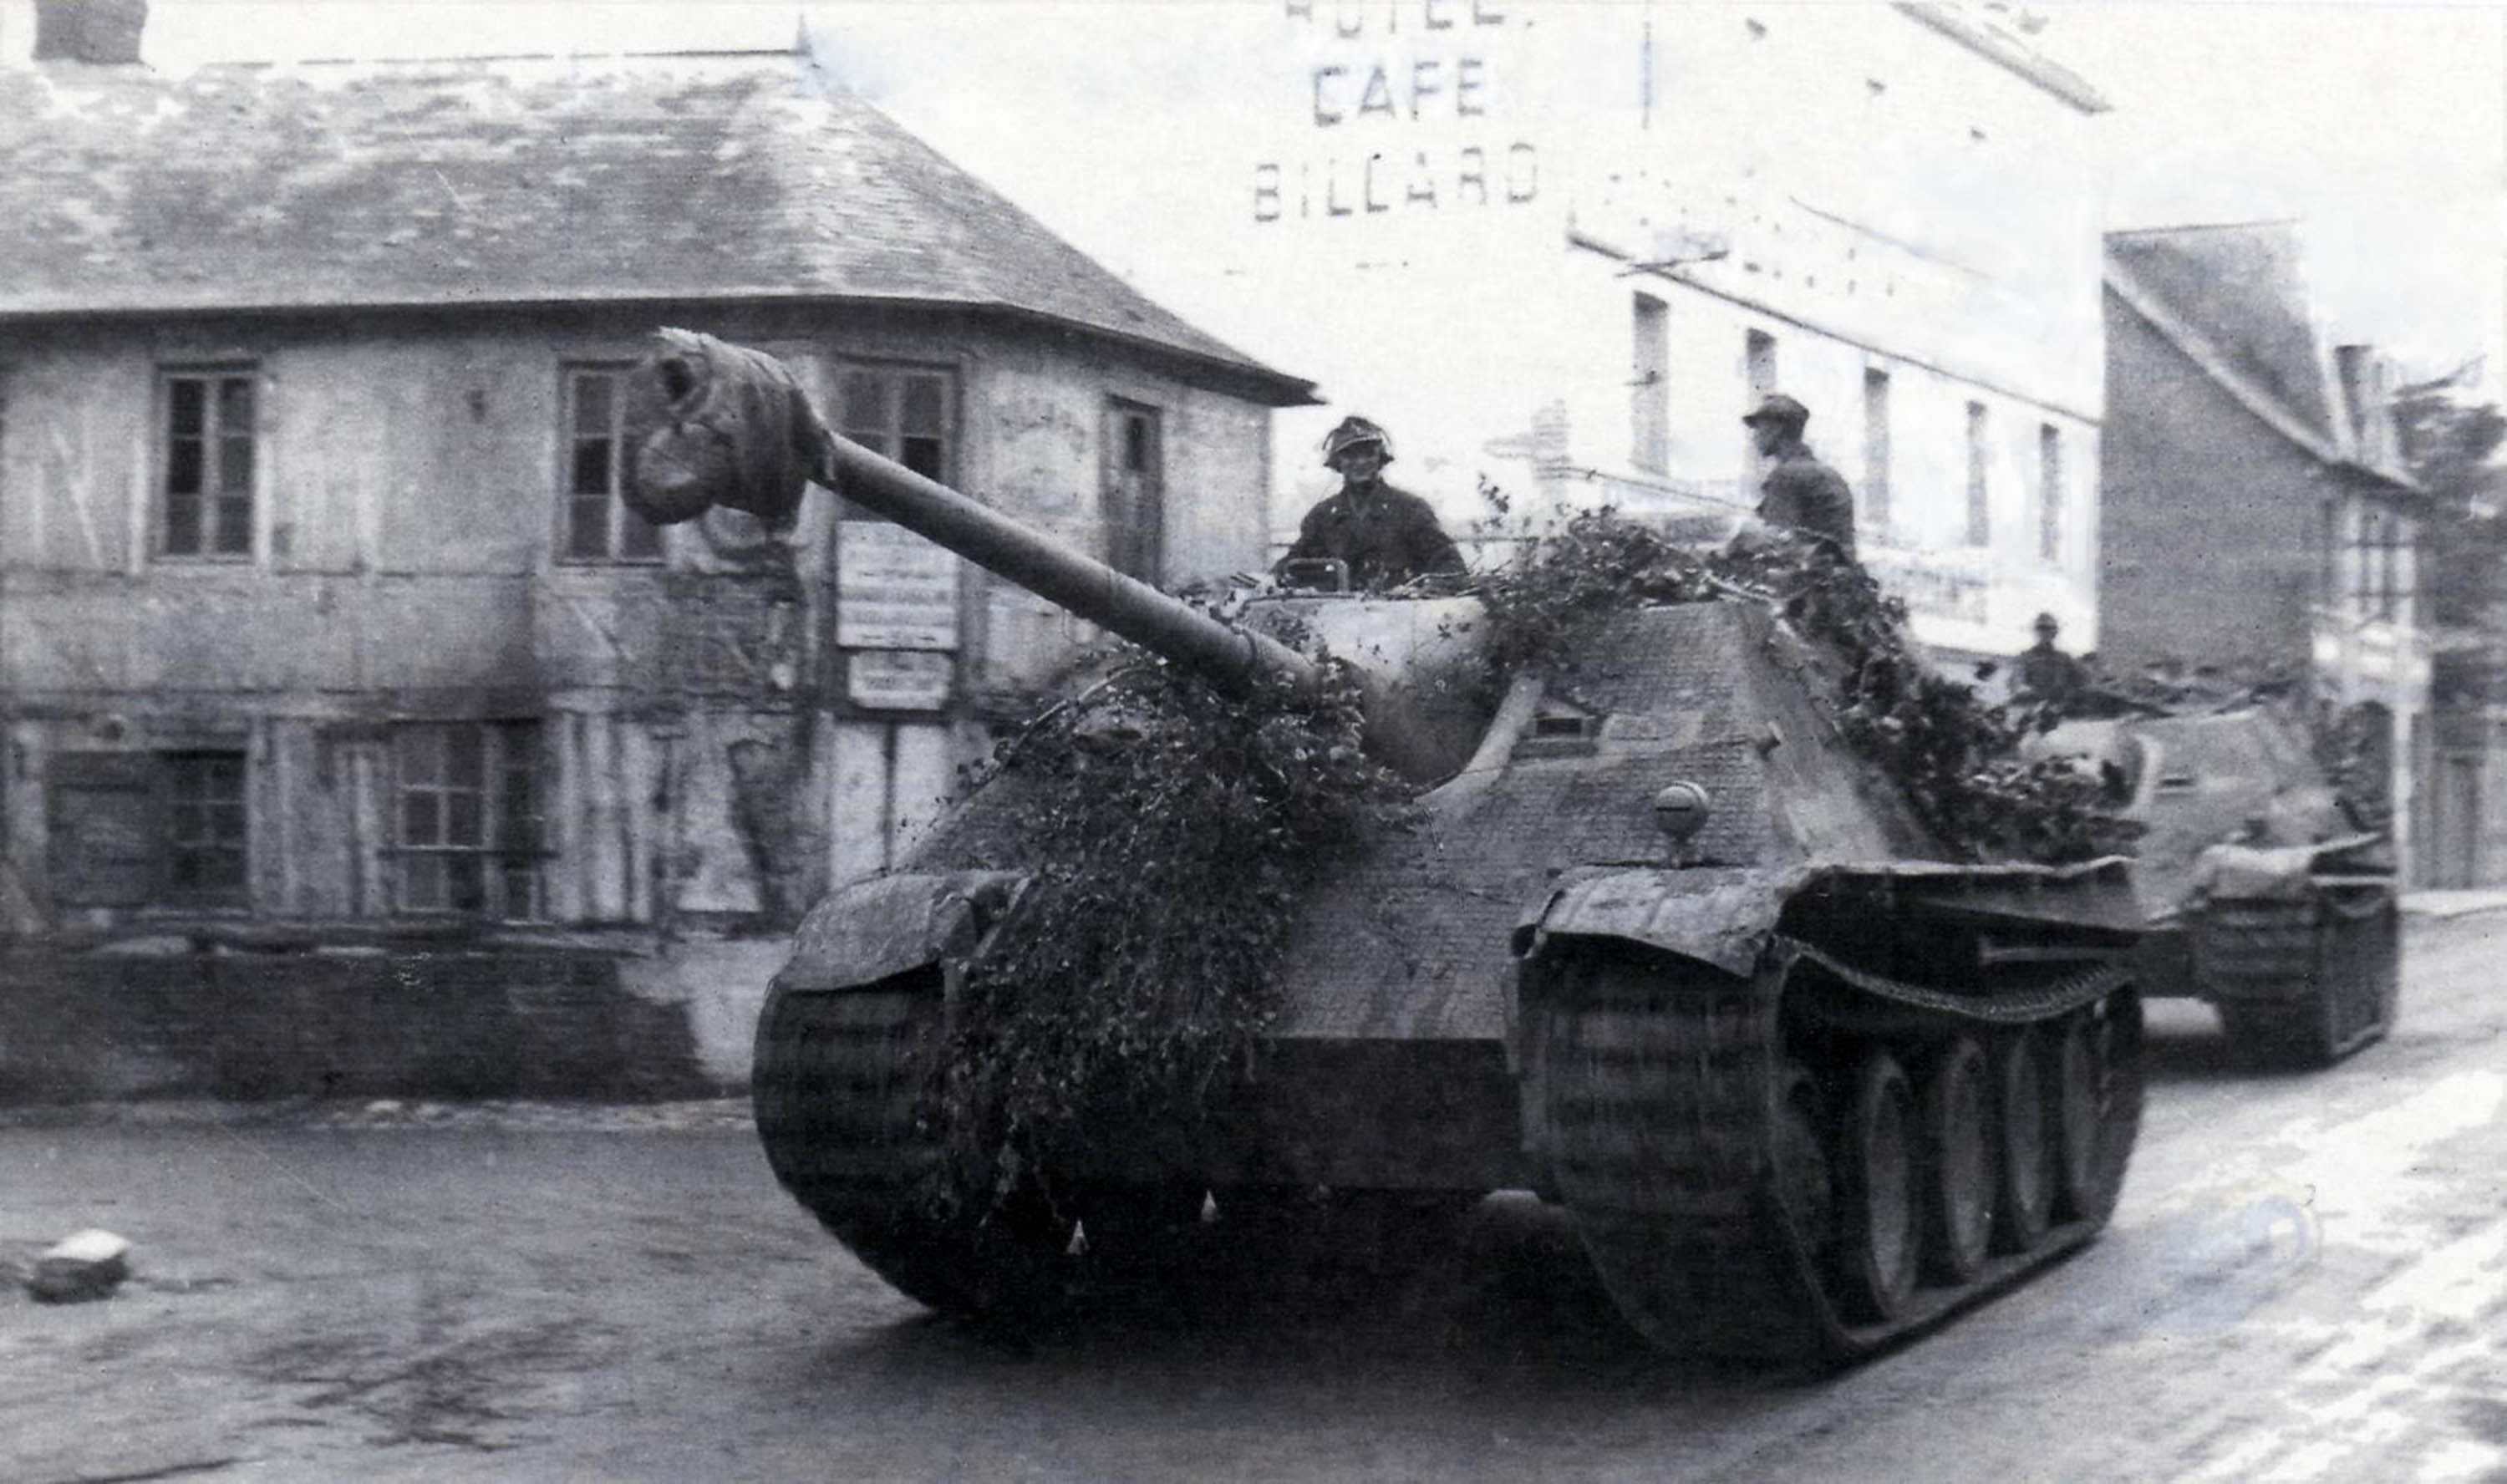
2)Does anyone know, the handle on the big hatch in the back on those field modified early Jagdpanthers? Was it vertical as usual or horizontal? This scheme I think it shows the horizontal and the Jagdpanther at Saumur had a horizontal handle on the back hatch so I incline to go with this option but it would be nice if someone could clarify.


 _GOTOTOP