_GOTOBOTTOM
Яusso-Soviэt Forum: WWII Soviet Armor
For discussions related to WW2 era Soviet armor.
M4A2 Shelf Queen
retiredyank
Visit this Community
Arkansas, United States
Joined: June 29, 2009
KitMaker: 11,610 posts
Armorama: 7,843 posts
Posted: Wednesday, August 23, 2017 - 06:28 AM UTC
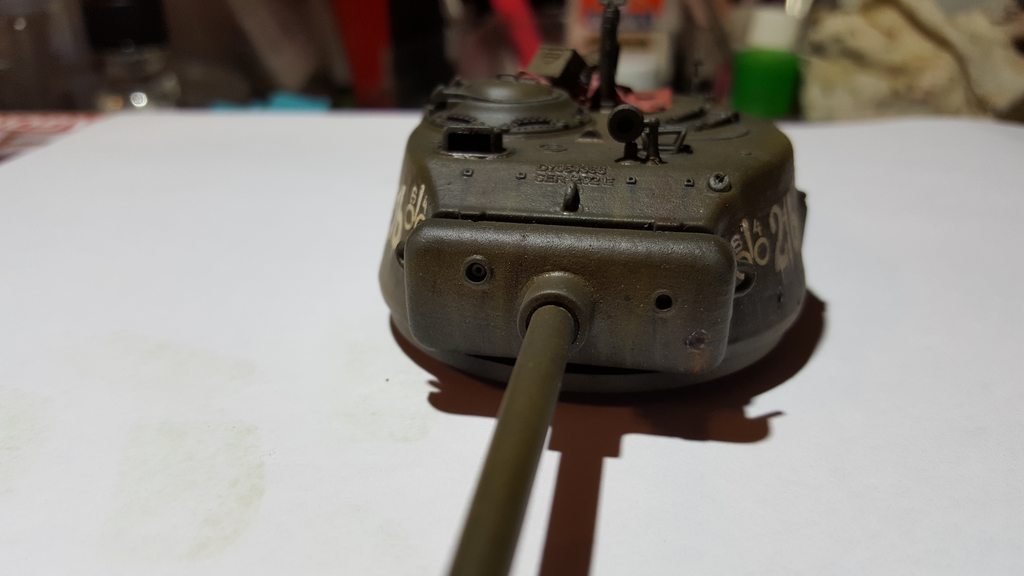
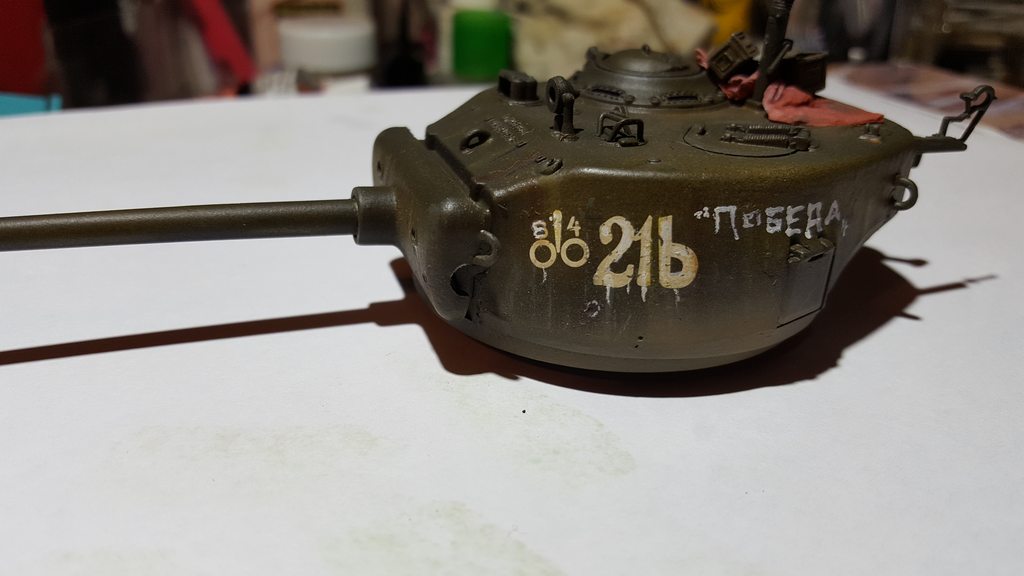
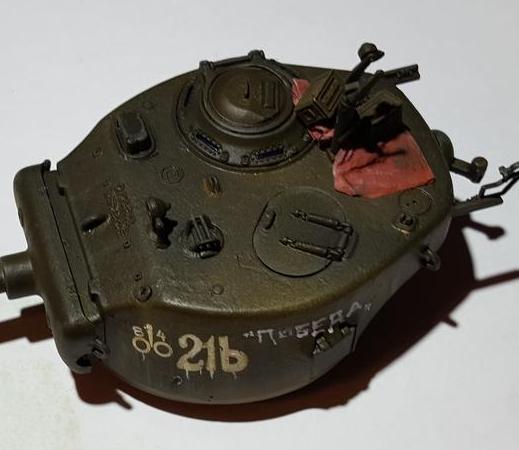
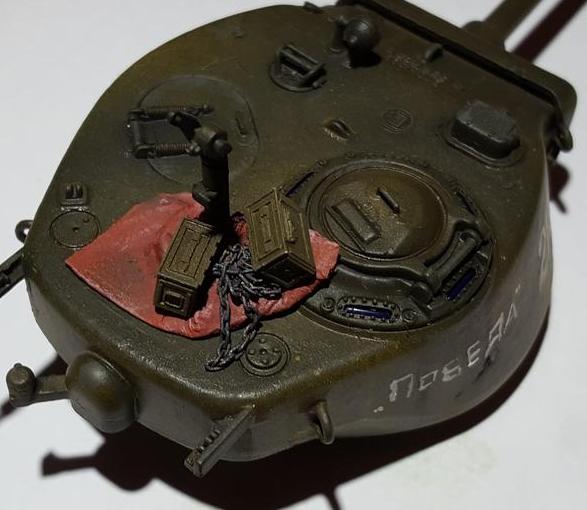
As I am currently awaiting replacement parts for my Challenger, I decided to do a practice/test build. Dragon's M4A2 Red Army Sherman was perfect. Oh, I found a photo of the radiators situated, in the engine compartment with no overhang. I will attempt to locate and share it. This is my first attempt, at oils. The weathering is a combination of cheap oils, AK Interactive and Testors enamels and VMS pigments. I am not liking oils. It reminds me of learning to airbrush, all over again. I sprayed the tank with a base coat of Tamiya Olive Drab and a few areas of Vallejo Model Air Dark OD. The tarp is just some doped napkin. I recommend napkins, over tissue. They appear to be more to scale and are not as likely to tear. The logo, on the side translates to "Victory". Hand painted, with Vallejo Model Color German White. The markings were touched up, with the same color(including drips). I have not assembled the 50 cal, yet. You may notice that the light is incomplete, as well. Need to find out what color the lense should be. I'm looking forward to finishing this one, when the Archer weld beads arrive. I could do the welds, myself but am just too lazy. Almost forgot, there a pock marks made, with a rotary tool bur. I painted them Vallejo Model Color German Camo Dark Brown. I believe it is a close representation to heat treated steel. I worked heat treat, at a mill. I roughly highlighted the edges, with Vallejo Model Color Sky Grey. The ammo boxes are of the Verlinden variety. The chain(barely visible) is of brass, blackened with gun blue and sprayed with Alclad Steel. I think that covers everything. Let me know what you think.


I can provide more angles to display the sides and mantlet, if requested.
d6mst0
#453
Visit this Community
Texas, United States
Joined: August 28, 2016
KitMaker: 1,925 posts
Armorama: 601 posts
Posted: Wednesday, August 23, 2017 - 06:37 AM UTC
Really nice work you did with the turret. It will be interesting to see how the rest of it looks.
retiredyank
Visit this Community
Arkansas, United States
Joined: June 29, 2009
KitMaker: 11,610 posts
Armorama: 7,843 posts
Posted: Wednesday, August 23, 2017 - 06:50 AM UTC
Thanks Mark. I am really looking forward to finishing the hull. Here are some photos, from different angles:


Gore_X
Visit this Community
Hessen, Germany
Joined: September 15, 2015
KitMaker: 64 posts
Armorama: 62 posts
Posted: Wednesday, August 23, 2017 - 10:36 AM UTC
Looks all good to me.Much better than my first attempts...
Removed by original poster on 08/25/17 - 11:27:26 (GMT).
retiredyank
Visit this Community
Arkansas, United States
Joined: June 29, 2009
KitMaker: 11,610 posts
Armorama: 7,843 posts
Posted: Wednesday, November 08, 2017 - 04:27 AM UTC
As I can't find a suitable tool to make them, I ordered a set of weld beads, by Archer. As soon as I apply those and the track skids(which I also received recently), it should be ready for paint.
Note: The majority of my builds are Dragon.
guni-kid
Visit this Community
Nordrhein-Westfalen, Germany
Joined: July 21, 2007
KitMaker: 521 posts
Armorama: 514 posts
Posted: Wednesday, November 08, 2017 - 01:22 PM UTC
It has a very nice "steely" appearance to it at just enough subtle weathering that it makes you wanna look more and closer. I wouldn't do too much more weathering because it looks very interesting and real to me the way it just is right now. Translates into: I like it a lot!
sgtreef
Visit this Community
Oklahoma, United States
Joined: March 01, 2002
KitMaker: 6,043 posts
Armorama: 4,347 posts
Posted: Wednesday, November 08, 2017 - 05:55 PM UTC
Missed this nice job Matt.
Perfect actually.
Can't wait to see it done.

Cheers
retiredyank
Visit this Community
Arkansas, United States
Joined: June 29, 2009
KitMaker: 11,610 posts
Armorama: 7,843 posts
Posted: Wednesday, November 08, 2017 - 06:28 PM UTC
Thank you for the kind words. I am quite pleased, with how it came together, myself. As soon as my garage heats up, I will apply the weld seam, headlight and guard(may try new tool), and attache two tools that cross one of the weld seams.

Marian: The turret is finished. I may add some boot prints, but nothing more.
Jacques
Visit this Community
Minnesota, United States
Joined: March 04, 2003
KitMaker: 4,630 posts
Armorama: 4,498 posts
Posted: Monday, November 27, 2017 - 08:56 PM UTC
Sorry it took so long to change the title of this thread....grad school is a killer this semester.
retiredyank
Visit this Community
Arkansas, United States
Joined: June 29, 2009
KitMaker: 11,610 posts
Armorama: 7,843 posts
Posted: Wednesday, November 29, 2017 - 08:59 PM UTC

Quoted Text

Sorry it took so long to change the title of this thread....grad school is a killer this semester.


No worries. Life is far more important than this hobby. Best of luck, in your classes.

Unfortunately, I have lost the headlights and taillights. Until I can source those, I'm afraid that I will have to put this build on hold.
 _GOTOTOP