_GOTOBOTTOM
AFV Painting & Weathering
Answers to questions about the right paint scheme or tips for the right effect.
First serious paintjob - need advice
GrafAkula
Visit this Community
Berlin, Germany
Joined: December 28, 2015
KitMaker: 12 posts
Armorama: 12 posts
Posted: Wednesday, January 17, 2018 - 12:43 AM UTC
Hi,

this is my take on the Academy T-34/85 factory 112. I want to depict an east german tank before all the typical modifications were made.

Since this is also my first time using Vallejo paints and i`m not familiar to weathering techniques except adding some dust with chalk I want to ask you for any advice. What´s next?


So far I used Vallejo grey primer with a black preshading and one coat of Vallejo Camo green.

Thanks in advance!!!
Thomas
kefran
Visit this Community
Quebec, Canada
Joined: January 29, 2003
KitMaker: 87 posts
Armorama: 85 posts
Posted: Wednesday, January 17, 2018 - 01:43 AM UTC
hello
you're up to a very good paintjob, now you need to lightup a little your base green with some "flesh" paint and, using a paintbrush, highlight all those little details (hinges etc.) on the top surfaces (the one that would catch the daylight in real life) don't use too much flesh, a mix like 3 flesh drops for 8 green should do the job.

after that : wash time, decals and a coat of dull to secure everything.

then you'll work on your weathering but this part all depends on what you have in mind for your vehicle in term of use ...

hope this helps
retiredyank
Visit this Community
Arkansas, United States
Joined: June 29, 2009
KitMaker: 11,610 posts
Armorama: 7,843 posts
Posted: Wednesday, January 17, 2018 - 02:26 AM UTC

Quoted Text

hello
you're up to a very good paintjob, now you need to lightup a little your base green with some "flesh" paint and, using a paintbrush, highlight all those little details (hinges etc.) on the top surfaces (the one that would catch the daylight in real life) don't use too much flesh, a mix like 3 flesh drops for 8 green should do the job.

after that : wash time, decals and a coat of dull to secure everything.

then you'll work on your weathering but this part all depends on what you have in mind for your vehicle in term of use ...

hope this helps


After you apply the decals and layed down a flat coat, you should add a couple of filters. These will make the markings look a little more faded. Another technique I learned is to paint over the markings, with a hairy stick. Match the decal color and paint over it. This will make them look more as if they were painted on, rather than being giant stickers. While you are at it, draw short, thin lines under them(as if the paint dripped). Don't get too carried away on the drips. Just a few lines per entire vehicle. Do this, before the filters as seen here:


I went back and removed one of the drips, with the same color as my top coat. There are a couple on the opposite side, but I don't have a photo to share.
Doodeck
Visit this Community
Croatia Hrvatska
Joined: August 15, 2014
KitMaker: 155 posts
Armorama: 154 posts
Posted: Wednesday, January 17, 2018 - 02:31 AM UTC
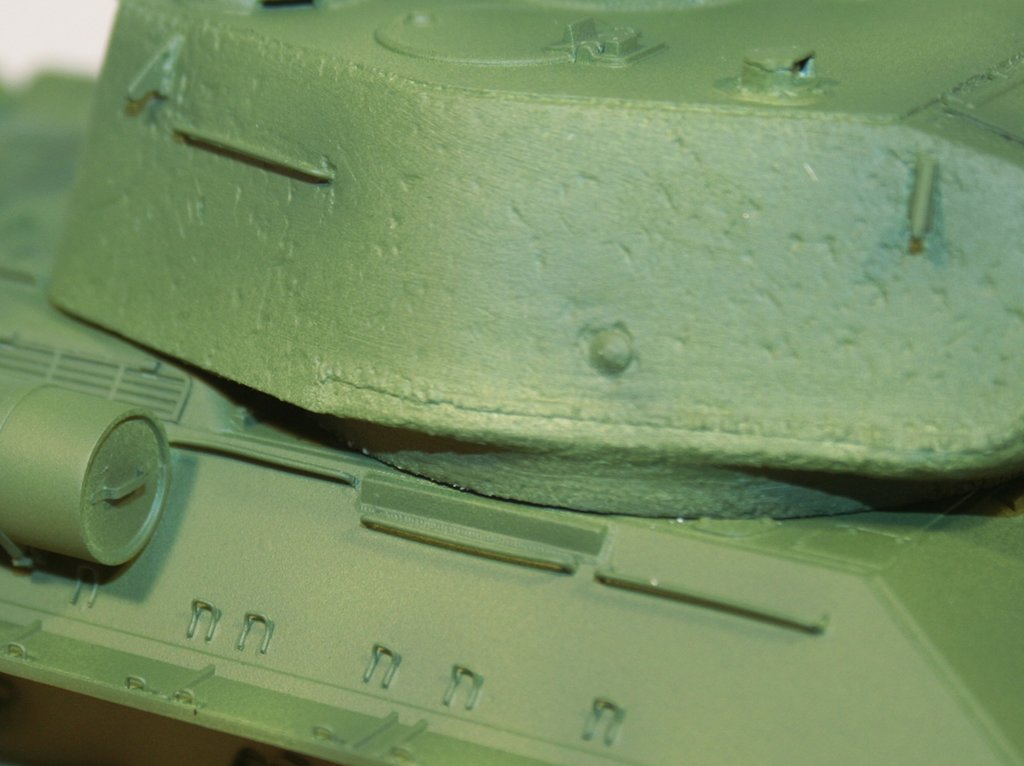
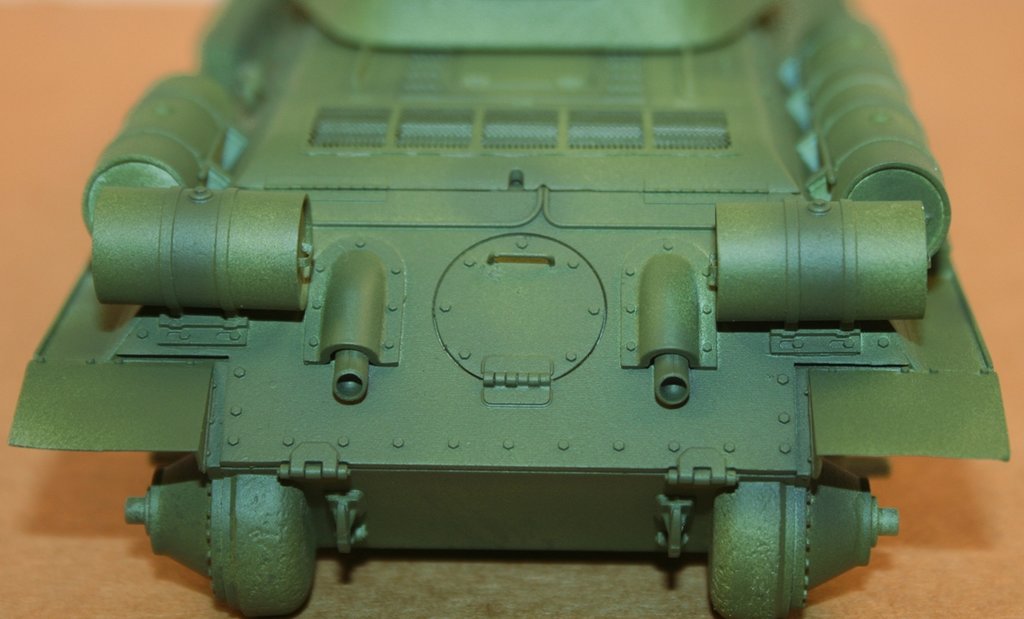
Hi Thomas. Nice paintjob so far. Here's what I would do (and keep in mind that those steps don't have to be the right procedure for effects you are after, everybody has its own methods):
1. maybe lightly overspray with very diluted lighter shade of green to lighten up the base a little because next steps and weathering will darken the paint anyway,
2. seal the paint with satin varnish,
3. apply oil filters (very diluted oil paint, some 80-90% thinner to paint ratio). Filters will neutralise boring single colour. Experiment and play with greens, browns, yellows, blues. Use wide brush and don't "paint" the filter, try to apply it as quickly as possible. Let dry between layers (sometimes it can go up to 7-8 layers of different colour of filters),
4. when dry (I leave oils to dry few days)seal with gloss varnish,
5. apply decals, when dry, reseal with satin varnish,
6. apply "oil dot method", that will bring more "life" into paint (in multi colour schemes it will help to blend everything together),
7. apply gloss varnish,
8. pin washes with oils to make all the details pop up
9. when dry, seal everything with matt varnish
10. weathering with pigments, mud, etc. how you like.
Again, that's the way I usually do. Sometimes I skip filters if I think that "oil dot method" will overpower it. Experiment and play, that's the beauty of it.
GrafAkula
Visit this Community
Berlin, Germany
Joined: December 28, 2015
KitMaker: 12 posts
Armorama: 12 posts
Posted: Thursday, January 18, 2018 - 01:07 AM UTC
Hi gentlemen,

thank you all for your help! I will give it a try and do some filters and washings.


What varnish and thinner would you recommend that it will not end up in a mess...

Cheers

Thomas
Doodeck
Visit this Community
Croatia Hrvatska
Joined: August 15, 2014
KitMaker: 155 posts
Armorama: 154 posts
Posted: Thursday, January 18, 2018 - 02:30 AM UTC
Hi Thomas,
I forgot to mention, since filters and washes are oil based (there are acrylic washes too, but they dry too fast for me and it's hard to correct errors), varnishes have to be water based (acrylic). Leave varnishes to dry for at least 24 hours to fully dry. Everybody has his favourite, Vallejo and AK Interactive work fine for me.
To thin and blend oils for filters and washes for me odourless white spirit works best, it's not aggressive and will not bite through acrylic varnishes. I use whatever brand I can find in any art store. But experiment first on an old and unwanted model, just in case.
Also, when using oil paints in tubes, apply small amounts that you will use on a cardboard first and let the cardboard soak the linseed oil from the paint. Otherwise, the oil will prevent the paint from drying.
Hope it helps. Have fun.
 _GOTOTOP