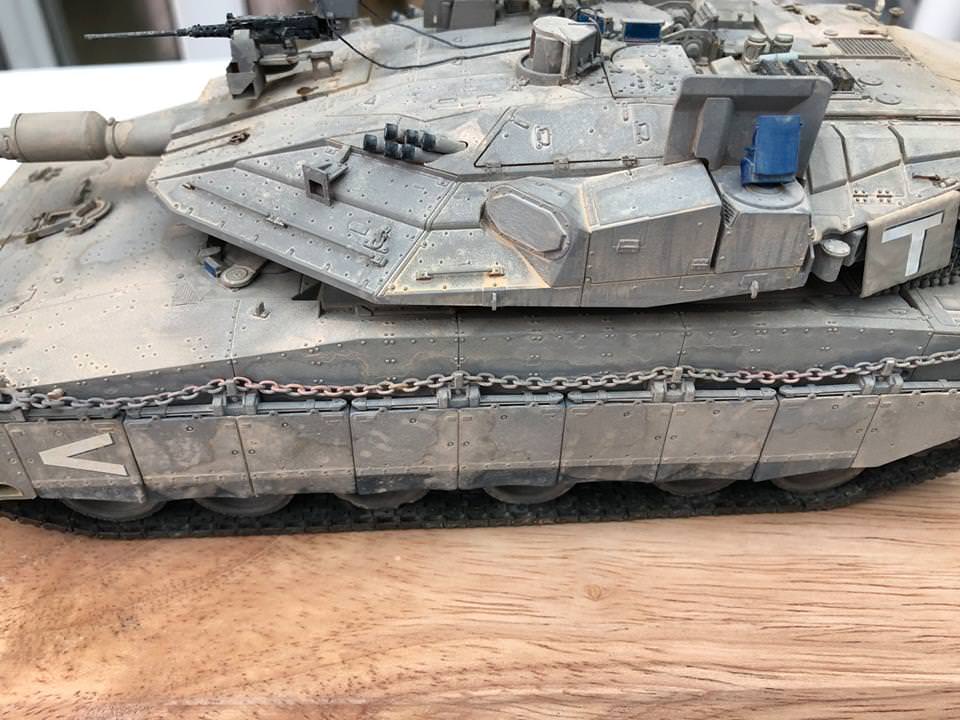
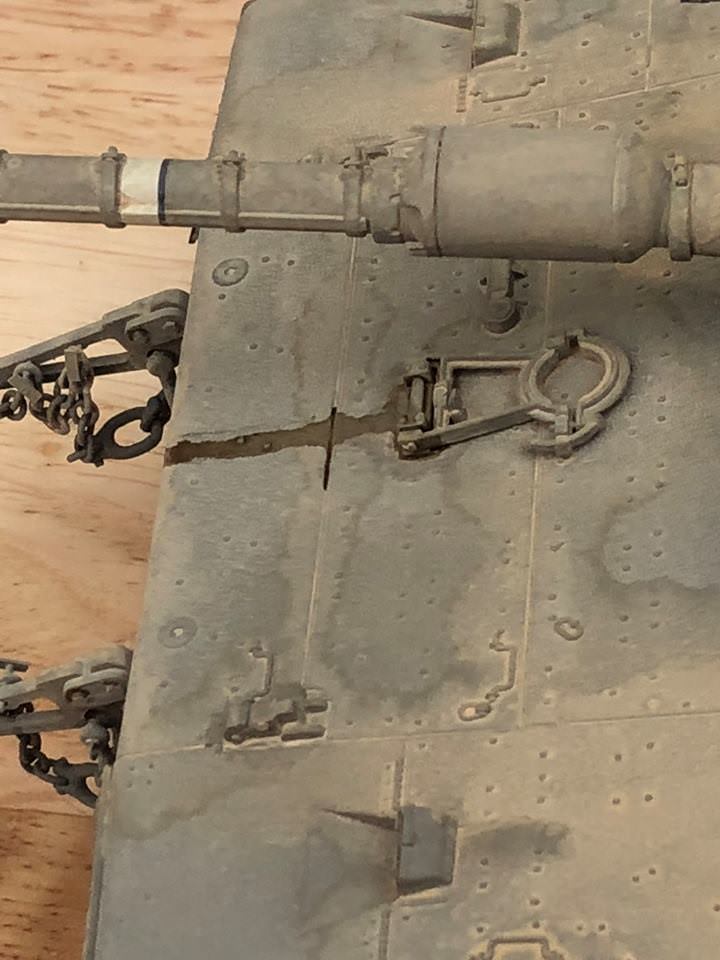
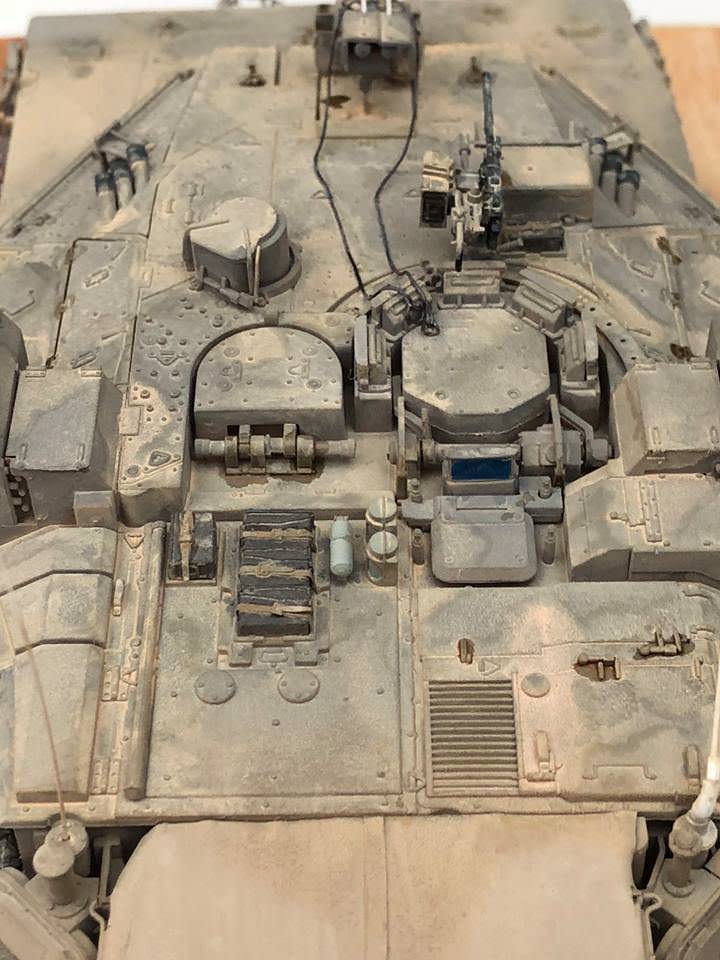
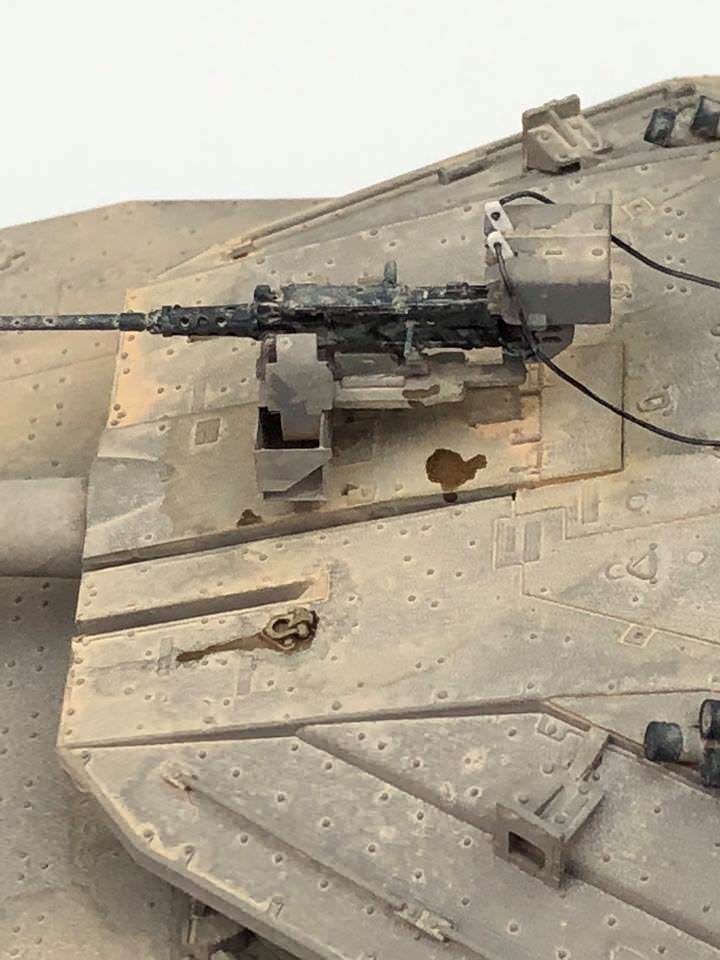
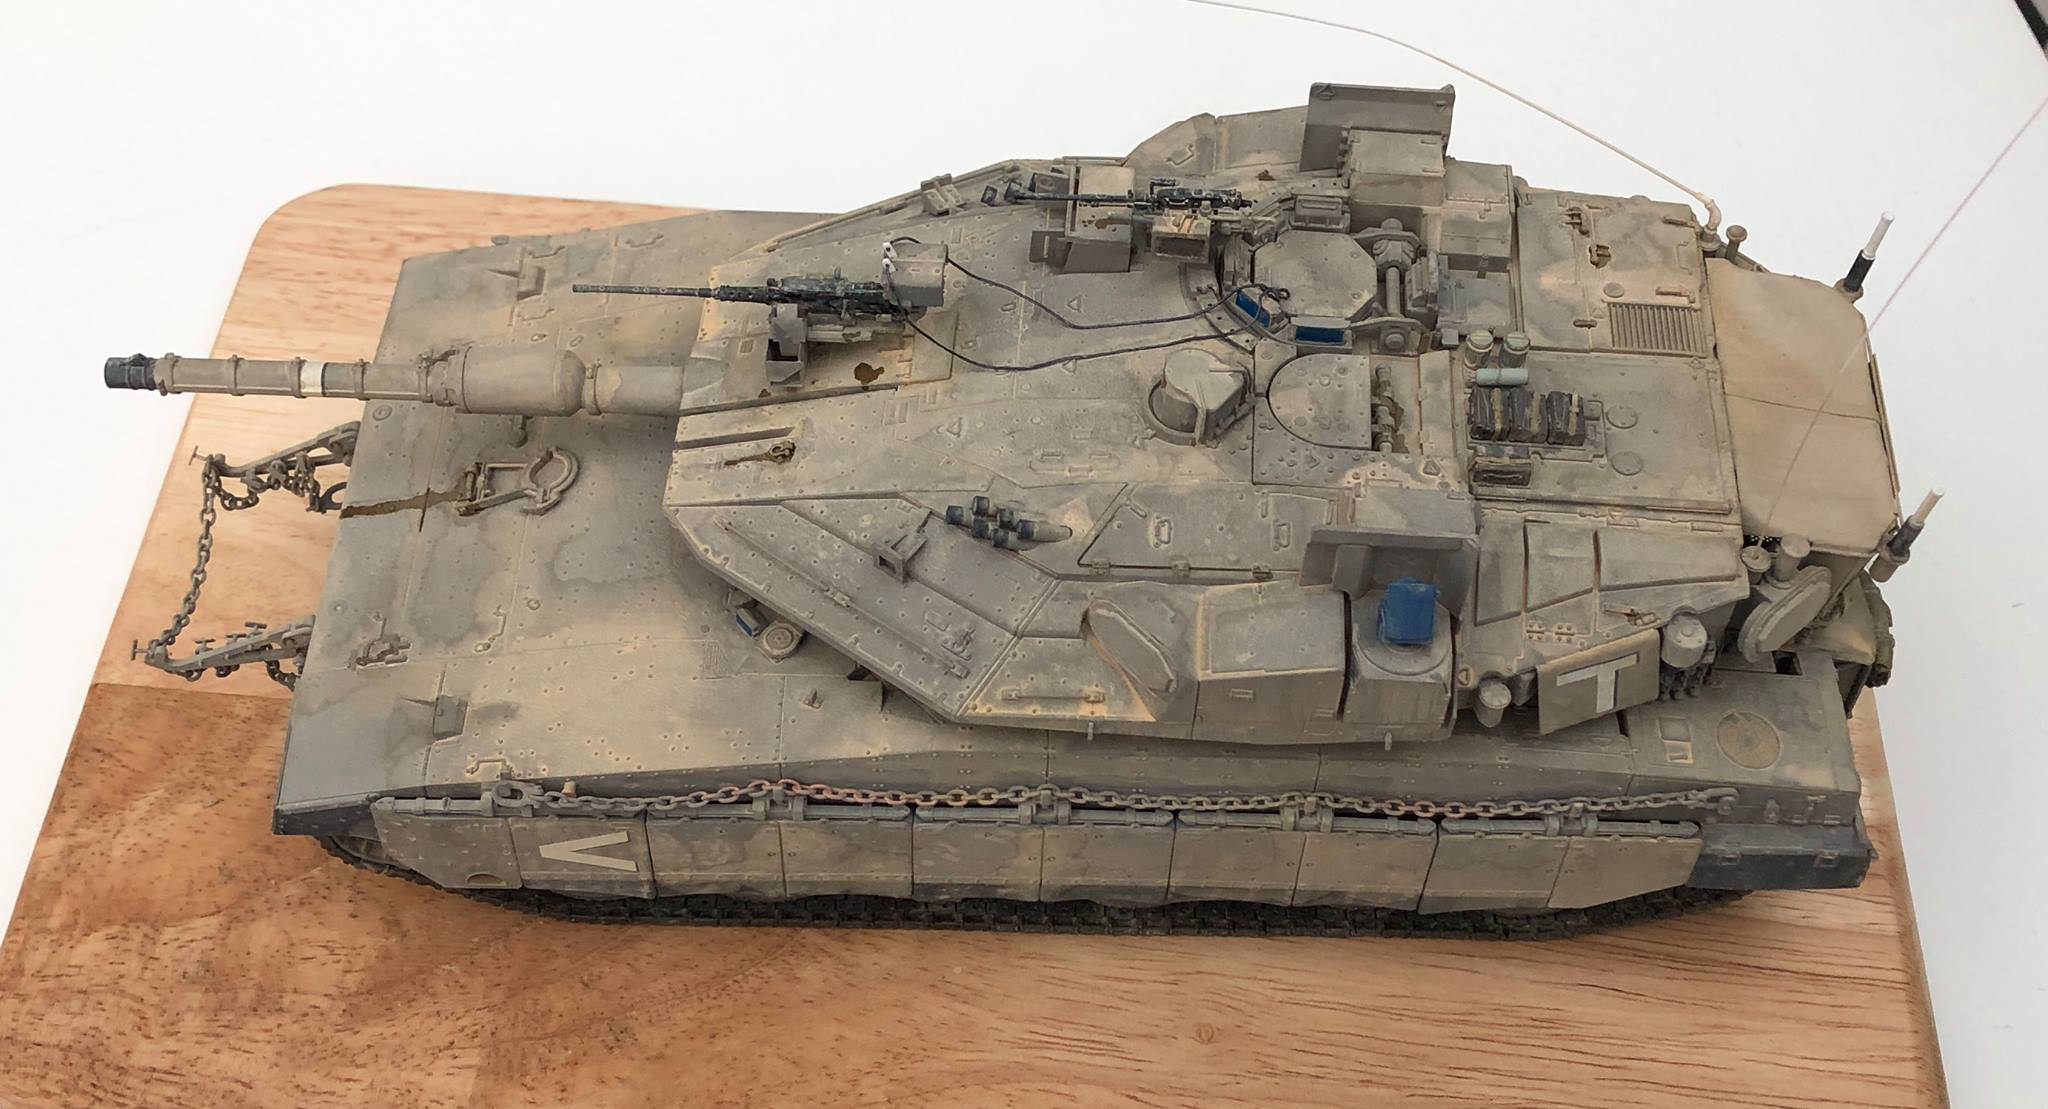
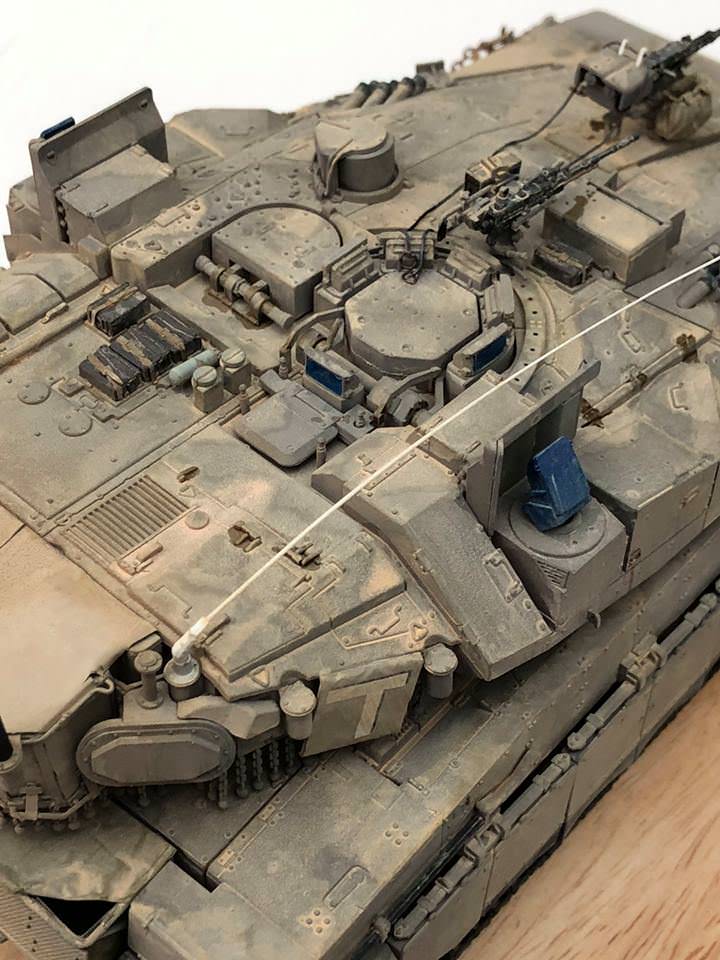
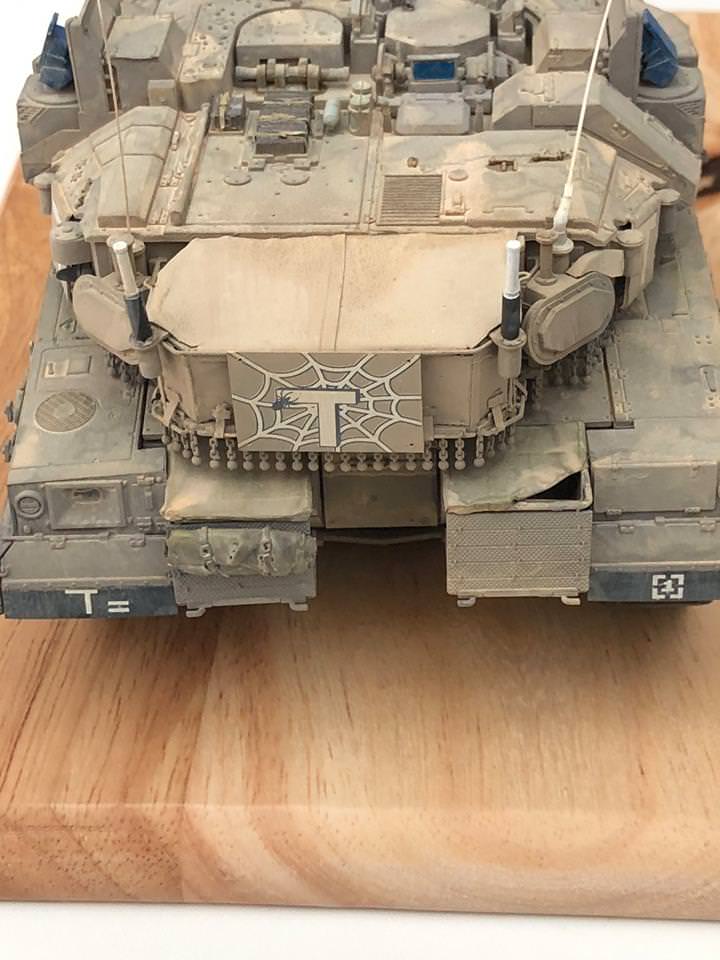
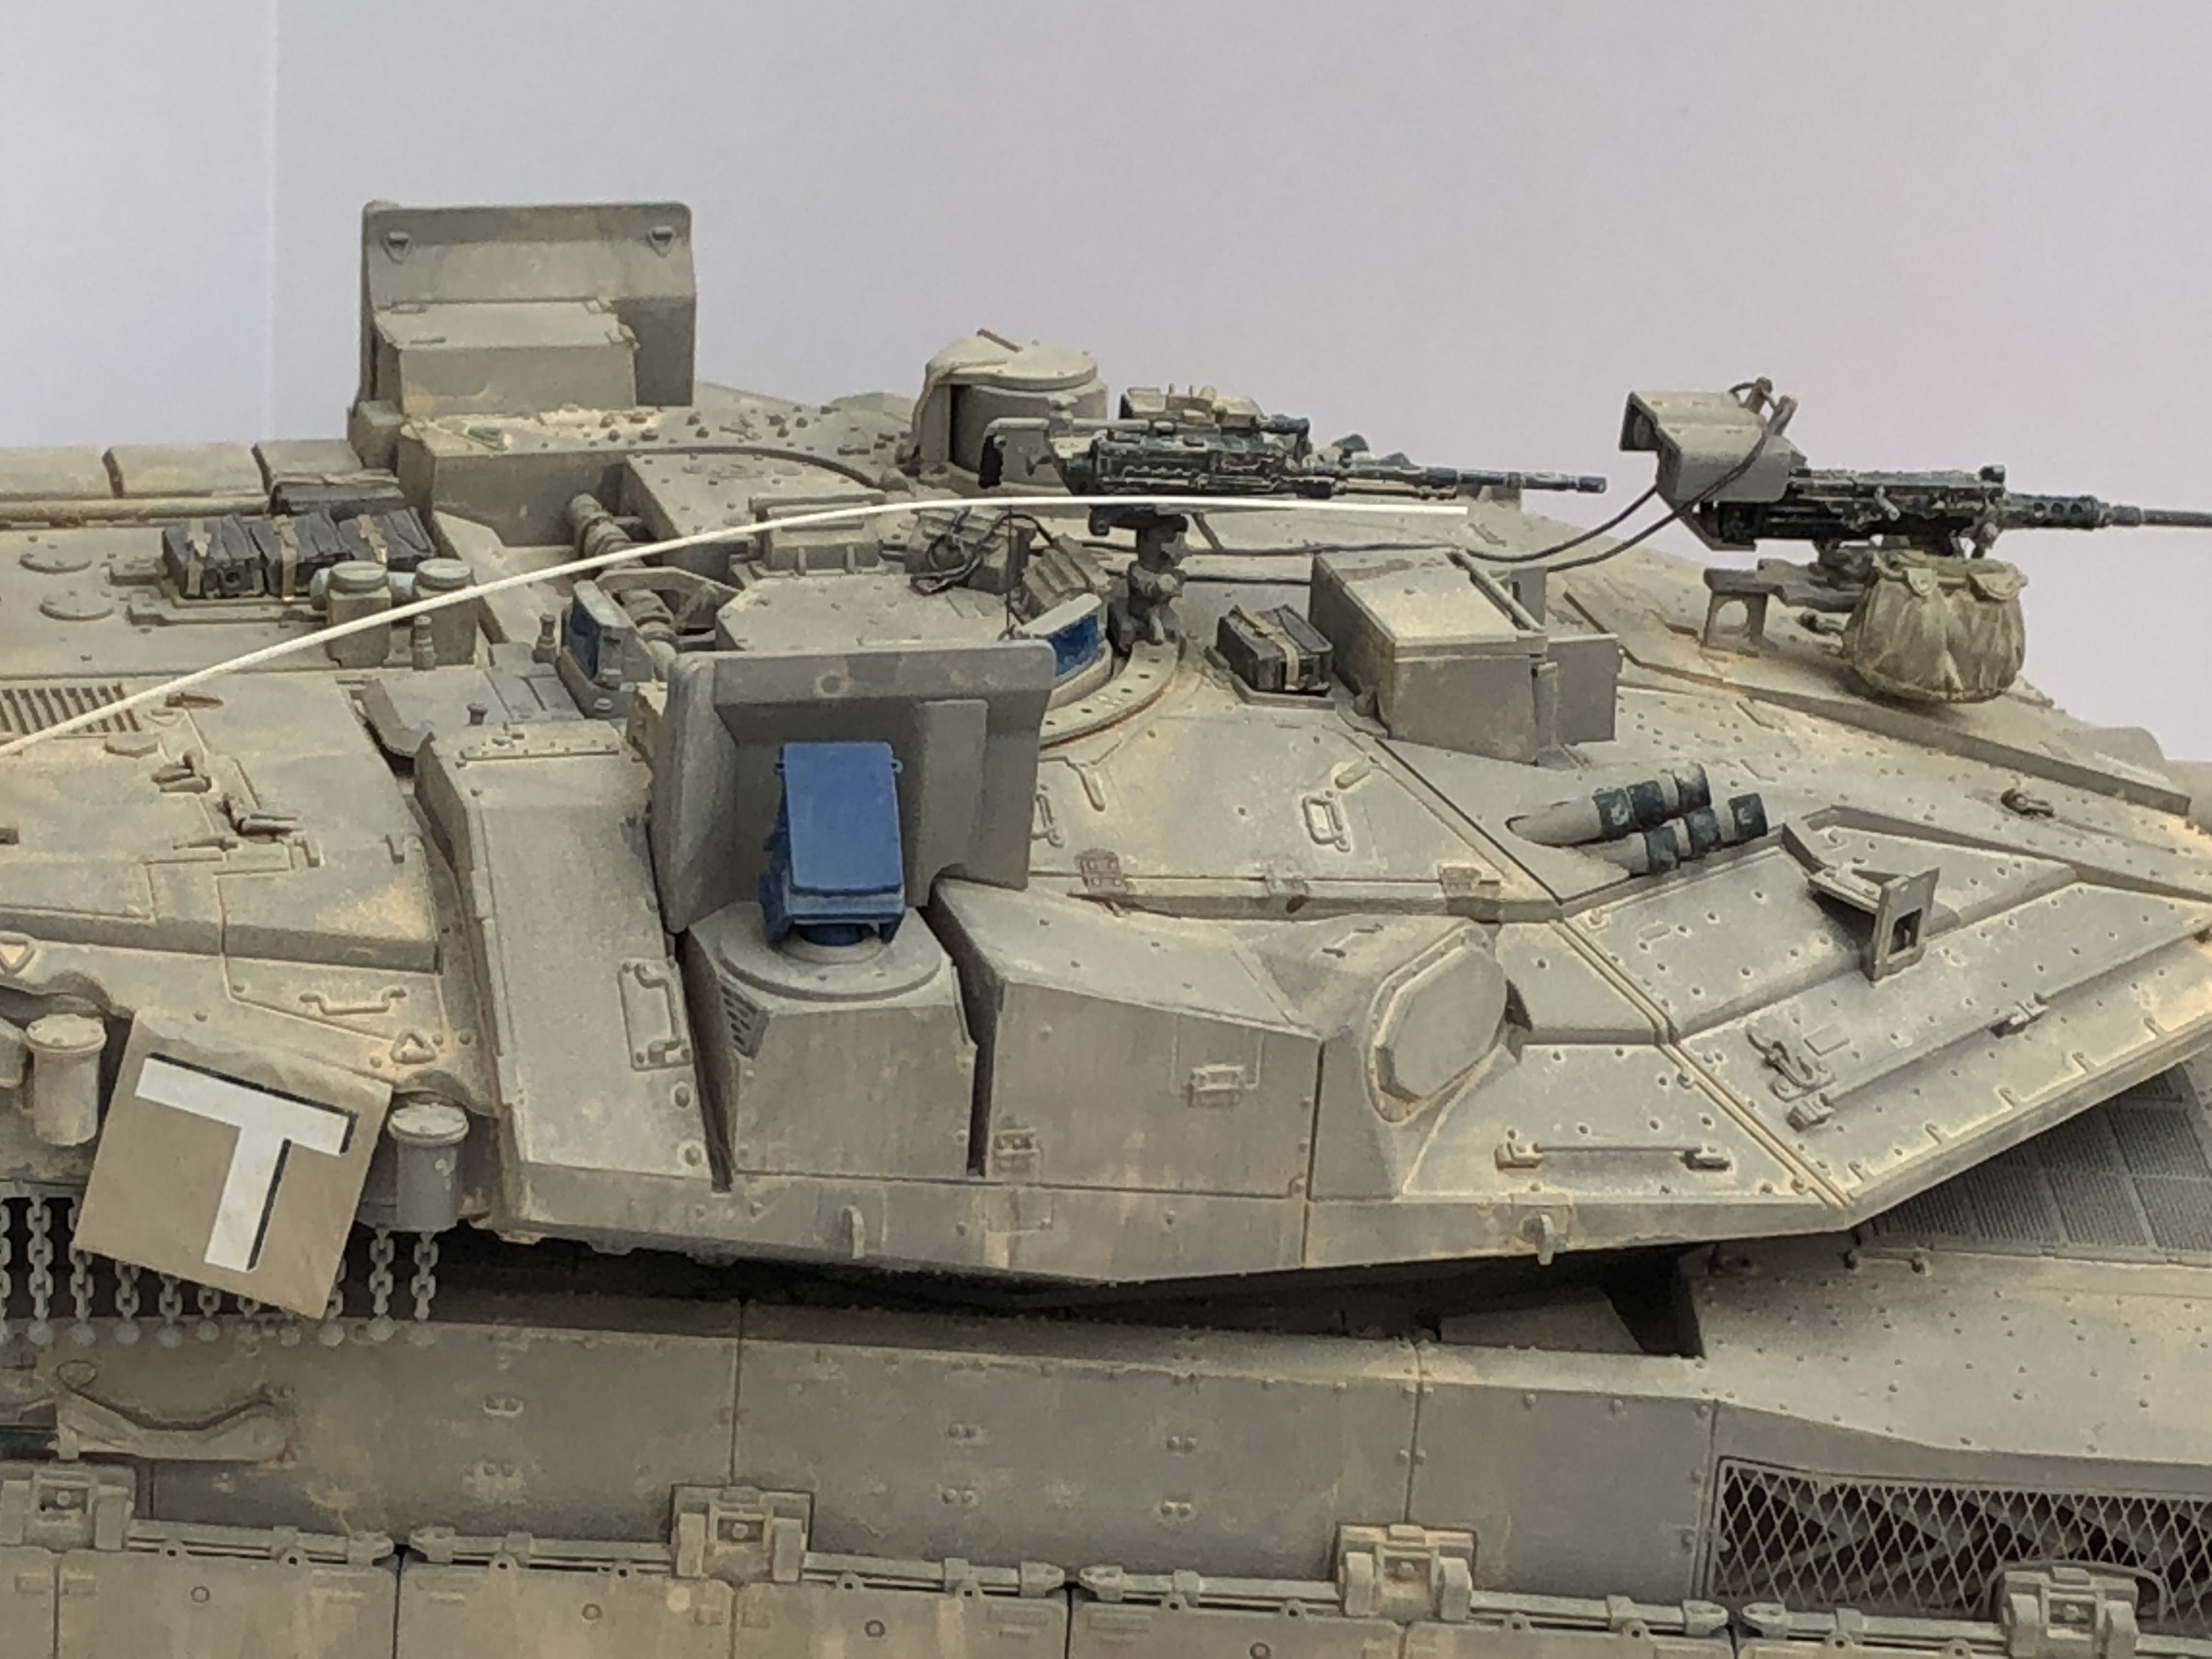
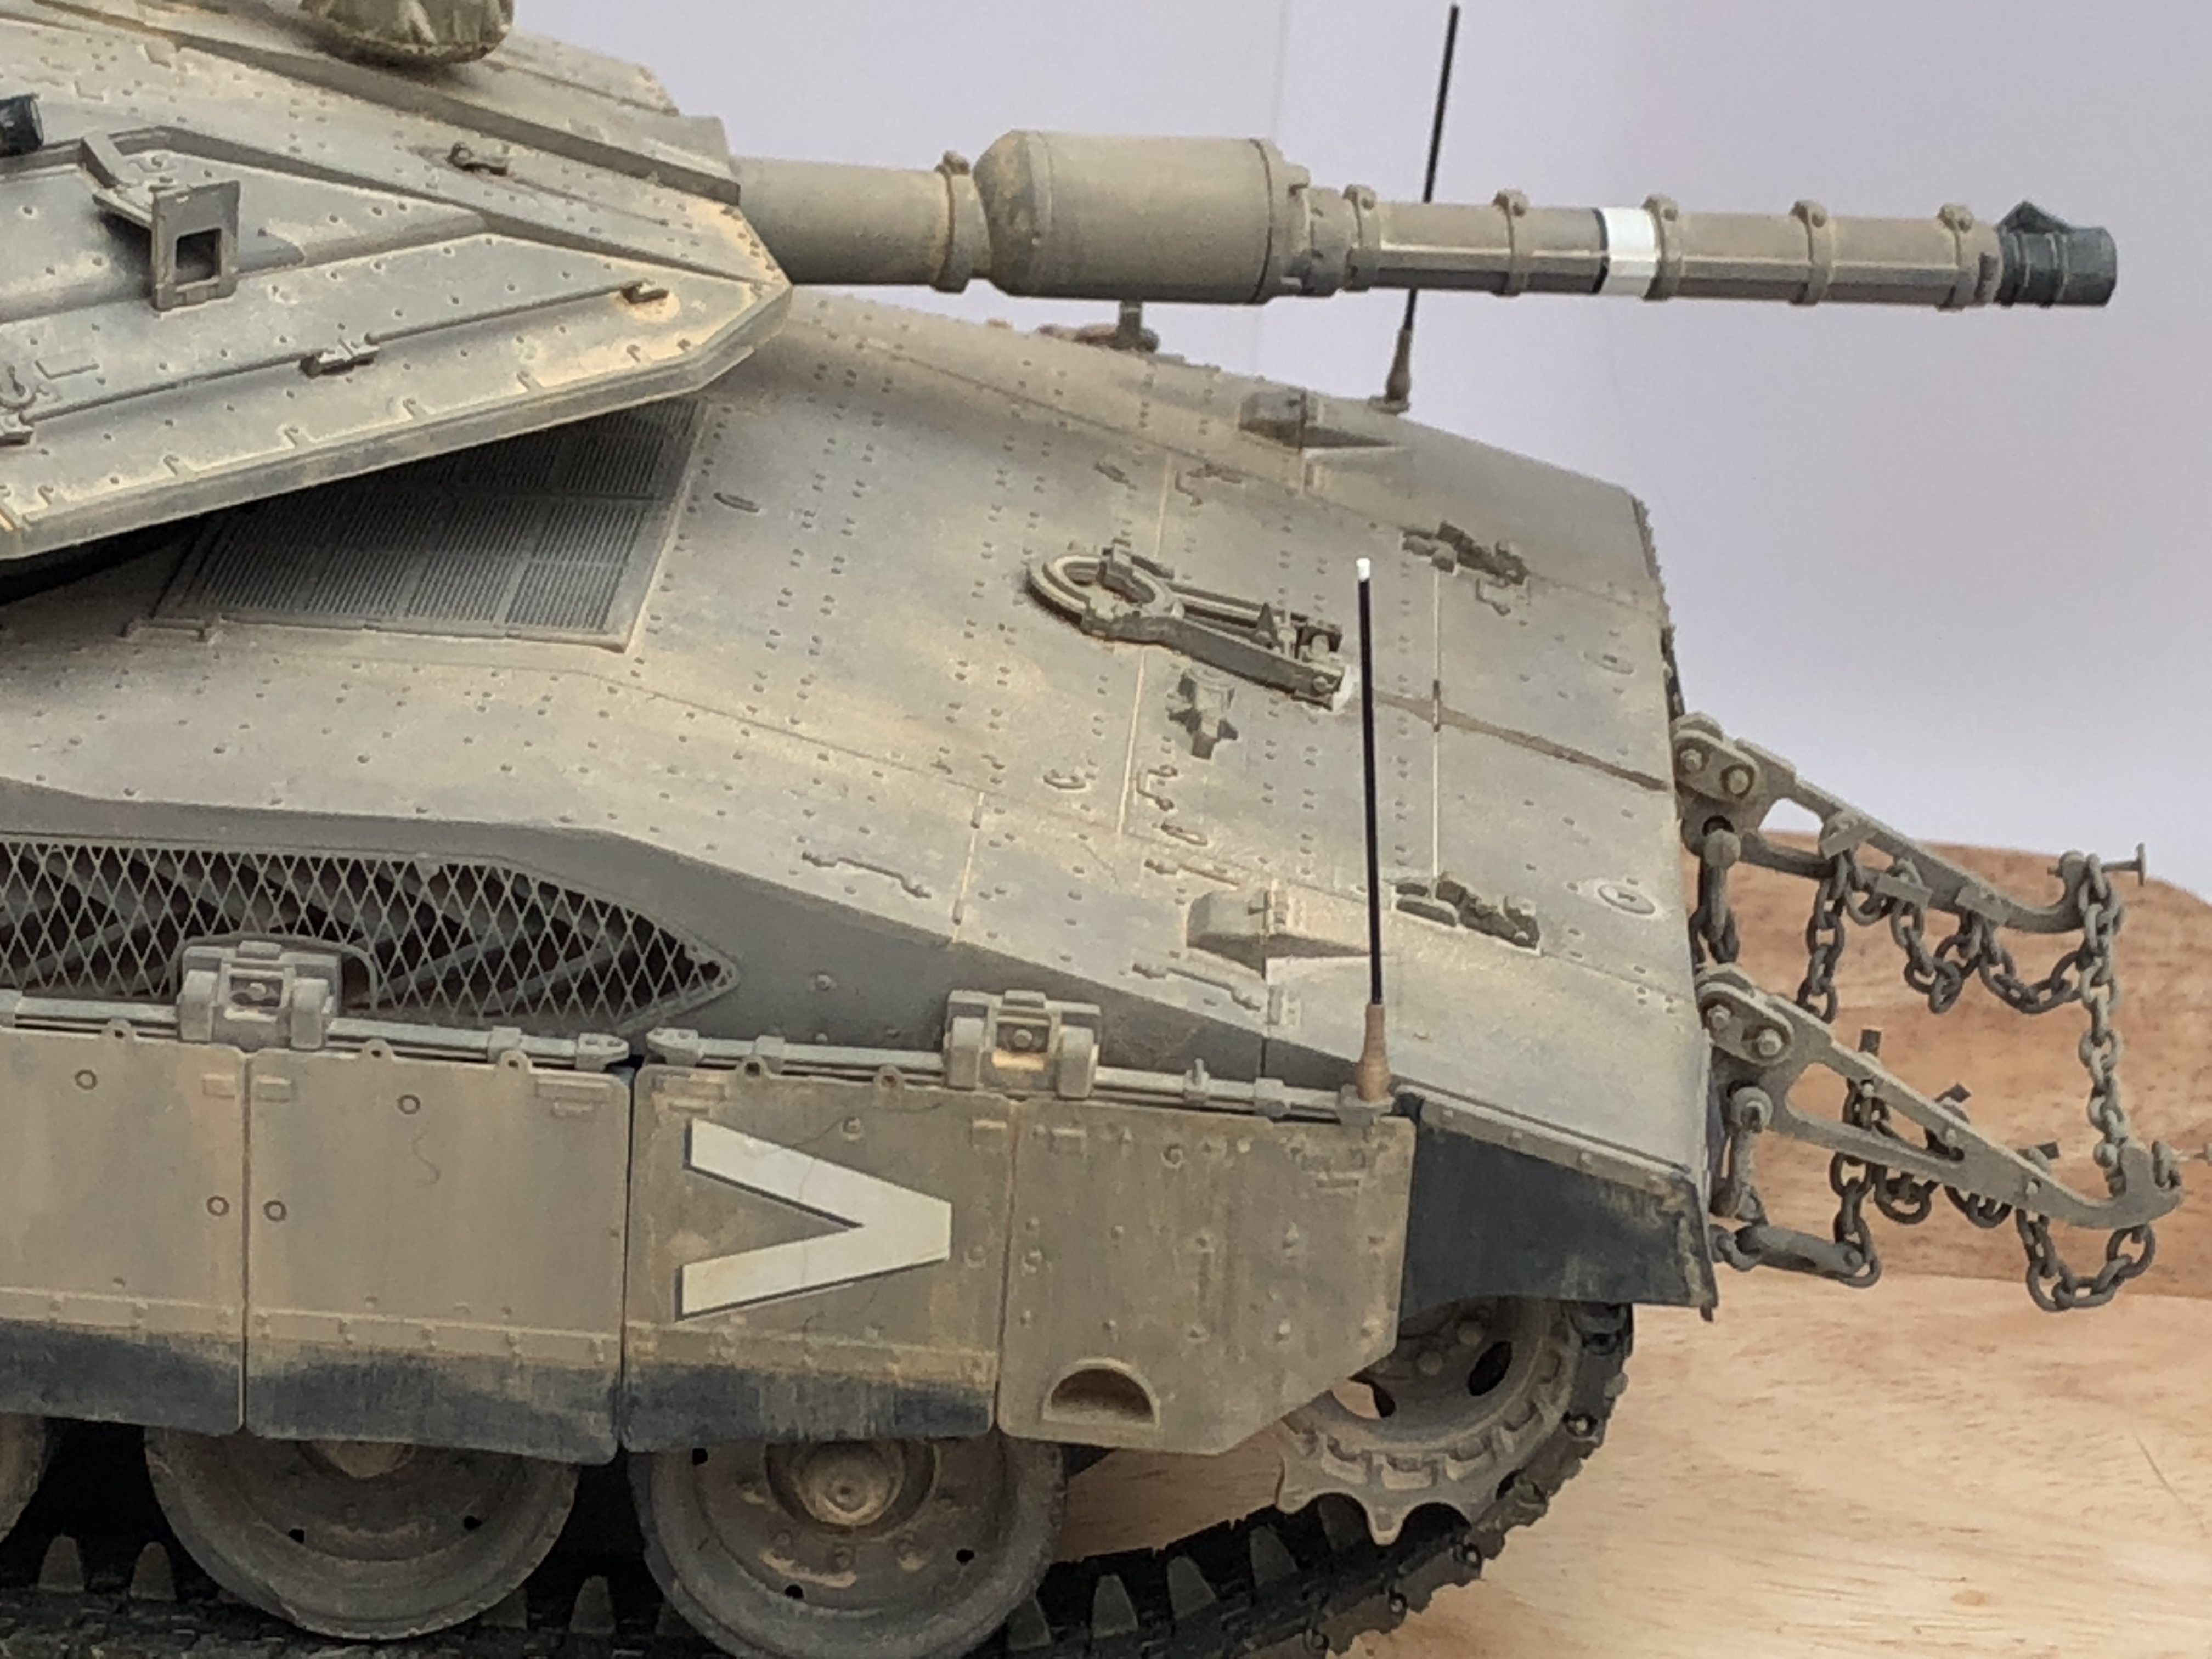
Nearly completed this now. Its a great kit and I added a few extra bits (rear basket covers, chains, ammo boxes and straps etc)
Hosted by Darren Baker
Meng Merkava 4M
Nagmakava
England - East Anglia, United Kingdom
Joined: October 18, 2012
KitMaker: 116 posts
Armorama: 110 posts
Joined: October 18, 2012
KitMaker: 116 posts
Armorama: 110 posts
Posted: Thursday, March 01, 2018 - 11:31 AM UTC
ReluctantRenegade
Wien, Austria
Joined: March 09, 2016
KitMaker: 2,408 posts
Armorama: 2,300 posts
Joined: March 09, 2016
KitMaker: 2,408 posts
Armorama: 2,300 posts
Posted: Thursday, March 01, 2018 - 12:07 PM UTC
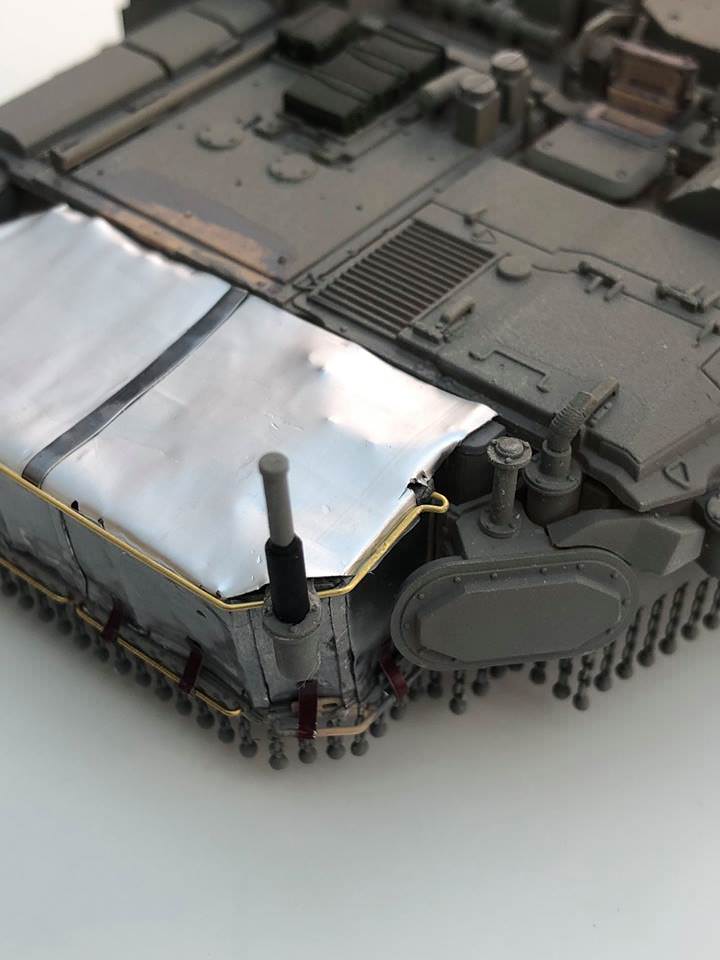
A truly realistic representation of the real thing, well done Jim! How did you make the rear basket cover? I need to do something similar on my 2B...
armouredcharmer
England - East Anglia, United Kingdom
Joined: June 09, 2009
KitMaker: 670 posts
Armorama: 410 posts
Joined: June 09, 2009
KitMaker: 670 posts
Armorama: 410 posts
Posted: Thursday, March 01, 2018 - 12:32 PM UTC
Love your work, How were the tracks to assemble?. I ask as I`m thinking of purchasing one but I`m no fan of indi-links.
Nagmakava
England - East Anglia, United Kingdom
Joined: October 18, 2012
KitMaker: 116 posts
Armorama: 110 posts
Joined: October 18, 2012
KitMaker: 116 posts
Armorama: 110 posts
Posted: Thursday, March 01, 2018 - 06:53 PM UTC
Quoted Text
A truly realistic representation of the real thing, well done Jim! How did you make the rear basket cover? I need to do something similar on my 2B...
Many thanks for your kind words.
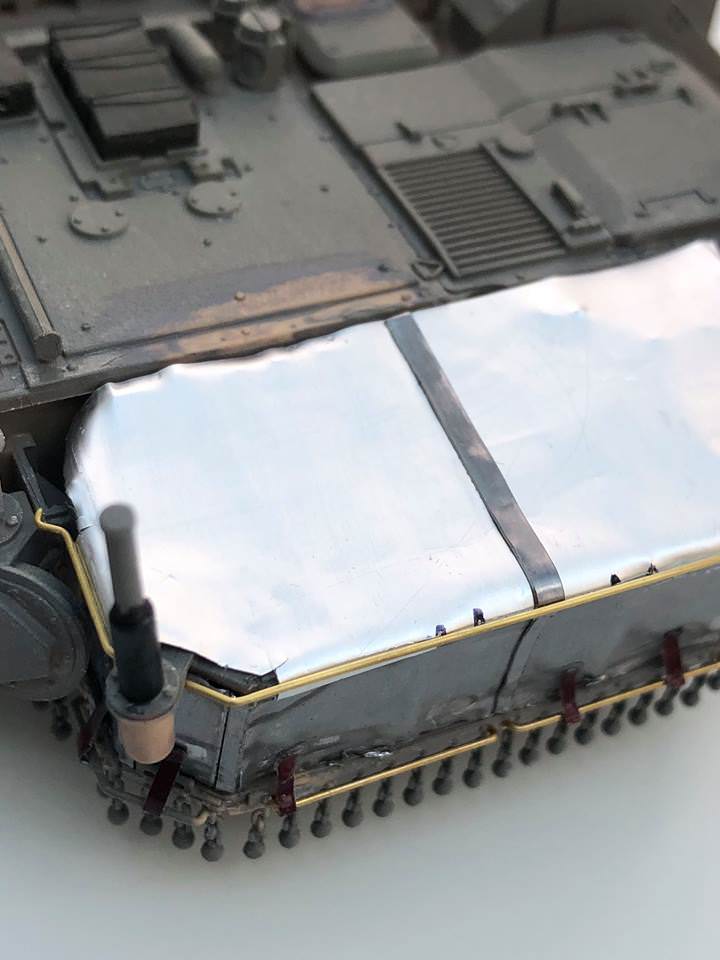
The basket covers are made from lead foil. The small stowage bins are from wine bottle foil and for the rear turret one I used self adhesive lead foil meant for fishing lures (I think!) it comes in small sheets and is very easy to work with:
Nagmakava
England - East Anglia, United Kingdom
Joined: October 18, 2012
KitMaker: 116 posts
Armorama: 110 posts
Joined: October 18, 2012
KitMaker: 116 posts
Armorama: 110 posts
Posted: Thursday, March 01, 2018 - 06:57 PM UTC
Quoted Text
Love your work, How were the tracks to assemble?. I ask as I`m thinking of purchasing one but I`m no fan of indi-links.
Hi Danny, thanks for your comments.
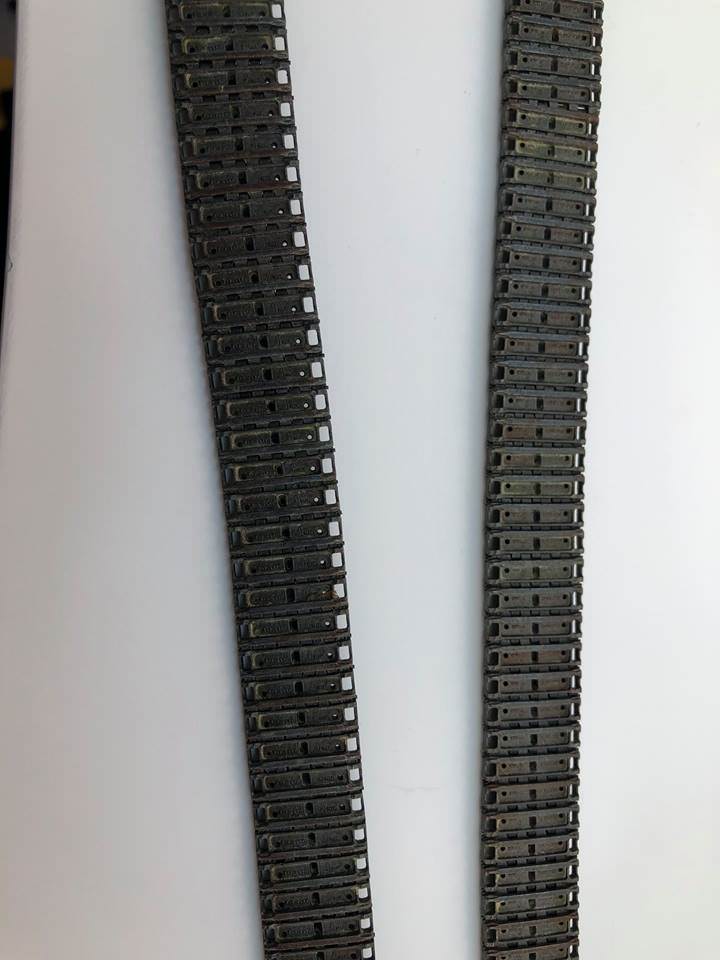
I have to admit the kit supplied tracks just looked like way too much work for me and so I used a set of Fruils instead! They fit perfectly. Here they are after I'd painted them (I ran out of burnishing fluid so decided to paint them.
Nagmakava
England - East Anglia, United Kingdom
Joined: October 18, 2012
KitMaker: 116 posts
Armorama: 110 posts
Joined: October 18, 2012
KitMaker: 116 posts
Armorama: 110 posts
Posted: Thursday, March 01, 2018 - 07:03 PM UTC
Calling her done now
ReluctantRenegade
Wien, Austria
Joined: March 09, 2016
KitMaker: 2,408 posts
Armorama: 2,300 posts
Joined: March 09, 2016
KitMaker: 2,408 posts
Armorama: 2,300 posts
Posted: Thursday, March 01, 2018 - 07:15 PM UTC
Love the weathering. The tracks could use some tensioning though...
Would they still fit with a link less?
Nagmakava
England - East Anglia, United Kingdom
Joined: October 18, 2012
KitMaker: 116 posts
Armorama: 110 posts
Joined: October 18, 2012
KitMaker: 116 posts
Armorama: 110 posts
Posted: Thursday, March 01, 2018 - 07:19 PM UTC
Quoted Text
Love the weathering. The tracks could use some tensioning though...
Would they still fit with a link less?
Ahh yes well spotted, I'd forgotten about that as the right hand side are slightly loose. I will remove a link
ReluctantRenegade
Wien, Austria
Joined: March 09, 2016
KitMaker: 2,408 posts
Armorama: 2,300 posts
Joined: March 09, 2016
KitMaker: 2,408 posts
Armorama: 2,300 posts
Posted: Thursday, March 01, 2018 - 07:23 PM UTC
I love that you painted the canvas covers in different colors; very common on IDF AFVs. May I ask you what color you’ve been using? The turret-basket cover looks particularly convincing...
Nagmakava
England - East Anglia, United Kingdom
Joined: October 18, 2012
KitMaker: 116 posts
Armorama: 110 posts
Joined: October 18, 2012
KitMaker: 116 posts
Armorama: 110 posts
Posted: Thursday, March 01, 2018 - 07:52 PM UTC
Quoted Text
I love that you painted the canvas covers in different colors; very common on IDF AFVs. May I ask you what color you’ve been using? The turret-basket cover looks particularly convincing...
Well spotted again Israel - I did intend to make all the covers the same colour but as I used a mixture of paints and painted the storage bins first I decided to make them all look slightly different. I used Tamiya Buff + White on the basket one and Tamiya Khaki + white for the others. I didn't mix any specific ratios instead I just mixed it until I was happy with the colour.
jwest21
Pennsylvania, United States
Joined: October 16, 2006
KitMaker: 3,374 posts
Armorama: 3,126 posts
Joined: October 16, 2006
KitMaker: 3,374 posts
Armorama: 3,126 posts
Posted: Thursday, March 01, 2018 - 09:13 PM UTC
Excellent work. You made me buy one!
Nagmakava
England - East Anglia, United Kingdom
Joined: October 18, 2012
KitMaker: 116 posts
Armorama: 110 posts
Joined: October 18, 2012
KitMaker: 116 posts
Armorama: 110 posts
Posted: Thursday, March 01, 2018 - 11:02 PM UTC
Quoted Text
Excellent work. You made me buy one!
Great choice!
If you need any help just ask
cabasner
Nevada, United States
Joined: February 12, 2012
KitMaker: 1,083 posts
Armorama: 1,014 posts
Joined: February 12, 2012
KitMaker: 1,083 posts
Armorama: 1,014 posts
Posted: Tuesday, June 04, 2019 - 02:11 PM UTC
Quoted Text
A truly realistic representation of the real thing, well done Jim! How did you make the rear basket cover? I need to do something similar on my 2B...
Israel, old thread, I know, but I would tell you that the best (and easiest) way for ME to make covers like this is to use Green Stuff, rolled REALLY thin. Once you mix the blue and yellow parts of the epoxy, and get the green, it gets really sticky. You can use either water, or baking powder (my preference) to reduce the stickiness, and also use the powder on whatever you are going to use to roll it out on. Then put the powder on the plastic roller (or whatever) and roll the green stuff to paper-like thinness. My experience is that once it gets that thin, it will remain pliable and won't harden like it will/does when it's thicker. Also, either when it's fresh and rolled thin, or after you let is set up you can trim it with an Xacto blade or just scissors. It's truly easy to handle, especially after it sets up. you can manipulate it to the desired shape (in this case, mostly flat. You can also create the center 'connecting strap' out of the same flattened material, just cut/sliced thinly to simulate the strap width. I'll be happy to answer any questions if there are any.