_GOTOBOTTOM
Armor/AFV
For discussions on tanks, artillery, jeeps, etc.
Tiger 1 Build log
melonhead
Visit this Community
Wisconsin, United States
Joined: July 29, 2010
KitMaker: 662 posts
Armorama: 457 posts
Posted: Wednesday, March 07, 2018 - 12:35 PM UTC
Hey everyone,

Its been quite some time since ive done a build log, but figured it would be a great idea to do it for this build.

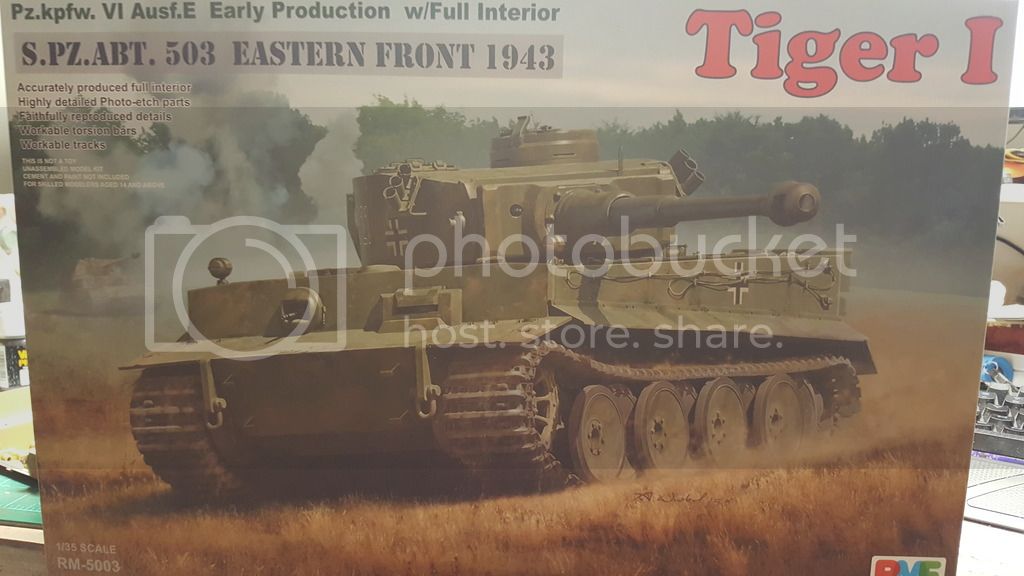
The kit-
Rye Field Models Tiger 1 early production from the 503.


I am still in the process of researching what will be done for paint, and "accessories". Im leaning toward a white wash, and found that this particular tank is a bit hard to find done with a white wash, before any major changes were done. To explain what i mean, this tank was put out to the unit before accessories and the stowage bin were put on, so the crew made their own stowage bin (which has a unique look), so to keep with the uniqueness of that bin, im also trying to find if there was evidence of air filters, or how the back plate was configured. There are a couple different configurations, depending on what picture you look at.

The tank that i am going to depict is 311. 311 was switched to 3/503 from 2/502. This is where it allows me to do a white wash. i had not found any original 3rd company that had a white wash, other than those that originally started in 2nd company, such as 311 did before the number change. This tanks was later redesgnated again to 331 (311 turret was transferred to the body of 331. All of this is assuming that the internet tiger sleuths out there are correct, which is as much as i could possibly go by right now. Since i am still researching, please bear with me as some of this may be incorrect, and i am still working on it.

Some of the accessories that i spoke of earlier seem to be unique to this unit as well. The kit has a line of hooks on the right side that allow to carry netting, and are also seen to be carrying logs, which i personally havent seen before now. the rear, where the air filters would normally be, has different stowage options, whether it be standard boxes, or jerry can racks, and yet there were some, possibly later in the war, that had the air filters.

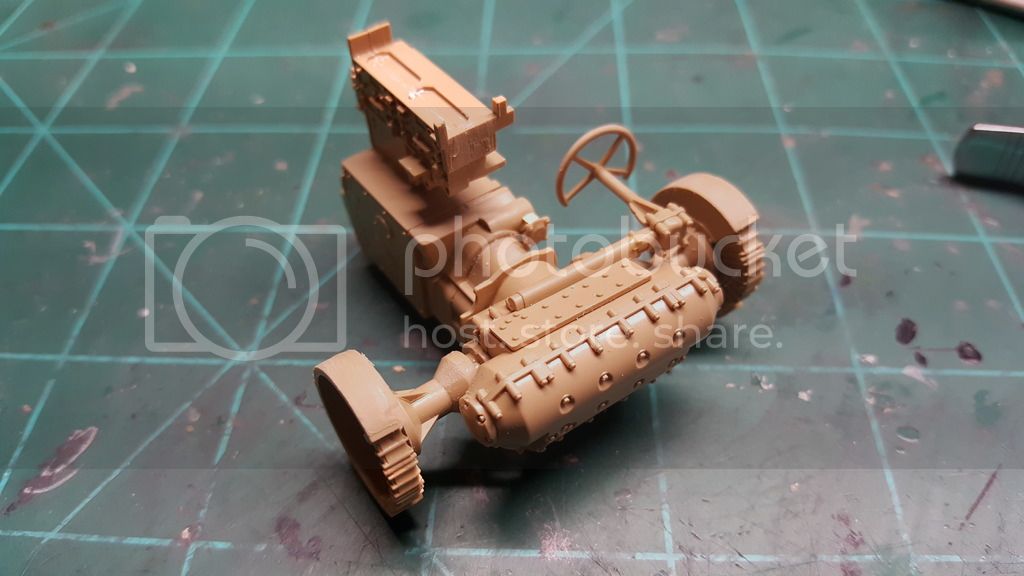
While im still researching, i am working on some of the interior, and other things that i can do in the meantime.


Byrden
Visit this Community
Wien, Austria
Joined: July 12, 2005
KitMaker: 2,233 posts
Armorama: 2,221 posts
Posted: Wednesday, March 07, 2018 - 05:13 PM UTC
Those nine Tigers are listed at
HTTP://tiger1.info/unit-page/503

They were all Dunkelgrau, then whitewashed or camouflaged with white bands. At that time they had their 2xx numbers and mammoth symbol.

All known photos are listed there, but you must look elsewhere for big versions.

David
melonhead
Visit this Community
Wisconsin, United States
Joined: July 29, 2010
KitMaker: 662 posts
Armorama: 457 posts
Posted: Wednesday, March 07, 2018 - 08:03 PM UTC
Thanks for the link. most of the photos i found within this

http://www.tiif.de/thread.php?threadid=353&sid=0749a6b116e96ca242220e0bba7516a5

for the most part, all i found was 311 with what i assumed to be a very faded whitewash, which is fine because that is the look i kinda wanted anyway. when it was 2xx, there is a photo that shows it with a prominent white wash, http://i44.tinypic.com/i2n621.jpg so when i found that yesterday, it helped me confirm that i was going to be able to do the whitewash
Byrden
Visit this Community
Wien, Austria
Joined: July 12, 2005
KitMaker: 2,233 posts
Armorama: 2,221 posts
Posted: Thursday, March 08, 2018 - 04:20 AM UTC
You're looking in the 503 section.
Also look in the 502 section, 1942/43, second company.
melonhead
Visit this Community
Wisconsin, United States
Joined: July 29, 2010
KitMaker: 662 posts
Armorama: 457 posts
Posted: Wednesday, March 14, 2018 - 01:21 PM UTC
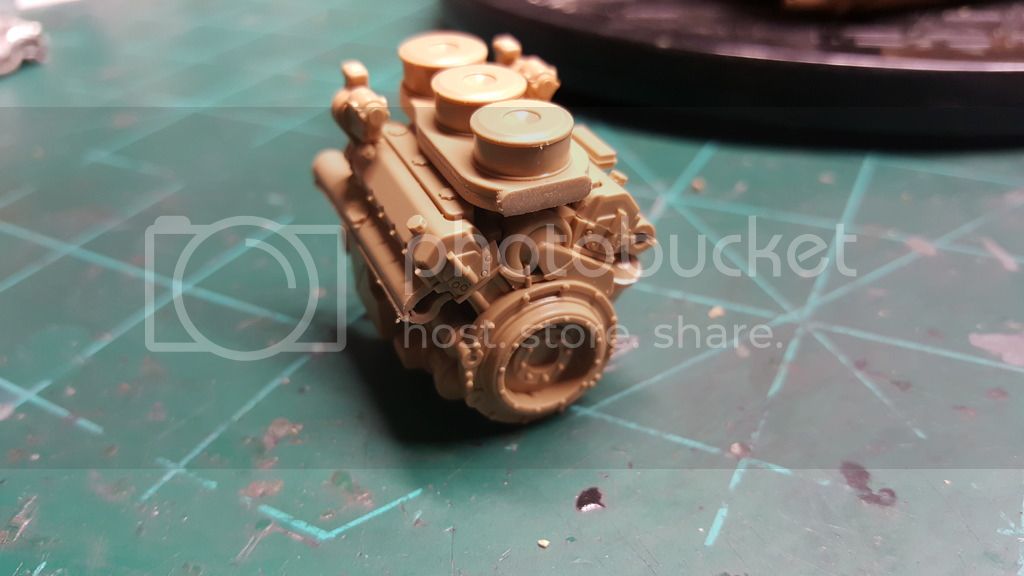
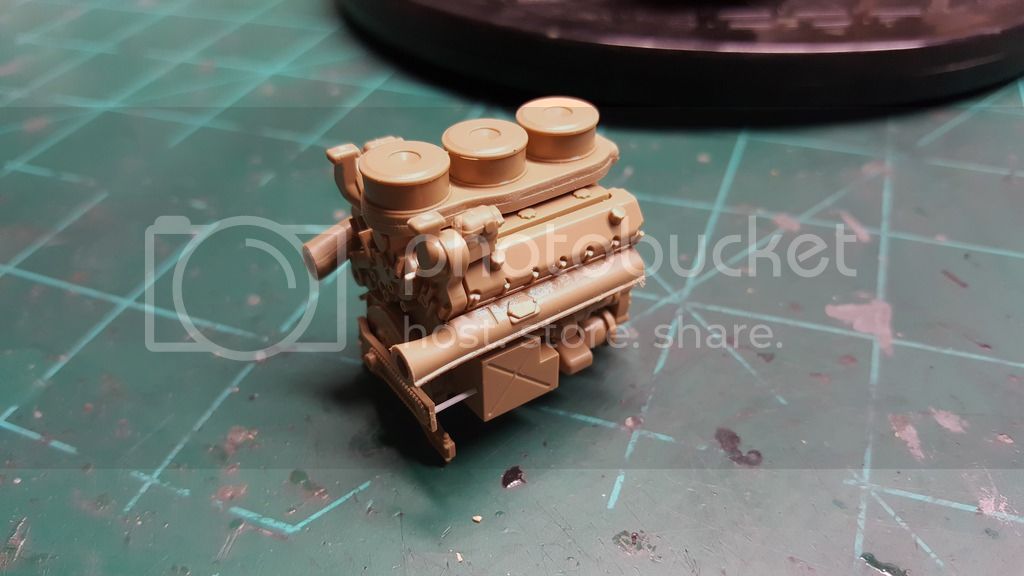
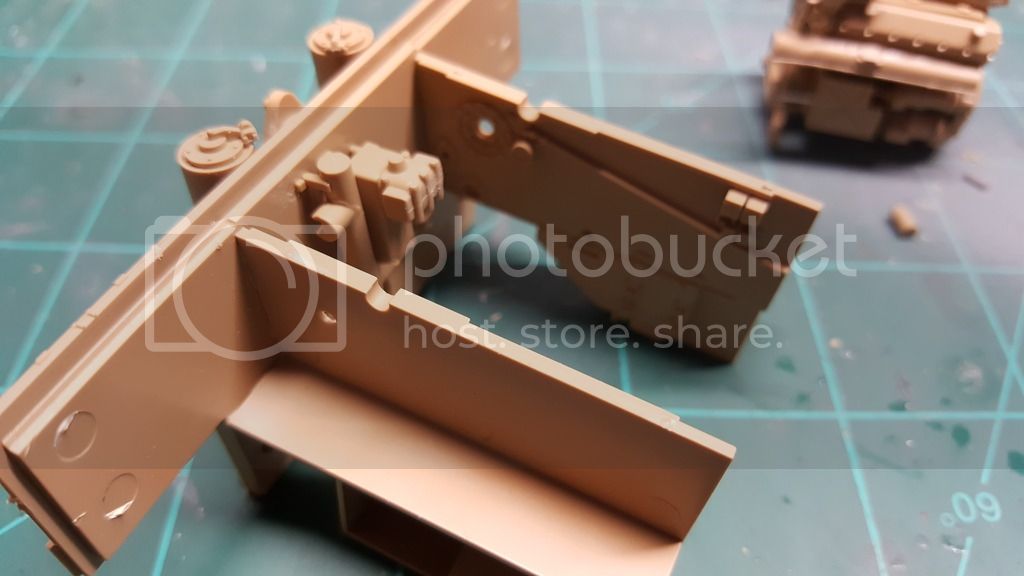
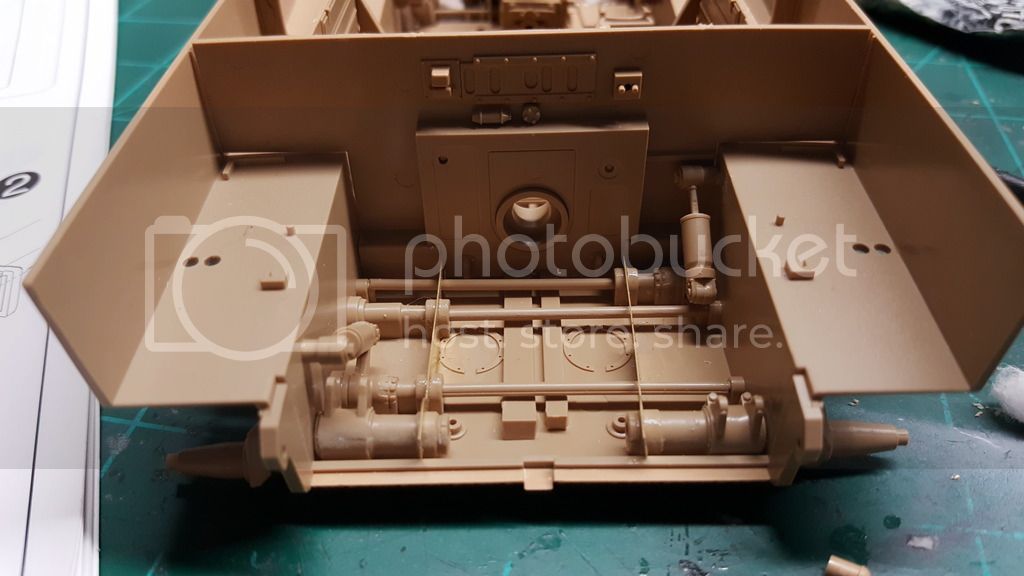
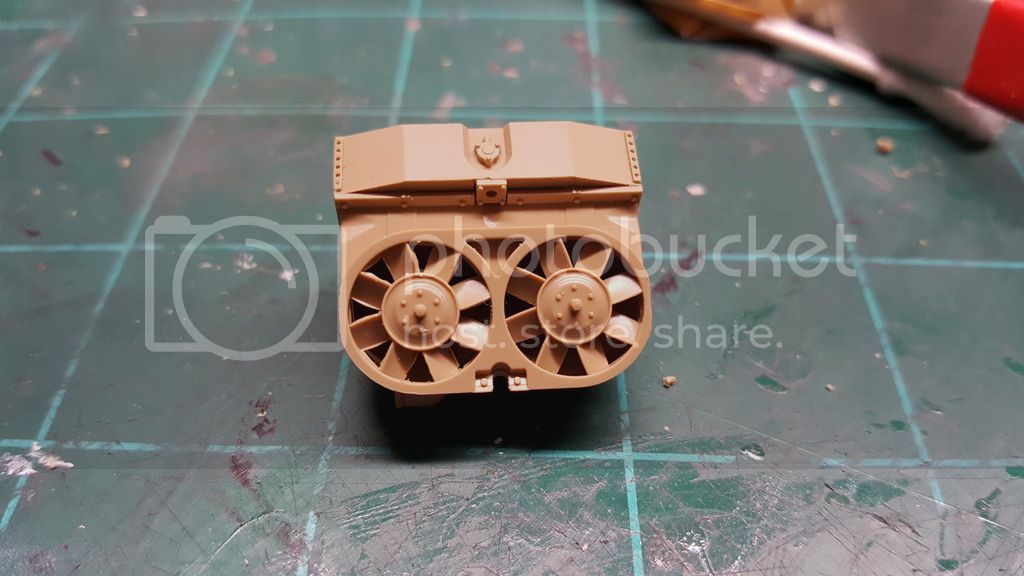
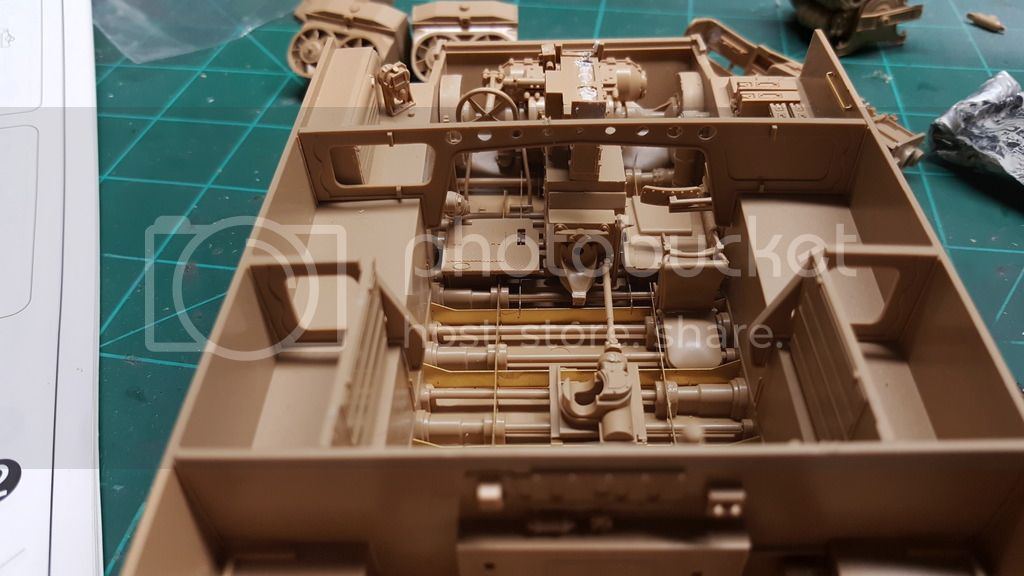
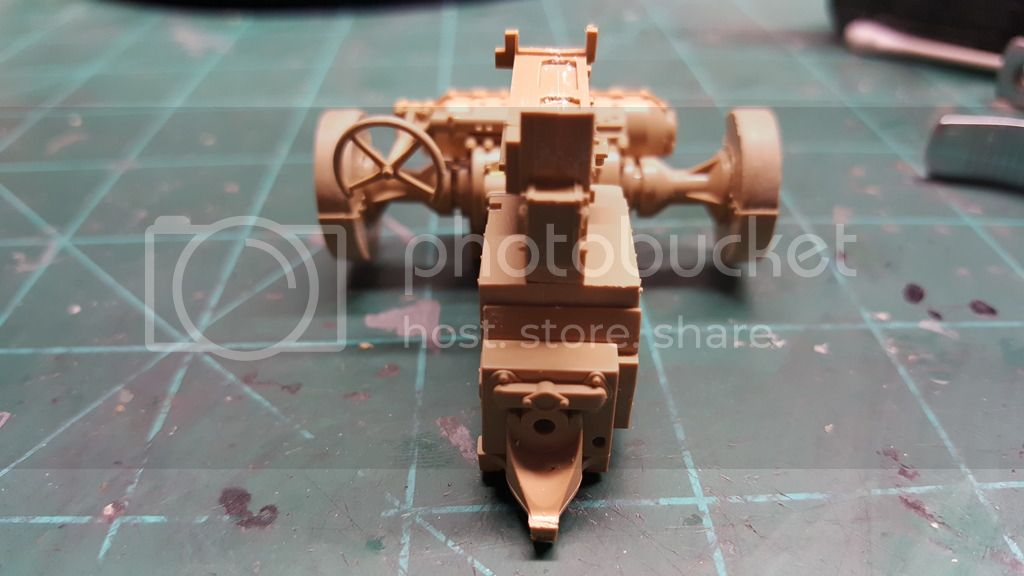
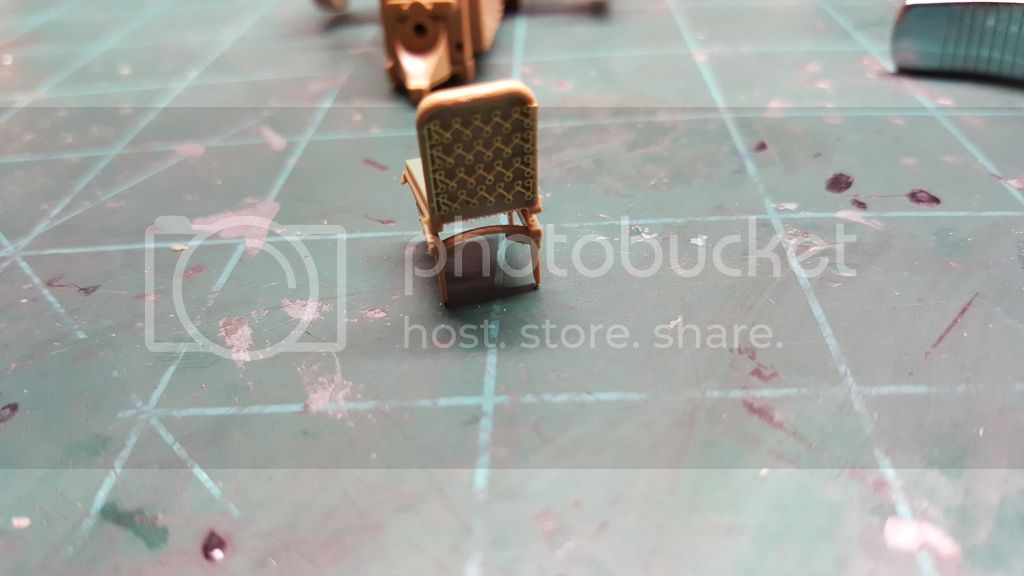
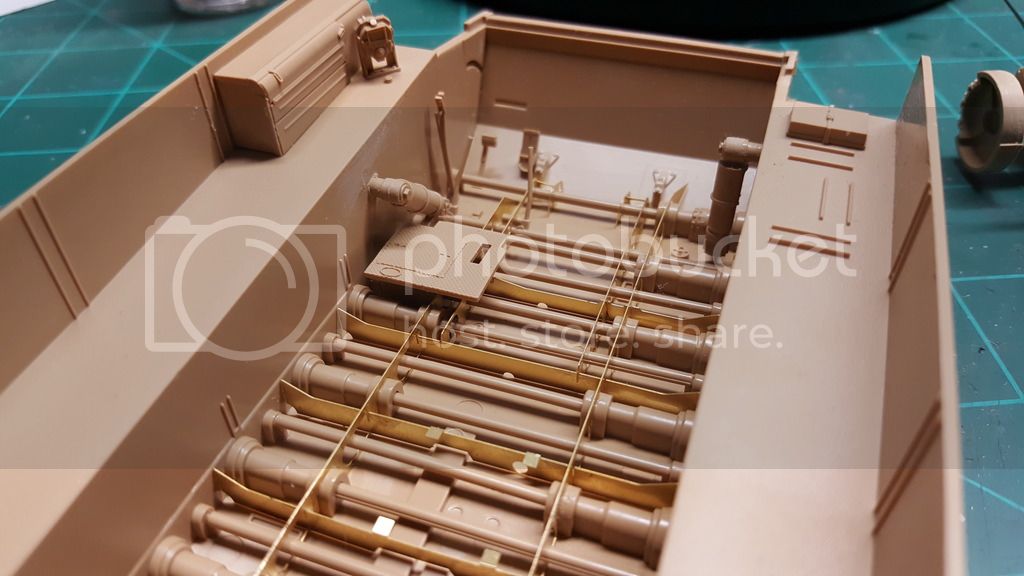
waiting for some photo etch to come in, but working on as much as i can until it arrives.

basically, just prefitting most of it, and have some sanding/filling to do eventually, so nothing too interesting, but wanted to show an update as to where we are doing subassemblies.


d6mst0
#453
Visit this Community
Texas, United States
Joined: August 28, 2016
KitMaker: 1,925 posts
Armorama: 601 posts
Posted: Wednesday, March 14, 2018 - 04:41 PM UTC
Jesse,

Very nice work so far with this kit. With all of the parts that came with this kit I am surprised that you order additional PE for it. What is the PE for?

Mark
TopSmith
Visit this Community
Washington, United States
Joined: August 09, 2002
KitMaker: 1,742 posts
Armorama: 1,658 posts
Posted: Wednesday, March 14, 2018 - 05:27 PM UTC
I am a paint as you go builder. Please show how you paint this when everything is assembled first. Just trying to up my skills.
melonhead
Visit this Community
Wisconsin, United States
Joined: July 29, 2010
KitMaker: 662 posts
Armorama: 457 posts
Posted: Wednesday, March 14, 2018 - 08:15 PM UTC

Quoted Text

Jesse,

Very nice work so far with this kit. With all of the parts that came with this kit I am surprised that you order additional PE for it. What is the PE for?

Mark


exterior stuff. mostly for the fenders/side skirts. oh, and a barrel
melonhead
Visit this Community
Wisconsin, United States
Joined: July 29, 2010
KitMaker: 662 posts
Armorama: 457 posts
Posted: Wednesday, March 14, 2018 - 08:17 PM UTC

Quoted Text

I am a paint as you go builder. Please show how you paint this when everything is assembled first. Just trying to up my skills.


i will be starting the painting process fairly soon. as it is currently. i could do the transmission and engine, but i need to make sure i dont have to add anything else.
as a precursor type of thing, i will be doing preshade on the interior so if there is anything that i actually miss with the final color, it is at least a black color and blends into the shadows, so to speak.
 _GOTOTOP