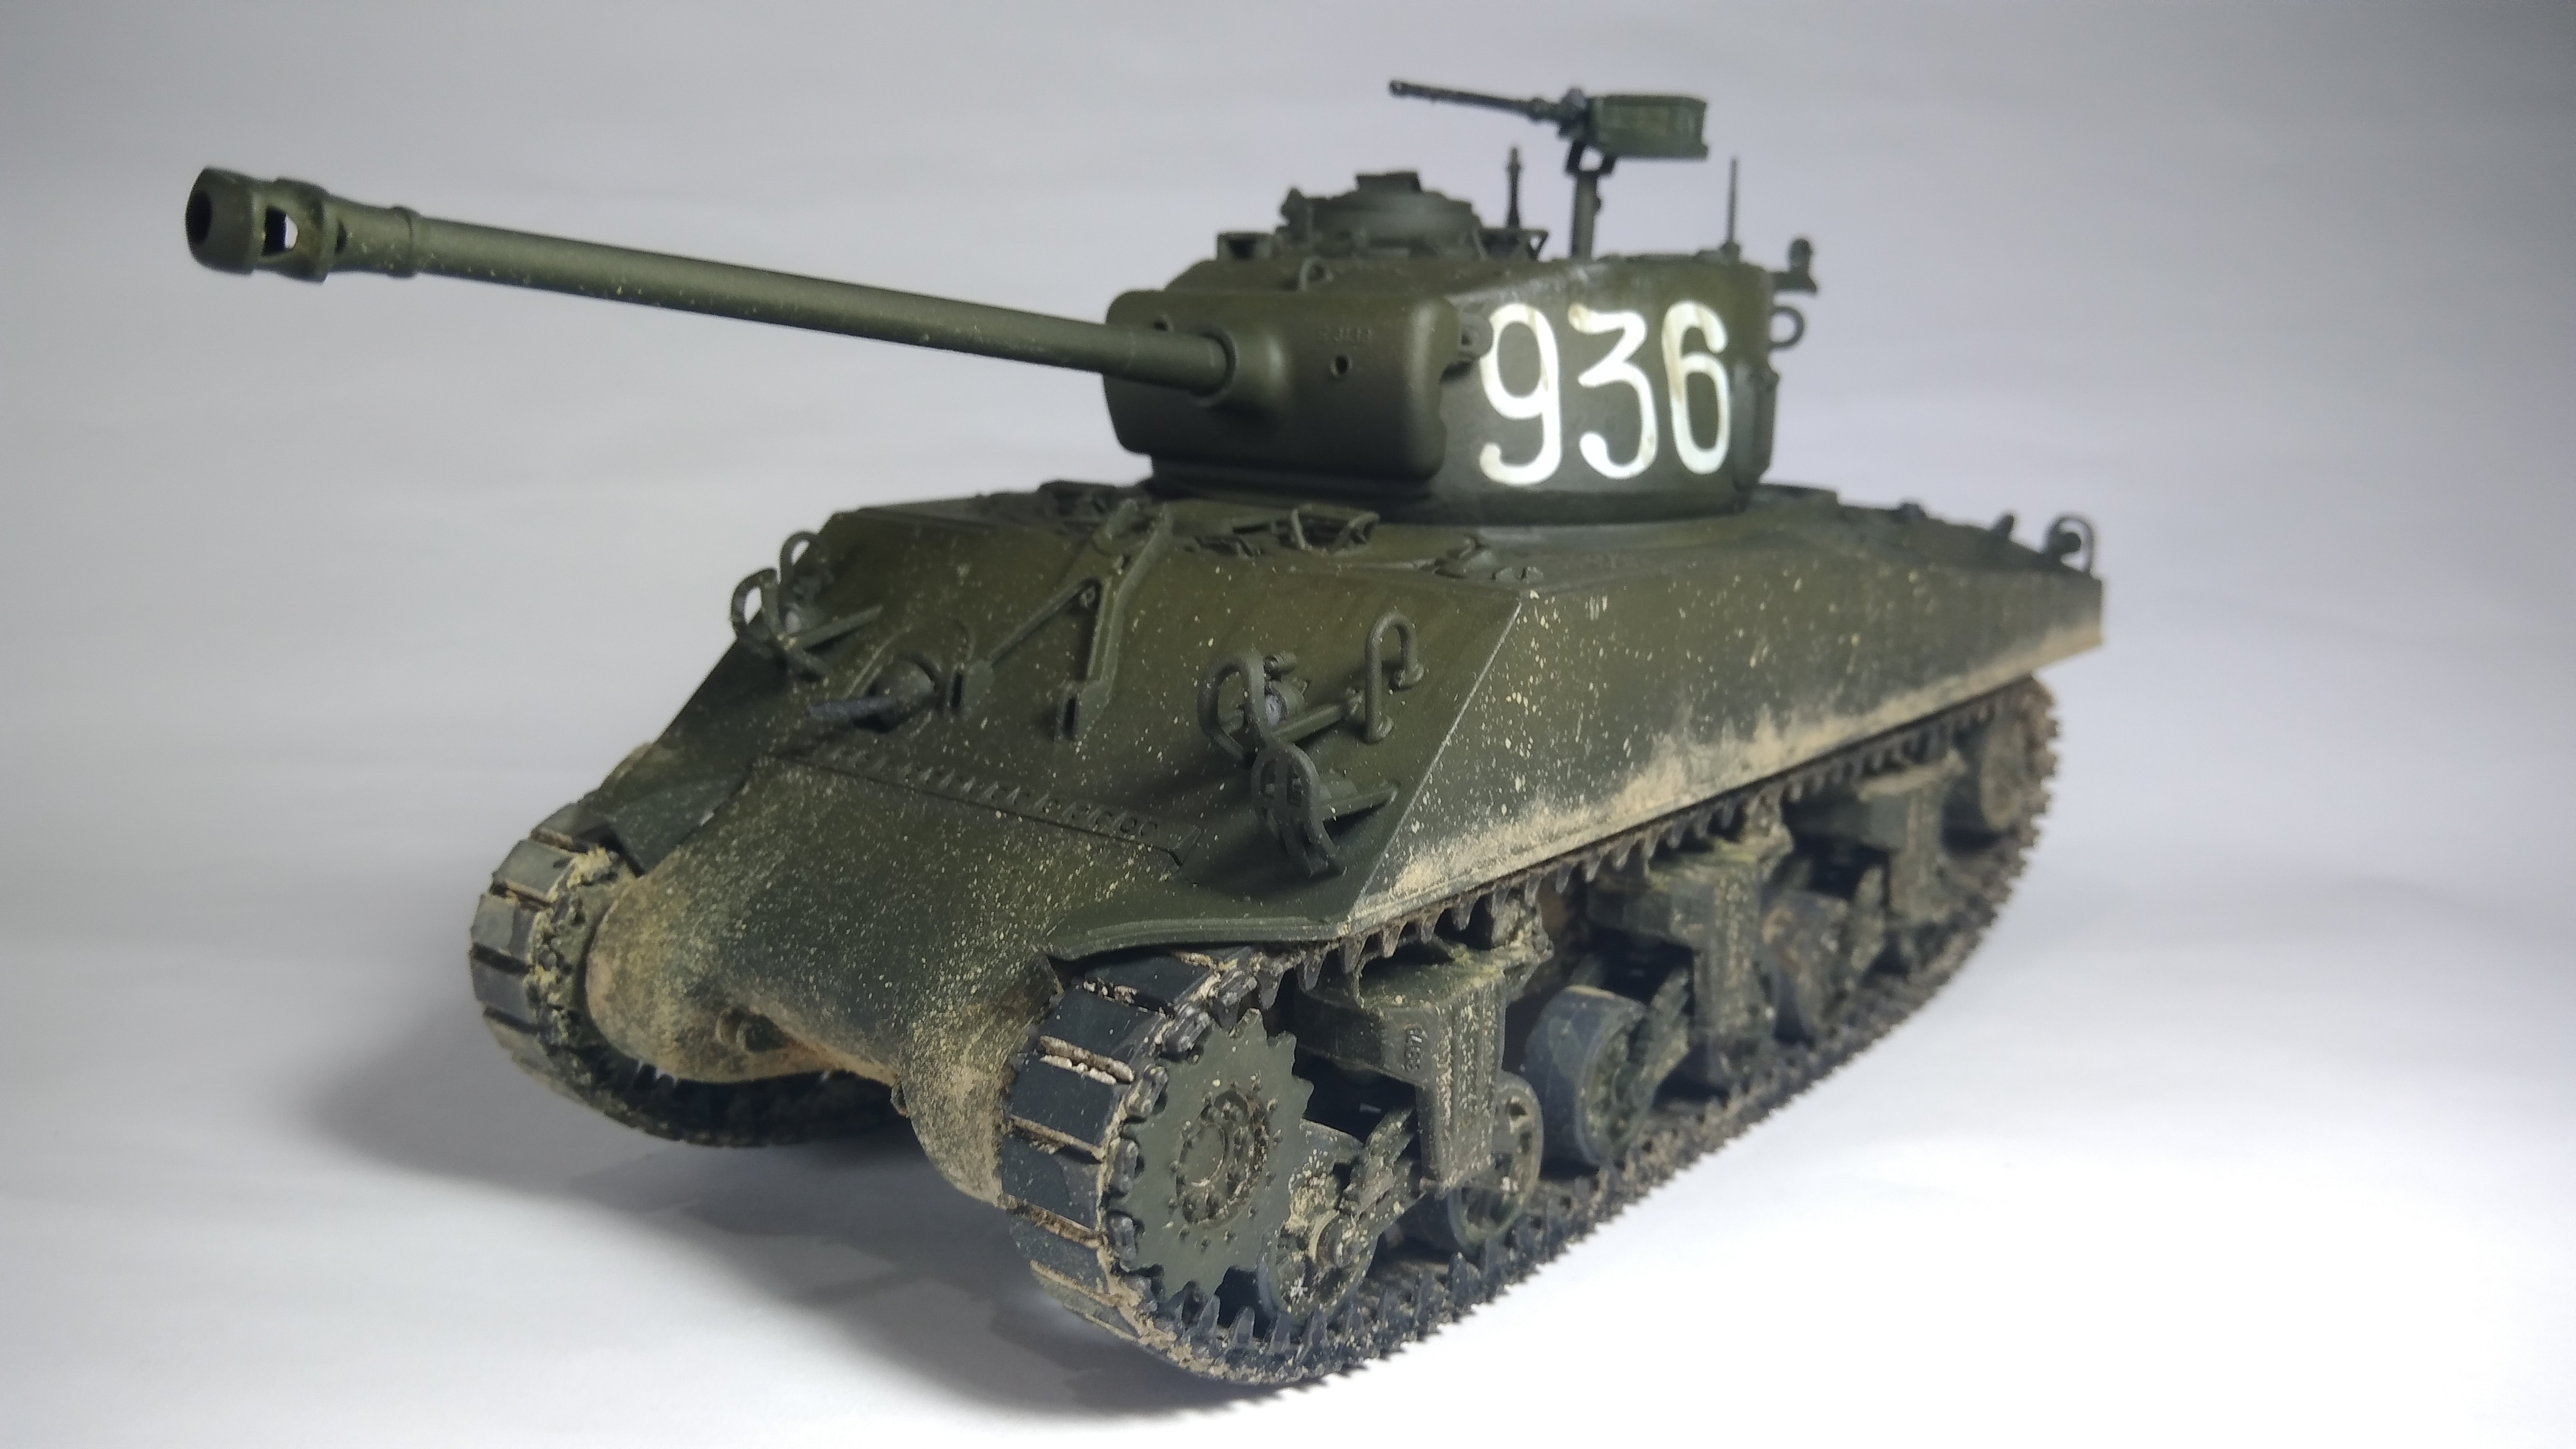
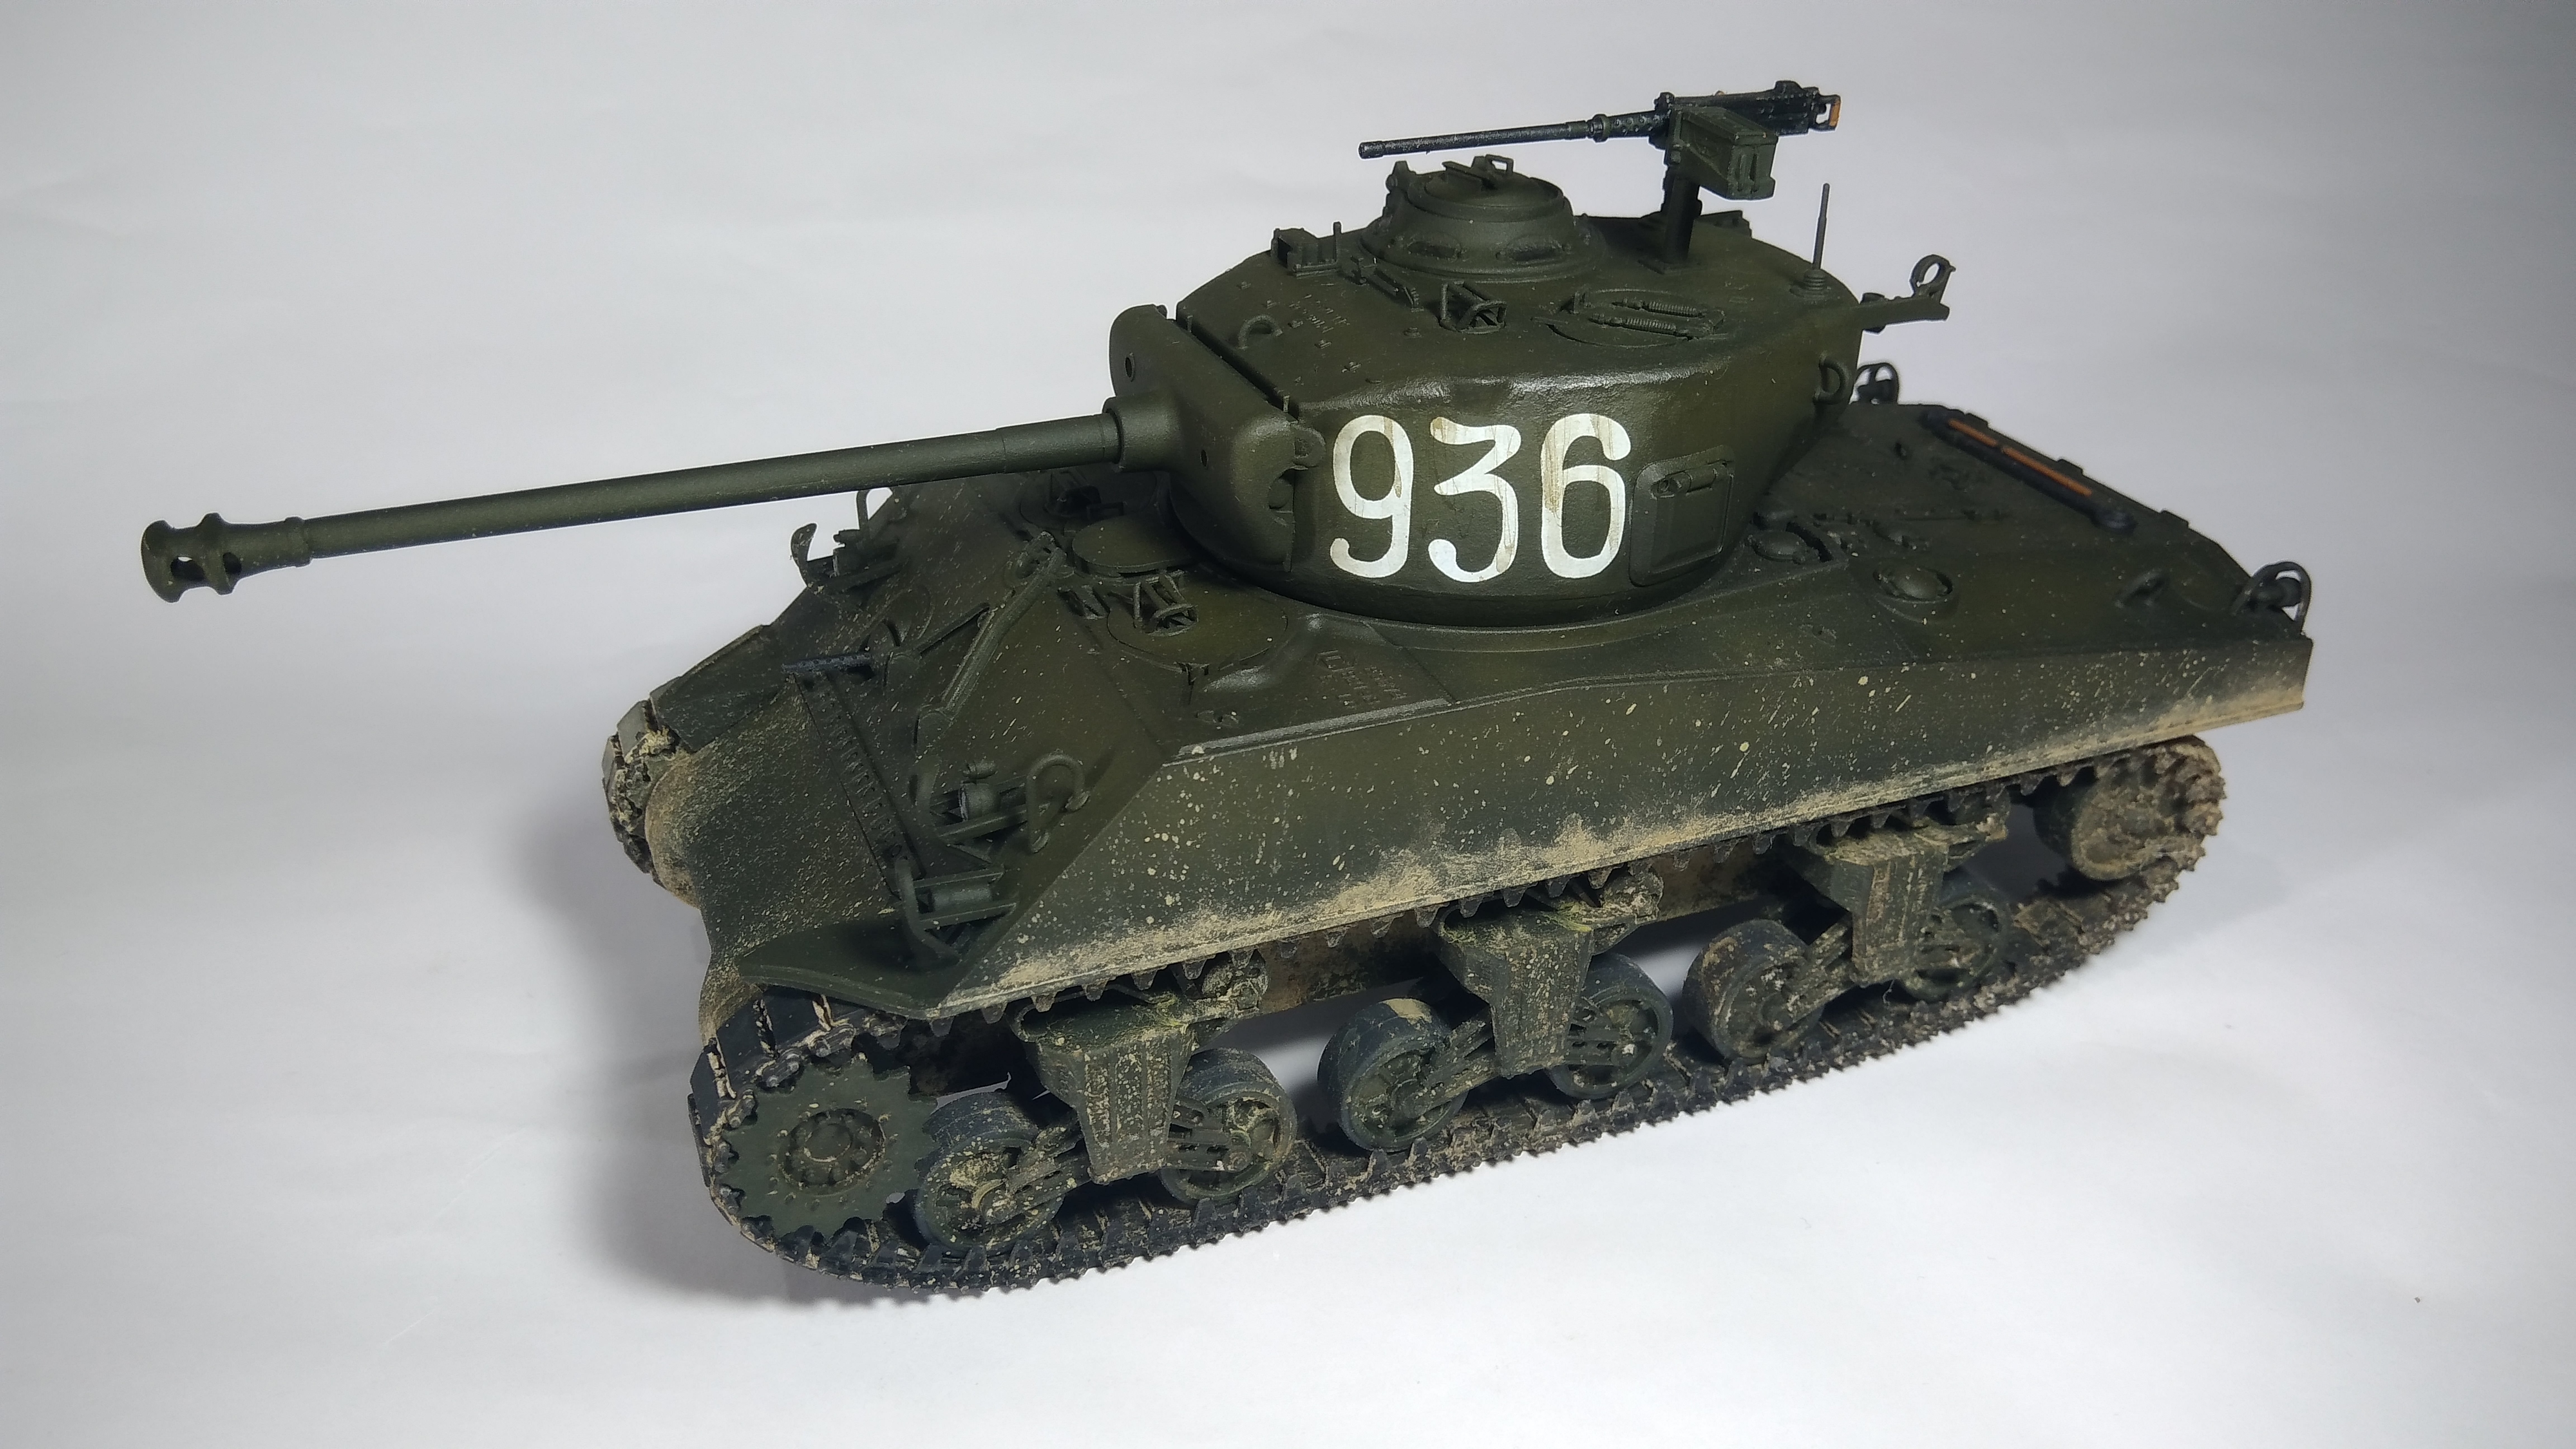
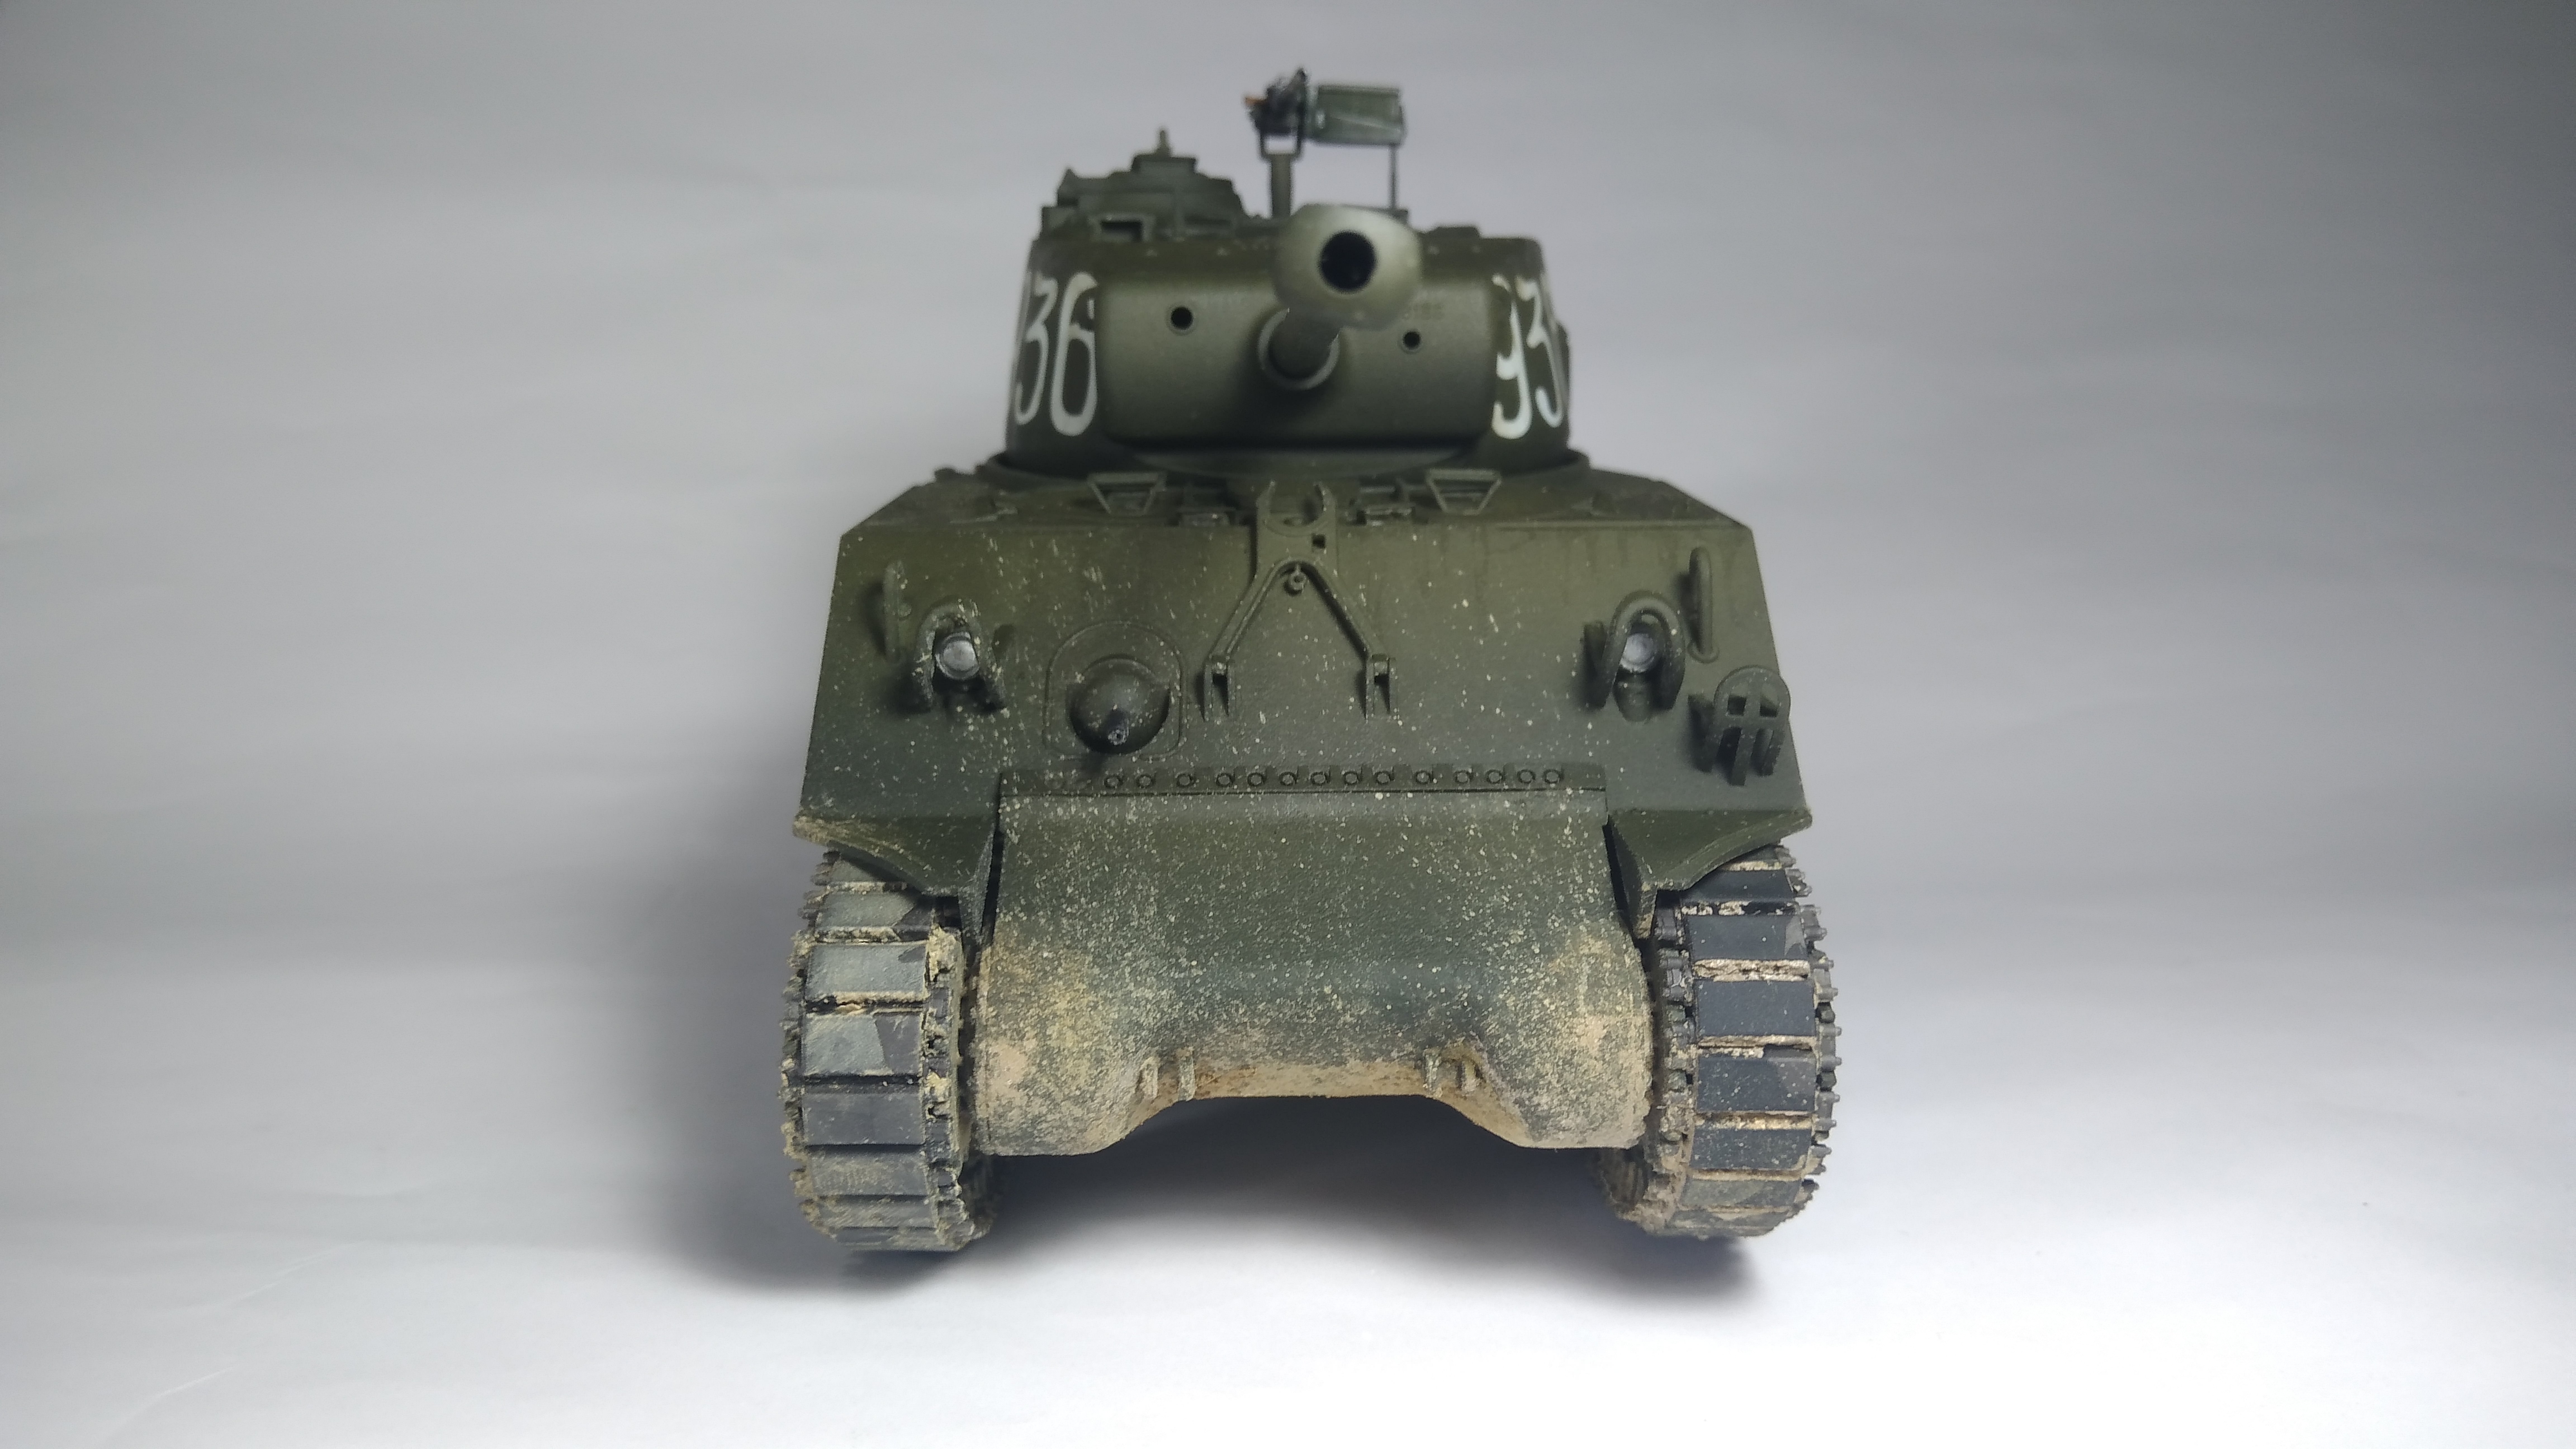
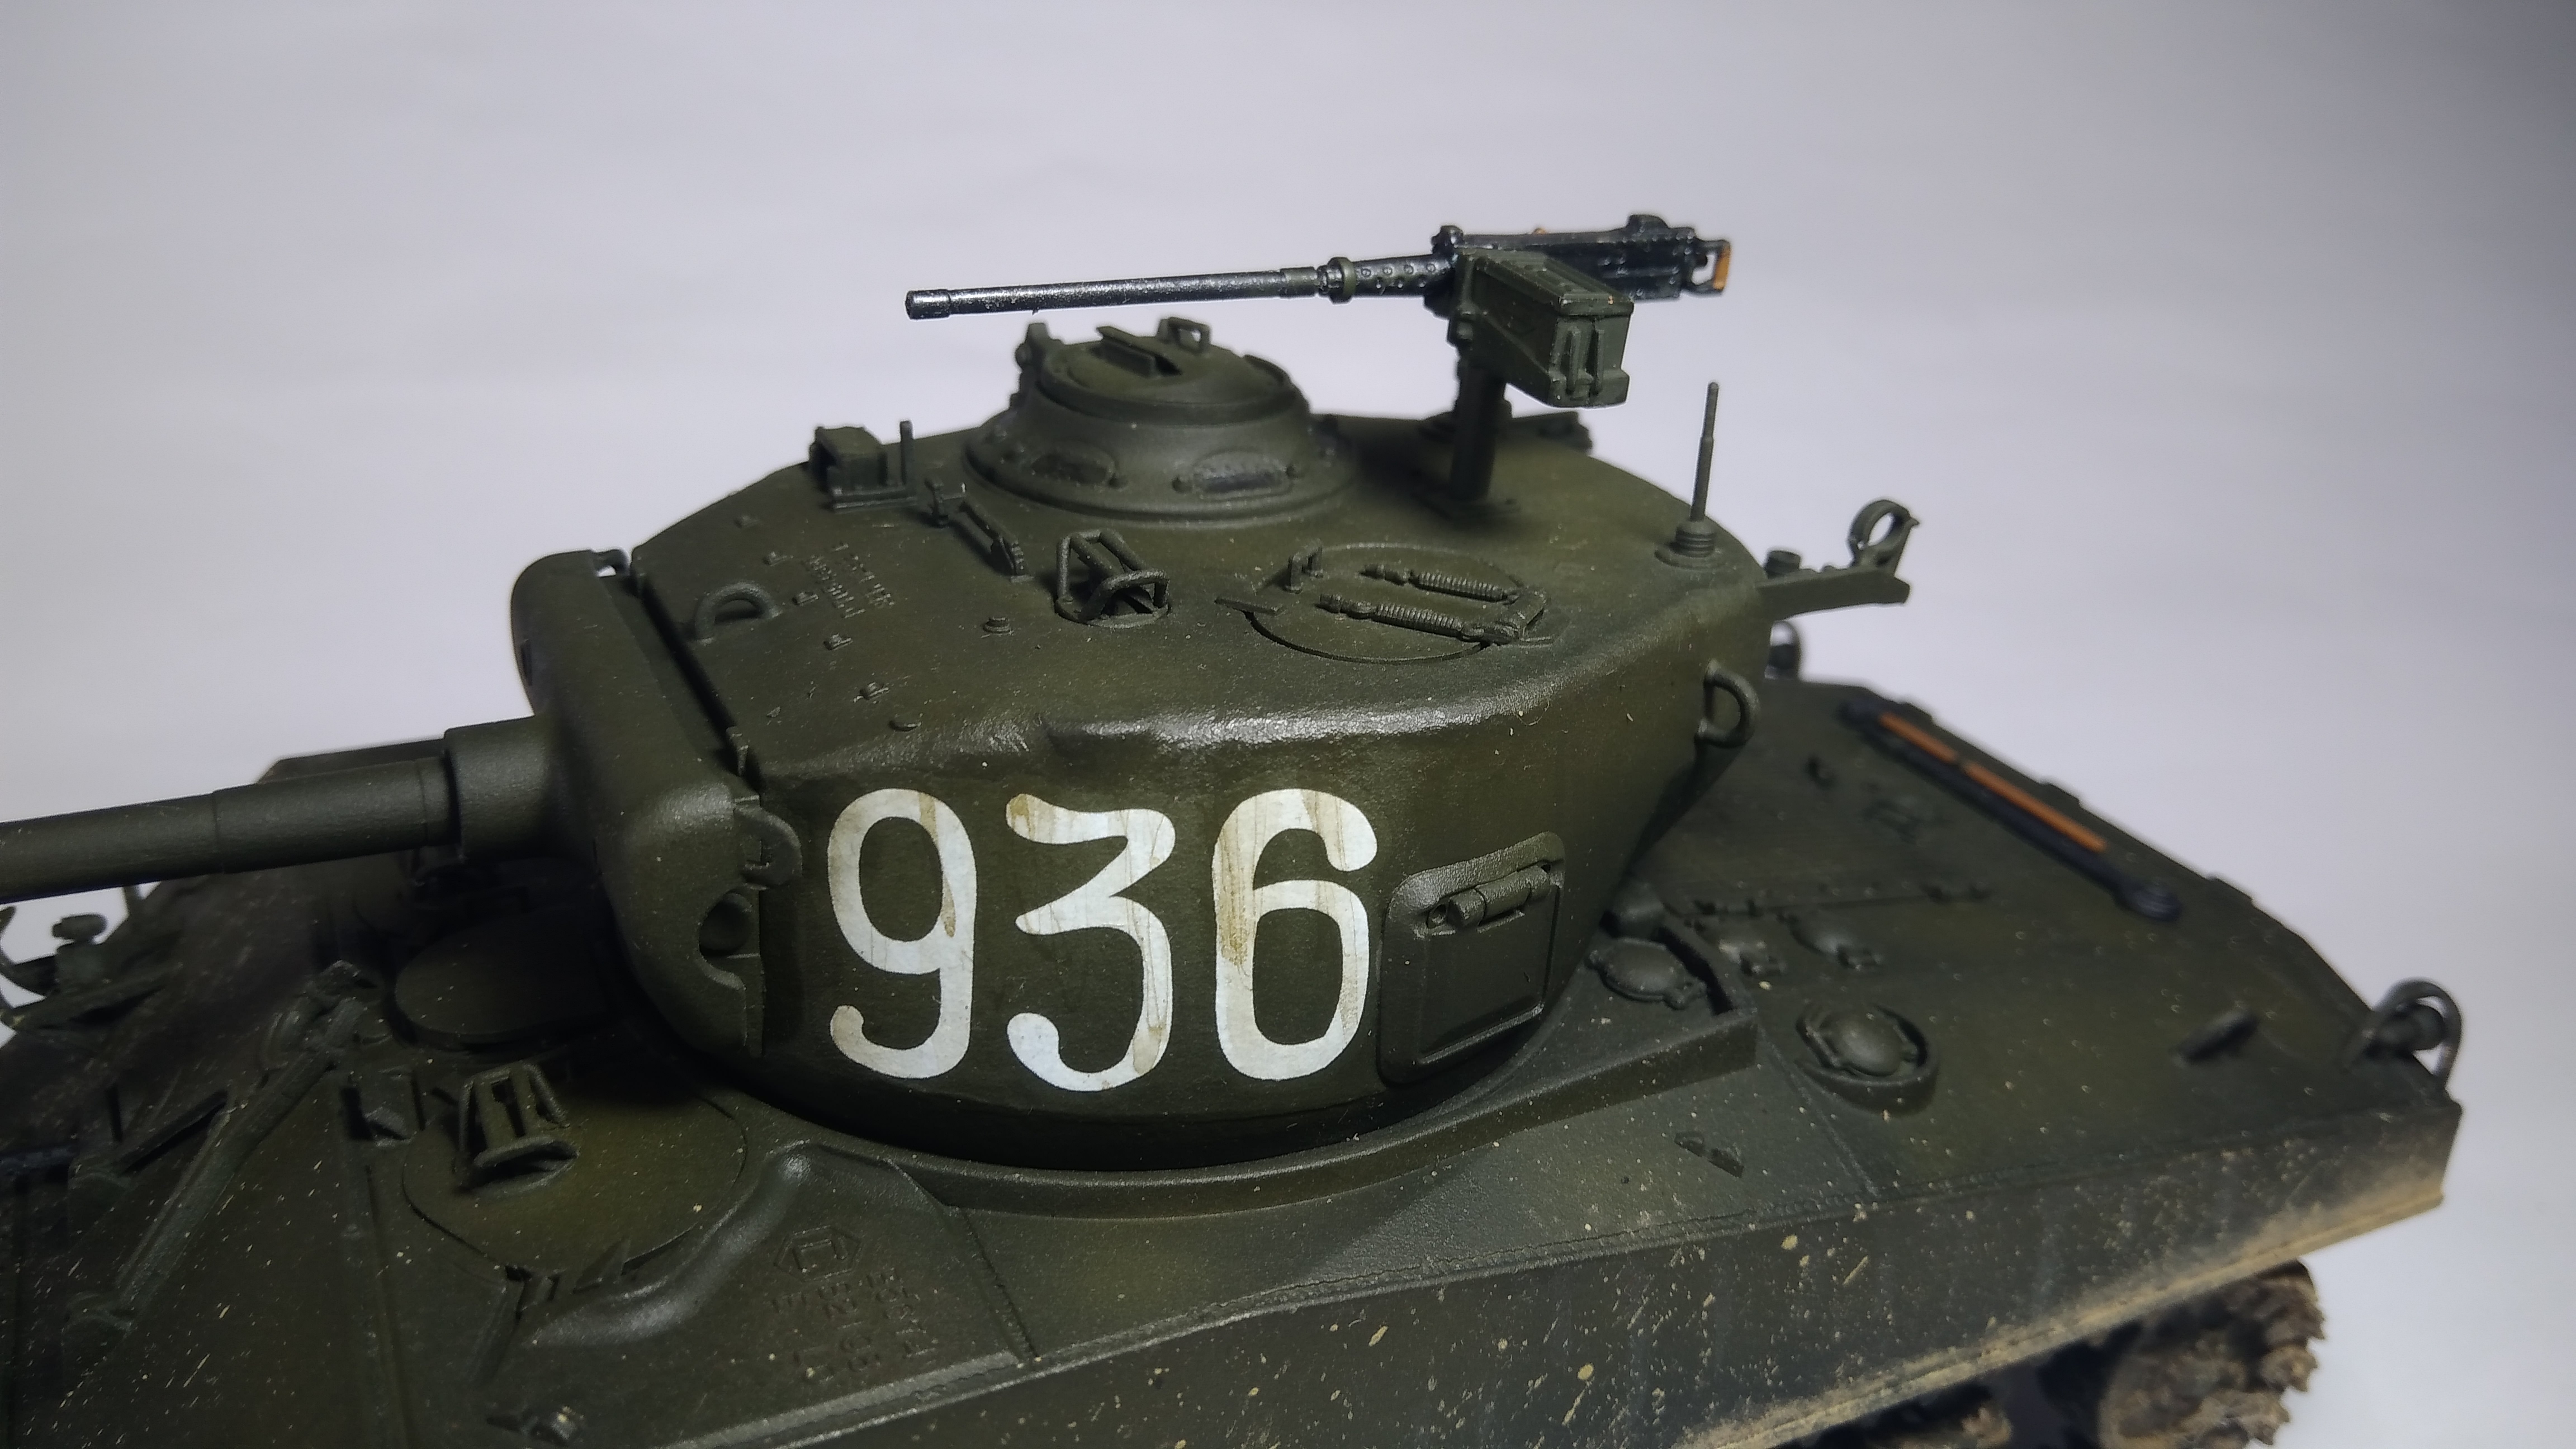
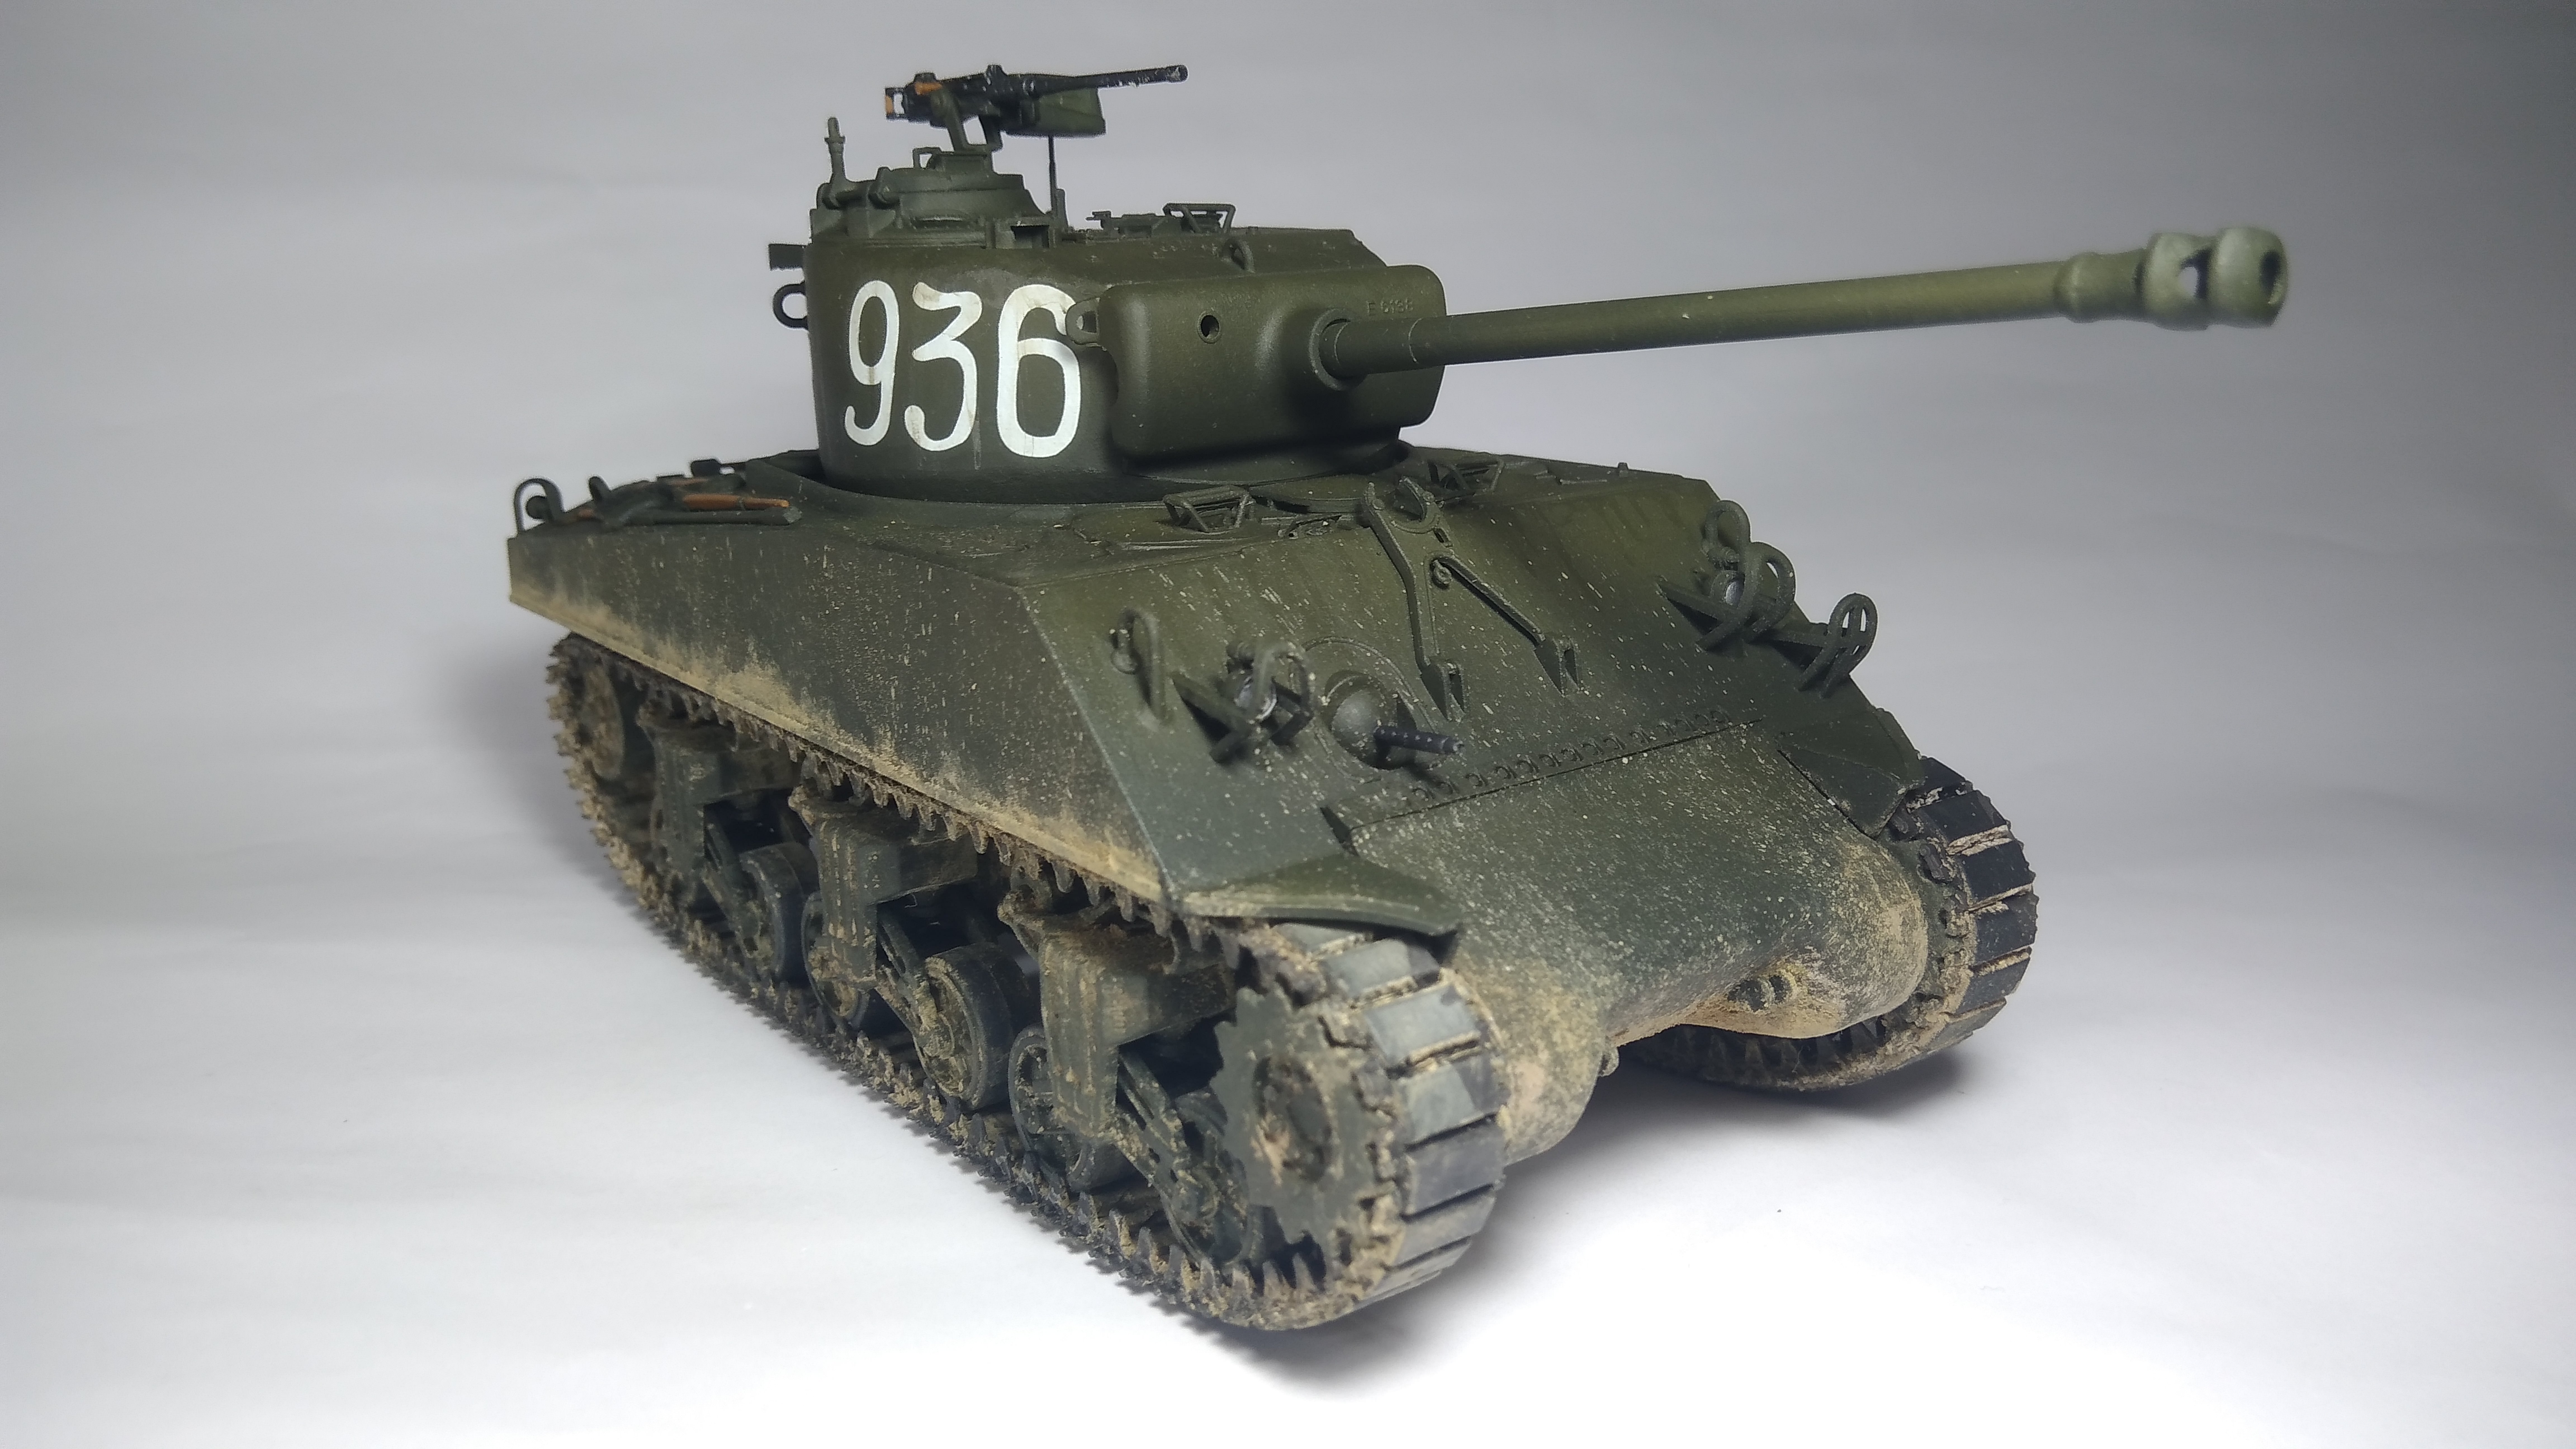
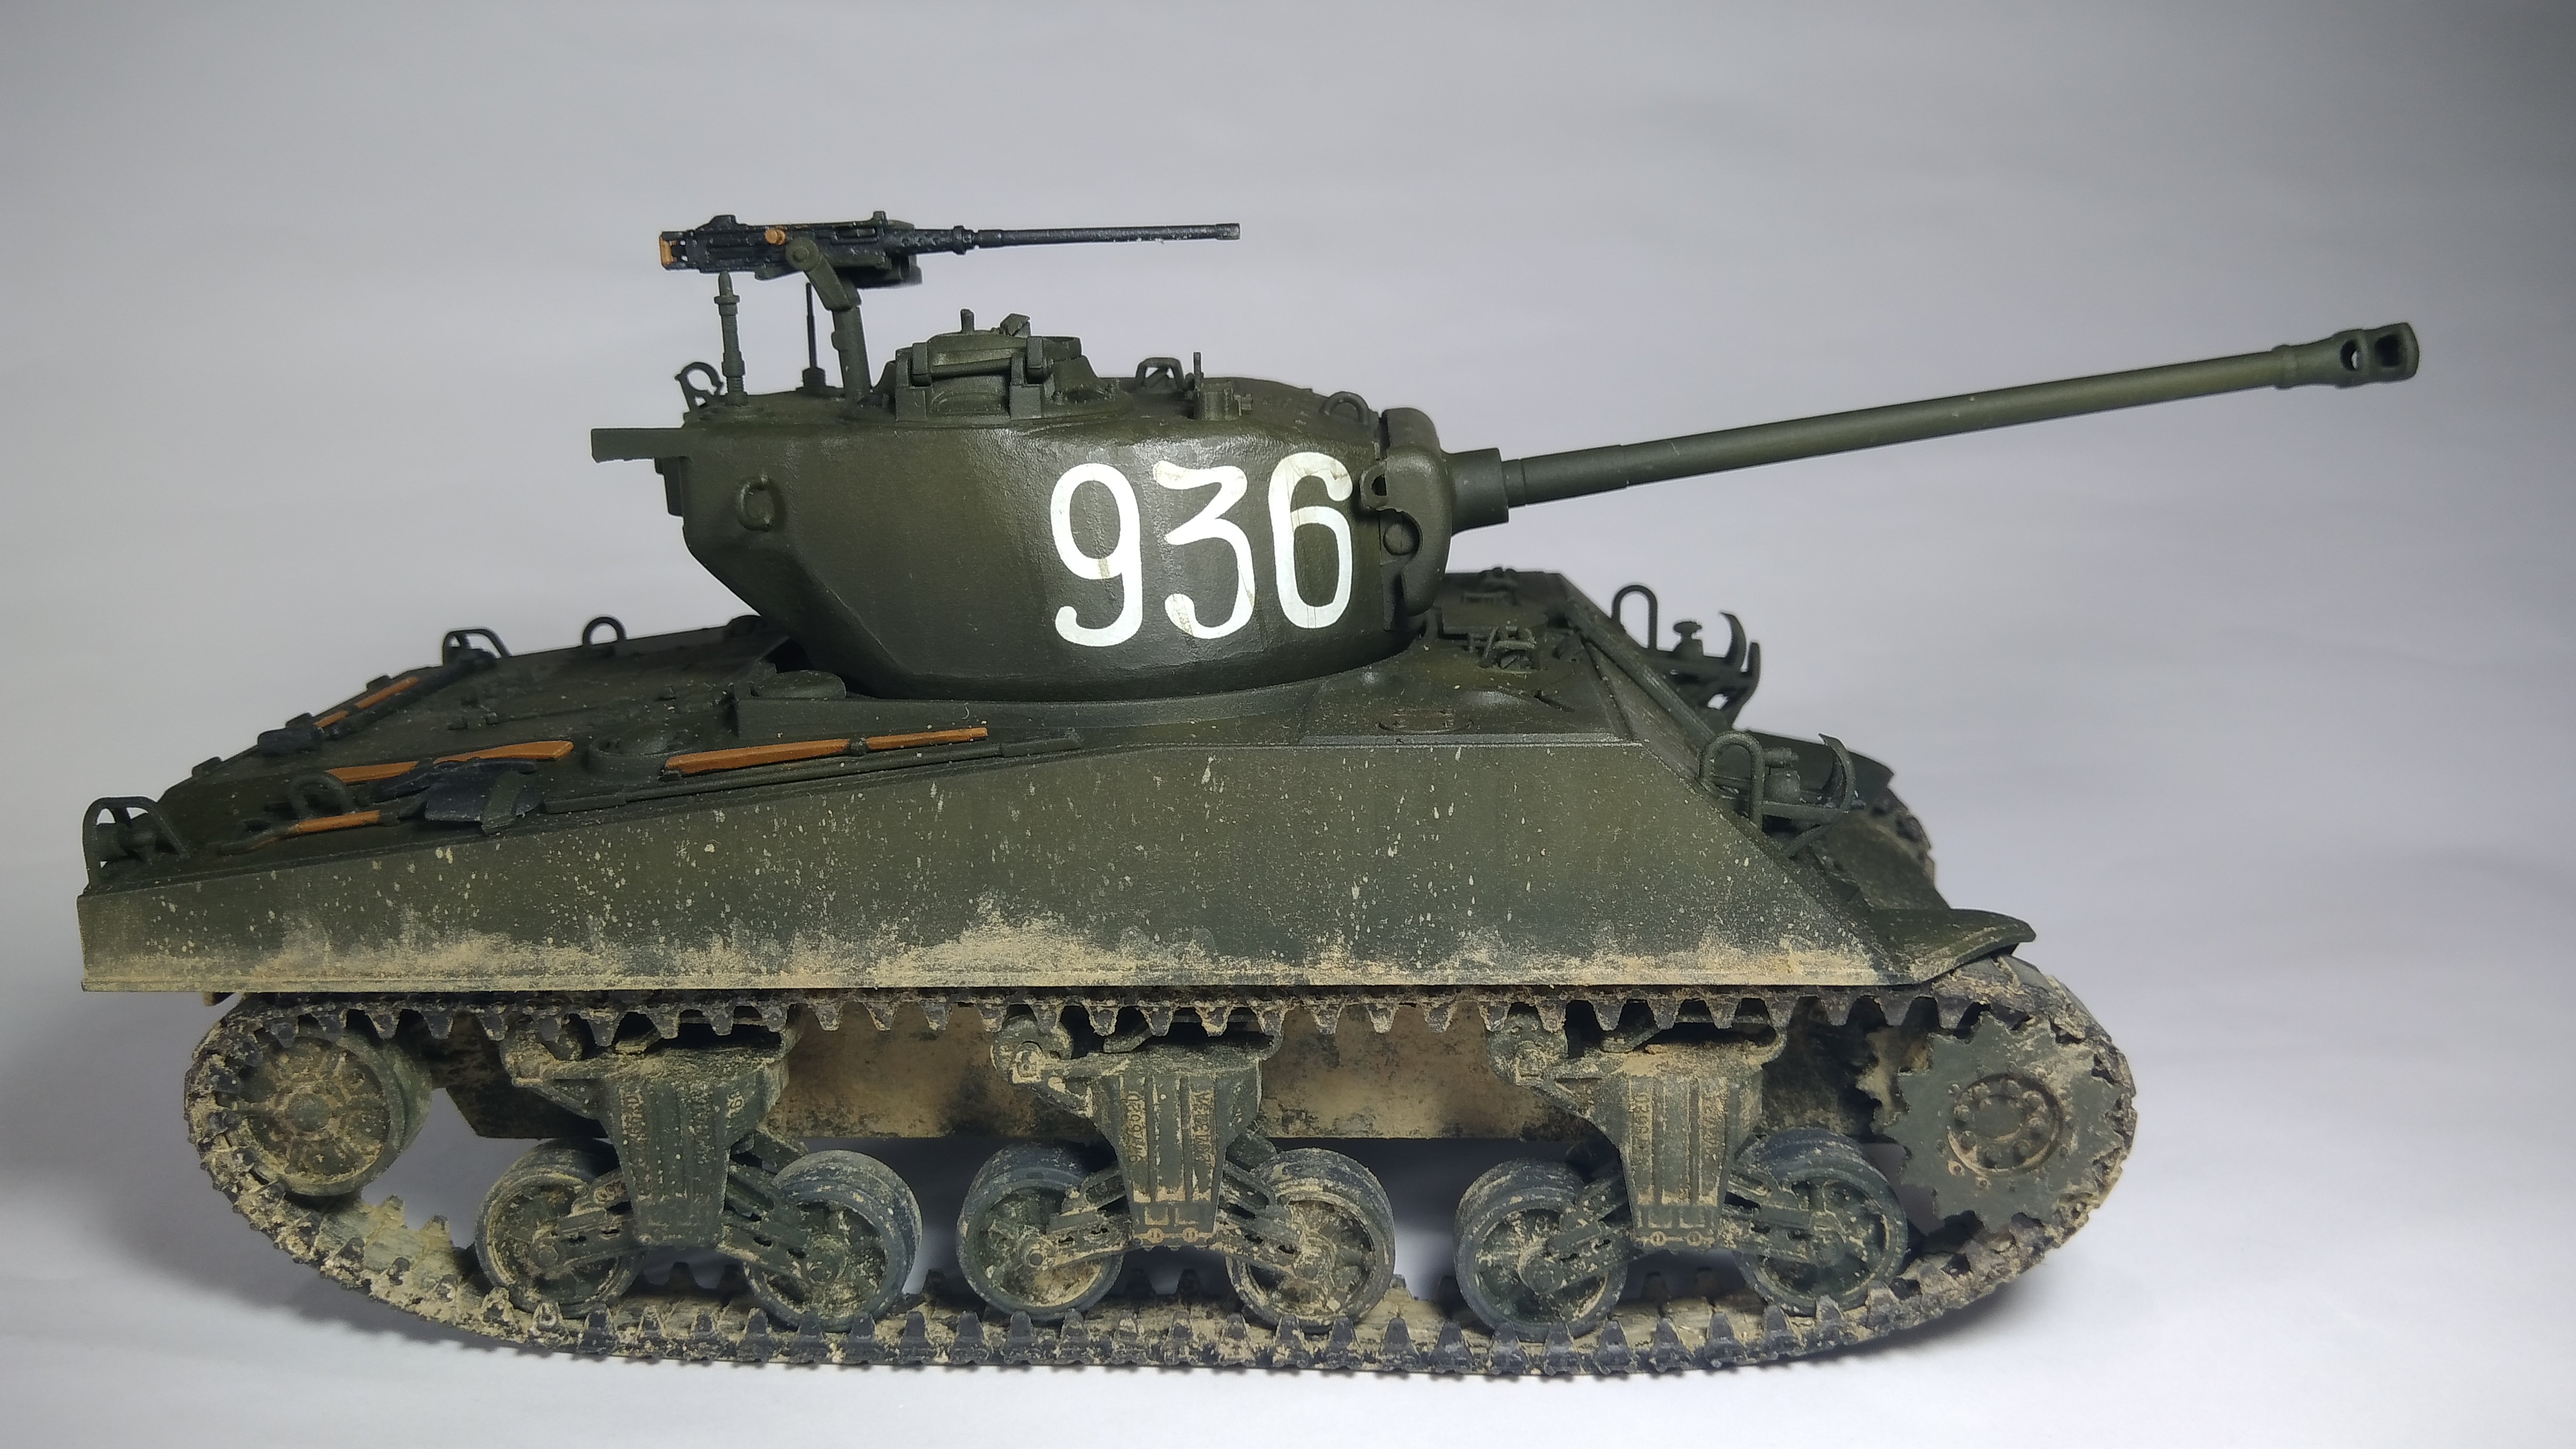
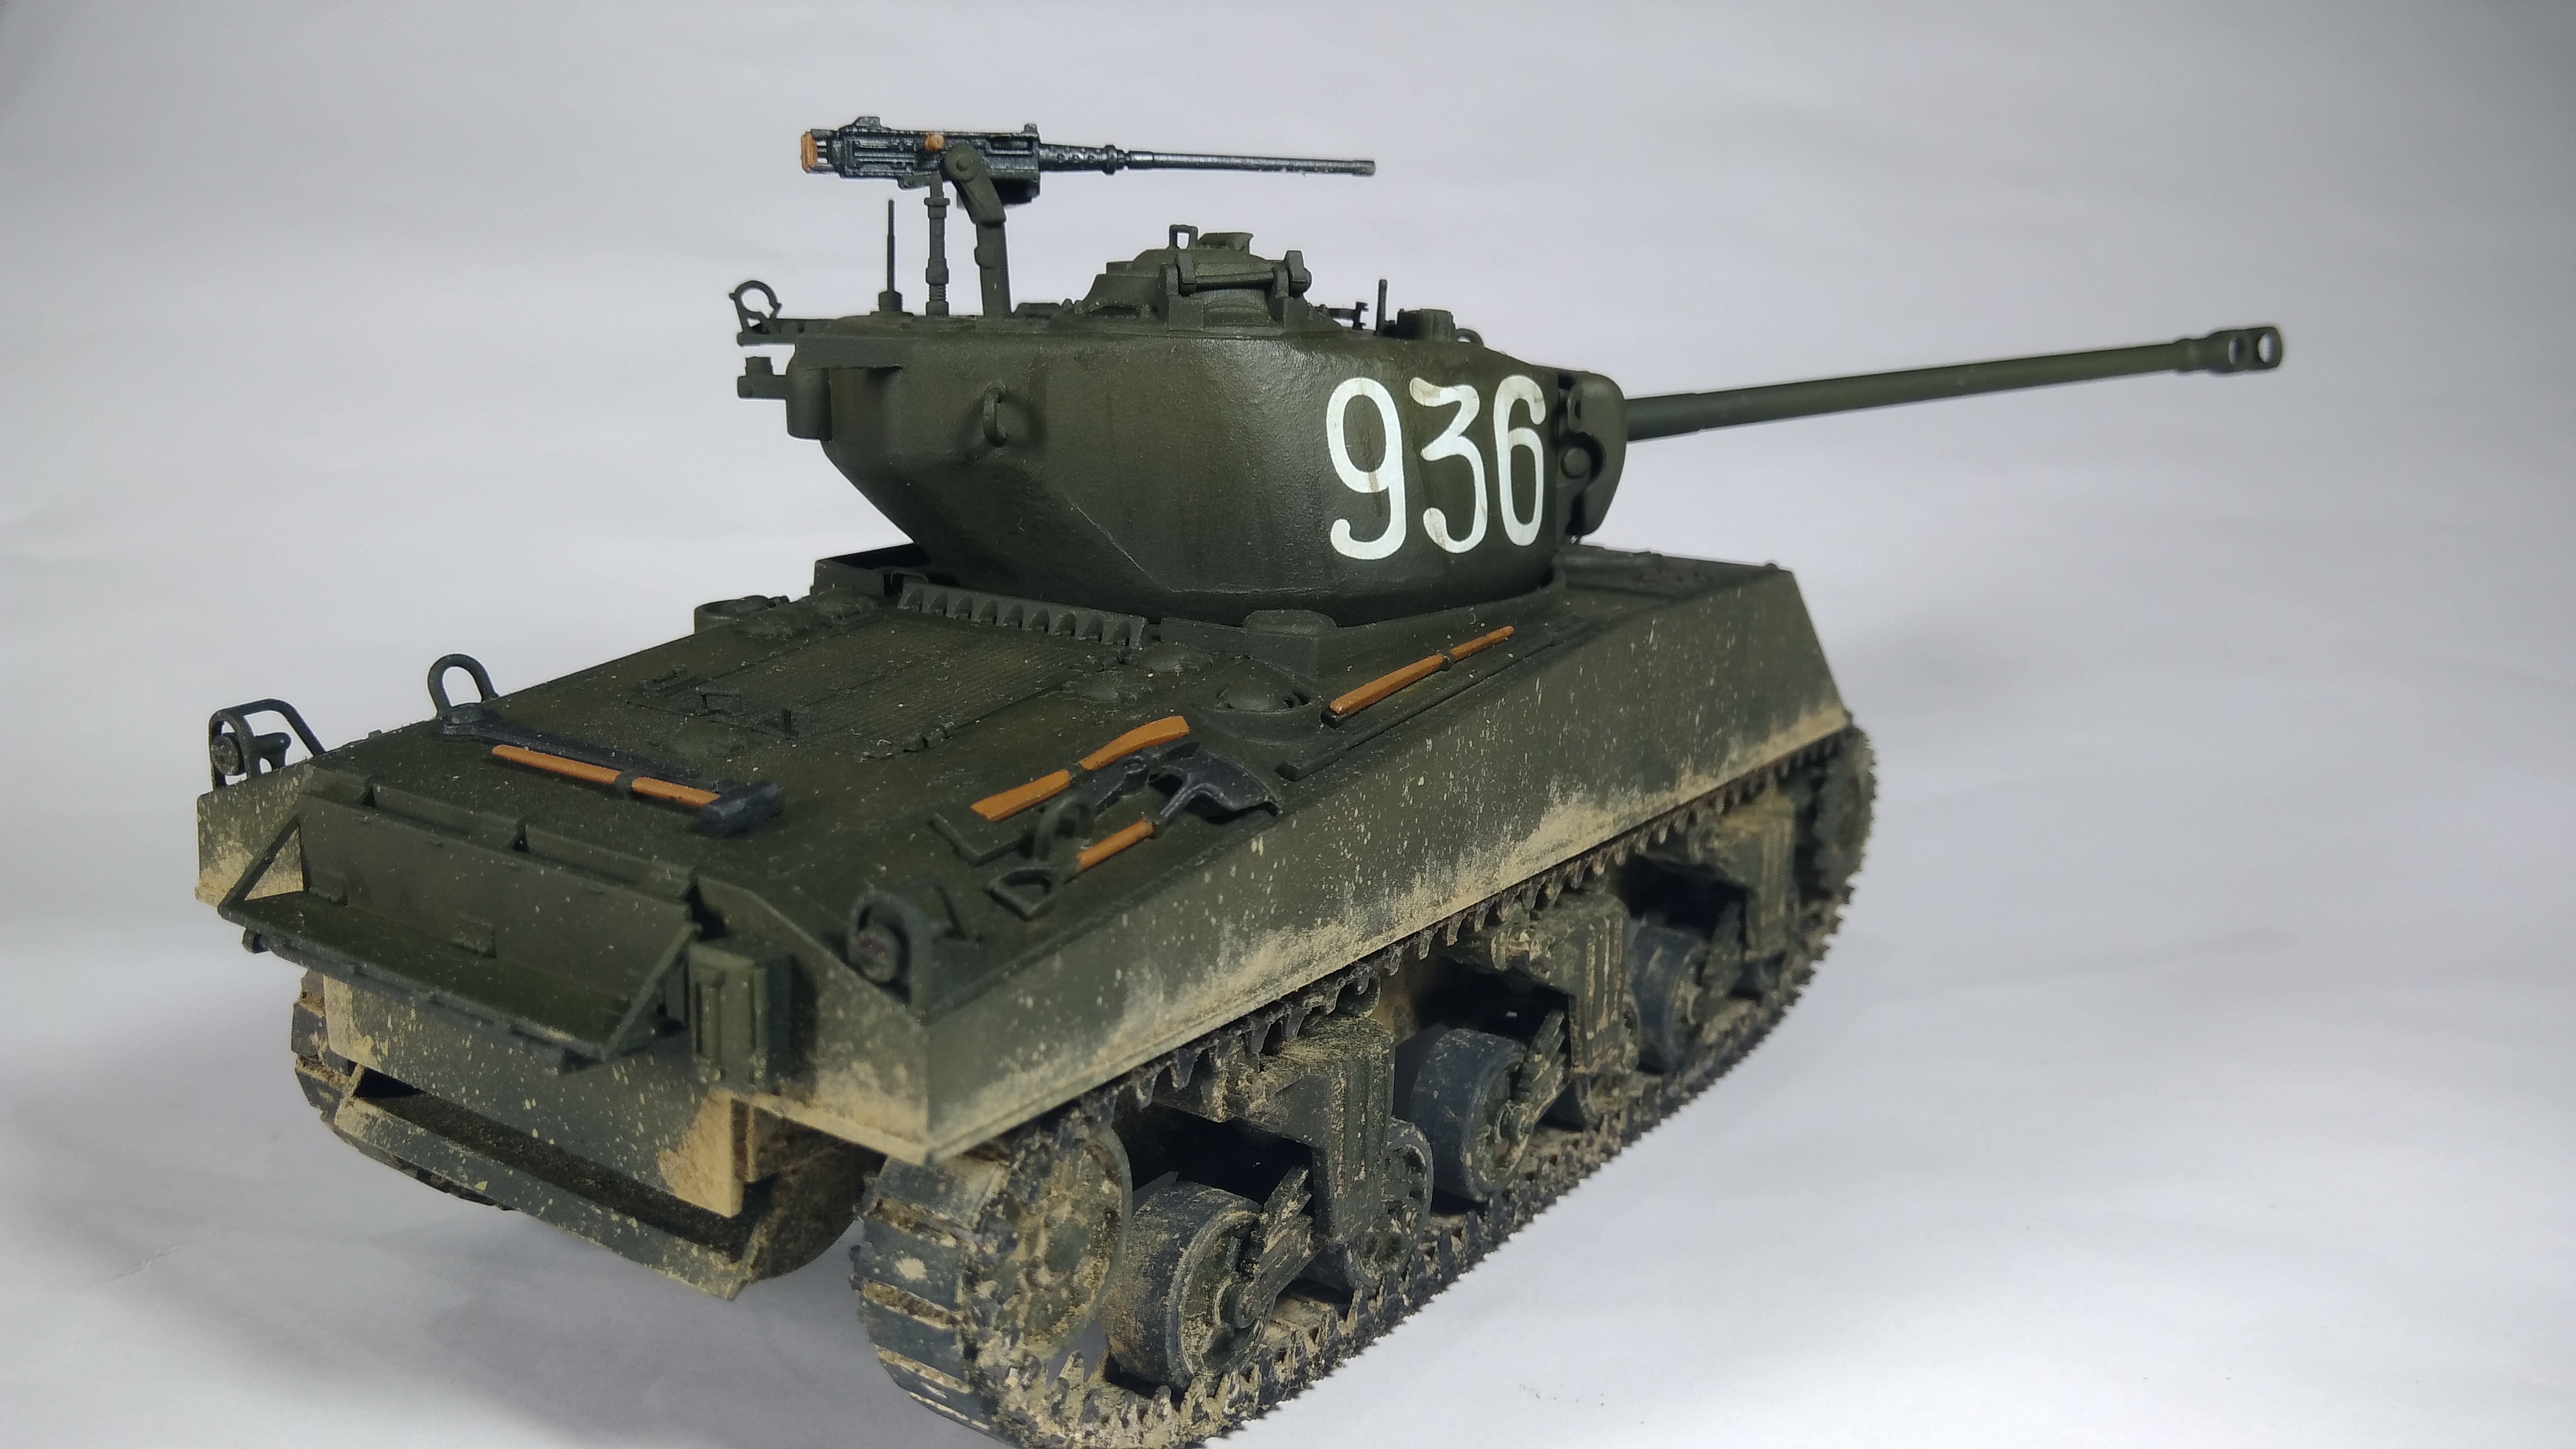
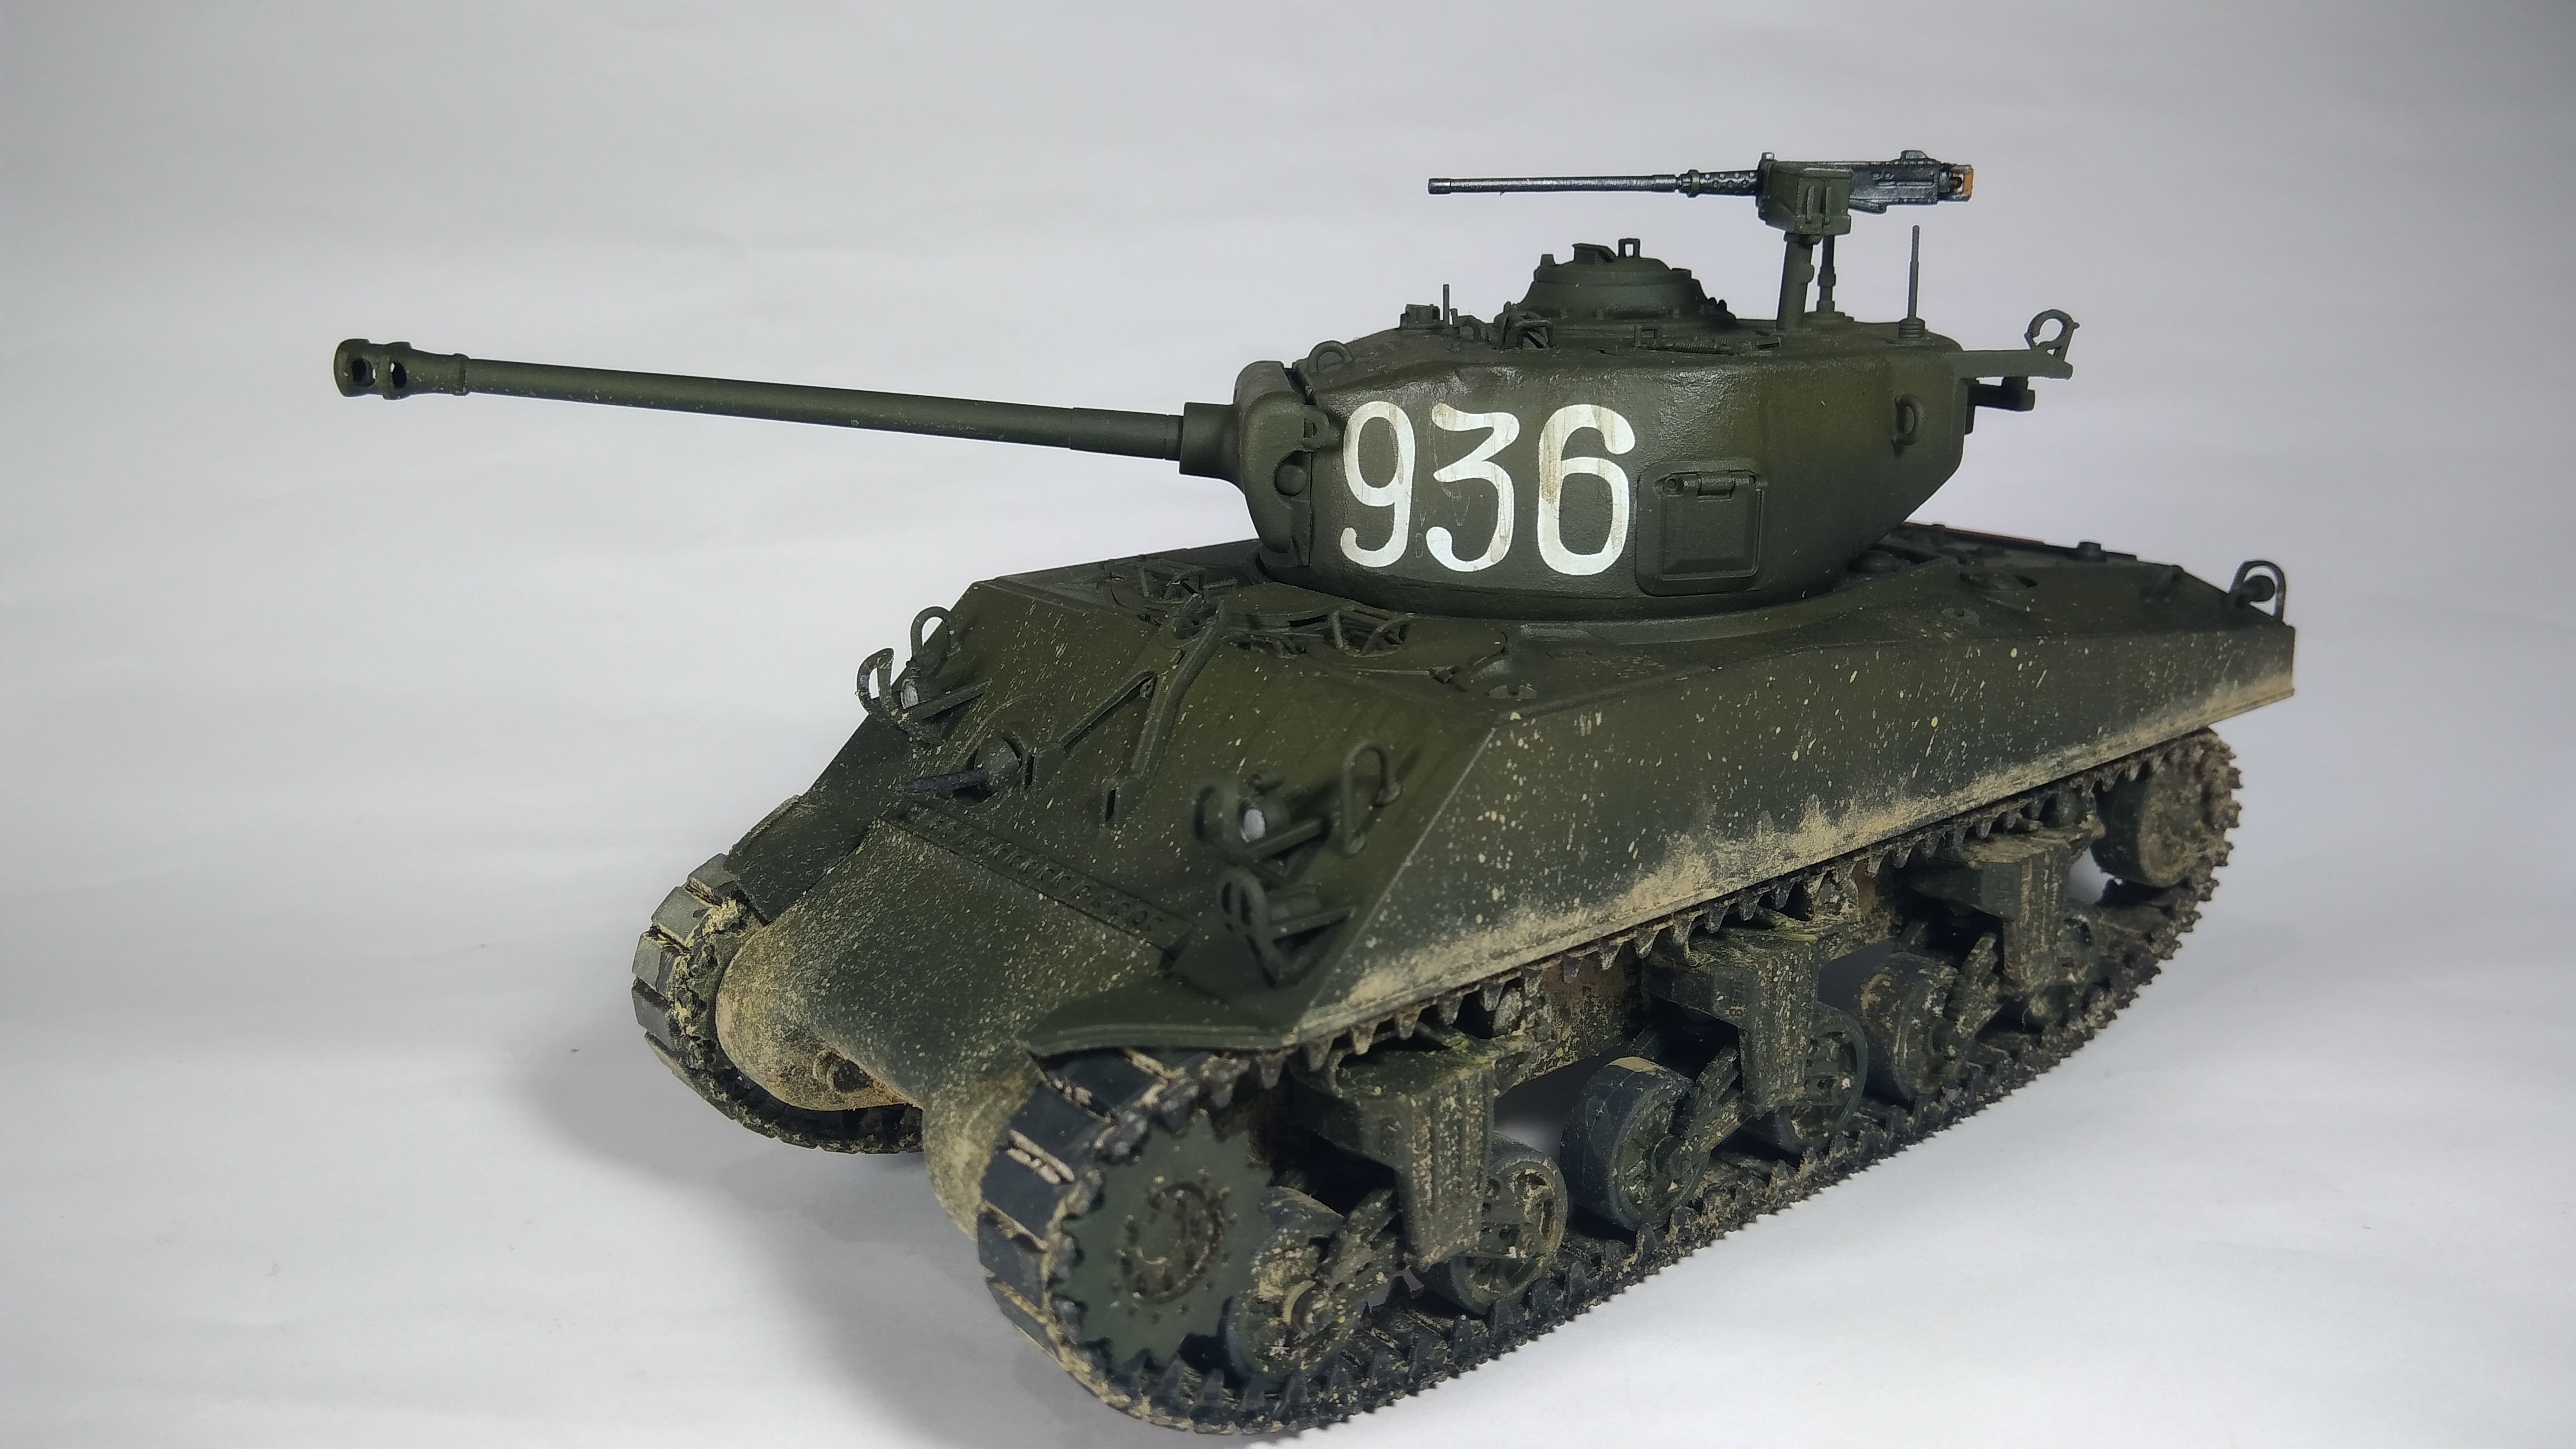
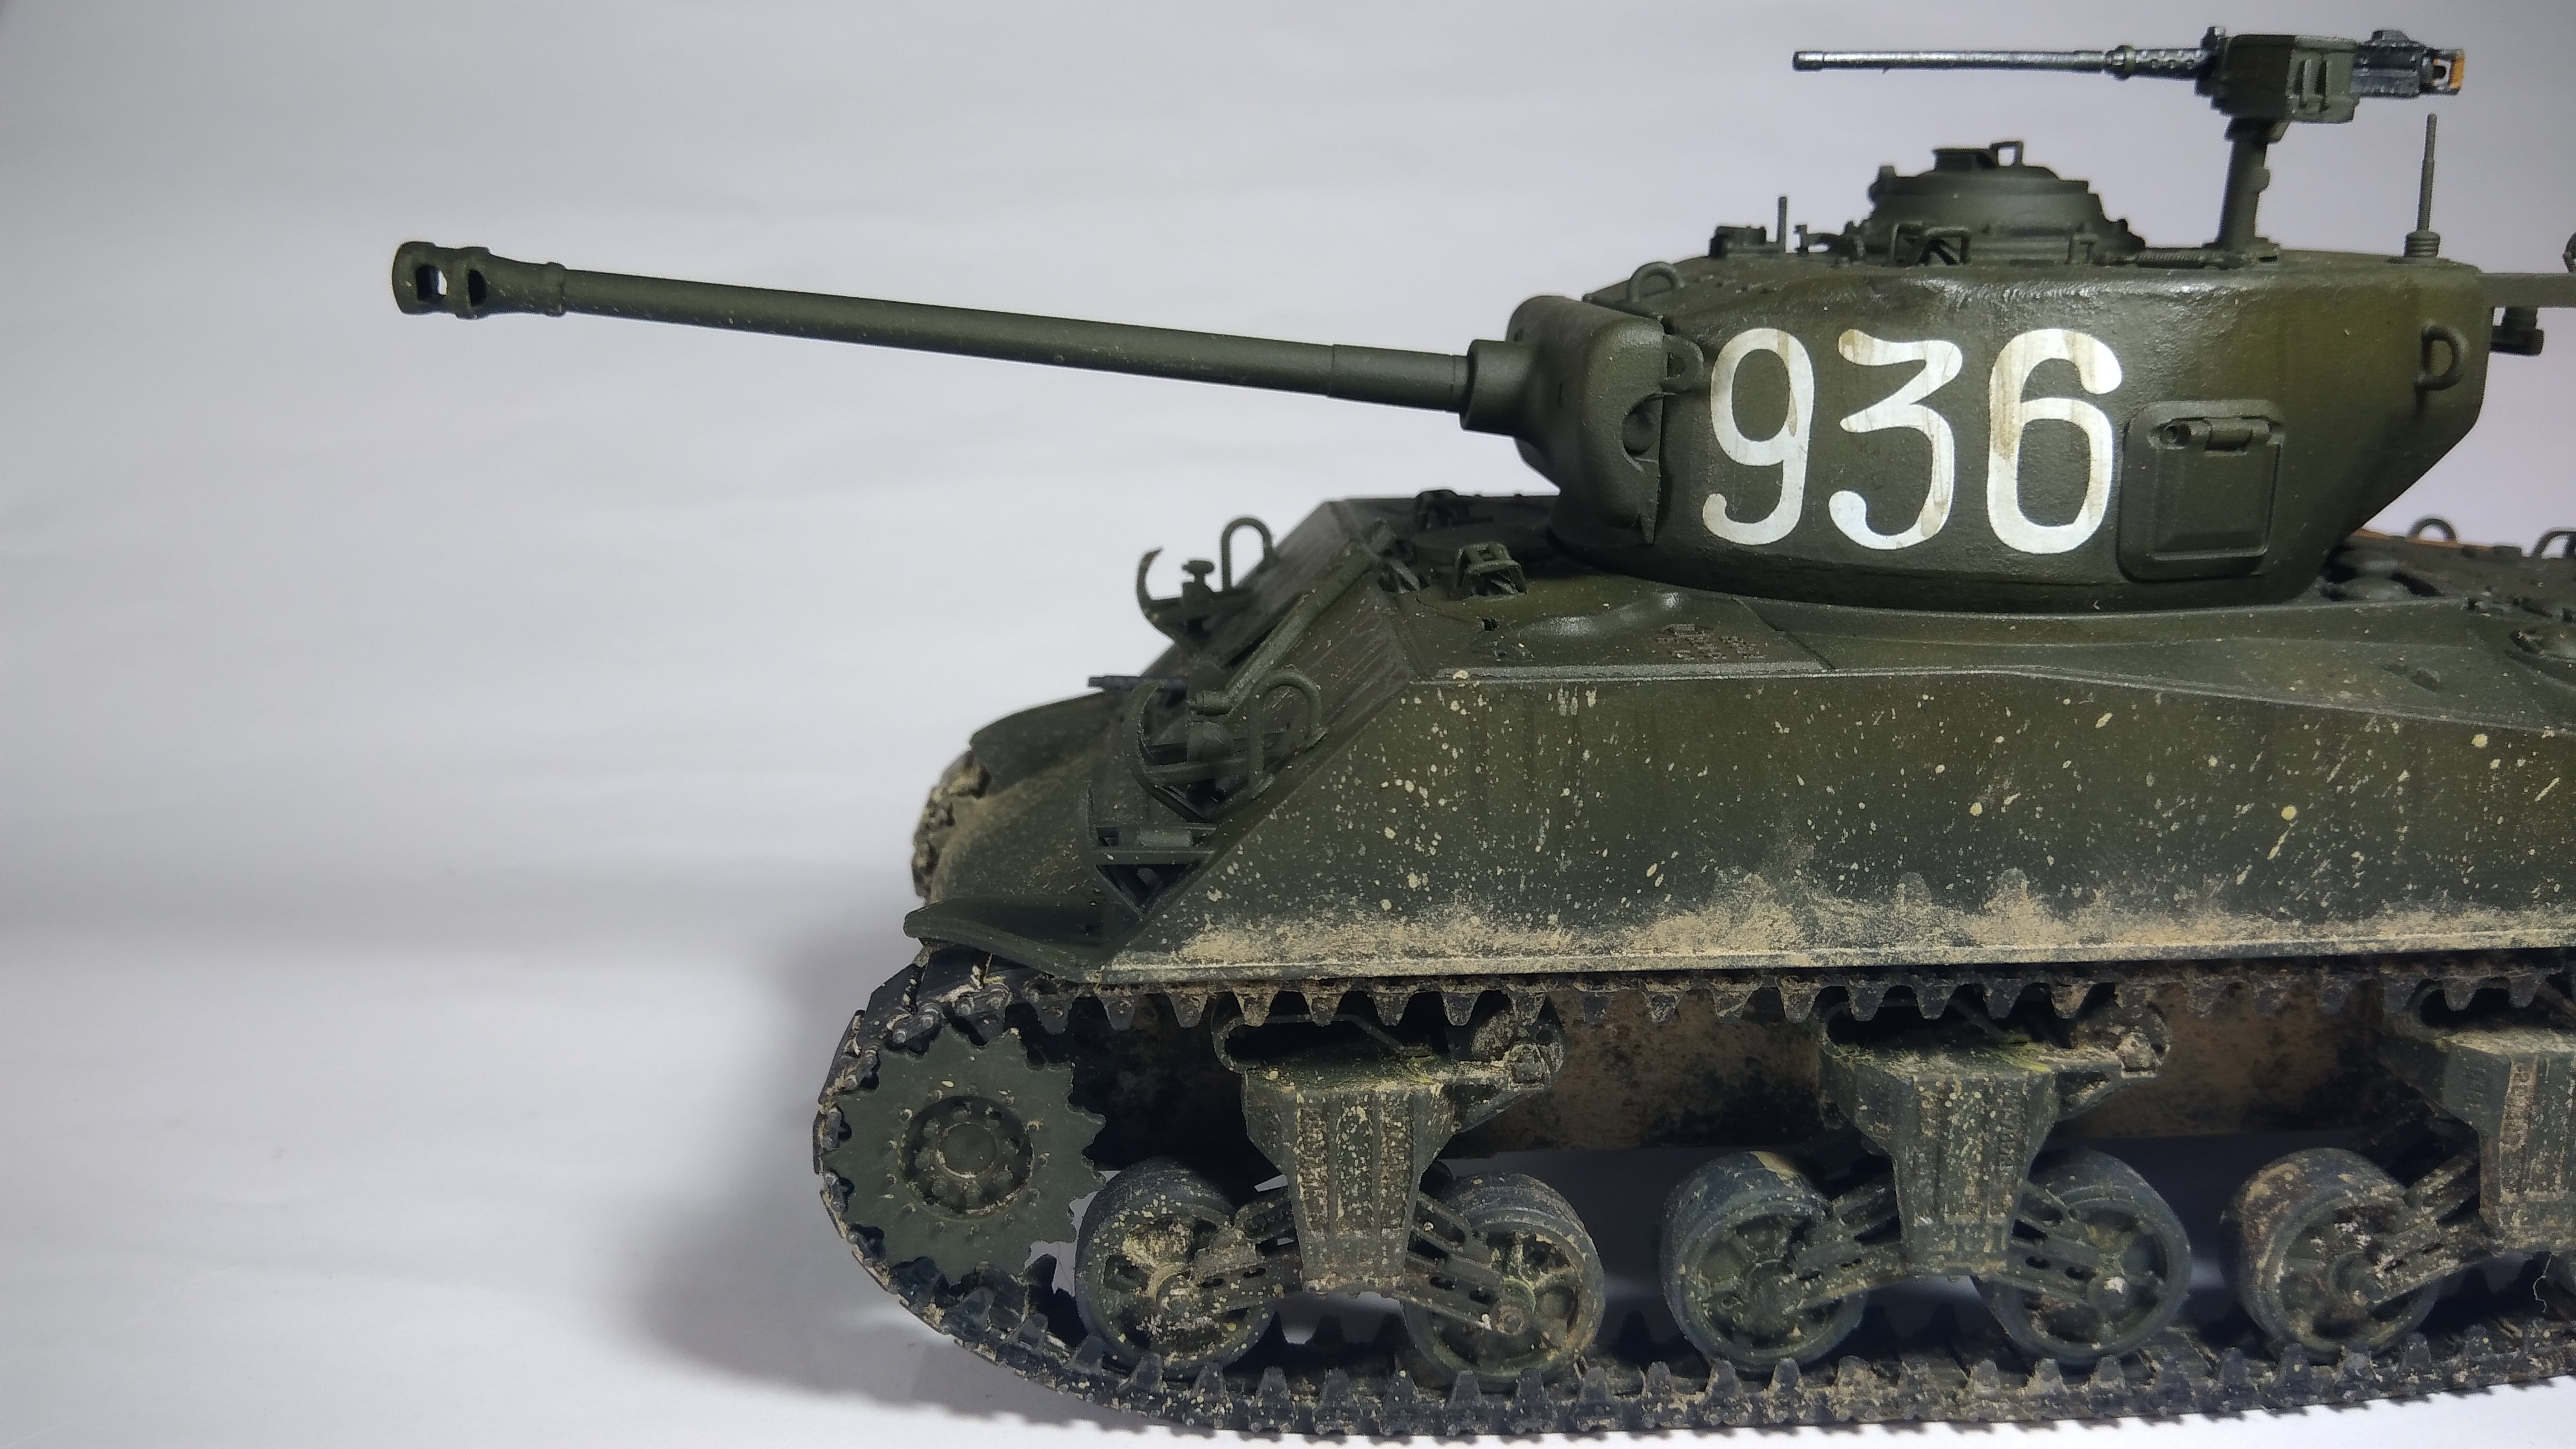
First of all, I really like your basic paintjob. The model is icely painted with the color changing shde at areas. Well done. Also I really like the streaks.
Your barrel might need some alignment if possible. and the lights some gloss varnish.
There ar a couple of things that can be improved:
- Track weathering.
The track interior surfaces, where the wheels rub against the track are usually clean of mud, only dusted. The same goes for the wheels, they are relatively clean on their rubber surfaces.
The metal parts of the track where they come intro contact with the sprocket (guide teeth and links) usually have a bear metal finish, as well as the sprocket teeth. You can easily emulate that by rubbing a soft pencil against the surface (try a 4B and higher pencil grade).
The exterior track surfaces, where they touch the ground might be clean if the vehicle moves on the road, but if the vehicle moves on dirt they have an even dusty look. You can do that by brushing some pigment on them, without pigment fixer.
- Dusting on the hull.
The way you have applied your pigments makes the vehicle look as if it just started from the base and fell into mud. By the looks of it, I guess you applied pigment fixer on all areas. Try brushing some pigment, without fixer, around your work, so that it looks as dust. Take only a little pigment with your brush and brush freely on a surface, for example the front fender. This way you can simulate dusty surfaces. No need to add fixer on all of your pigmentwork, just try to avoid touching the areas after. I usually do this work last, prior to attaching my model on a base. Do not get over excited with the dusting and be subtle. Work only on the areas around your existing pigment work.
You can also try some chipping on your model, there are many ways to do it.
Hope I have helped.

 Would like to share with you my progress on a M4A2(76) Red Army Sherman. Used vallejo light sienna pigments, desert dust, and streaking grime. Might add some more weathering on the tools. Also might do a bit more washes on the panel lines. Would appreciate any tips or constructive criticism. Thanks for looking!