_GOTOBOTTOM
Constructive Feedback
For in-progress or completed build photos. Give and get contructive feedback!
BDT-35
JamesL27
Visit this Community
United States
Joined: June 02, 2013
KitMaker: 202 posts
Armorama: 199 posts
Posted: Wednesday, May 02, 2018 - 12:09 AM UTC
I don't post much, but I thought I'd share this one since it's such an oddball.

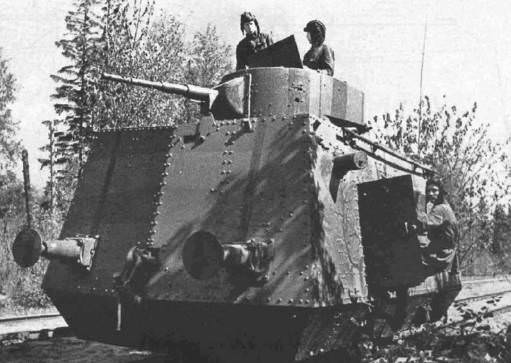
I like Russian stuff, interwar-early WWII vehicles, and armored trains. So when I saw this kit come out I had to buy it.


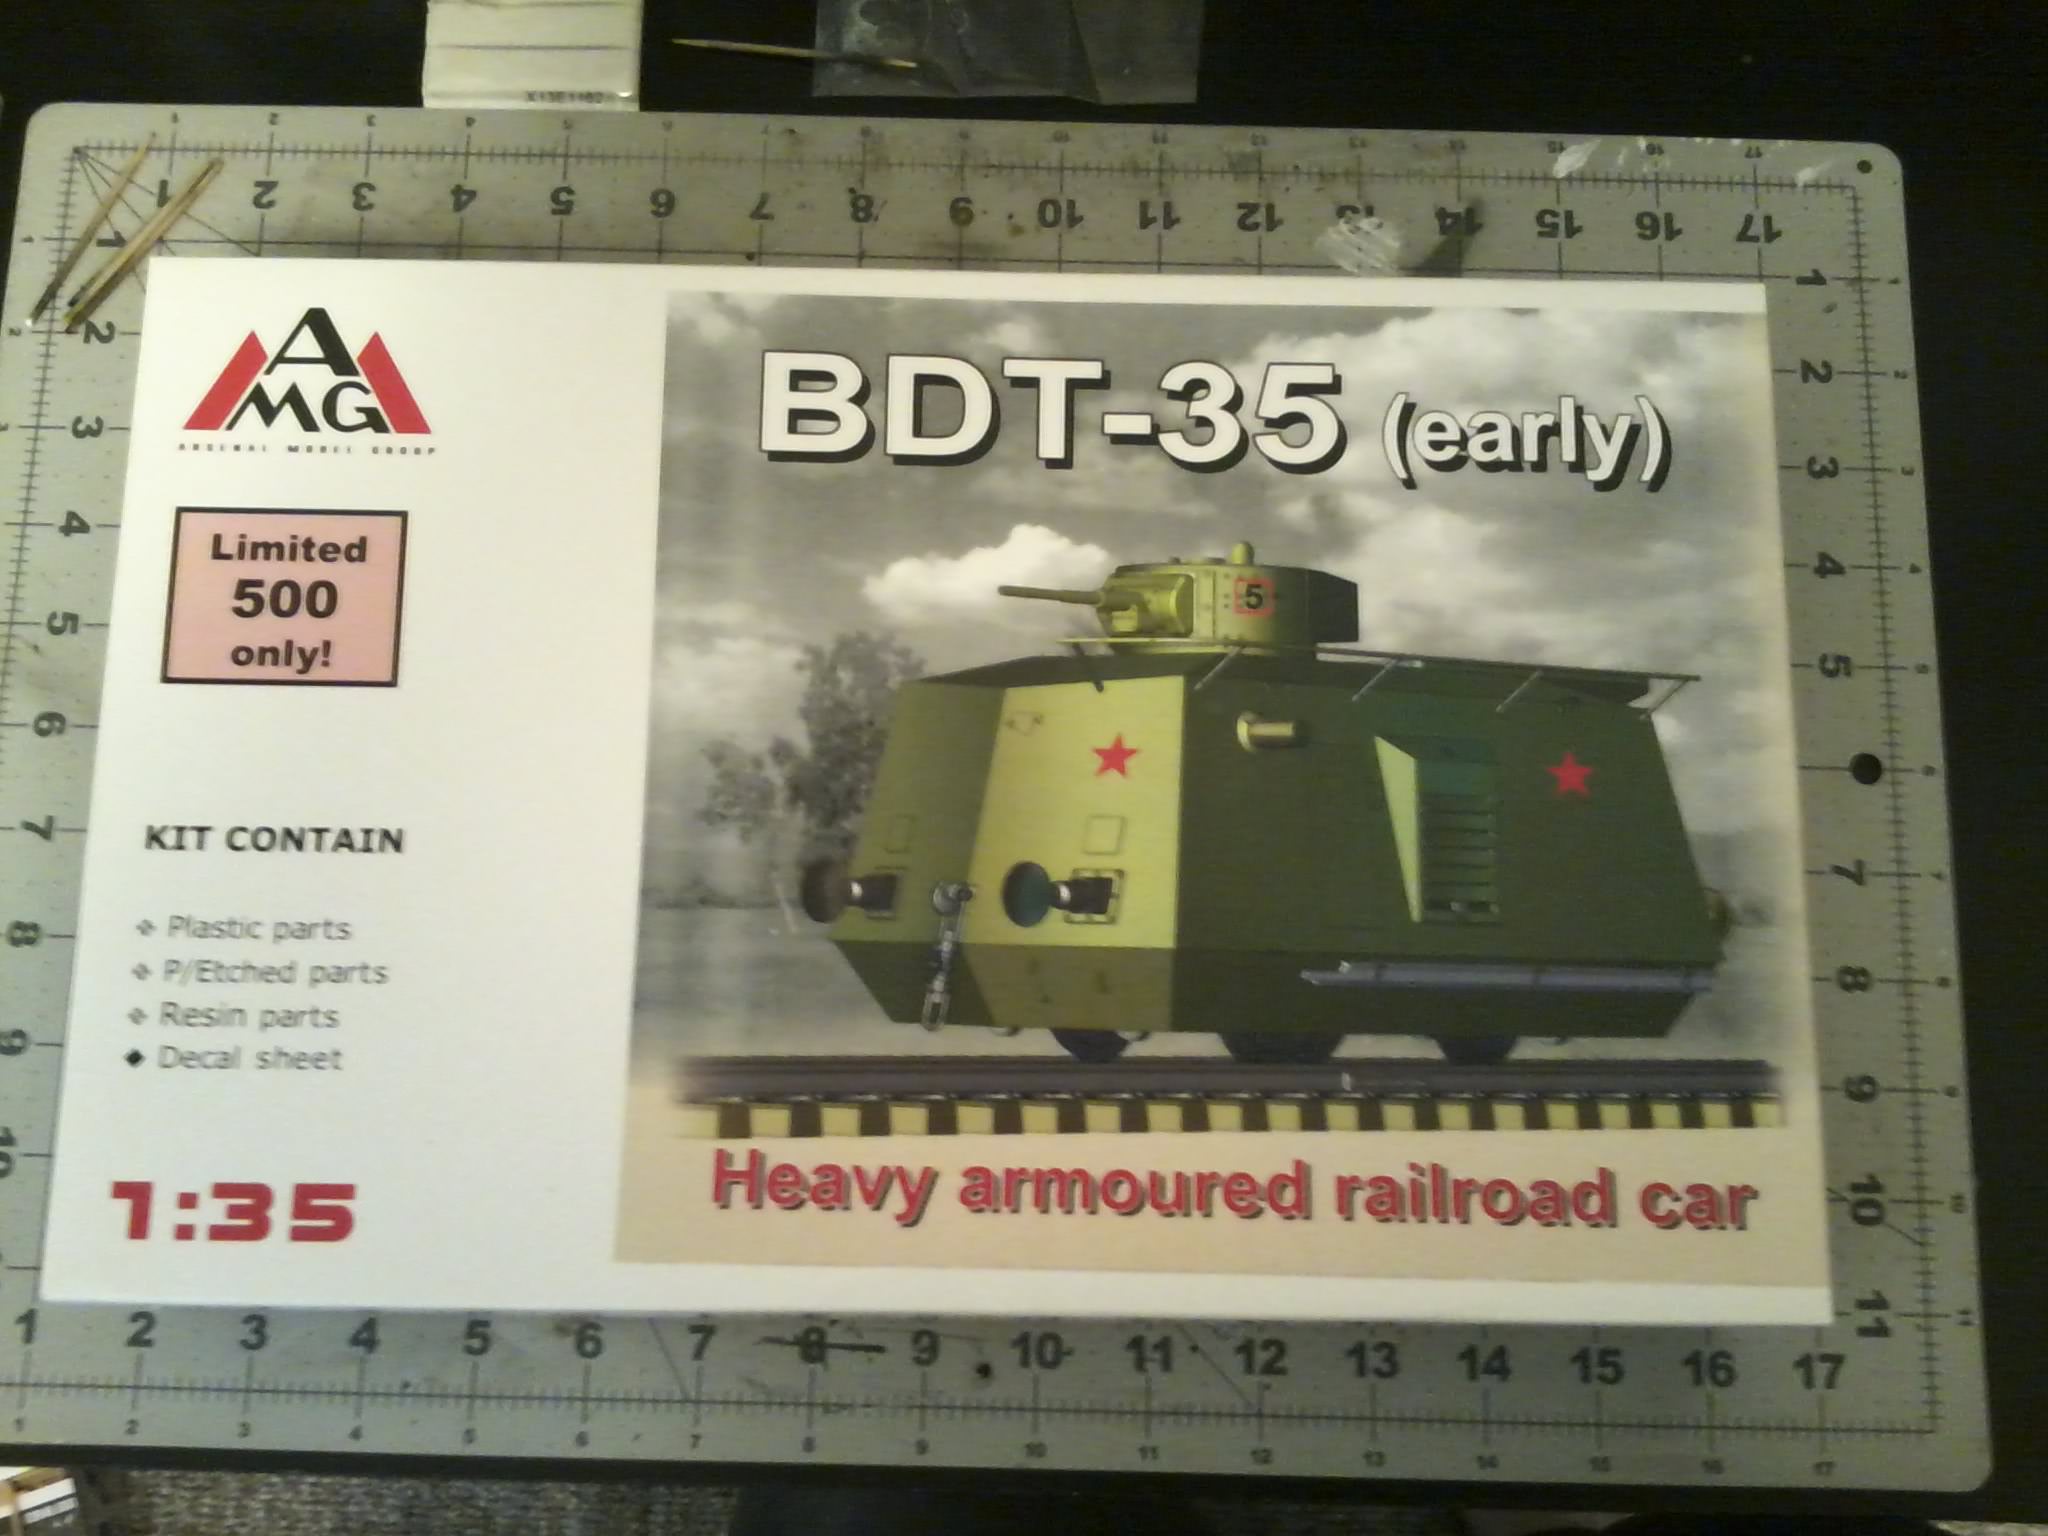
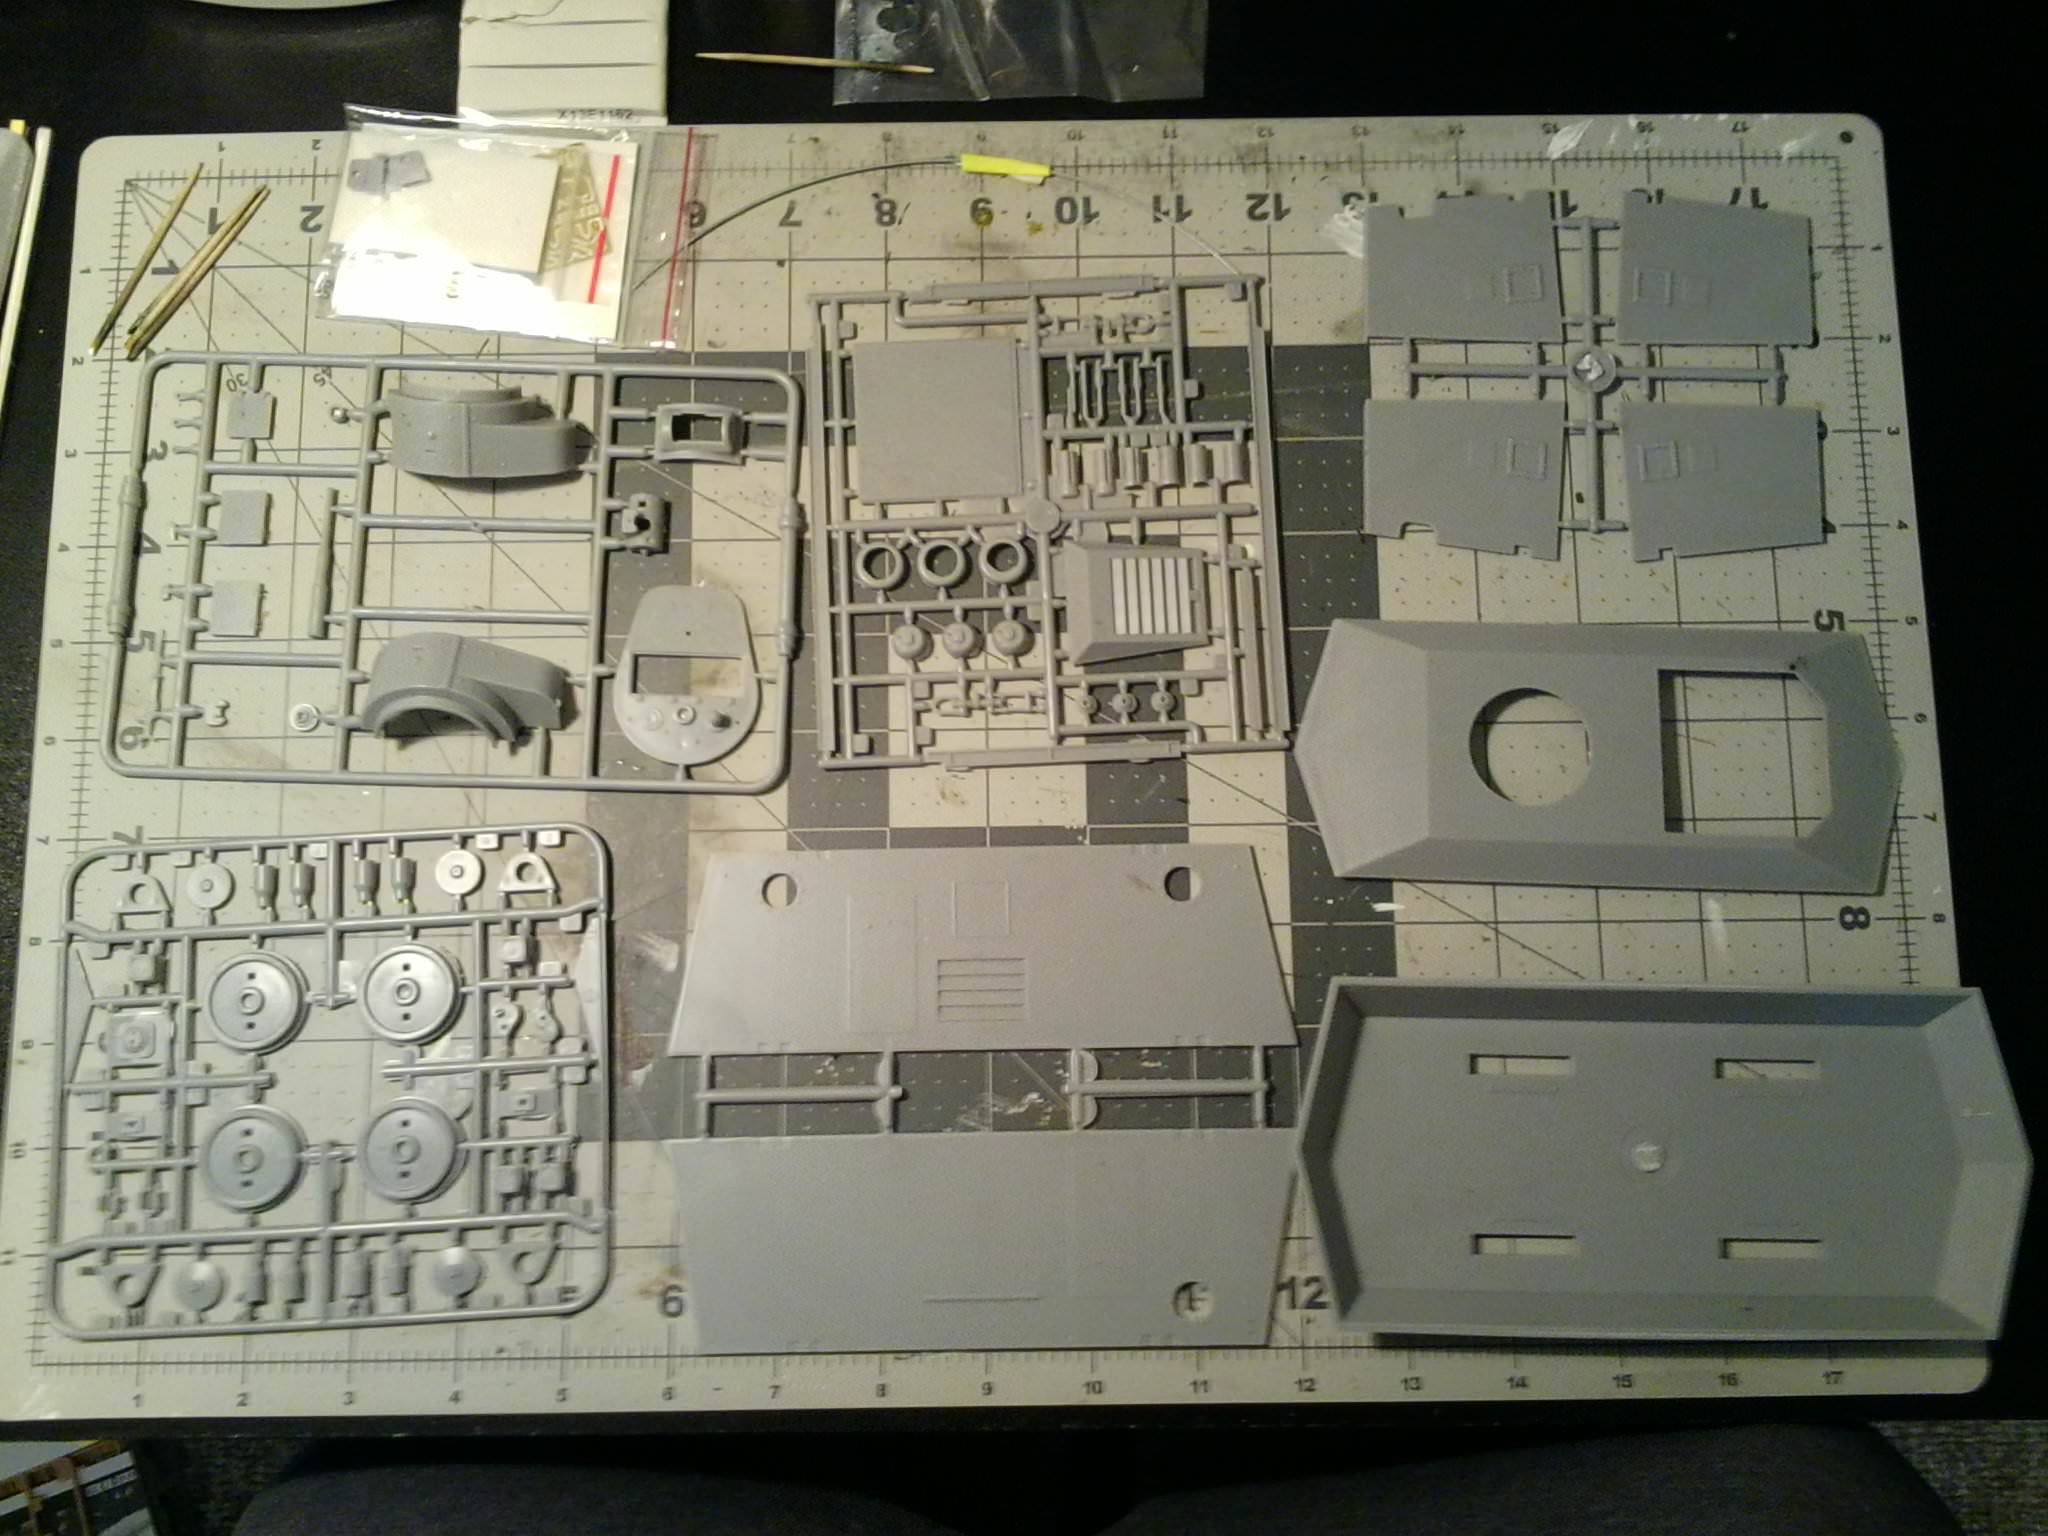
Unfortunately the kit is a bit rough. Details are soft, few location marks, poor fit, tons of flash, missing details, etc... Being a relatively young modeler I'm used to better engineered kits, so this one sat on the shelf for a while.

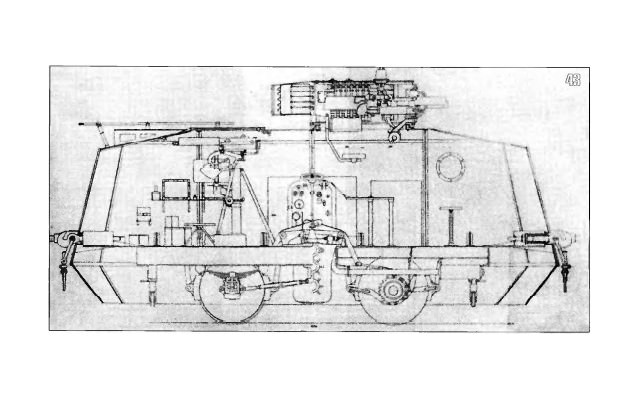
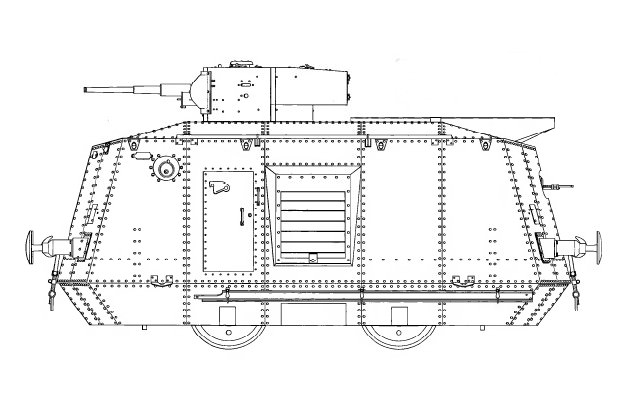
It's the only game in town though if you need to build it. There are 1/35 plans in a Russian book on self propelled rail cars for the more adventurous among us, but I'm not at that scratch-building skill level yet.

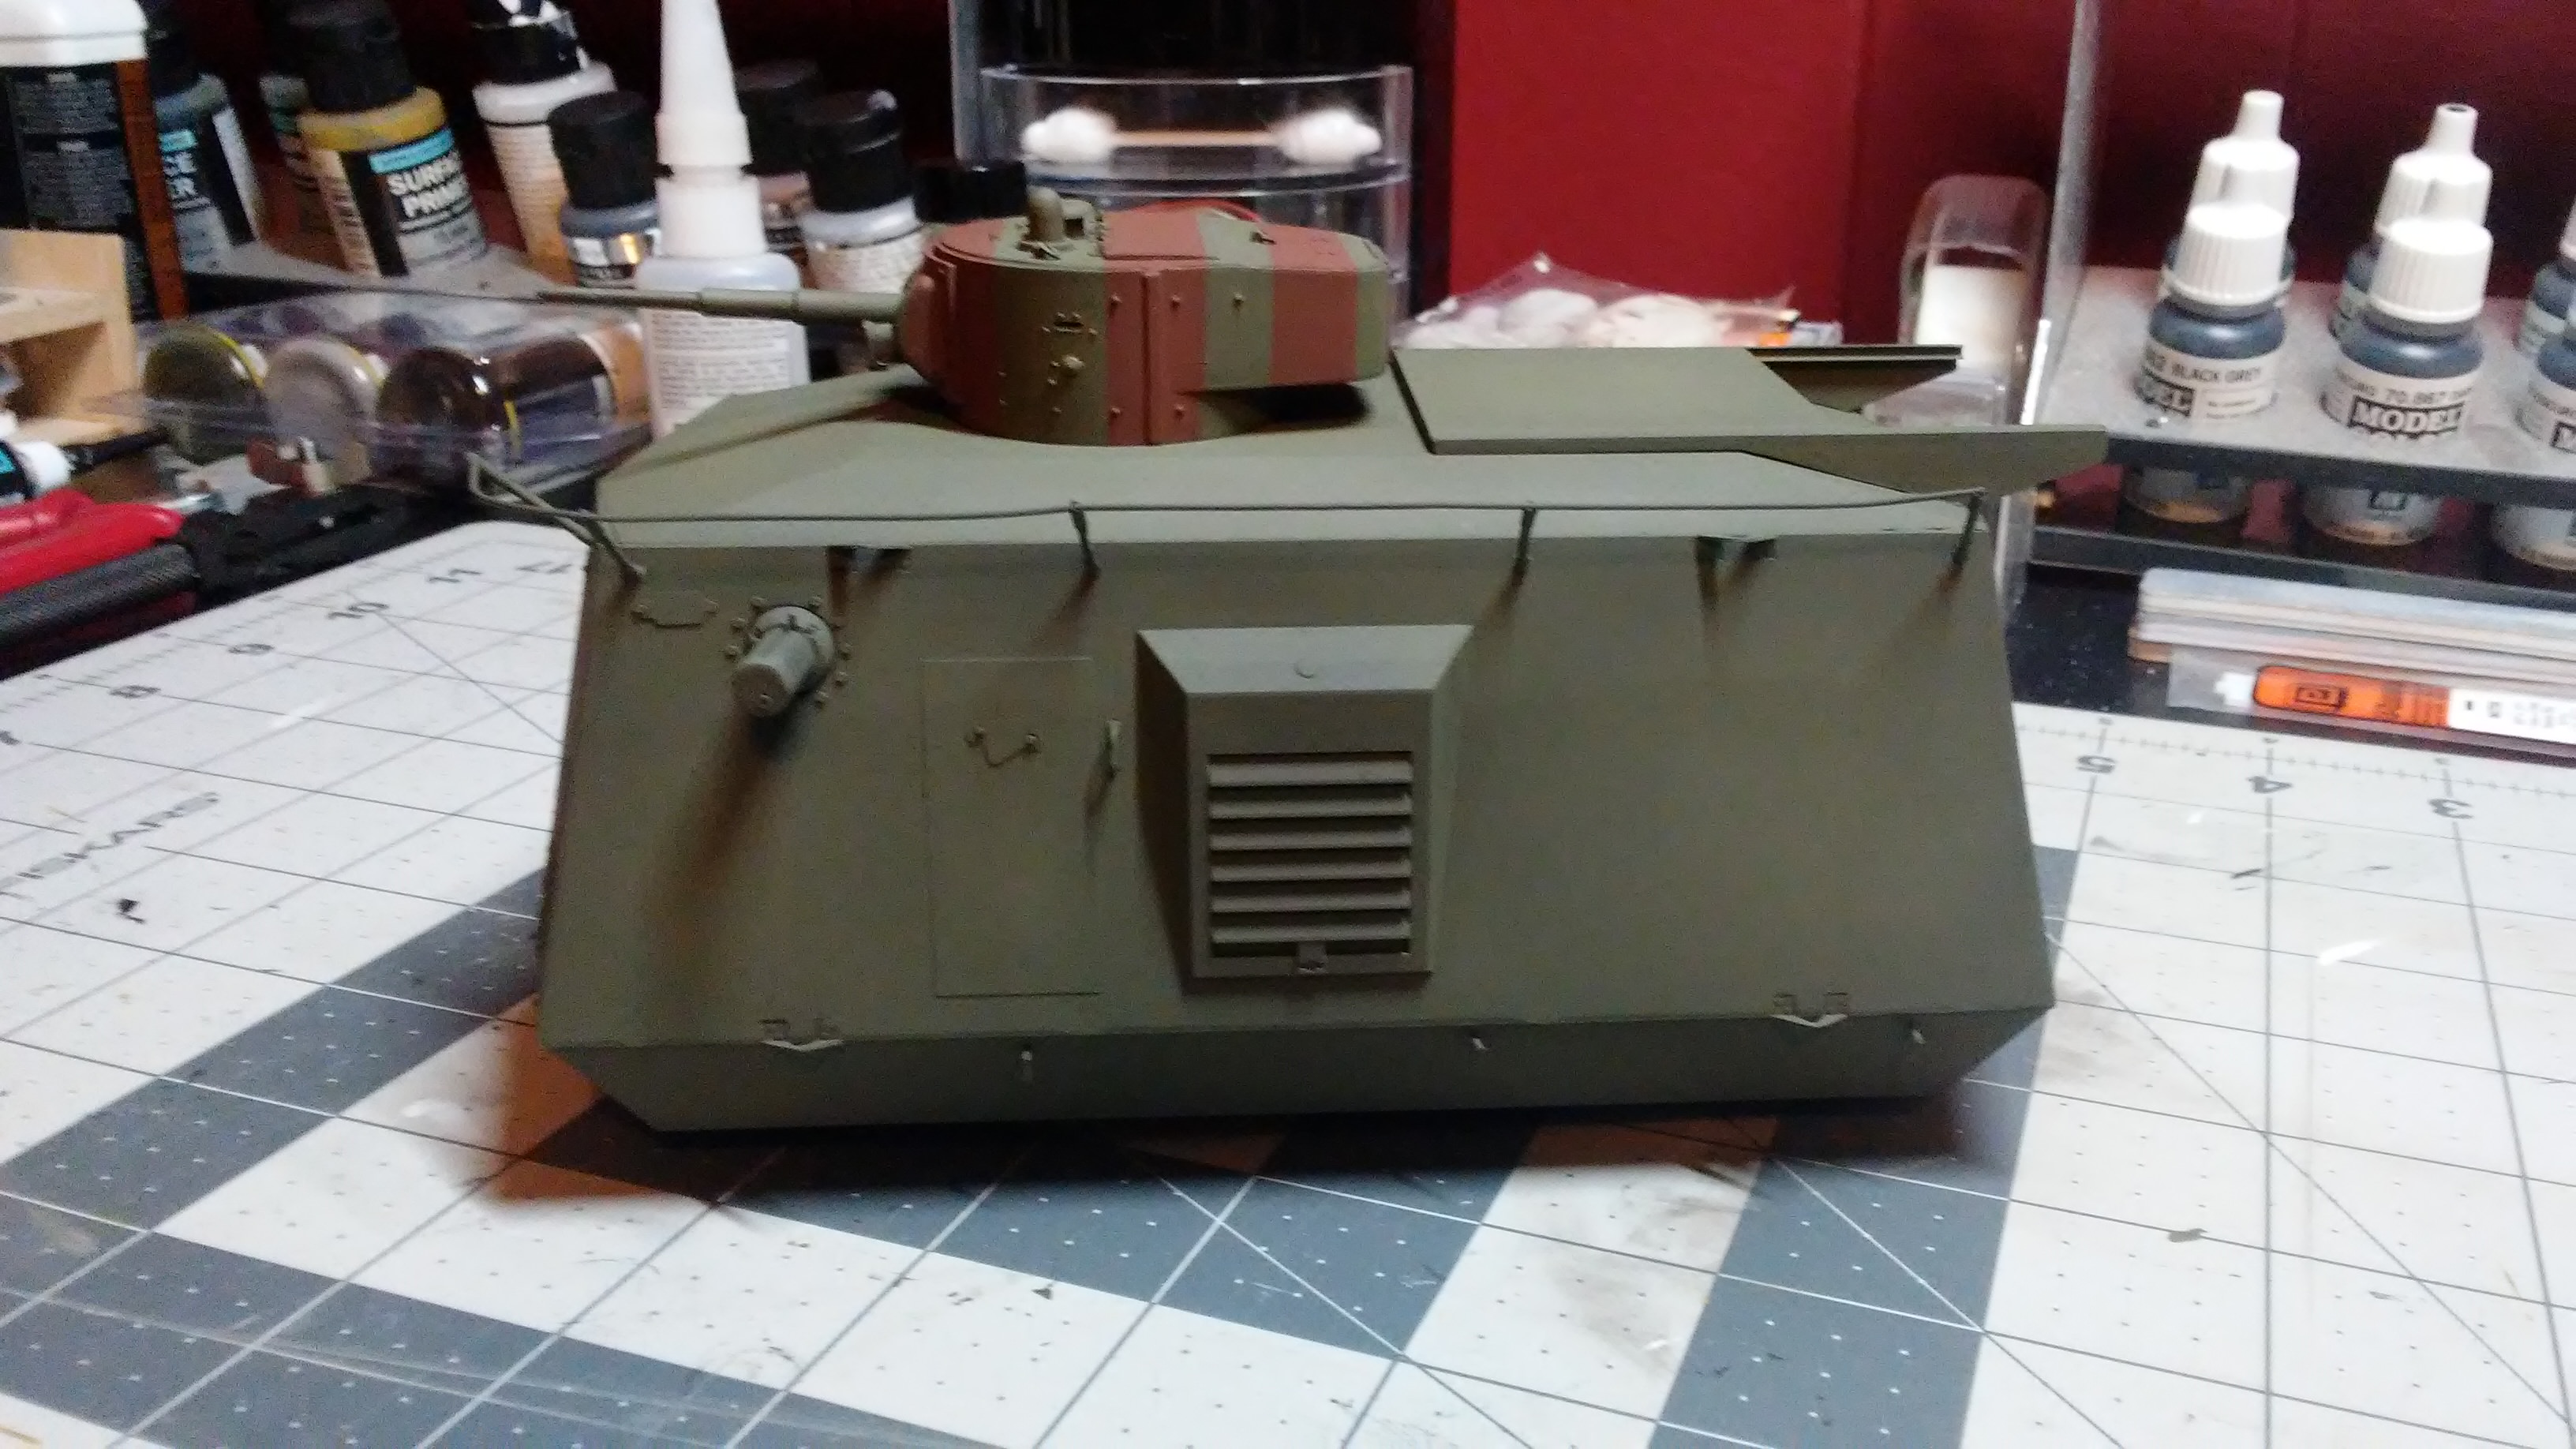
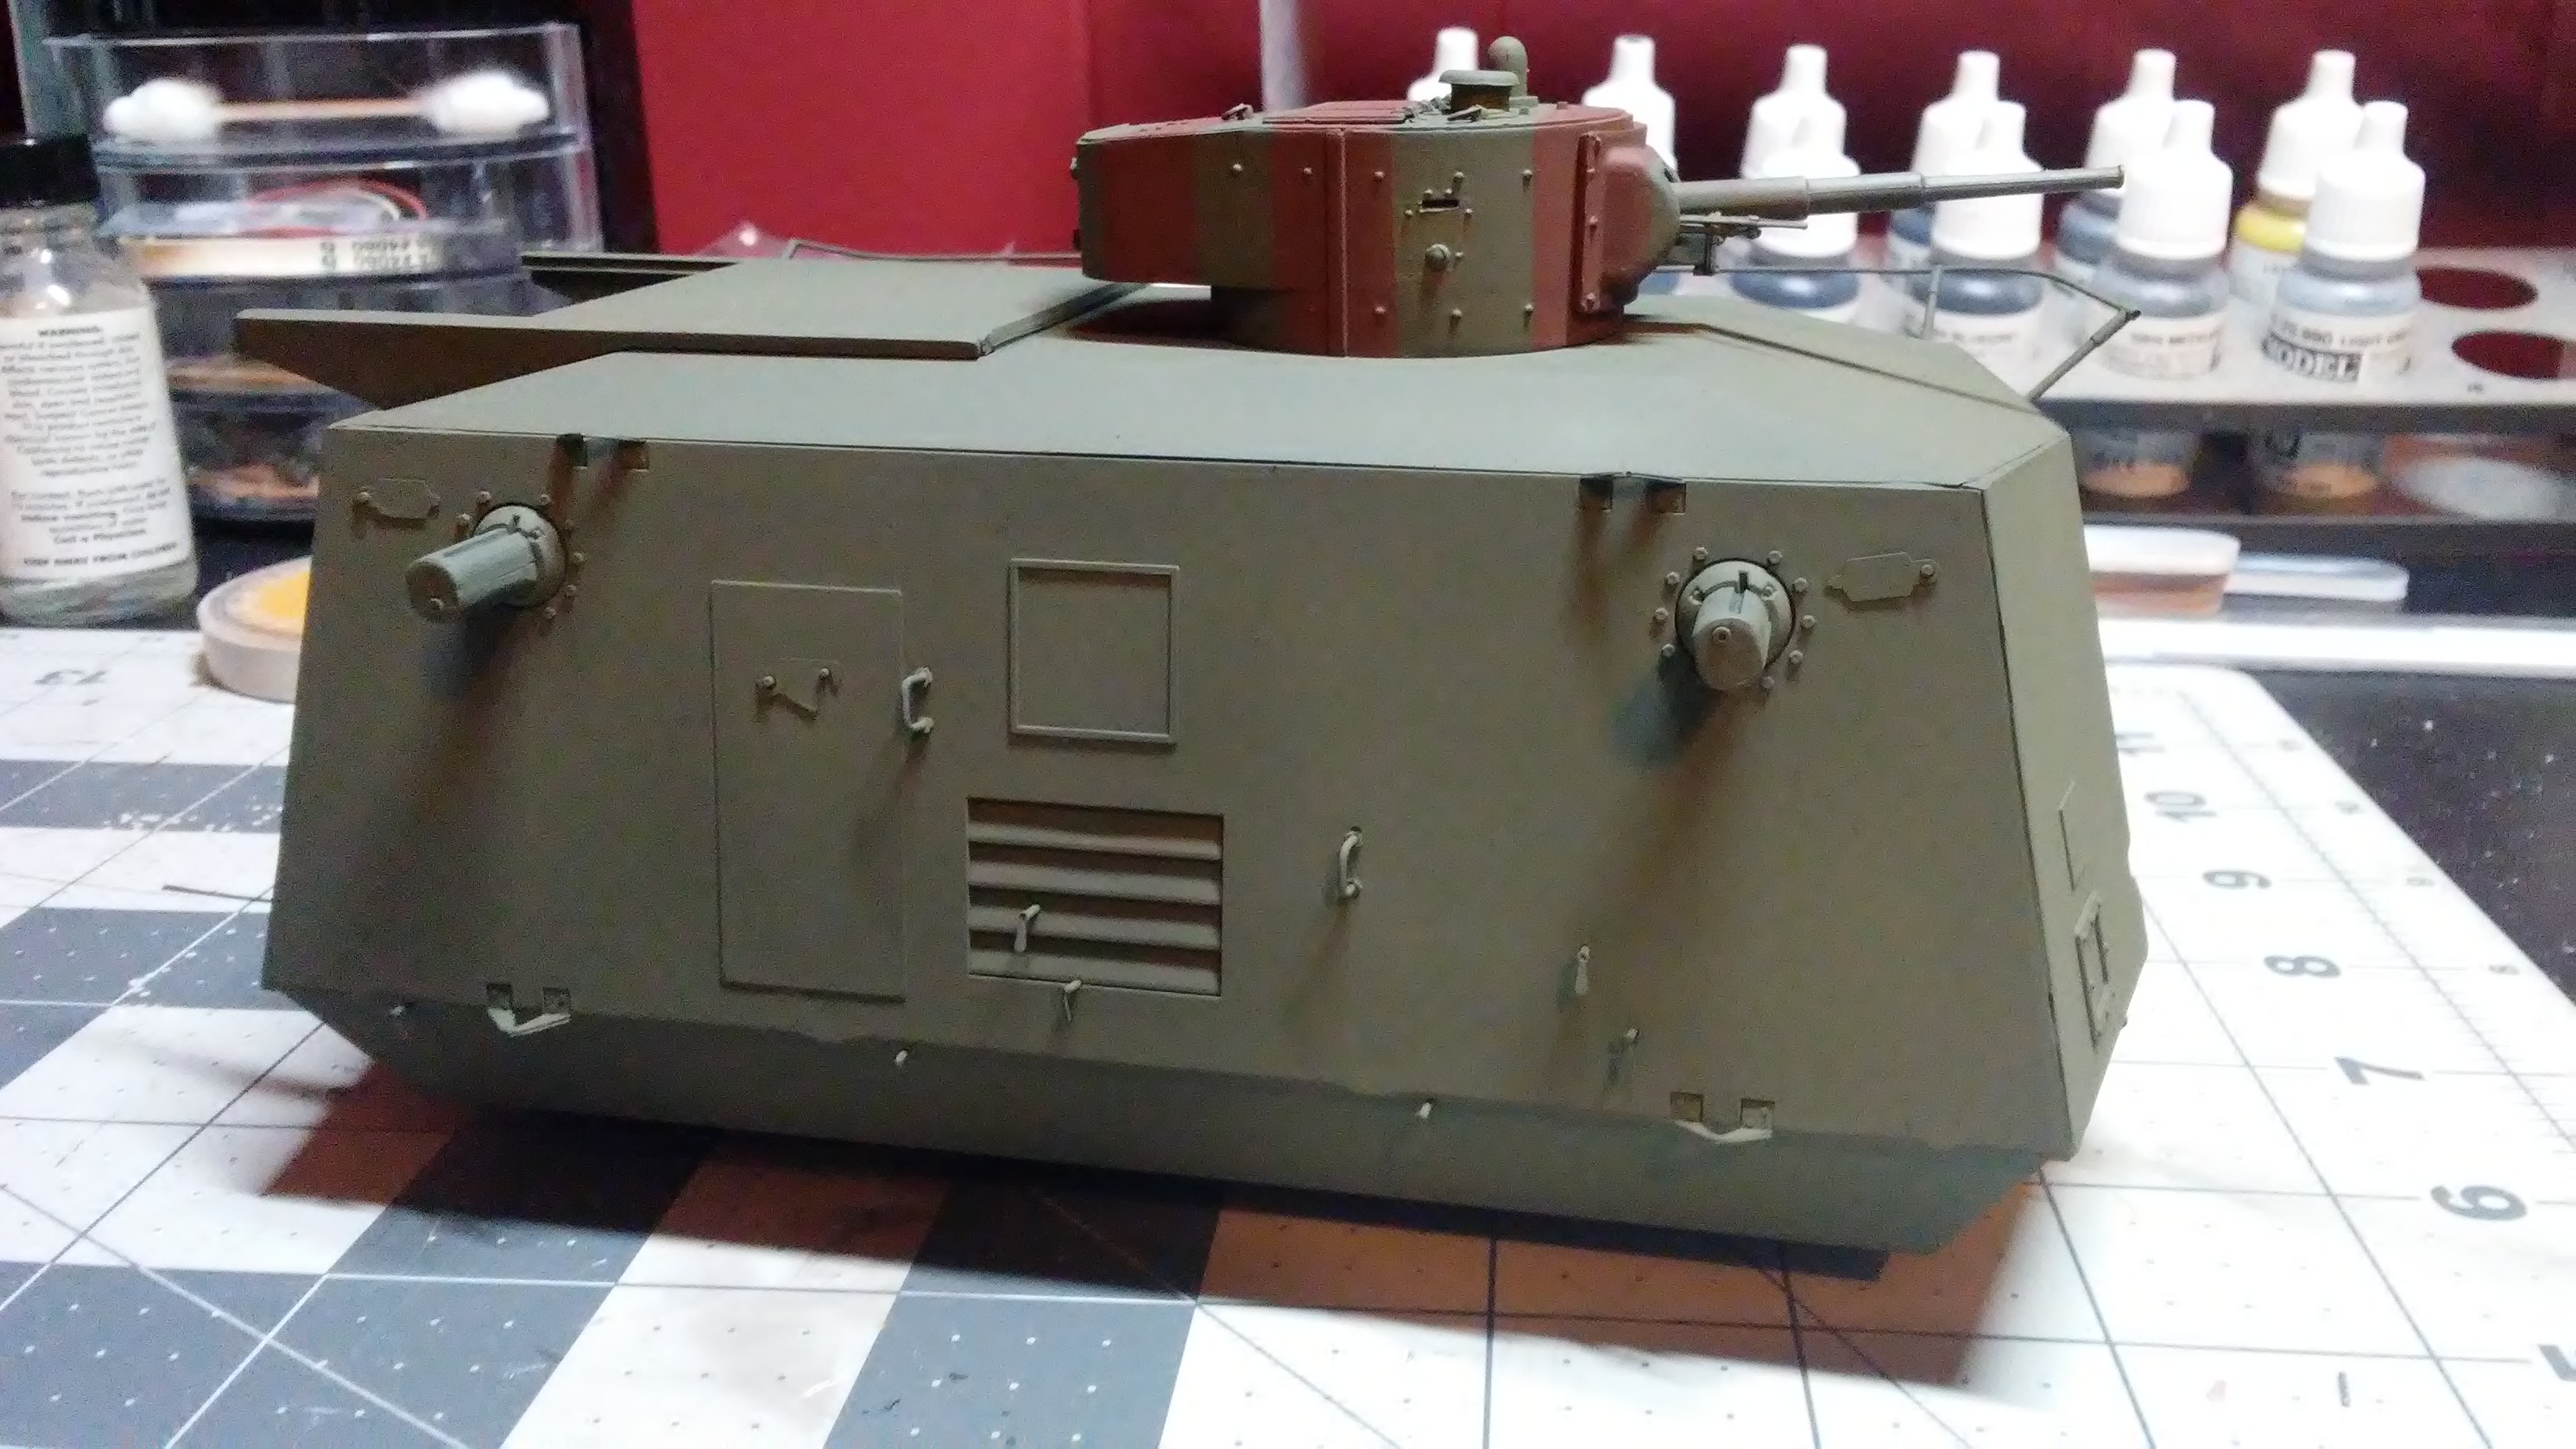
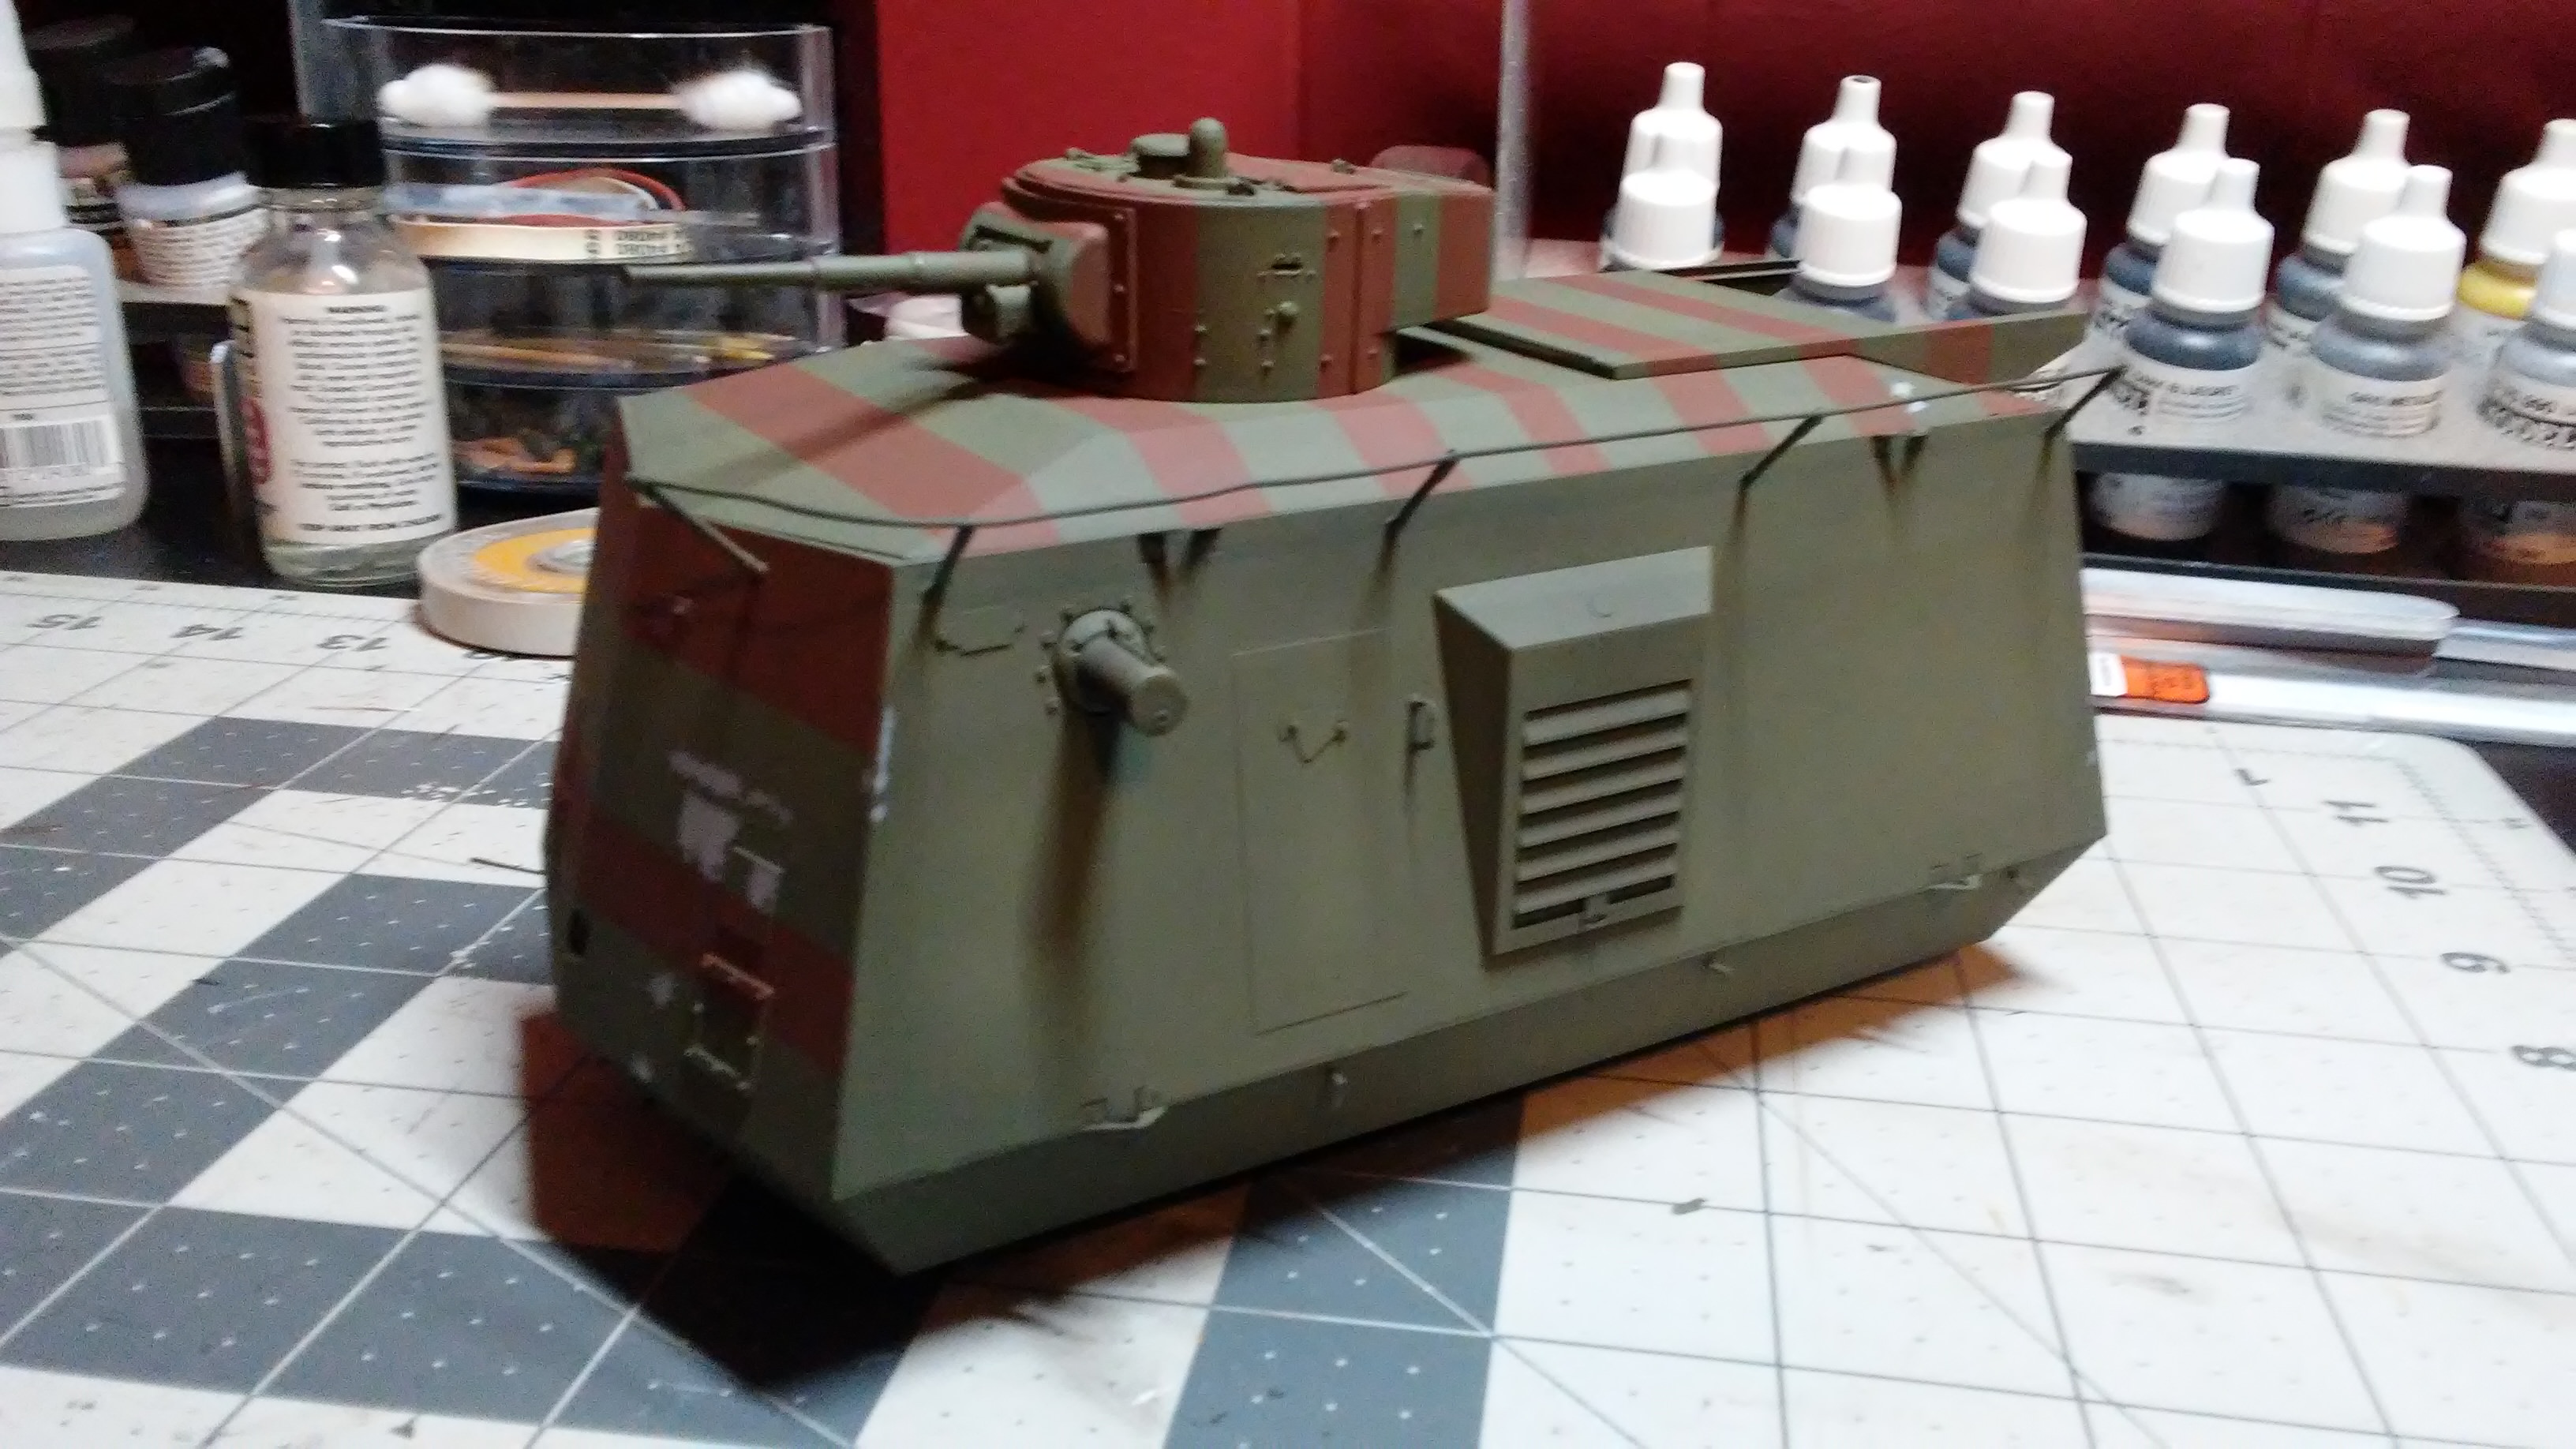
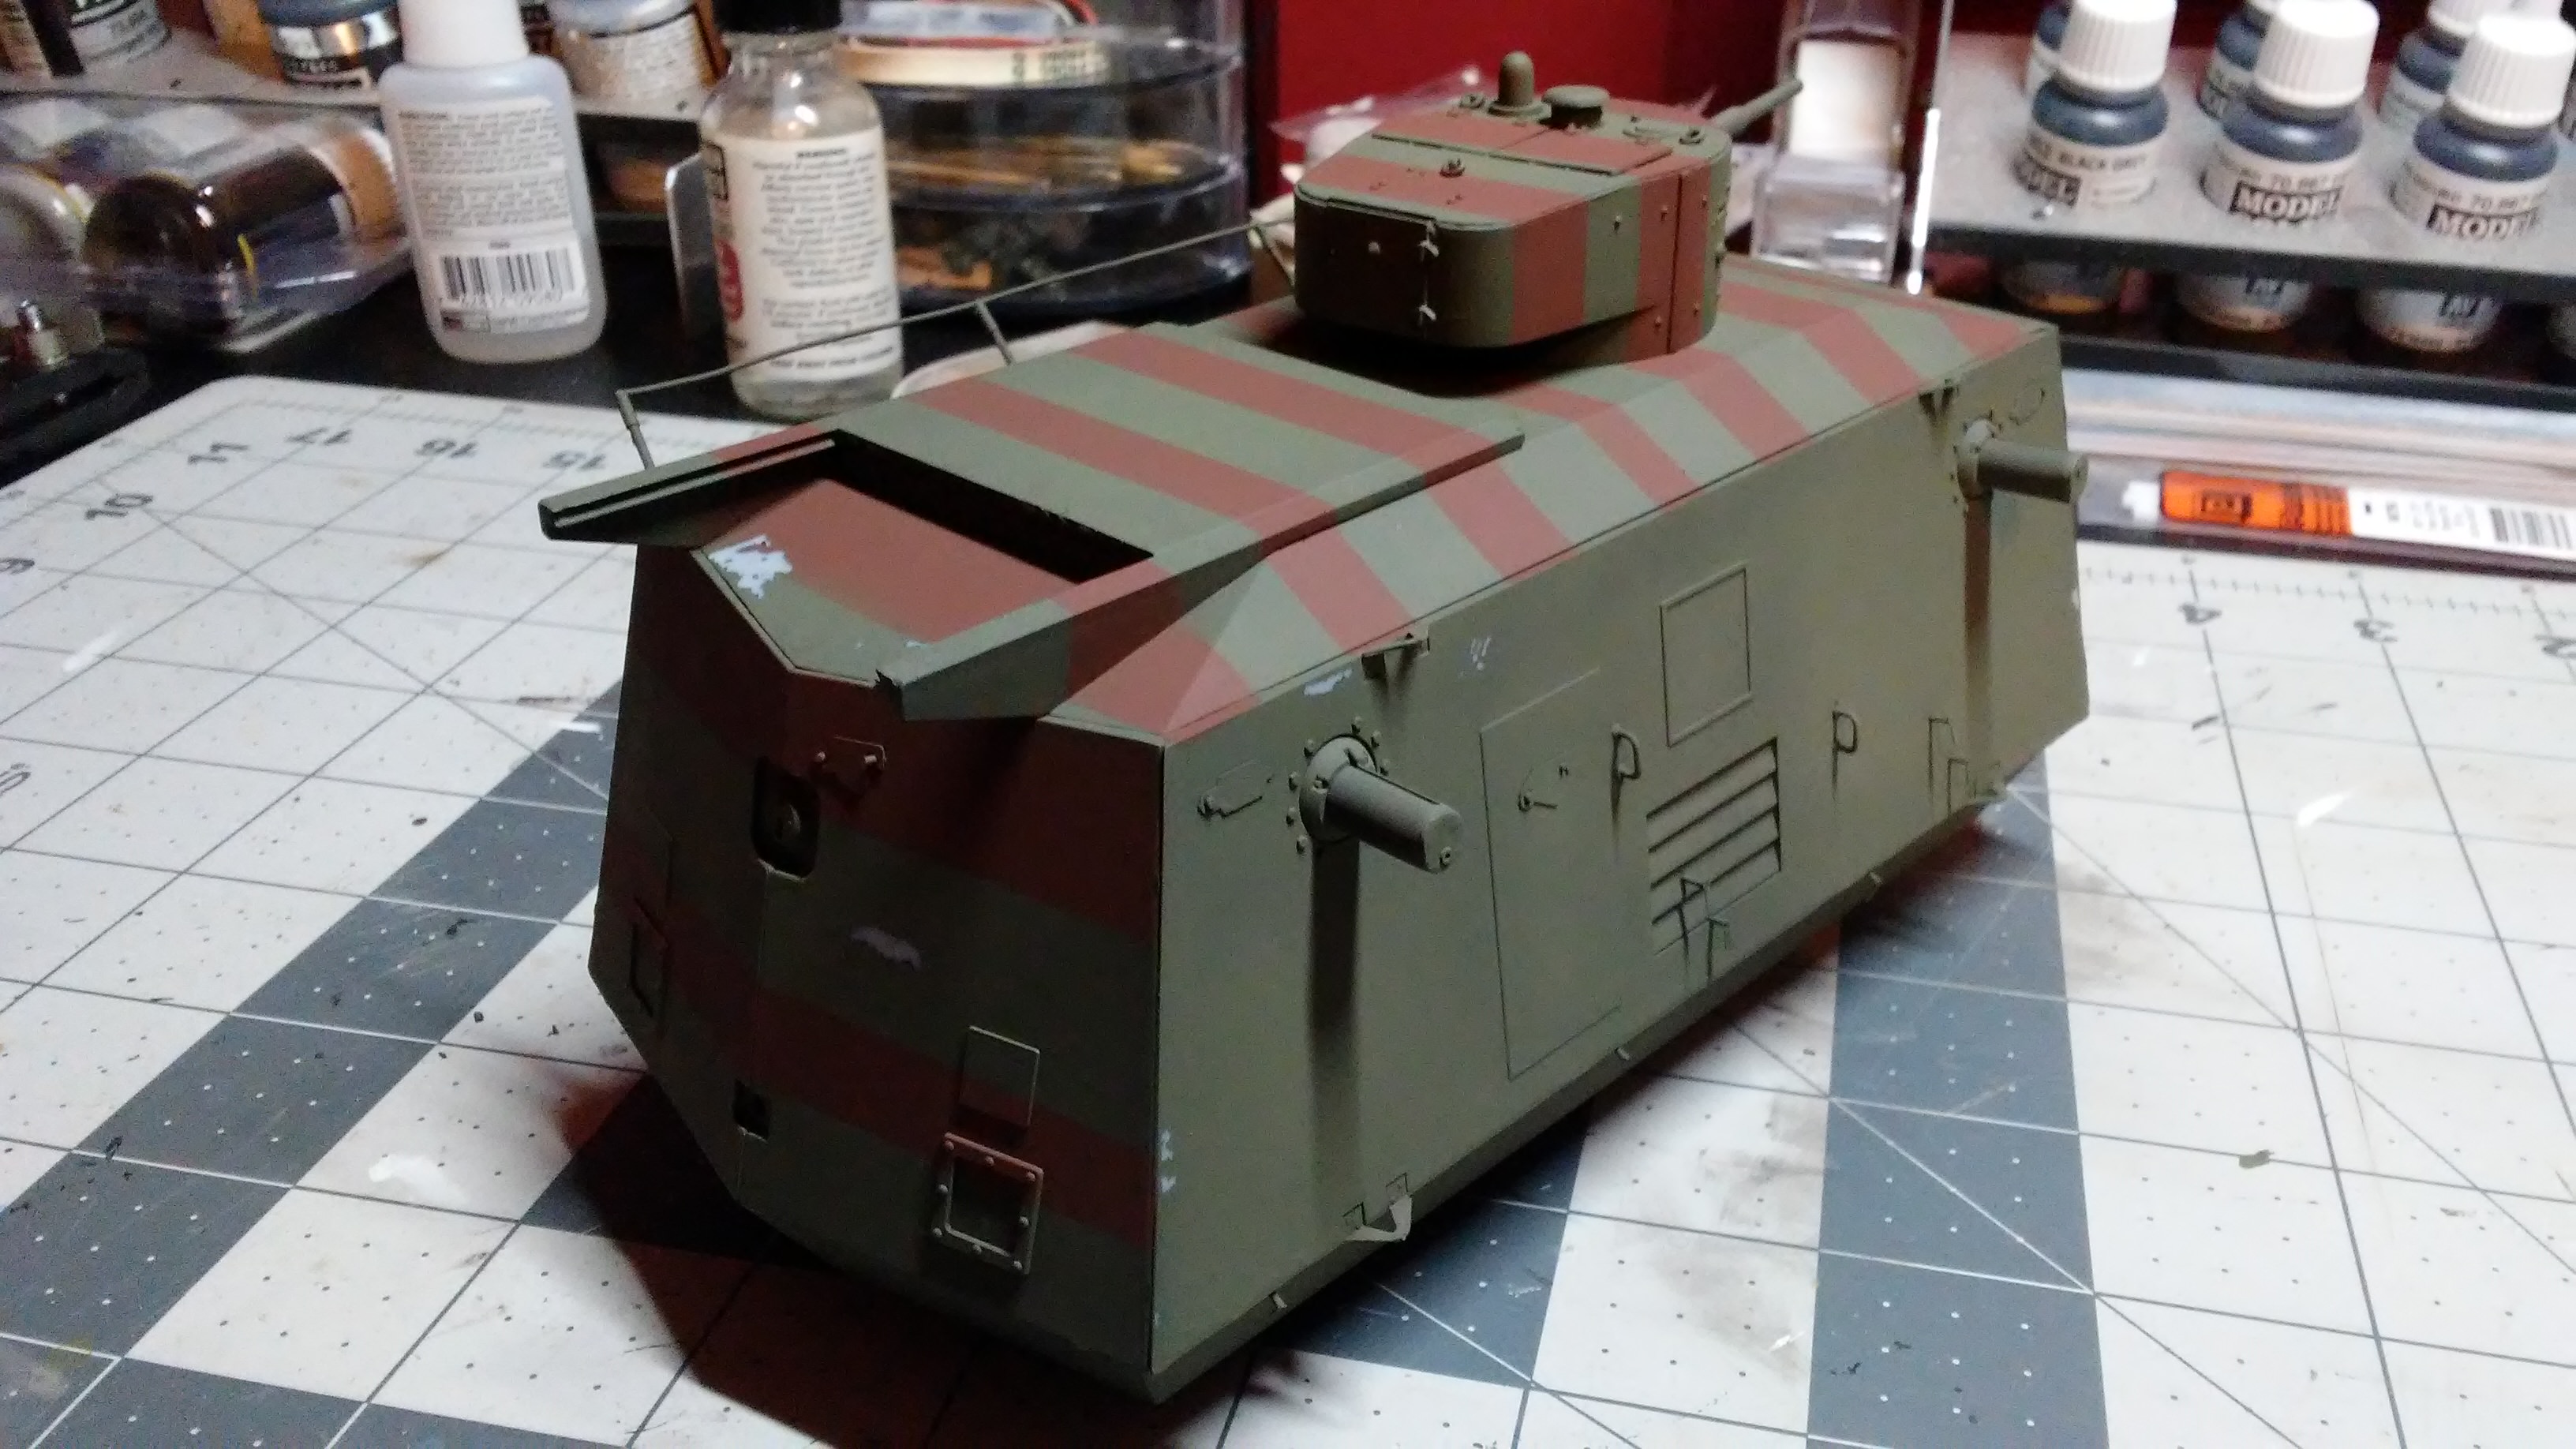
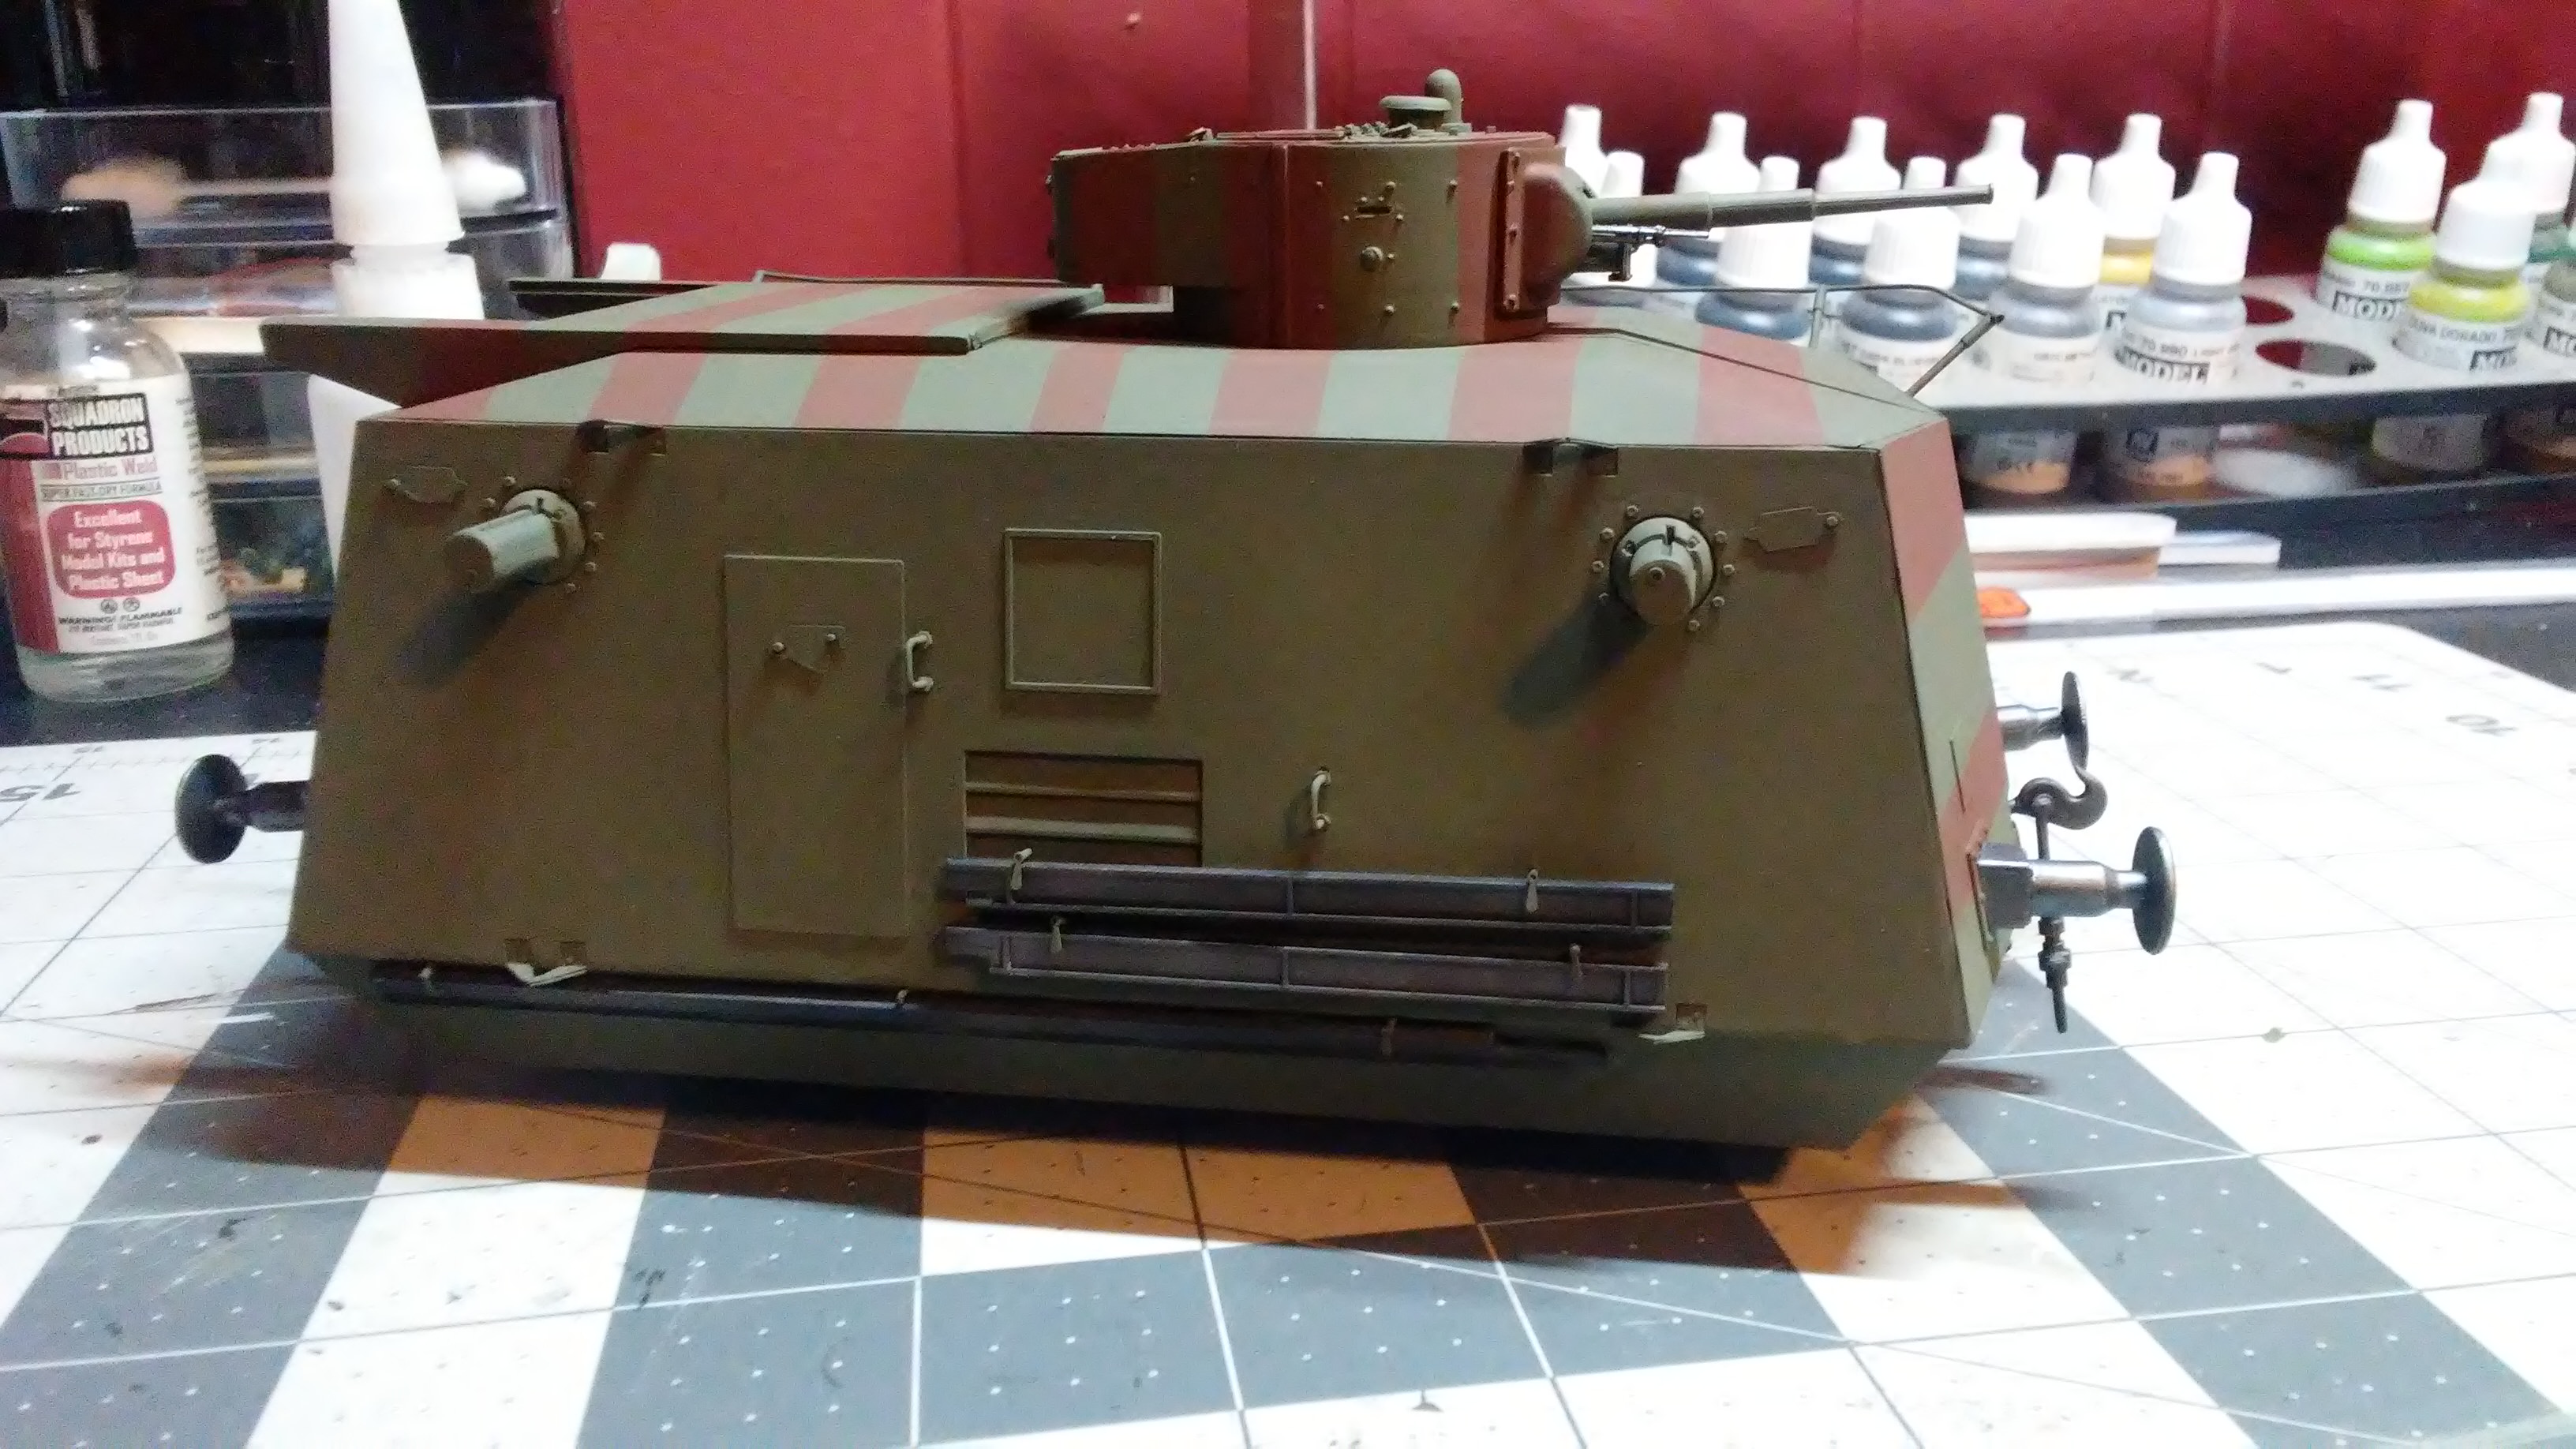
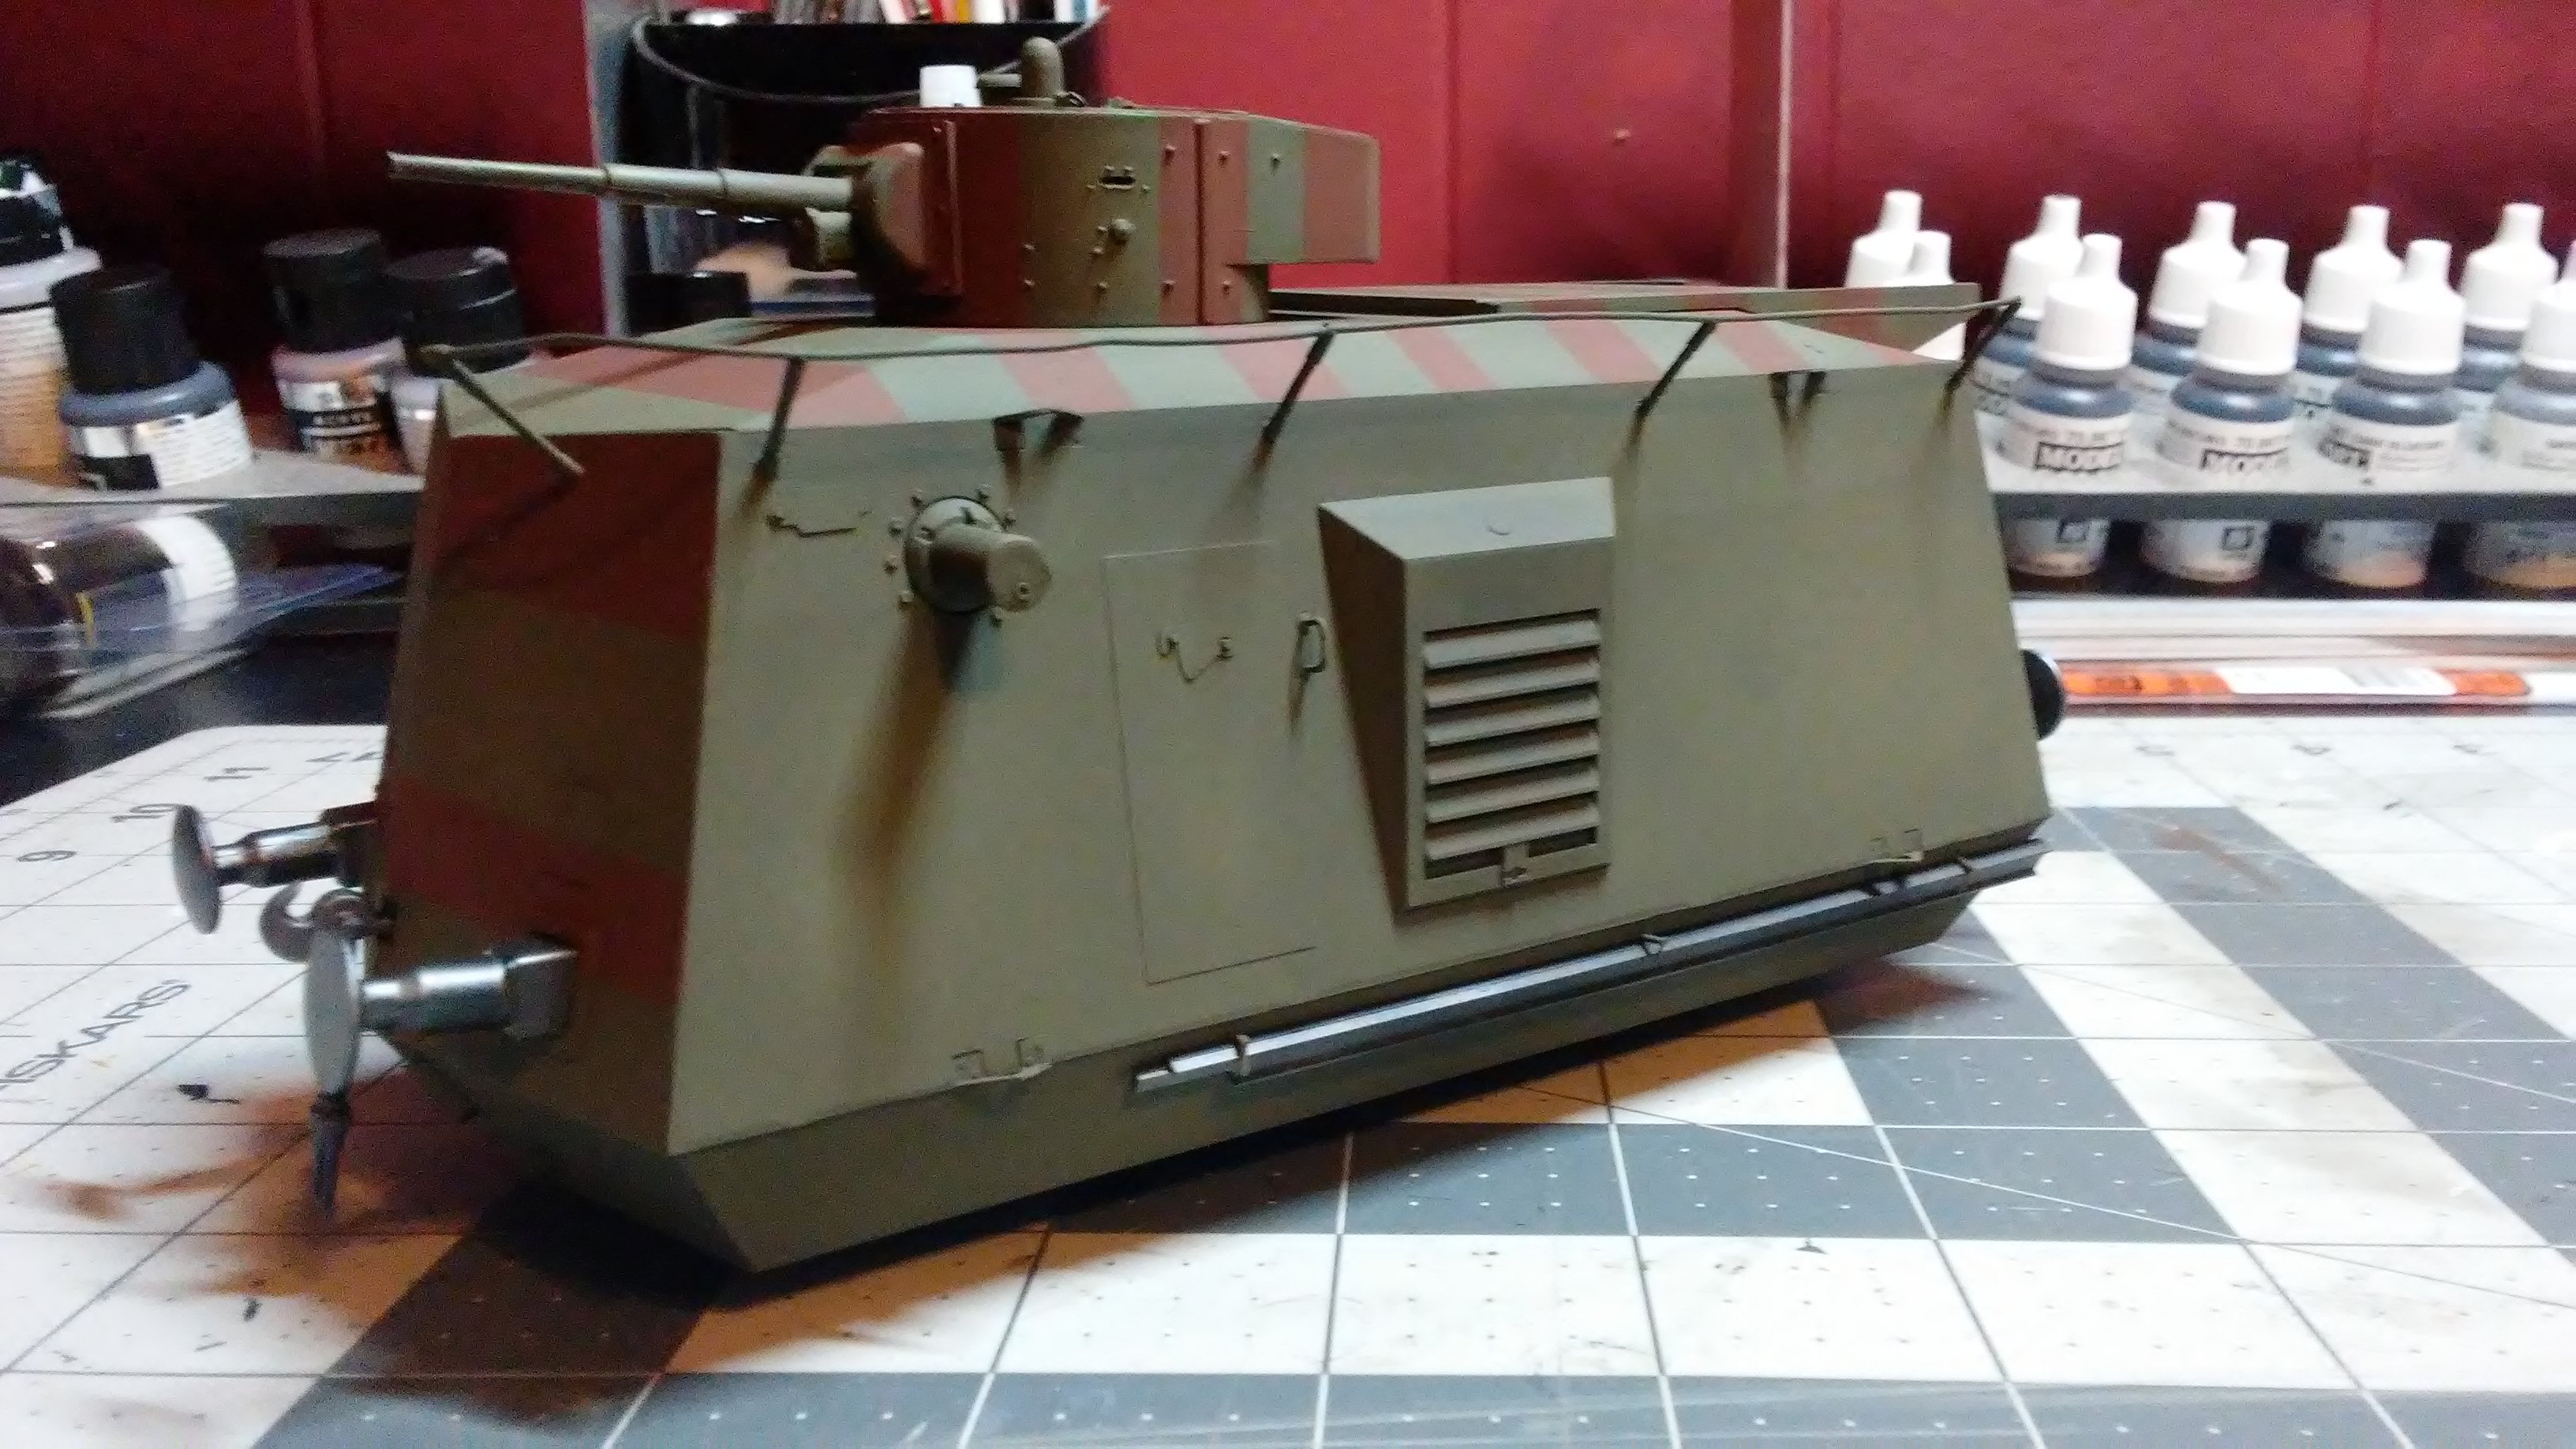
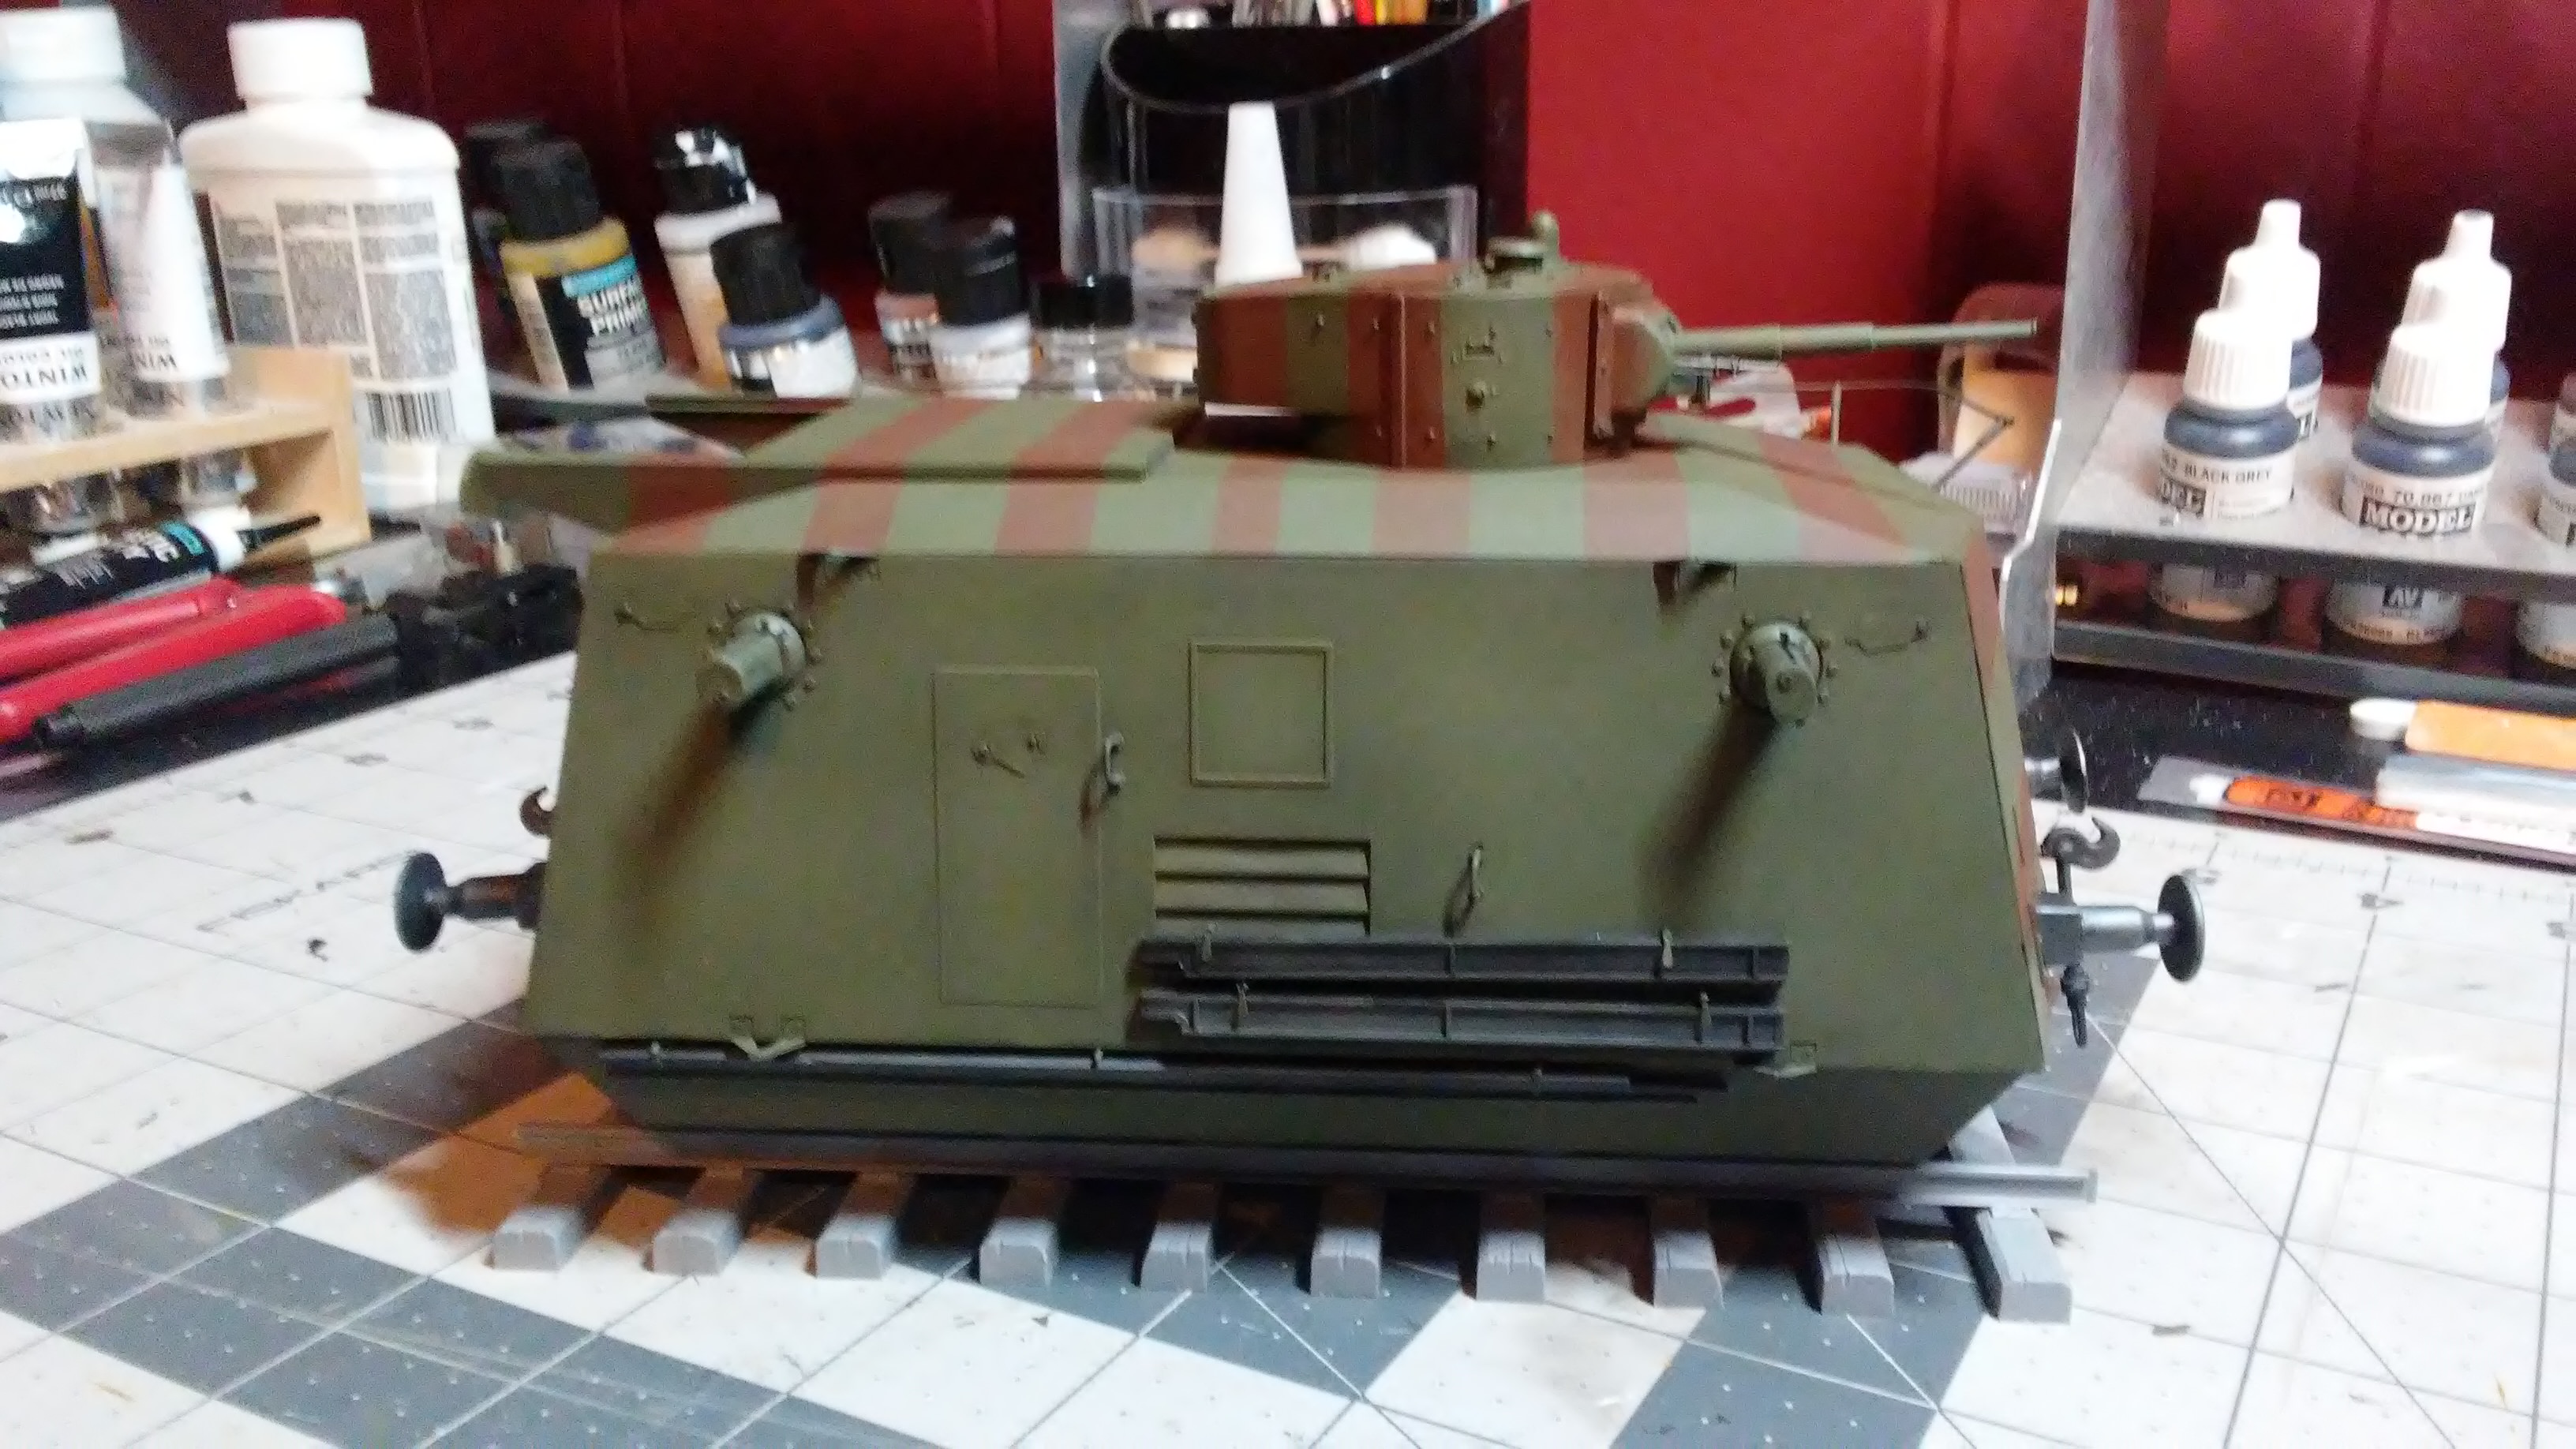
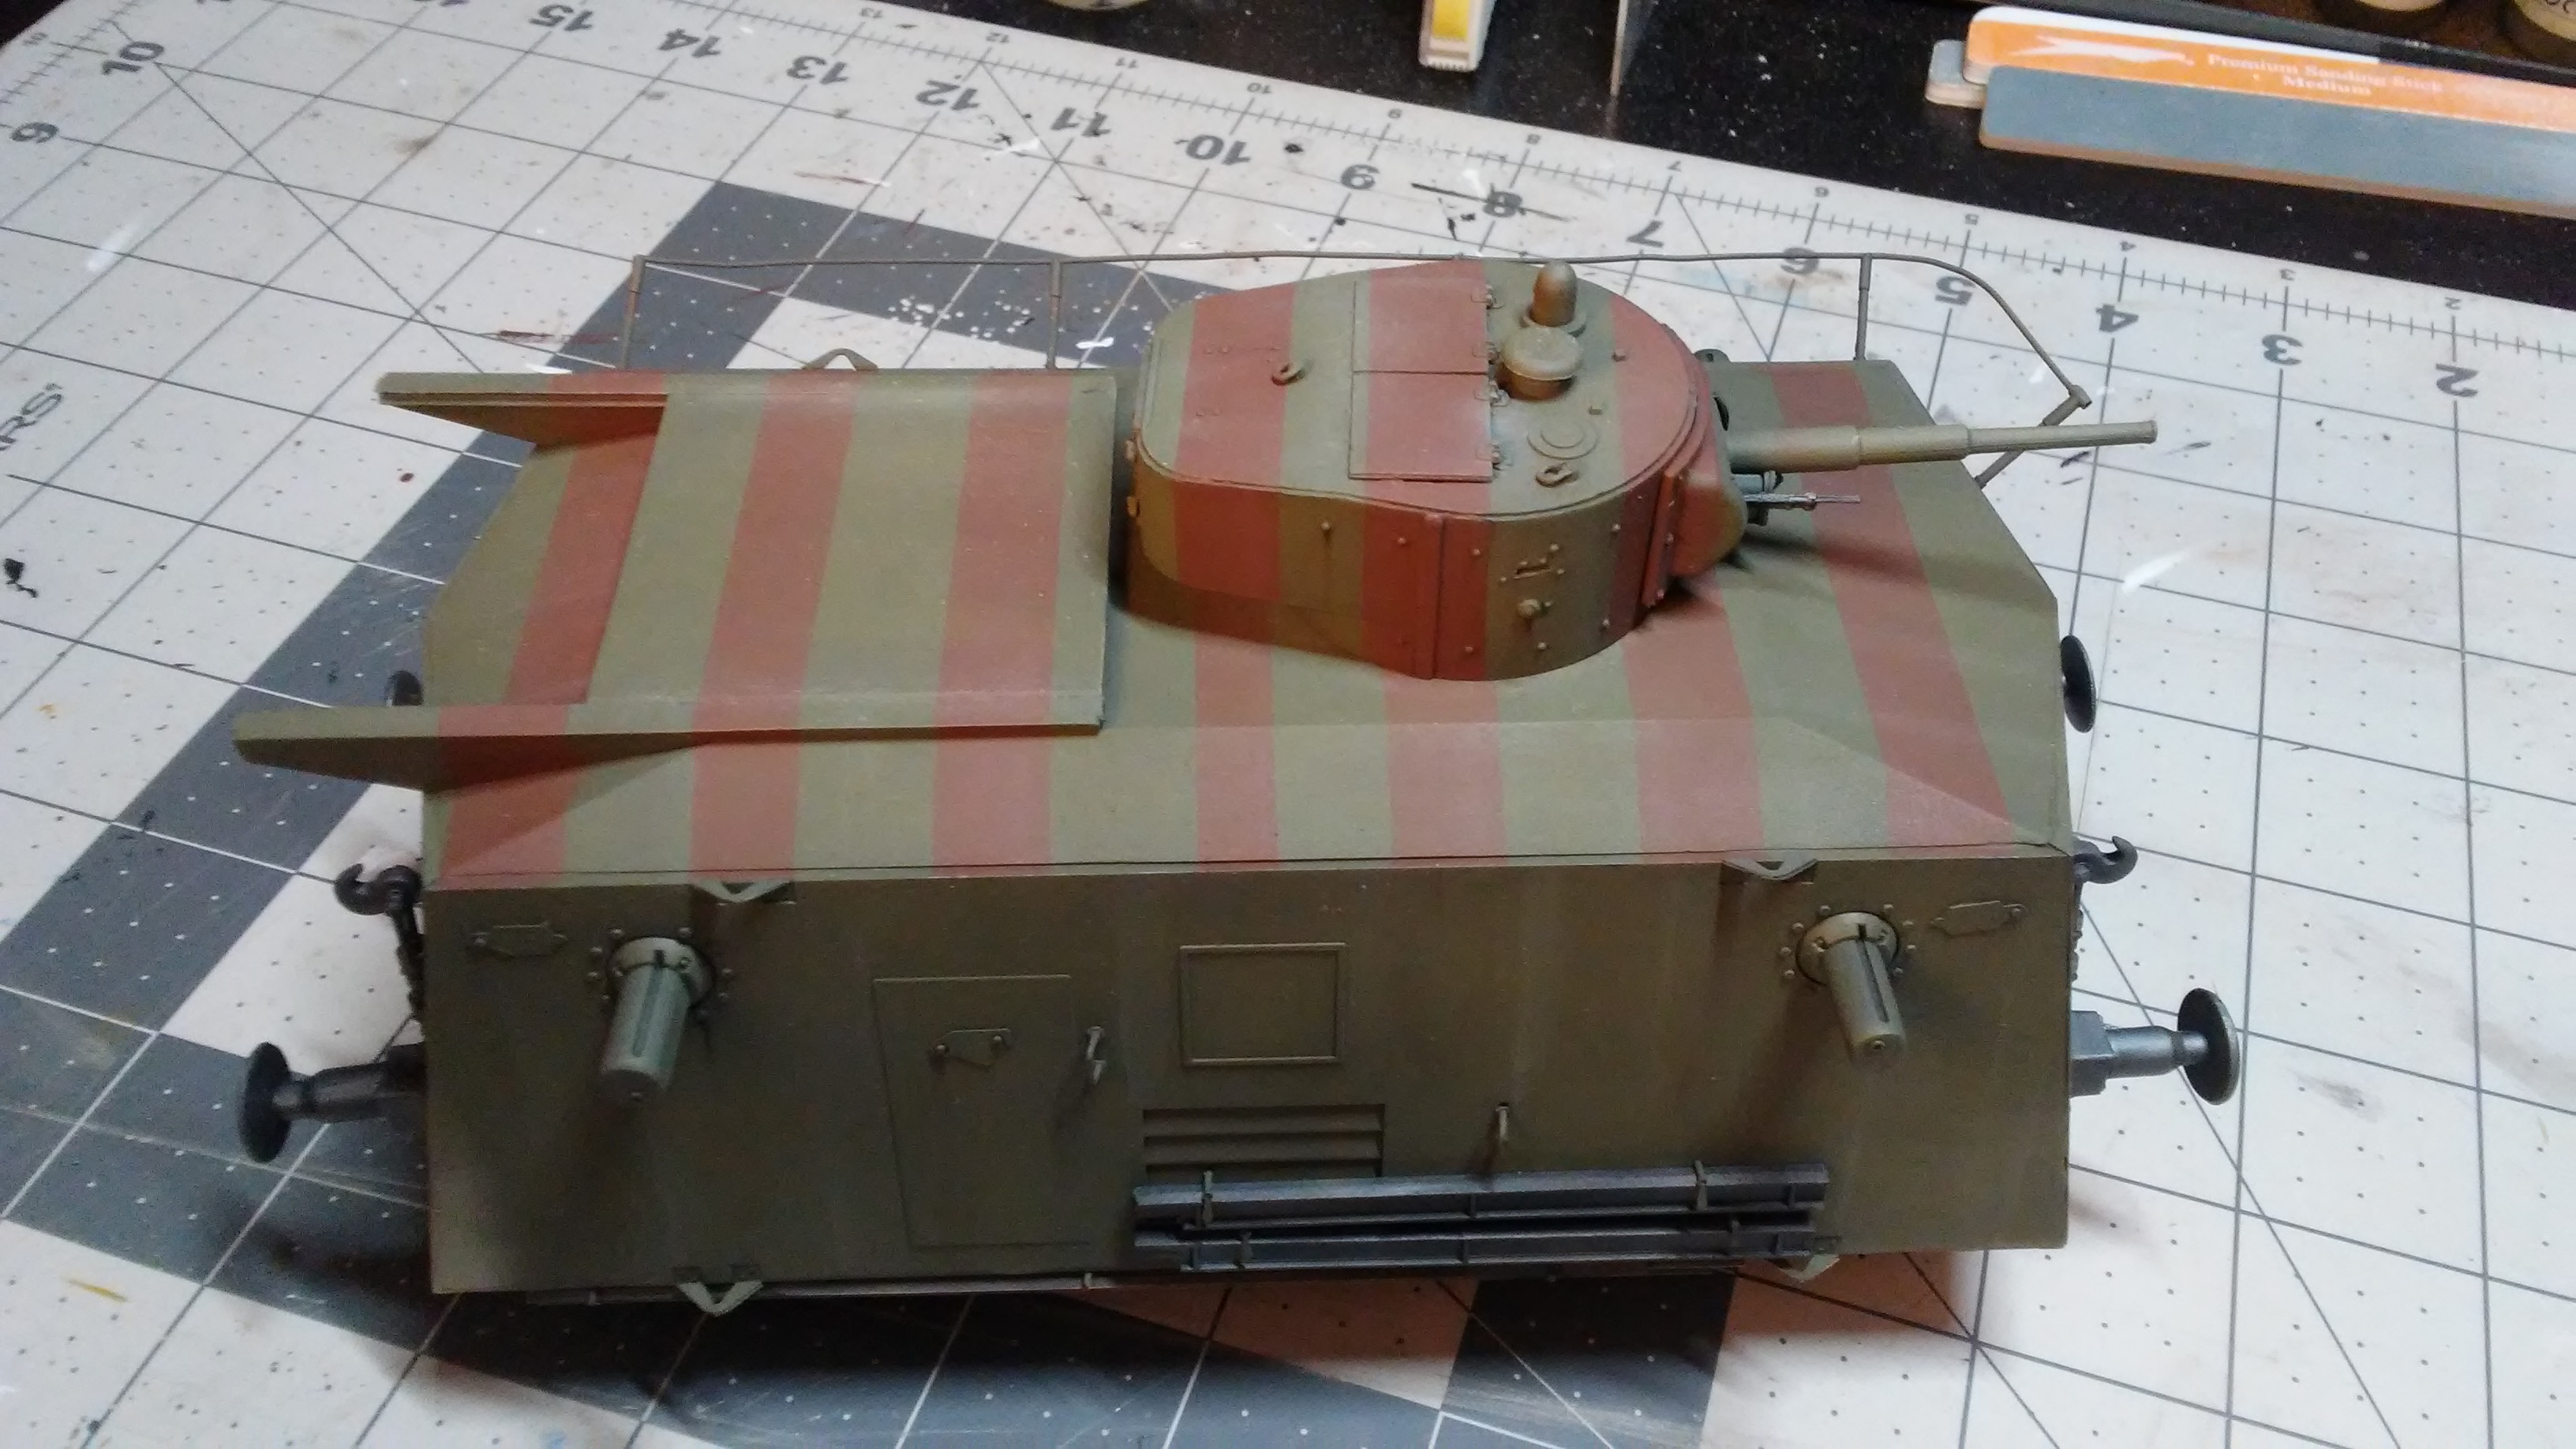
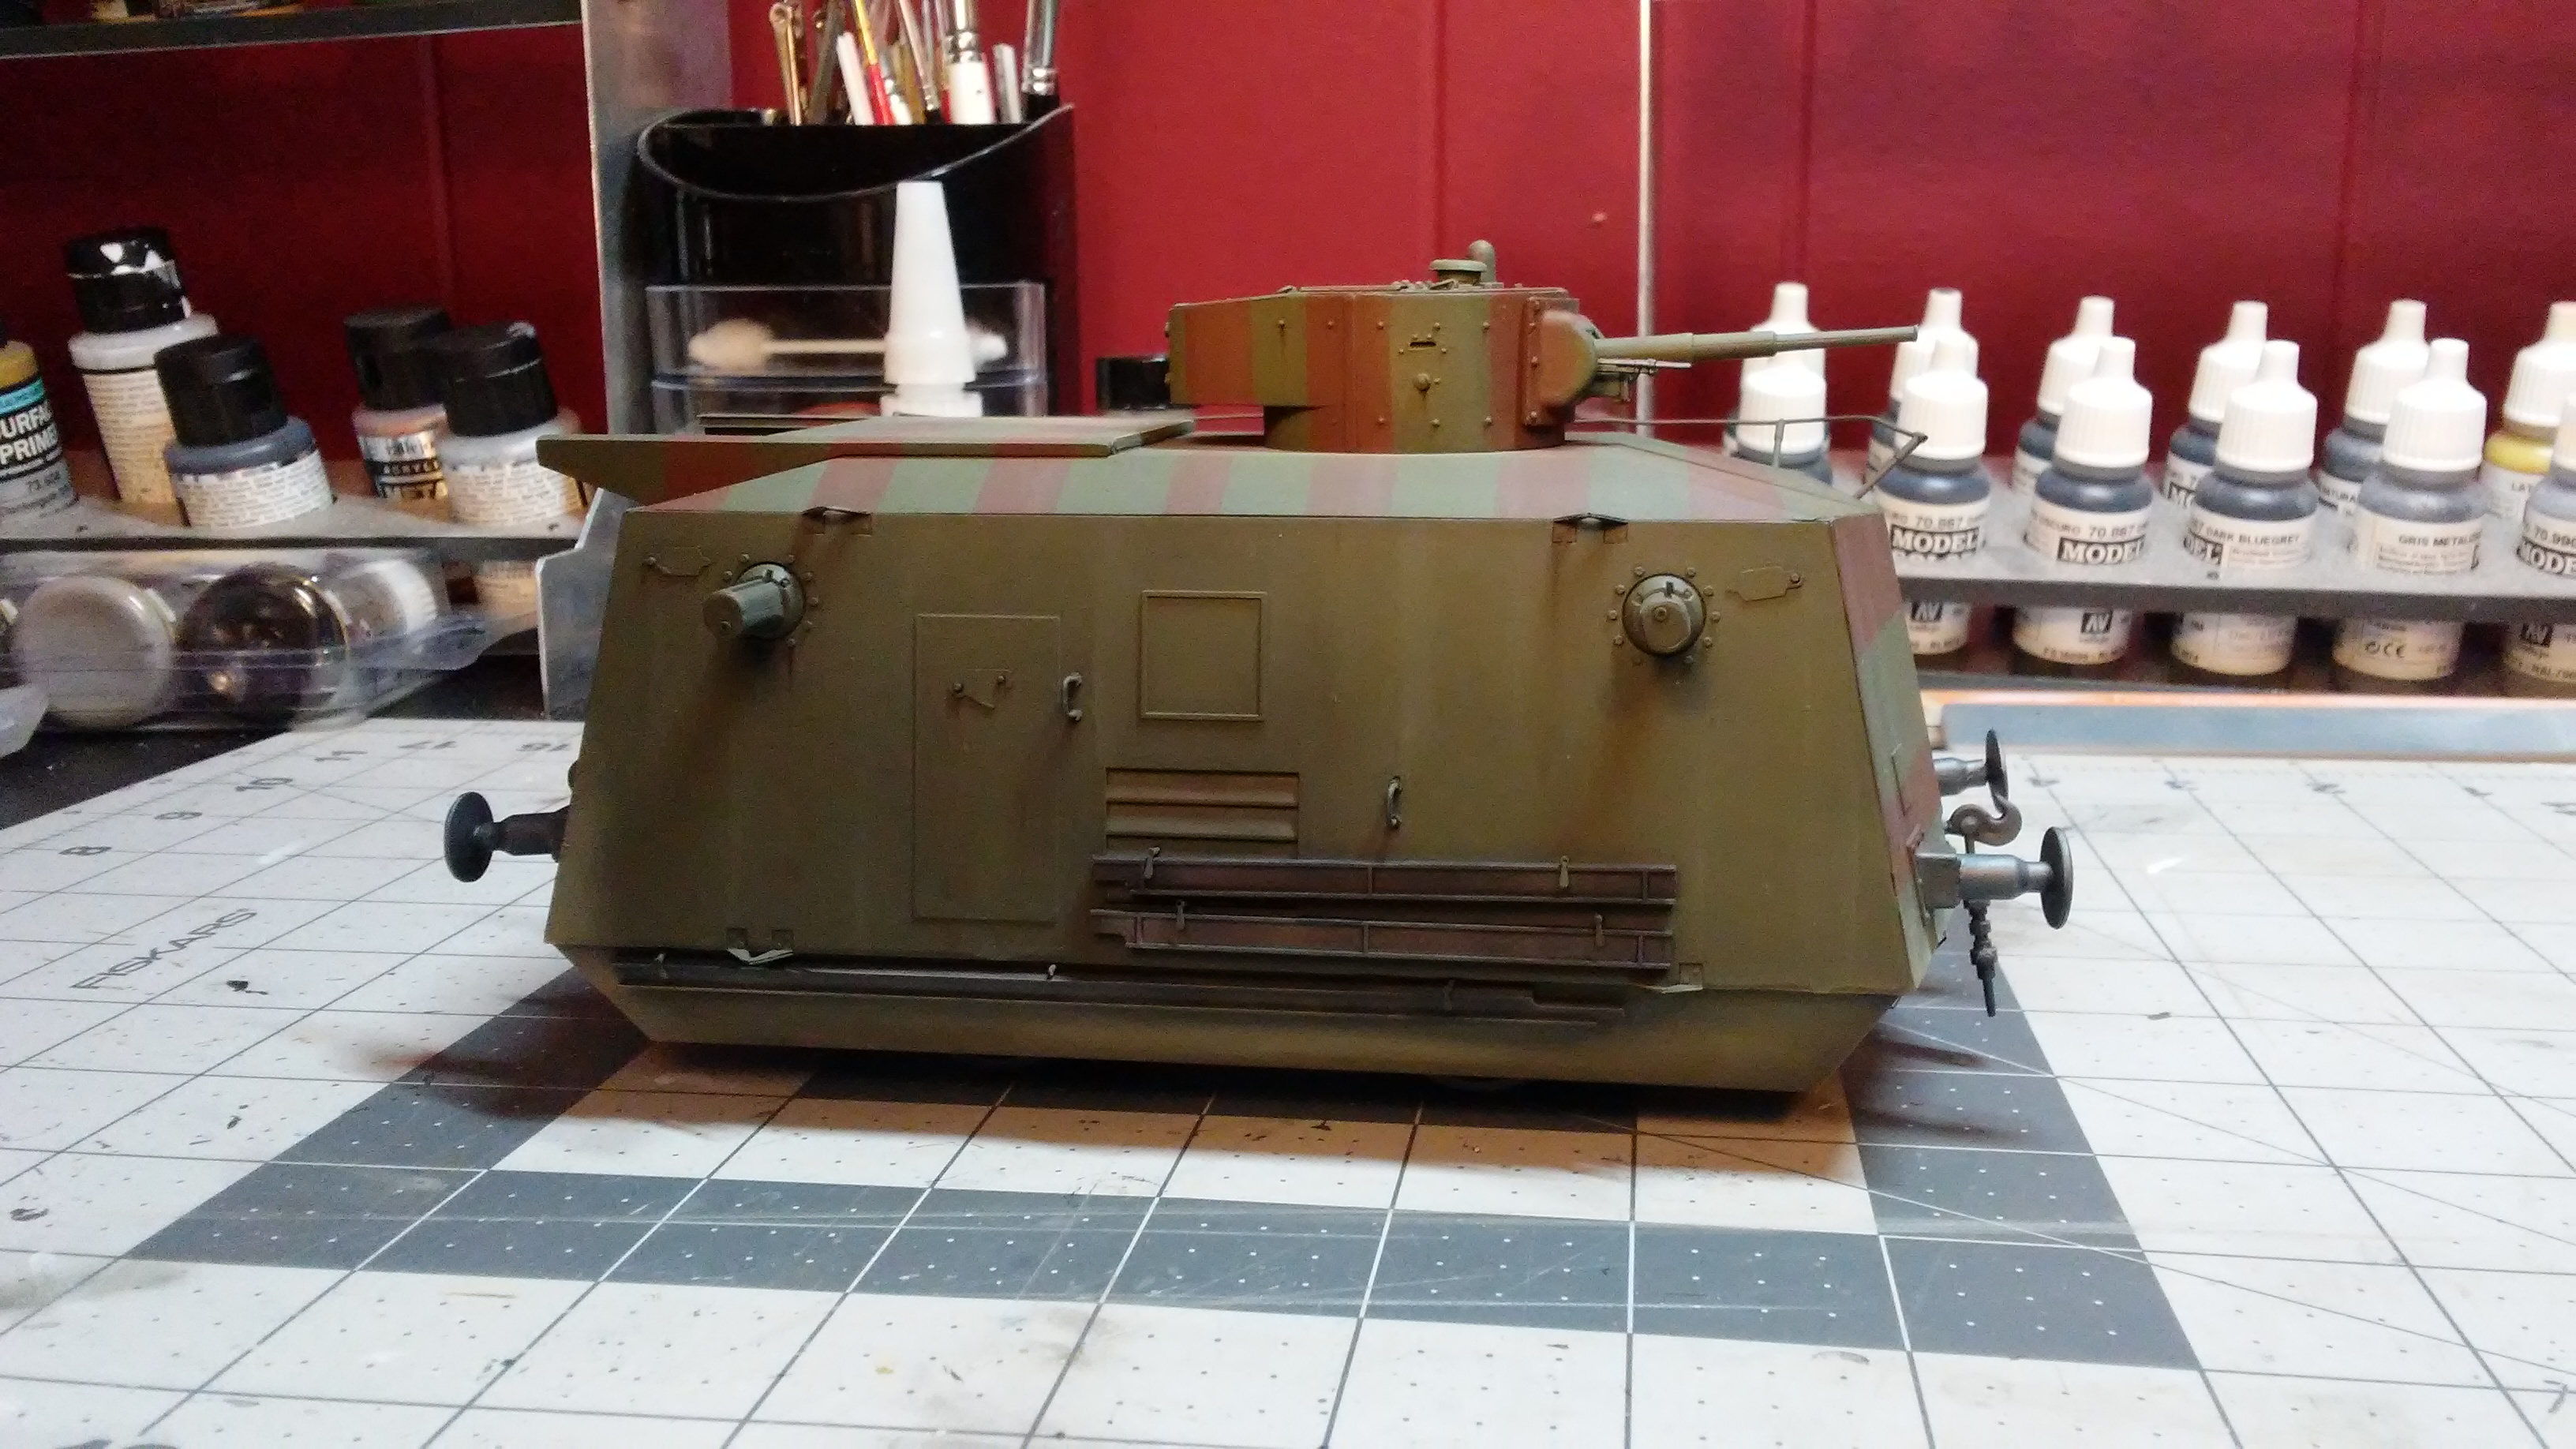
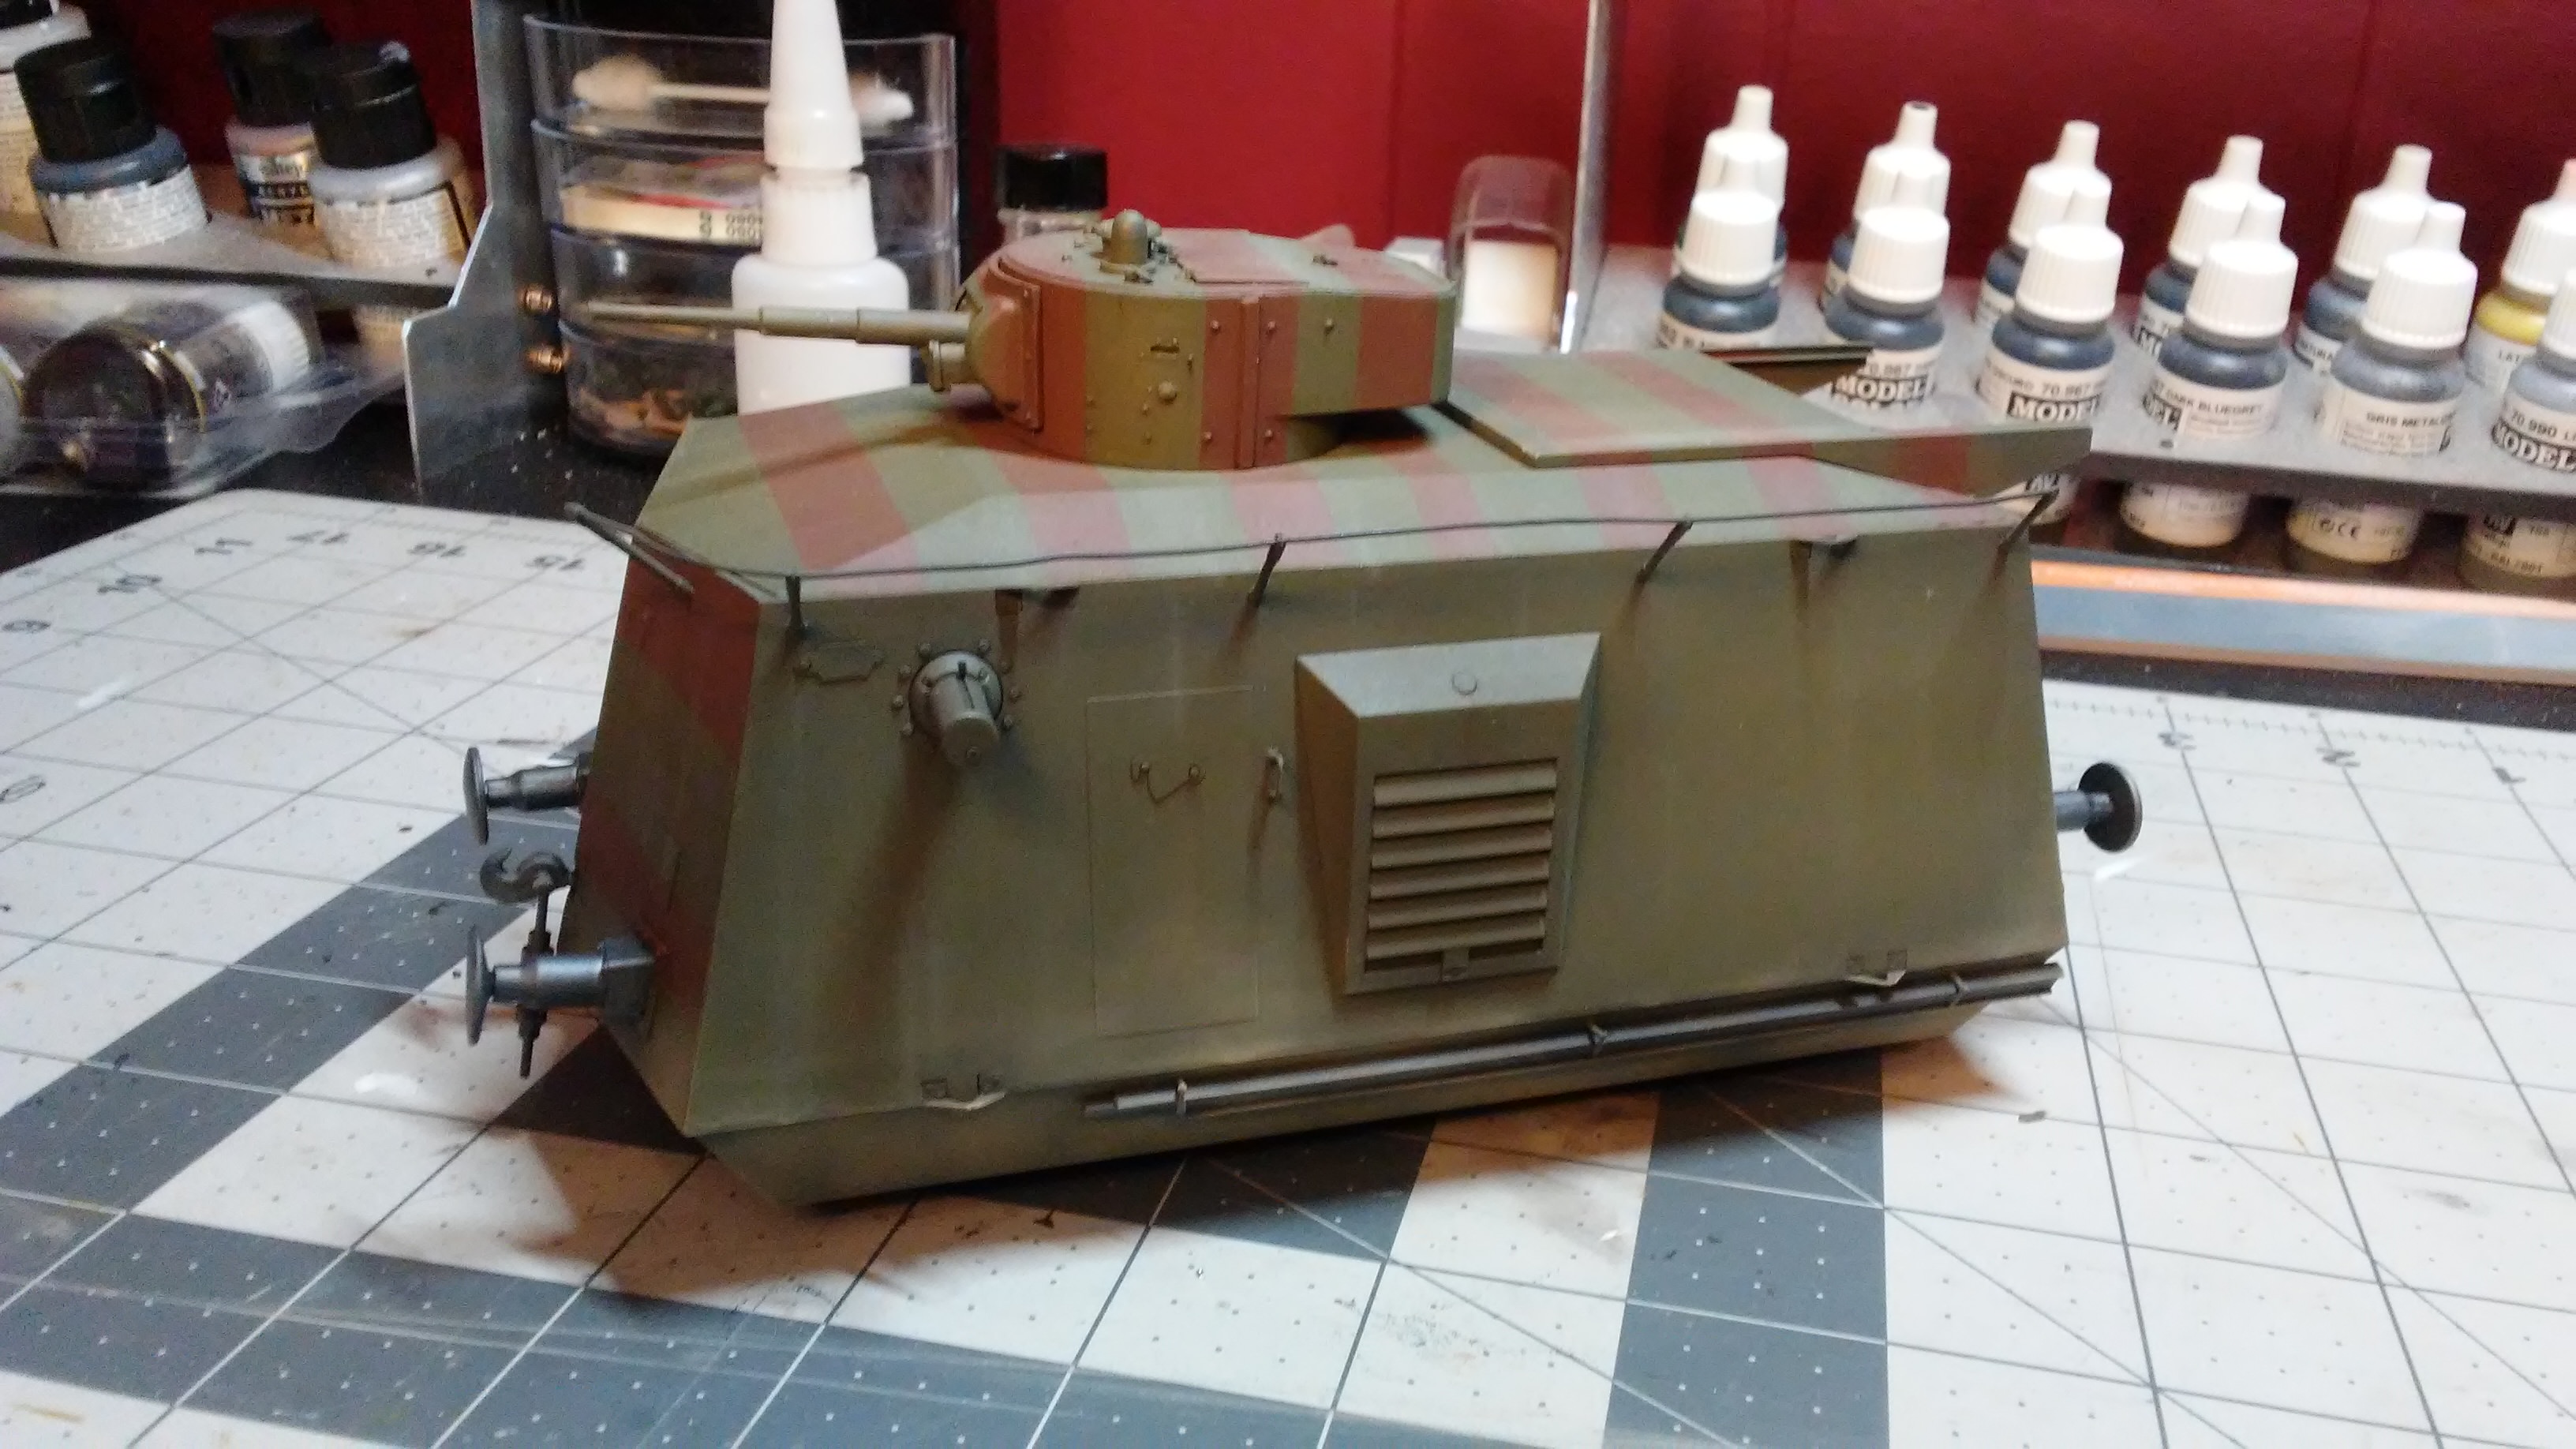
Here's where I'm at so far,

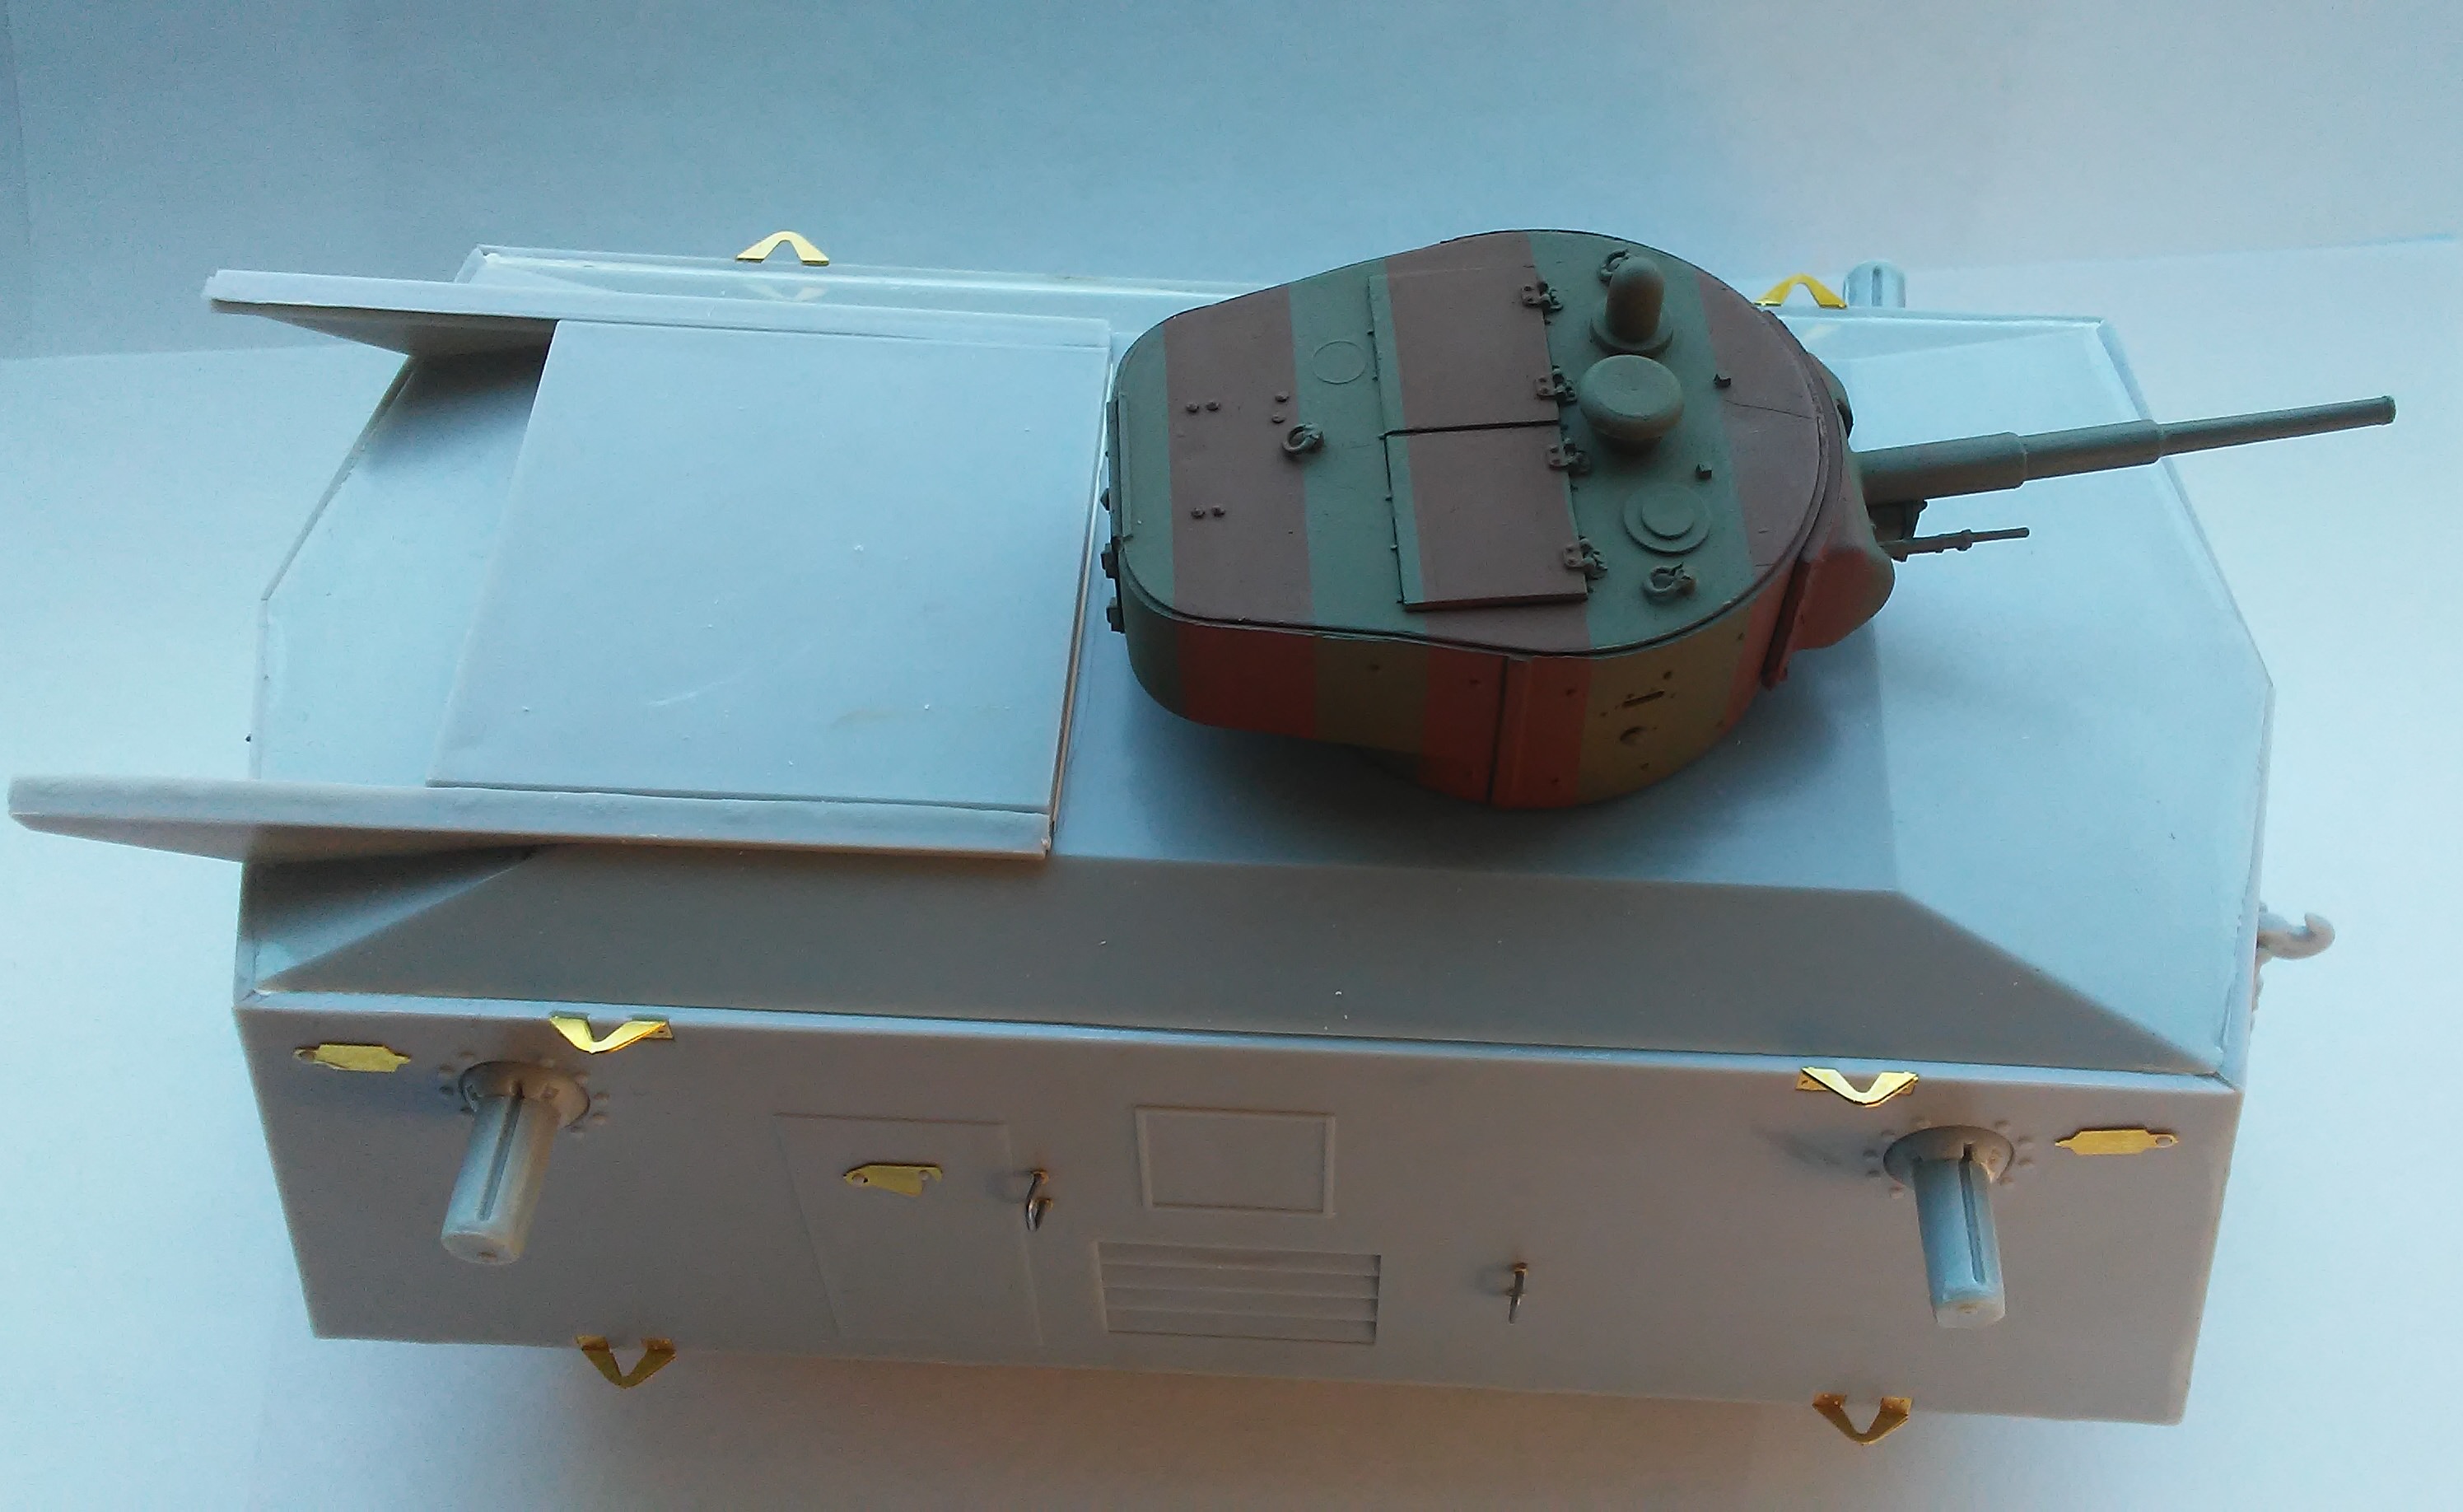
I just had to go ahead and test the camo pattern on the turret since I think those stripes are pretty interesting. I assume the logic for this was to make it hard for pilots to discern the rail car from the track


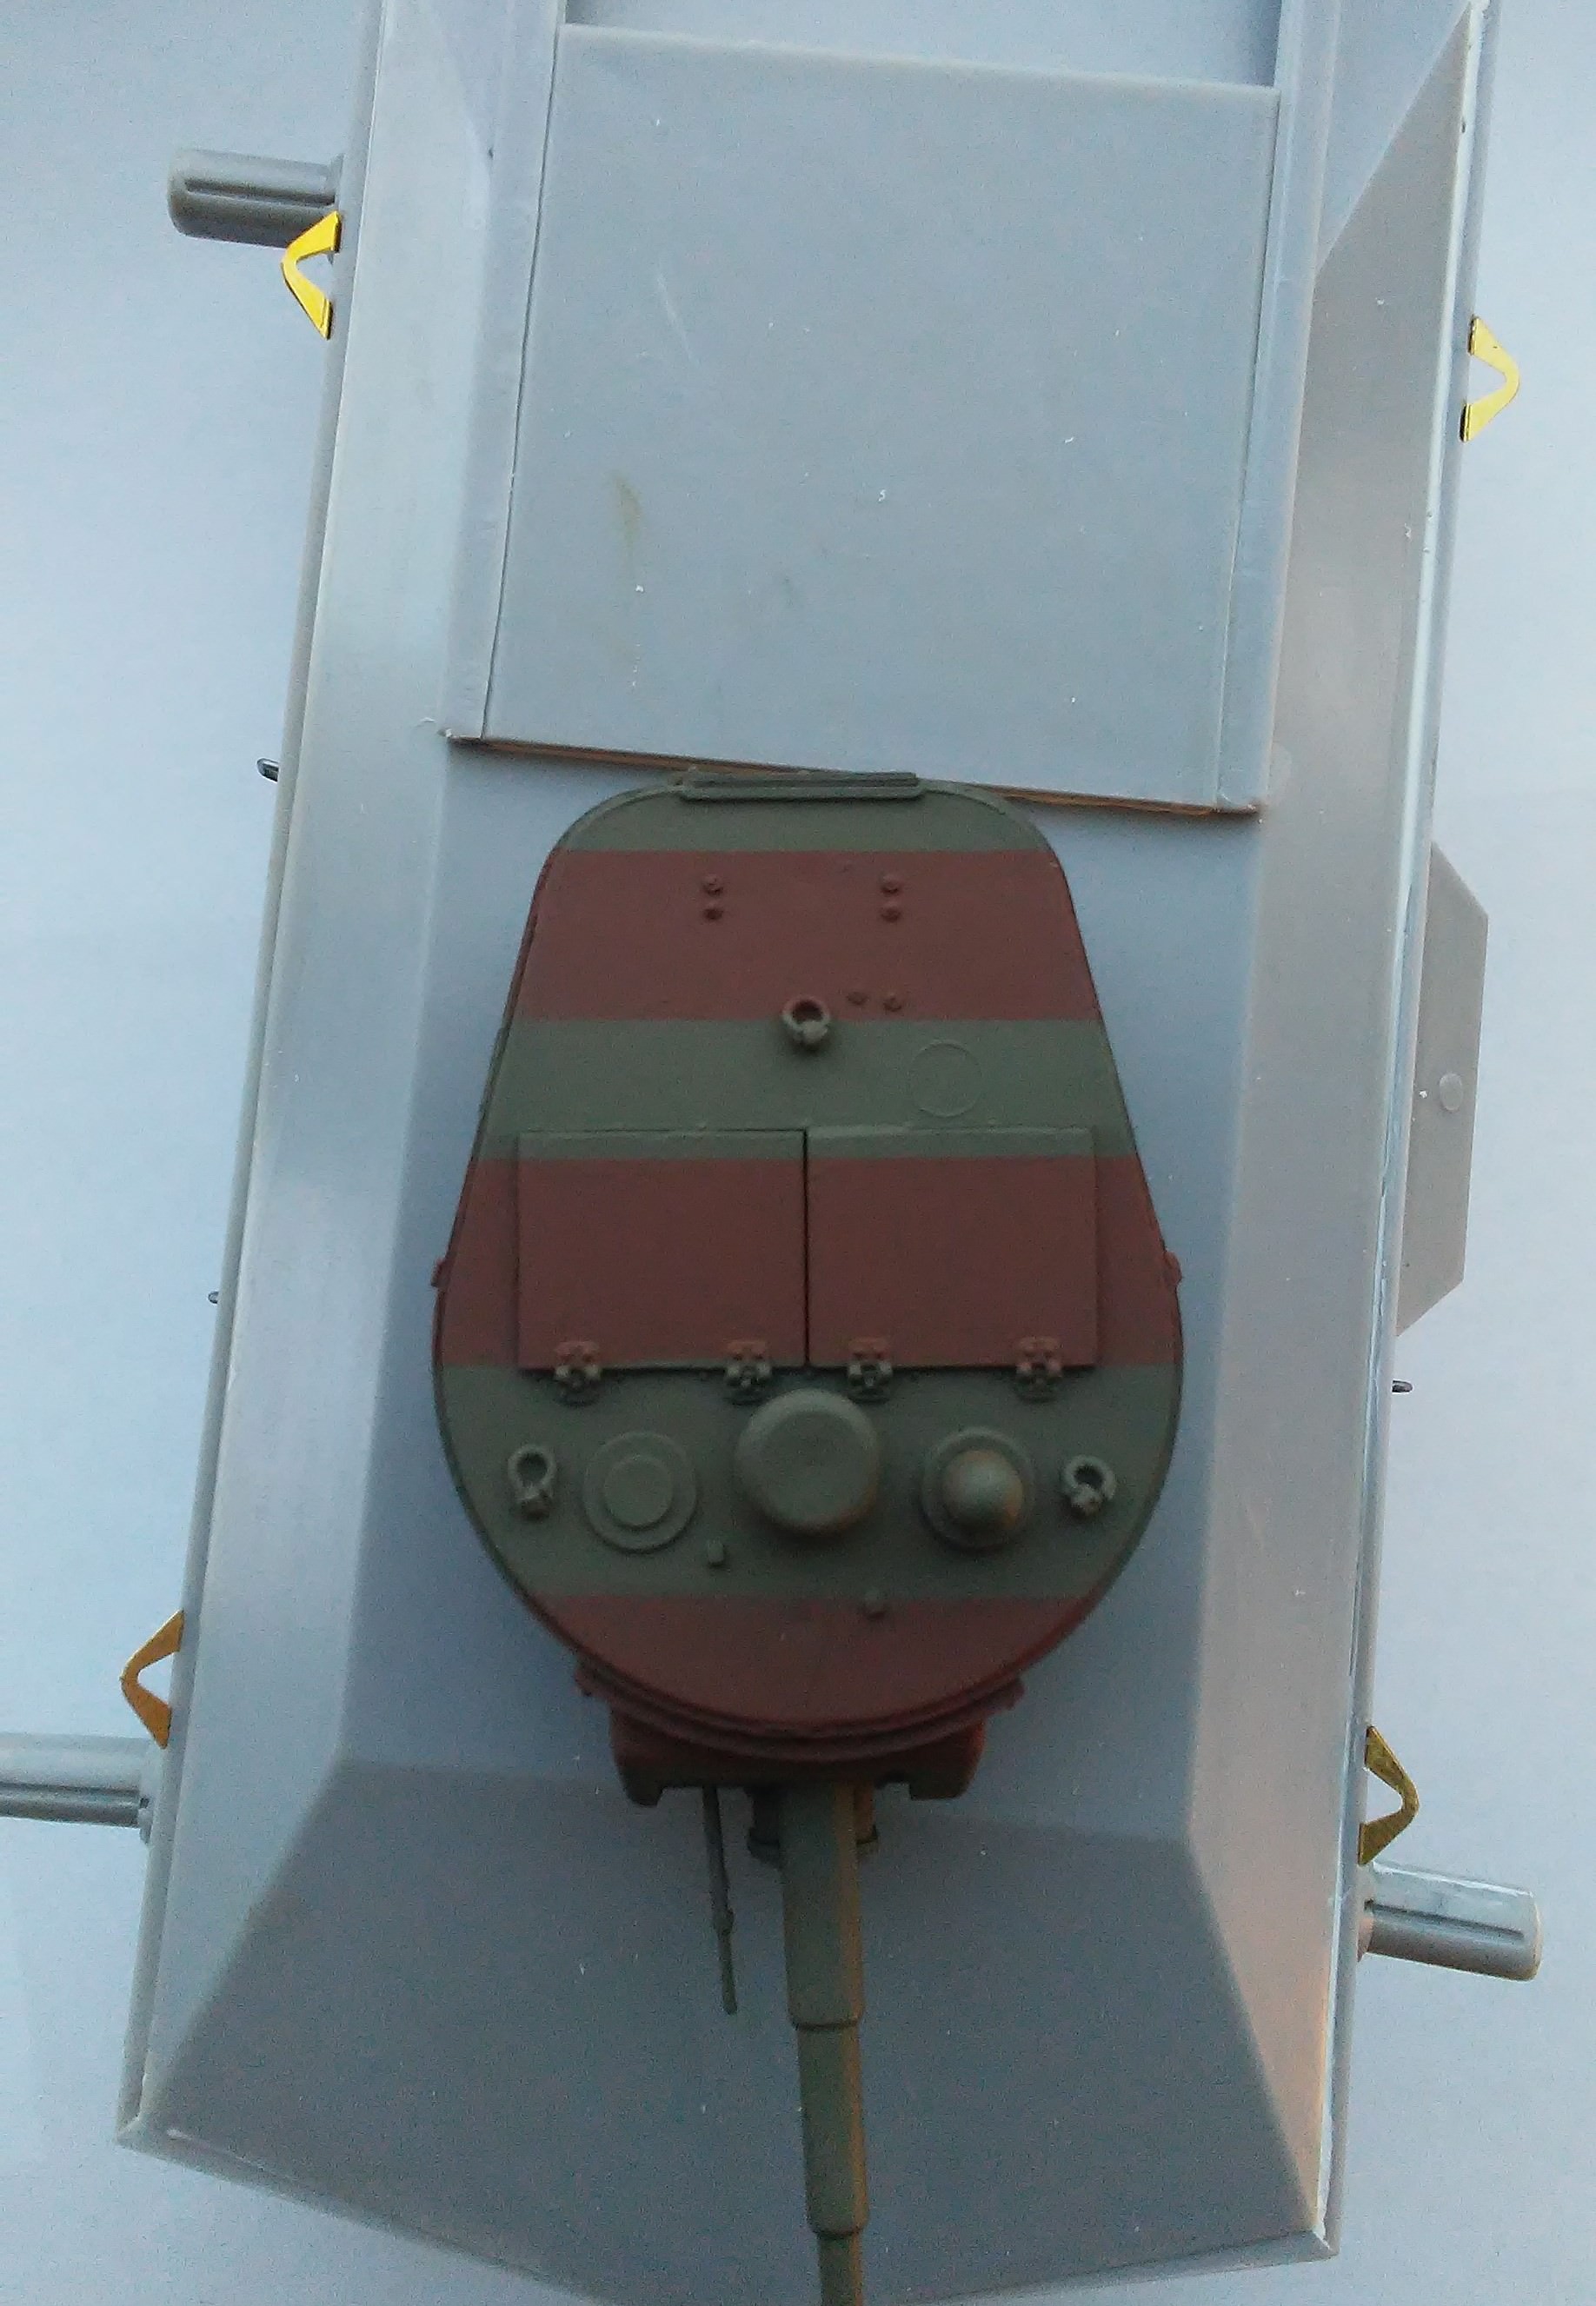
For any would be builders of this kit, a metal barrel and an aftermarket (or a spare Hobby Boss) T-26 turret would do this kit some good.

Comments and crits welcome.
JamesL27
Visit this Community
United States
Joined: June 02, 2013
KitMaker: 202 posts
Armorama: 199 posts
Posted: Thursday, May 03, 2018 - 03:53 AM UTC
Work continues. Main model has been primed, lightly preshaded and base coated green.


Next up will be camo masking and painting
KoSprueOne
Visit this Community
Myanmar
Joined: March 05, 2004
KitMaker: 4,011 posts
Armorama: 1,498 posts
Posted: Thursday, May 03, 2018 - 06:14 AM UTC
Great build here. I must find and purchase one of these kits as well!


JamesL27
Visit this Community
United States
Joined: June 02, 2013
KitMaker: 202 posts
Armorama: 199 posts
Posted: Friday, May 04, 2018 - 04:52 AM UTC

Quoted Text

Great build here. I must find and purchase one of these kits as well!


Thank you. Best bet is probably Ebay if you want this kit

A minor disaster tonight,


Peeled off paint from the masking. Now I know why people say to wash your models before painting... Never had to do it before, but this kit is a special one.

Oh well, guess I'll spray the touch ups while holding an index card instead of taping off. Regardless I like the camo pattern, though looking at my one reference image with the camo pattern it does not match the kit's scheme,

Not sure if I'm going to change it yet. And now I'm just noticing those vertical stripes, I assume they're painted black to look like rails. I guess there's some more masking ahead.
KoSprueOne
Visit this Community
Myanmar
Joined: March 05, 2004
KitMaker: 4,011 posts
Armorama: 1,498 posts
Posted: Friday, May 04, 2018 - 09:24 PM UTC
That's what I figured because I've never heard of this kit in the main channels.

Maybe you can just incorporate the mask lifting into some weathering.


JamesL27
Visit this Community
United States
Joined: June 02, 2013
KitMaker: 202 posts
Armorama: 199 posts
Posted: Friday, May 04, 2018 - 11:00 PM UTC
I've already touched it up, but they still stand out. Respraying without masking also softened some of the hard edges between colors. I've decided I'm not going to paint that rail line either since I don't want even more paint to peel off. To do this properly now would mean I would have to strip off all the paint and try again, and I don't think this kit is worth it. I'll carry on though, it won't be my best kit, but it should be good enough to display on my shelf.
Tank1812
Visit this Community
North Carolina, United States
Joined: April 29, 2014
KitMaker: 1,112 posts
Armorama: 886 posts
Posted: Friday, May 04, 2018 - 11:40 PM UTC
Nice build so far of an interesting subject matter. UM has 1/72 similar types of armor rail cars. I wonder why the top rear decking is designed the way it is? I think no matter what you do you will always remember that location and see more then what others will. Hopefully the machine guns are moveable as it appears the front right machine gun is upside down.
JamesL27
Visit this Community
United States
Joined: June 02, 2013
KitMaker: 202 posts
Armorama: 199 posts
Posted: Saturday, May 05, 2018 - 12:31 AM UTC

Quoted Text

Nice build so far of an interesting subject matter. UM has 1/72 similar types of armor rail cars. I wonder why the top rear decking is designed the way it is? I think no matter what you do you will always remember that location and see more then what others will. Hopefully the machine guns are moveable as it appears the front right machine gun is upside down.


Thank you. I noticed the MG being upside down right after I posted the pictures, not movable though I could pry off the front part and glue it back in the right way. The top rear deck is actually a sliding hatch that covers either a dual or quad maxim (I believe it's a dual) for AA defense.

I've seen those 1/72 rail cars and have thought about getting them, but I really like 1/35 for the size and detail it offers. Only hopes for those in 1/35 are scratch building, or Trumpeter/Hobby Boss venturing more into Soviet rail subjects.
JamesL27
Visit this Community
United States
Joined: June 02, 2013
KitMaker: 202 posts
Armorama: 199 posts
Posted: Saturday, May 05, 2018 - 12:36 AM UTC
Here's an interior drawing of the BDT for those curious,
JamesL27
Visit this Community
United States
Joined: June 02, 2013
KitMaker: 202 posts
Armorama: 199 posts
Posted: Saturday, May 05, 2018 - 04:54 AM UTC
Triple post. Details painted and attached,


Just about ready for weathering now
JamesL27
Visit this Community
United States
Joined: June 02, 2013
KitMaker: 202 posts
Armorama: 199 posts
Posted: Sunday, May 06, 2018 - 05:54 AM UTC
Gloss coat, two layers of filters, and a black pin wash done today.

As you can tell, my phones camera isn't that great, so the effects don't show up well. Also built a section of MiniArt railroad track since I'm planning to do a little display for this. Car fits on there a little loose, but not to the point where it can slip off
Tank1812
Visit this Community
North Carolina, United States
Joined: April 29, 2014
KitMaker: 1,112 posts
Armorama: 886 posts
Posted: Friday, May 18, 2018 - 01:37 AM UTC
I think it looks pretty good. I picked up the kit and a quad maxim kit to open the sliding roof. Do you know anymore about the interior or any general layout information?
JamesL27
Visit this Community
United States
Joined: June 02, 2013
KitMaker: 202 posts
Armorama: 199 posts
Posted: Friday, May 18, 2018 - 02:00 AM UTC

Quoted Text

I think it looks pretty good. I picked up the kit and a quad maxim kit to open the sliding roof. Do you know anymore about the interior or any general layout information?


Ah, I saw your post about the quad Maxim. My only source on this vehicle is "Frontline Illustrations series WW2 Self-Propelled Trolleys and Wagons" FRI-200505. It's a Russian book so I can't read anything. There is one blueprint of the interior, but It's the same one that I already posted. So unfortunately, I'm not much help.

Looks like you can tease some info out of that blueprint though and make some educated guesses. There is also a surviving example of this vehicle at some Russian rail museum (I think). I've only seen pics of this one from the outside, but if you have any contacts over there maybe there's an interior waiting to be photographed.

Good luck though. This kit is a hollow plastic shell, so you'll have a lot of scratching to do but it should look really cool when done. Make sure to post progress
Tank1812
Visit this Community
North Carolina, United States
Joined: April 29, 2014
KitMaker: 1,112 posts
Armorama: 886 posts
Posted: Friday, May 18, 2018 - 04:53 AM UTC
Thanks for the info.

I did find this
https://www.scalenews.de/bdt-35-panzerdraisine-walkaround/
JamesL27
Visit this Community
United States
Joined: June 02, 2013
KitMaker: 202 posts
Armorama: 199 posts
Posted: Friday, May 18, 2018 - 05:16 AM UTC
Those are the same pictures I found of the surviving example. I think it's a rail museum in Russia
JamesL27
Visit this Community
United States
Joined: June 02, 2013
KitMaker: 202 posts
Armorama: 199 posts
Posted: Wednesday, May 23, 2018 - 03:32 AM UTC
Posting the finished build for completeness sake, though I'm not very happy with it.


For starters the streaking is not subtle enough. I use Windsor and Newton oil paints, put a dab on a paper towel and than put some small dots on the model with a toothpick. Those white streaks are as thin as I can get a single dot. May use a purpose made weathering product next time.

I also hate working with pigments. Every tutorial I've seen just casually wipes away excess with a q-tip or warns about how easily they rub off. That has not been my experience at all. As soon as any pigment is on the model, it's on and will not come off. I may be able to spread/blend it a bit, but never enough. If I accidentally get too much on, that's the way it is. You can see my failed adventure with dust pigments on the roof and top of the turret. Try as I might with a stiff bristled brush, I'd sooner strip the paint off than get the pigment out. Typically, it's about a 50/50 chance I'll be happy with the result.

Next step is the paint the rail road track, but at this point I'm more psyched to clean rocks off my front lawn than do any modeling work.
Tank1812
Visit this Community
North Carolina, United States
Joined: April 29, 2014
KitMaker: 1,112 posts
Armorama: 886 posts
Posted: Friday, May 25, 2018 - 06:57 PM UTC
I think it looks pretty good. I am going to order some rivets from Archer to dress the kit up when it shows up. Well that is the plan today.

For the oils, I would stick on cardboard first then wick on paper towel.
https://m.youtube.com/watch?v=FlntGqRgcBU
JamesL27
Visit this Community
United States
Joined: June 02, 2013
KitMaker: 202 posts
Armorama: 199 posts
Posted: Friday, May 25, 2018 - 07:21 PM UTC
Thanks again. The book I mentioned before does have scale plans for the riveted/bolted version if you need to count rivets and can't find the plans online.

Watching the video now. I'm already developing a plan for my next kit, going to try some new products and techniques. Will try the cardboard then the paper towel too. It's HobbyBoss's T-12, a nice simple kit to experiment on.
Tank1812
Visit this Community
North Carolina, United States
Joined: April 29, 2014
KitMaker: 1,112 posts
Armorama: 886 posts
Posted: Friday, May 25, 2018 - 07:48 PM UTC

Quoted Text

Thanks again. The book I mentioned before does have scale plans for the riveted/bolted version if you need to count rivets and can't find the plans online.

Watching the video now. I'm already developing a plan for my next kit, going to try some new products and techniques. Will try the cardboard then the paper towel too. It's HobbyBoss's T-12, a nice simple kit to experiment on.


This thread and that walk round is only things I can find. My Google fu fails me after that. If you can send a scan of the drawings would help, otherwise it's the walkaround to approximate using set 88079.
varanusk
Staff MemberManaging Editor
ARMORAMA
Visit this Community
Santa Cruz de Tenerife, Spain / Espaņa
Joined: July 04, 2013
KitMaker: 1,288 posts
Armorama: 942 posts
Posted: Friday, May 25, 2018 - 08:01 PM UTC
A nice job James, looks good despite the kit and issues masking so you can be proud of it.


Quoted Text


I also hate working with pigments. Every tutorial I've seen just casually wipes away excess with a q-tip or warns about how easily they rub off. That has not been my experience at all. As soon as any pigment is on the model, it's on and will not come off. I may be able to spread/blend it a bit, but never enough. If I accidentally get too much on, that's the way it is.


I guess this is because your model(s) are flat. A satin base, or gloss for the case, does not allow the pigments to stick that much. Give it a try if you can.
JamesL27
Visit this Community
United States
Joined: June 02, 2013
KitMaker: 202 posts
Armorama: 199 posts
Posted: Friday, May 25, 2018 - 08:55 PM UTC
Thank you. I never tried pigments over a gloss coat since I've heard it's a no-no to spray a matte coat over pigments. Some more experimenting is in order. May cut some plastic squares to make little test pieces.
varanusk
Staff MemberManaging Editor
ARMORAMA
Visit this Community
Santa Cruz de Tenerife, Spain / Espaņa
Joined: July 04, 2013
KitMaker: 1,288 posts
Armorama: 942 posts
Posted: Sunday, May 27, 2018 - 02:15 PM UTC
Yes, seems that varnish destroys the subtle effect of pigments so a gloss base is not desirable, but satin is a good option (metal is not absolutely matt).

Hope it helps!
JamesL27
Visit this Community
United States
Joined: June 02, 2013
KitMaker: 202 posts
Armorama: 199 posts
Posted: Sunday, May 27, 2018 - 03:23 PM UTC

Quoted Text

This thread and that walk round is only things I can find. My Google fu fails me after that. If you can send a scan of the drawings would help, otherwise it's the walkaround to approximate using set 88079.


Sorry for the delay, just saw this post. I had thought there were multiple views in the book, turns out it's just one from the side. But it should be nearly identical on the other side, so only the top is guesswork.

Found it online, looks like it's from the book.
Tank1812
Visit this Community
North Carolina, United States
Joined: April 29, 2014
KitMaker: 1,112 posts
Armorama: 886 posts
Posted: Sunday, May 27, 2018 - 09:16 PM UTC
Thanks. That must be based on the period photo you posted as there are things different between the walkaround and kit.

What would be a guess on the interior color? Might just make it primer red (Tamiya hull red) if nobody has any better ideas.
JamesL27
Visit this Community
United States
Joined: June 02, 2013
KitMaker: 202 posts
Armorama: 199 posts
Posted: Sunday, May 27, 2018 - 09:39 PM UTC
I would assume white, as I believe all Soviet vehicles of the time had white interiors, and I don't think this would be any different.
 _GOTOTOP