


Hey, everyone. As I was building a 1/35 diorama about the Ardennes offensive, Wacht Am Rhein, I became fascinated with the Meng King Tiger with interior. I had never given much thought to the inner mechanisms of the tank, and it left me hungry to dig deeper. The result was the decision to create the 1/35 tank in tandem with a much larger 1/16th version. Tiger 204 will be depicted at both scales, with the 1/35 present in a diorama and the 1/16 as an exploded view exposing the interior.
The diorama and large-scale model will both be implemented as 2 of the 12 pieces of artwork I will be displaying for my senior exhibition for my Bachelors of Fine Arts degree. Working with veterans to find healing from PTSD and other hardships, I want to prove that the process of building, modifying, painting, and displaying models are indeed an art form - and more importantly - one that is more accessible to the military community than more traditional approaches.
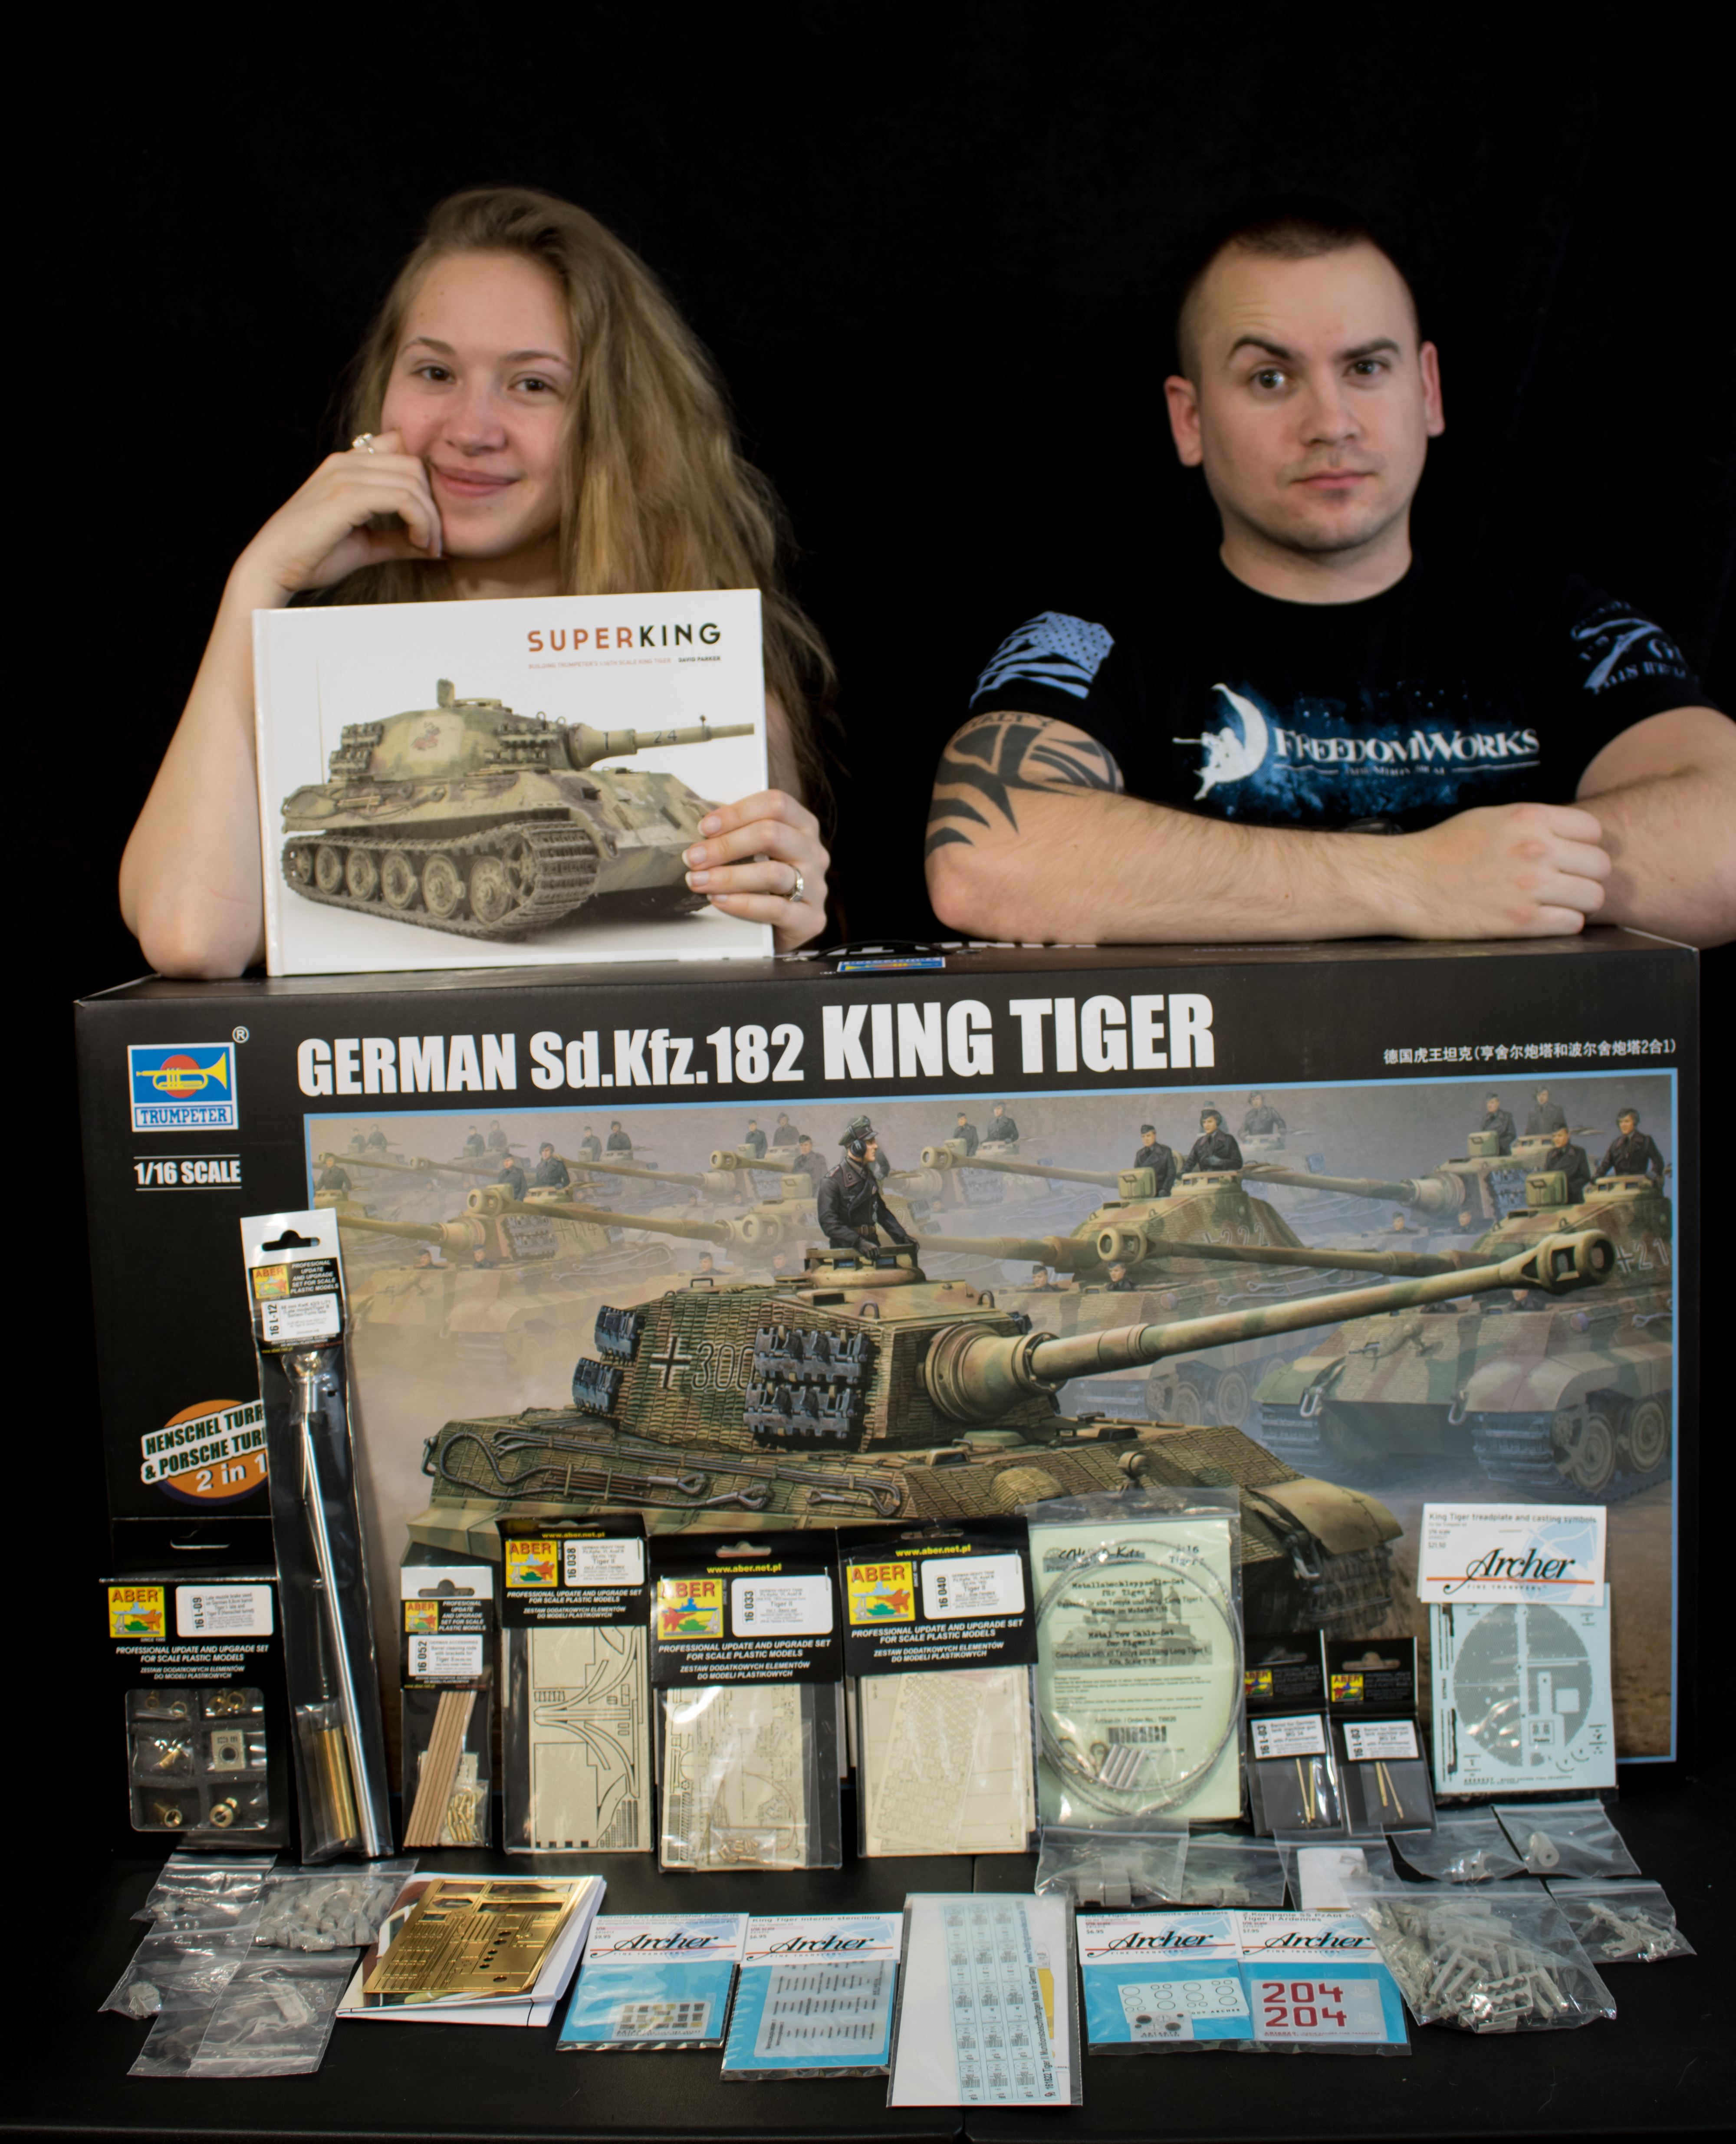
So, on to the build. I decided to go deep on this project. In addition to the Trumpeter base kit, I gathered detailing sets from Aber, Archer, AFV Modeller, and a few other brands to provide a bit more punch in the kit.
When I opened the box, the first thing that hit me was the sheer size of everything. The boxes containing sub-assemblies were huge, the sprues were huge, the whole damn thing is huge. That was more exciting than daunting to me, though. I was looking forward to being able to work at a scale that was more forgiving to my eyes.


For a size comparison, I placed the lower hull next to my in-progress Meng build. It's a pretty substantial jump.

Unfortunately, the first step was not at all as glamorous as one would hope. The lower hull has multiple deep injection pin marks that had some flash sticking up on the circumference. Those had to be sanded down then filled with putty. A tedious but necessary chore.

After the holes were filled, I started on the numerous road wheels. Thankfully, they didn't need nearly as much clean up as I was expecting.

The idler wheels were victims of the pin mark monster, so once again I found myself breaking out the putty.

On the sprockets, I added raised resin decal numbers from Archer before texturing the body of the piece with Easy Cast from AK Interactive. Using a stiff bristled brush with the creamy substance produced a cast metal texture that I was happy with.


Once dry, I primed all the wheels, idlers, and sprockets. They were then airbrushed with Dunkelgelb Ausgabe '44 from AK's Real Color line. I was pleased with the flow, coverage, and leveling of the paints. Surprisingly, I found myself preferring them to Ammo of Mig's line.


It was here that I realized my first mistake in the build. The wheels correspond with each other and double up to allow the guide horns to pass through. Well, the connections for each wheel has to be perfectly concentric to fit properly. A good way to have ensured this would have been to glue the wheels with their connectors dry fit together. I did not do this, and thus I have to modify each individual wheel to fit with its partner. It's a long, tedious process.
To keep myself from getting too frustrated, I turned to the engine sub-assembly. Many of the major components didn't create problems. Gaps tended to be the biggest nuisance but nothing too crazy.

I'm attempting to recreate some of the finer mechanical and plumbing details of the engine. However, I'm not very knowledgeable on engines, and even less so when it comes to ones that are nearly 75 years old. So this has mandated a lot of research, study, and references to David Parker's book which has been invaluable.

I'm eager to continue this build. It's as much of an academic project as an assembly one and that concept alone excited me. I would be appreciative of any feedback, suggestions, or corrections you offer as this something that is much more familiar to a lot you than it is to me. Thanks!


