Sorry for the delayed reply.
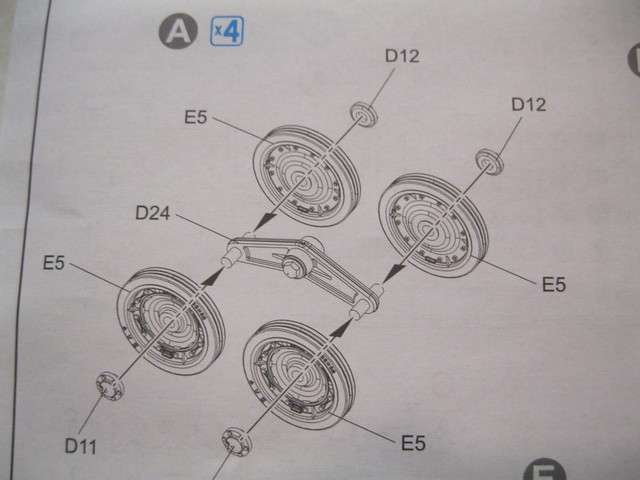
Jim, they are about the same size as a Pz. I or II, or the 38T series-small yes but lots of detail.
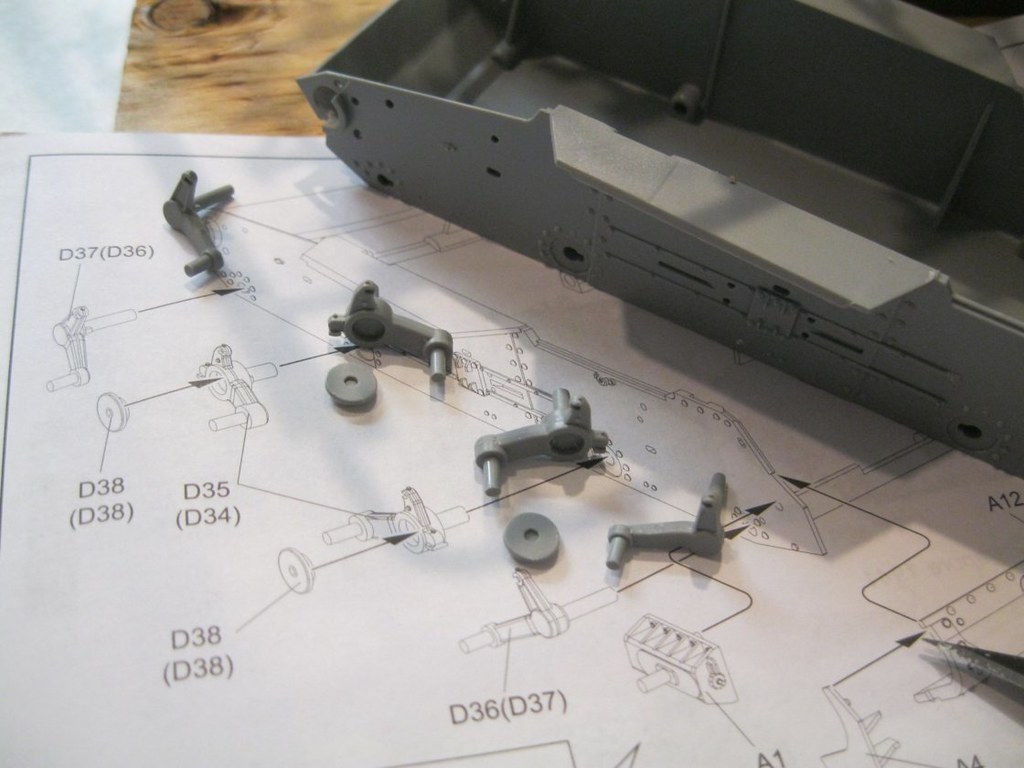
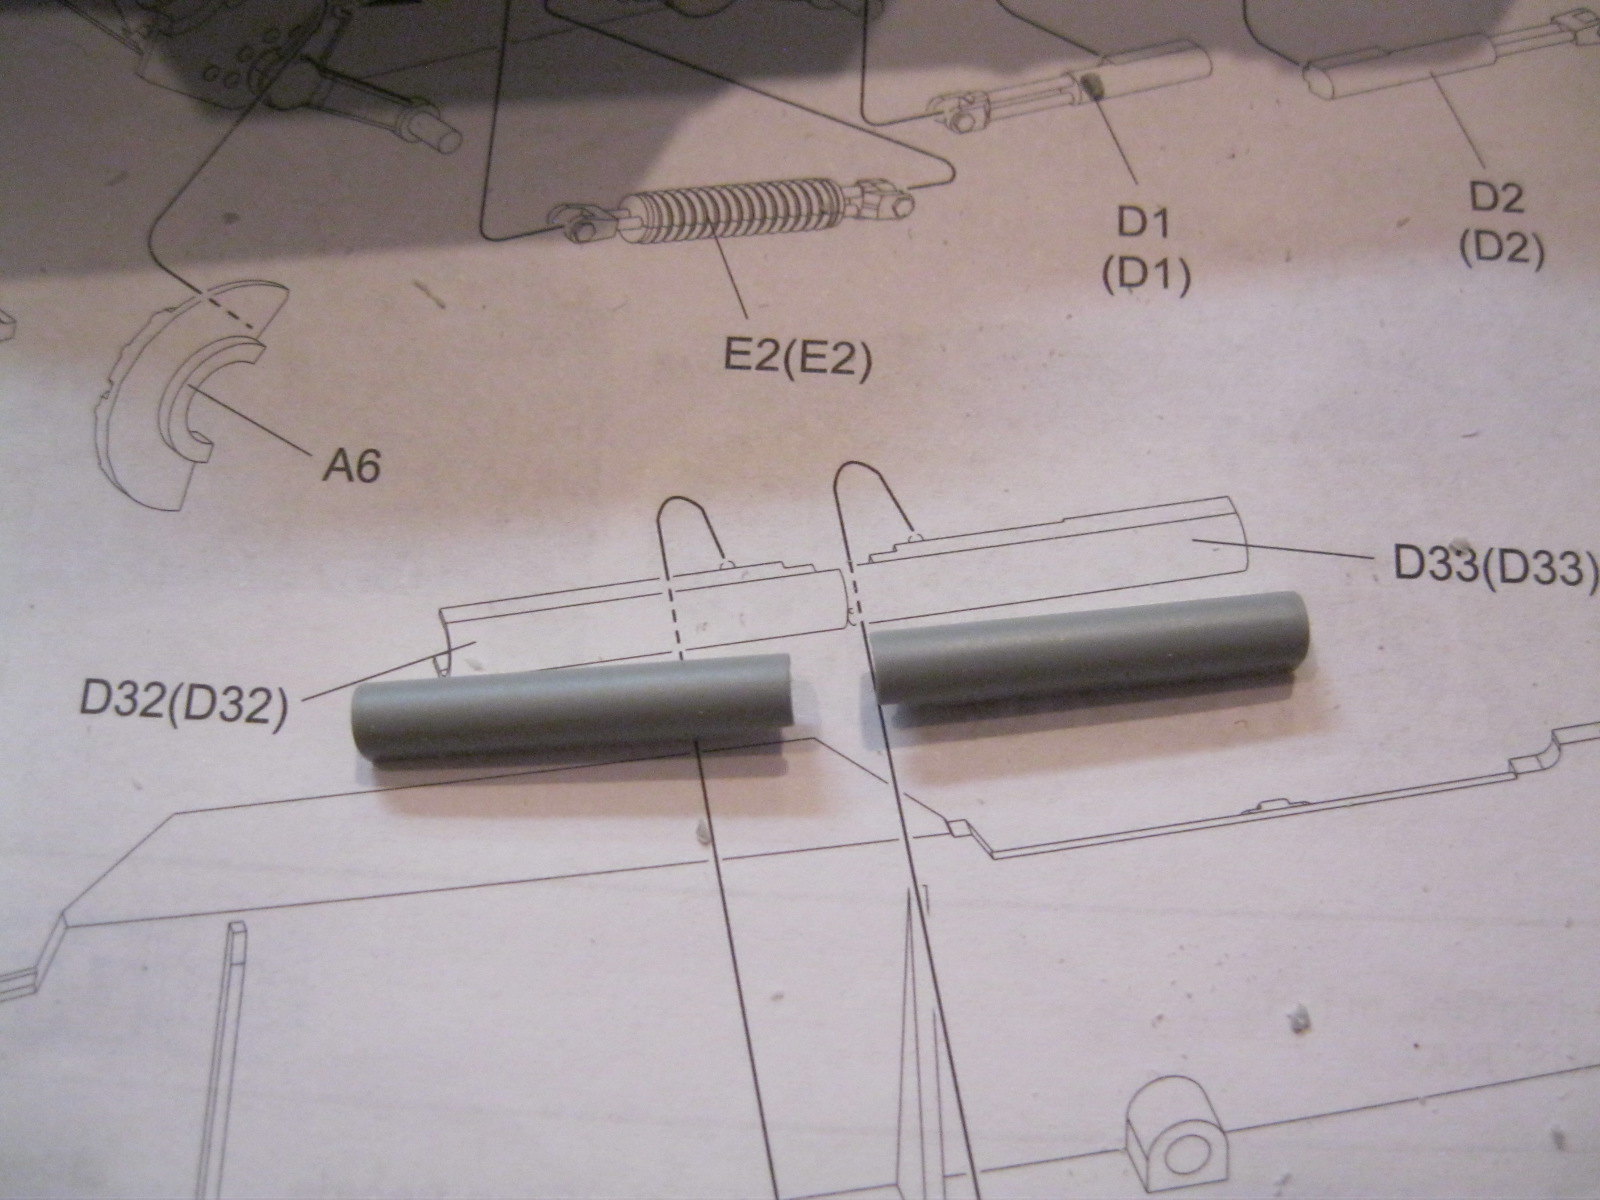
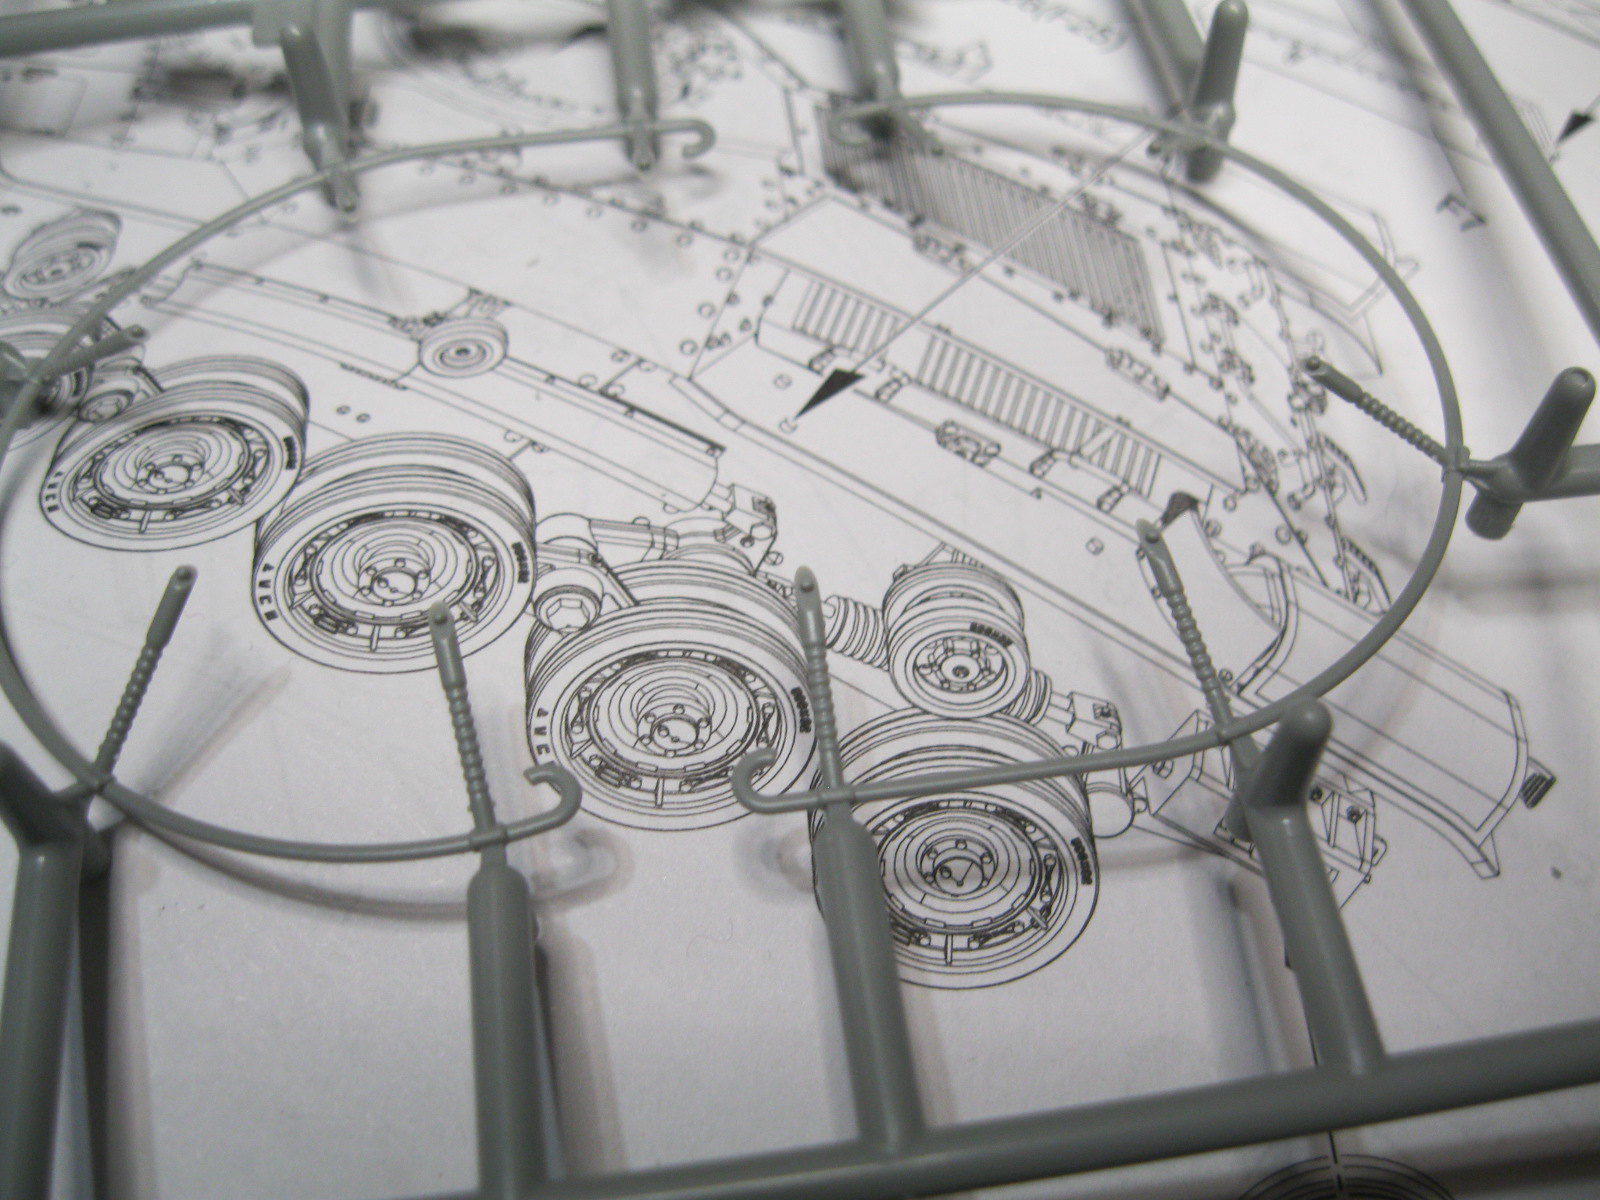
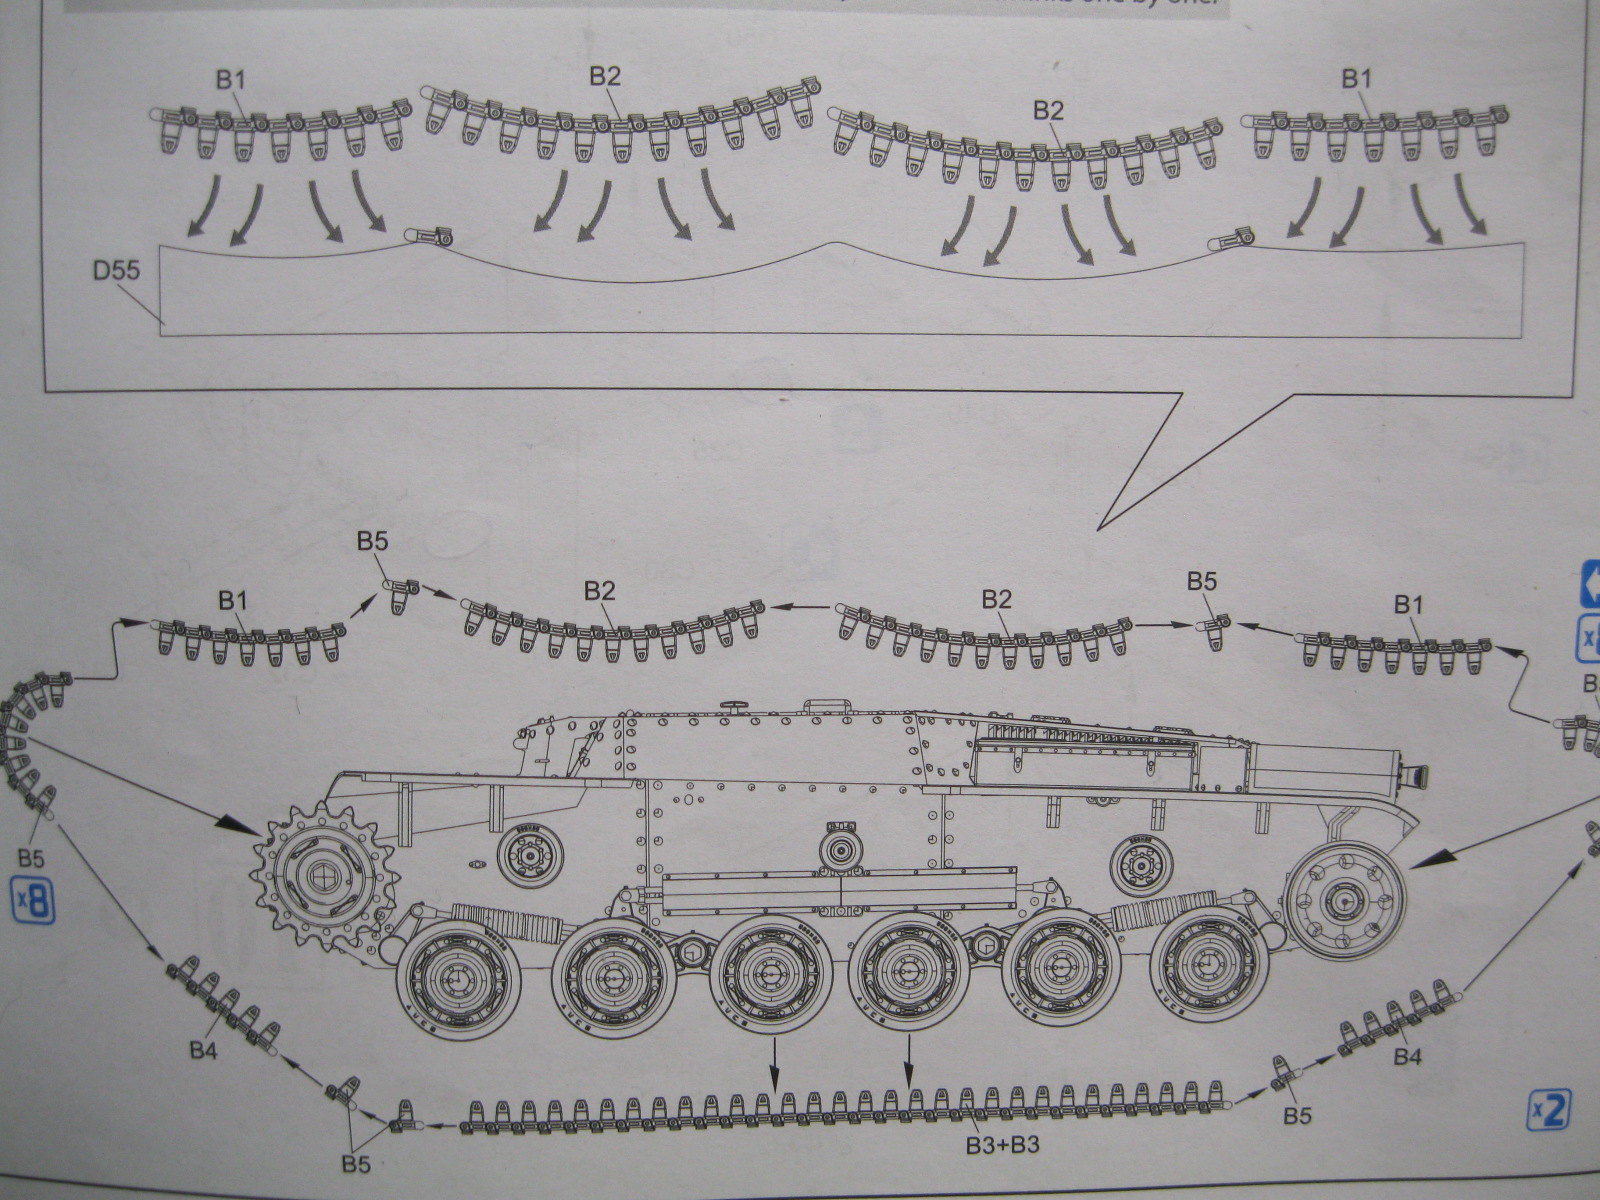
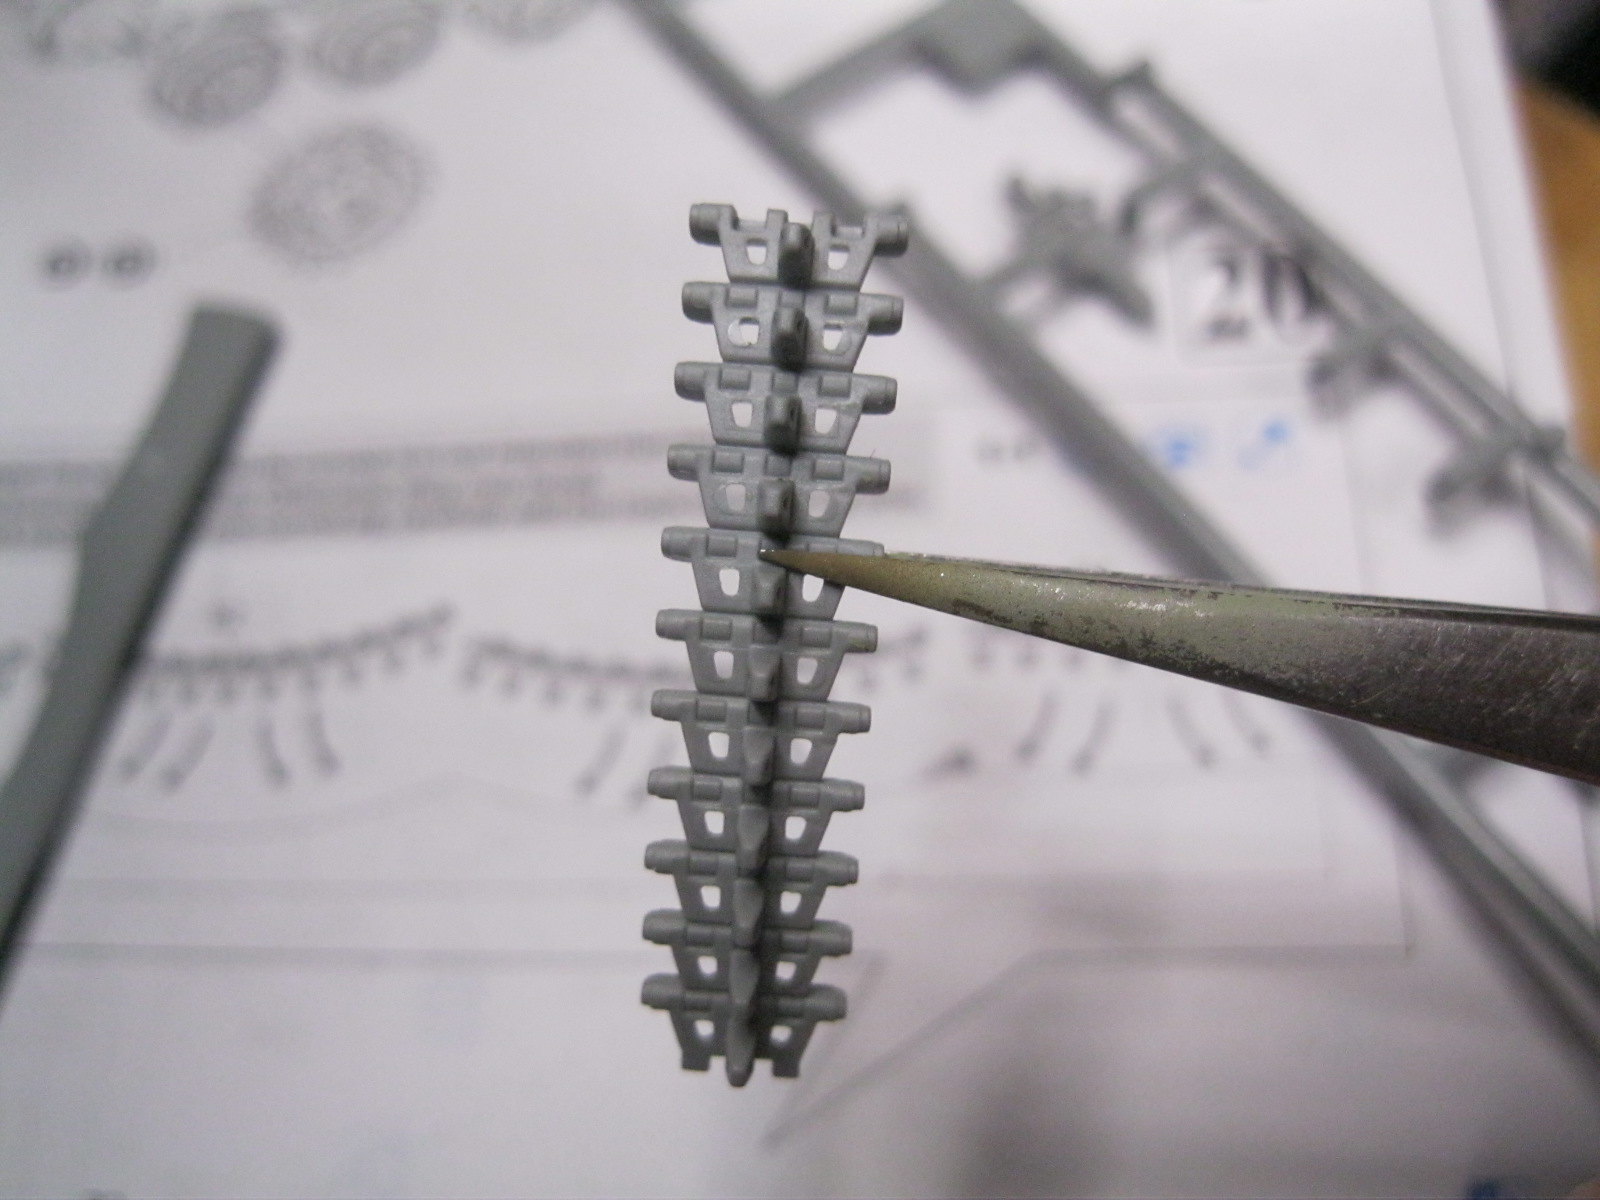
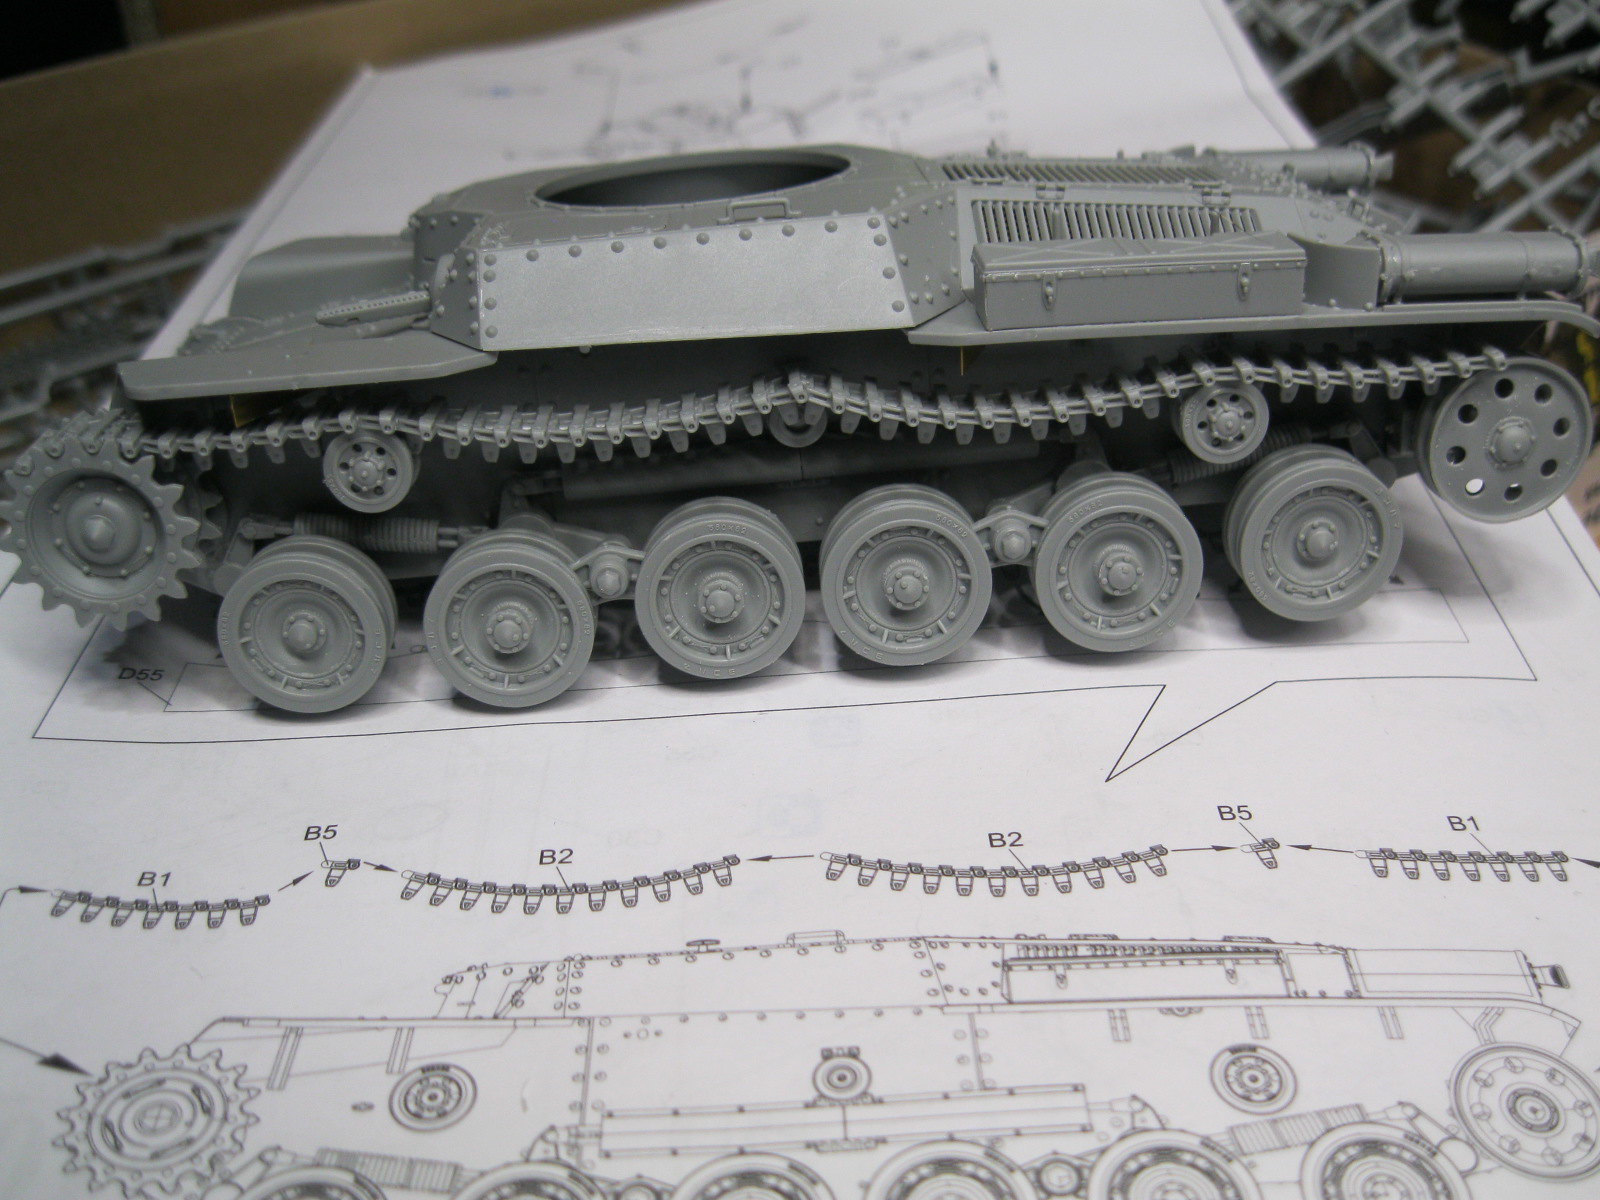
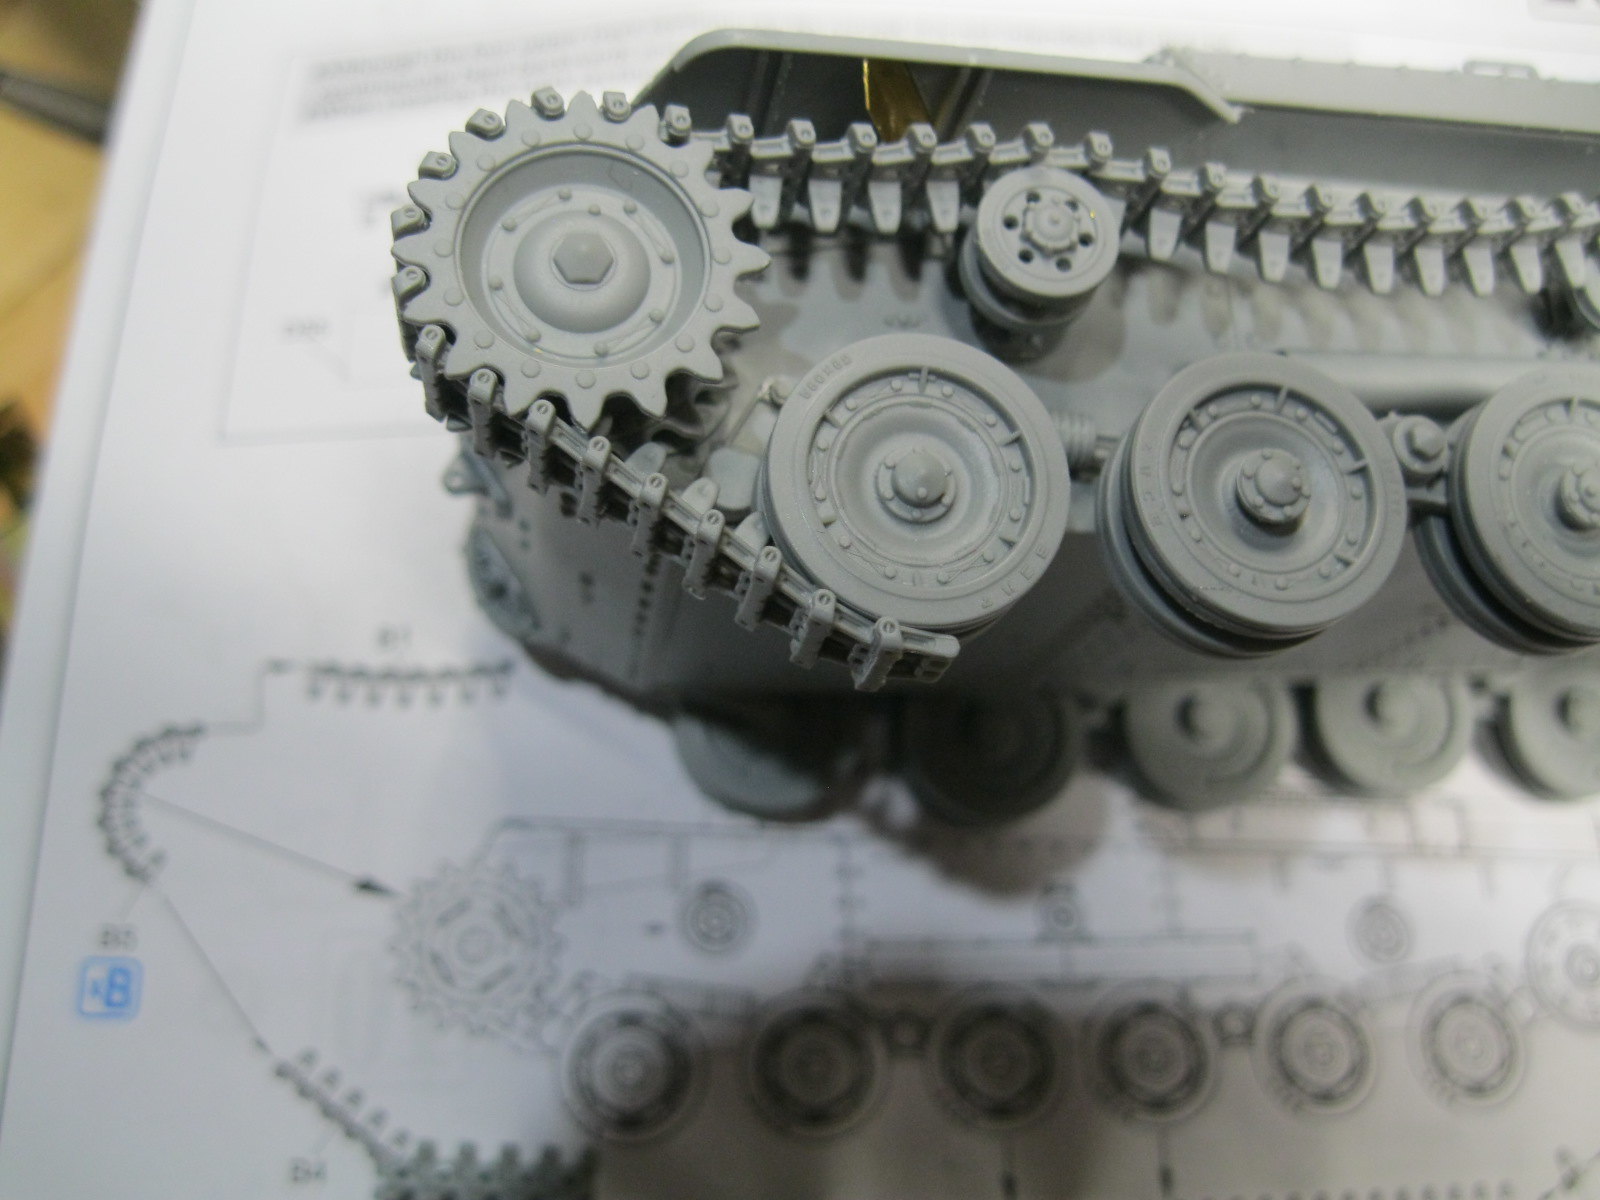
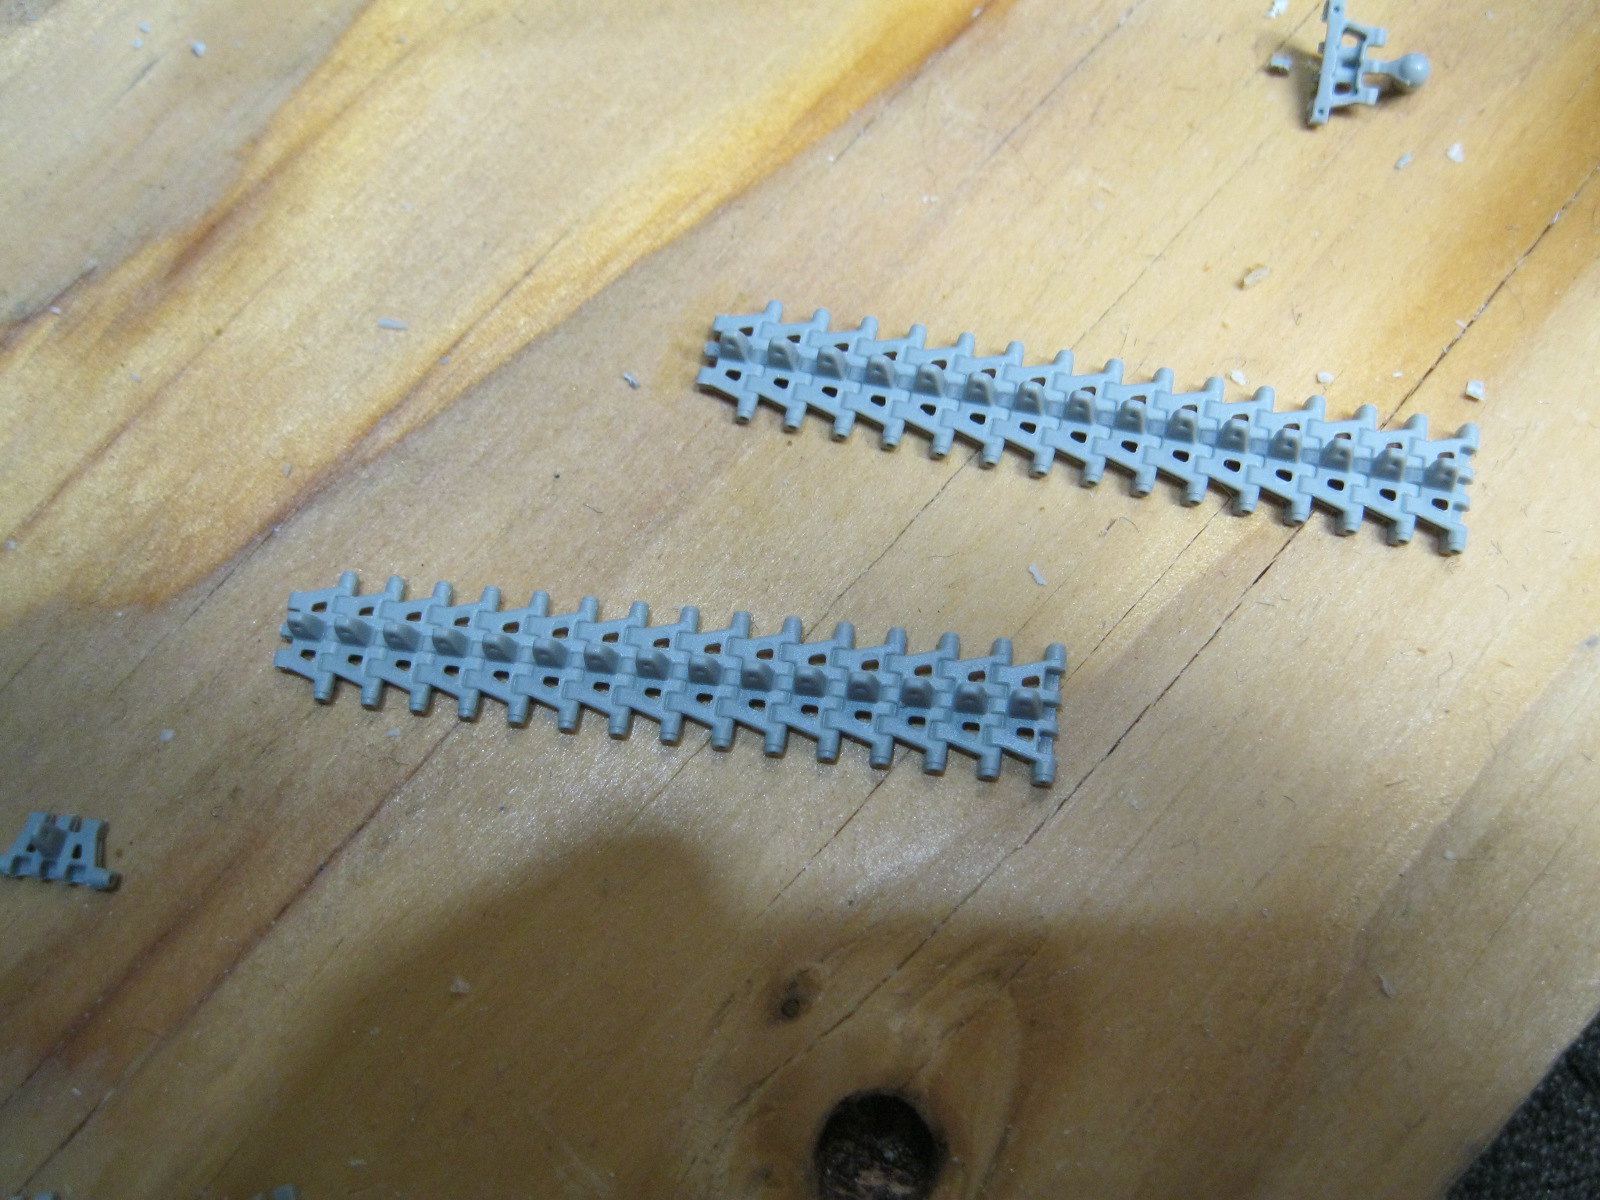
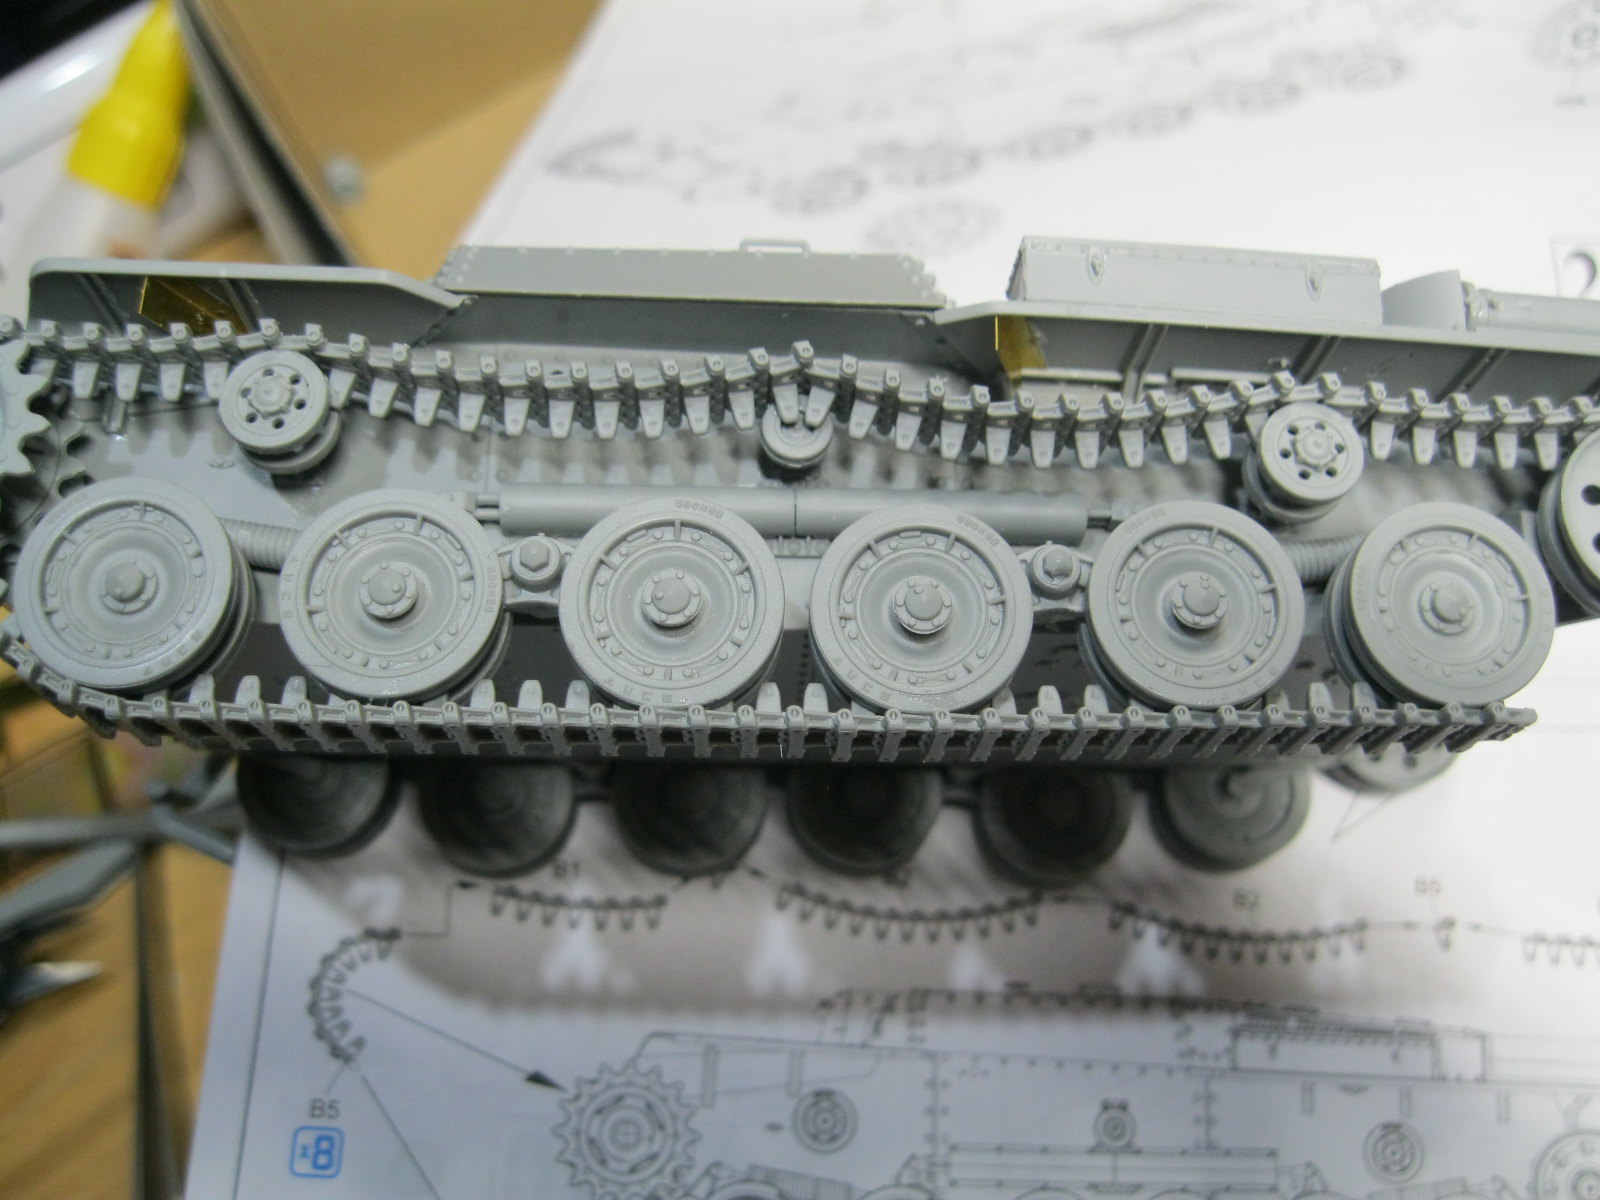
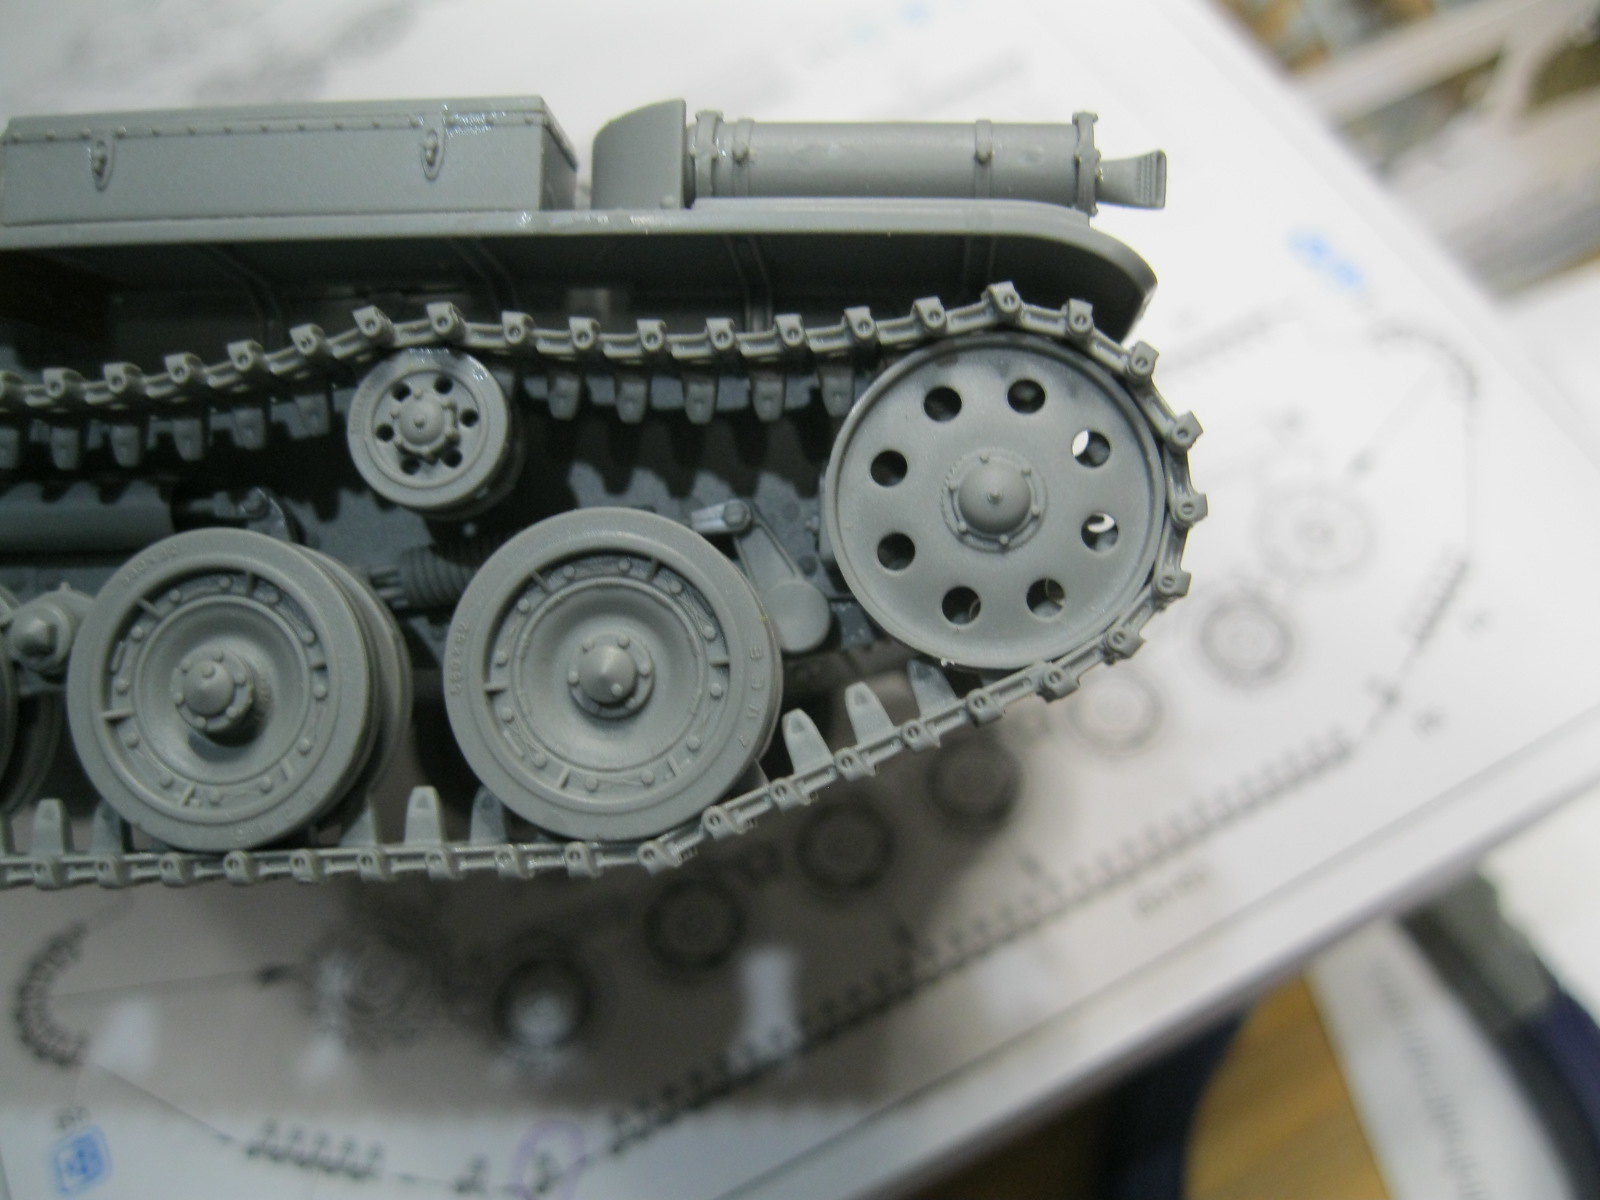
Mark, the track runs are molded flat but are designed to be carefully bent into shape. There is a template provided on the "D" sprue to allow for this.
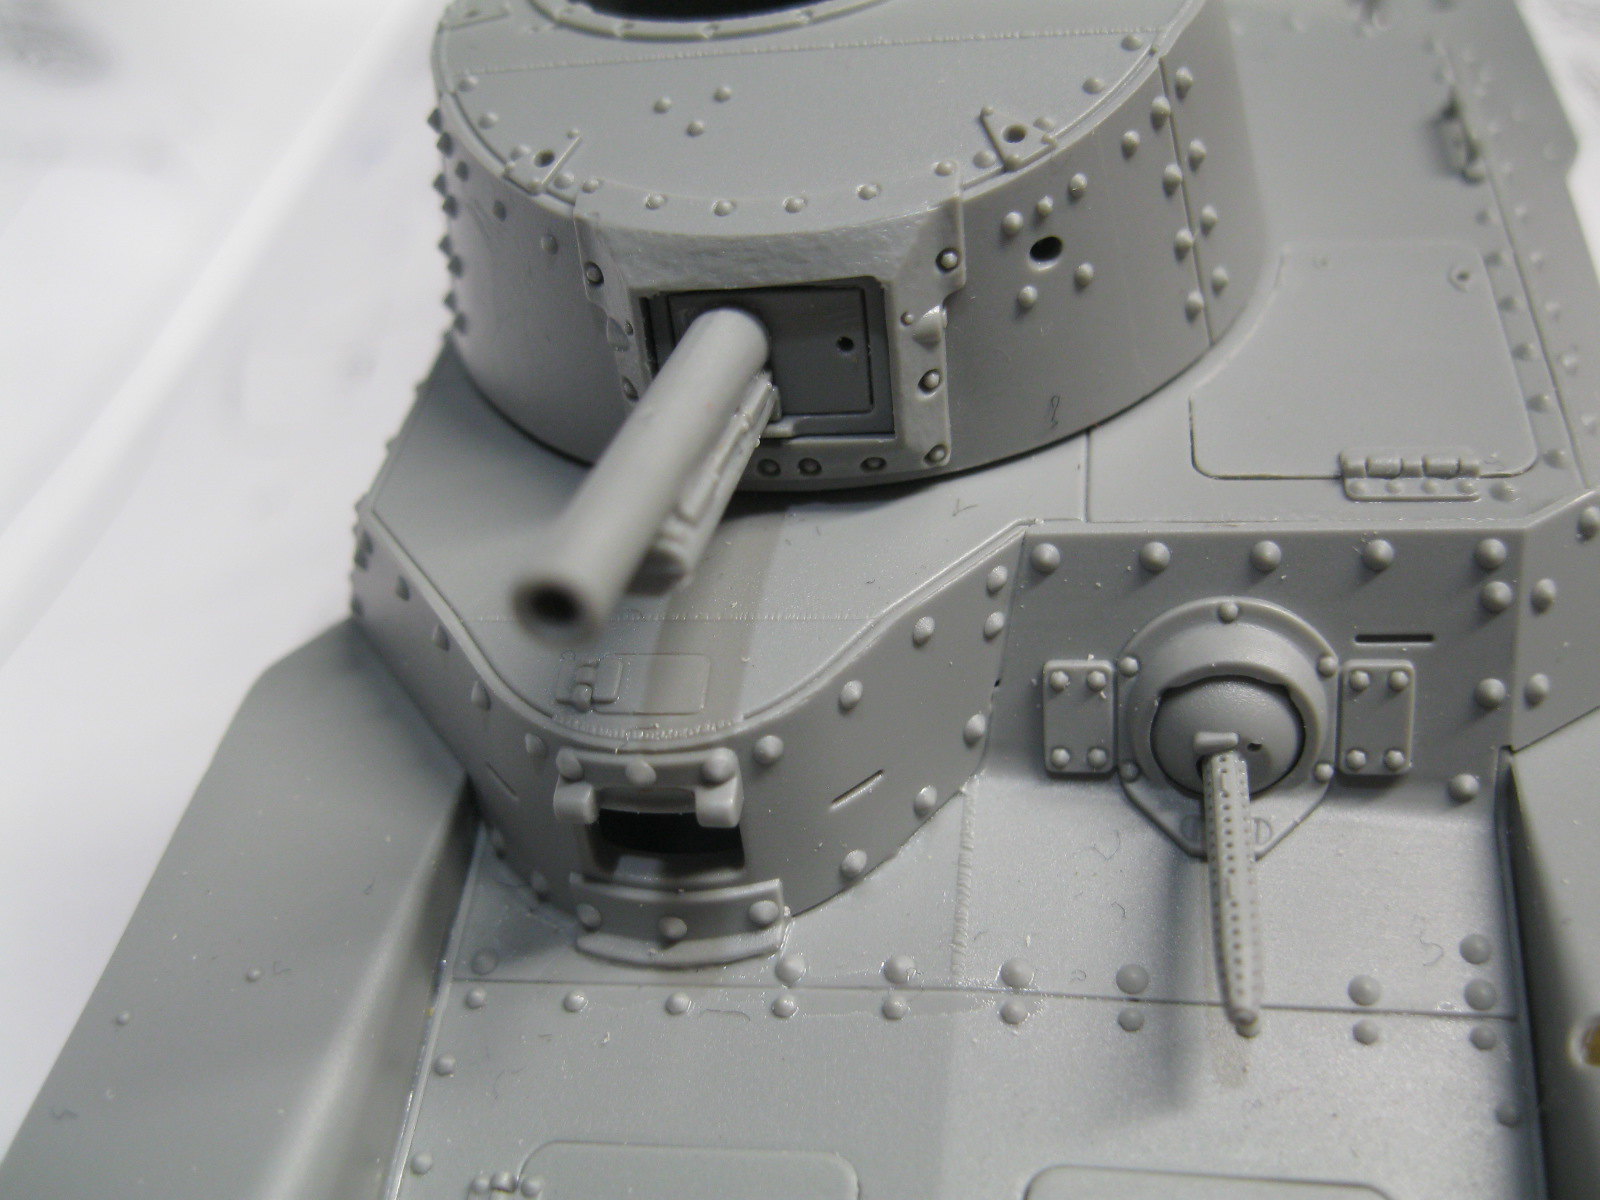
I realize that I made a serious mistake. I was fairly careful (I thought) in following the instructions and even laid the parts out correctly but in the process of setting out all the options I picked up the wrong parts and it went downhill from there. The gun mantlet is reversed. I kept looking at it and wondering why what I thought was interior detail was on the outside but it just didn't sink in far enough until today, when it finally hit home, as I was carefully fitting the part. That being said, the two small tabs I removed in step 10 should not be removed because they do fit in the proper part. Sometimes I get dyslexic, and sometimes I just get confused. Either way, I am in the process of correcting the problem.
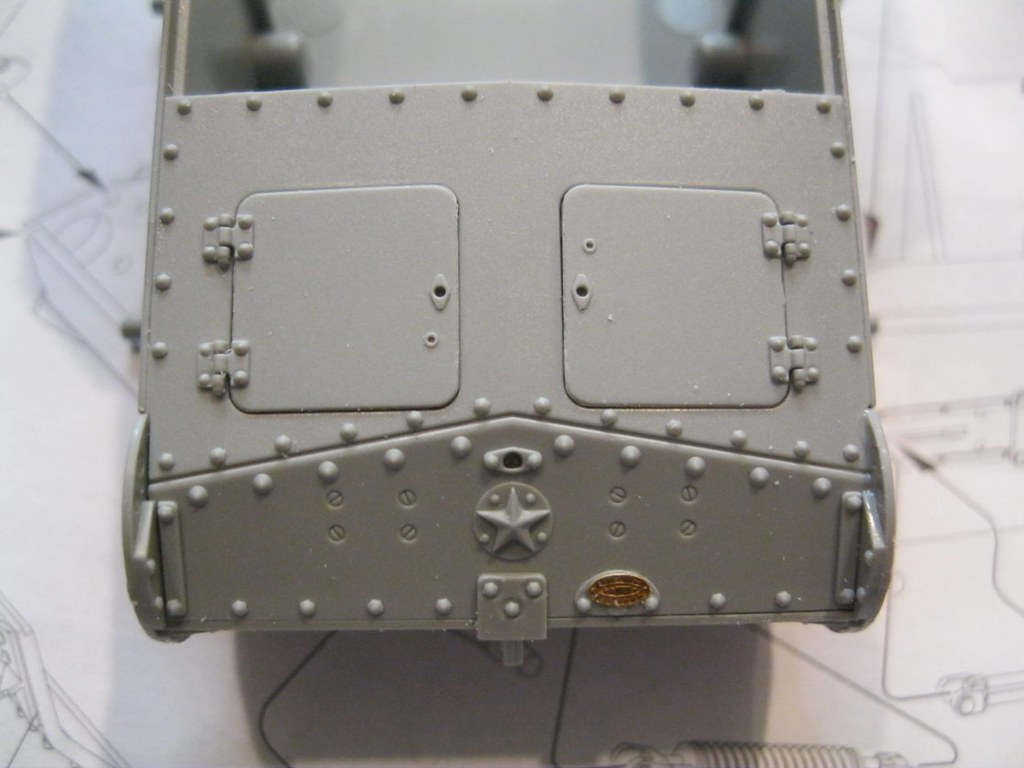
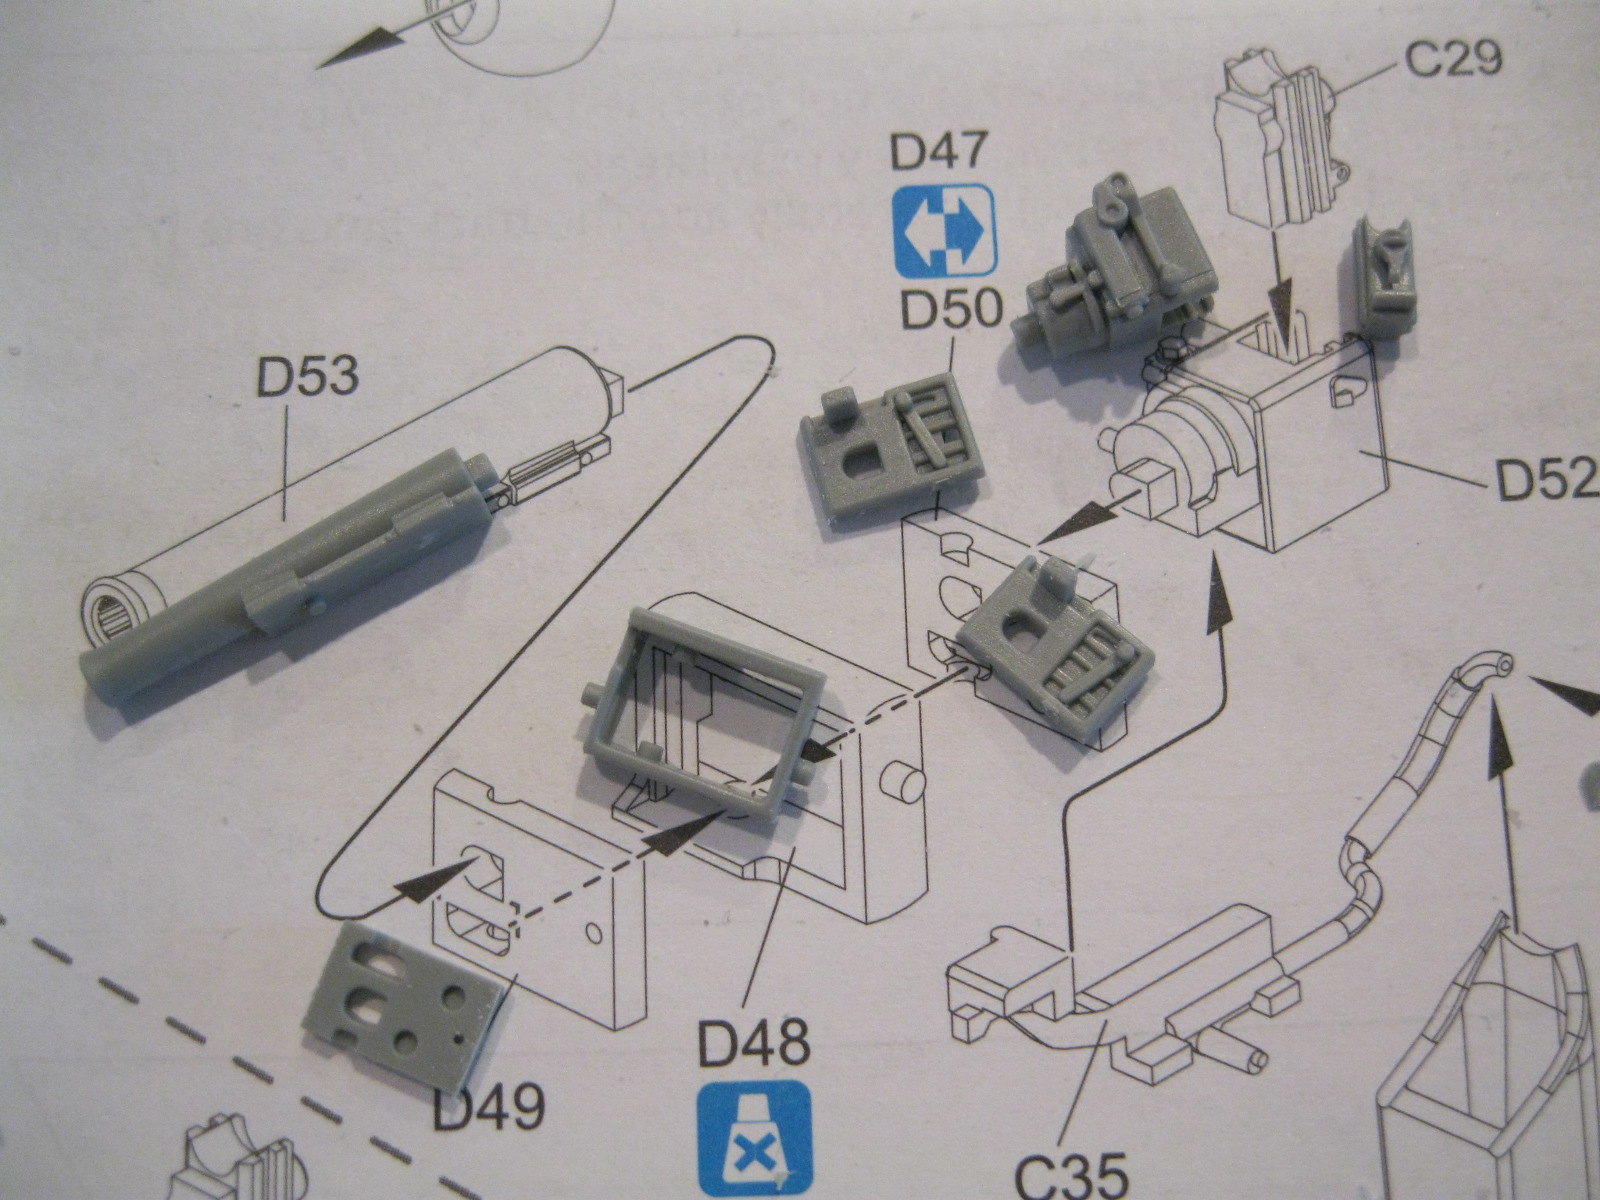
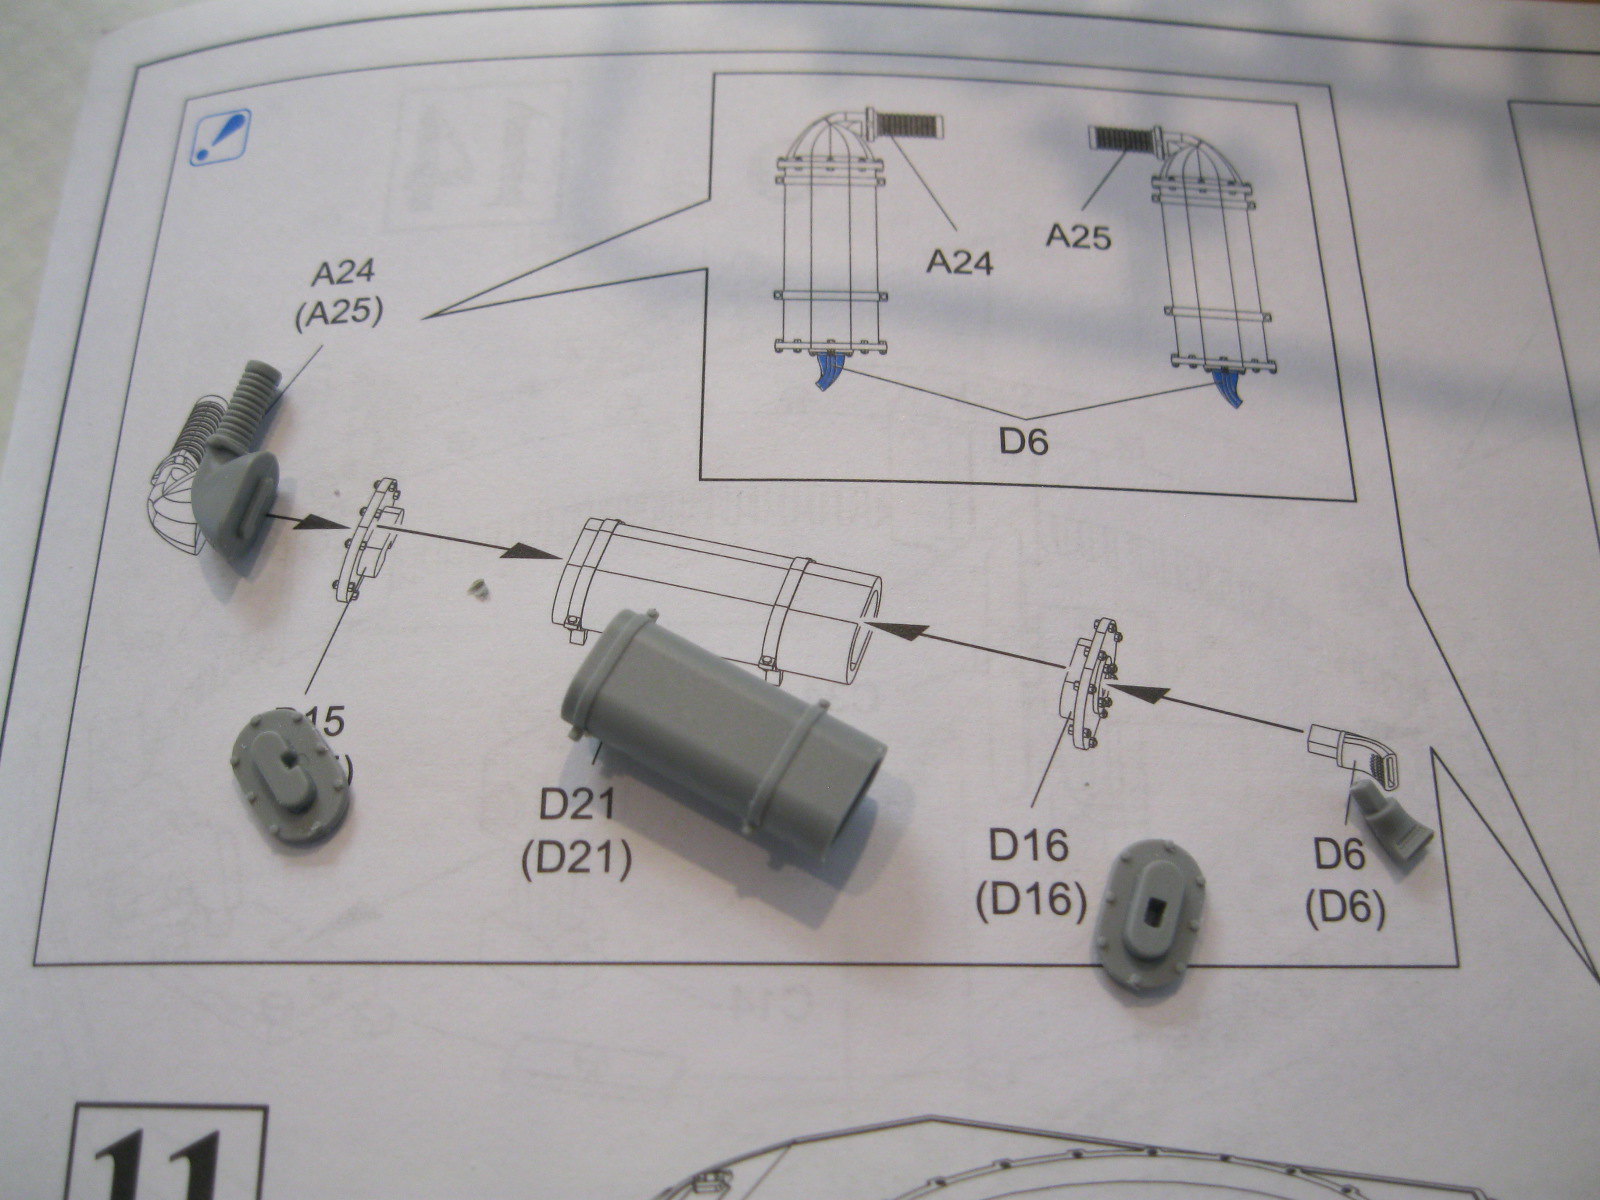
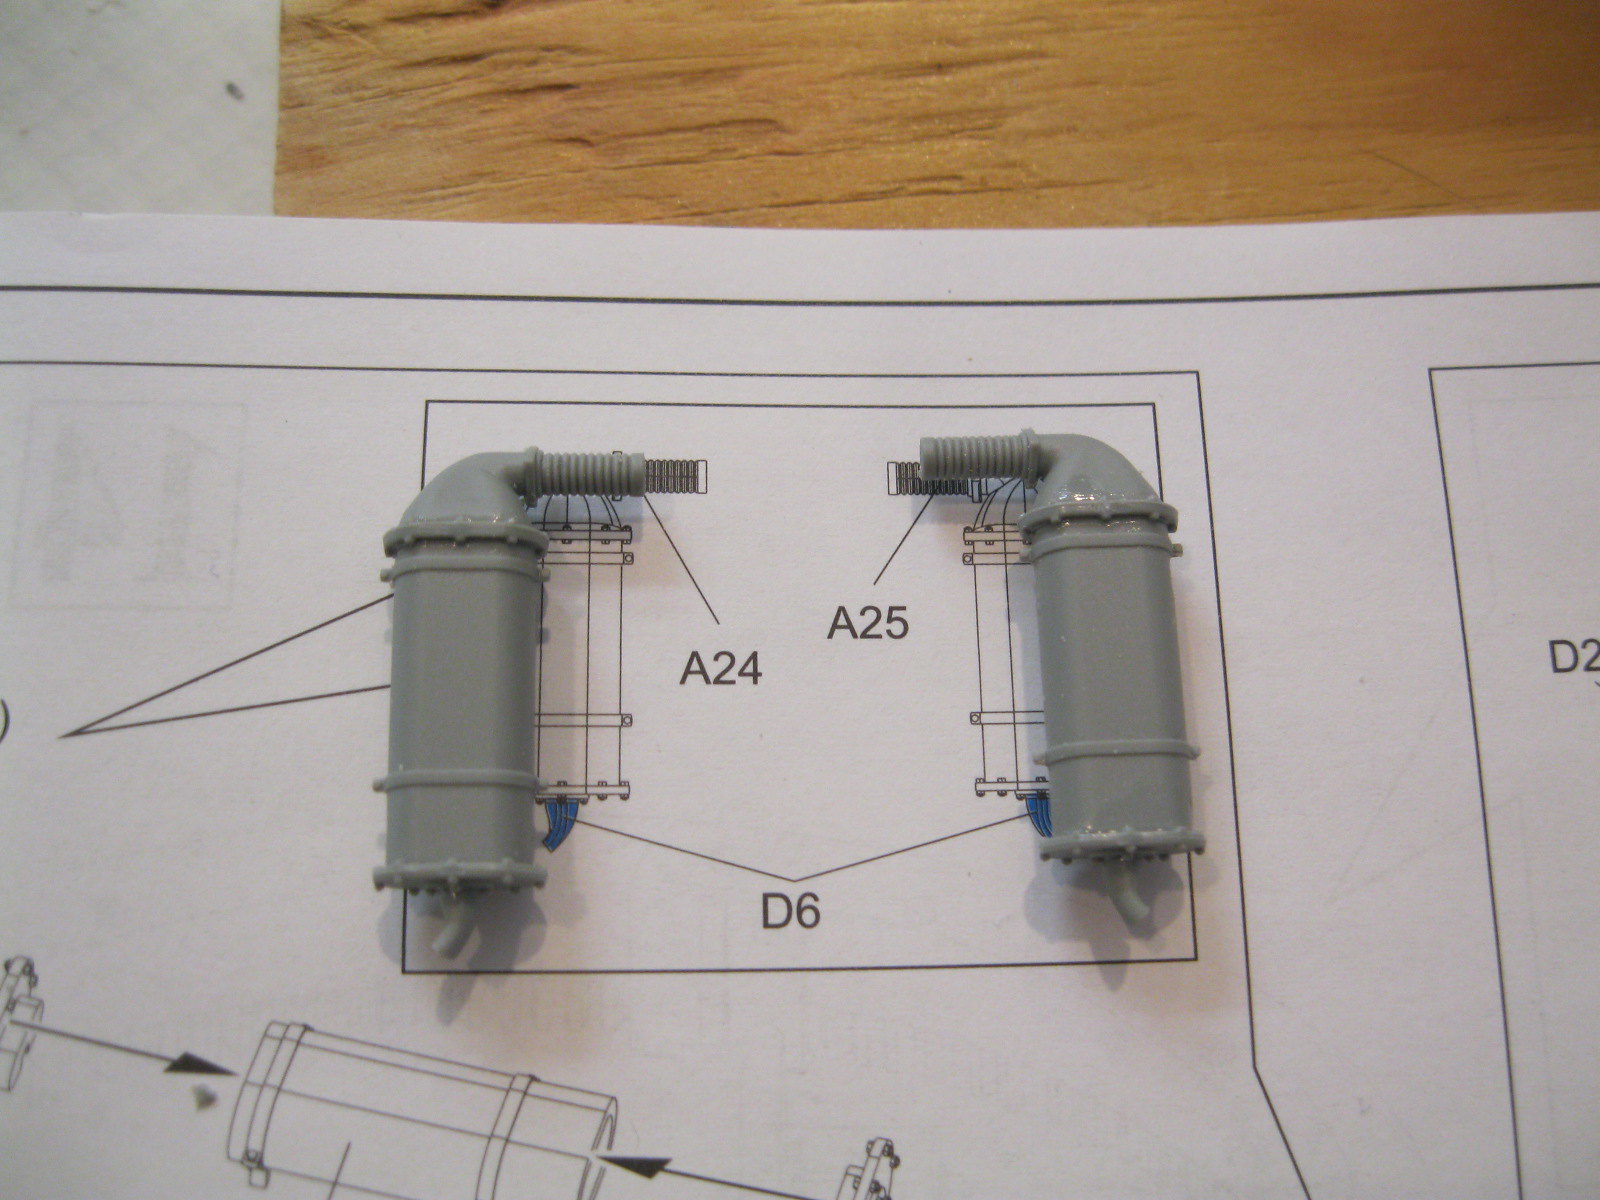
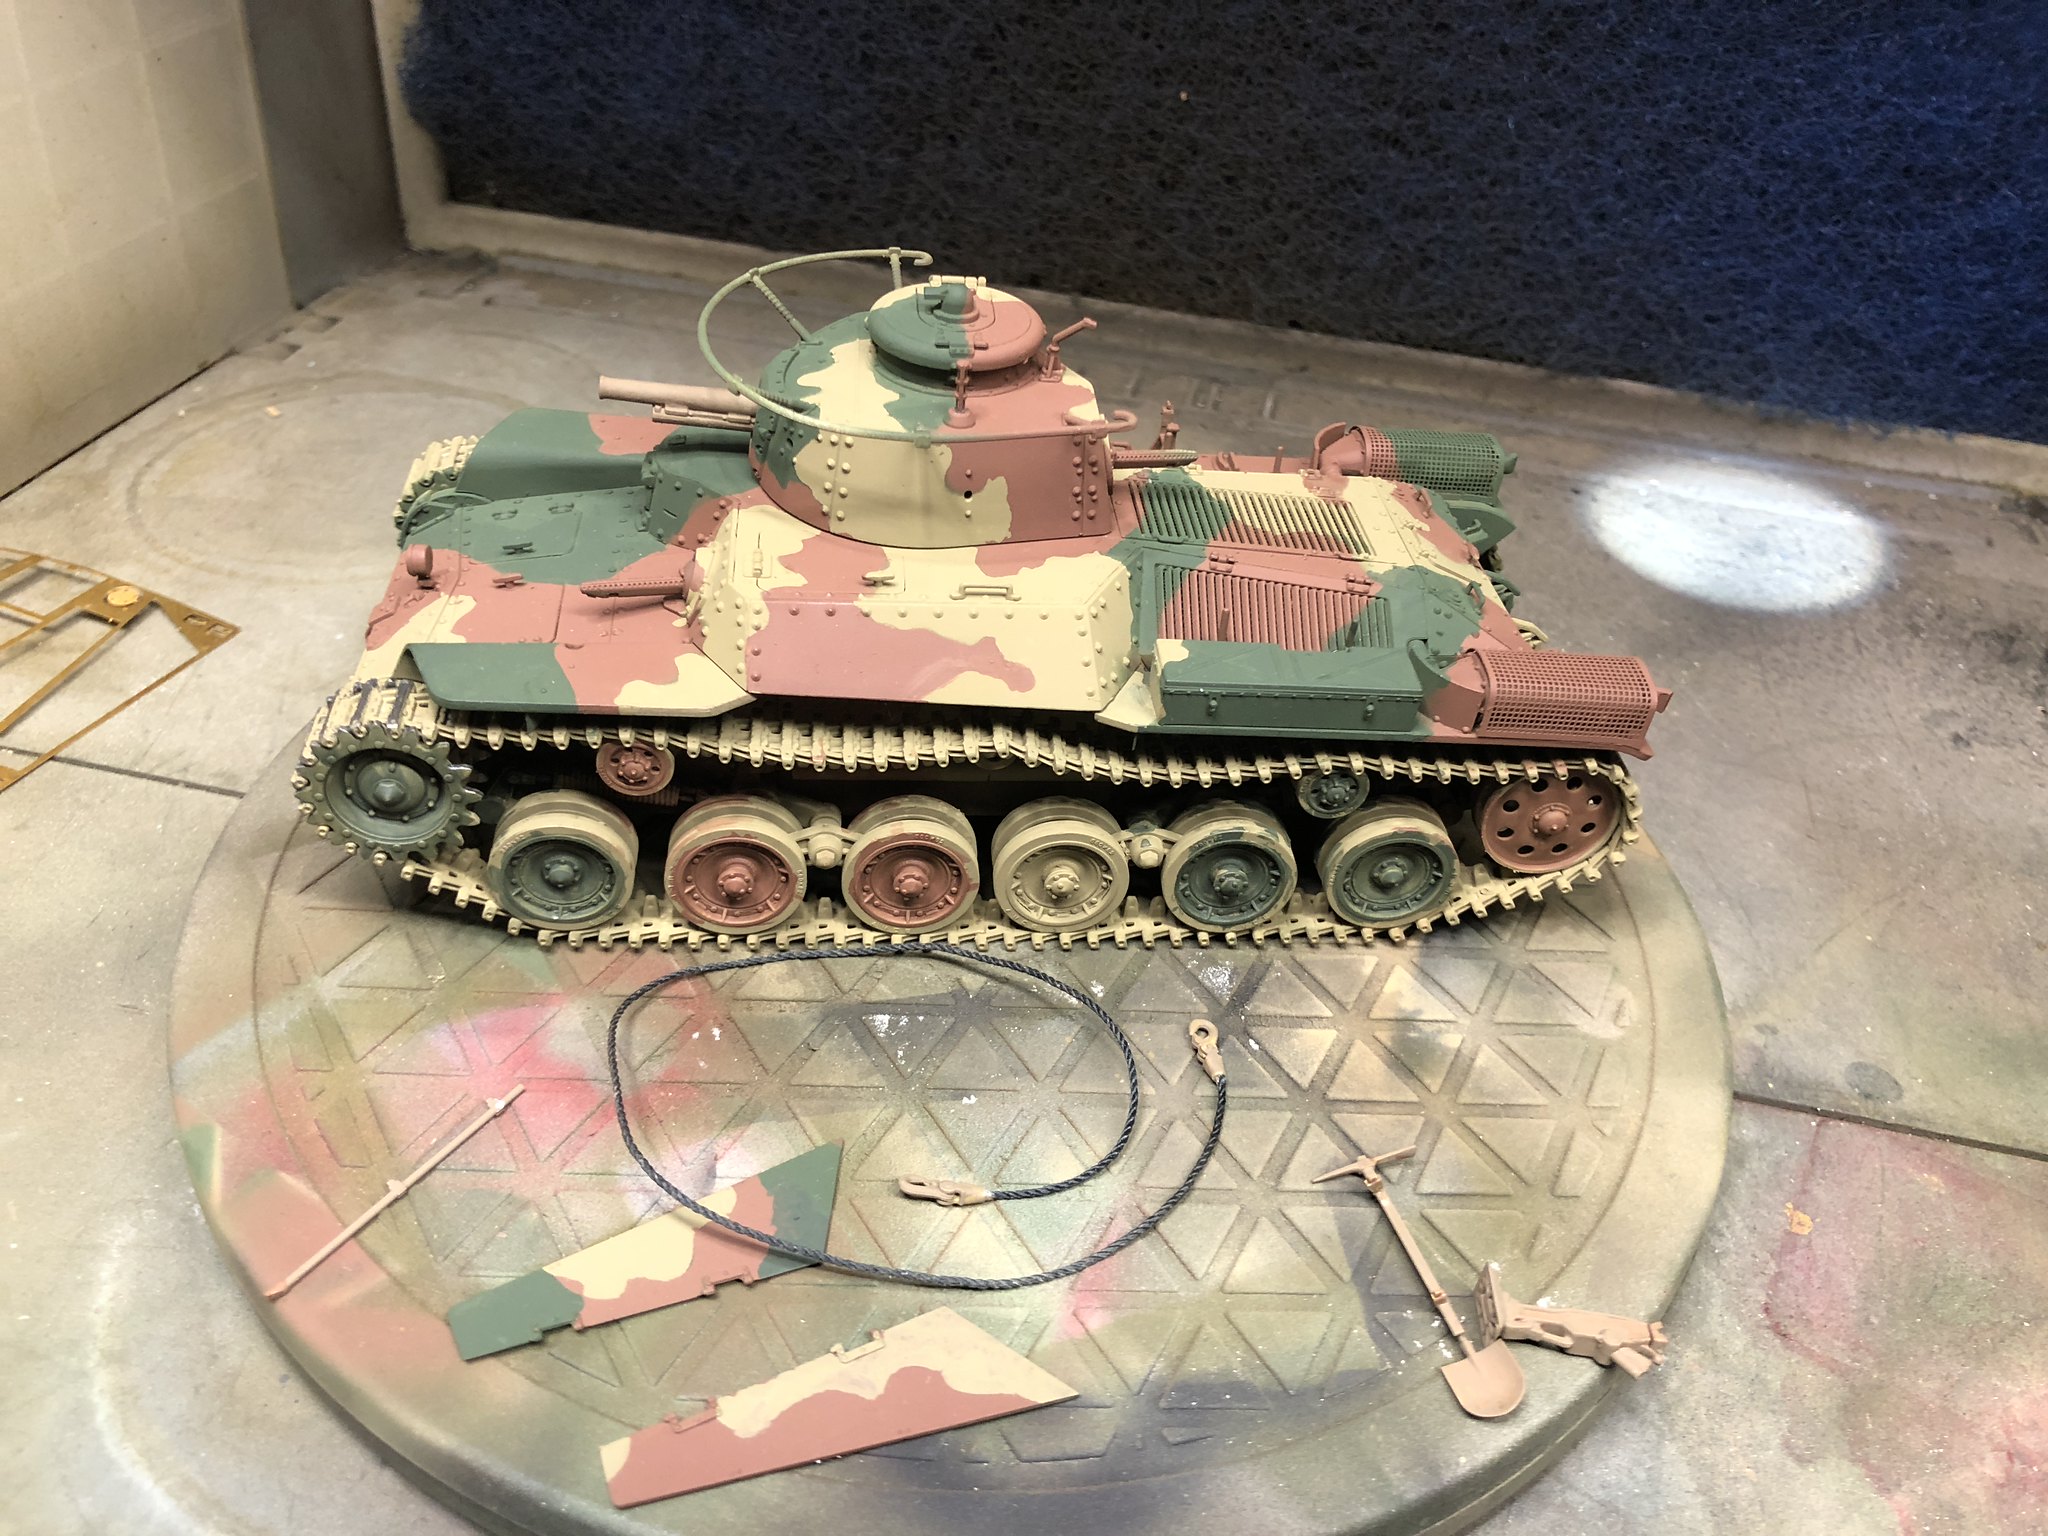
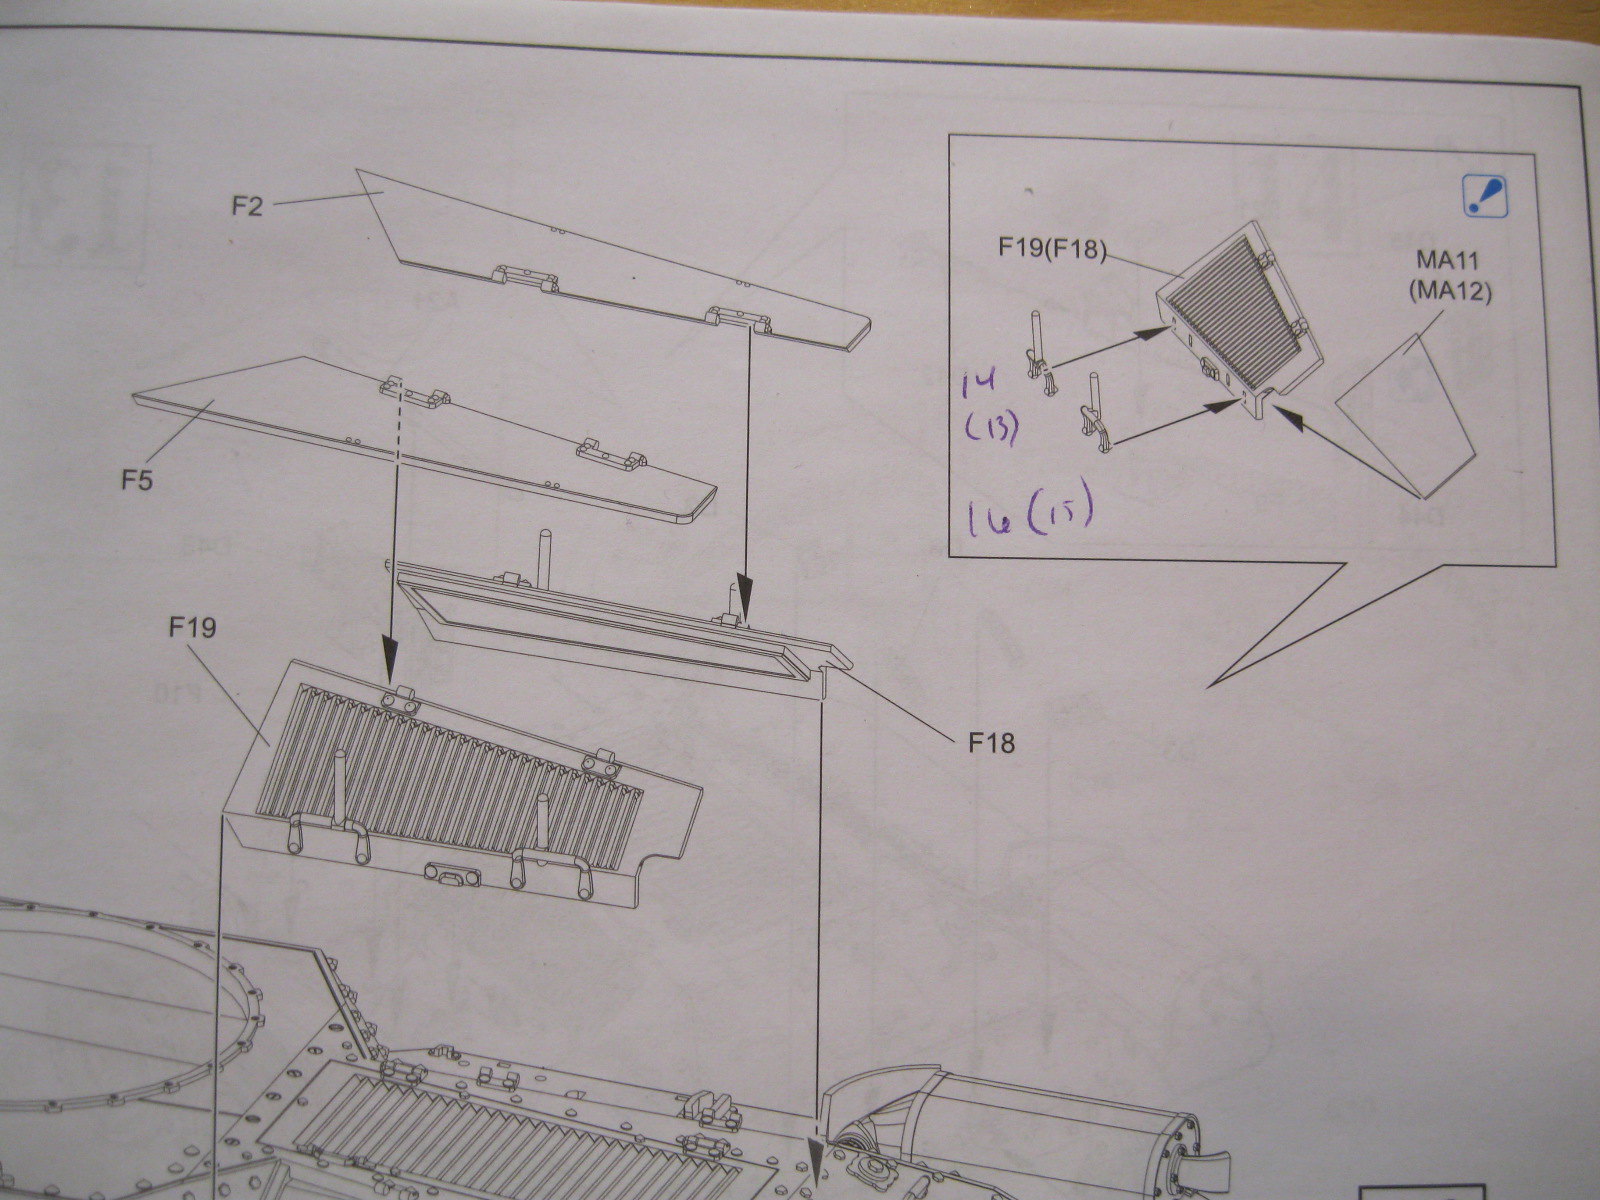
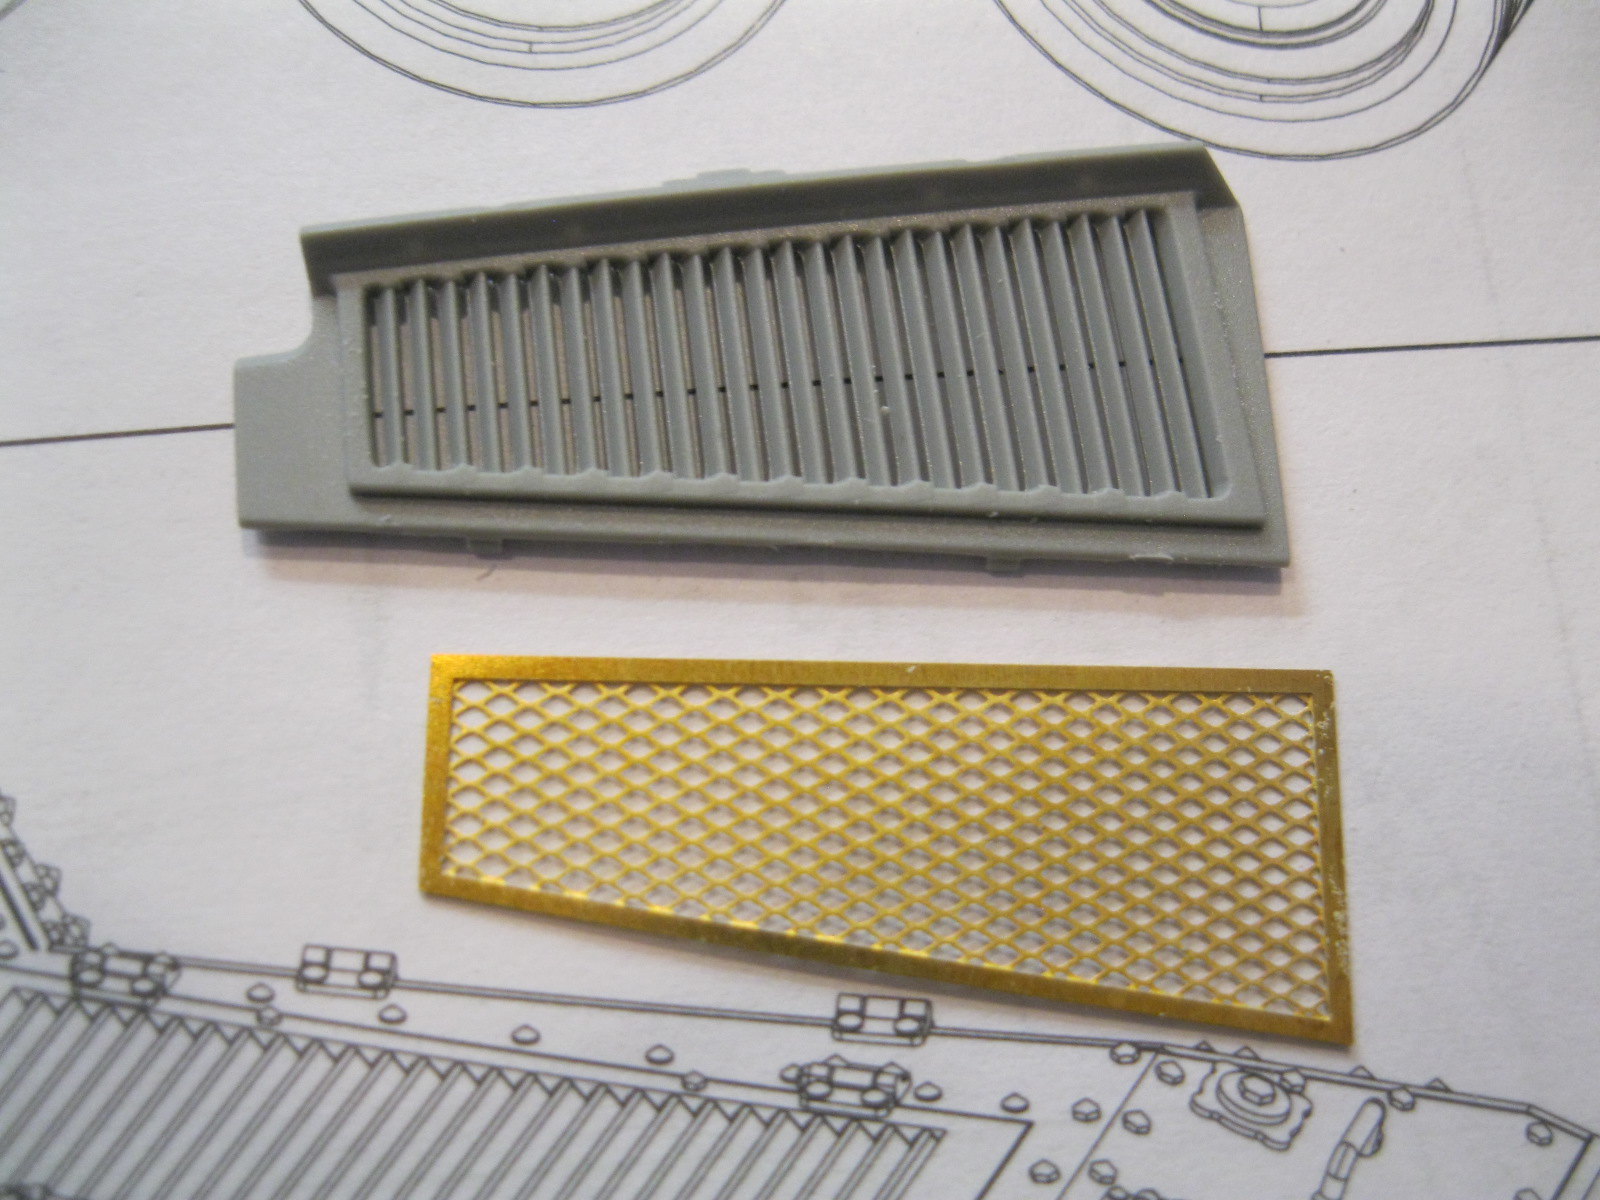
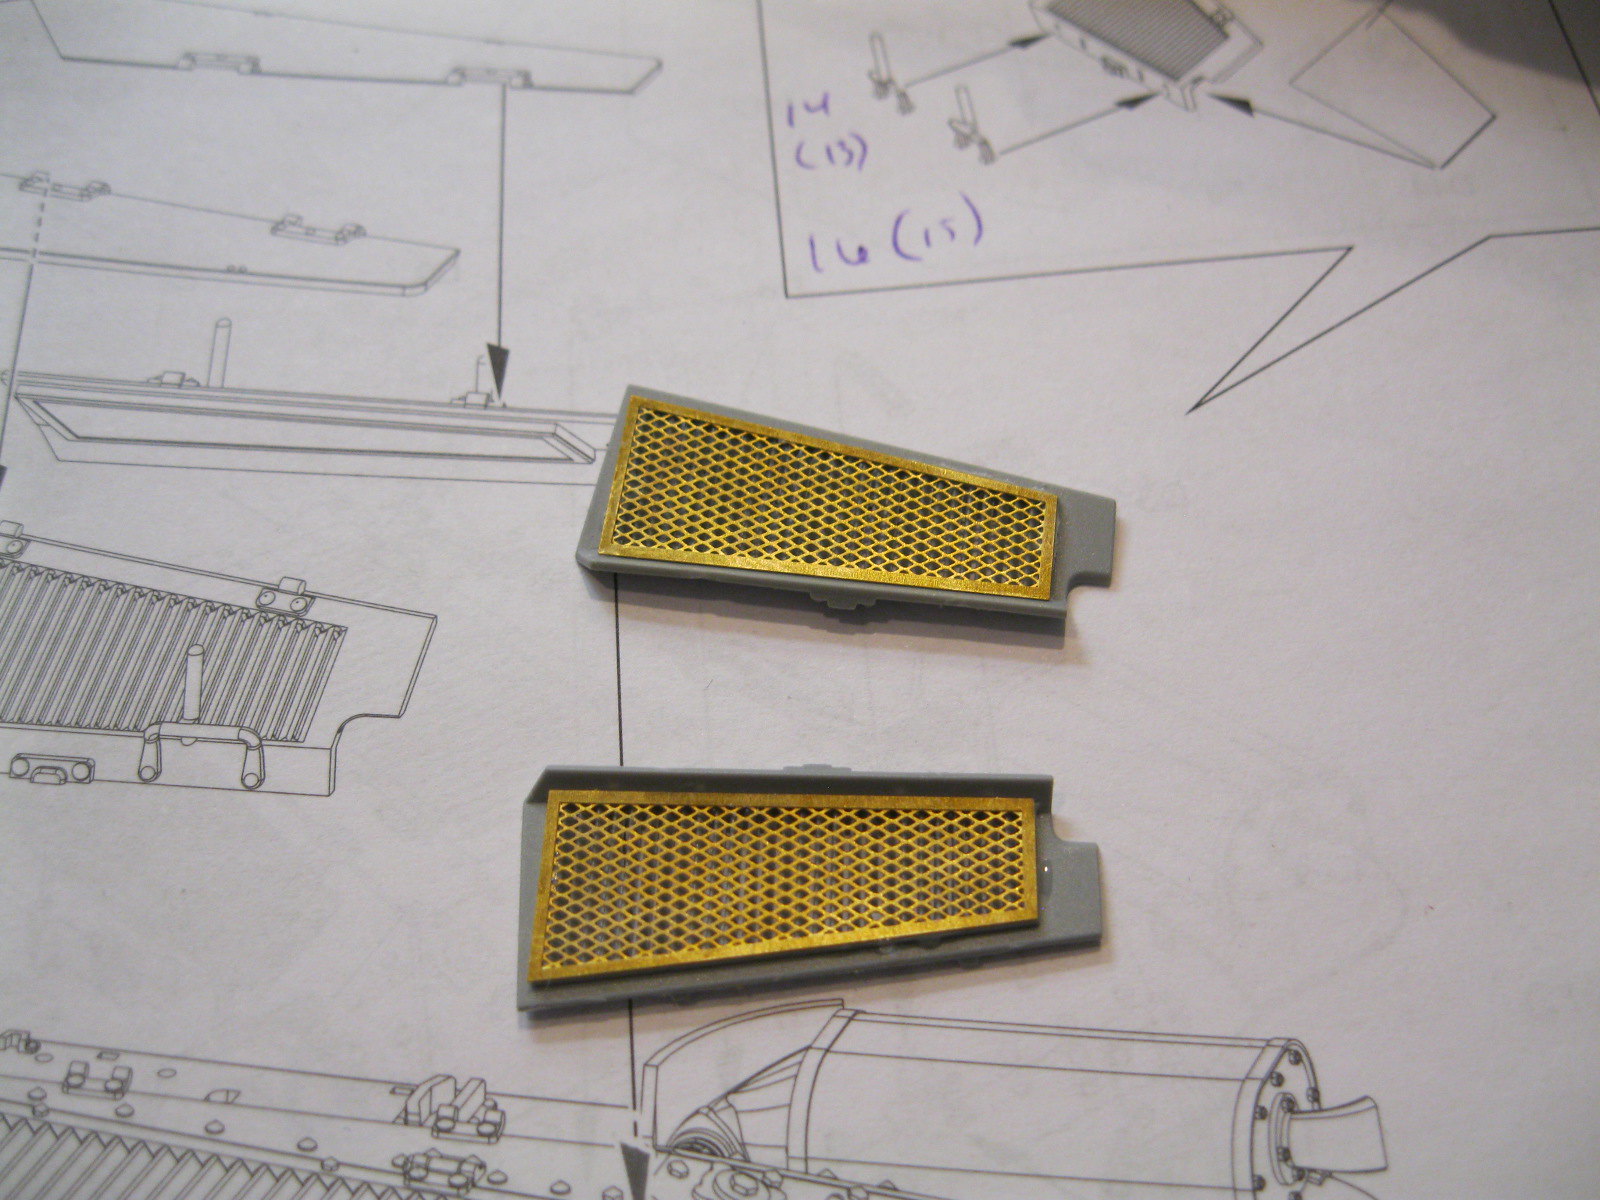
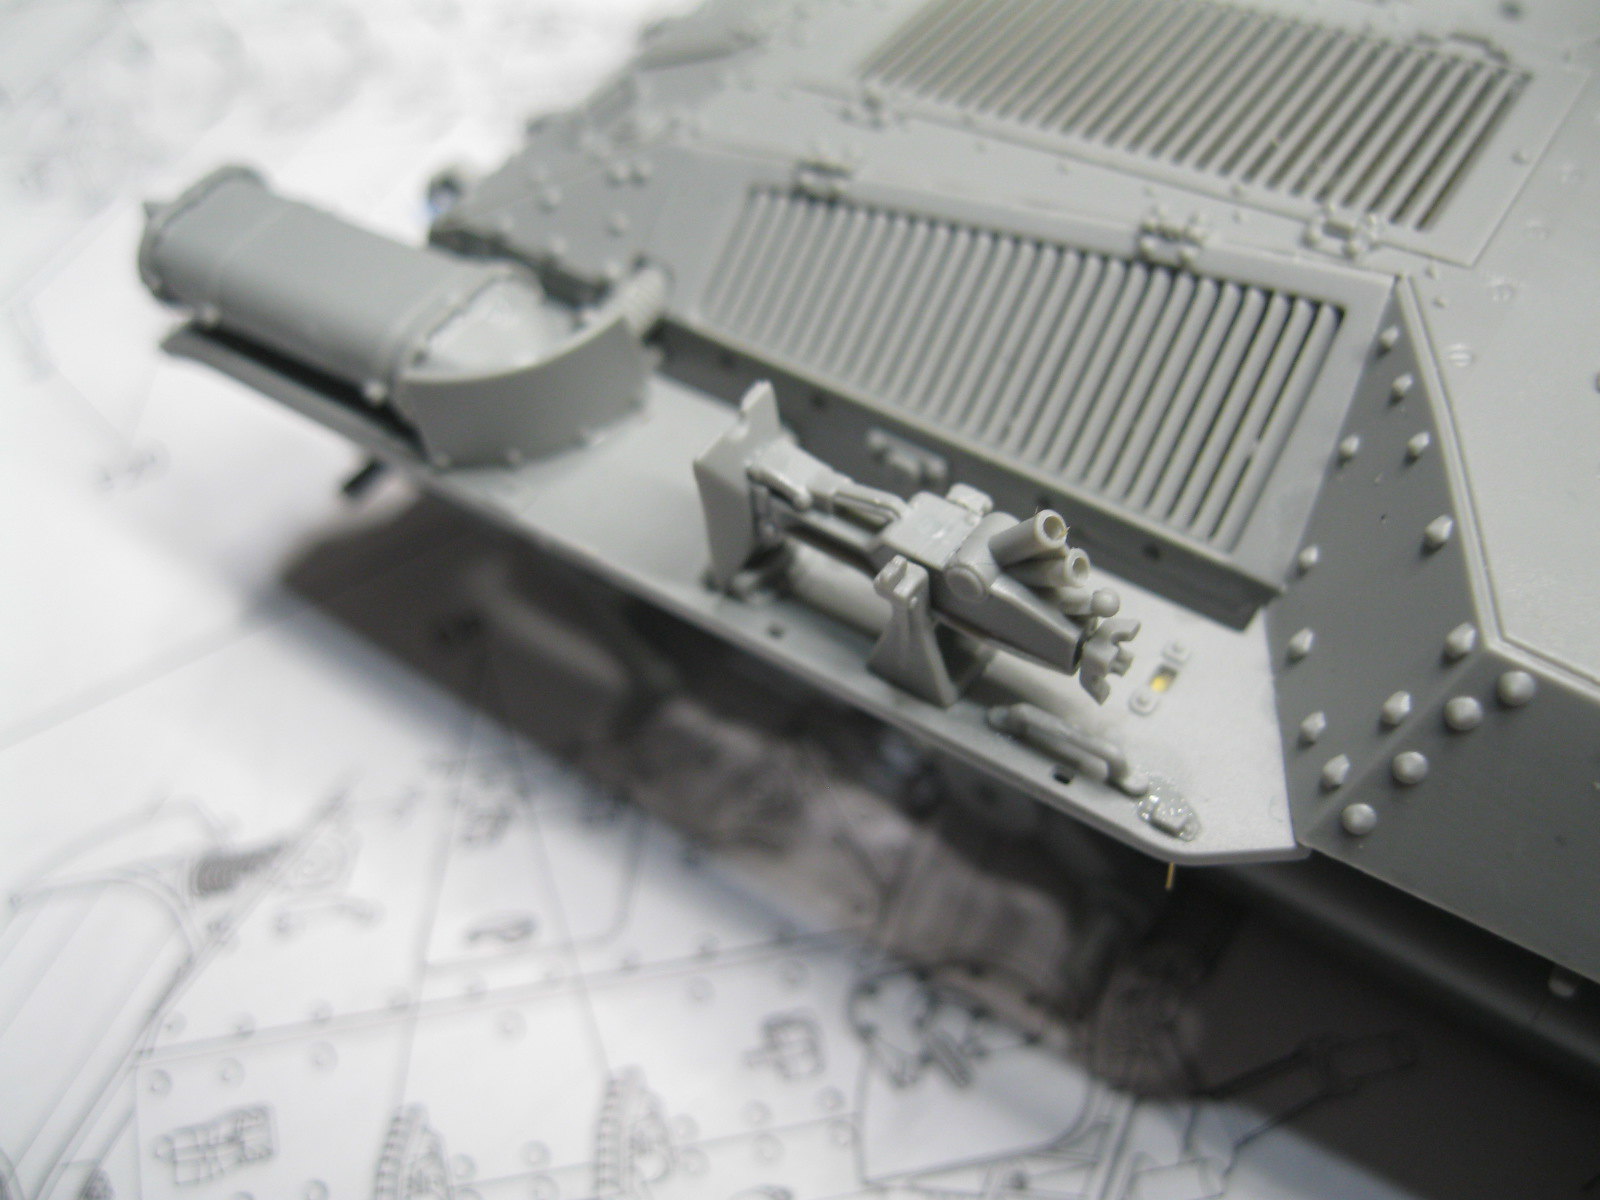
On to the proper updates. Step 12 is dedicated to attaching the rear engine doors and covers. On the access doors there are two handles with options. One set of handles has a support rod for the cover and one set does not. Option 3 is to use the front handle with rod and not the rear. There are also two options for the cover-styrene and photoetch. The styrene option features nice detail including a molded on lip around the edge and some rivet detail for the hinge of the support rod (they attach to the cover and rest on the handle). The other option is the etch piece, which is flat, with added styrene hinges at the engine deck. The detail on the etch part is lacking. I attached the handles but left the covers off for painting as the camouflage pattern goes over the engine doors. The engine access doors receive etch screens for the interior that add nice detail and also help conceal the empty interior.
 IMG_9579
 by
russell amott, on Flickr
 IMG_9583
 by
russell amott, on Flickr
 IMG_9584
 by
russell amott, on Flickr
 IMG_9585
 by
russell amott, on Flickr
 IMG_9586
 by
russell amott, on Flickr
 IMG_9587
 by
russell amott, on Flickr
 IMG_9588
 by
russell amott, on Flickr
 IMG_9589
 by
russell amott, on Flickr
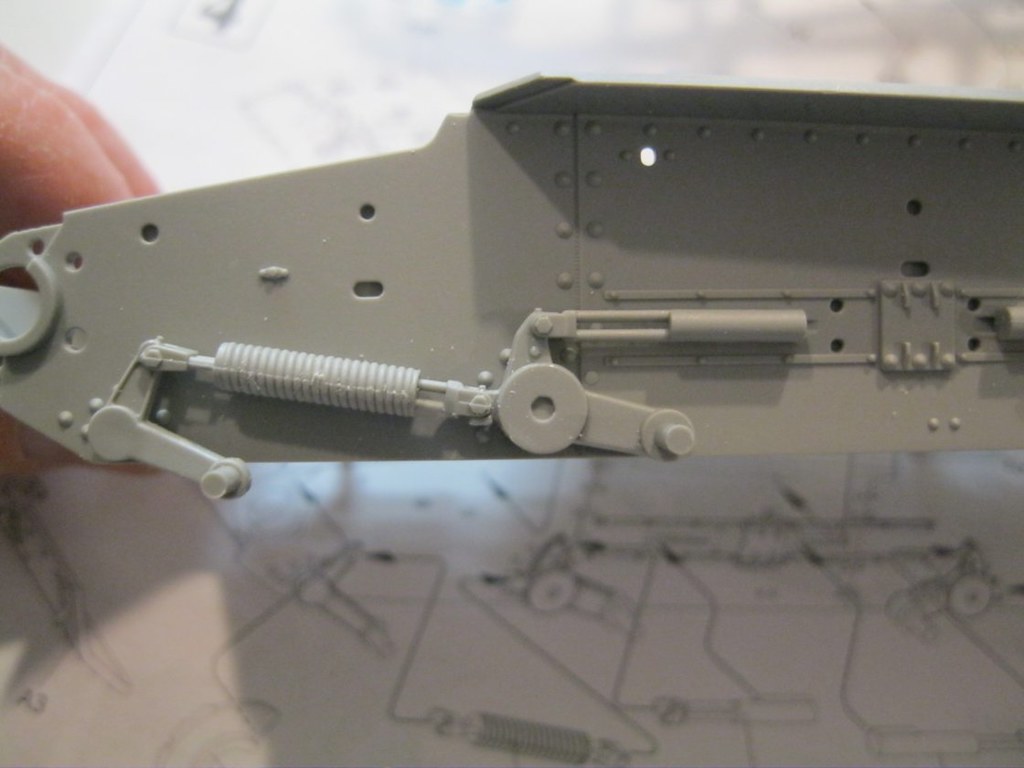
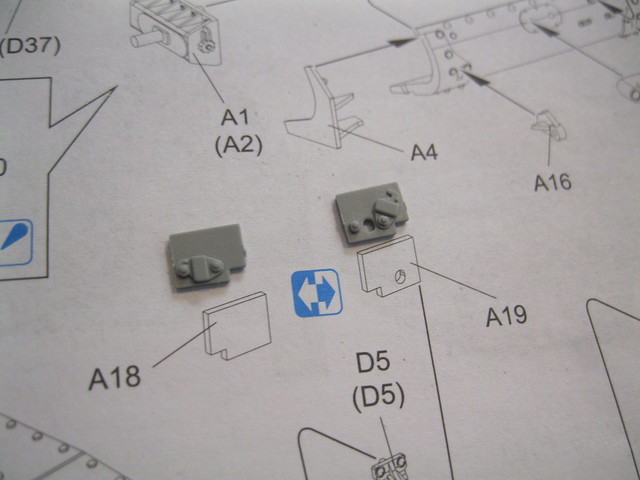
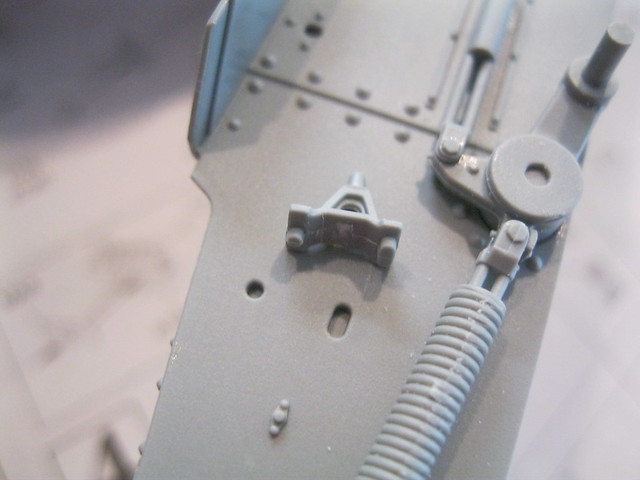
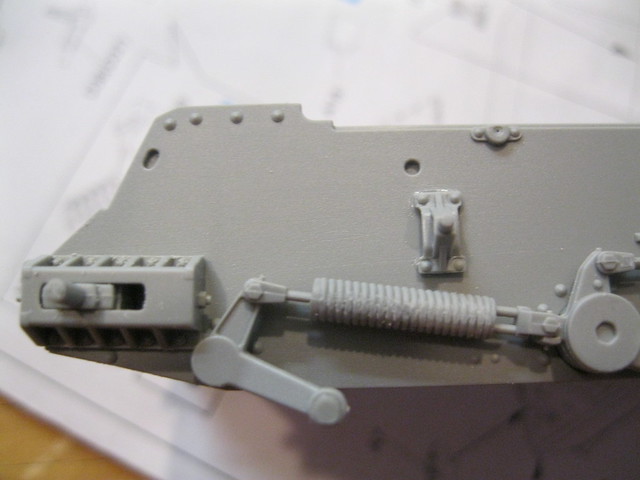
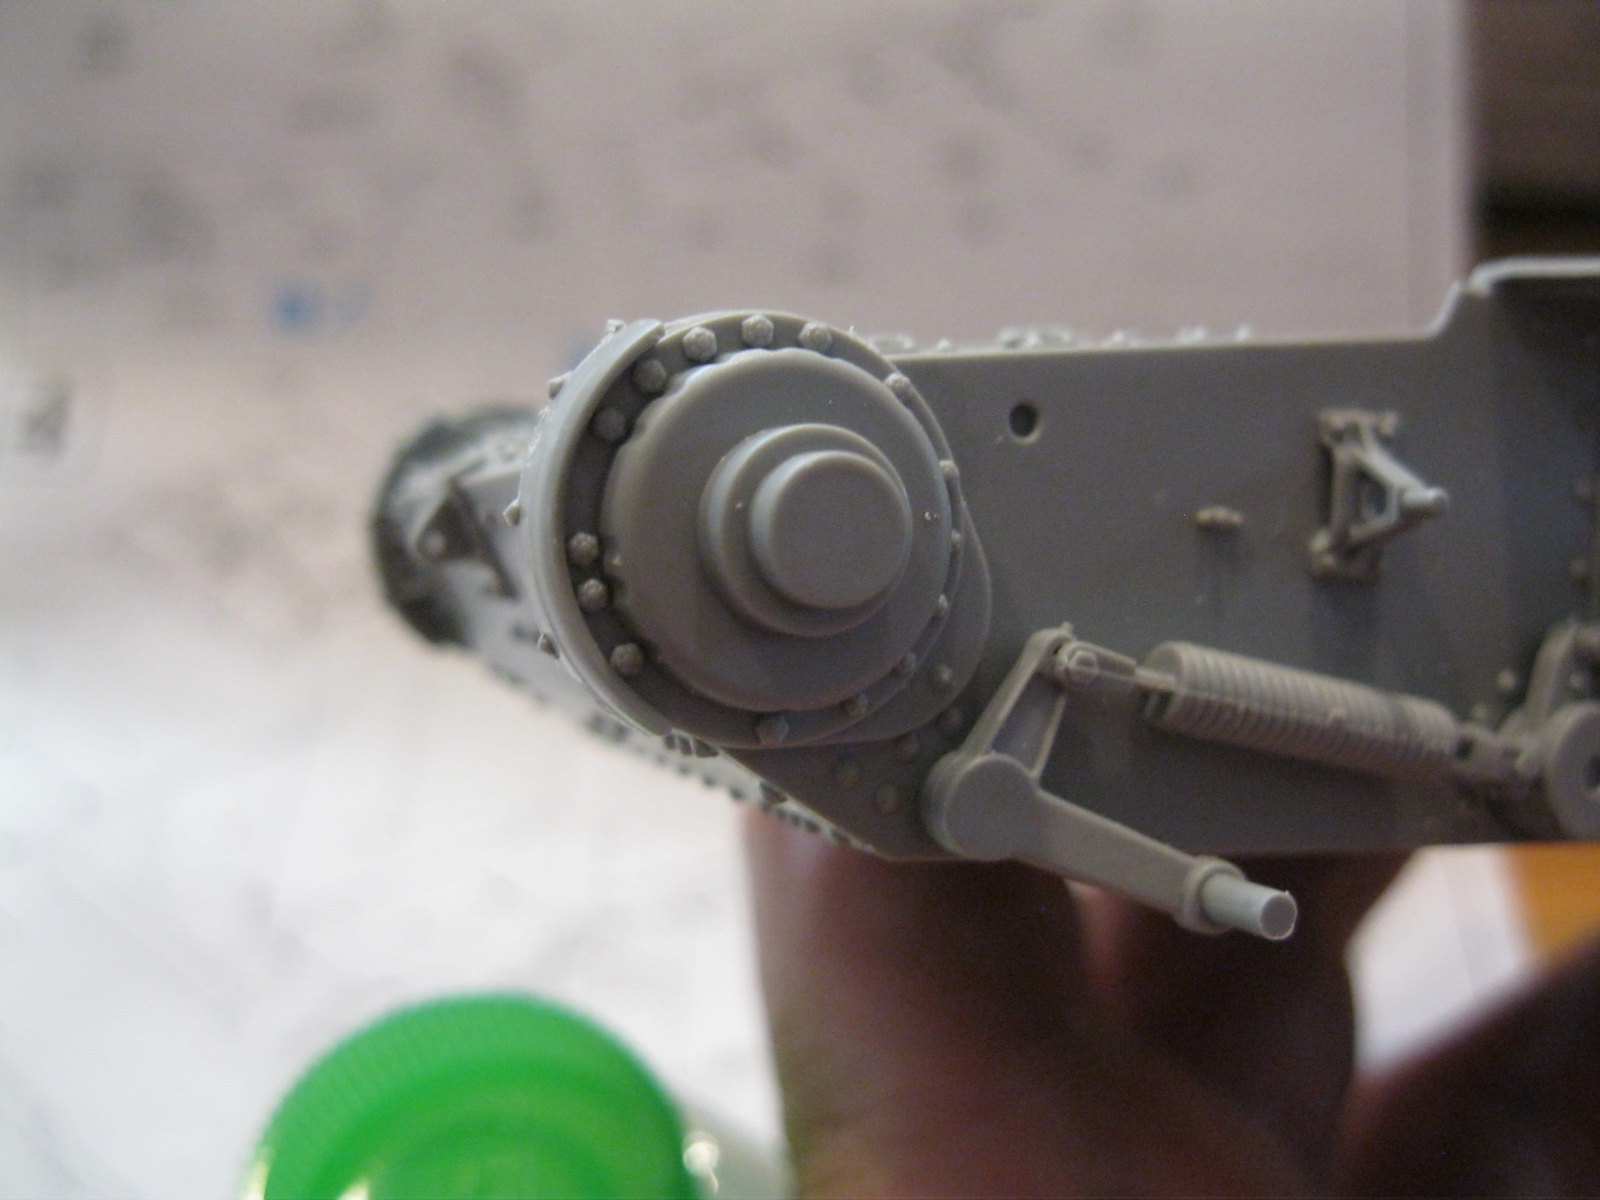
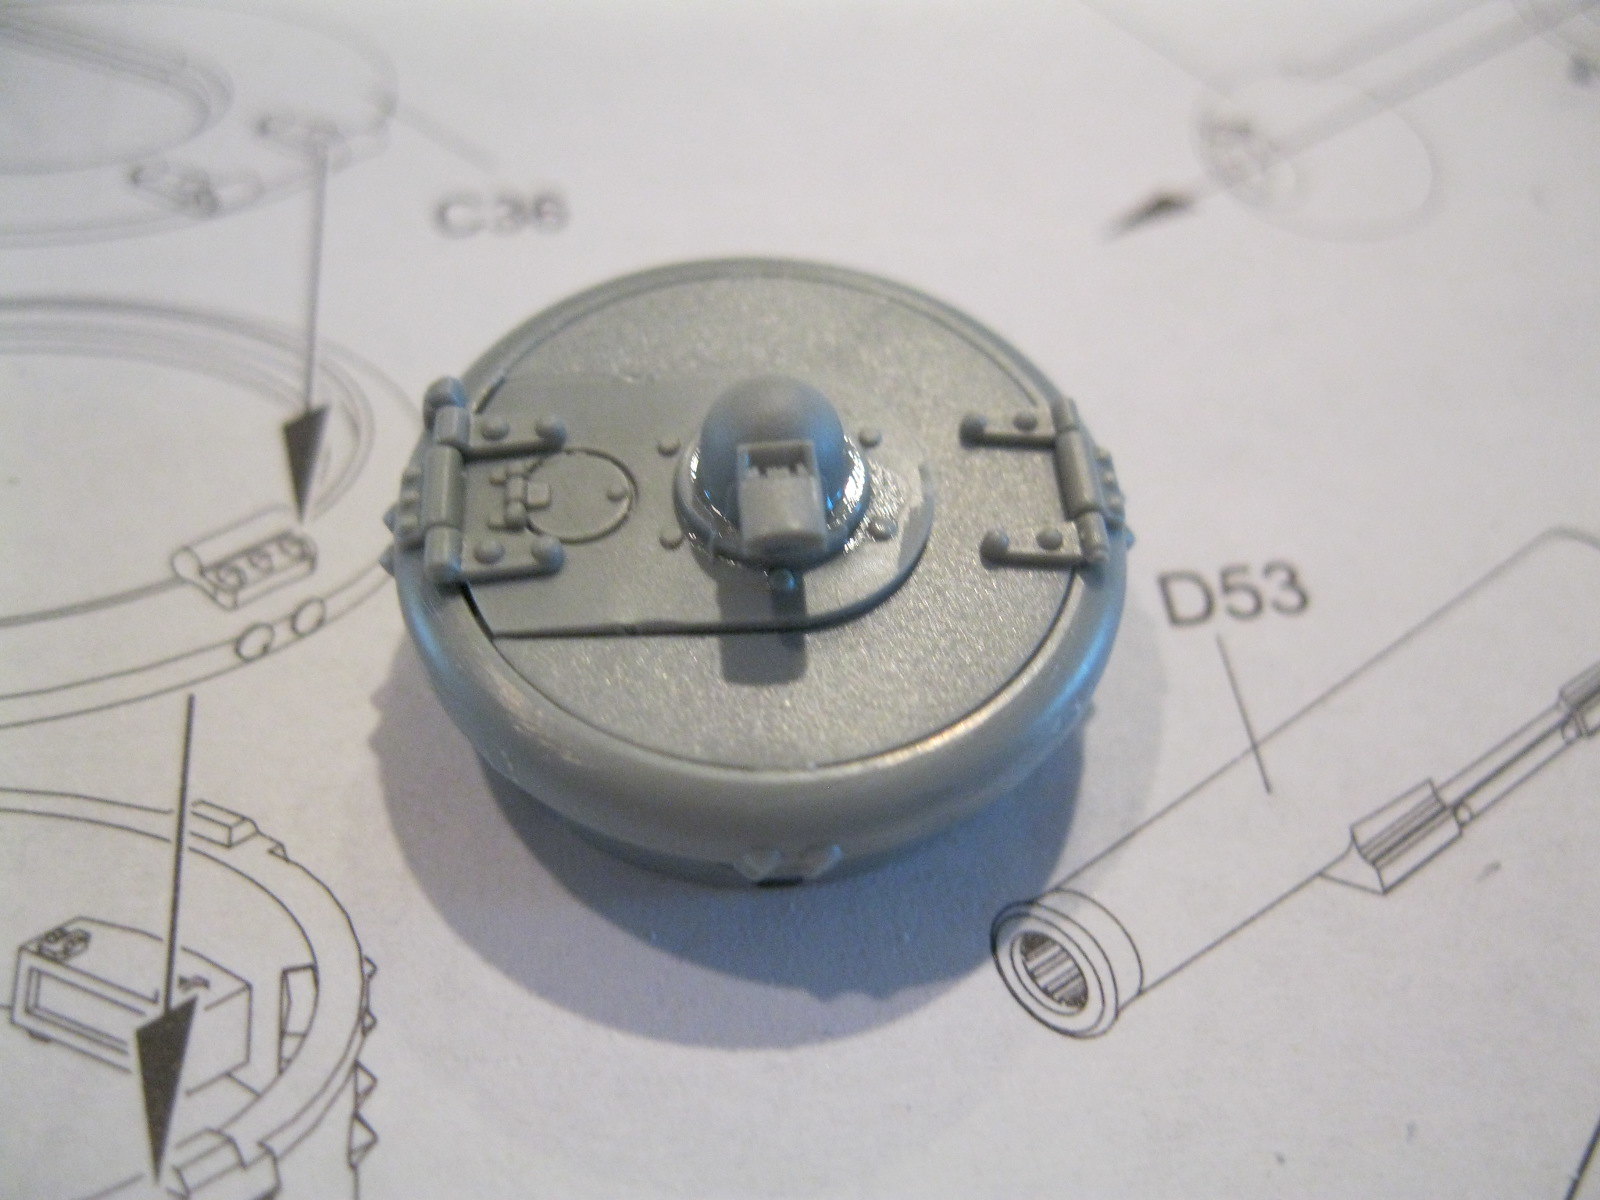
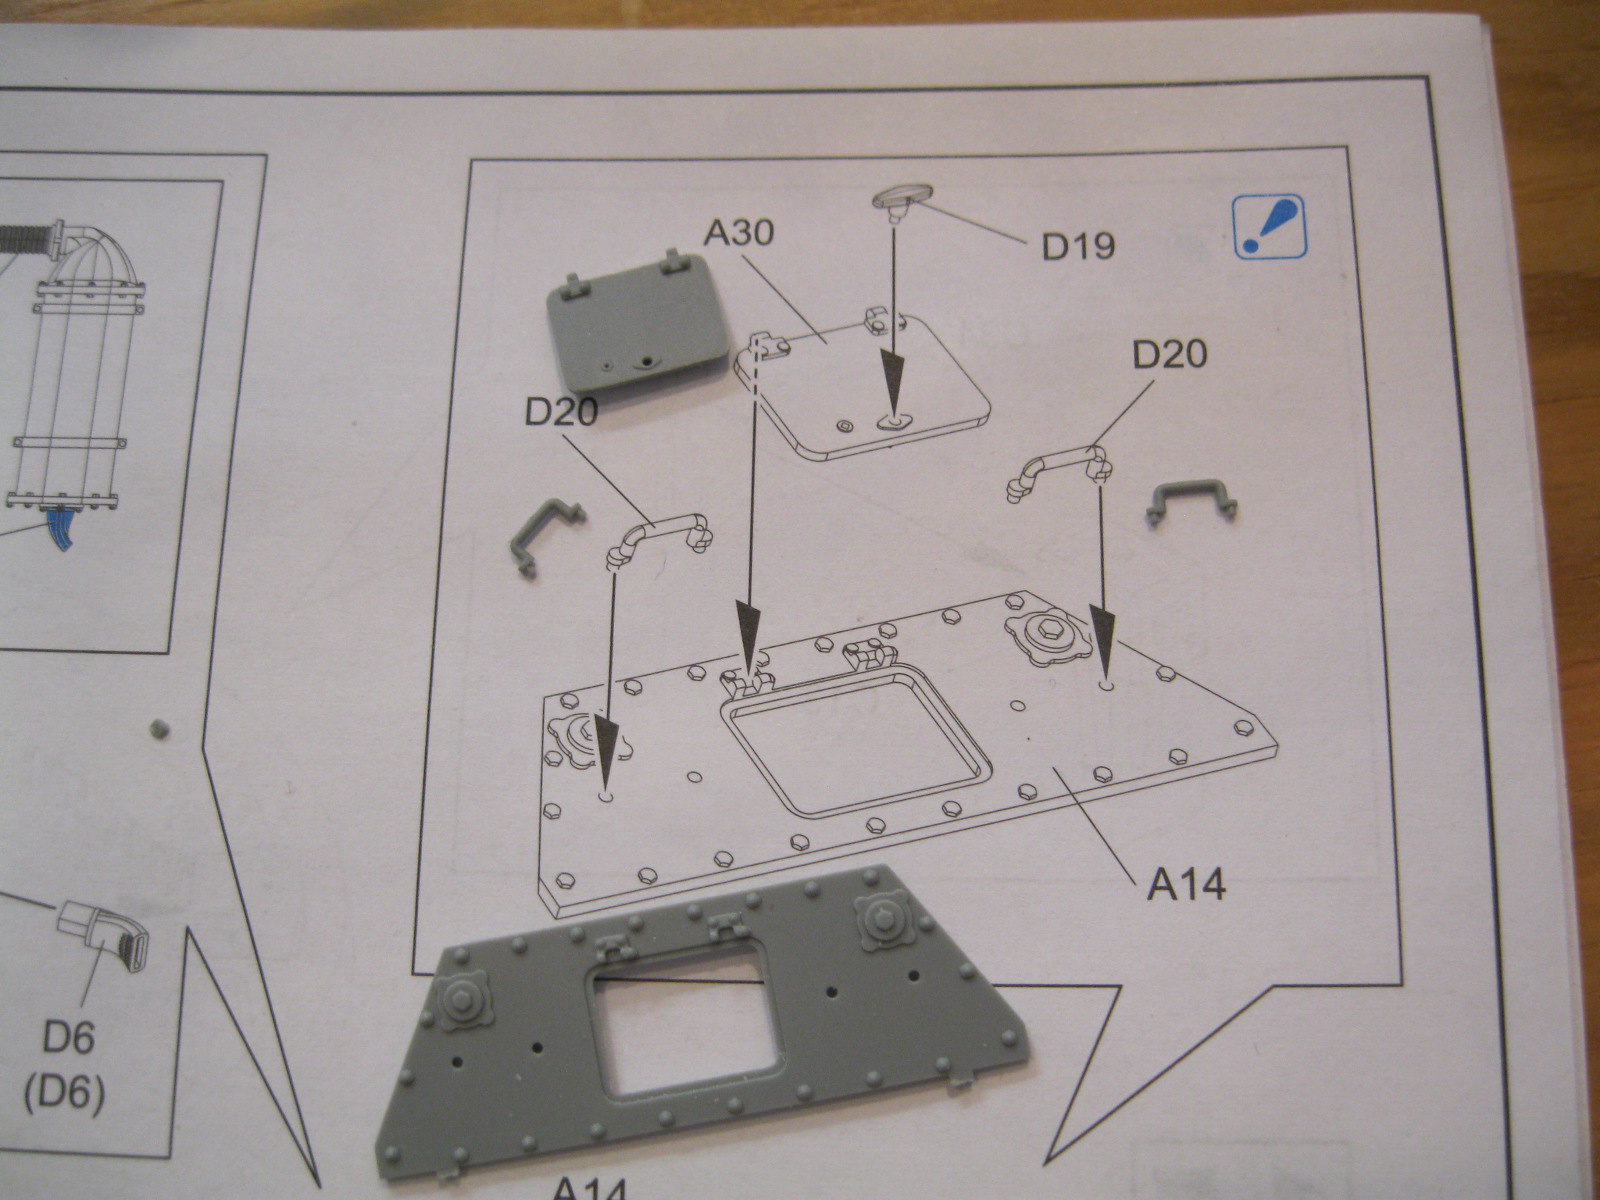
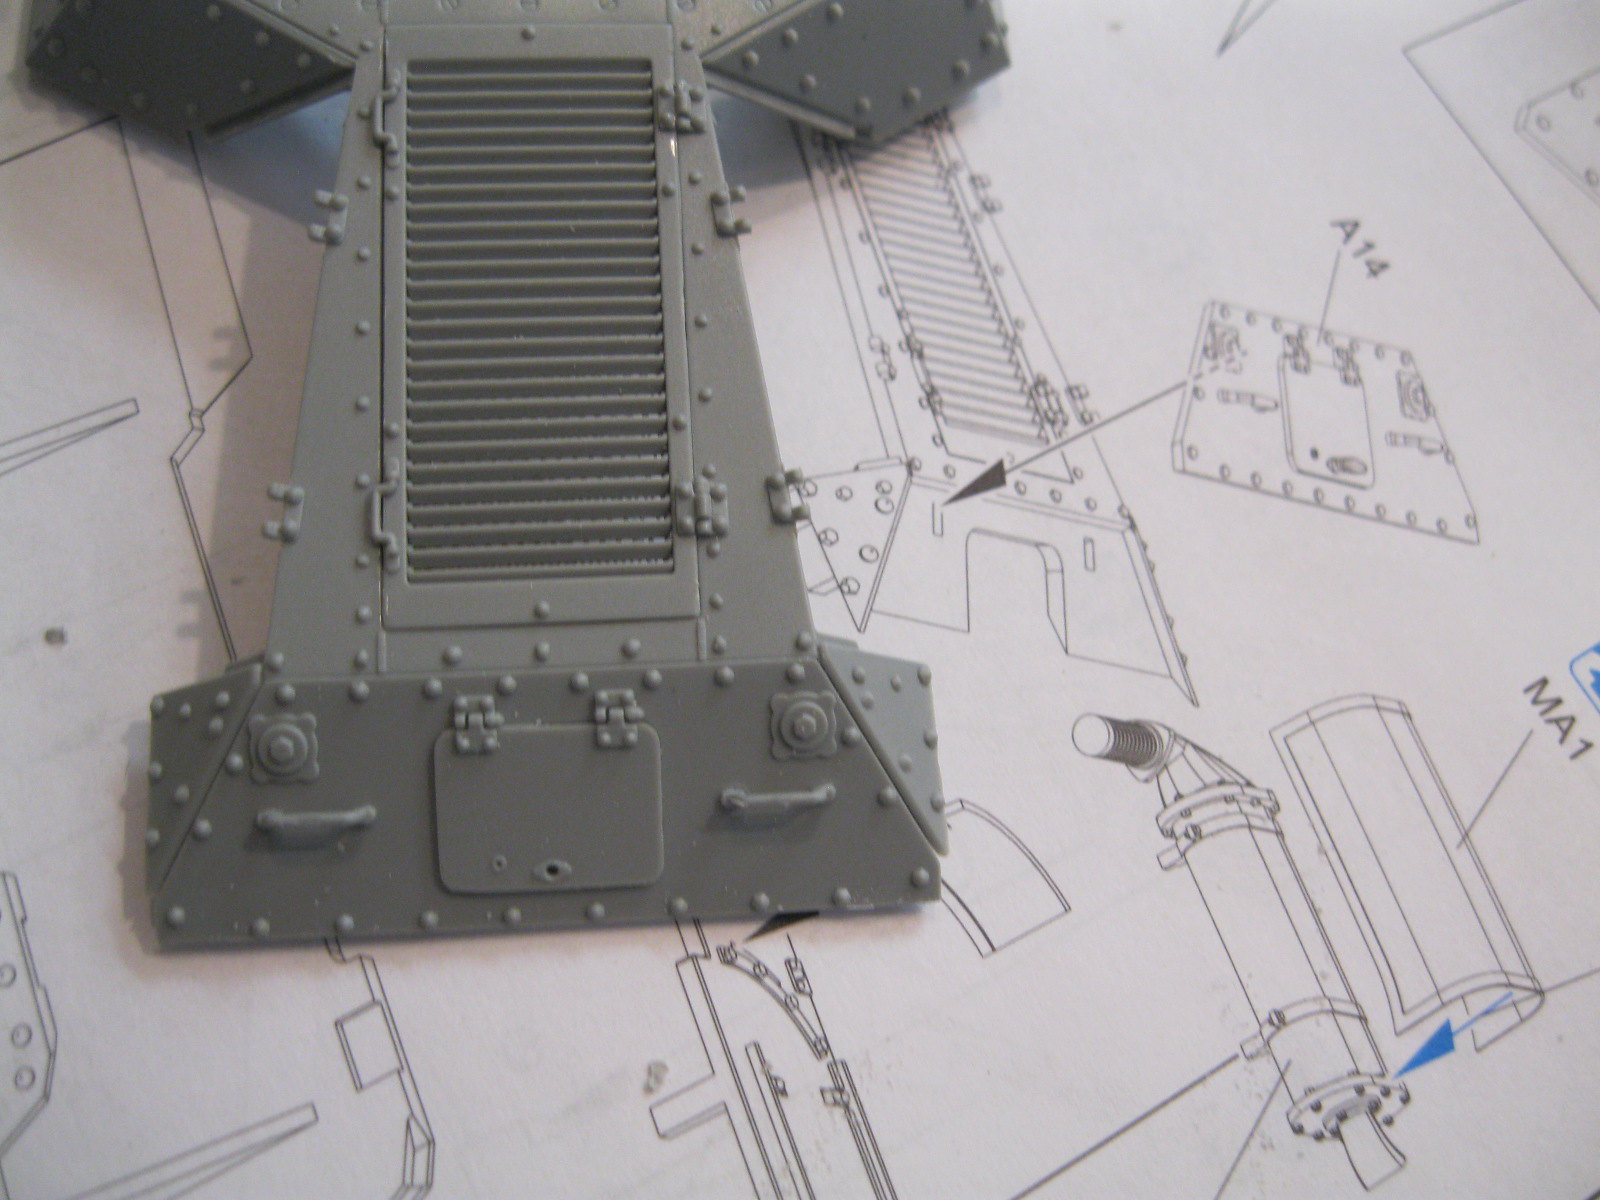
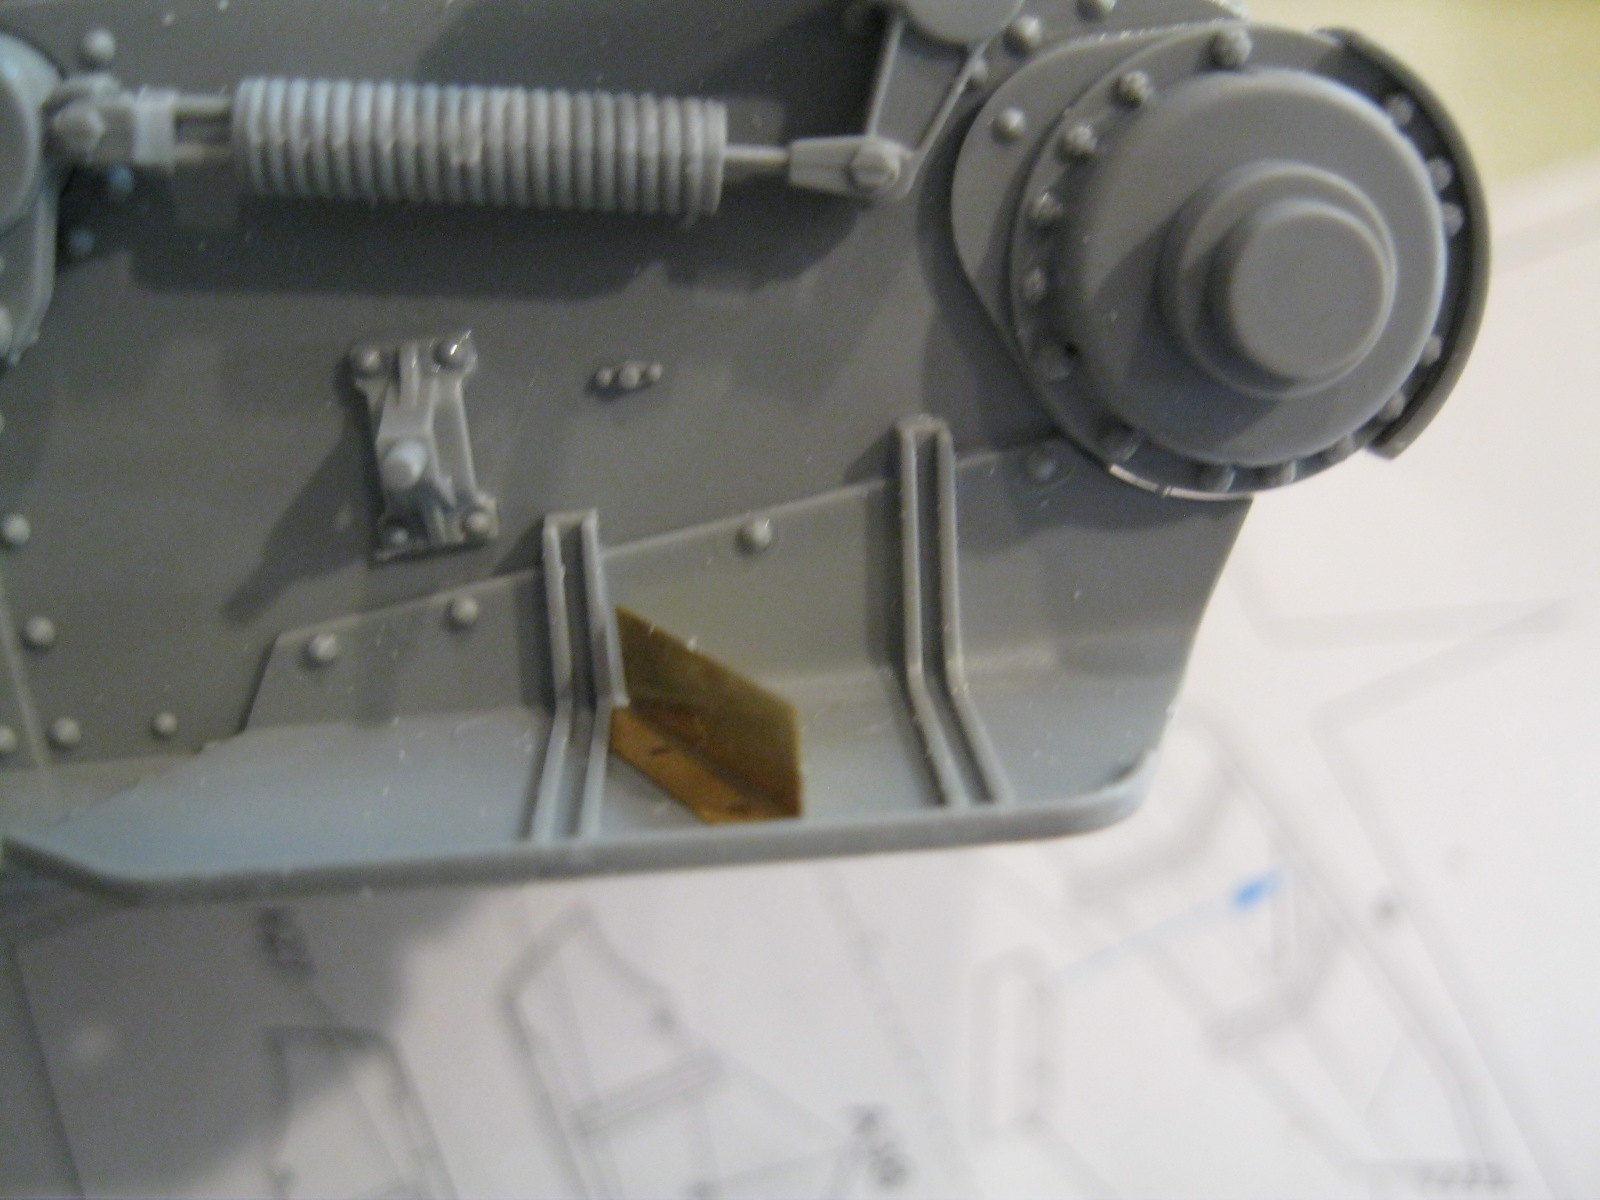
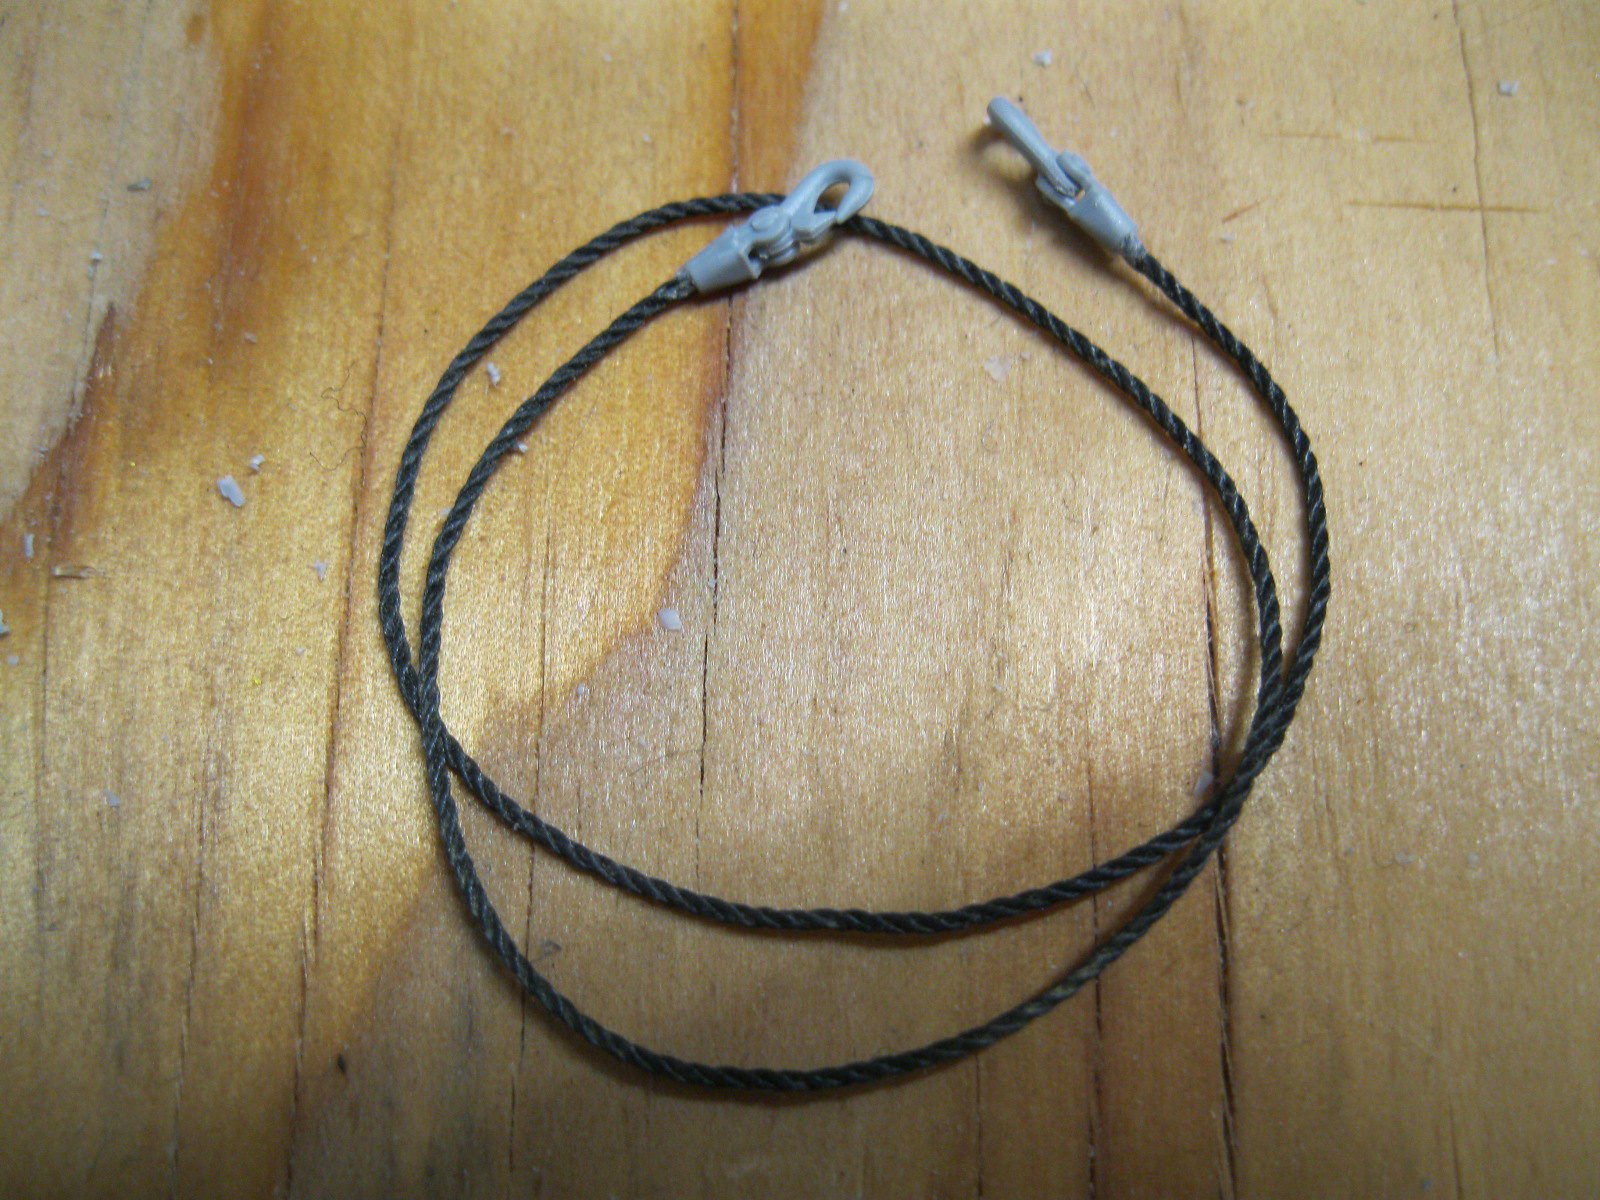
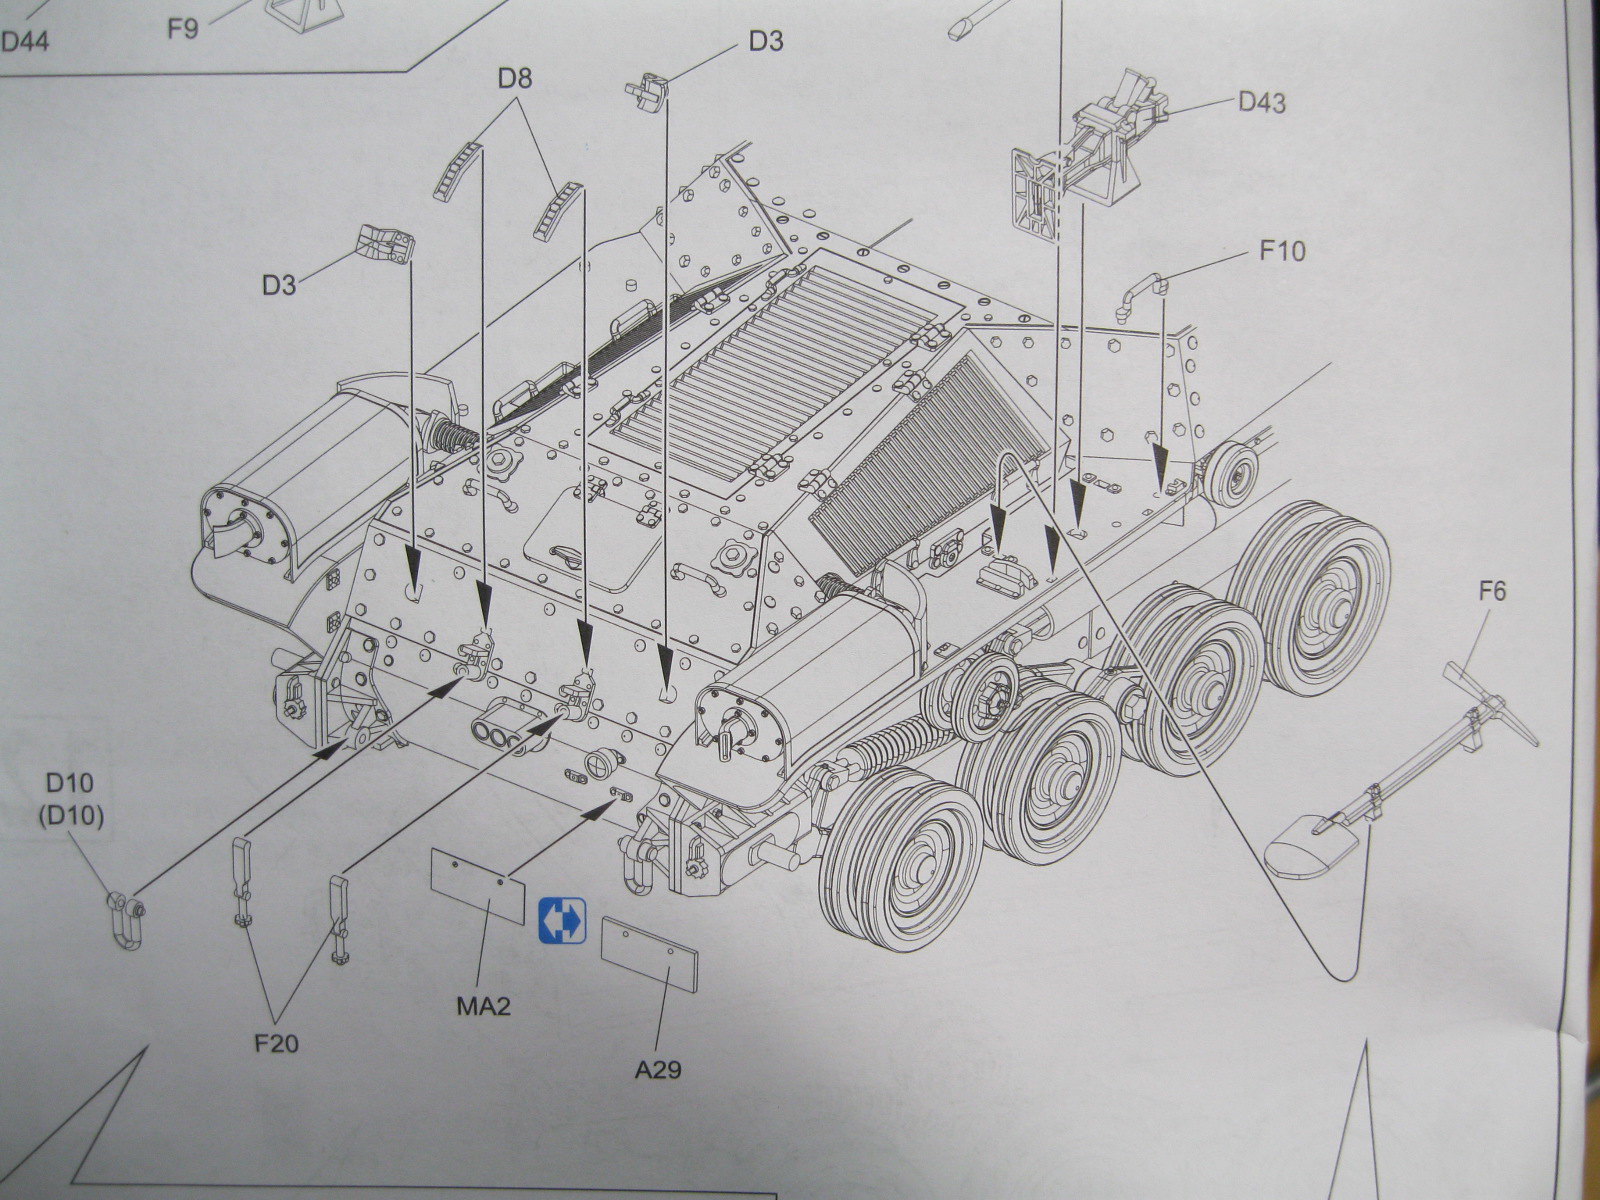
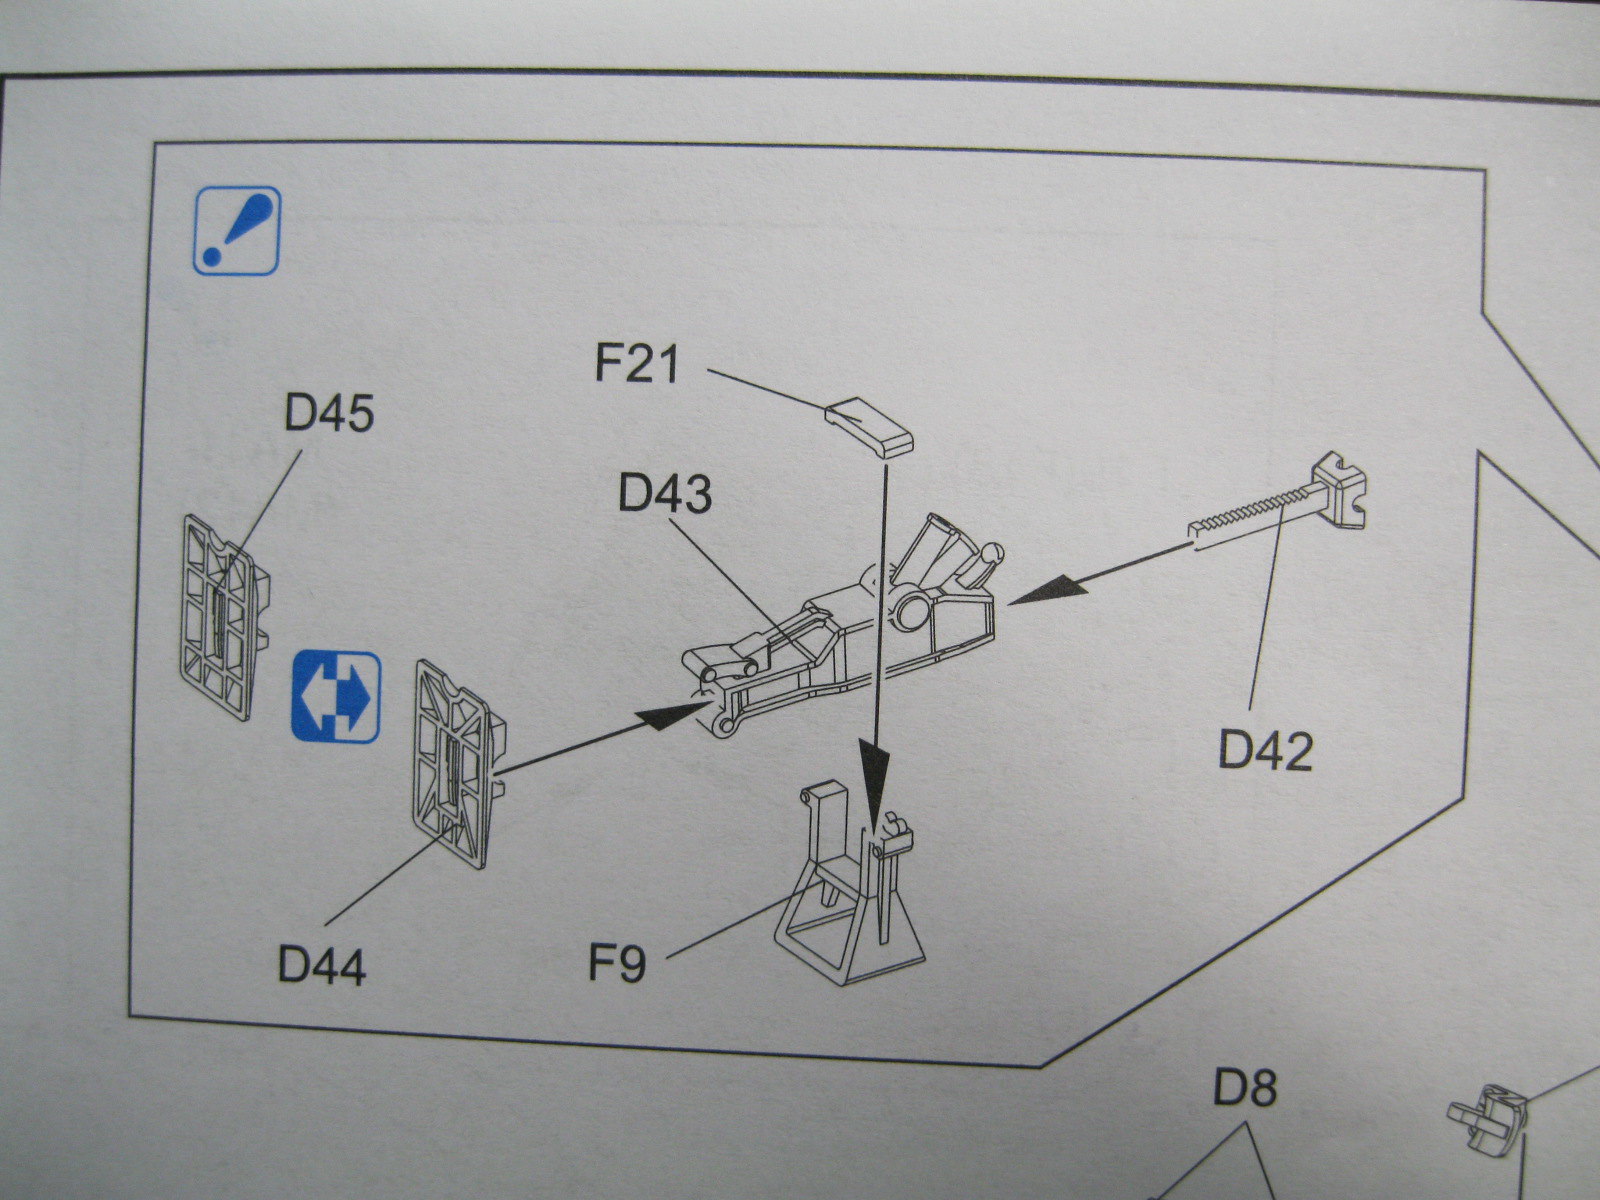
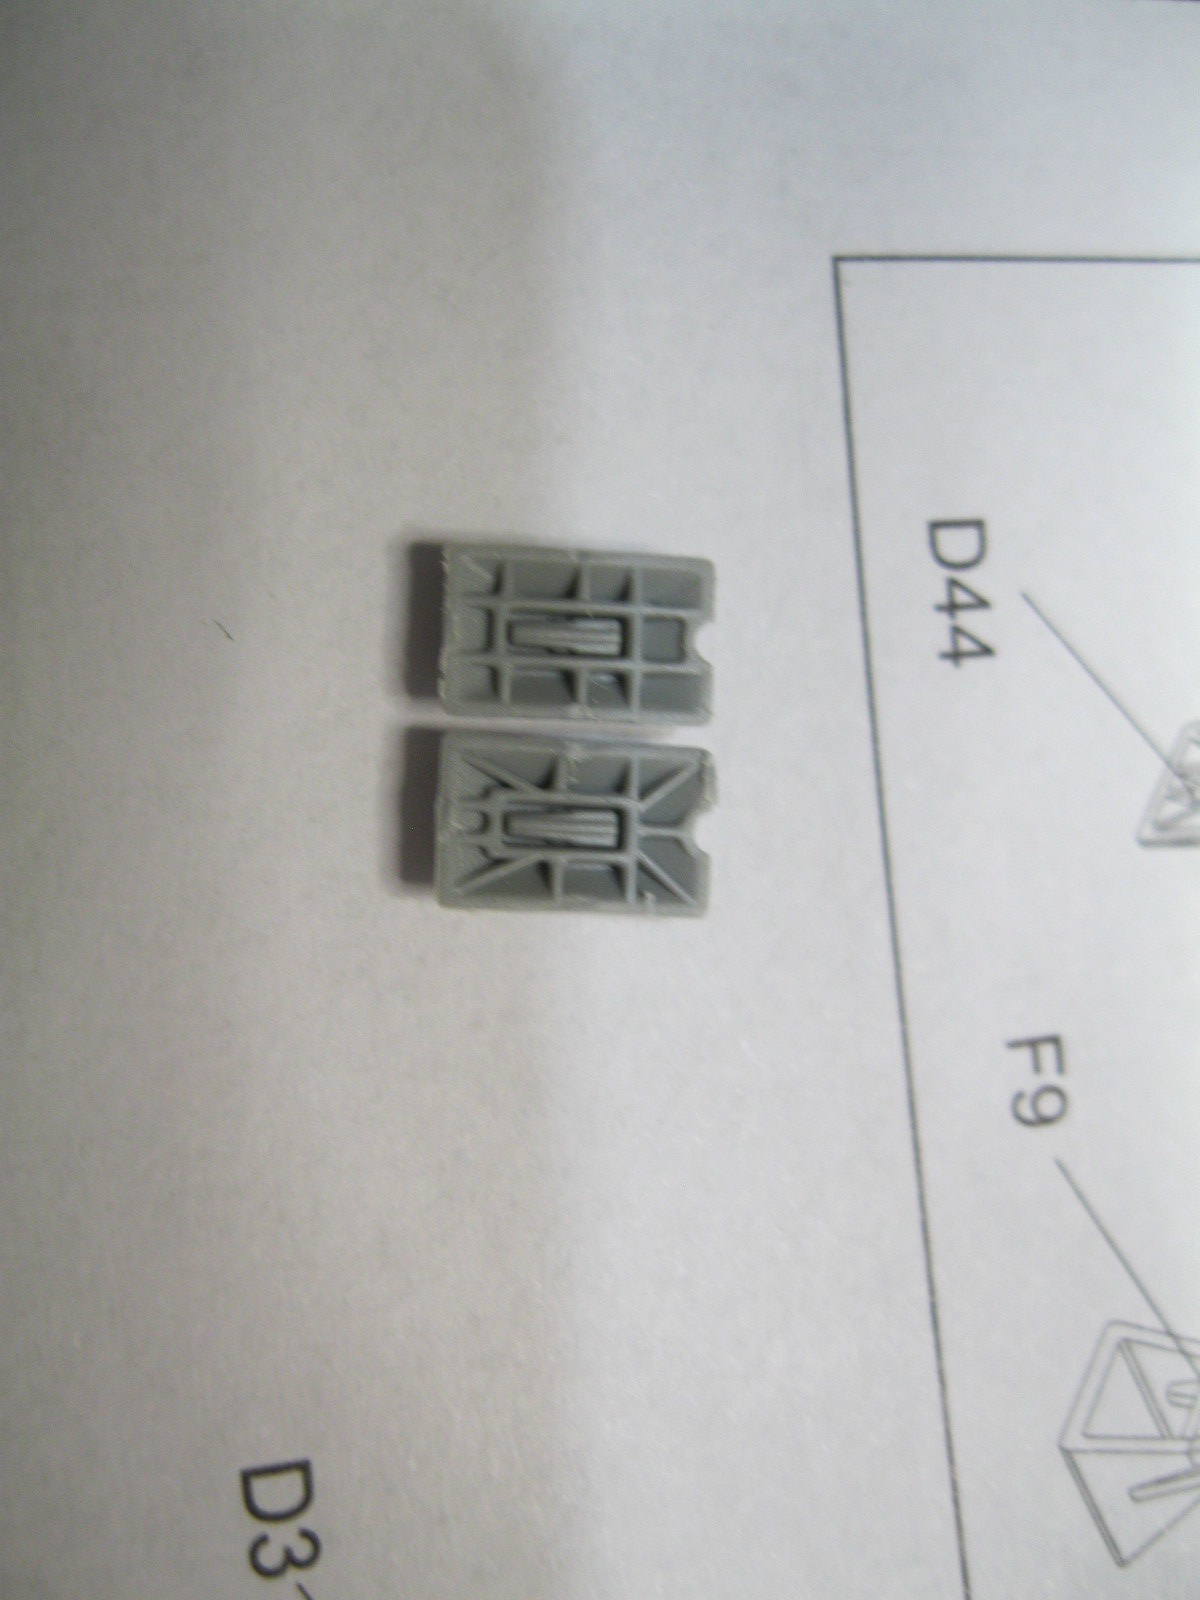
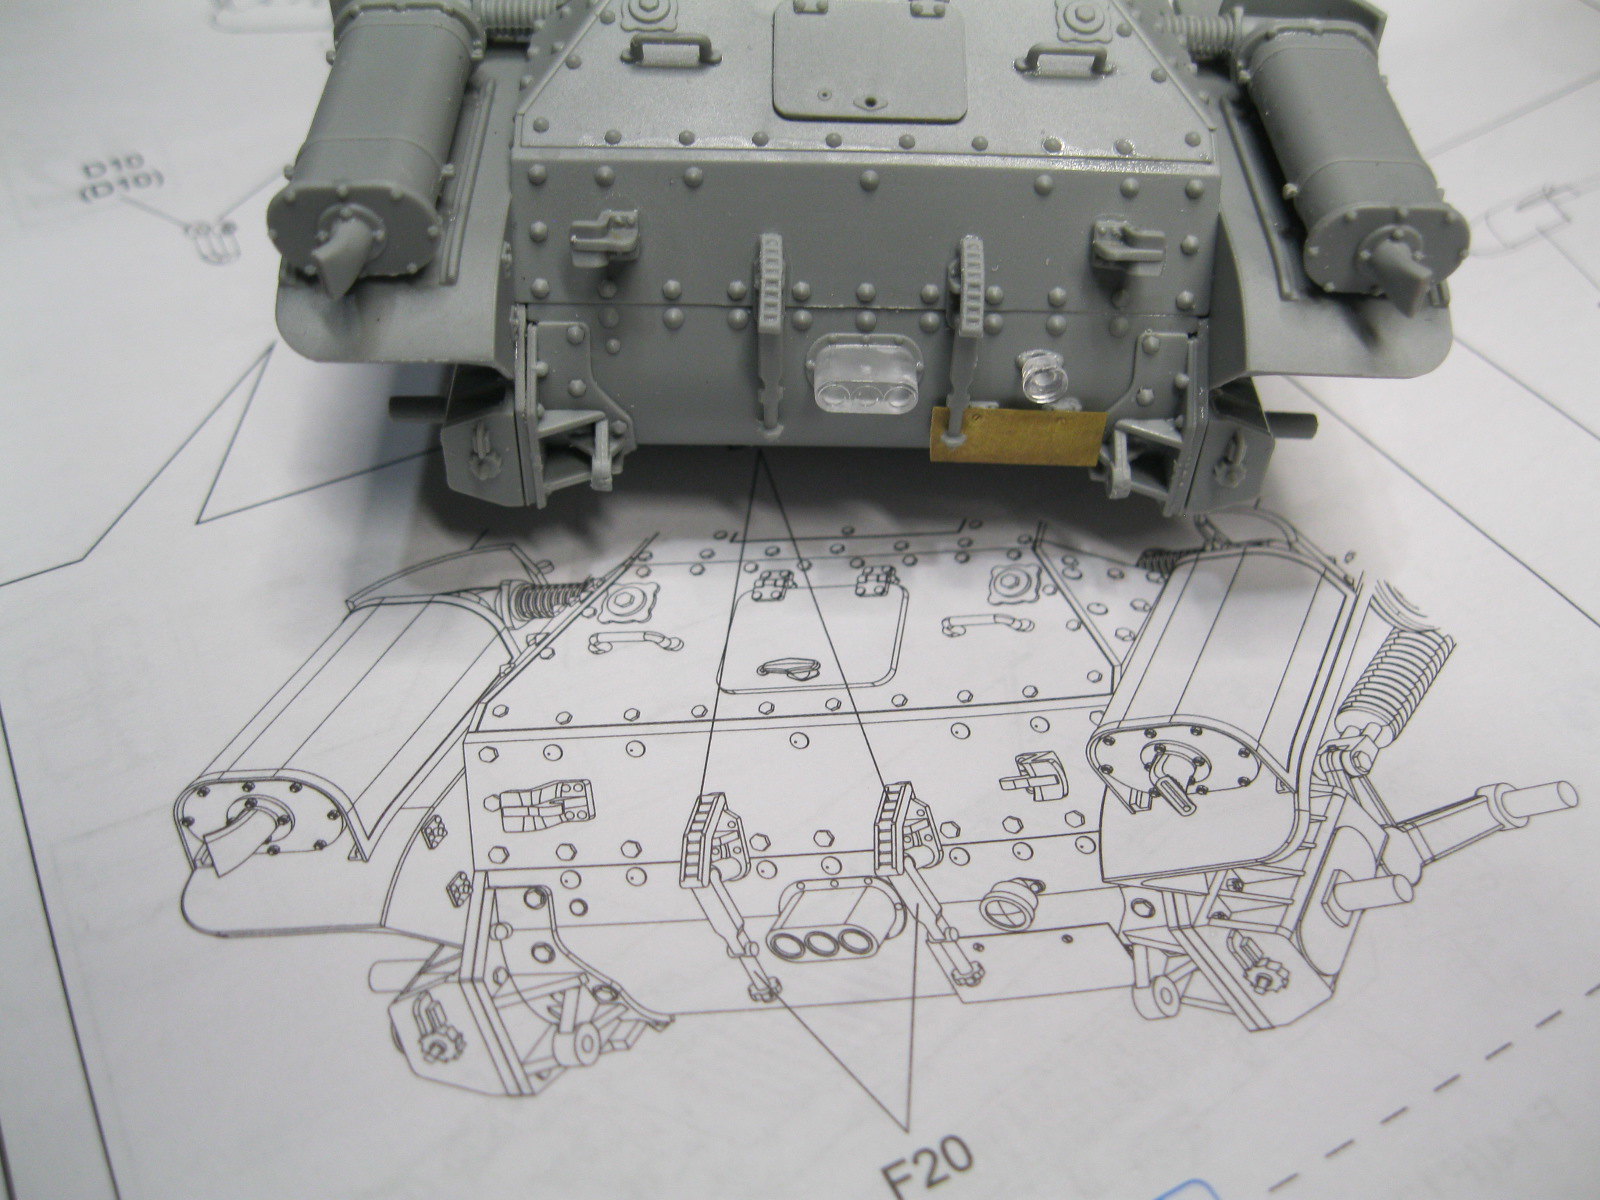
Step 13 adds small details to the rear hull and deck. Tools, jack, tow cable or empty cable bracket. The jack is nicely detailed although they did not hollow out the ratchet socket area, an issue easily corrected with a small drill. The socket for the jack arm is nicely hollowed all the way down and the jack arm fits completely-no trimming like on the type 95 kit. It has two separate bases with very minor differences. I can't see enough detail from photos to know which one is more correct so I simply chose one. The option of placing the tow cable or leaving it off is a bonus for the modeler as the tow cable ends are separate parts, allowing you to use your own length of string or wire to place the cable where you want. At this point I also added the rear lights as there won't be much more handling of the kit. There are also two options for the rear license plate. In this case the etch piece is appropriately thin and has good screw detail. The styrene part is thick.
 IMG_9590
 by
russell amott, on Flickr
 IMG_9591
 by
russell amott, on Flickr
 IMG_9592
 by
russell amott, on Flickr
 IMG_9593
 by
russell amott, on Flickr
 IMG_9594
 by
russell amott, on Flickr
 IMG_9595
 by
russell amott, on Flickr
 IMG_9596
 by
russell amott, on Flickr
 IMG_9597
 by
russell amott, on Flickr
 IMG_9598
 by
russell amott, on Flickr
 IMG_9599
 by
russell amott, on Flickr
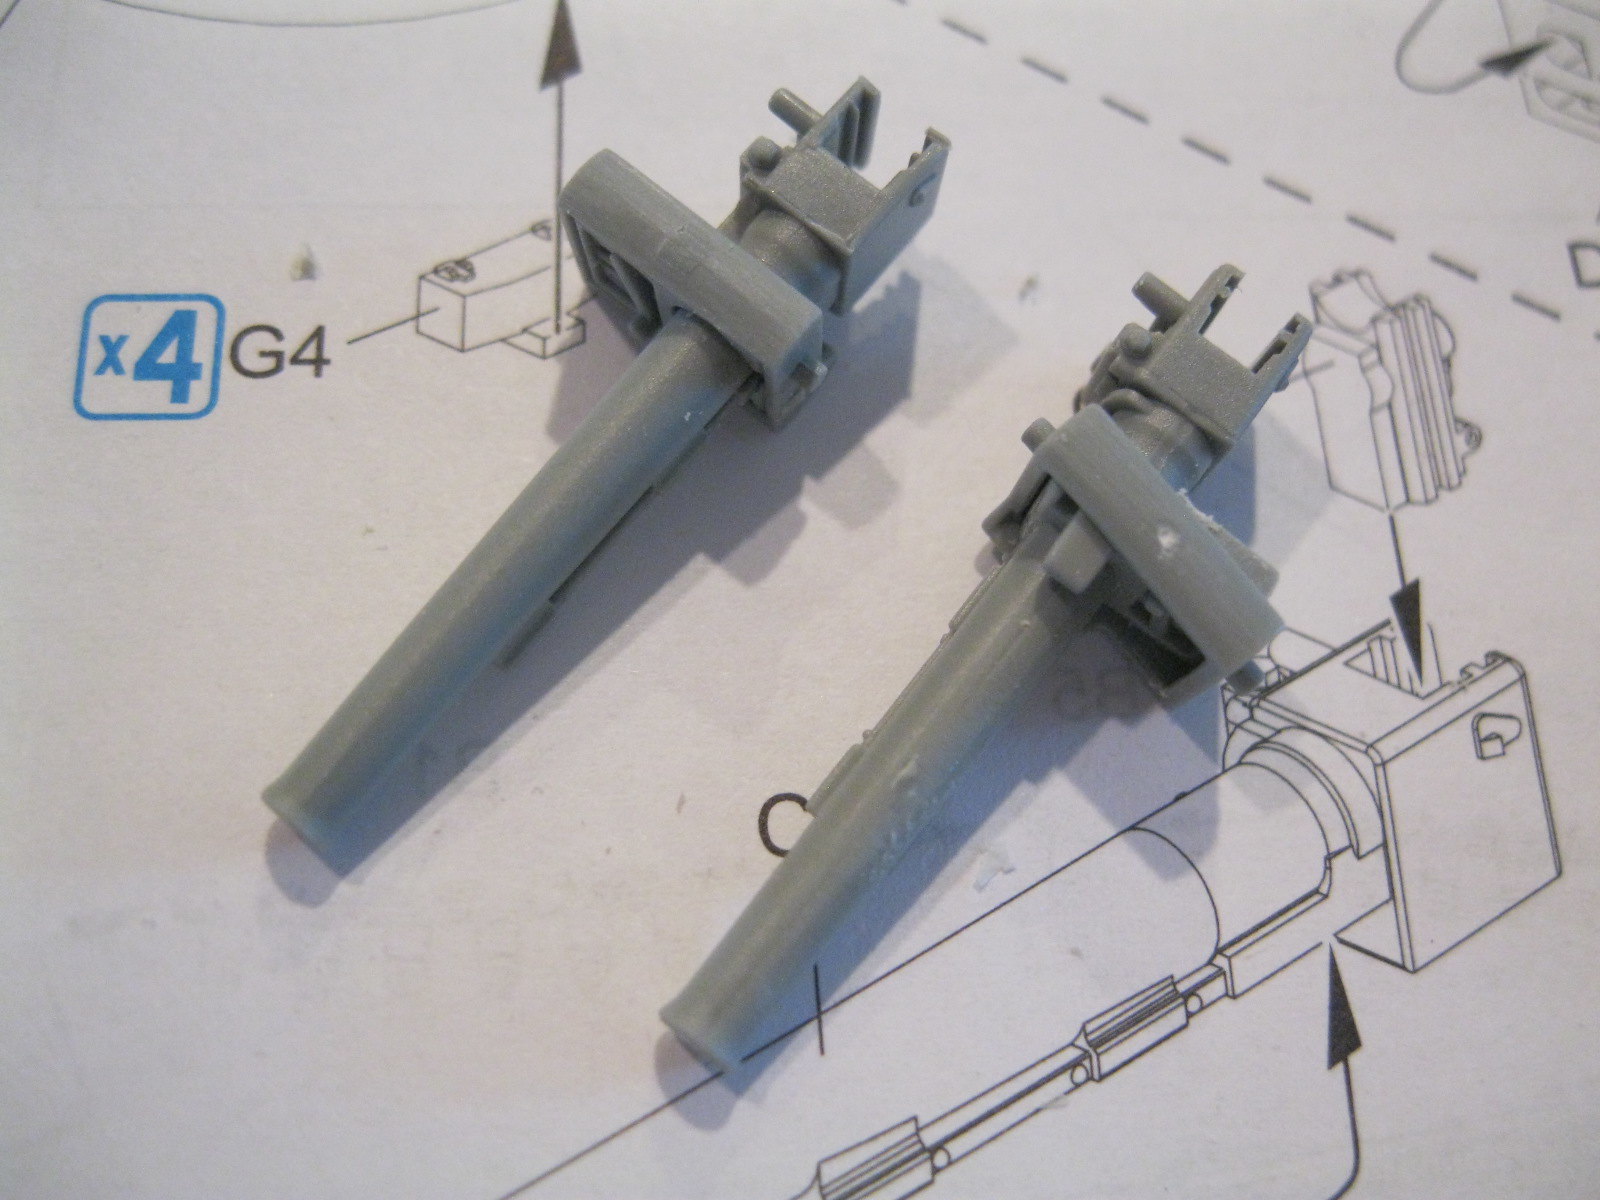
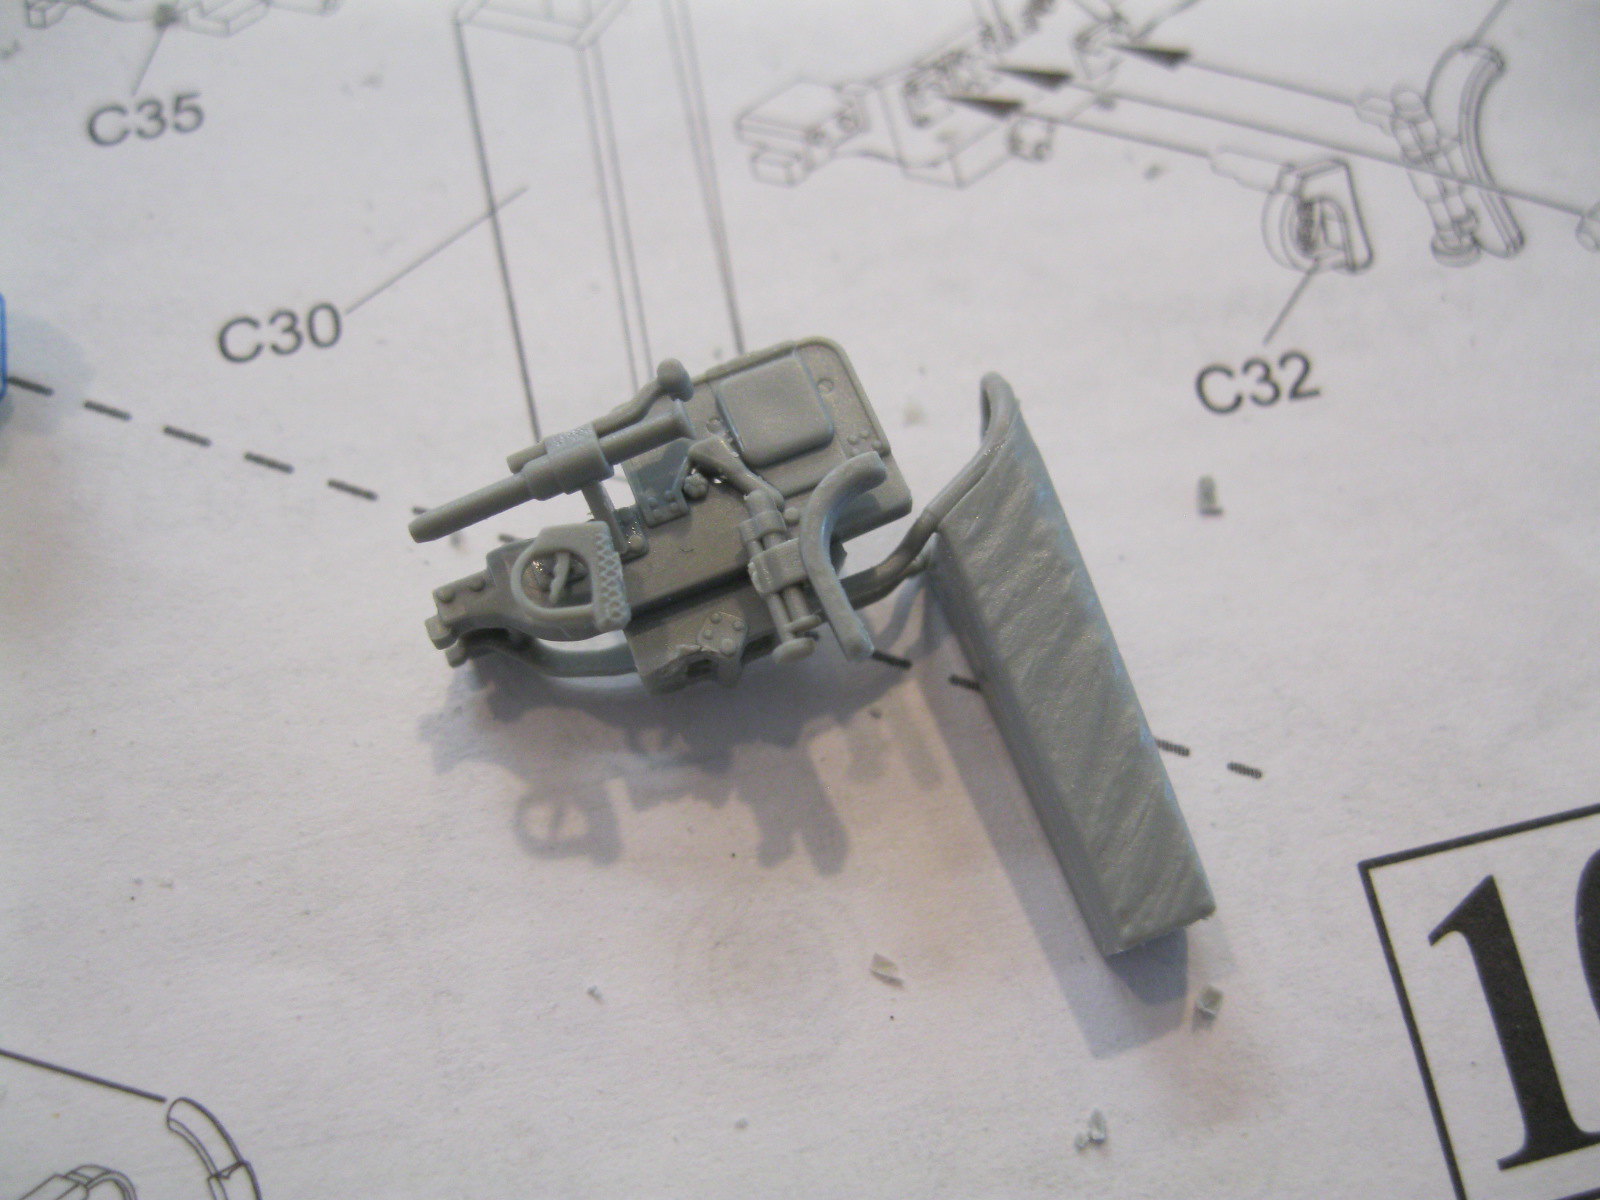
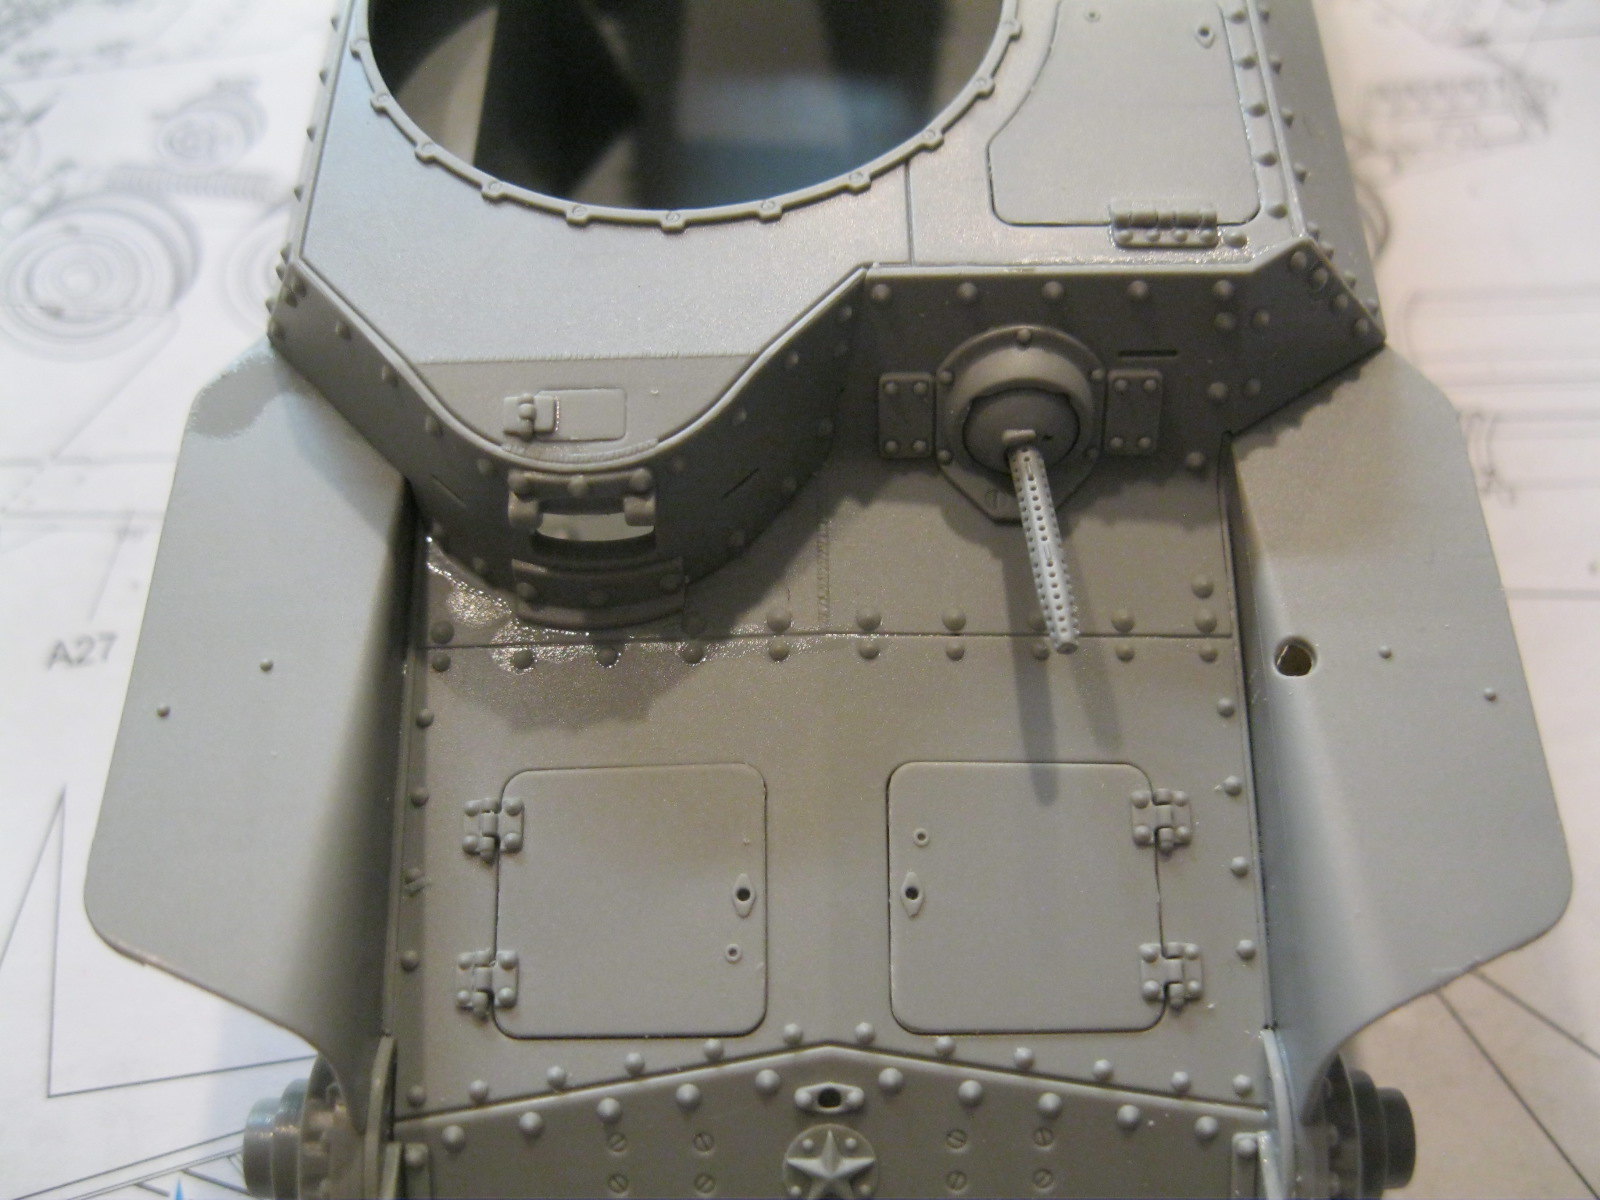
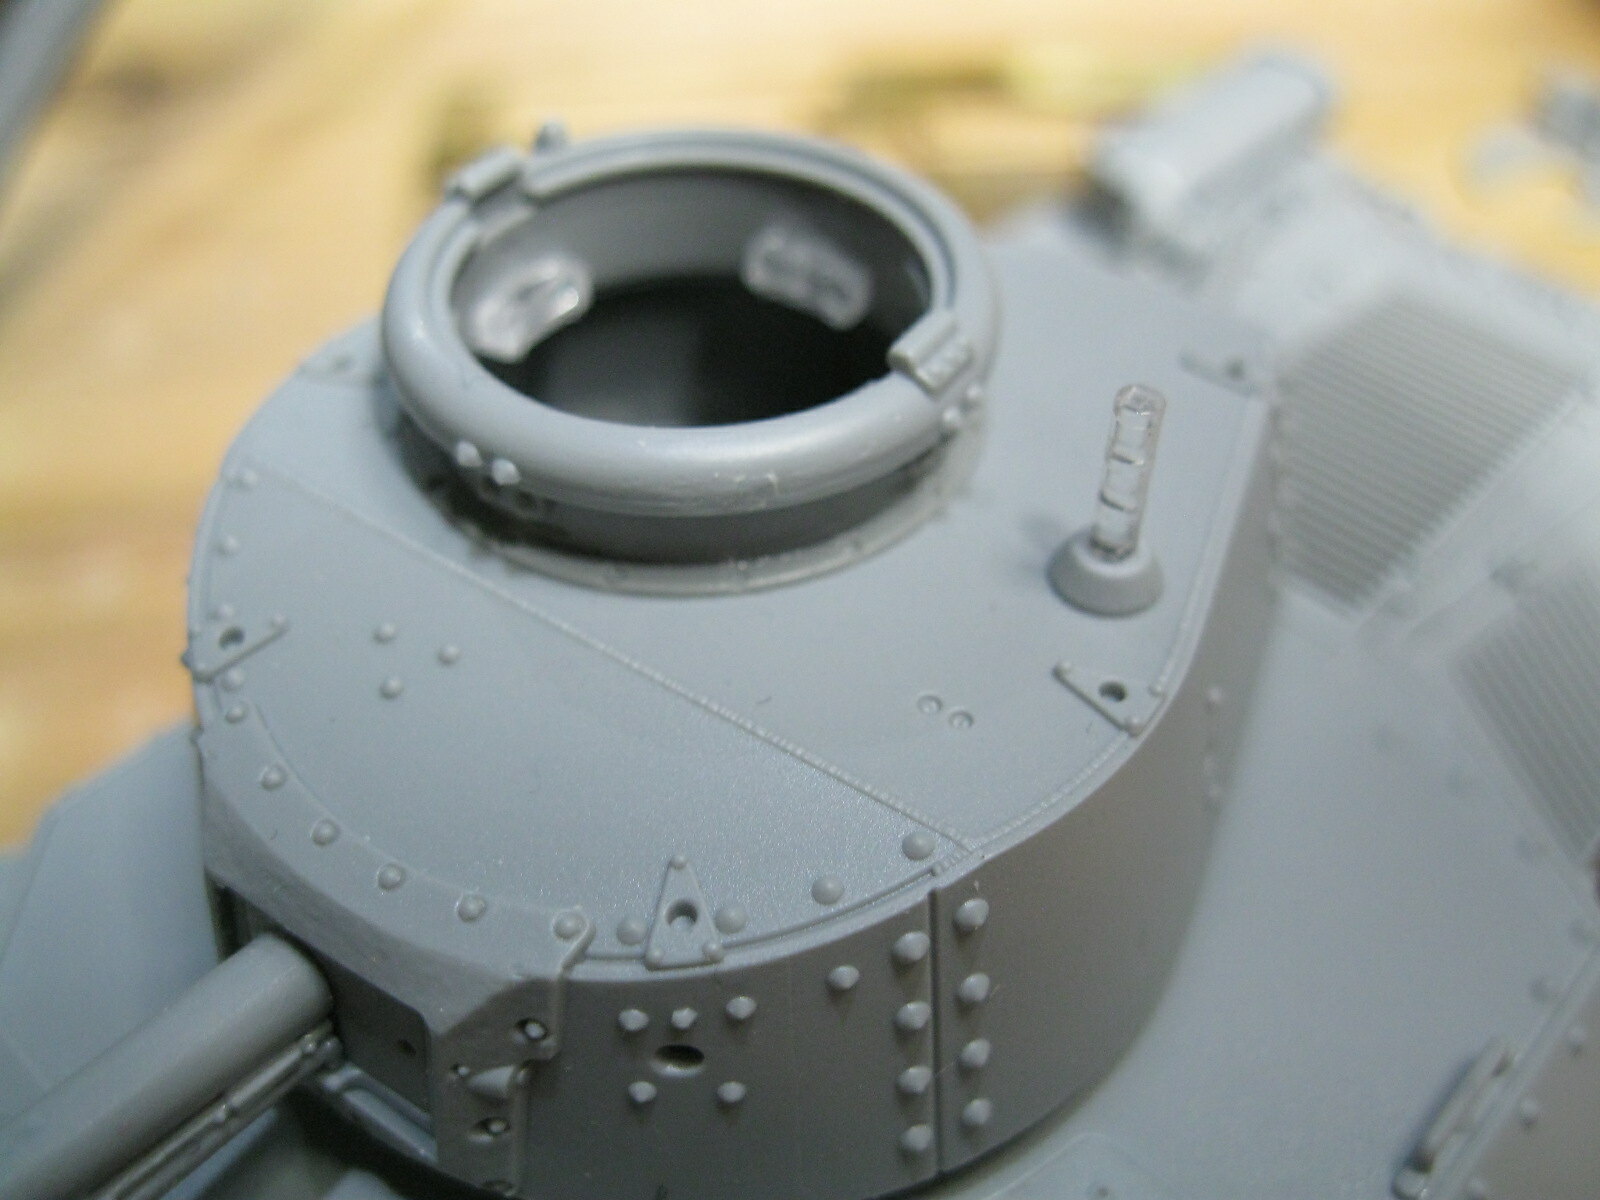
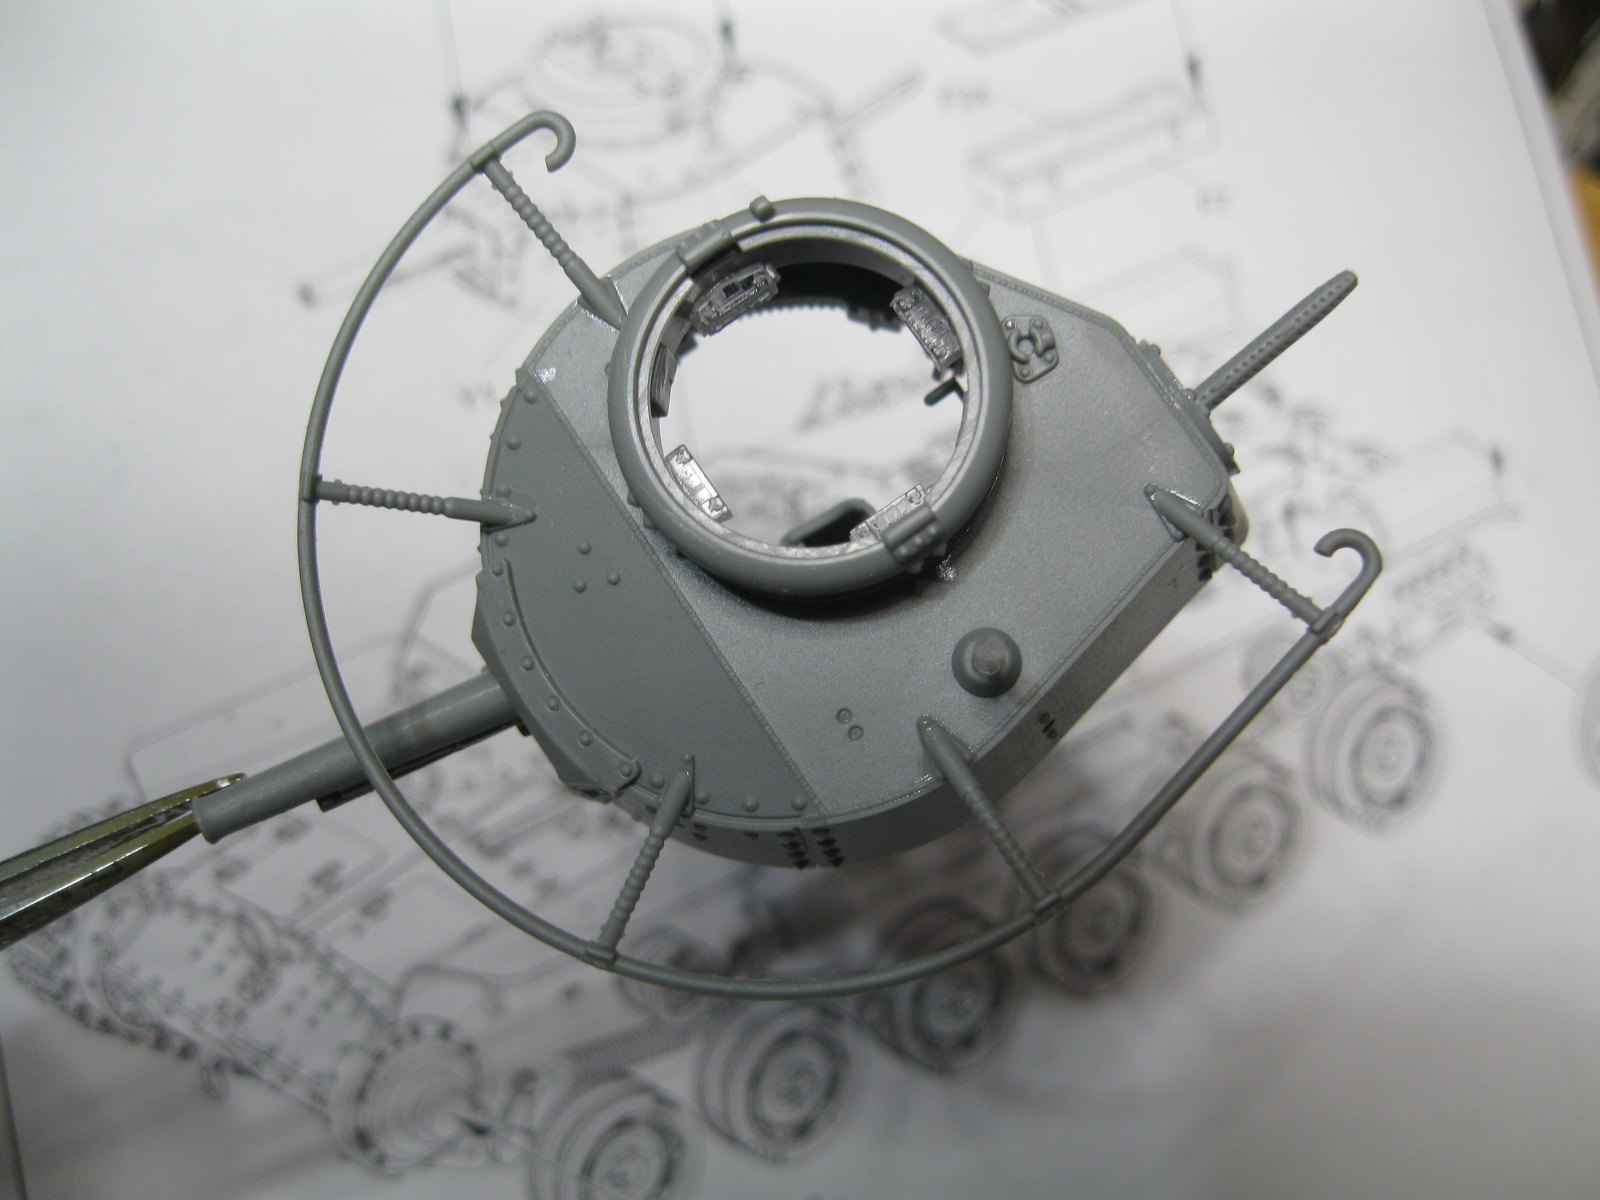
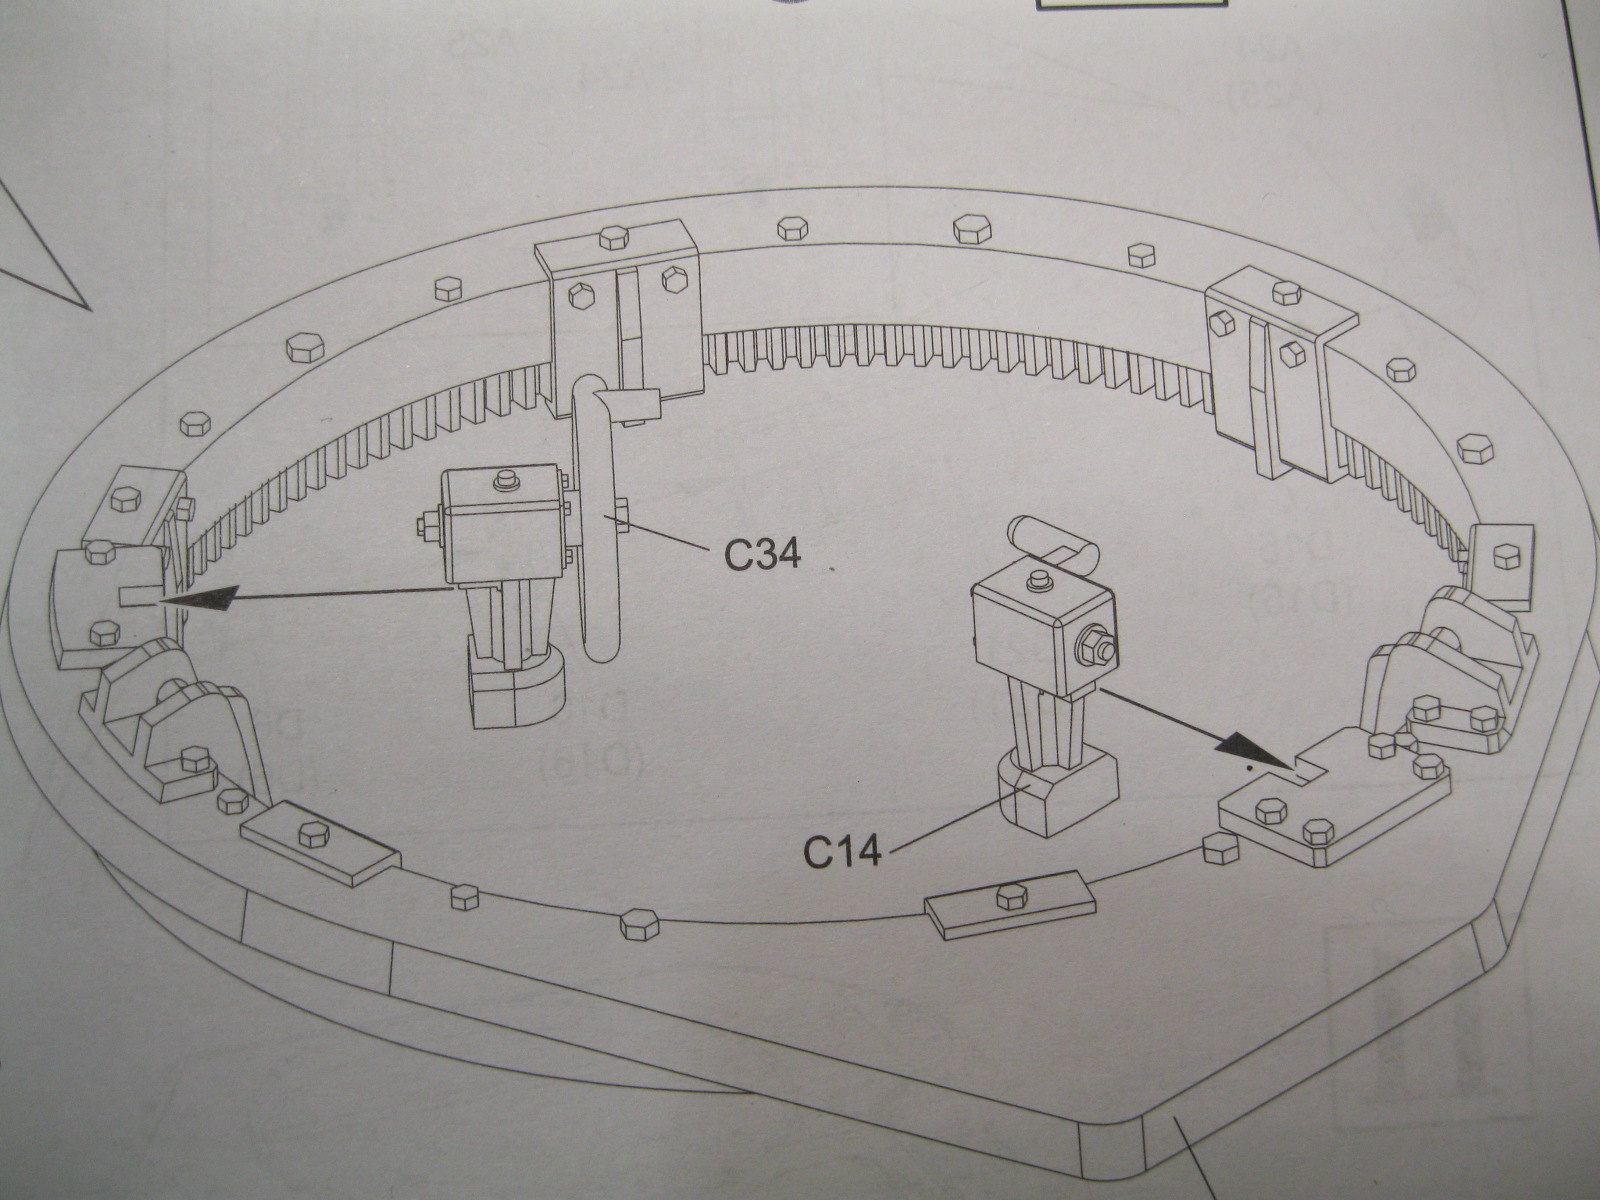
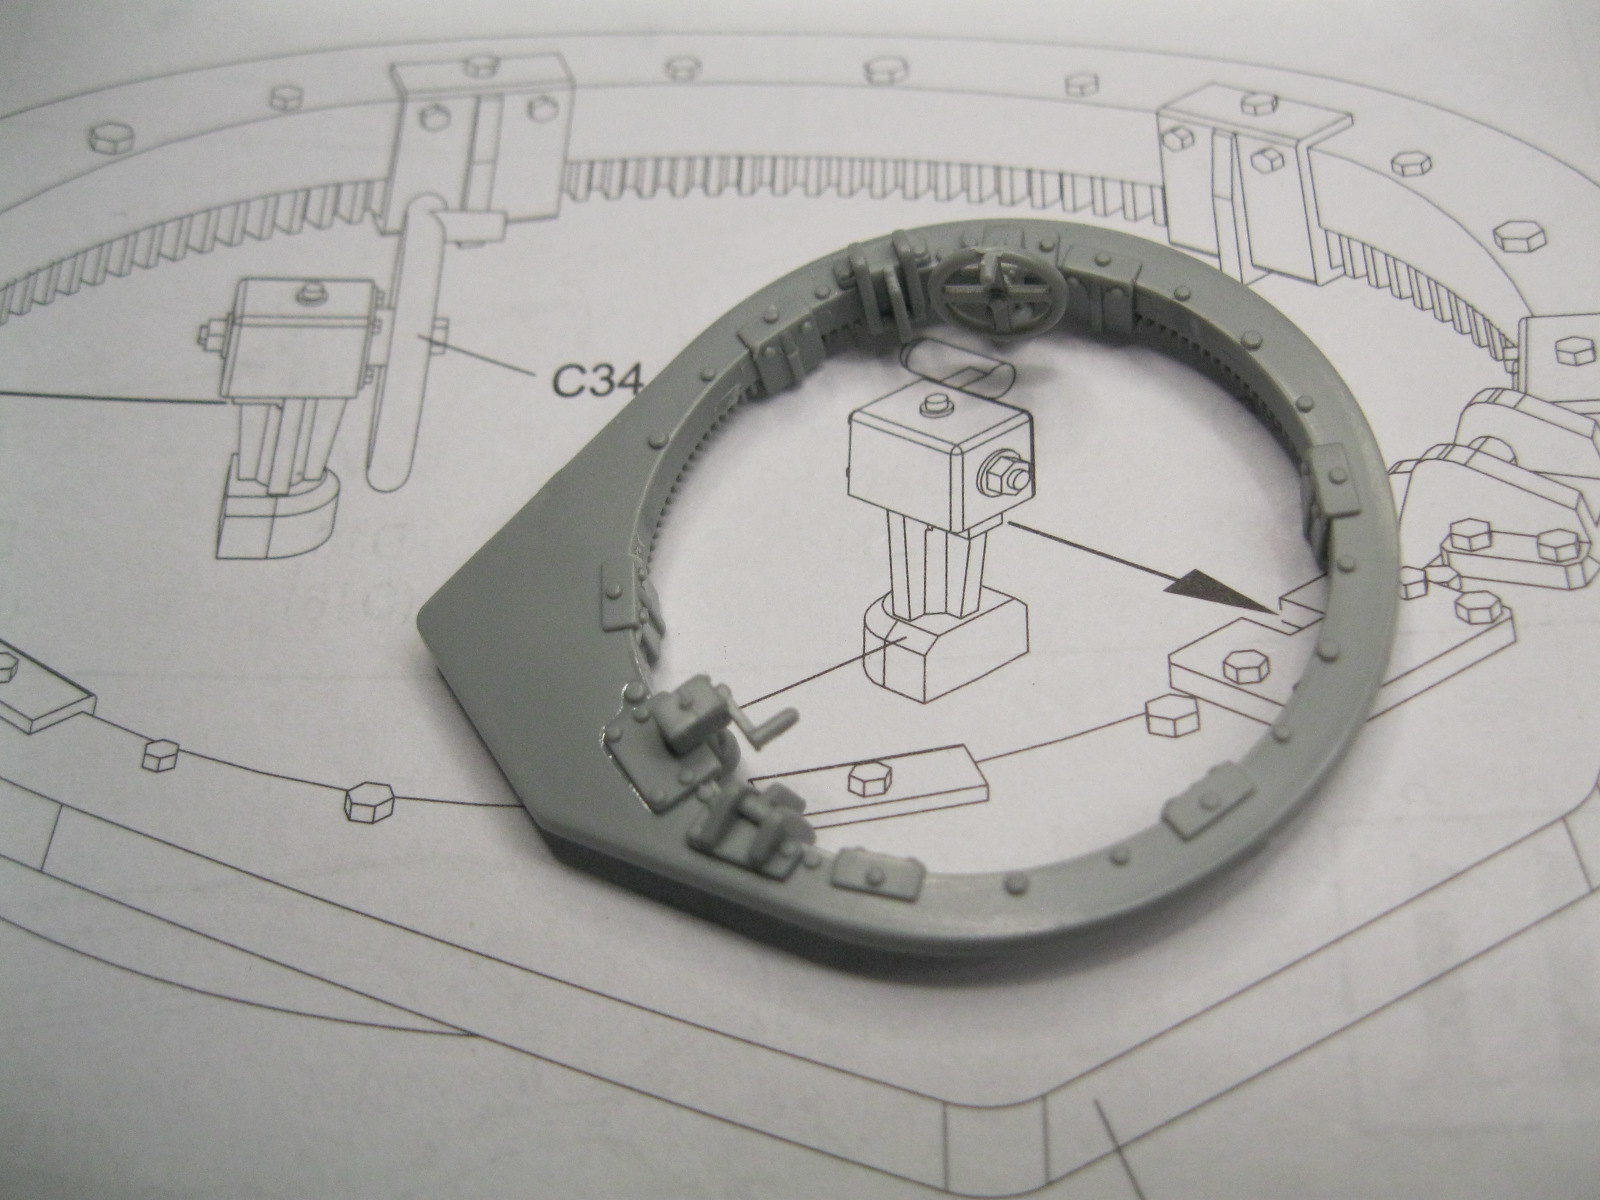
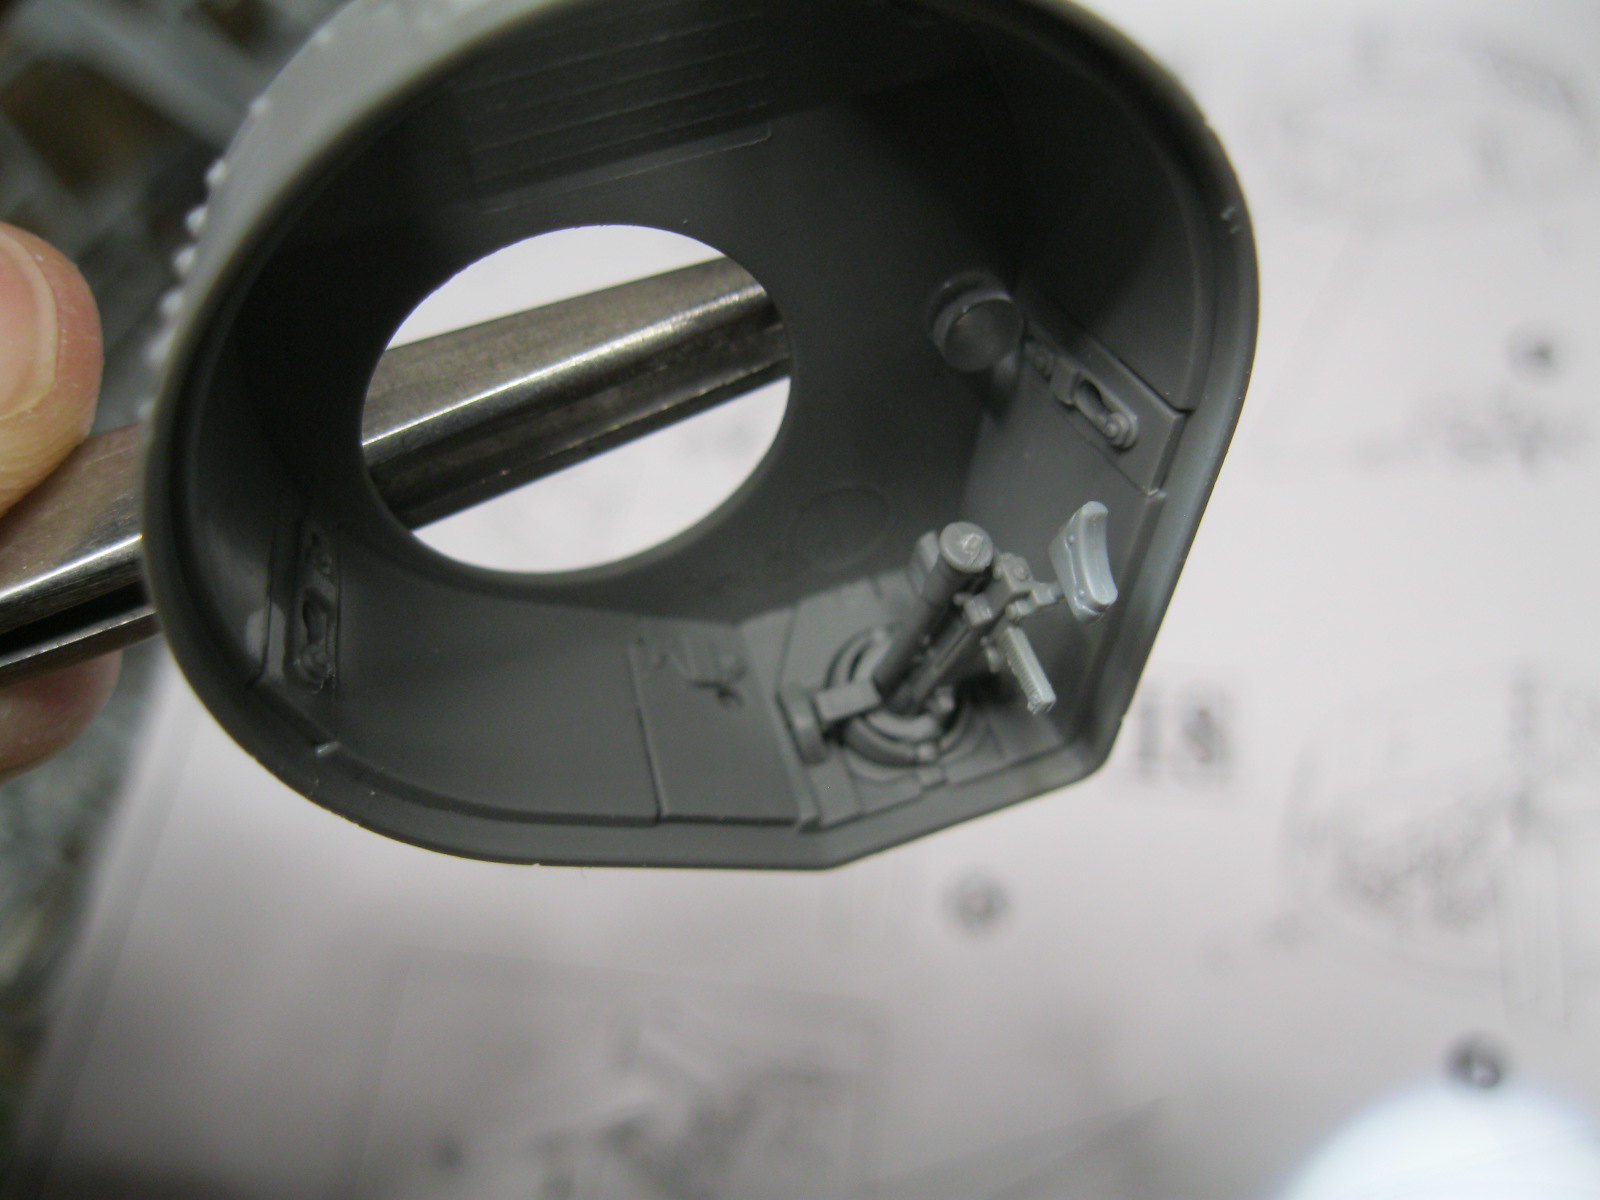
Step 13 is the turret assembly. There are small parts that attach to the turret ring-wheel crank and hand crank, to turn the turret. The interior of the upper gets optional open or closed vision ports that are nicely handed so you can't put a part in the wrong place (something I need quite often). There are some gaps that would need filling if you left the turret open for inspection. The turret machine gun mount is keyed to get it facing the right way and with care the inside bracket holds the assembly in place and it is moveable, although with the sight on the gun it is restricted in movement. In reality the turret was small enough that both the MG and main gun could not be operated at the same time. The turret top light bar is also inserted from inside the turret.
 IMG_9600
 by
russell amott, on Flickr
 IMG_9601
 by
russell amott, on Flickr
 IMG_9602
 by
russell amott, on Flickr
 IMG_9603
 by
russell amott, on Flickr
 IMG_9604
 by
russell amott, on Flickr
 IMG_9605
 by
russell amott, on Flickr
 IMG_9606
 by
russell amott, on Flickr
 IMG_9607
 by
russell amott, on Flickr
 IMG_9608
 by
russell amott, on Flickr
So now I am off to fix the main gun, then add the cupola, tracks and all the other small details. Hopefully painting won't be too far off.


 IMG_9443 by russell amott, on Flickr
 VB-102 First Tour_000343 by SDASM Archives, on Flickr