_GOTOBOTTOM
Armor/AFV: AA/AT/Artillery
For discussions about artillery and anti-aircraft or anti-tank guns.
Hosted by Darren Baker
Tamiya PAK 40
dbrad555
Visit this Community
Dubayy, United Arab Emirates
Joined: May 17, 2018
KitMaker: 65 posts
Armorama: 61 posts
Posted: Thursday, June 21, 2018 - 07:03 PM UTC
Ok, for my next project I've decided to give the very old, but decent, Tamiya PAK 40/L46 kit a bash. I know there are newer and better detailed sets out there, but hey this kit calls for lots of scratch building! I do not have any update sets for this kit so i am going to try and update it with what i can salvage from the spares box and use plastic card.

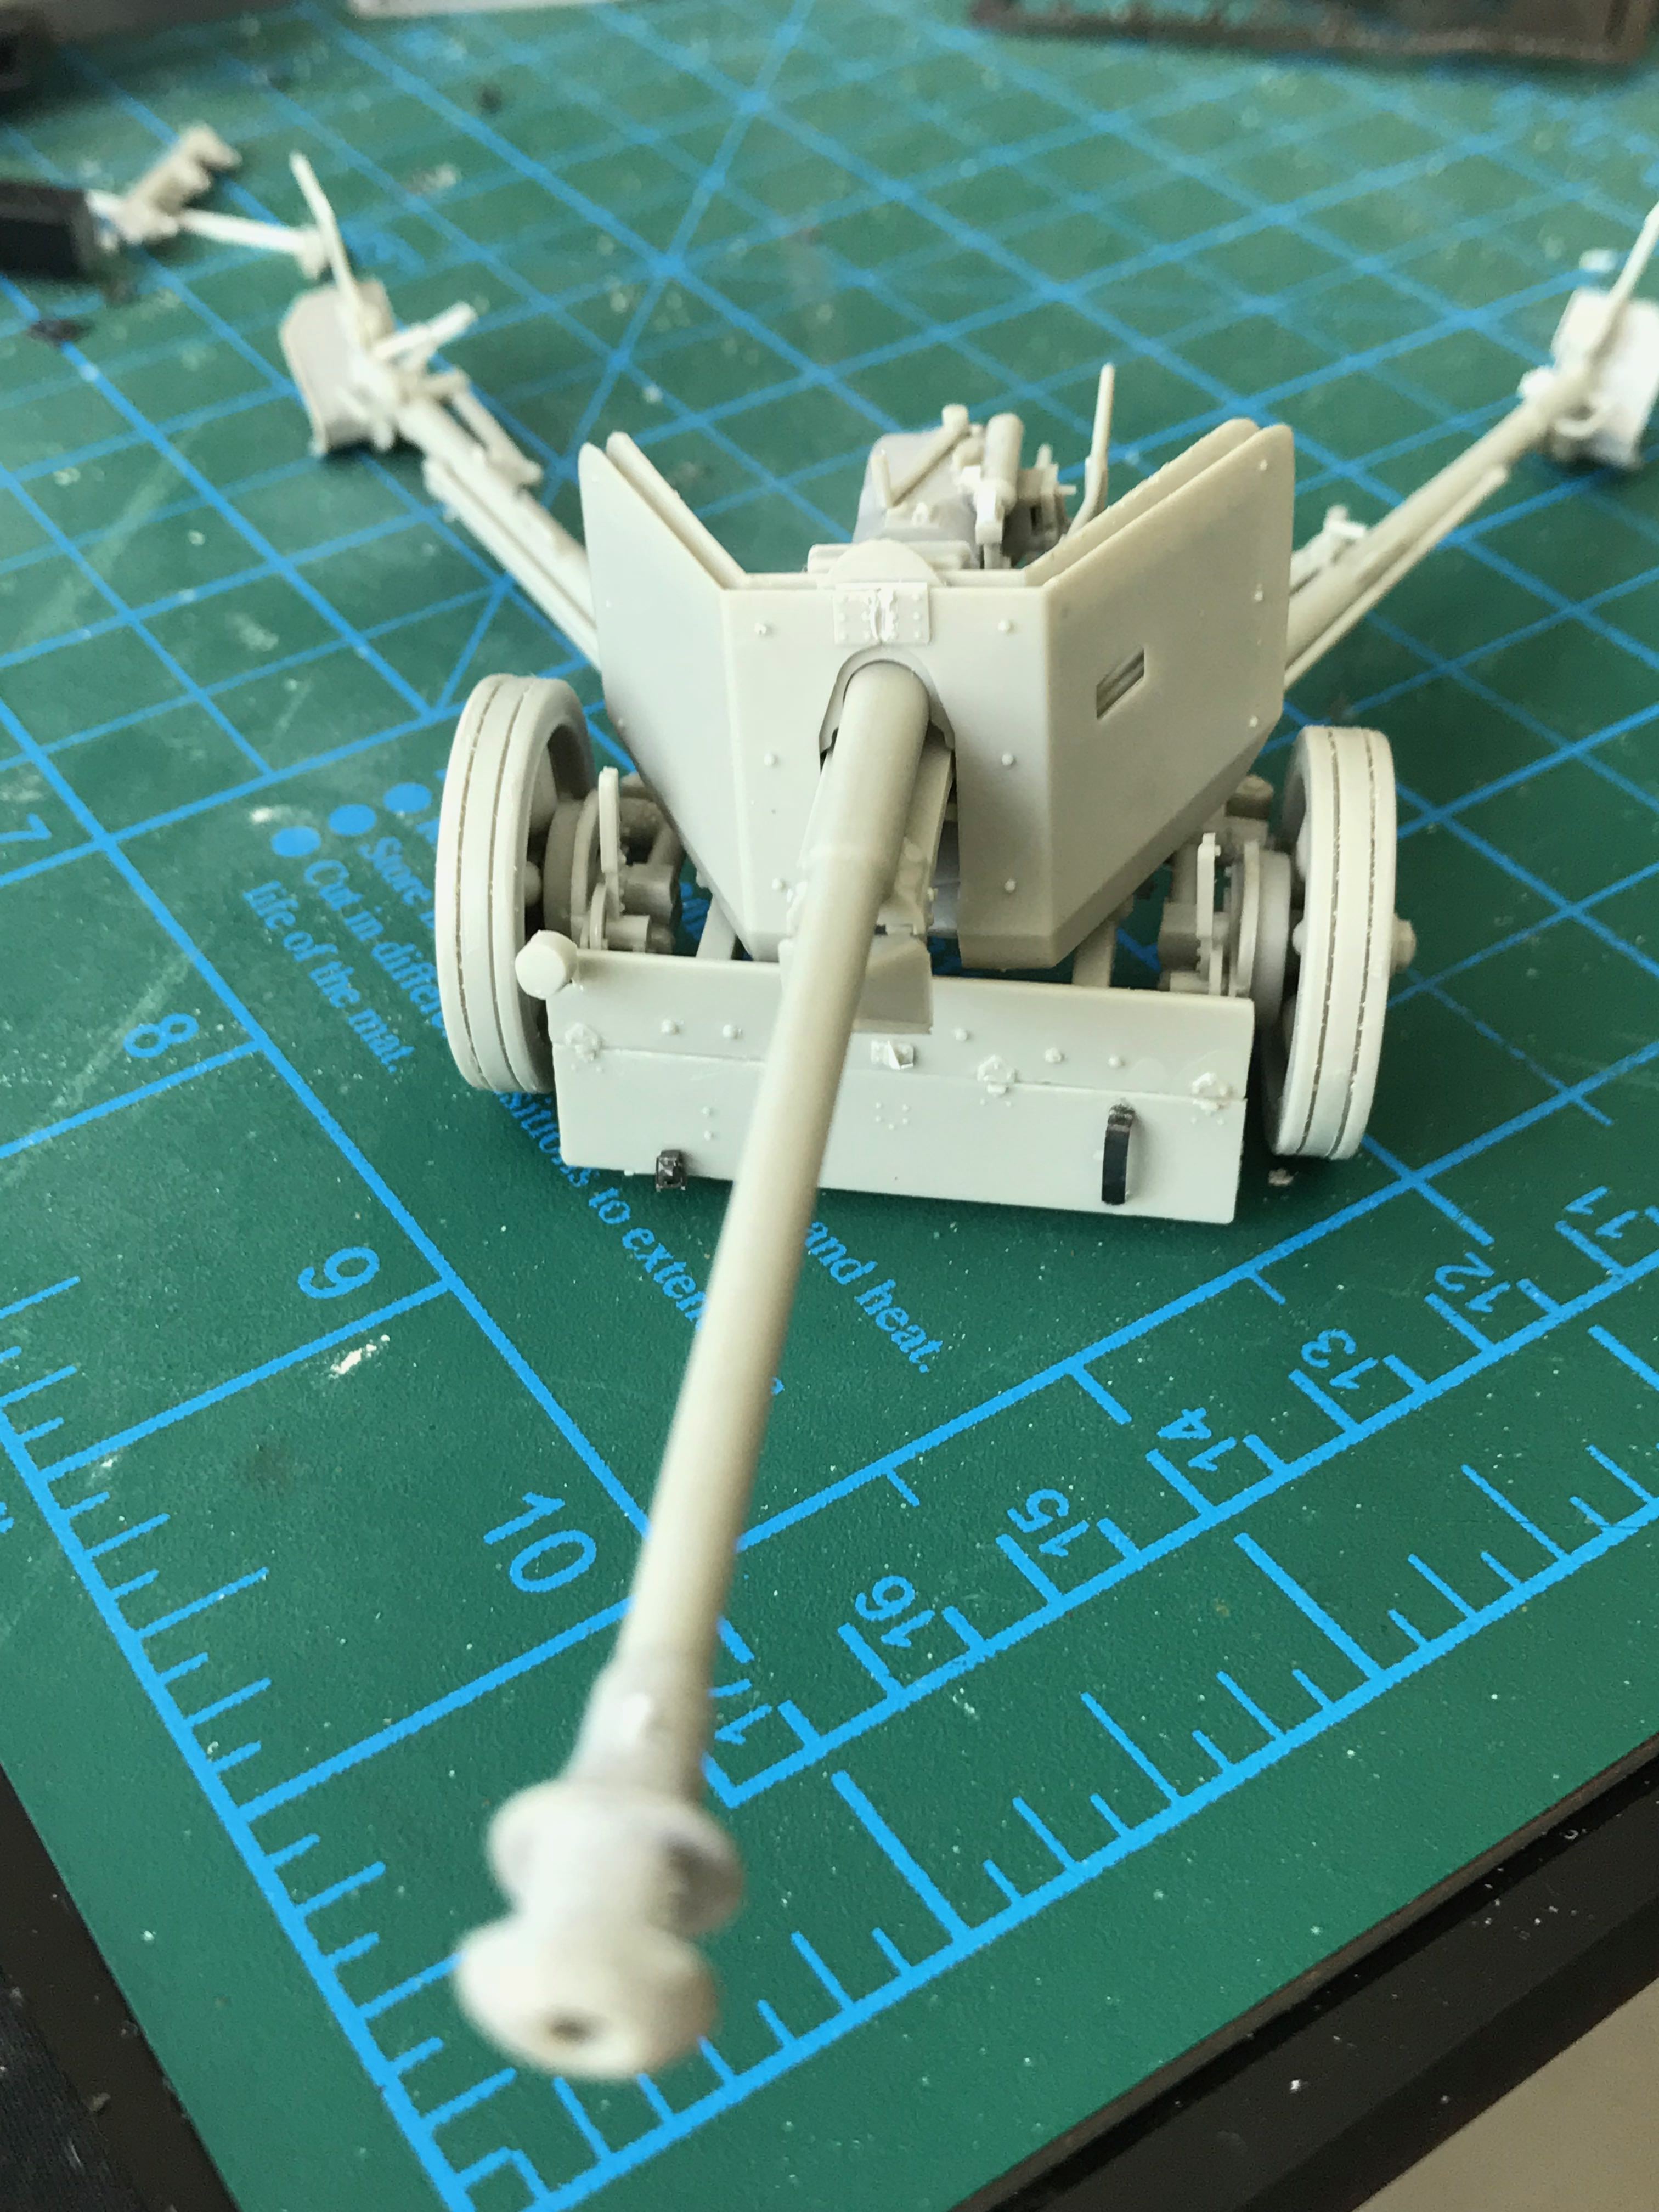
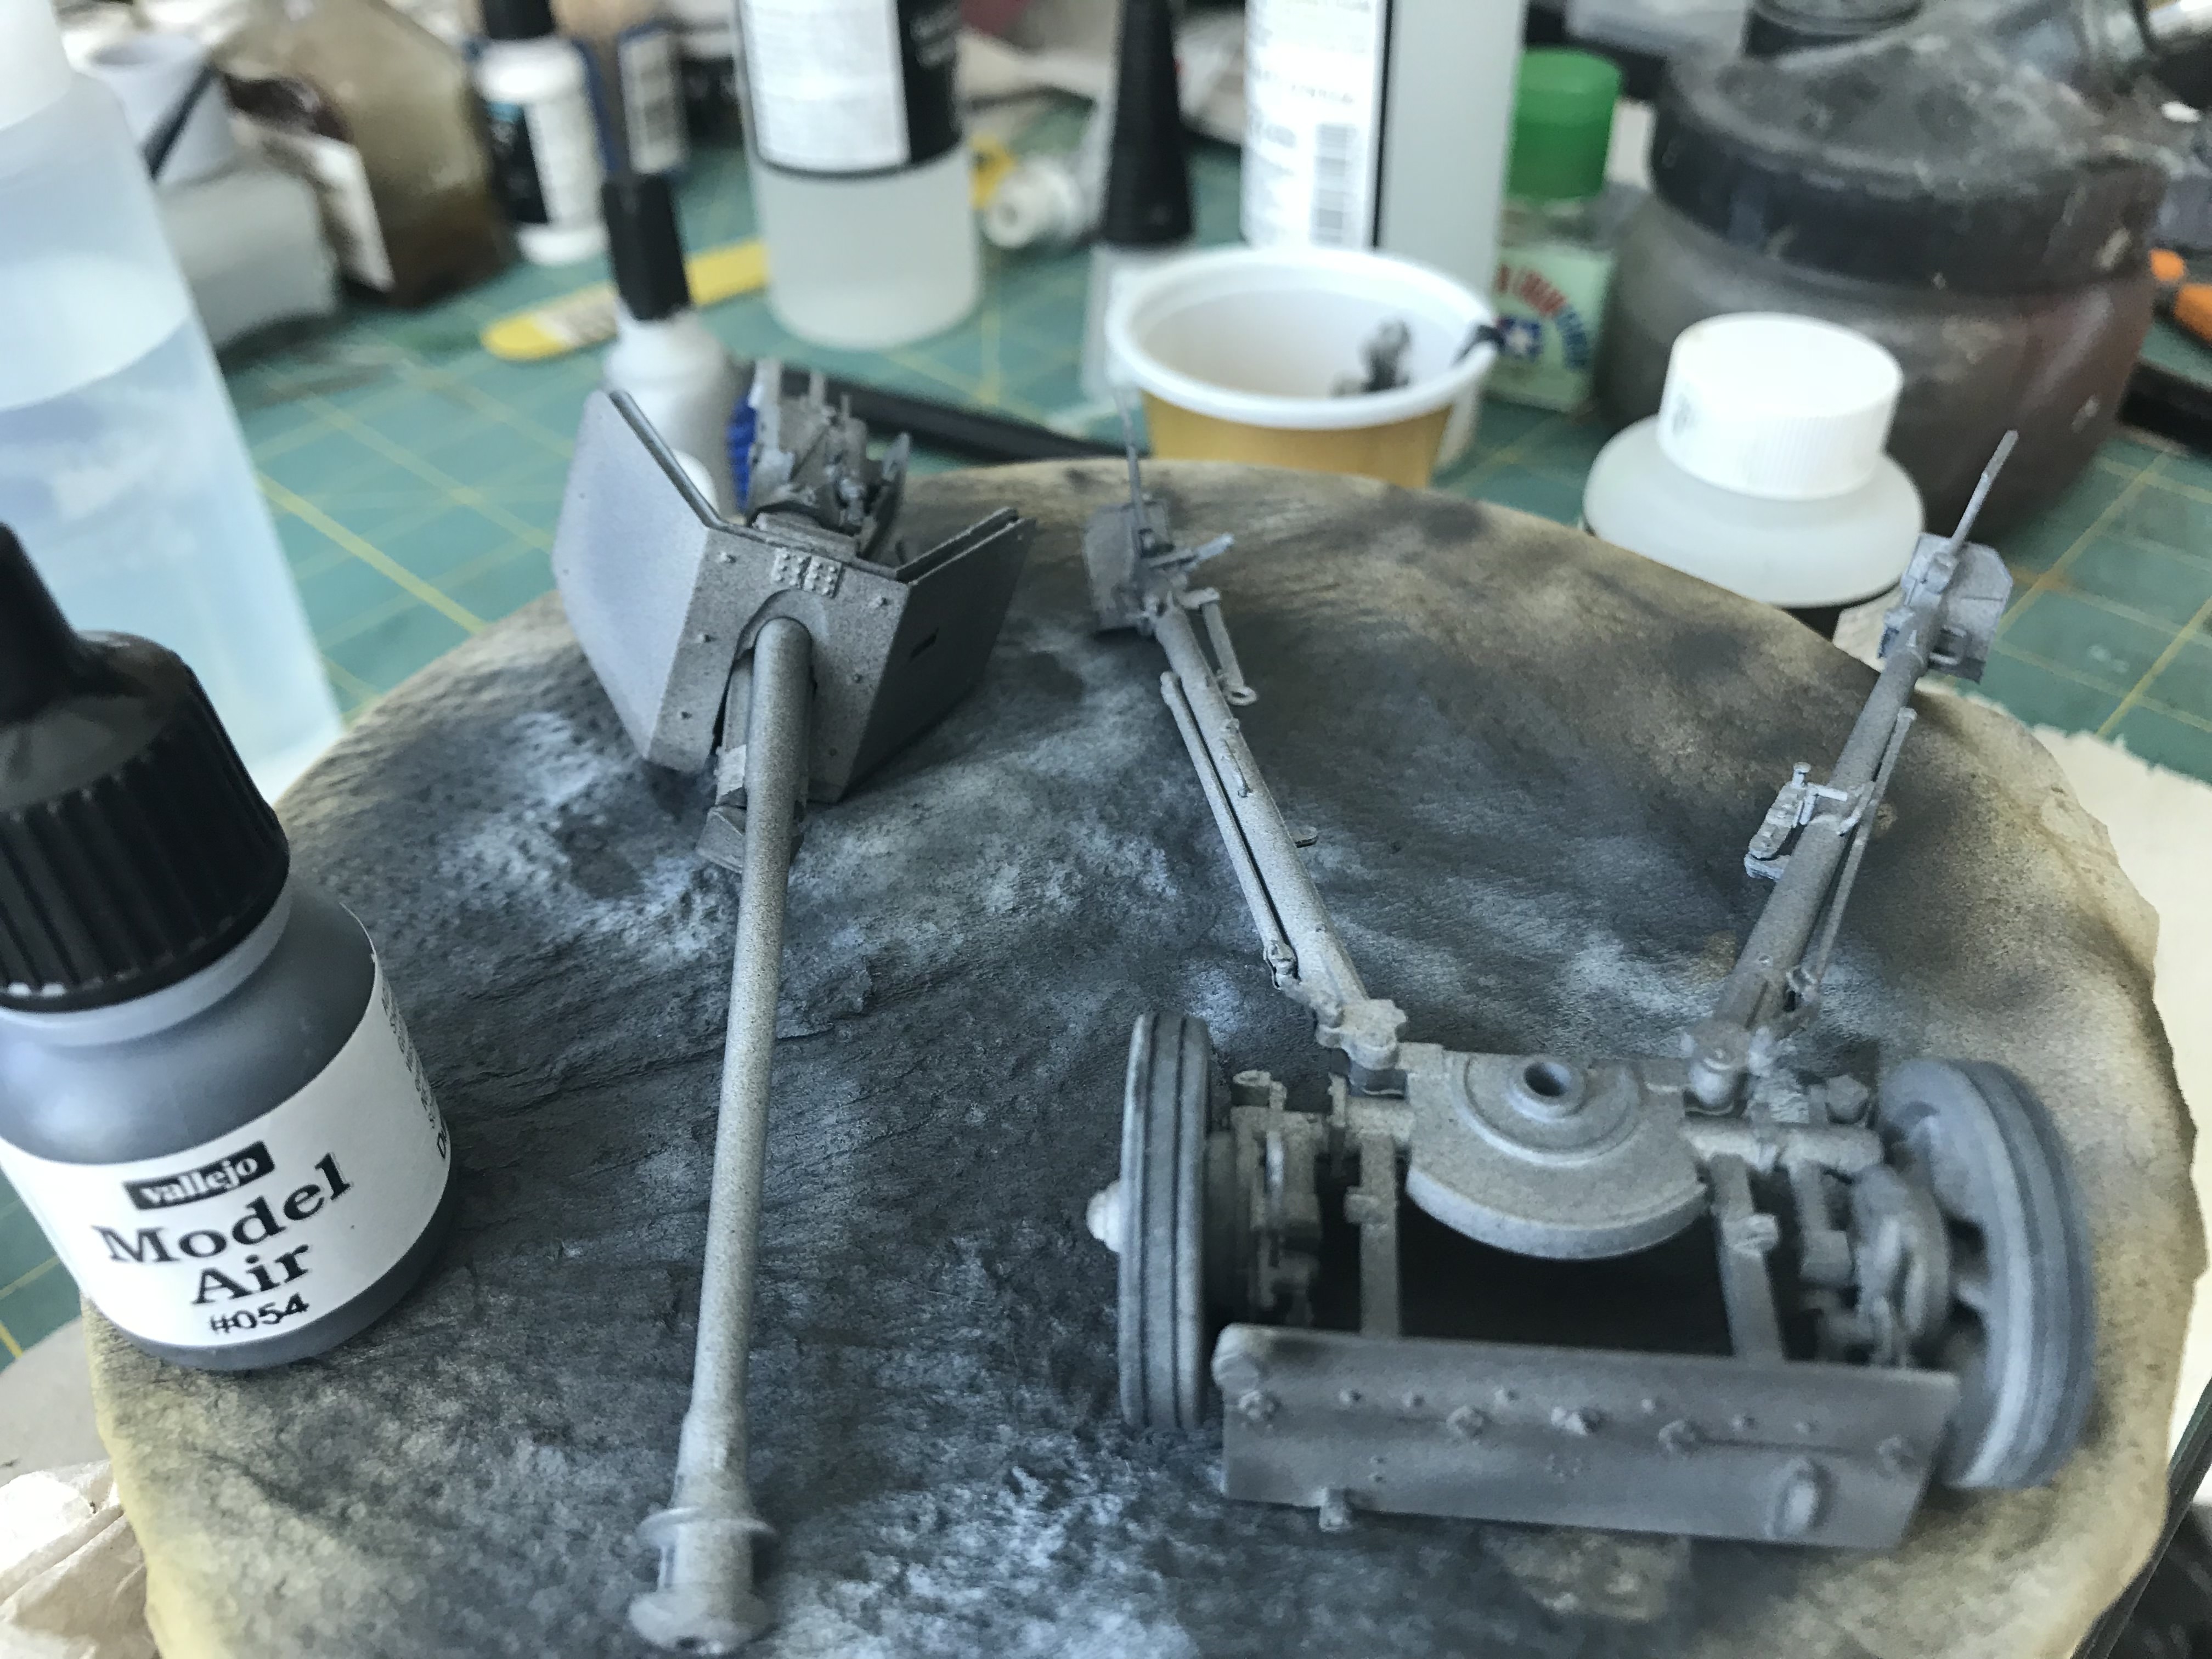
The kit itself is actually from the Tamiya box set of numerous kits, box set 2 I believe but cant remember. It has no box itself, just comes in the plastic wrapper with 2 sets of instructions, one japanese and one english - I actually got this set in the Tamiya store in Tokyo.


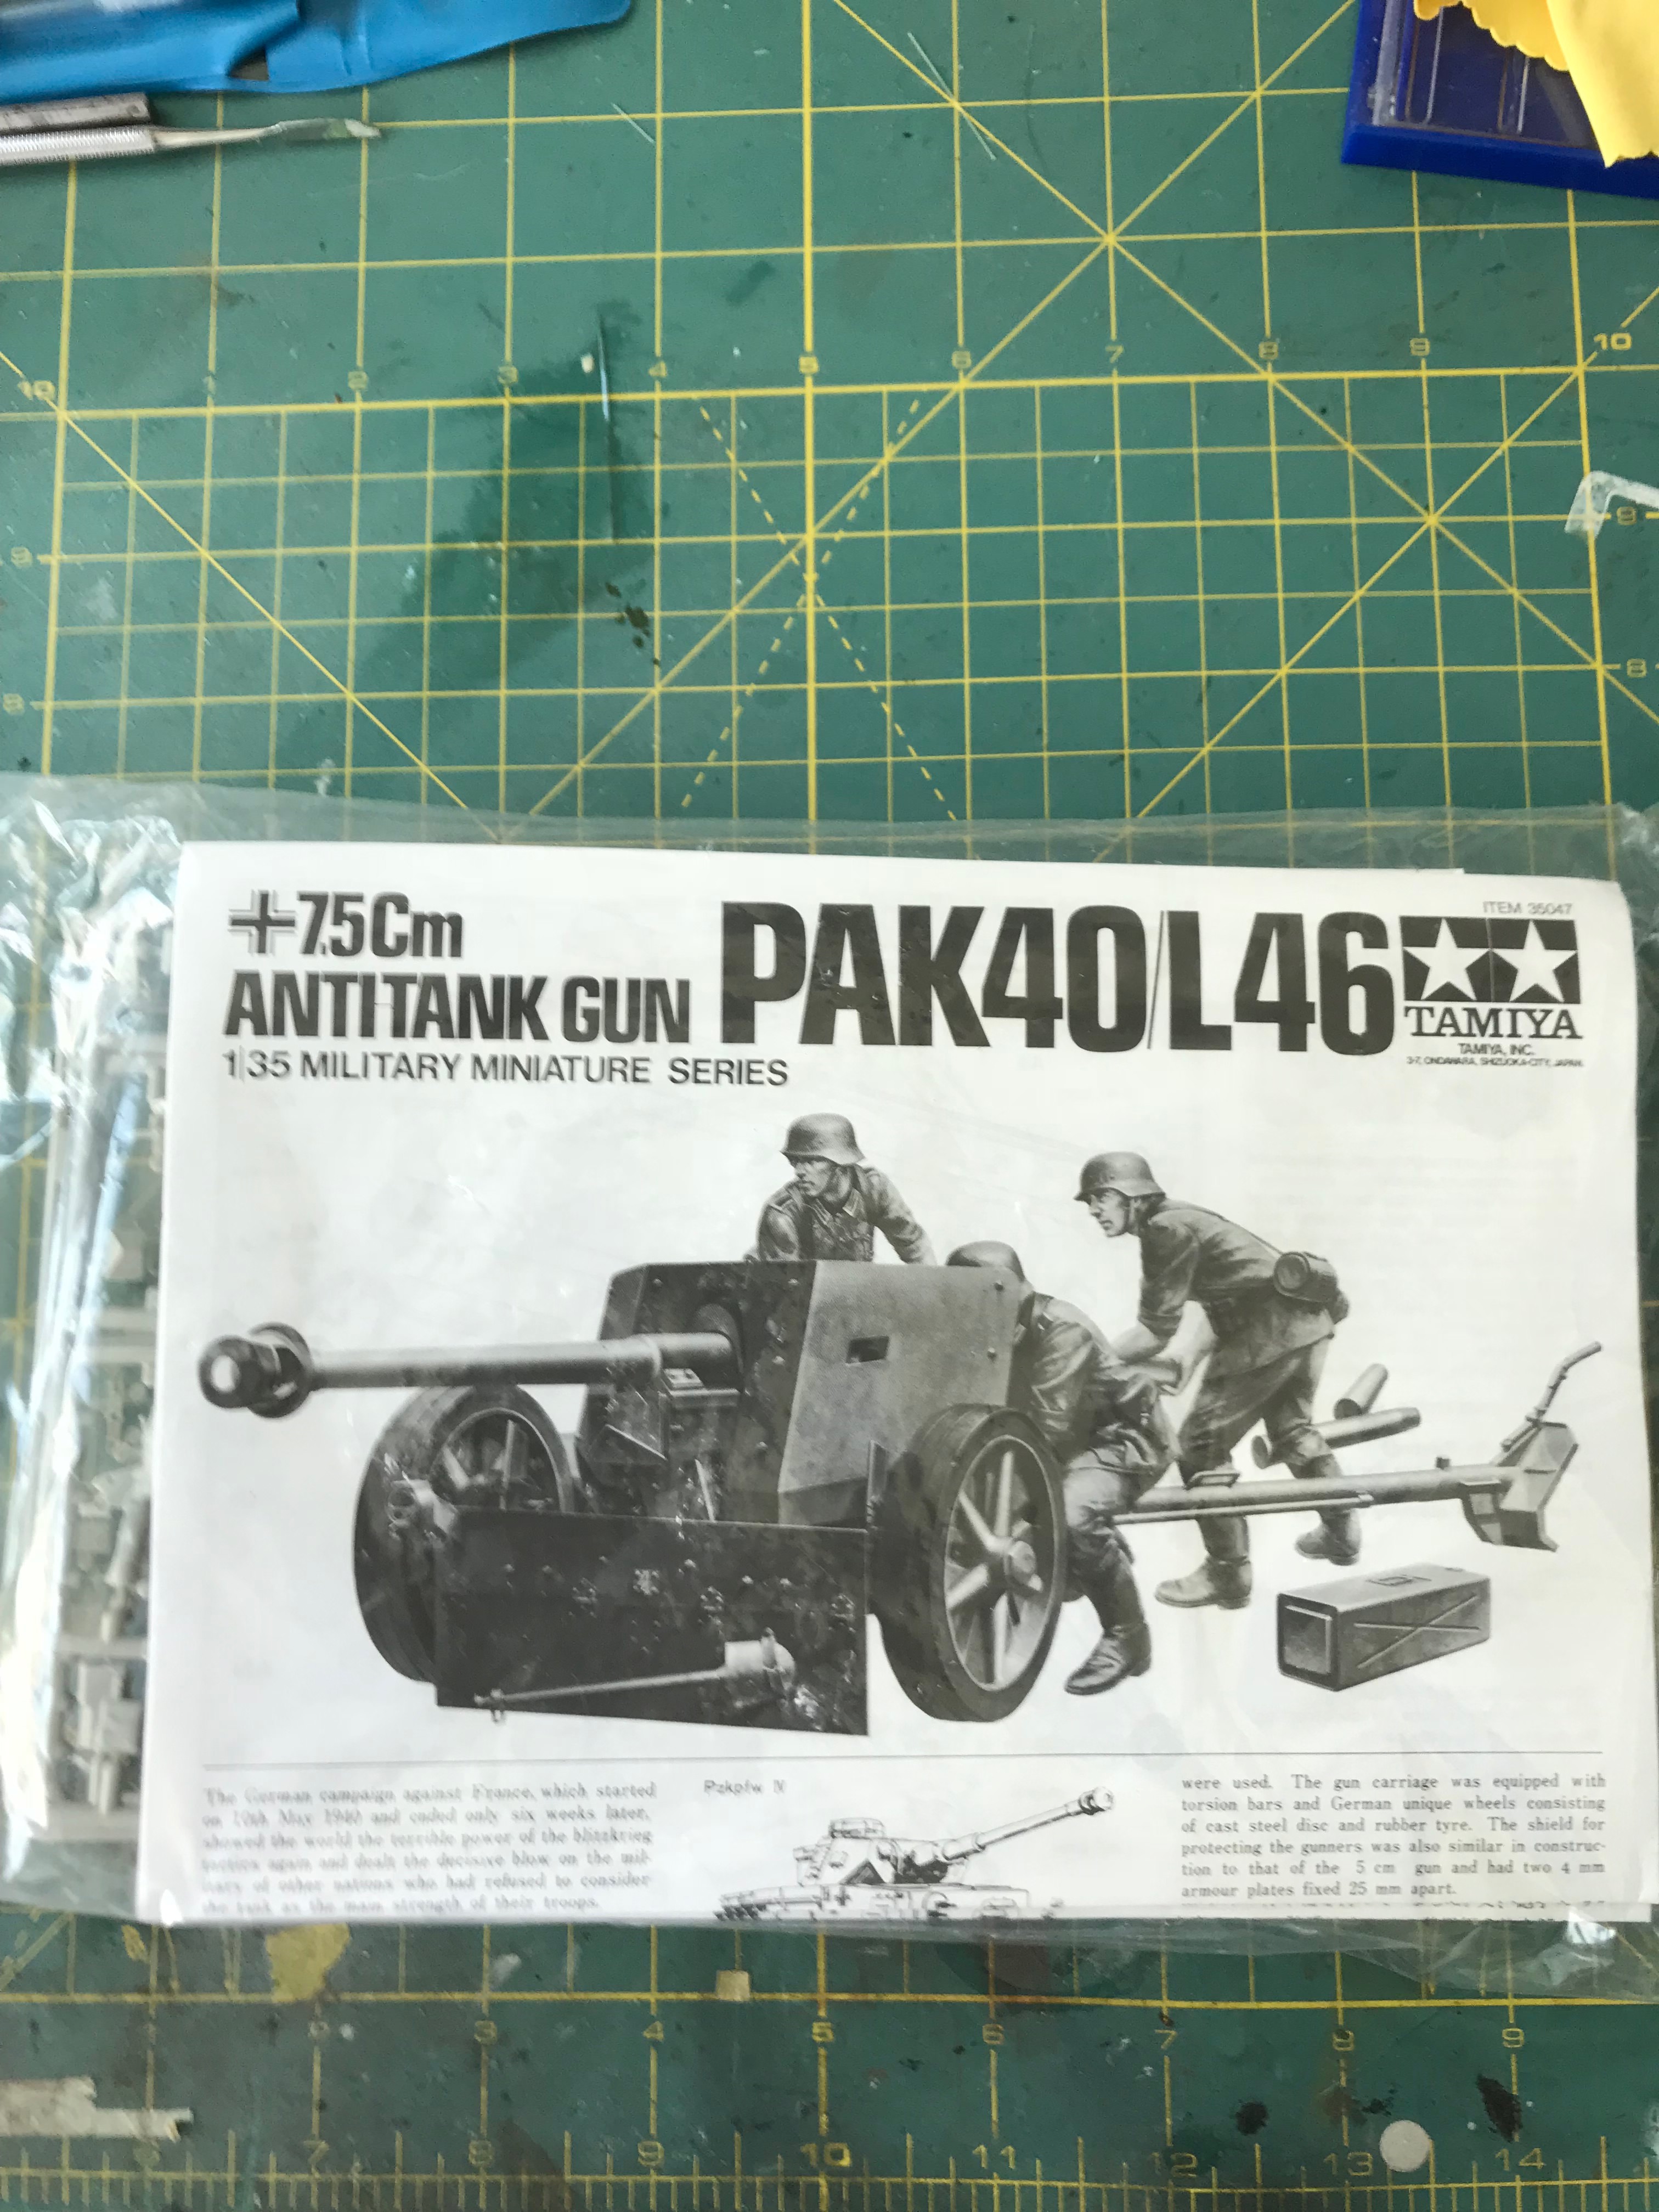
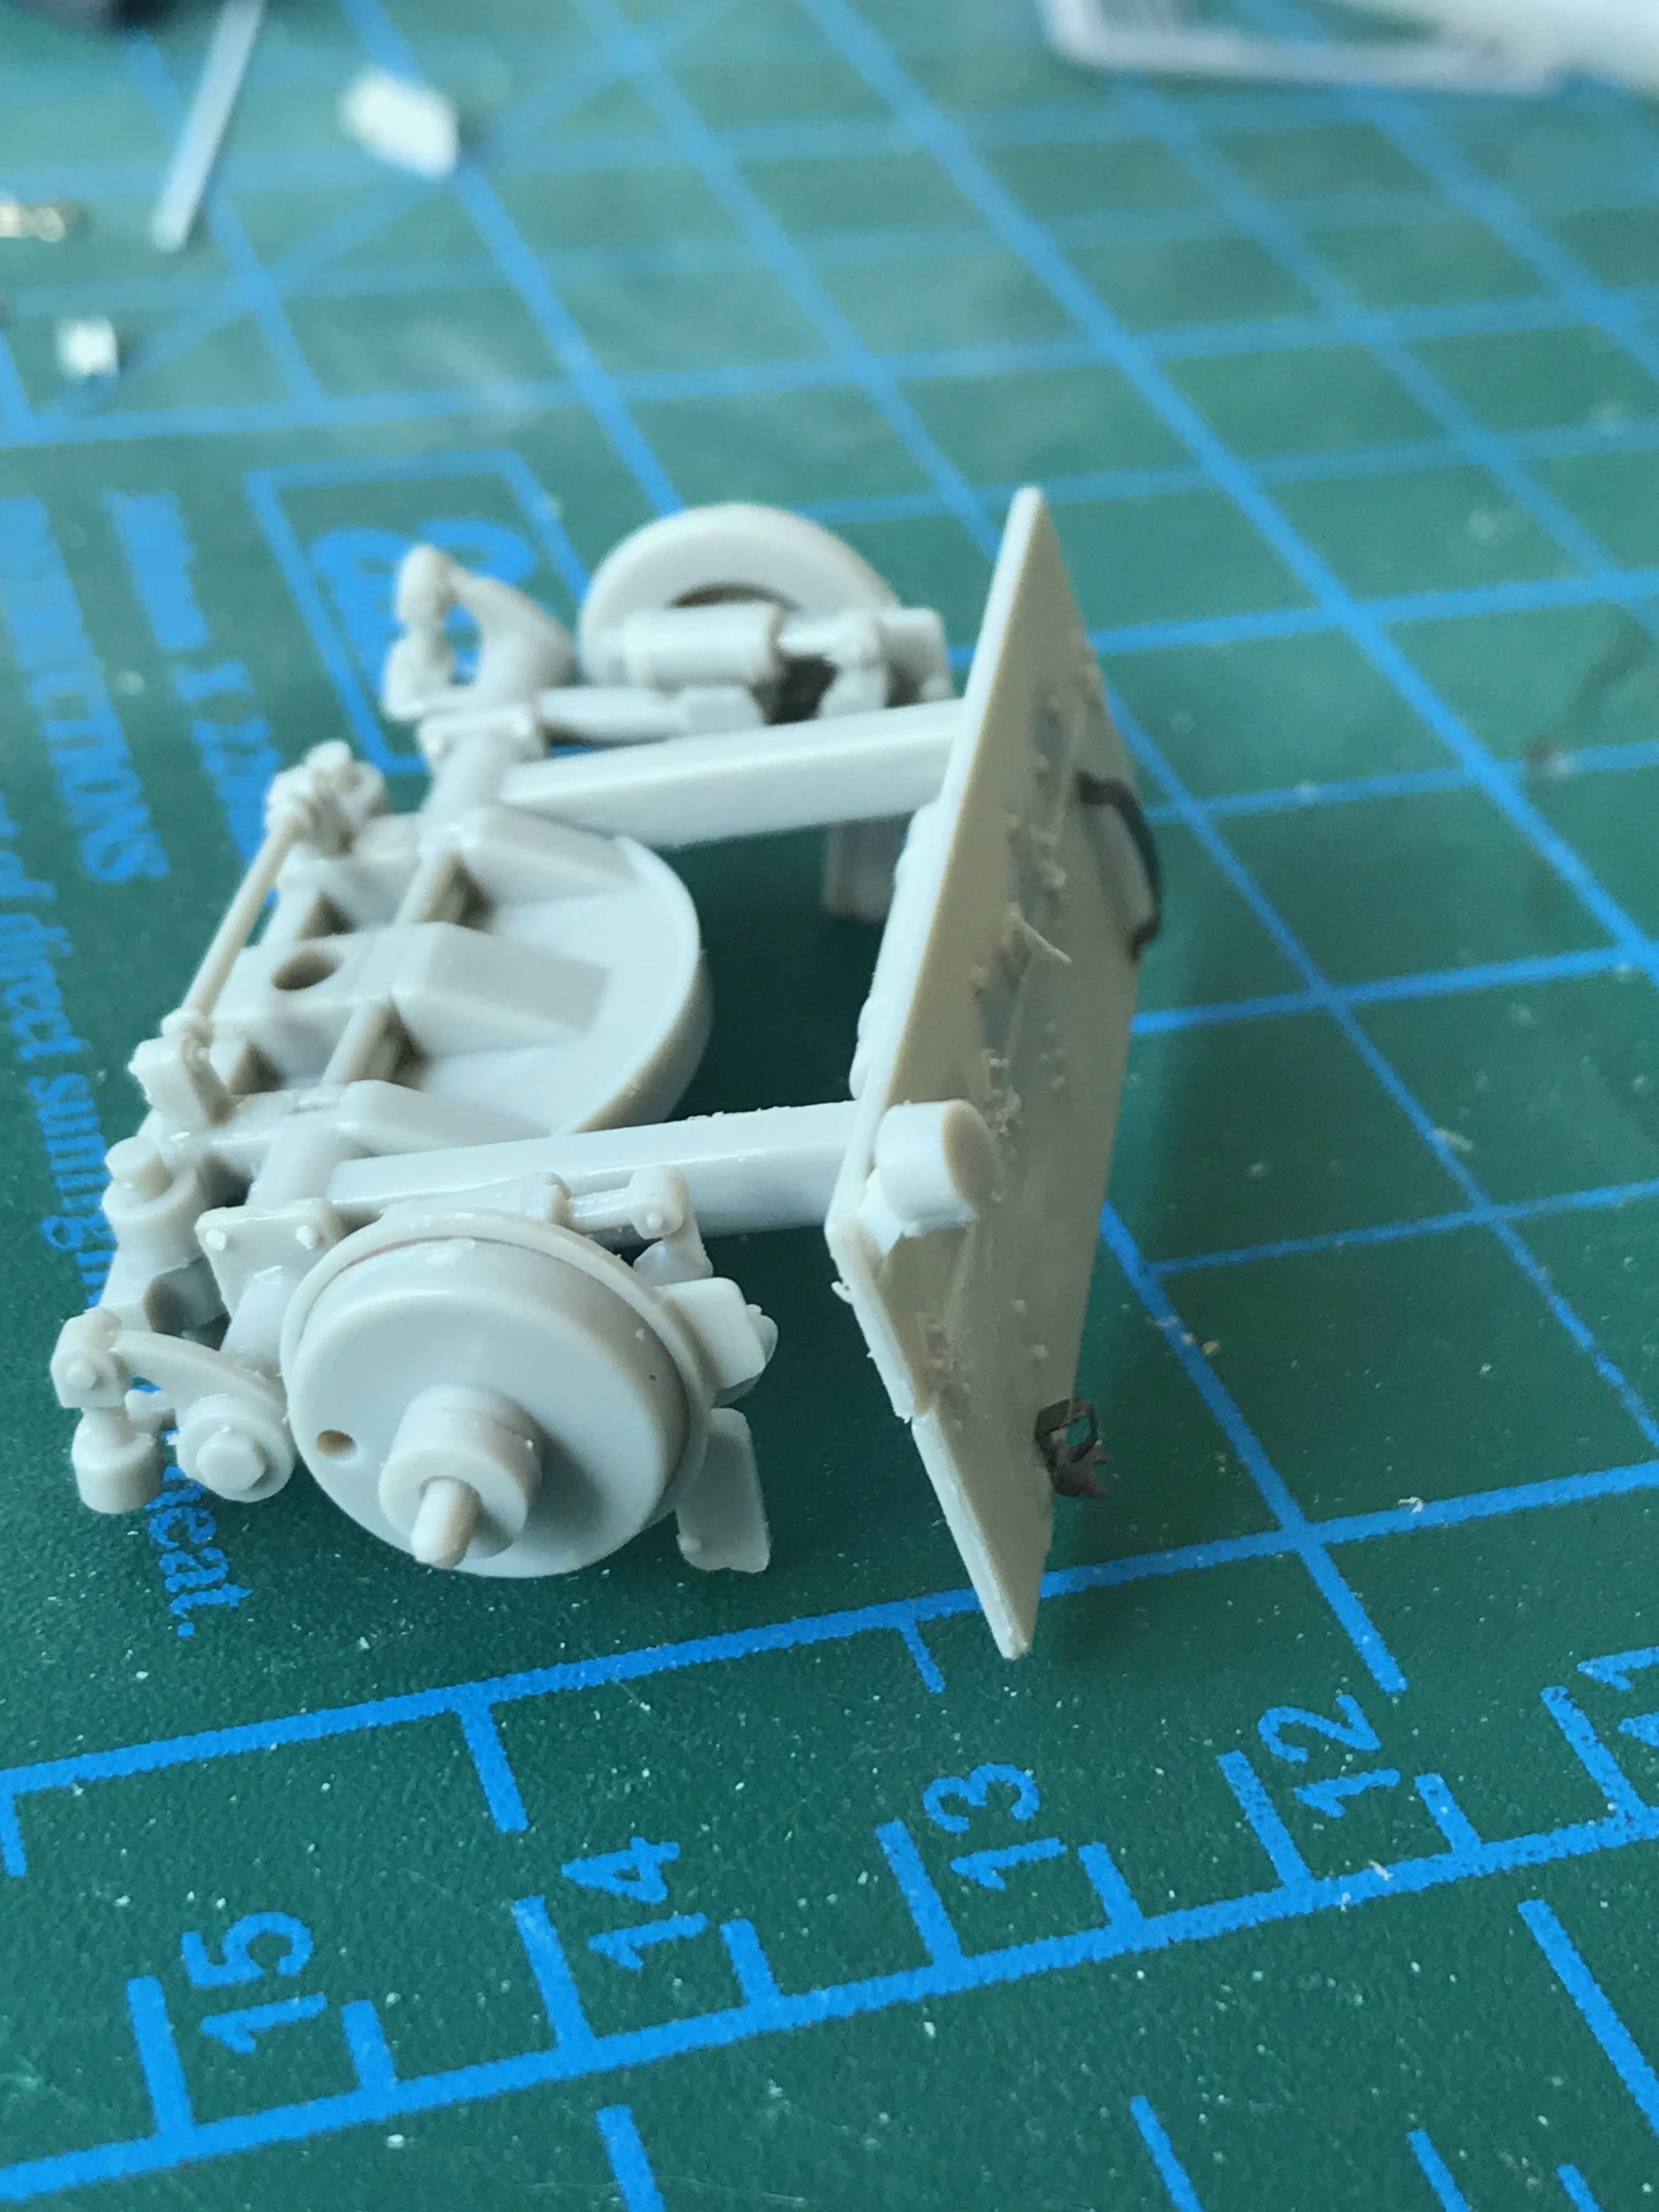
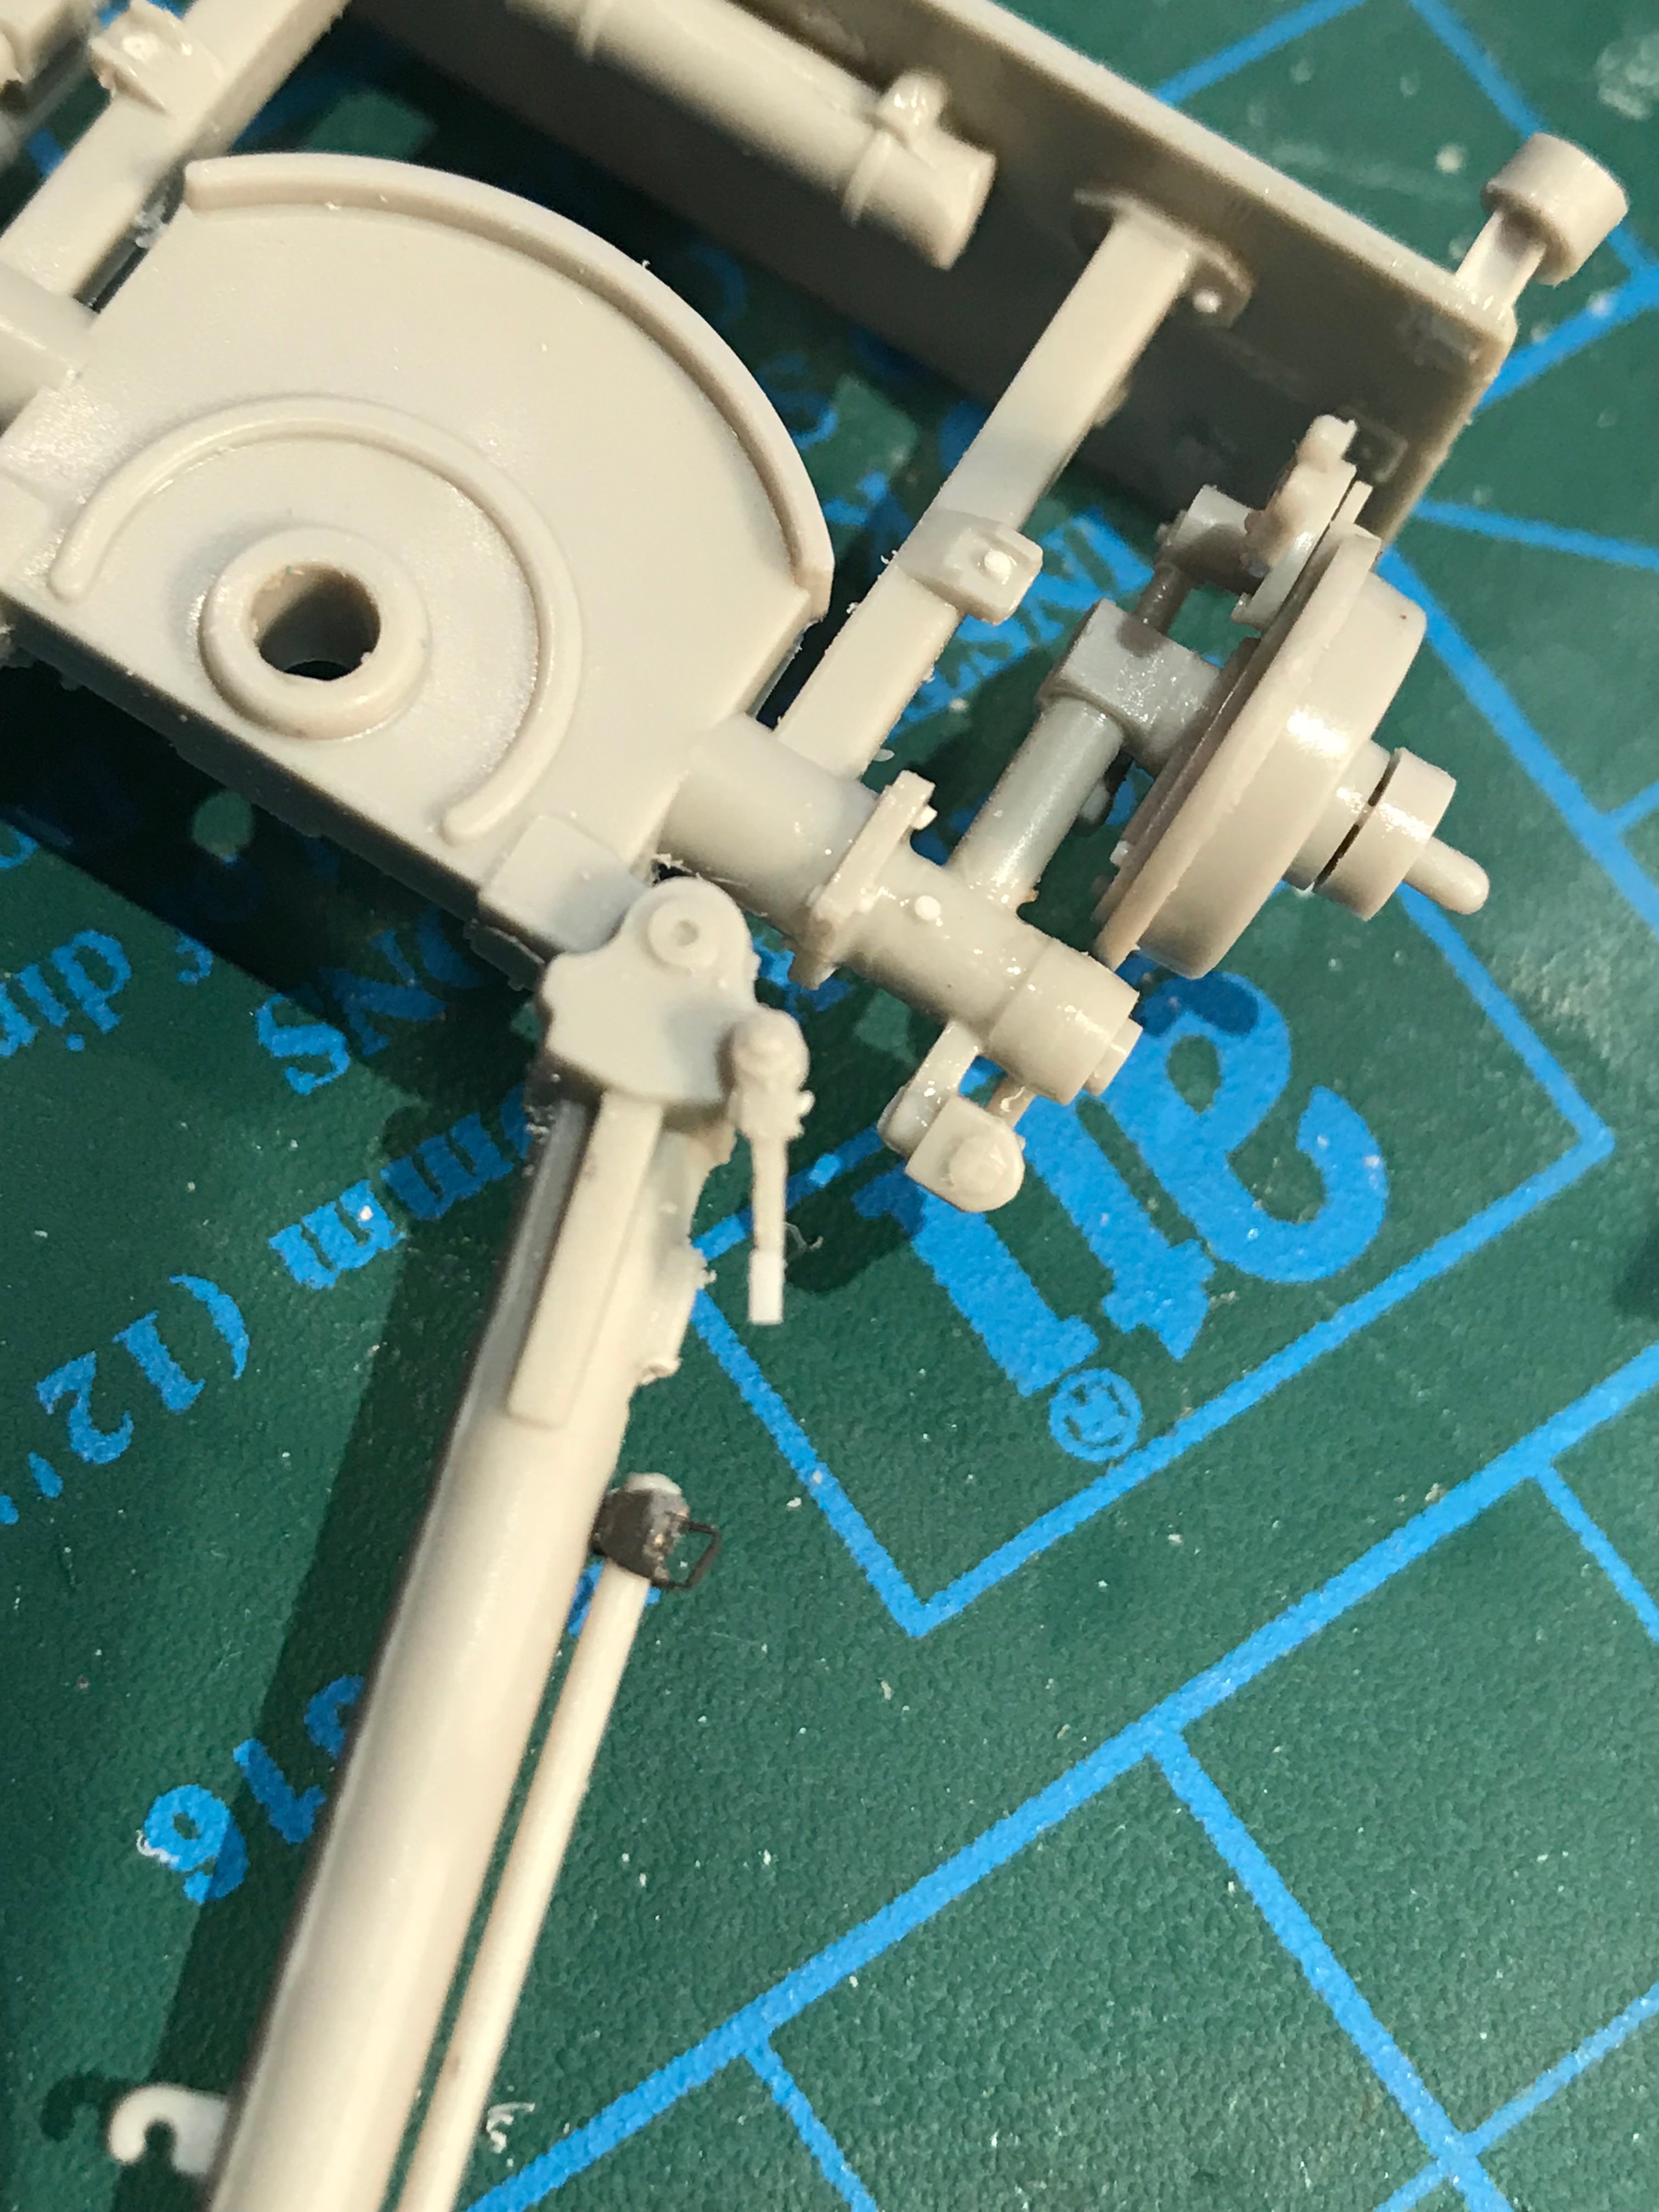
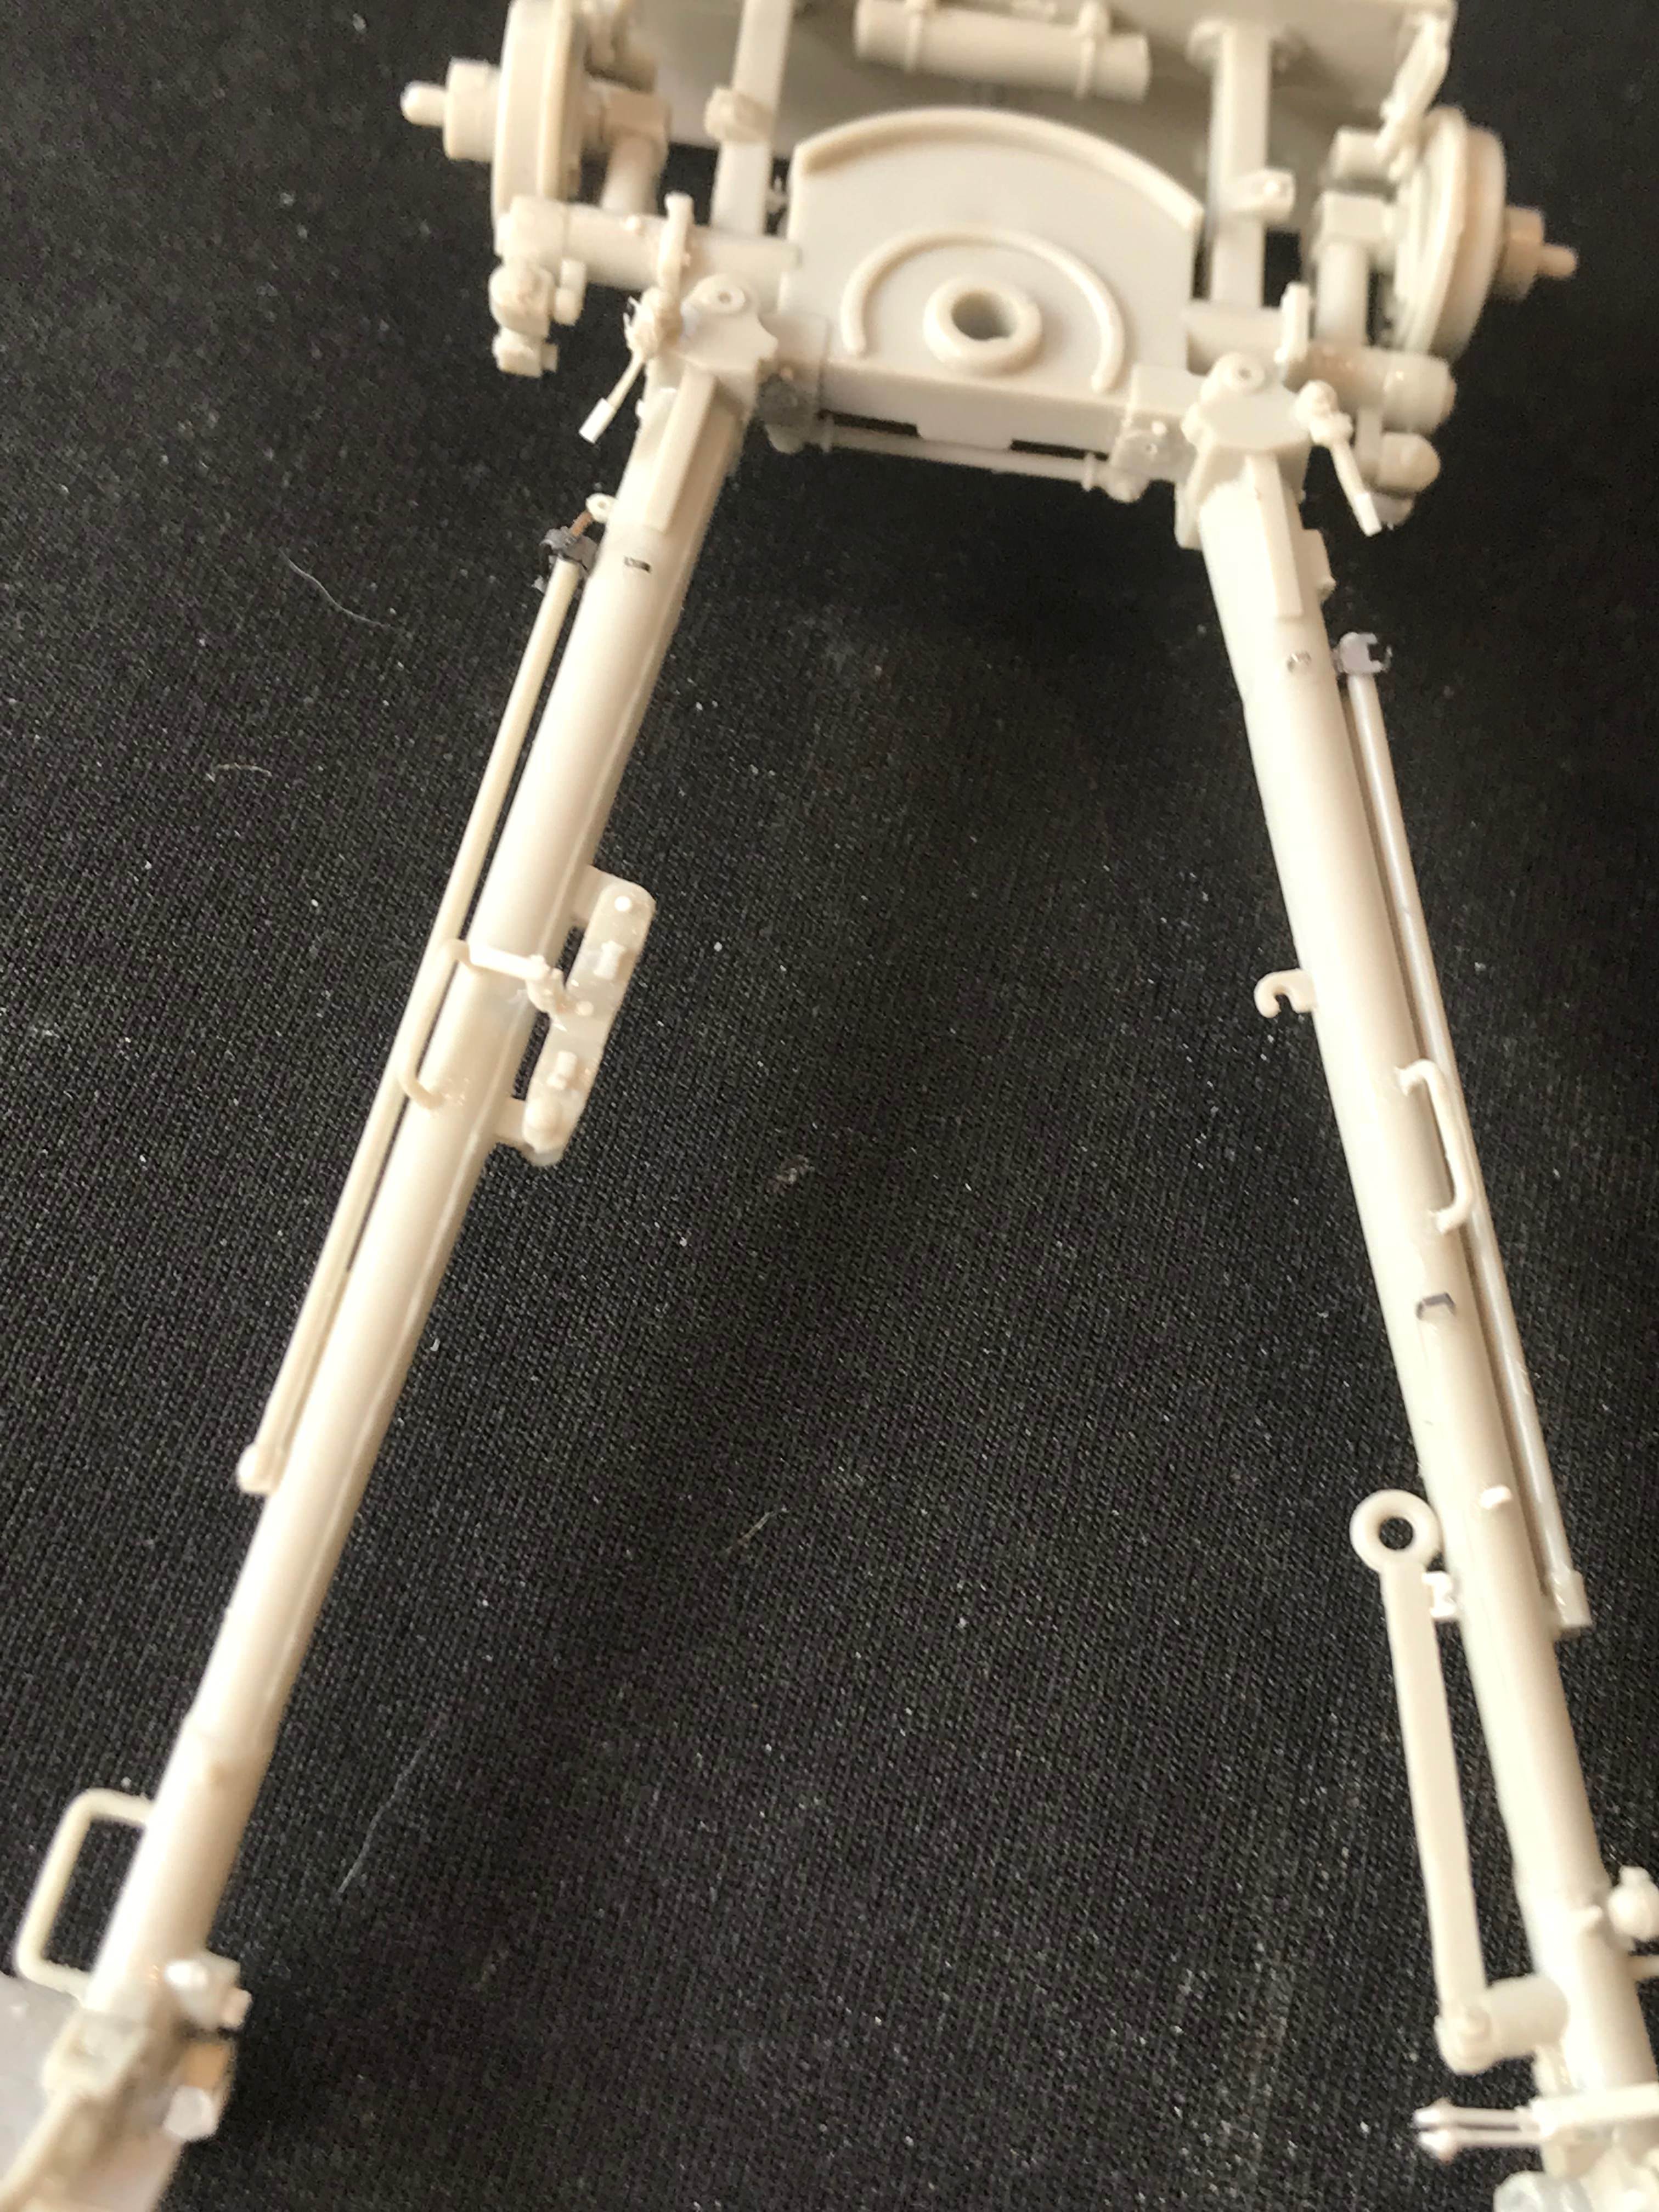
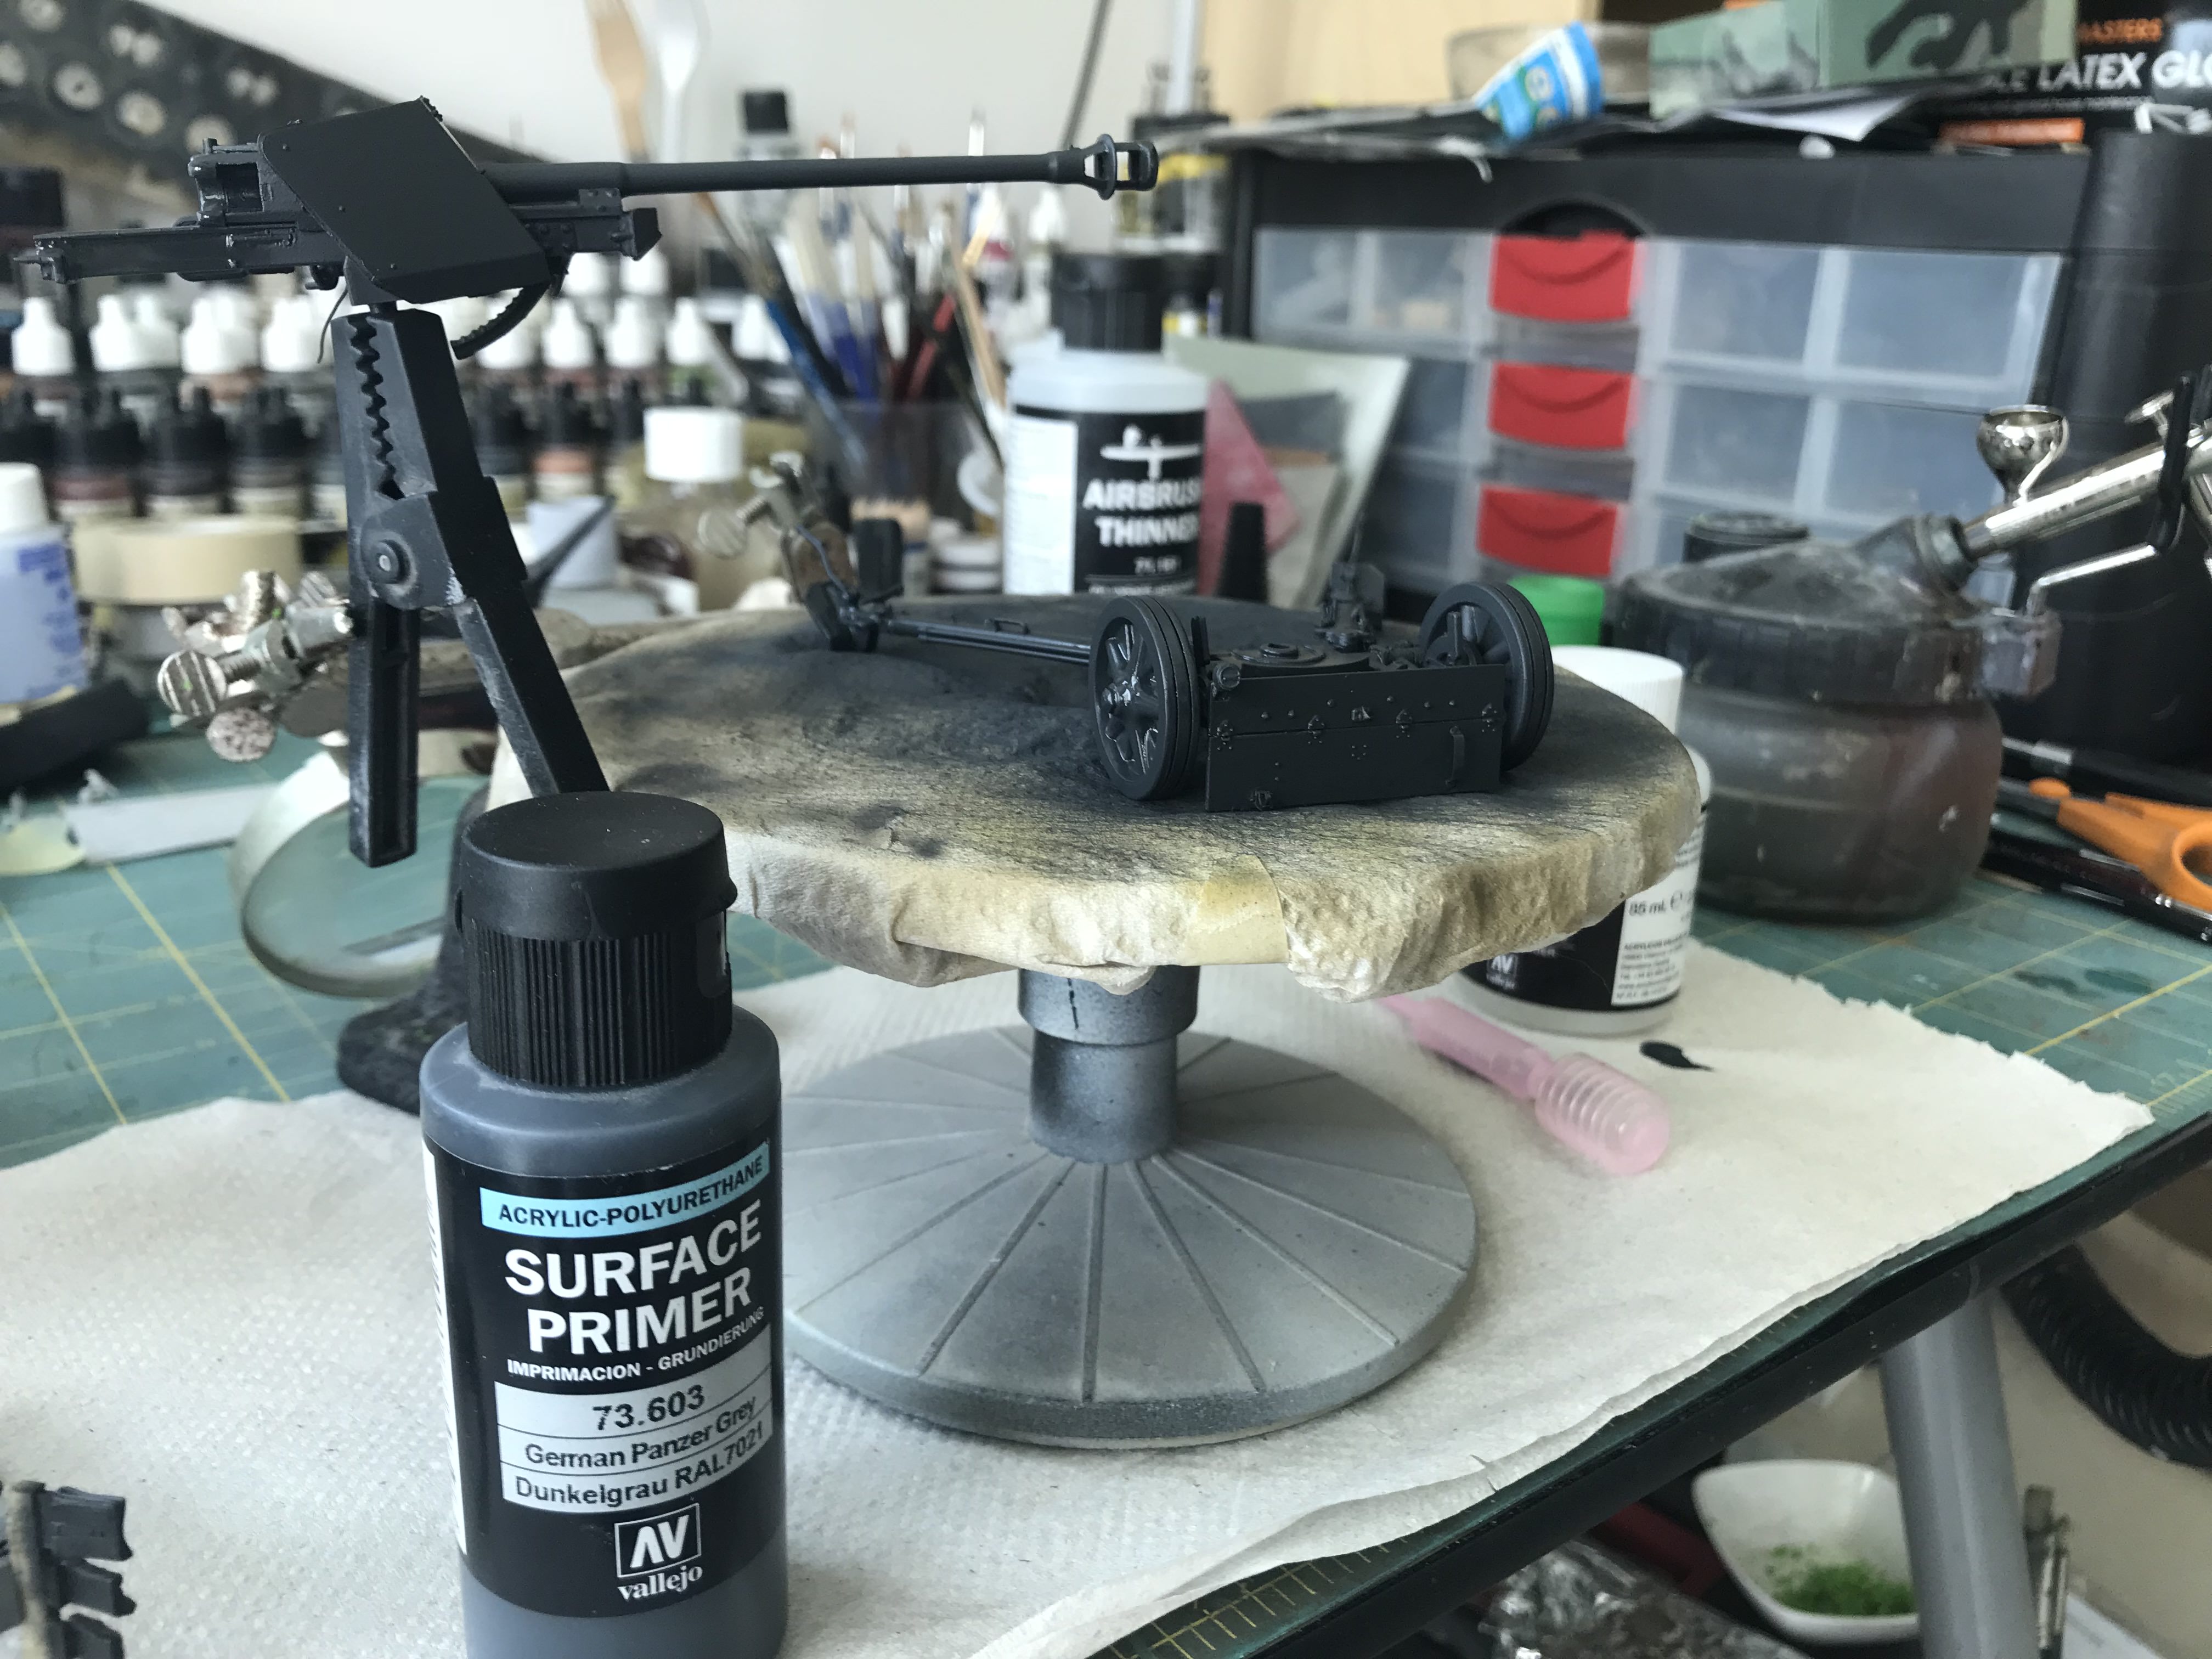
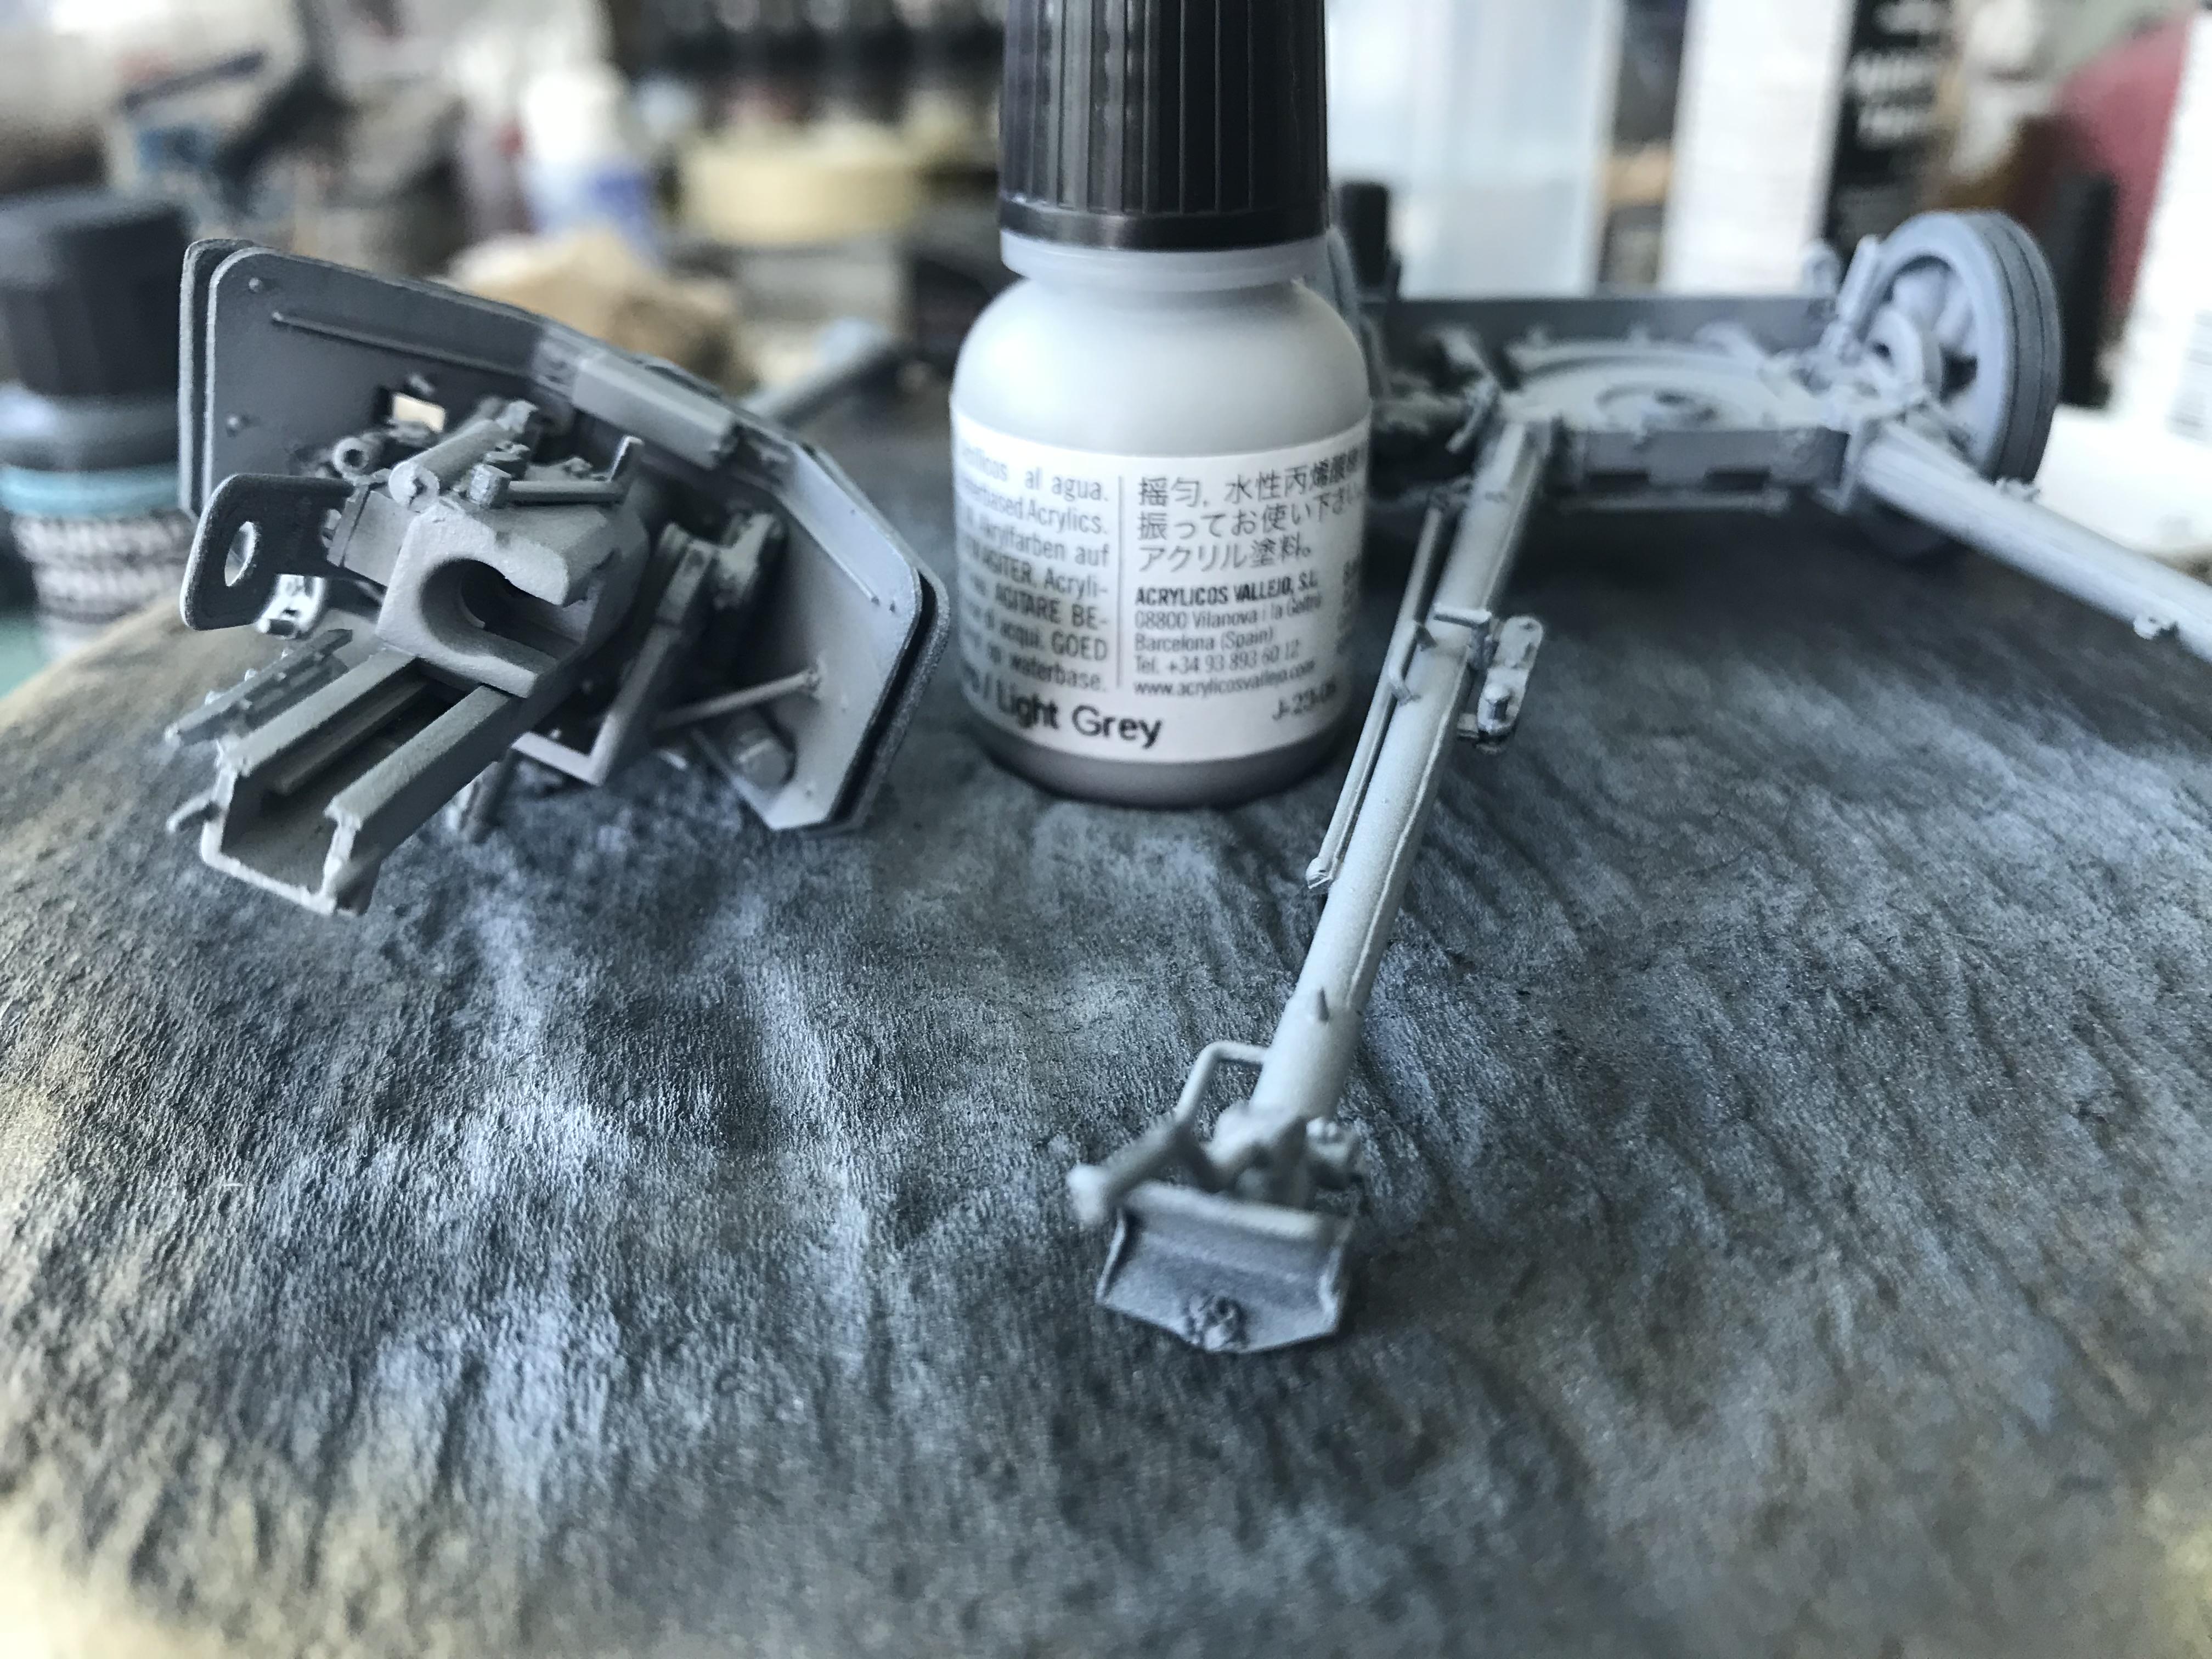
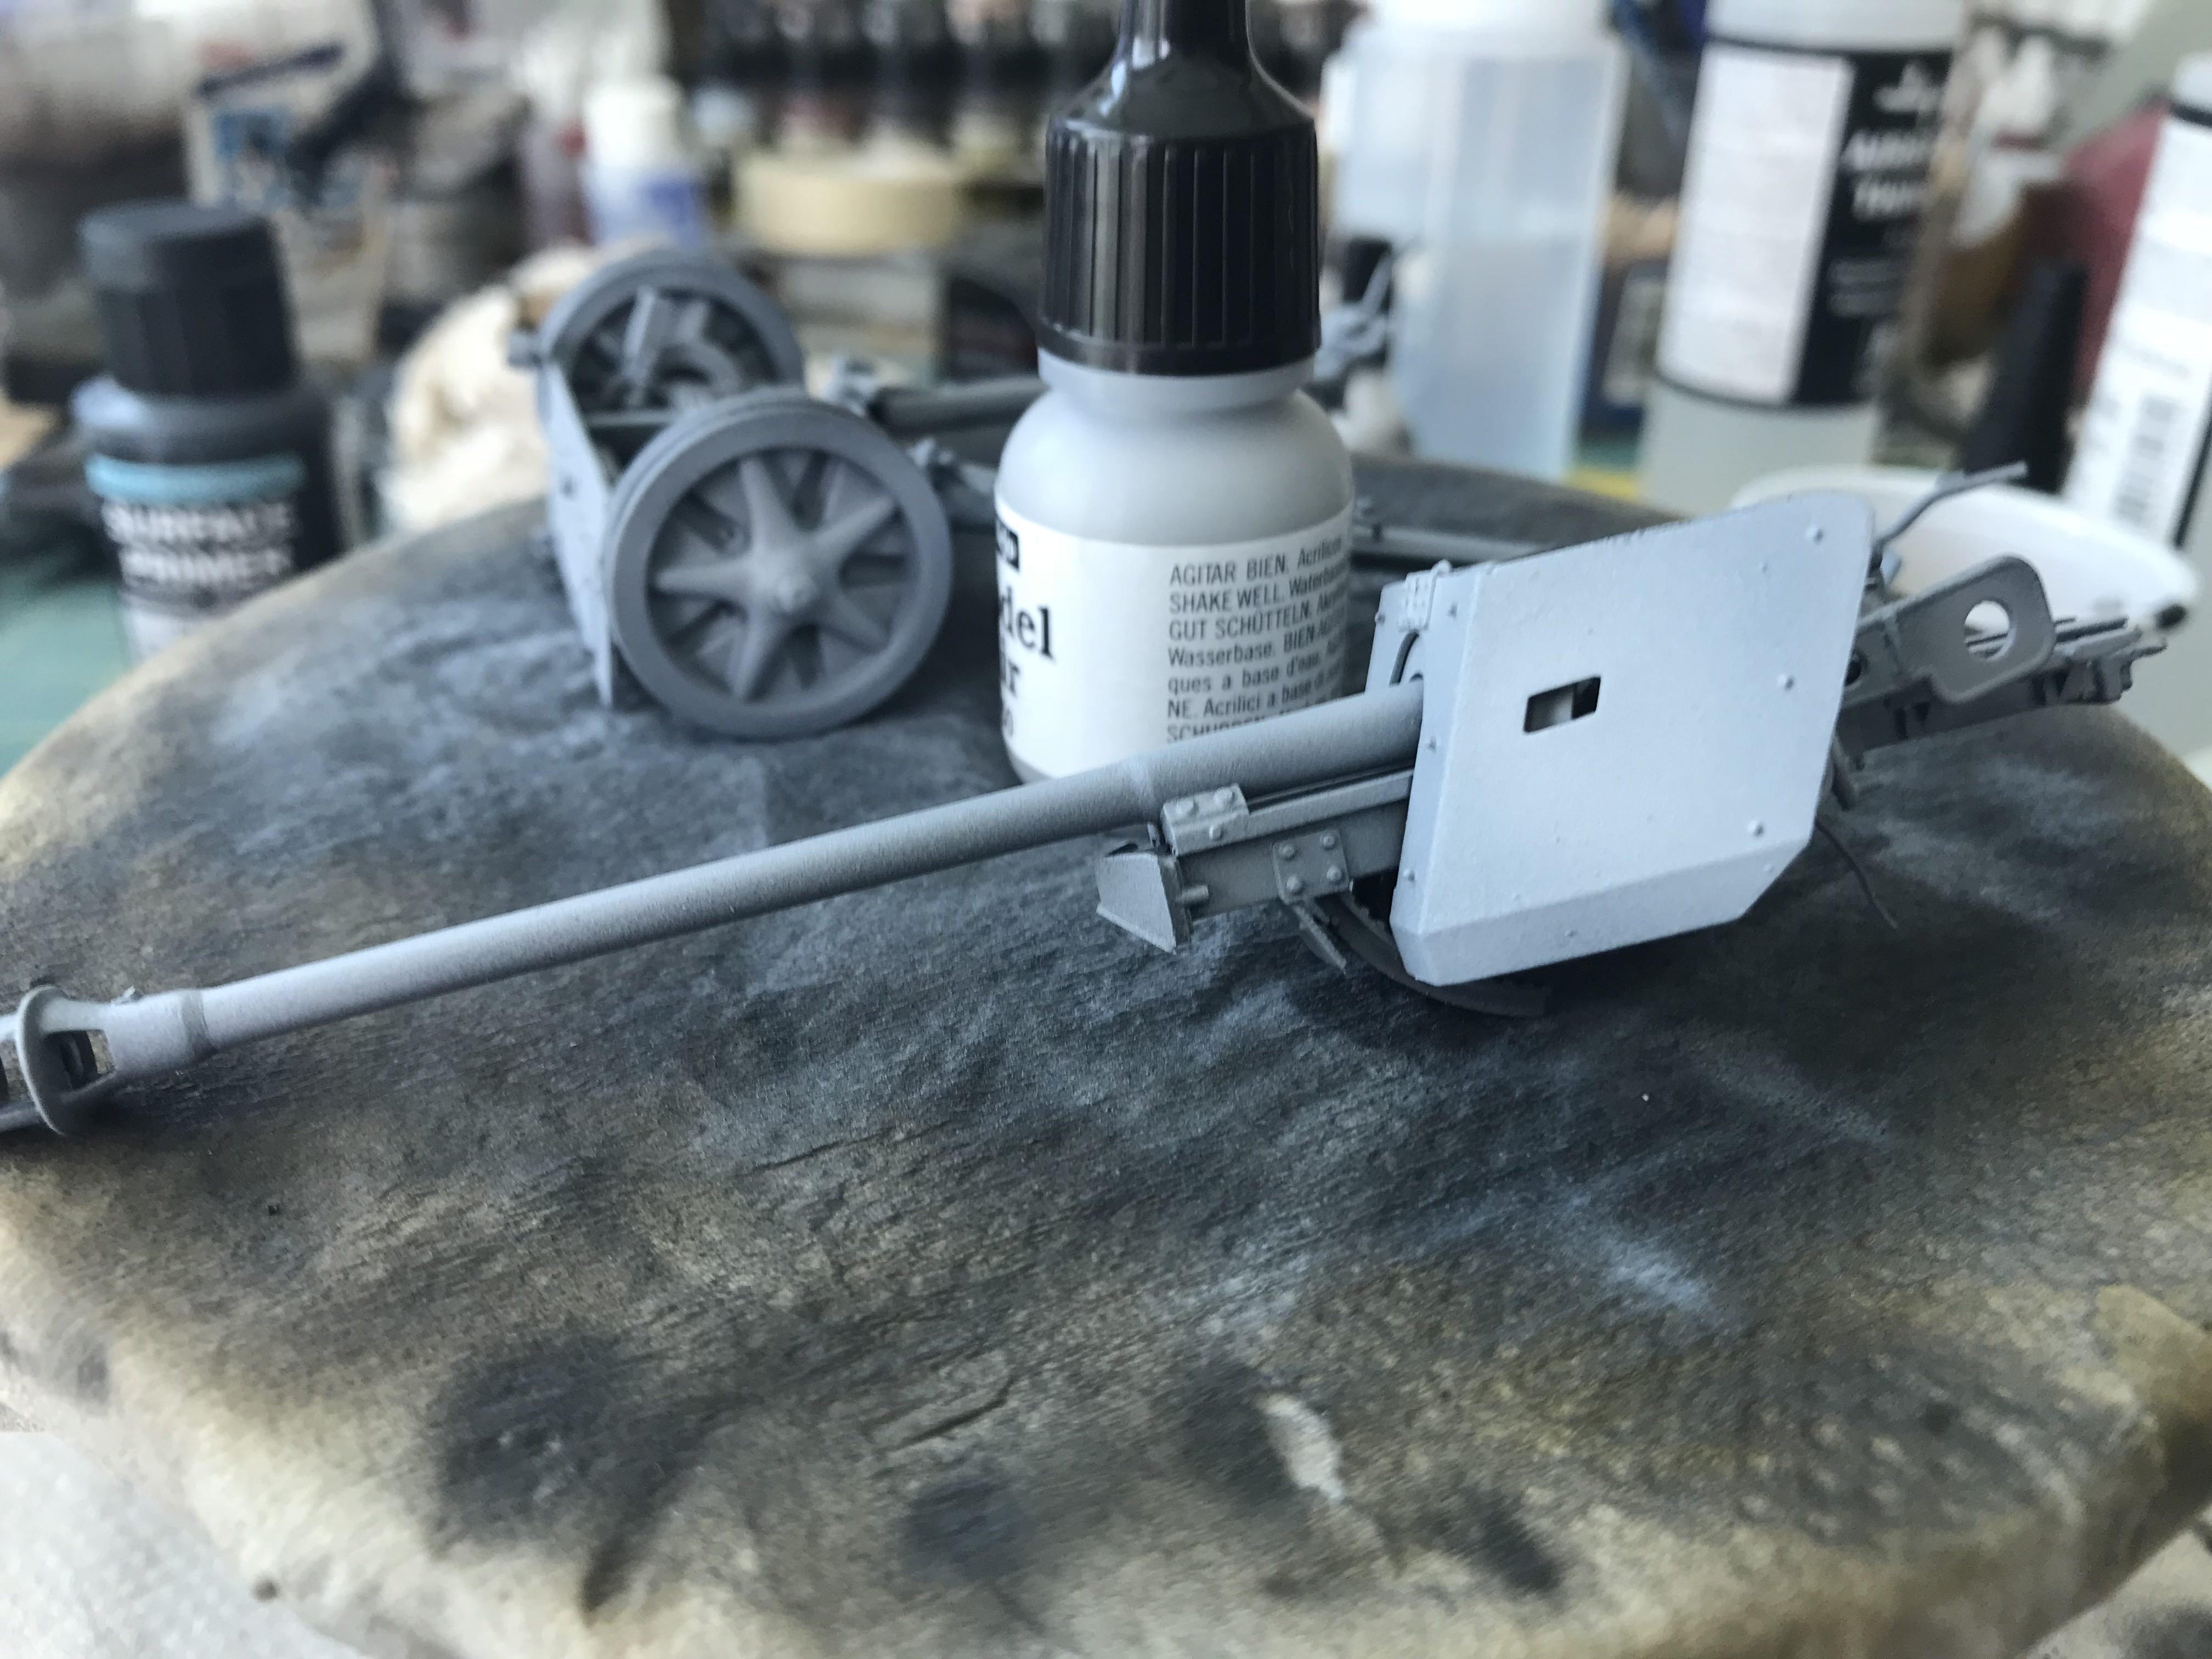
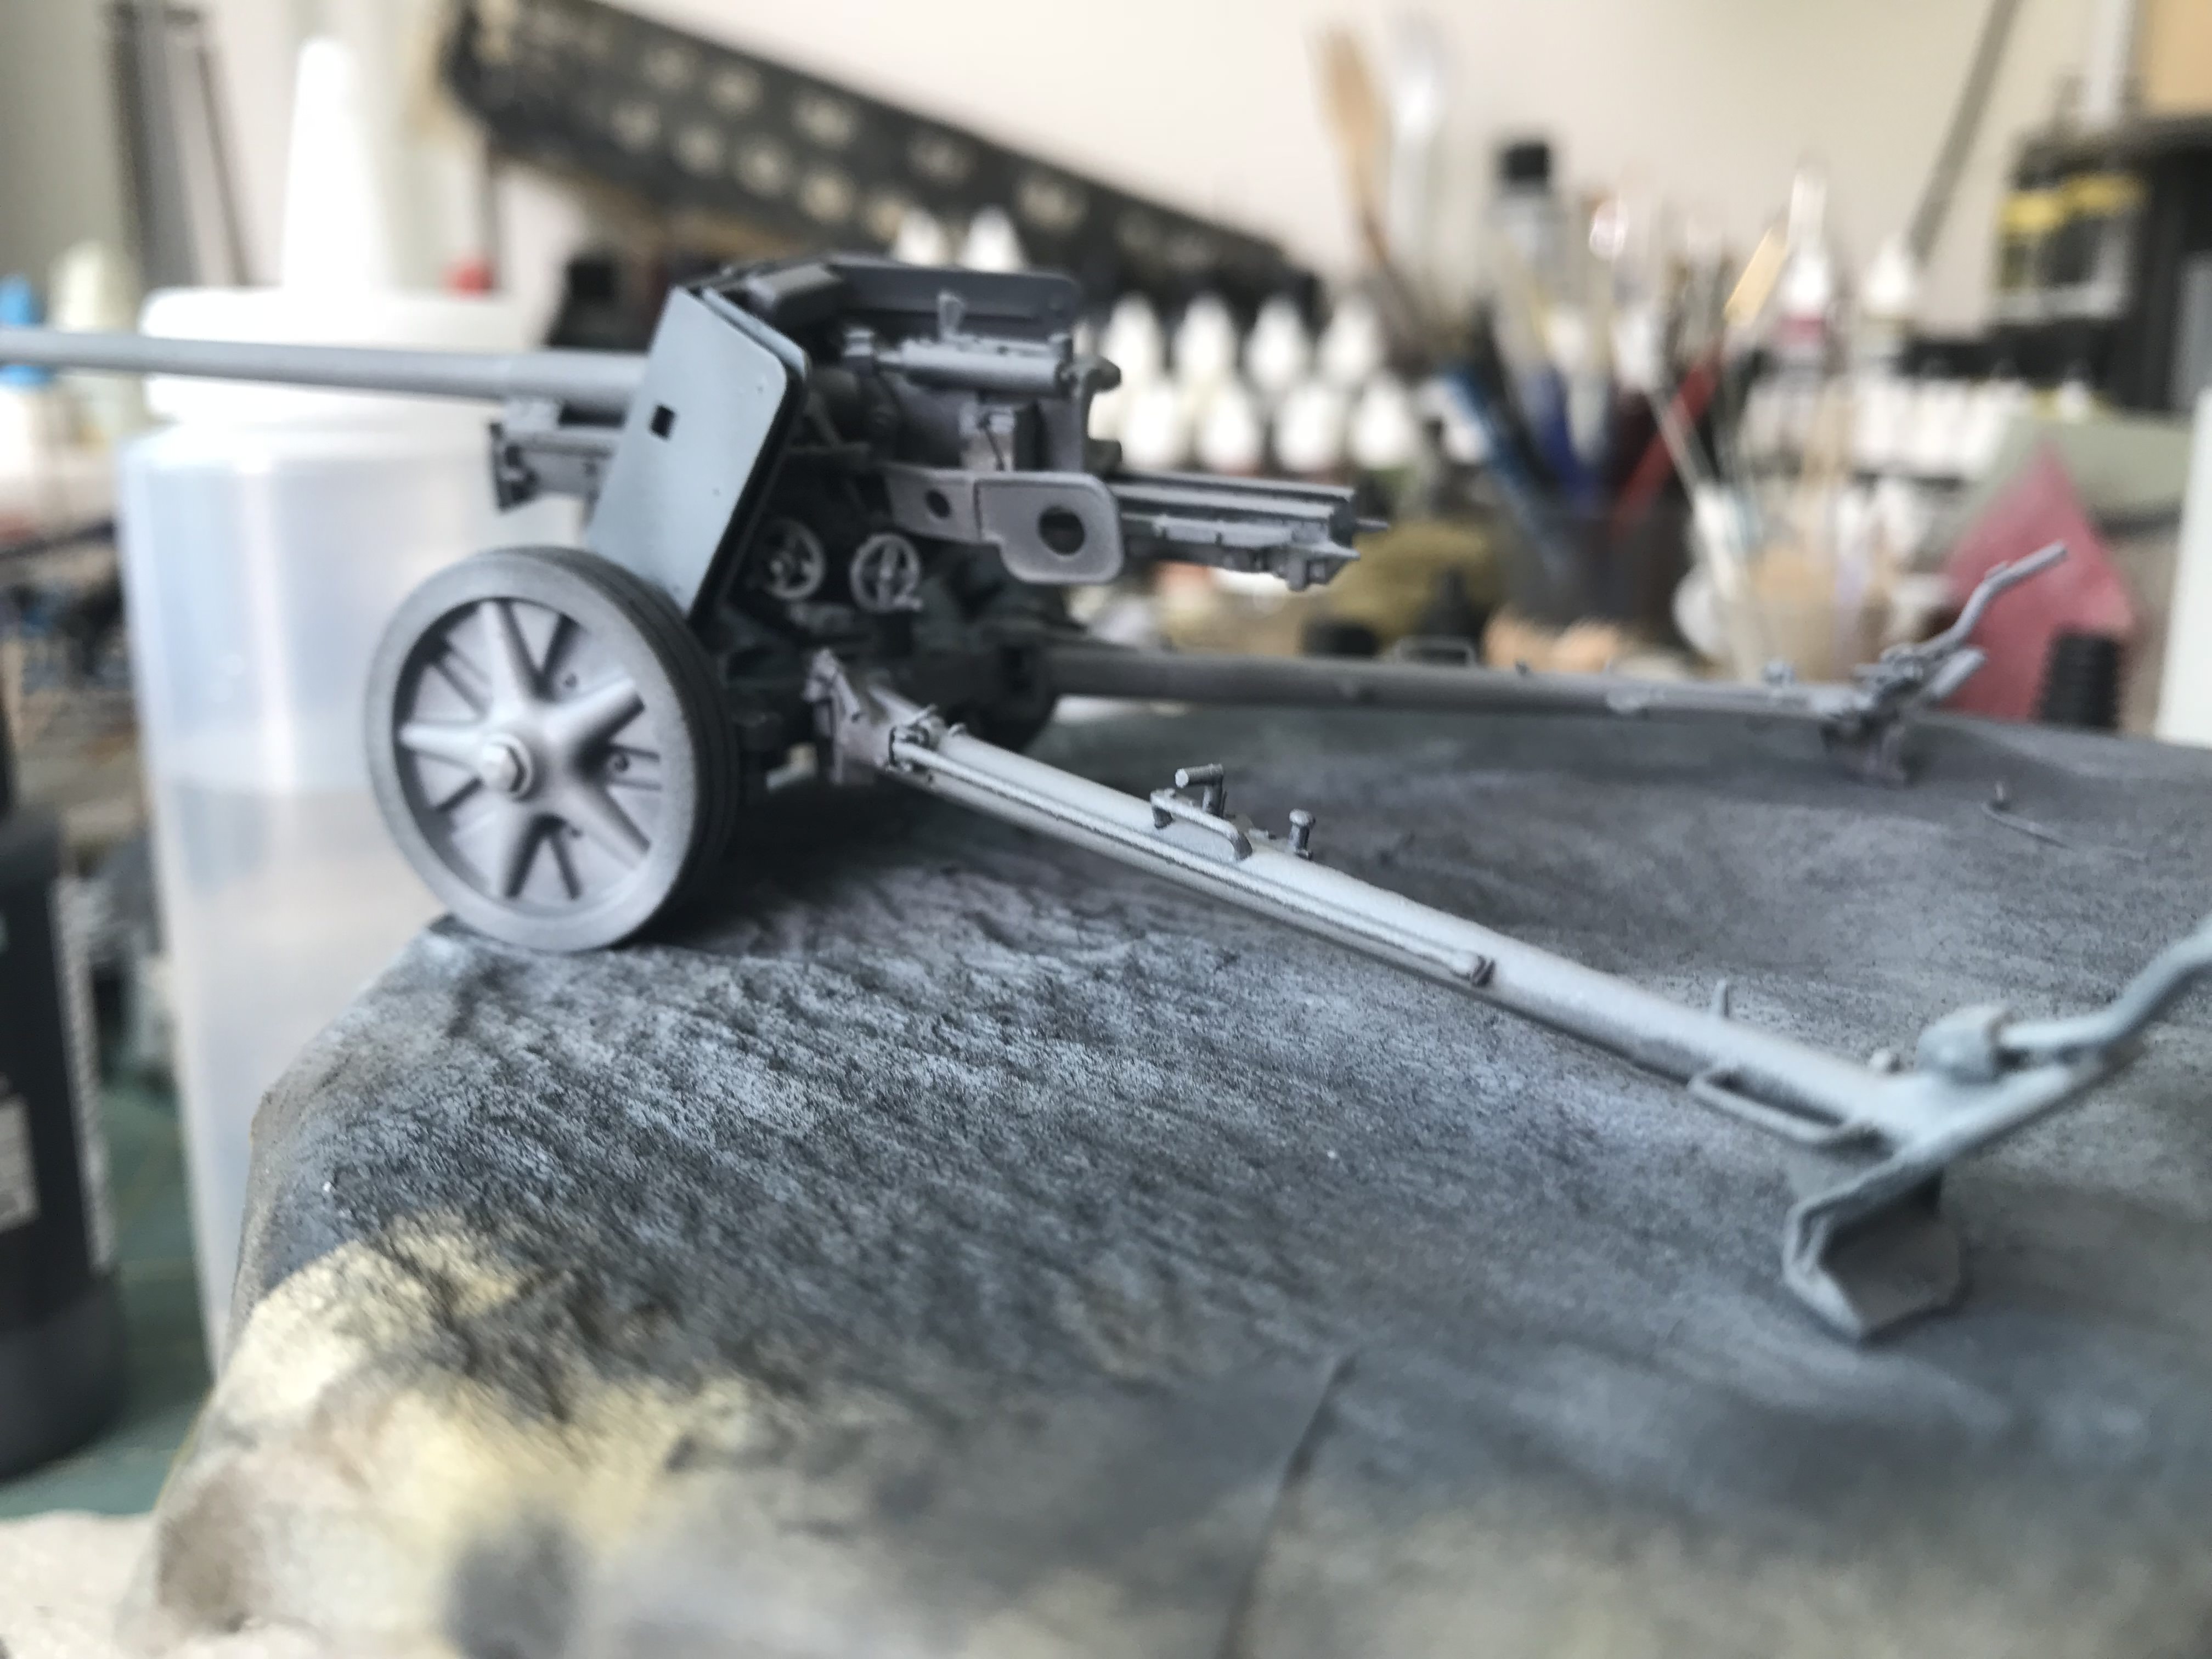
It is basically 3 sprues of plastic in light grey. 2 for the actual gun itself and 1 for the troops.


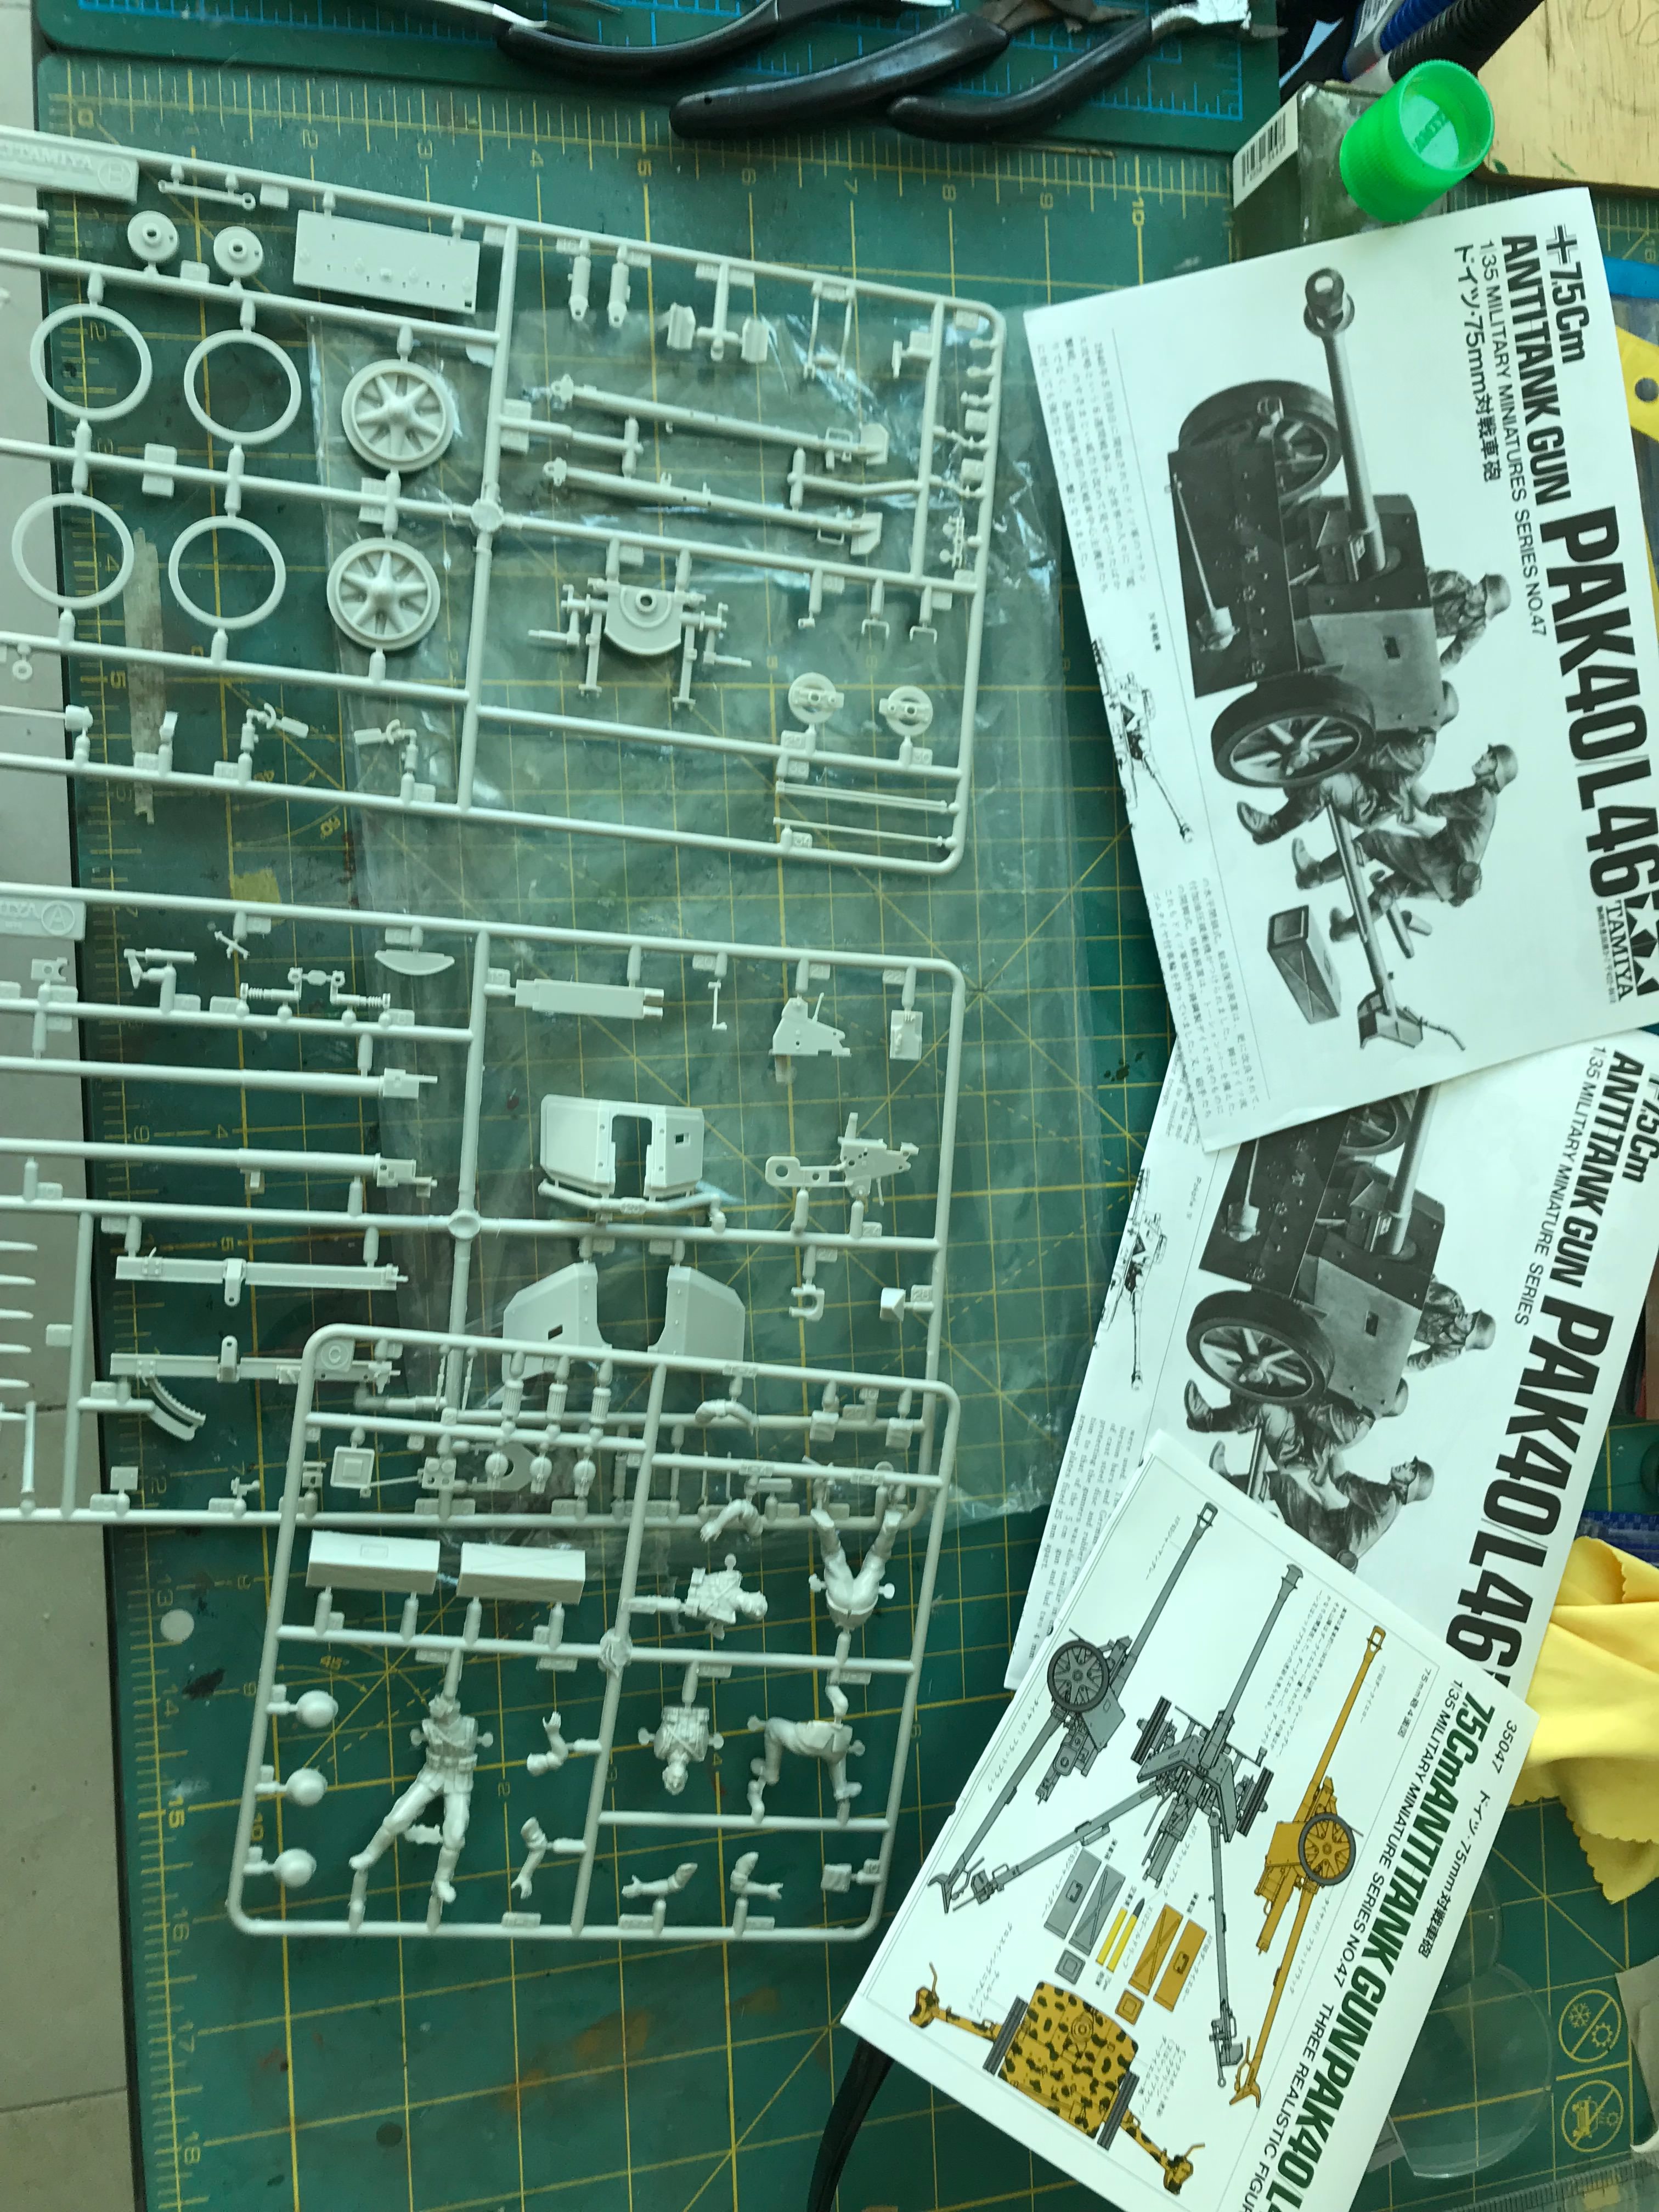
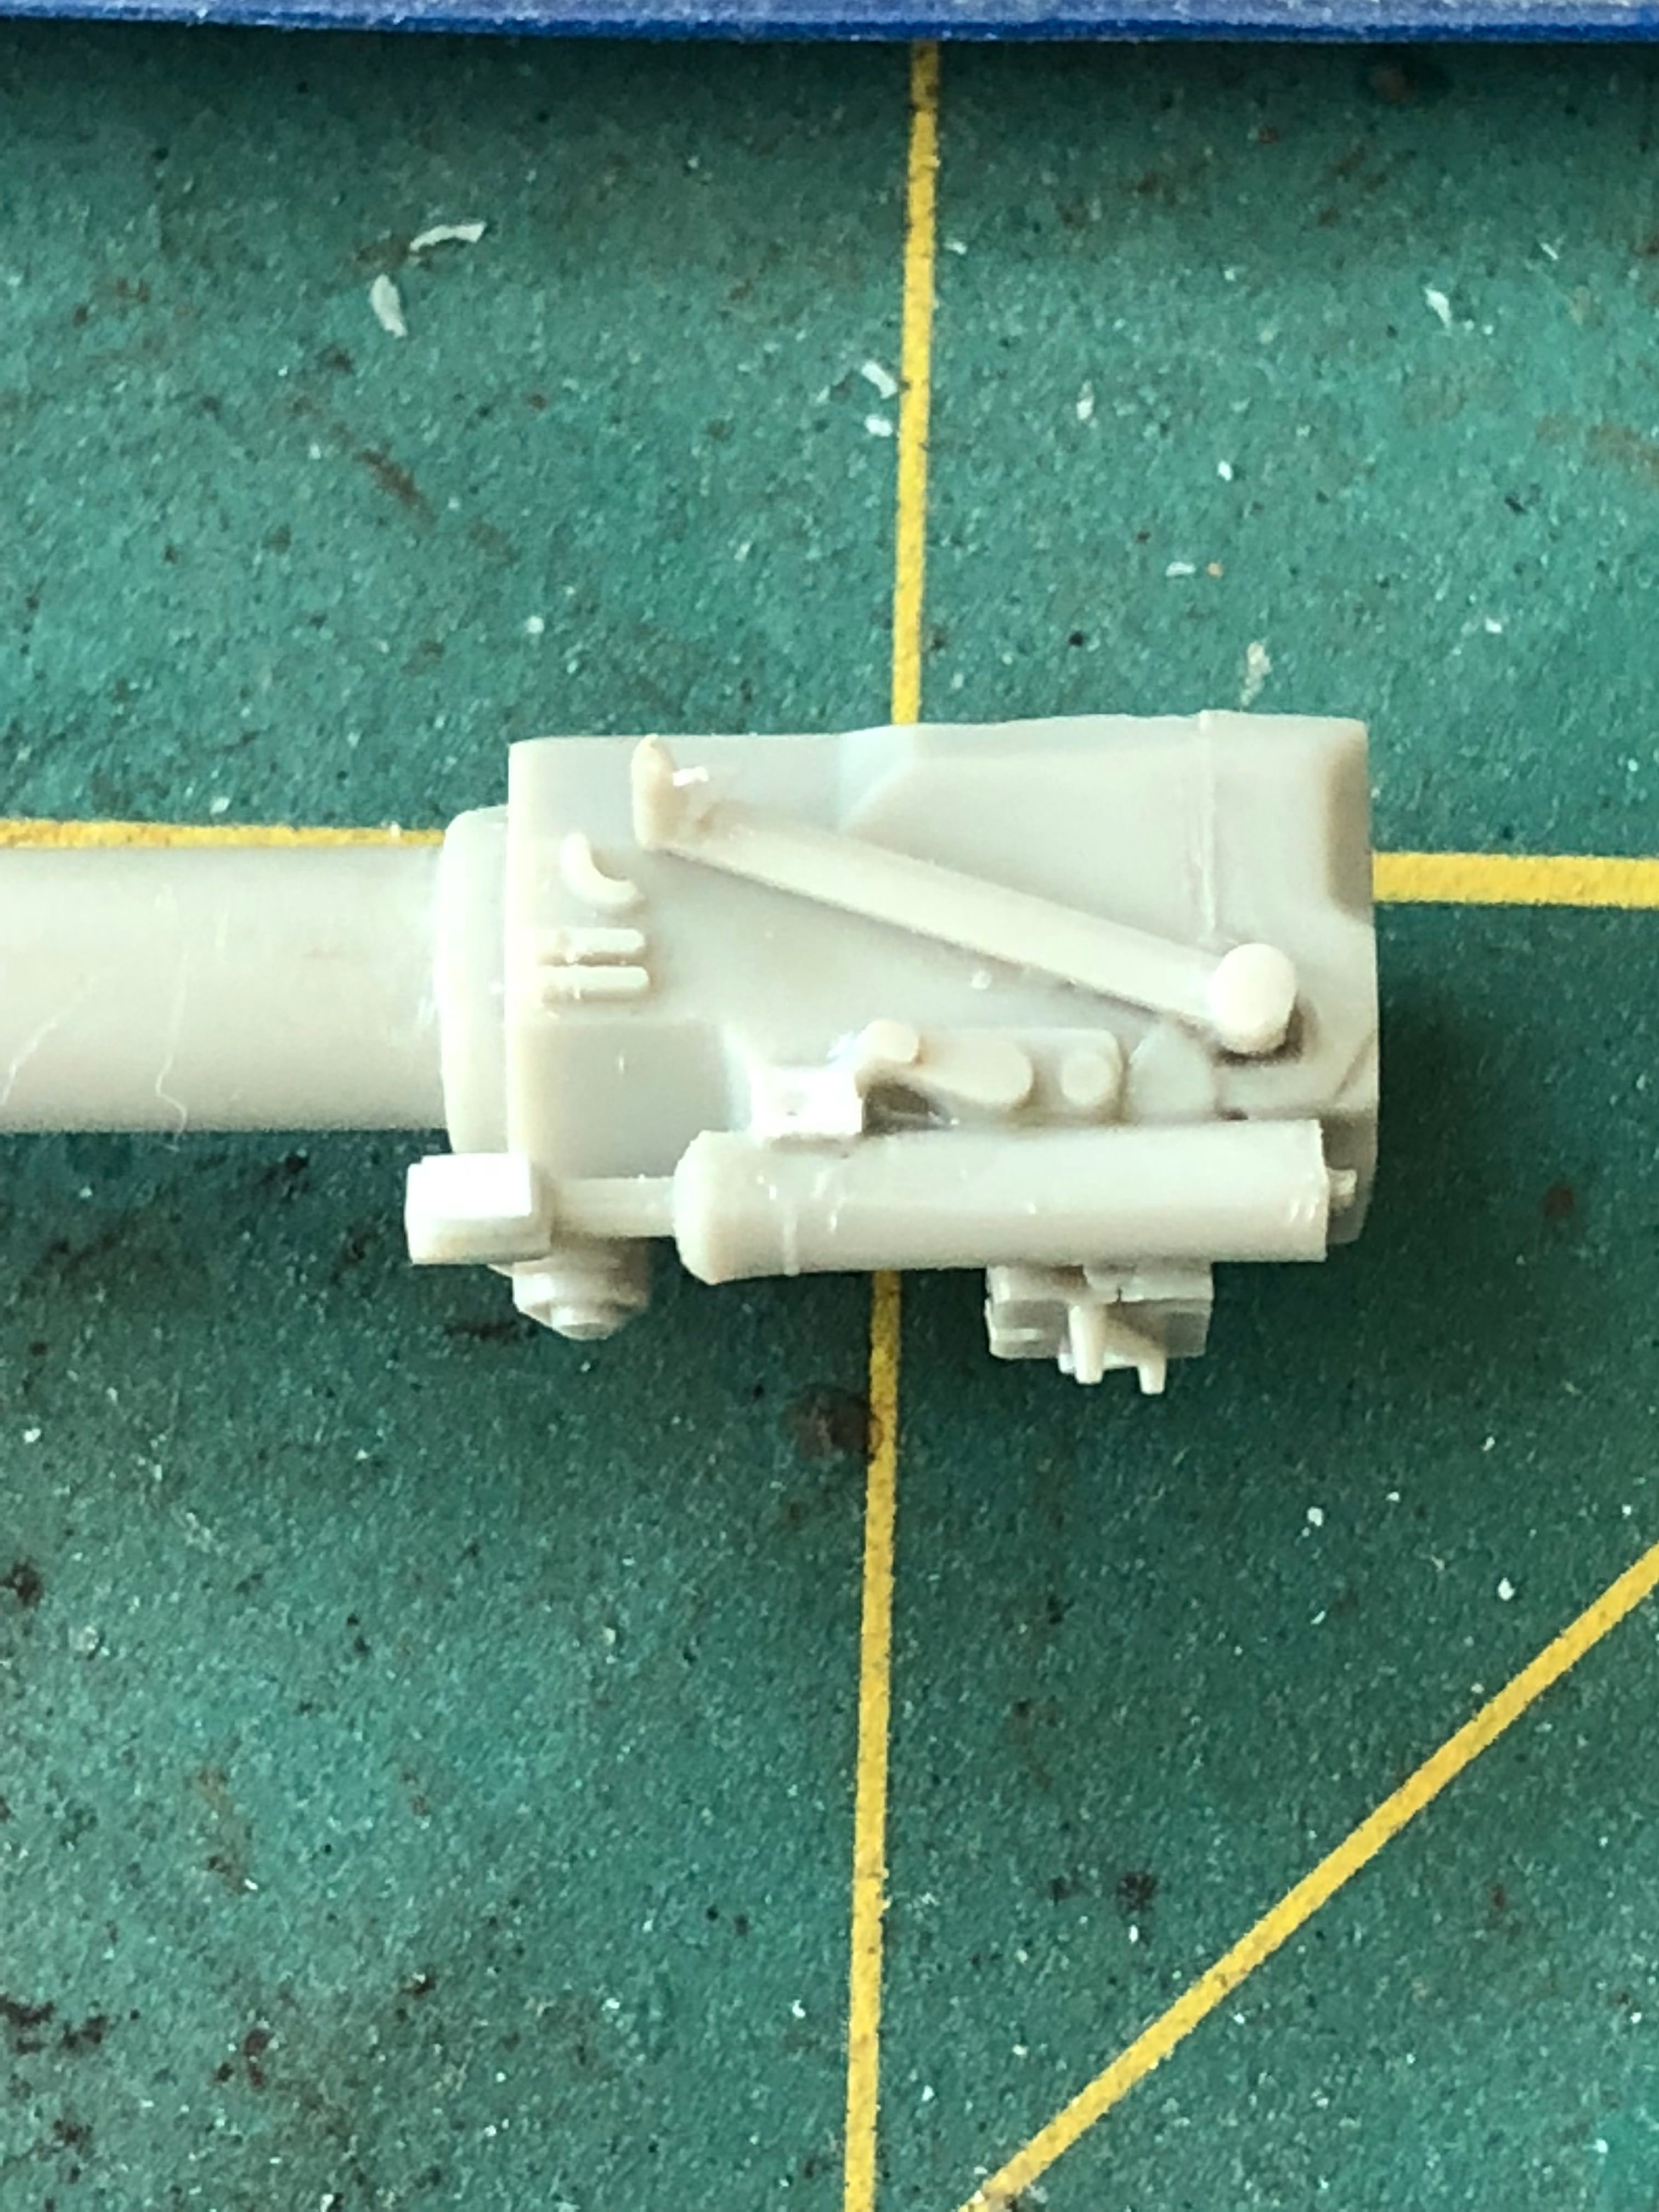
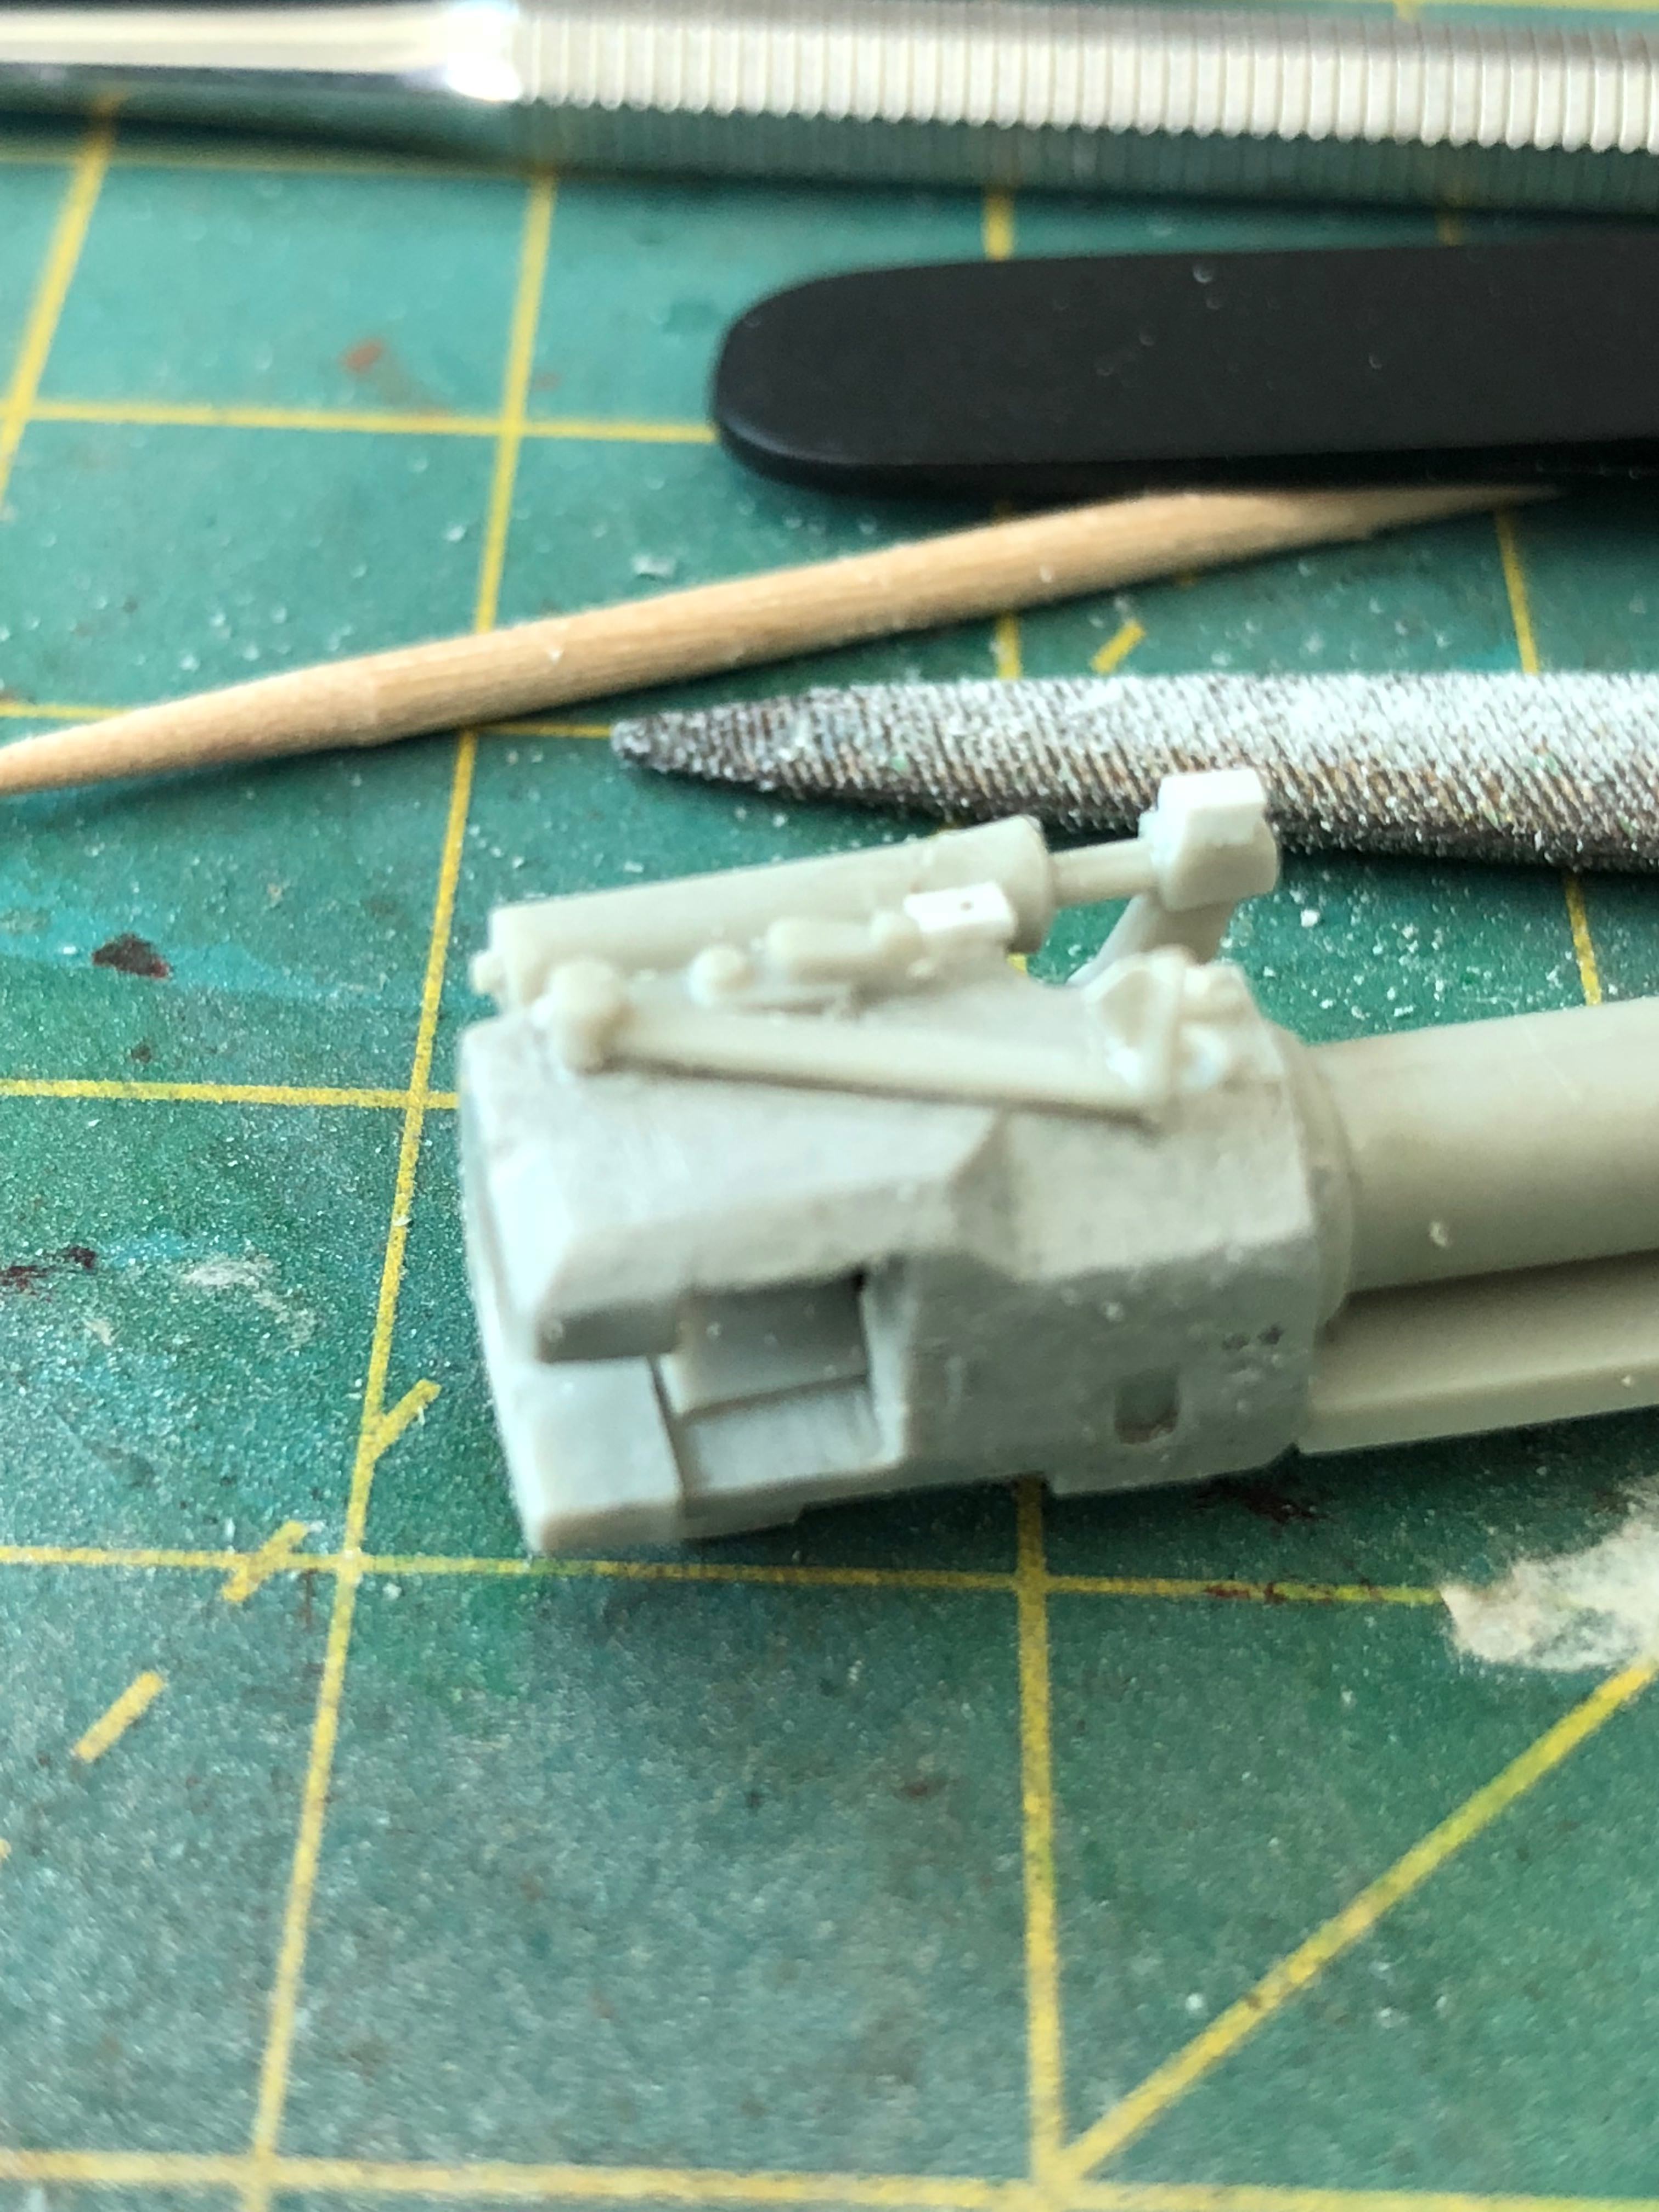
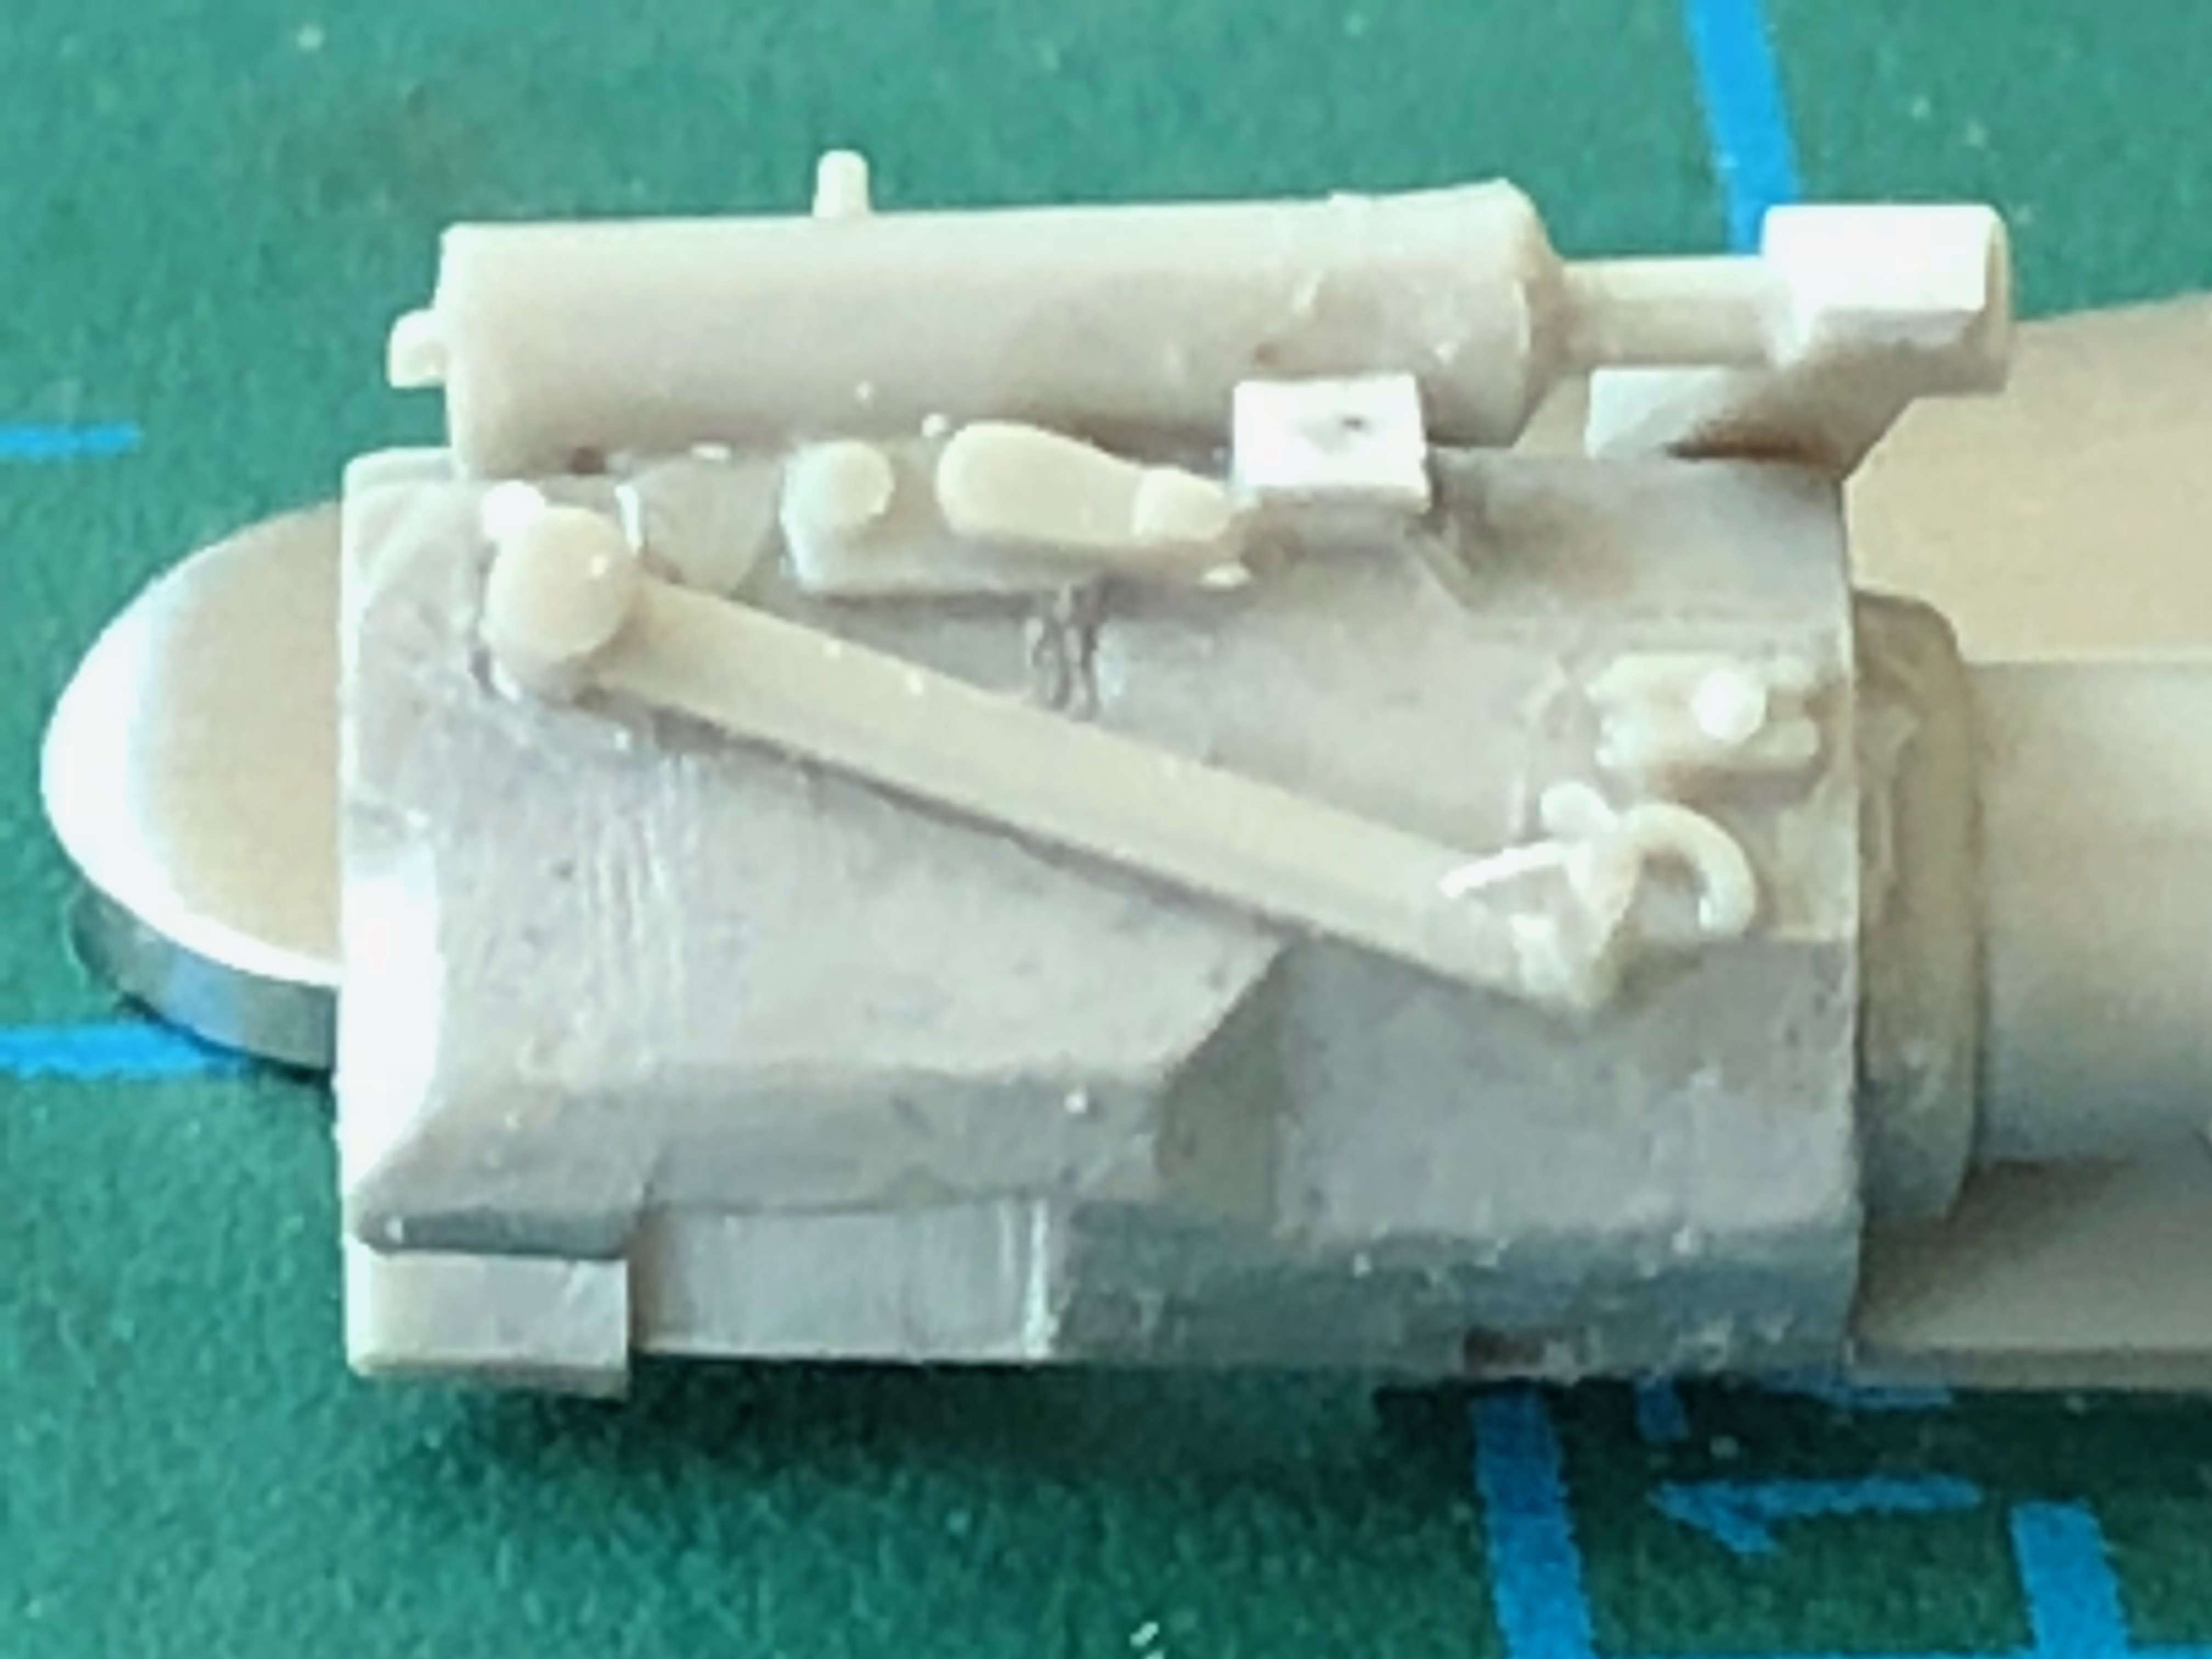
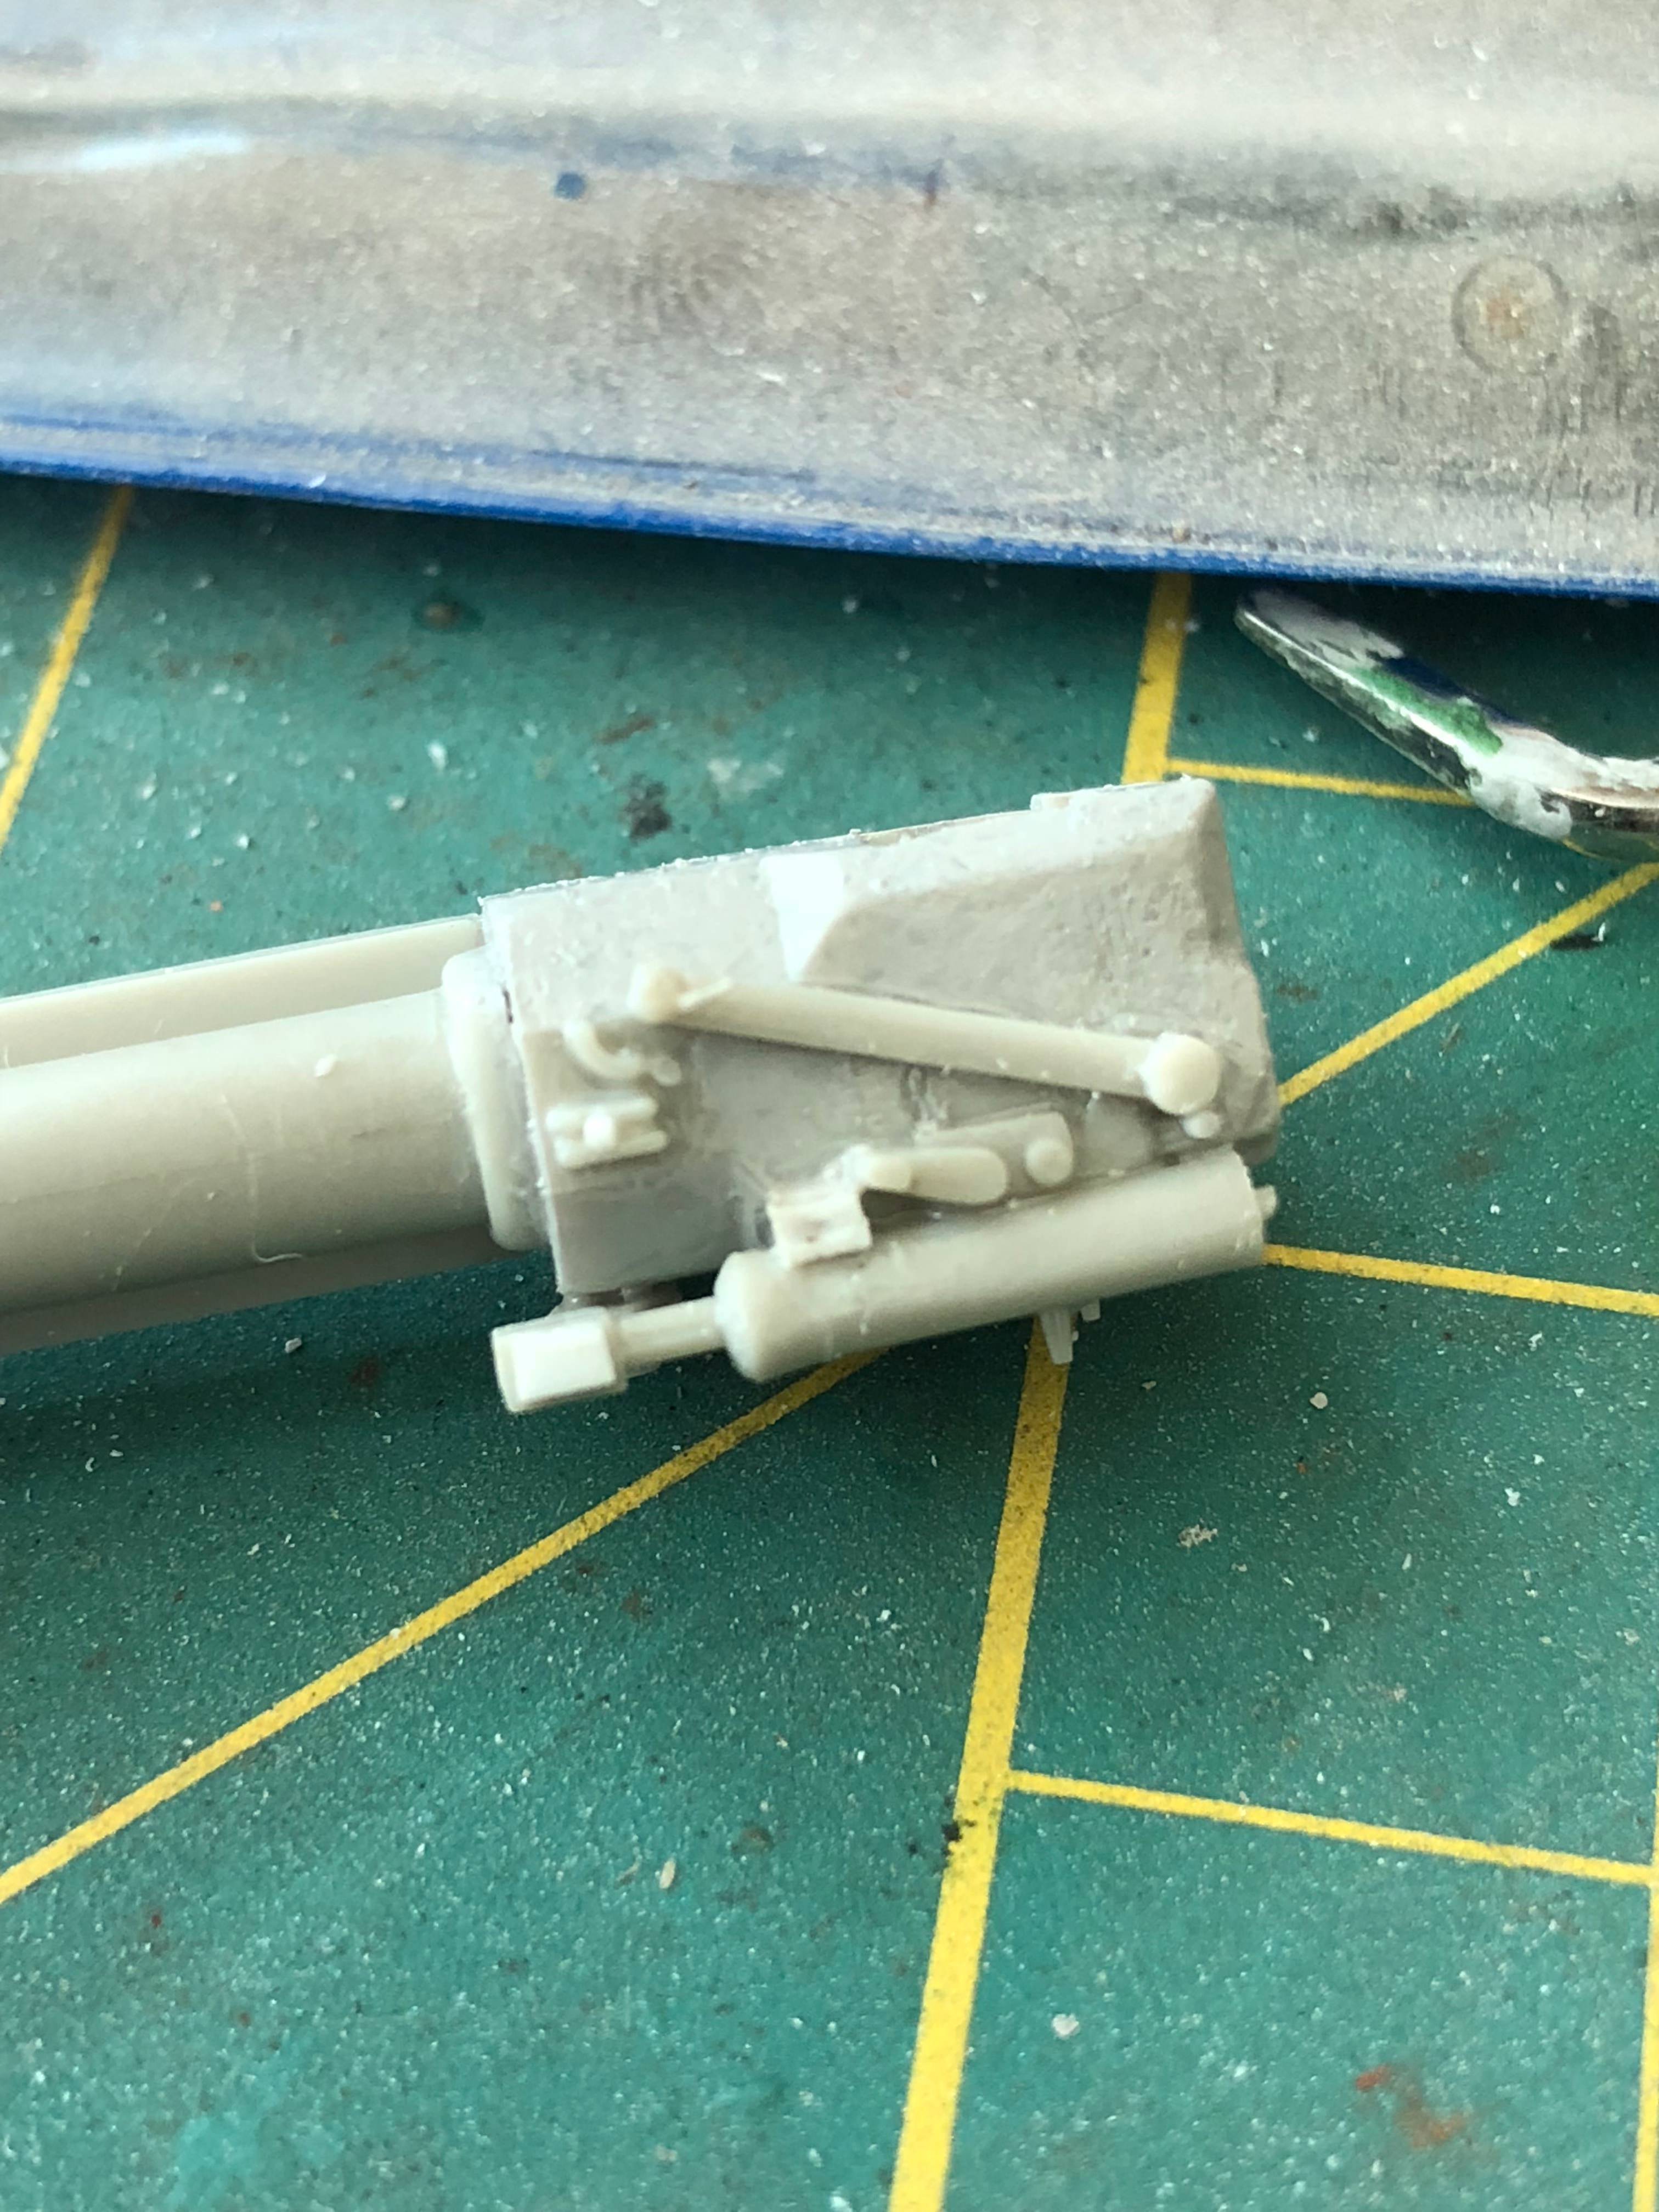
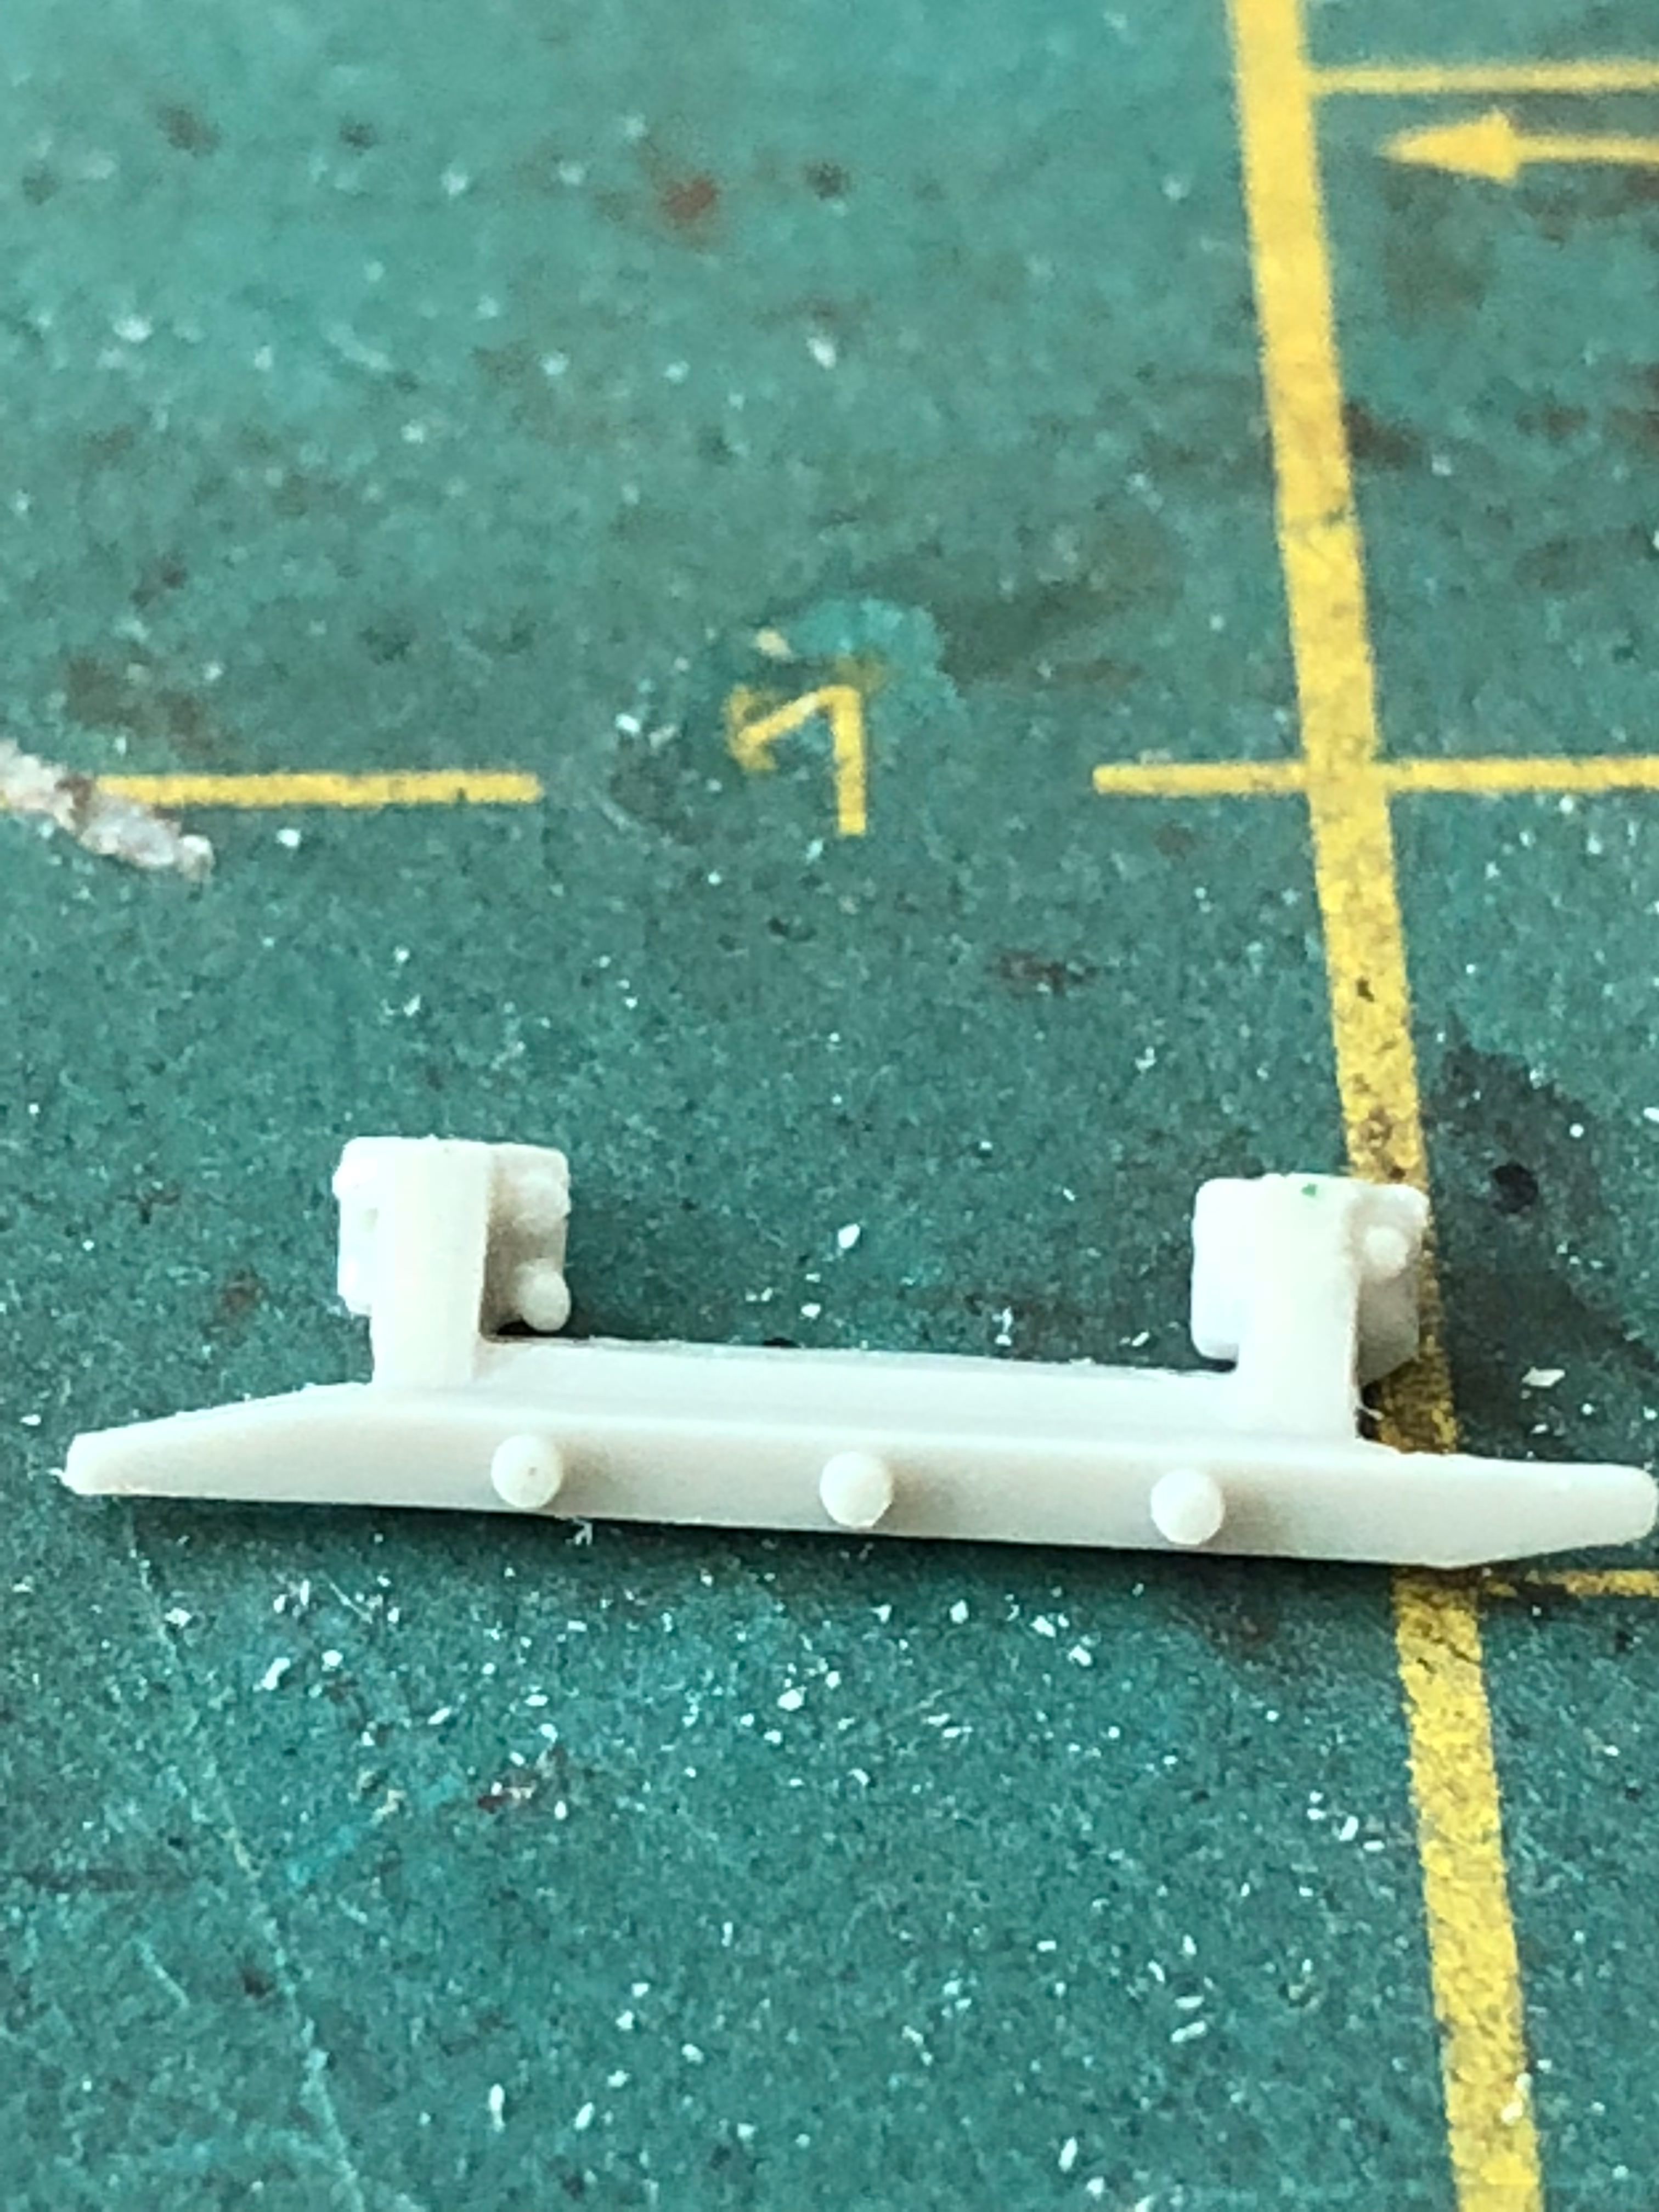
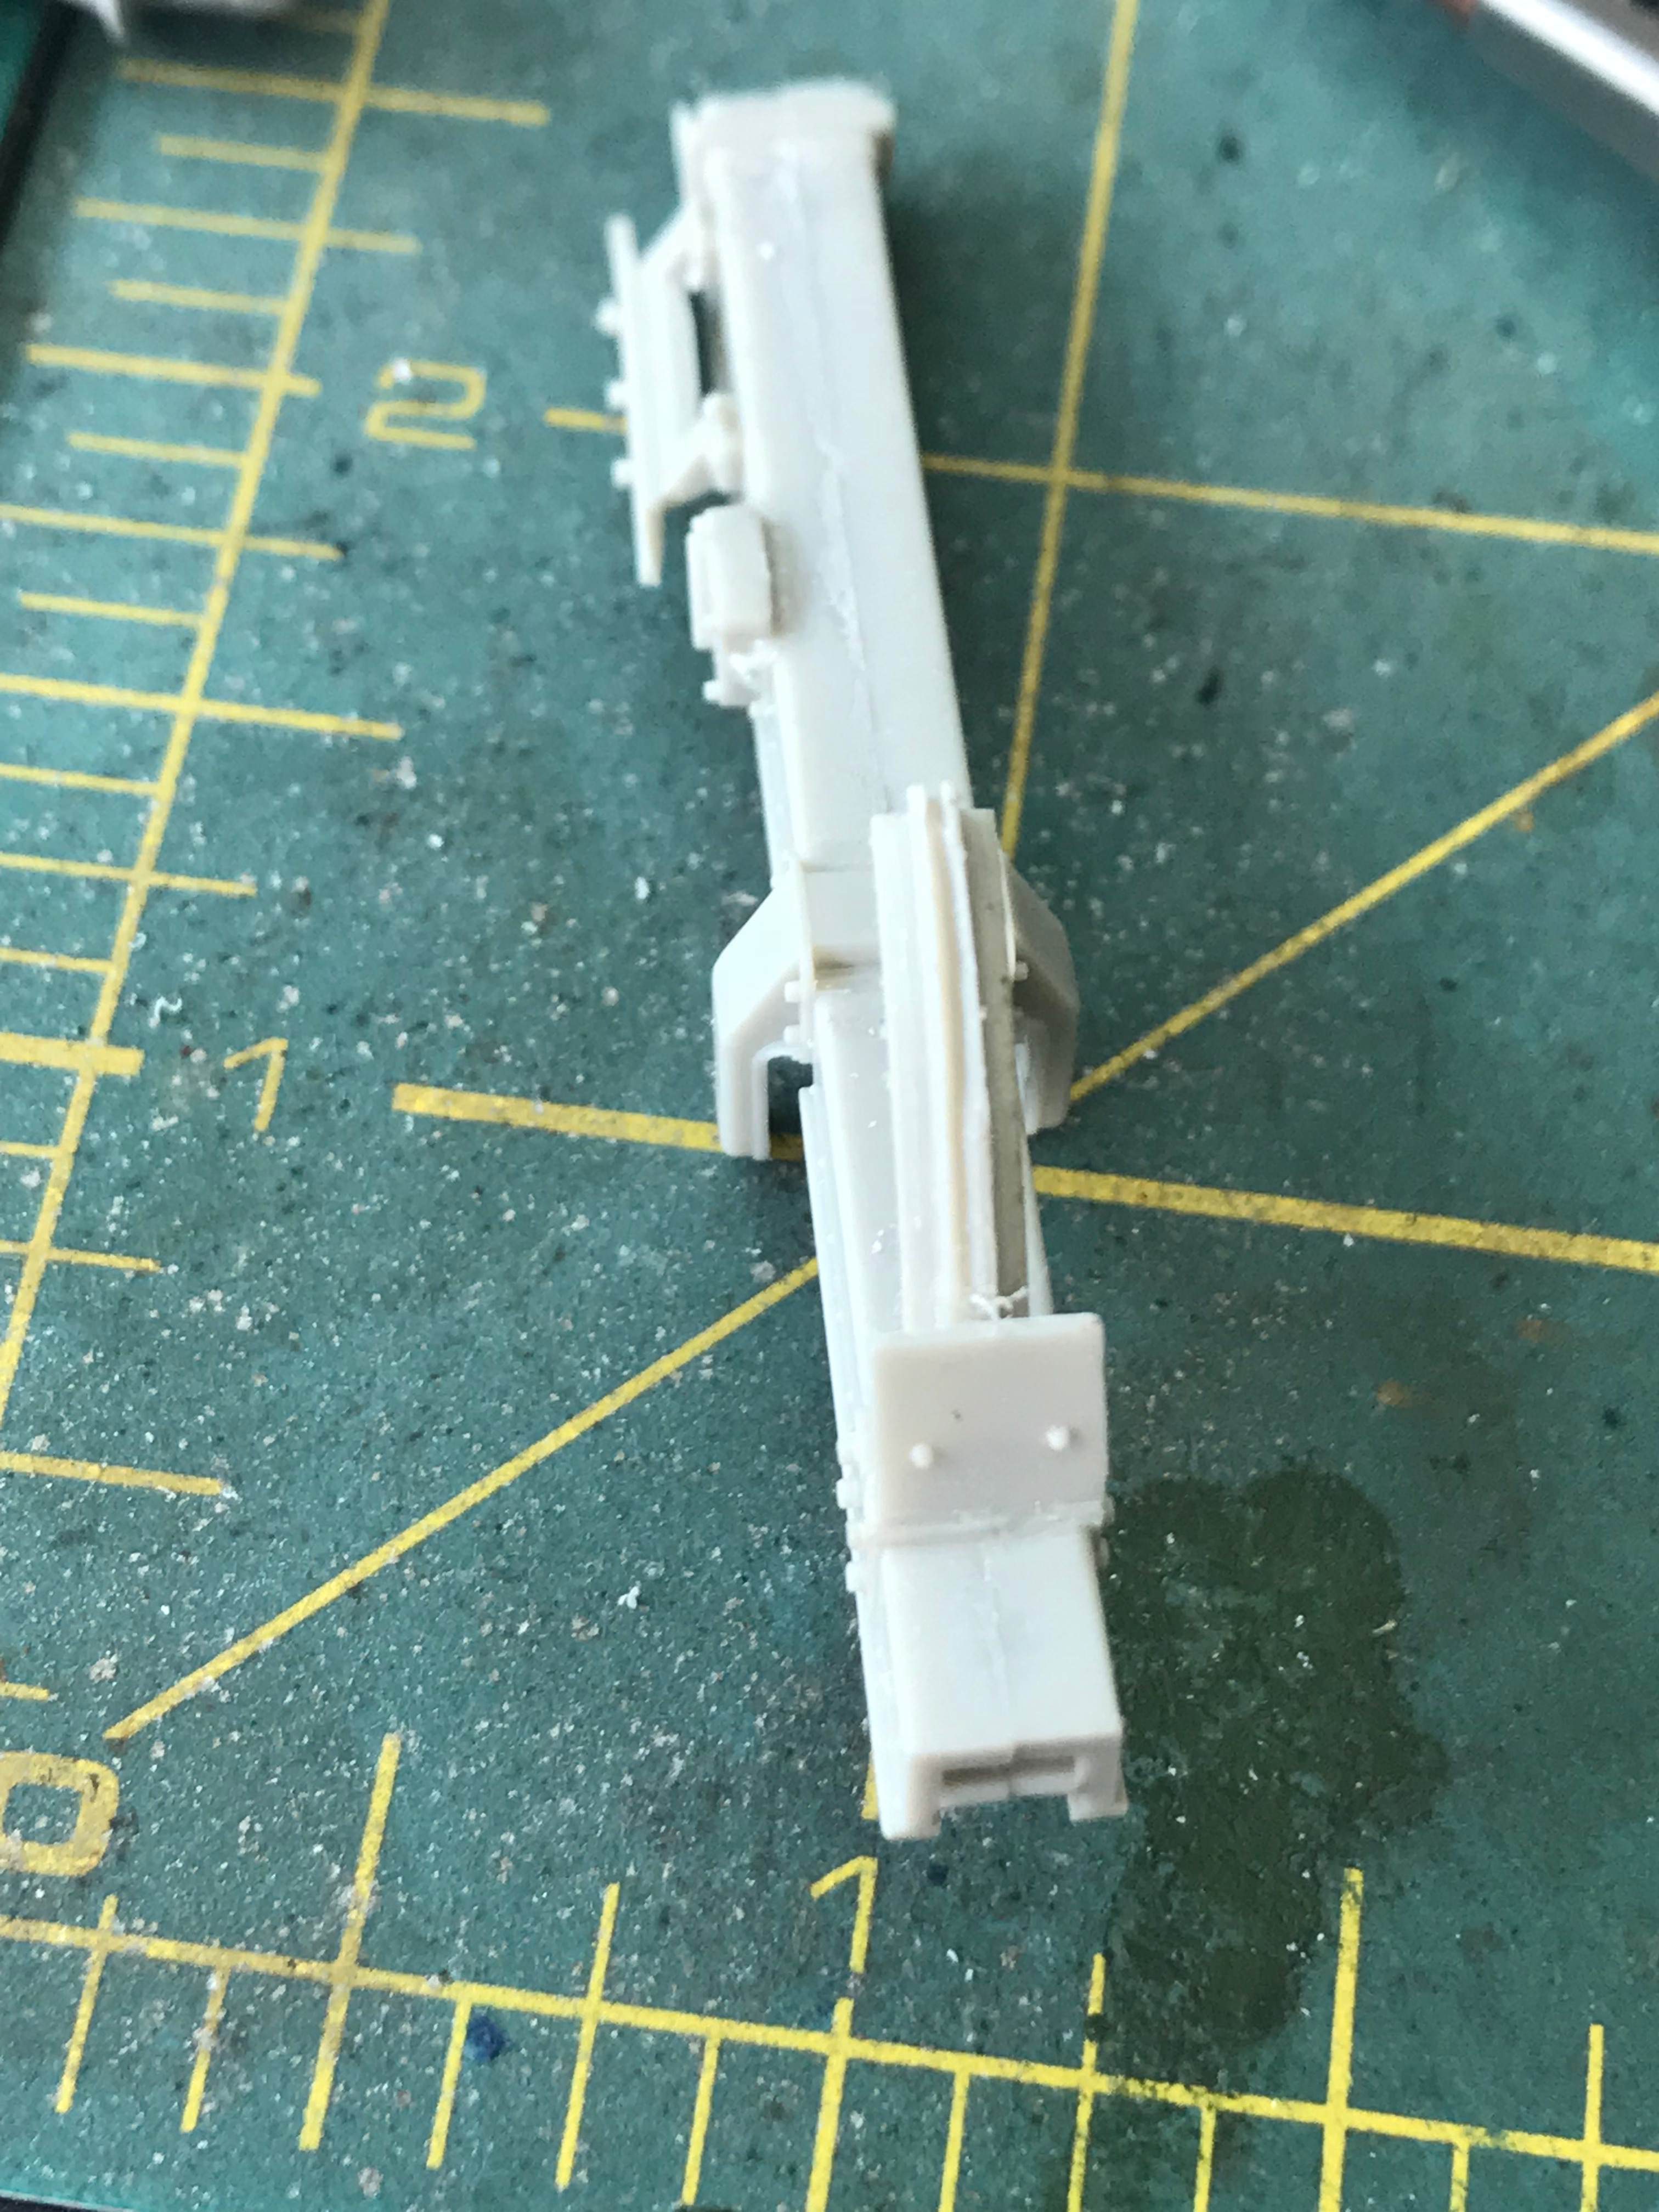
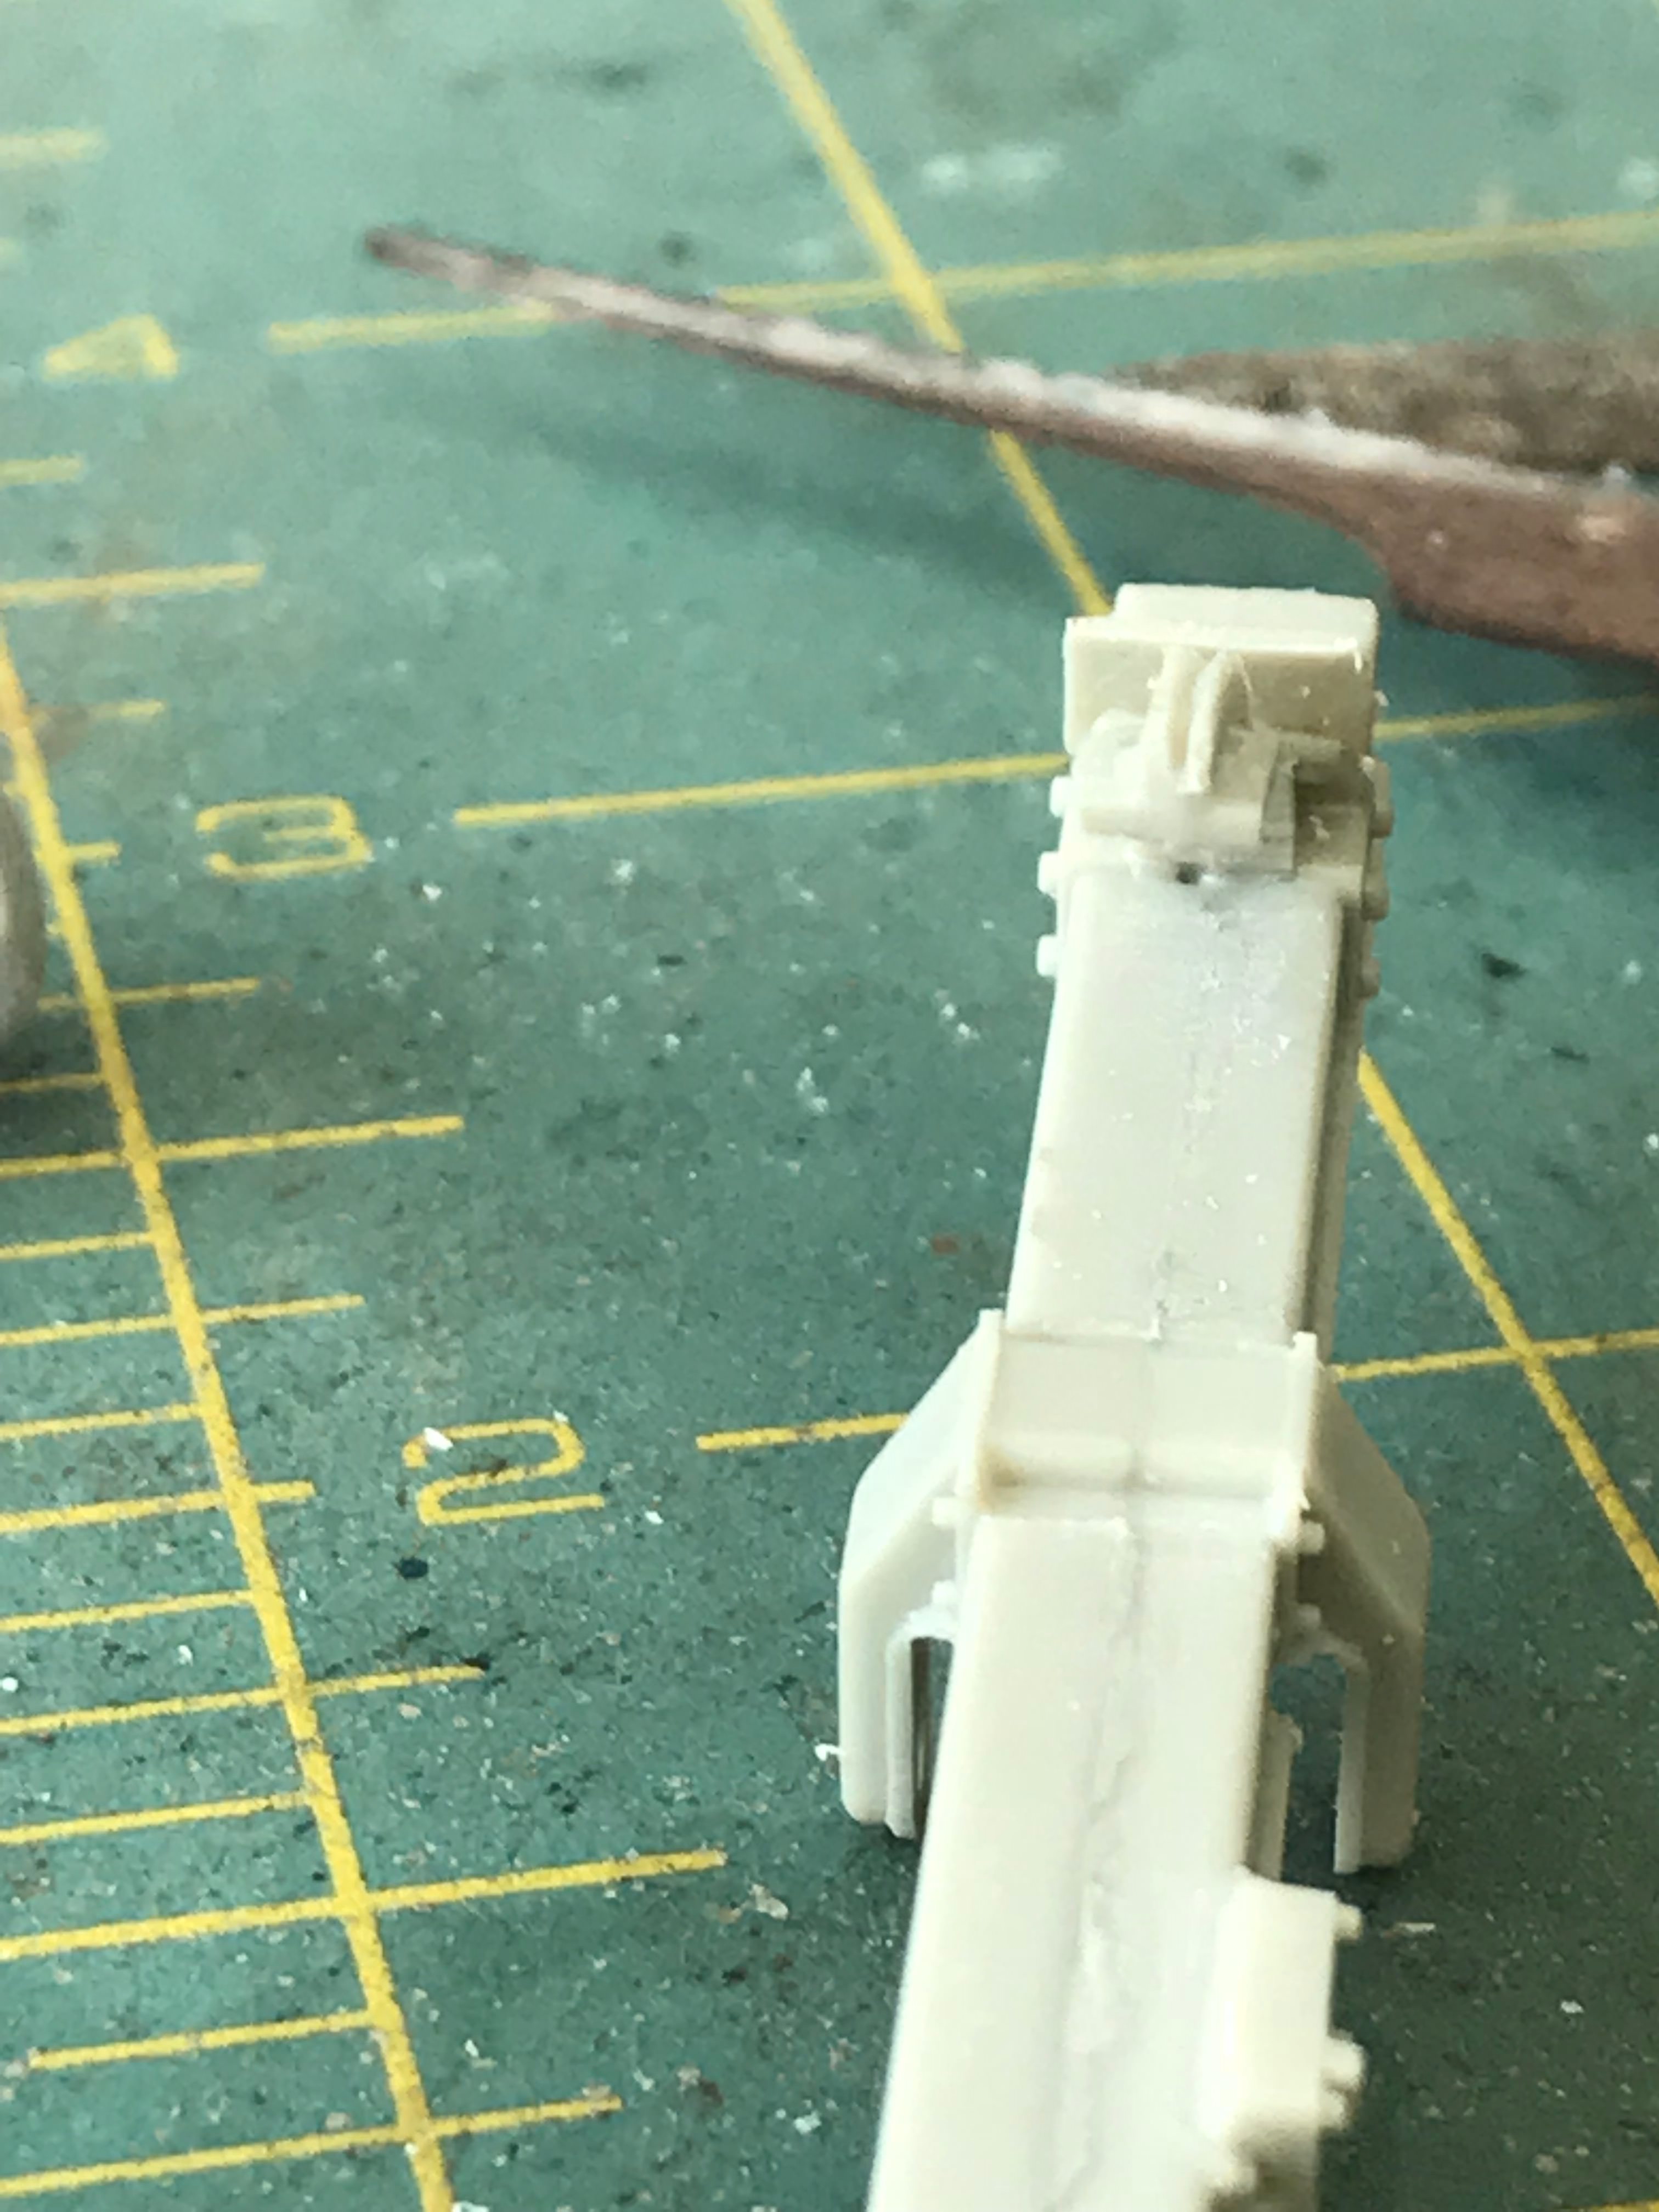
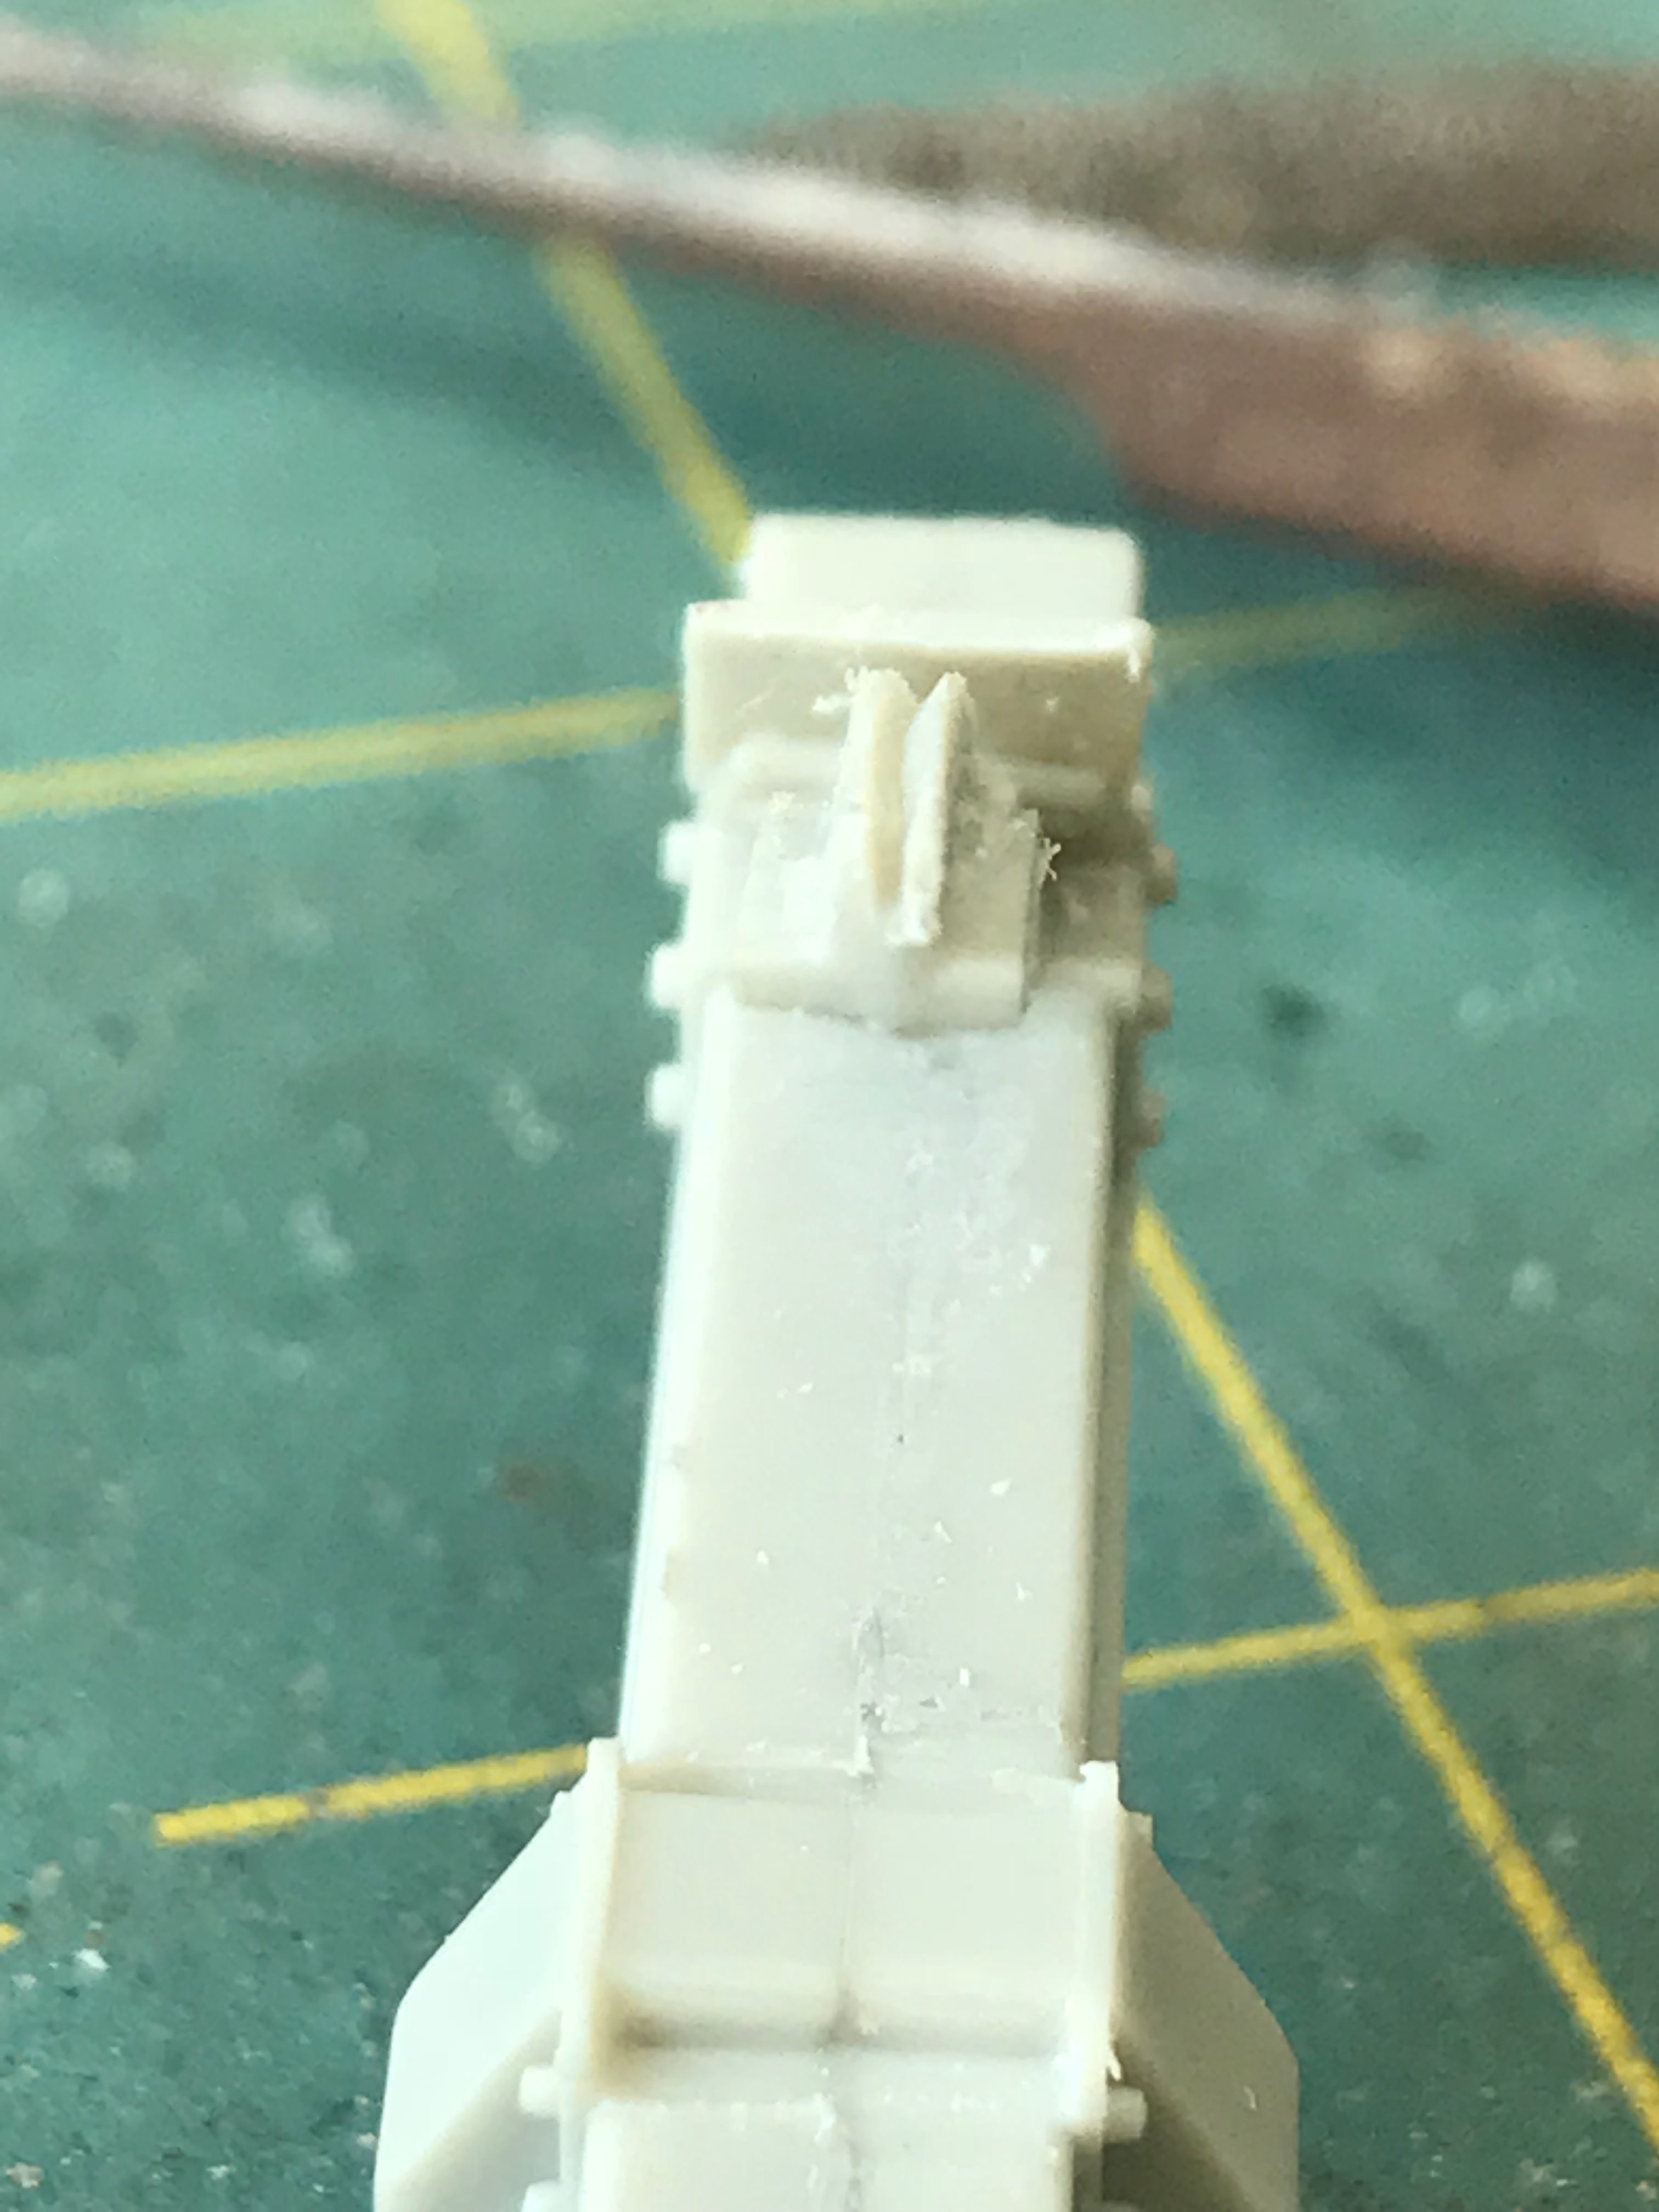
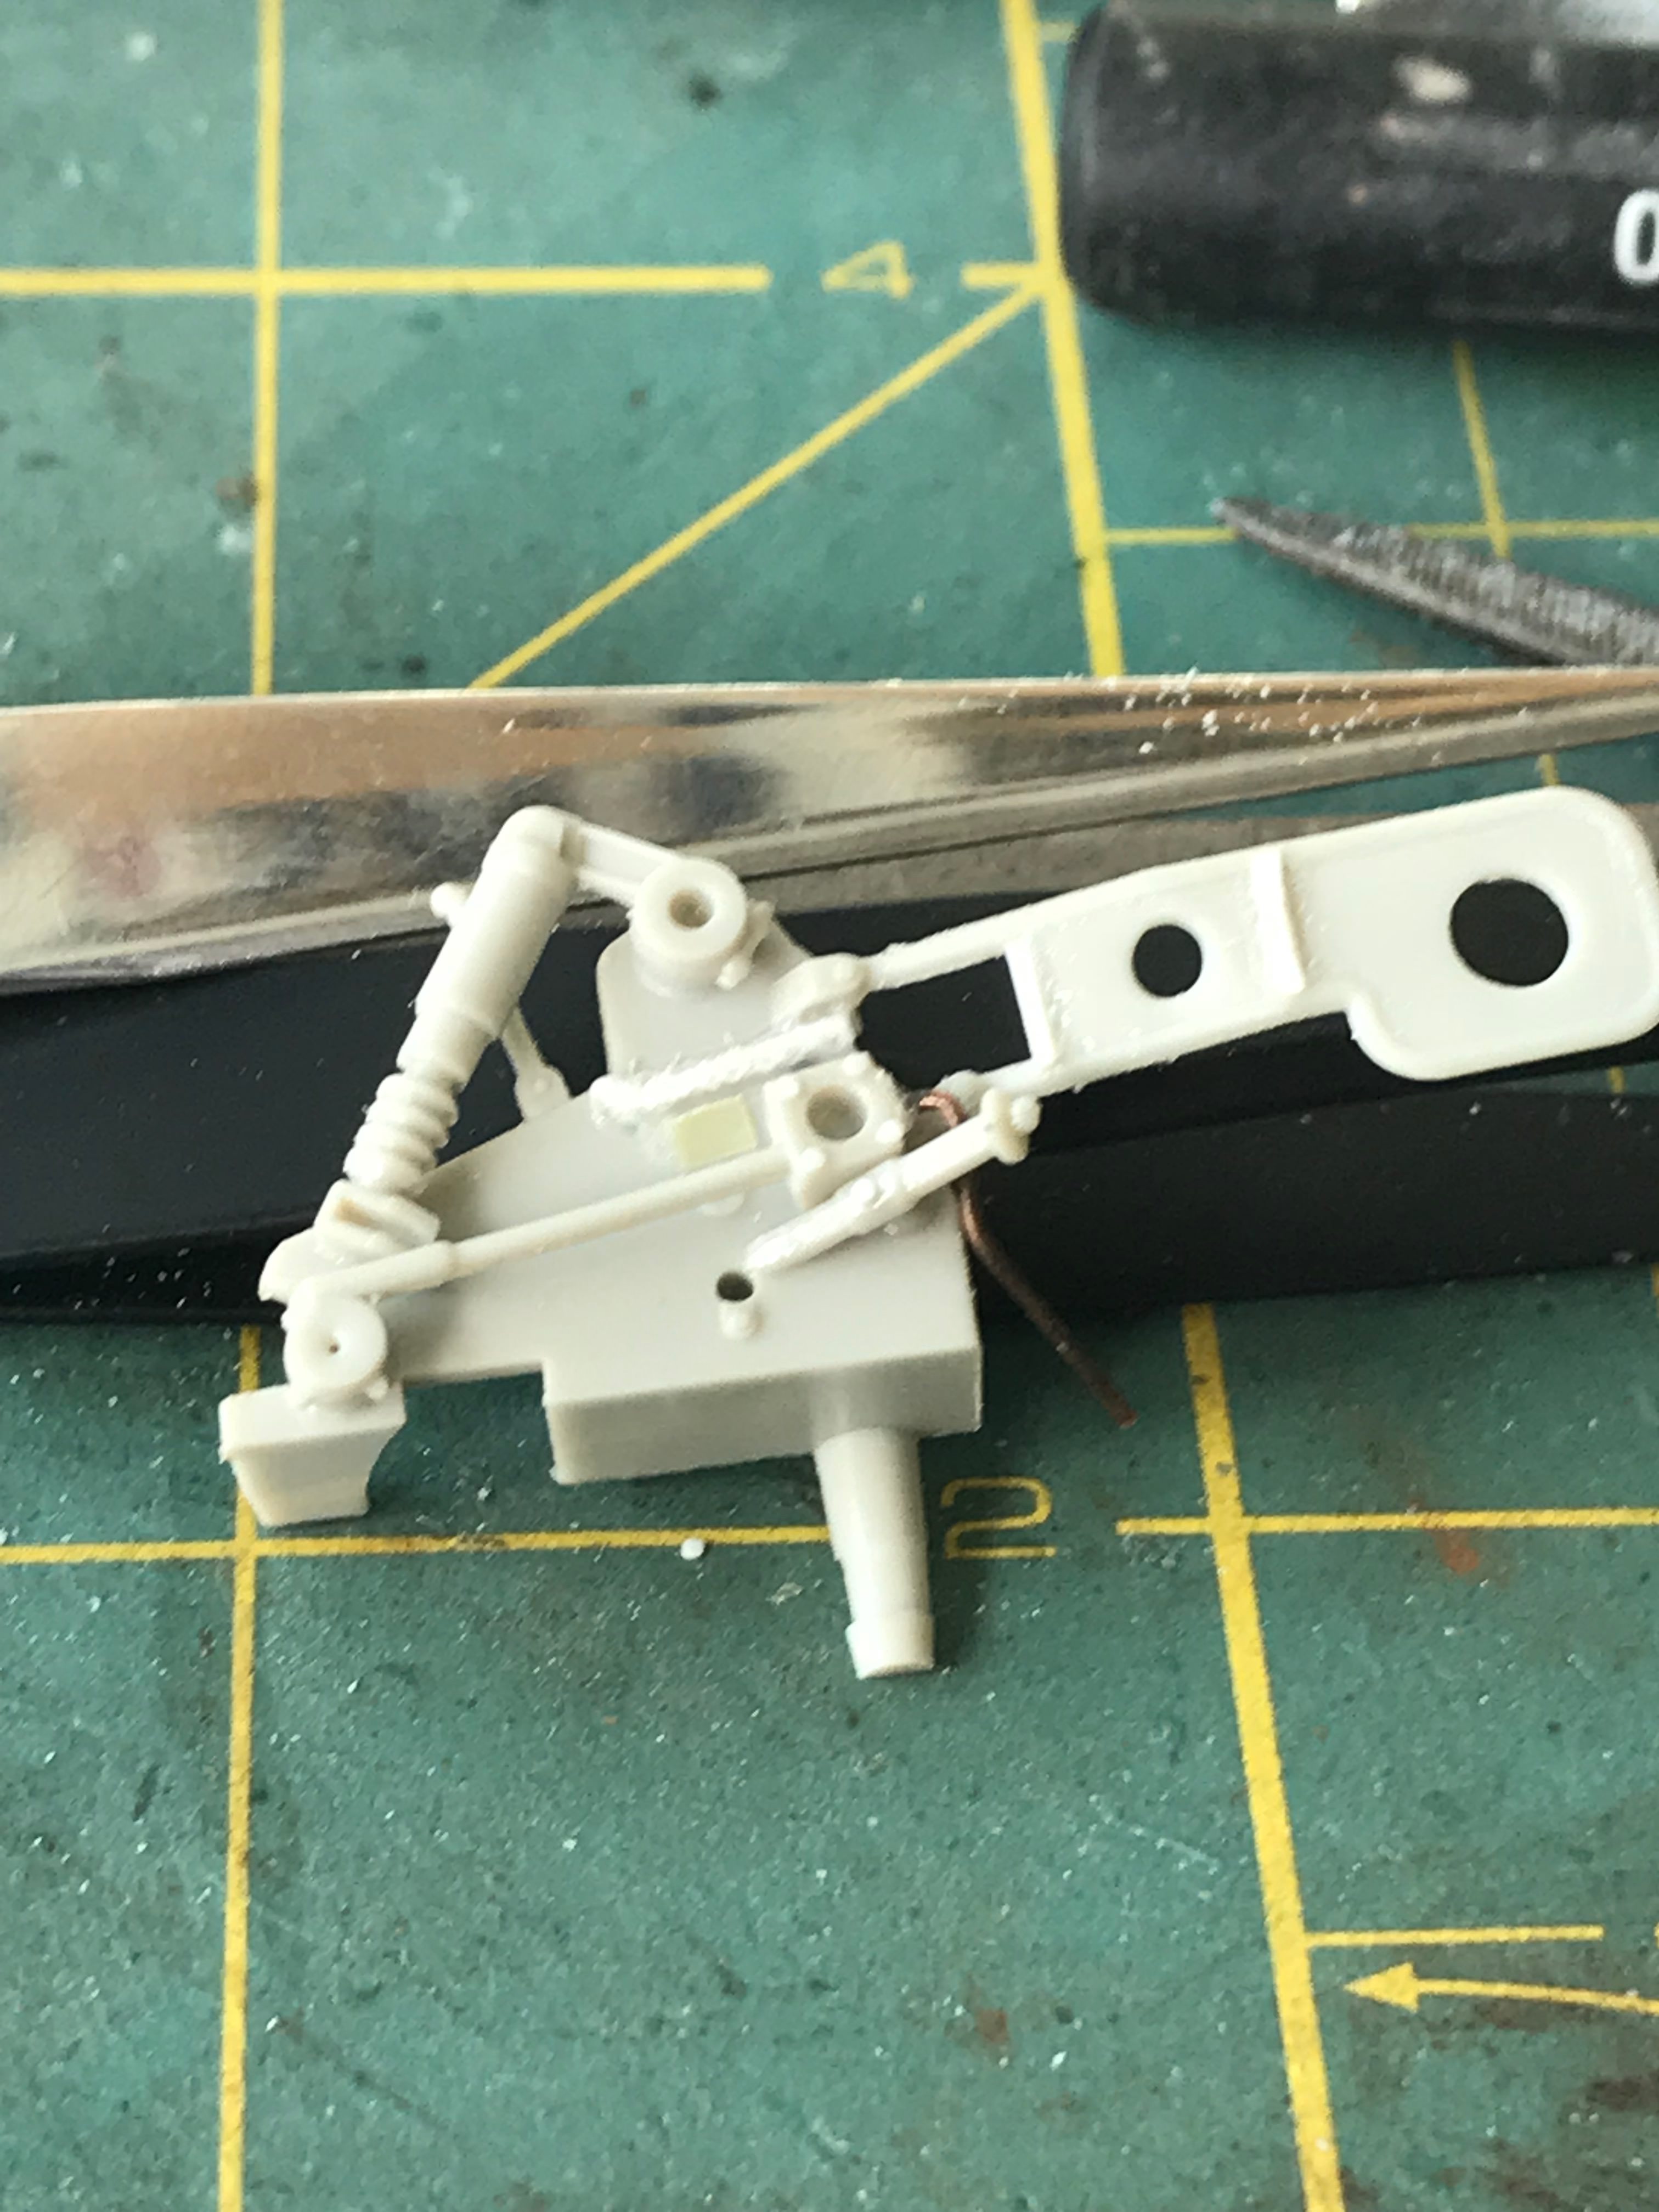
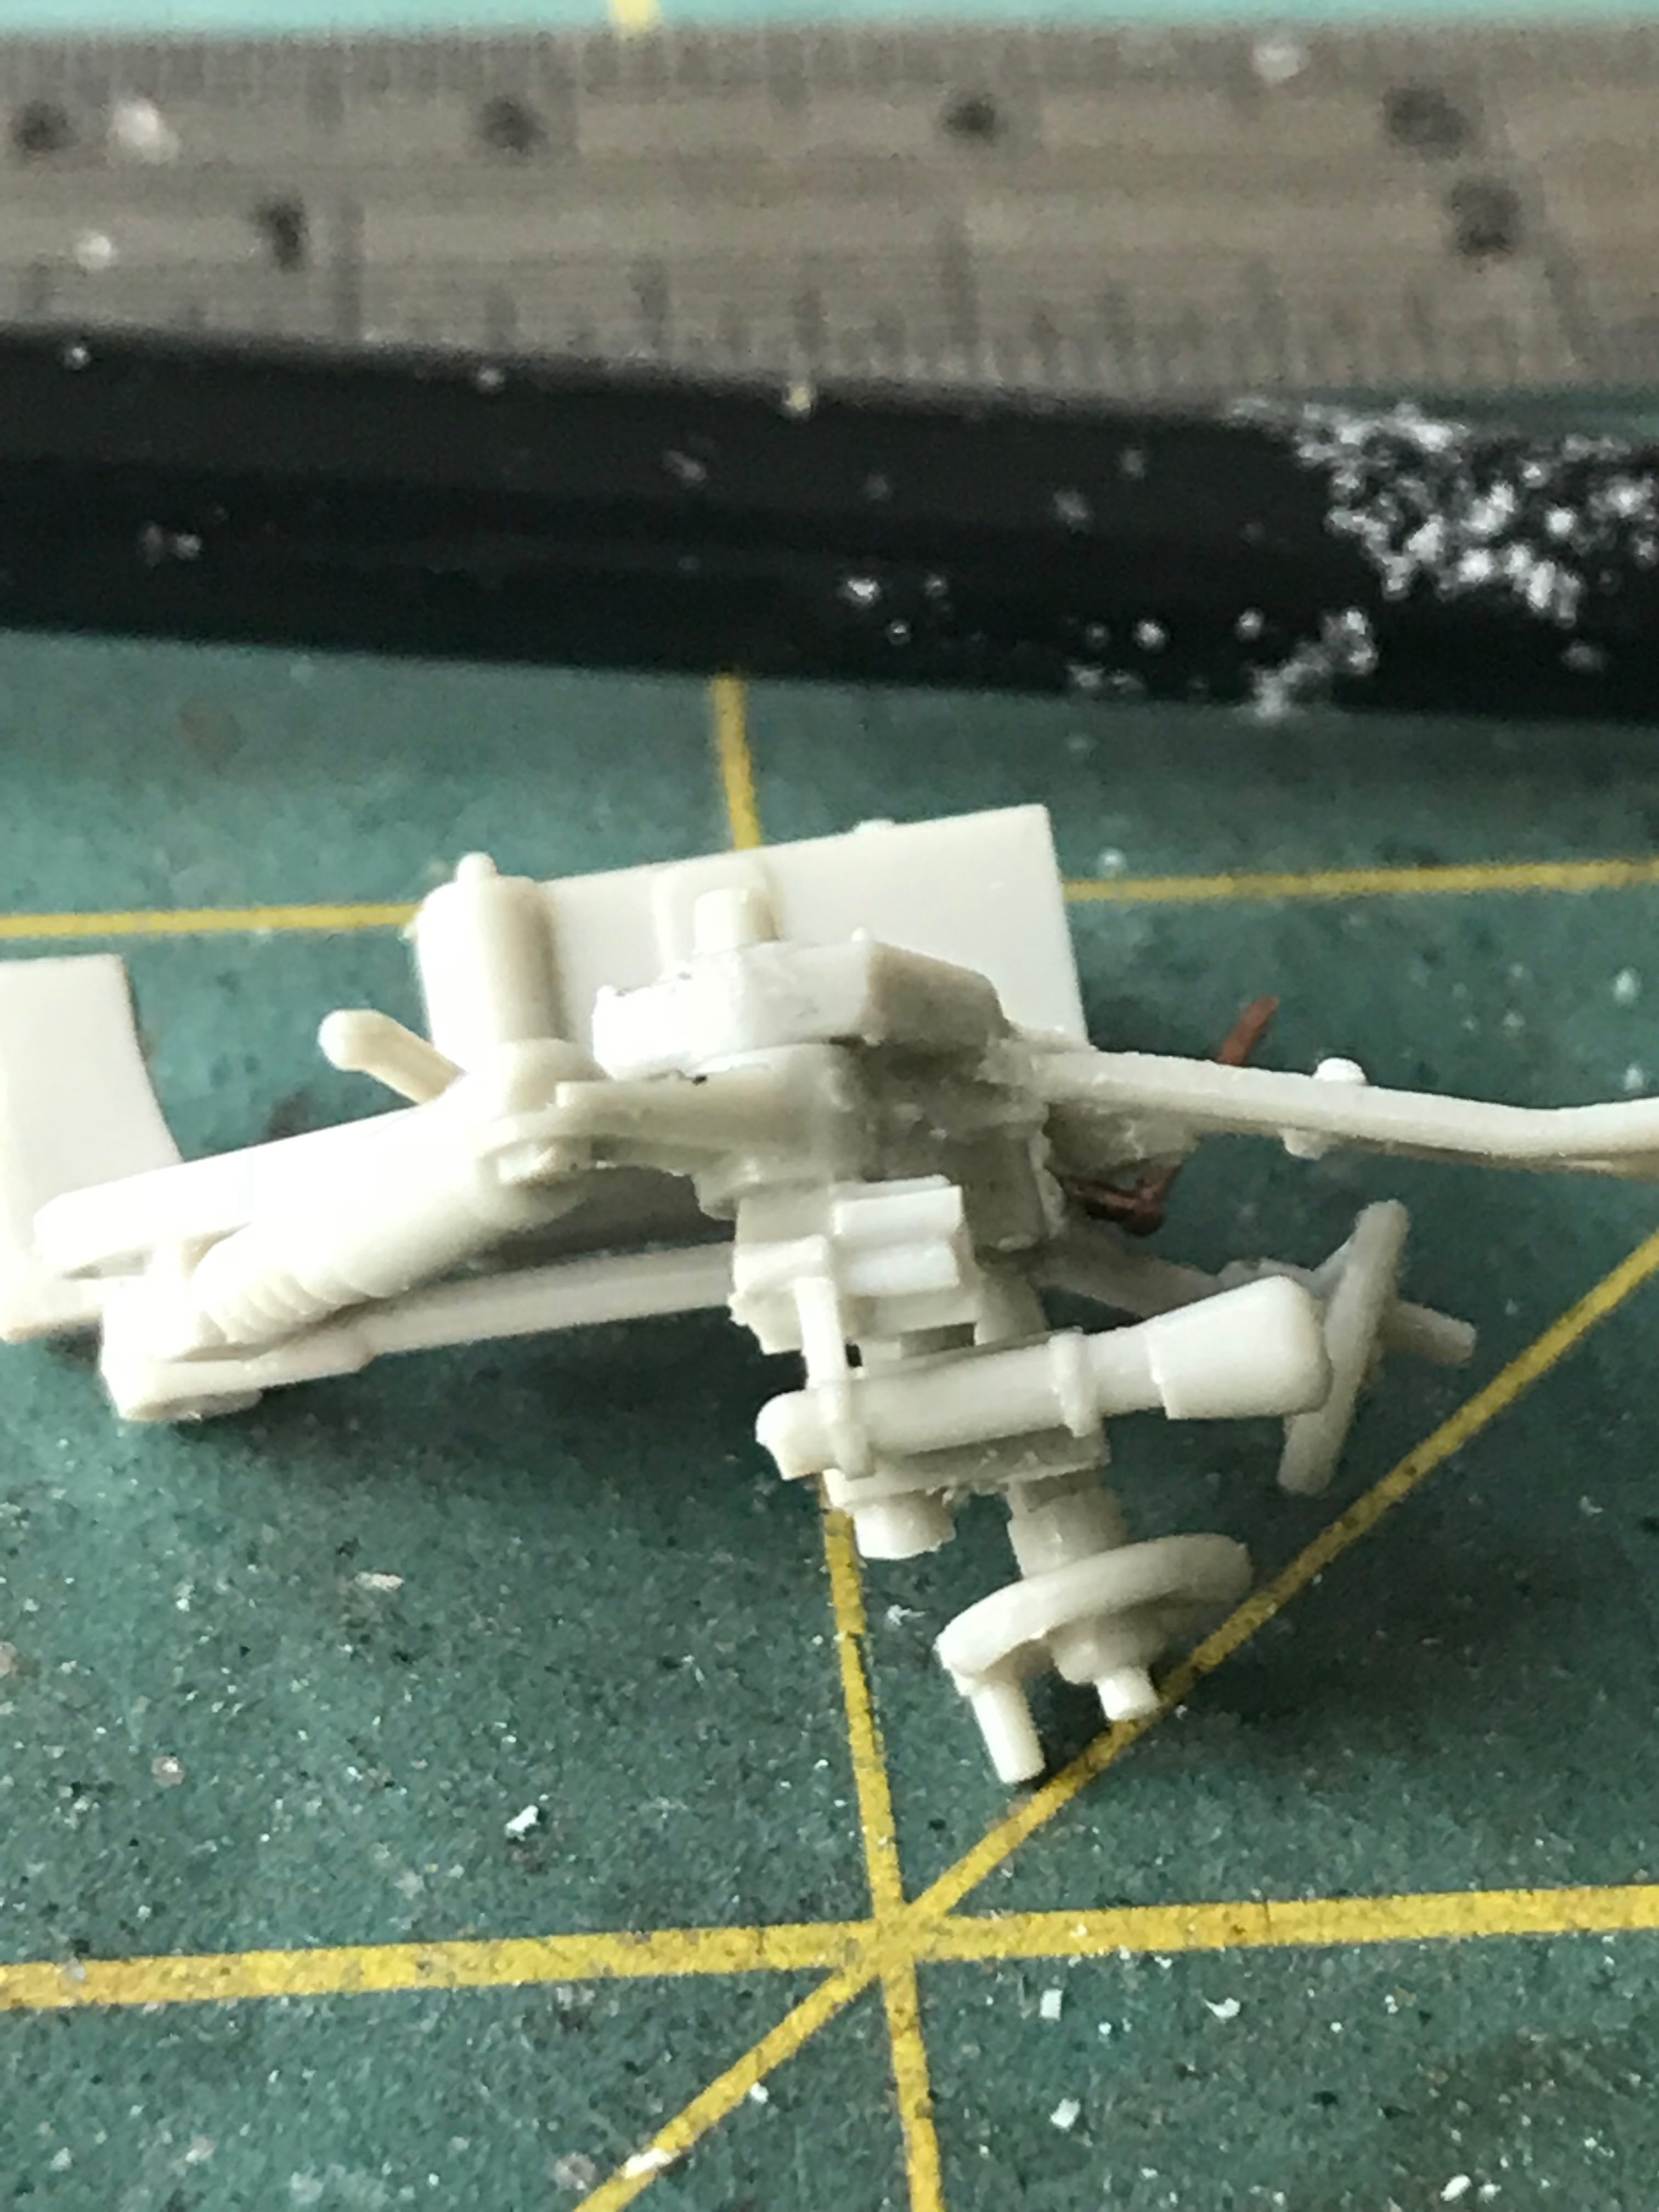
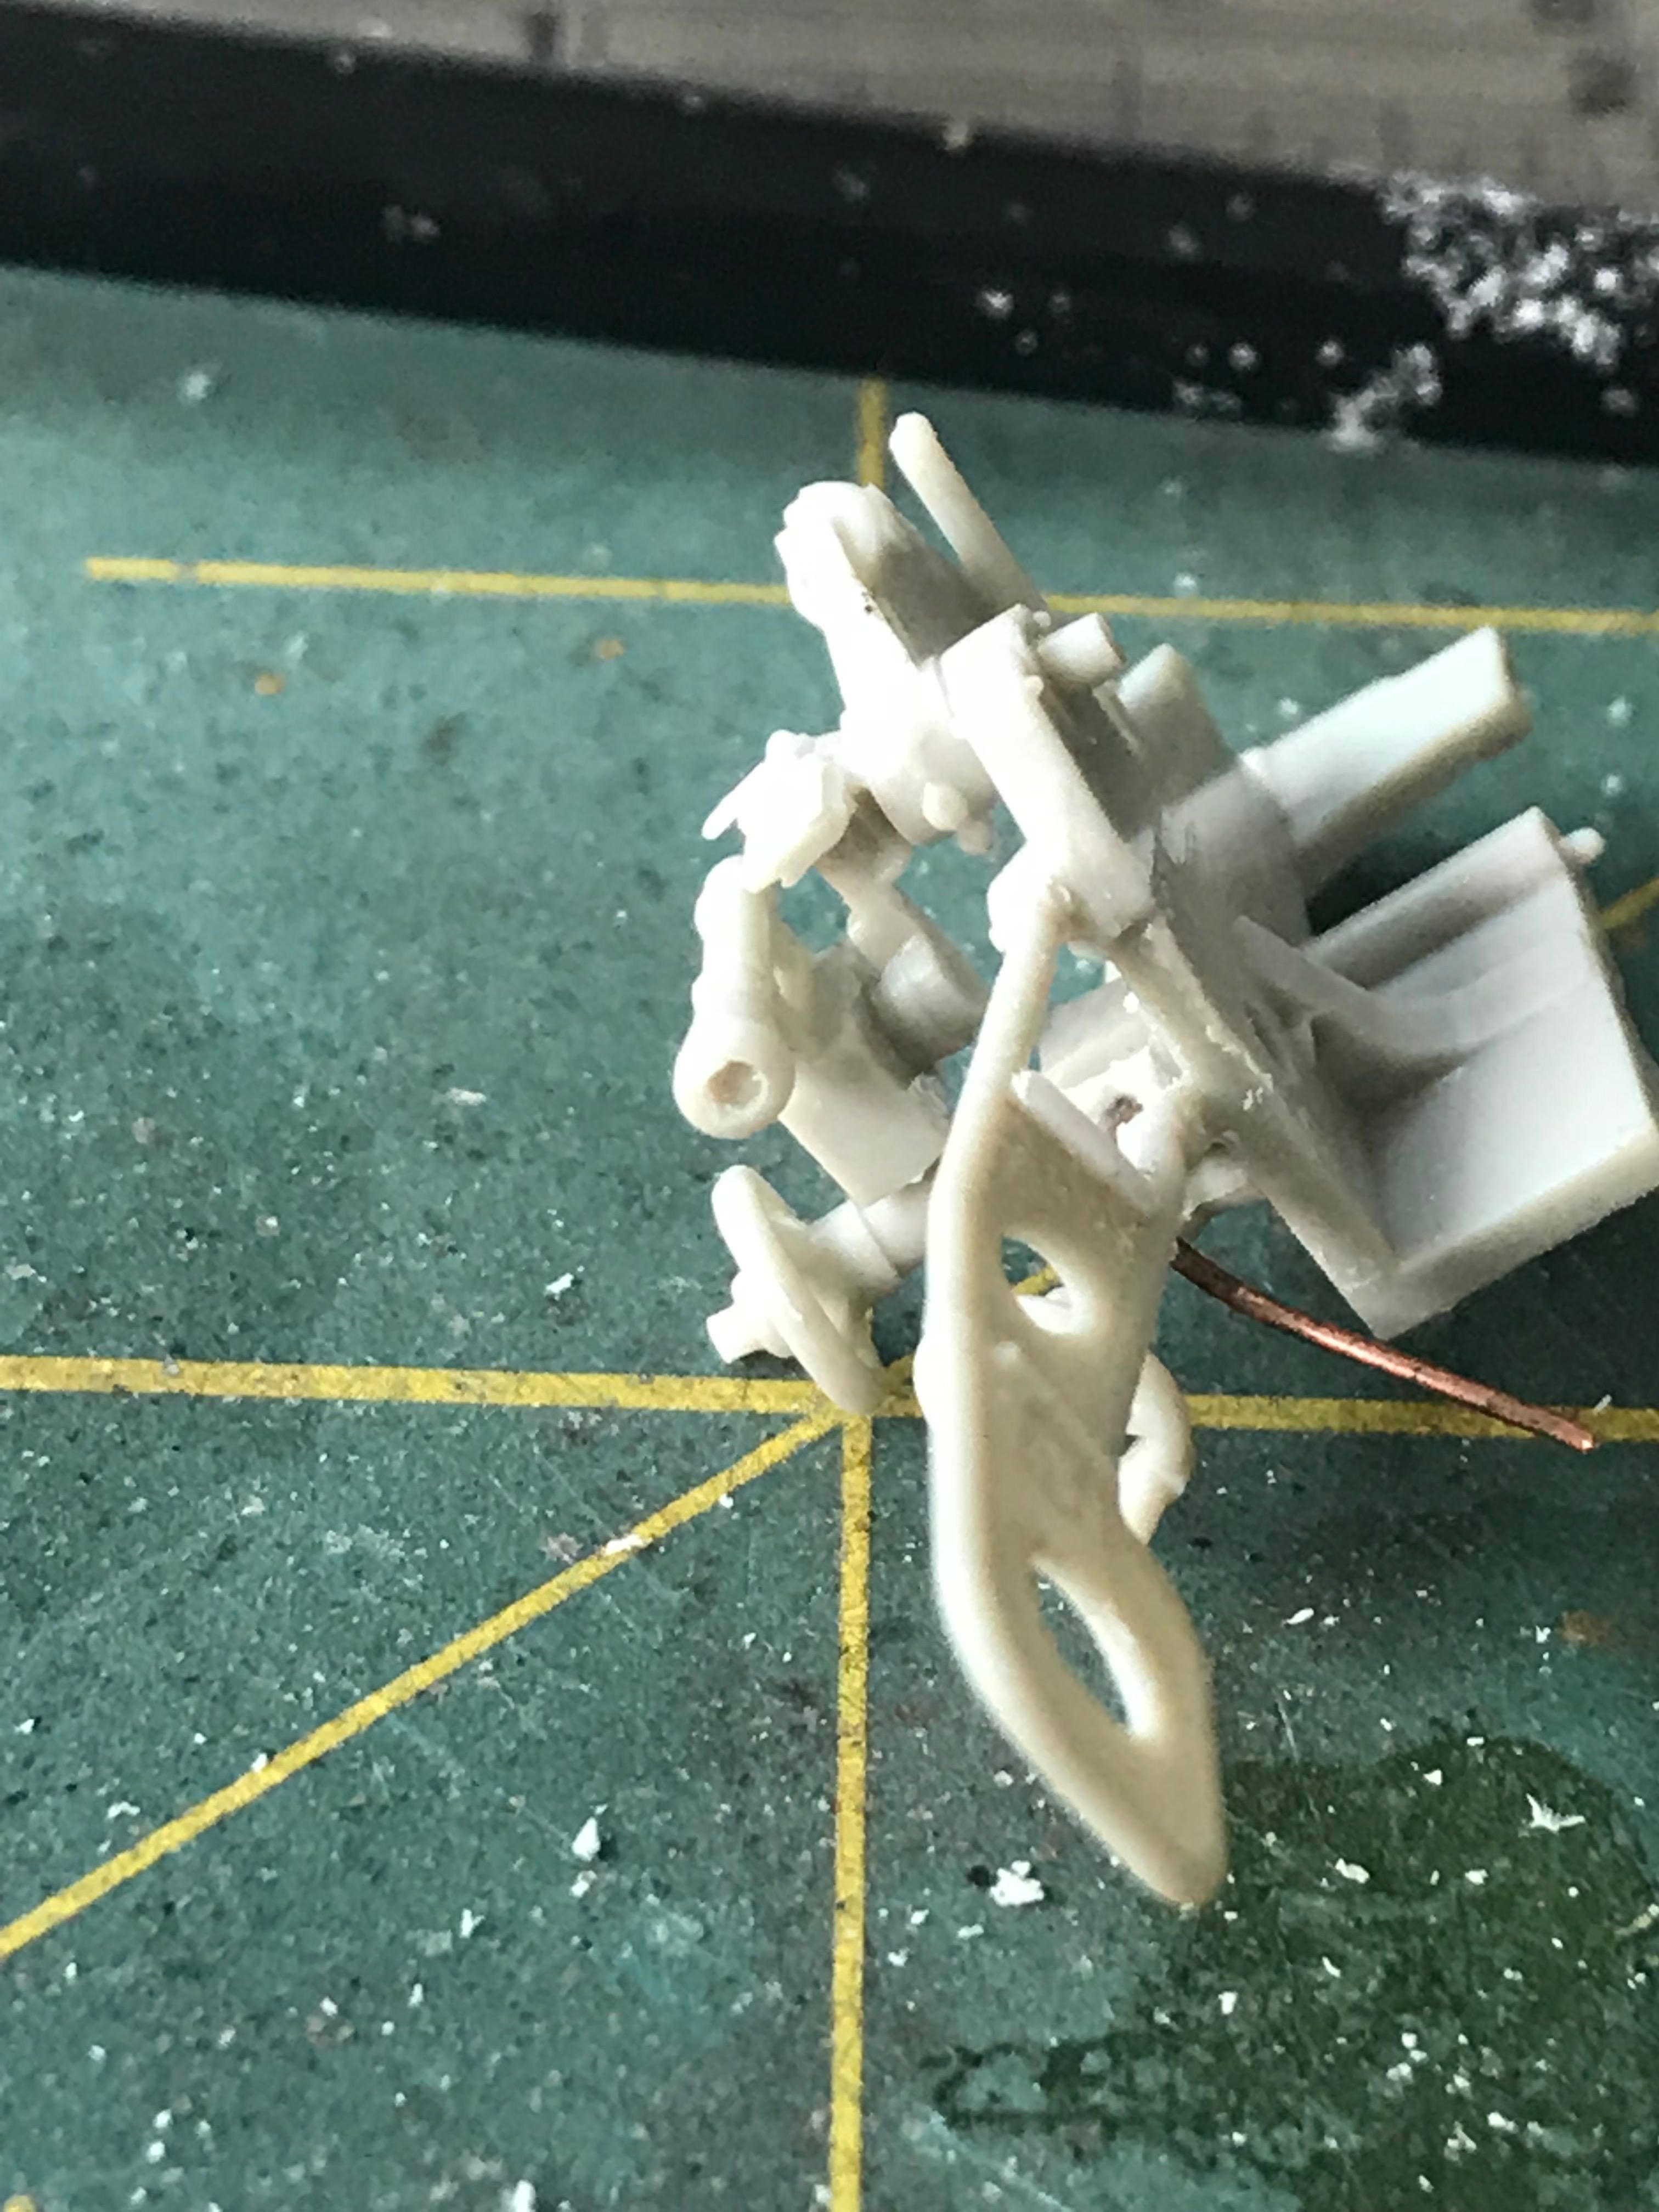
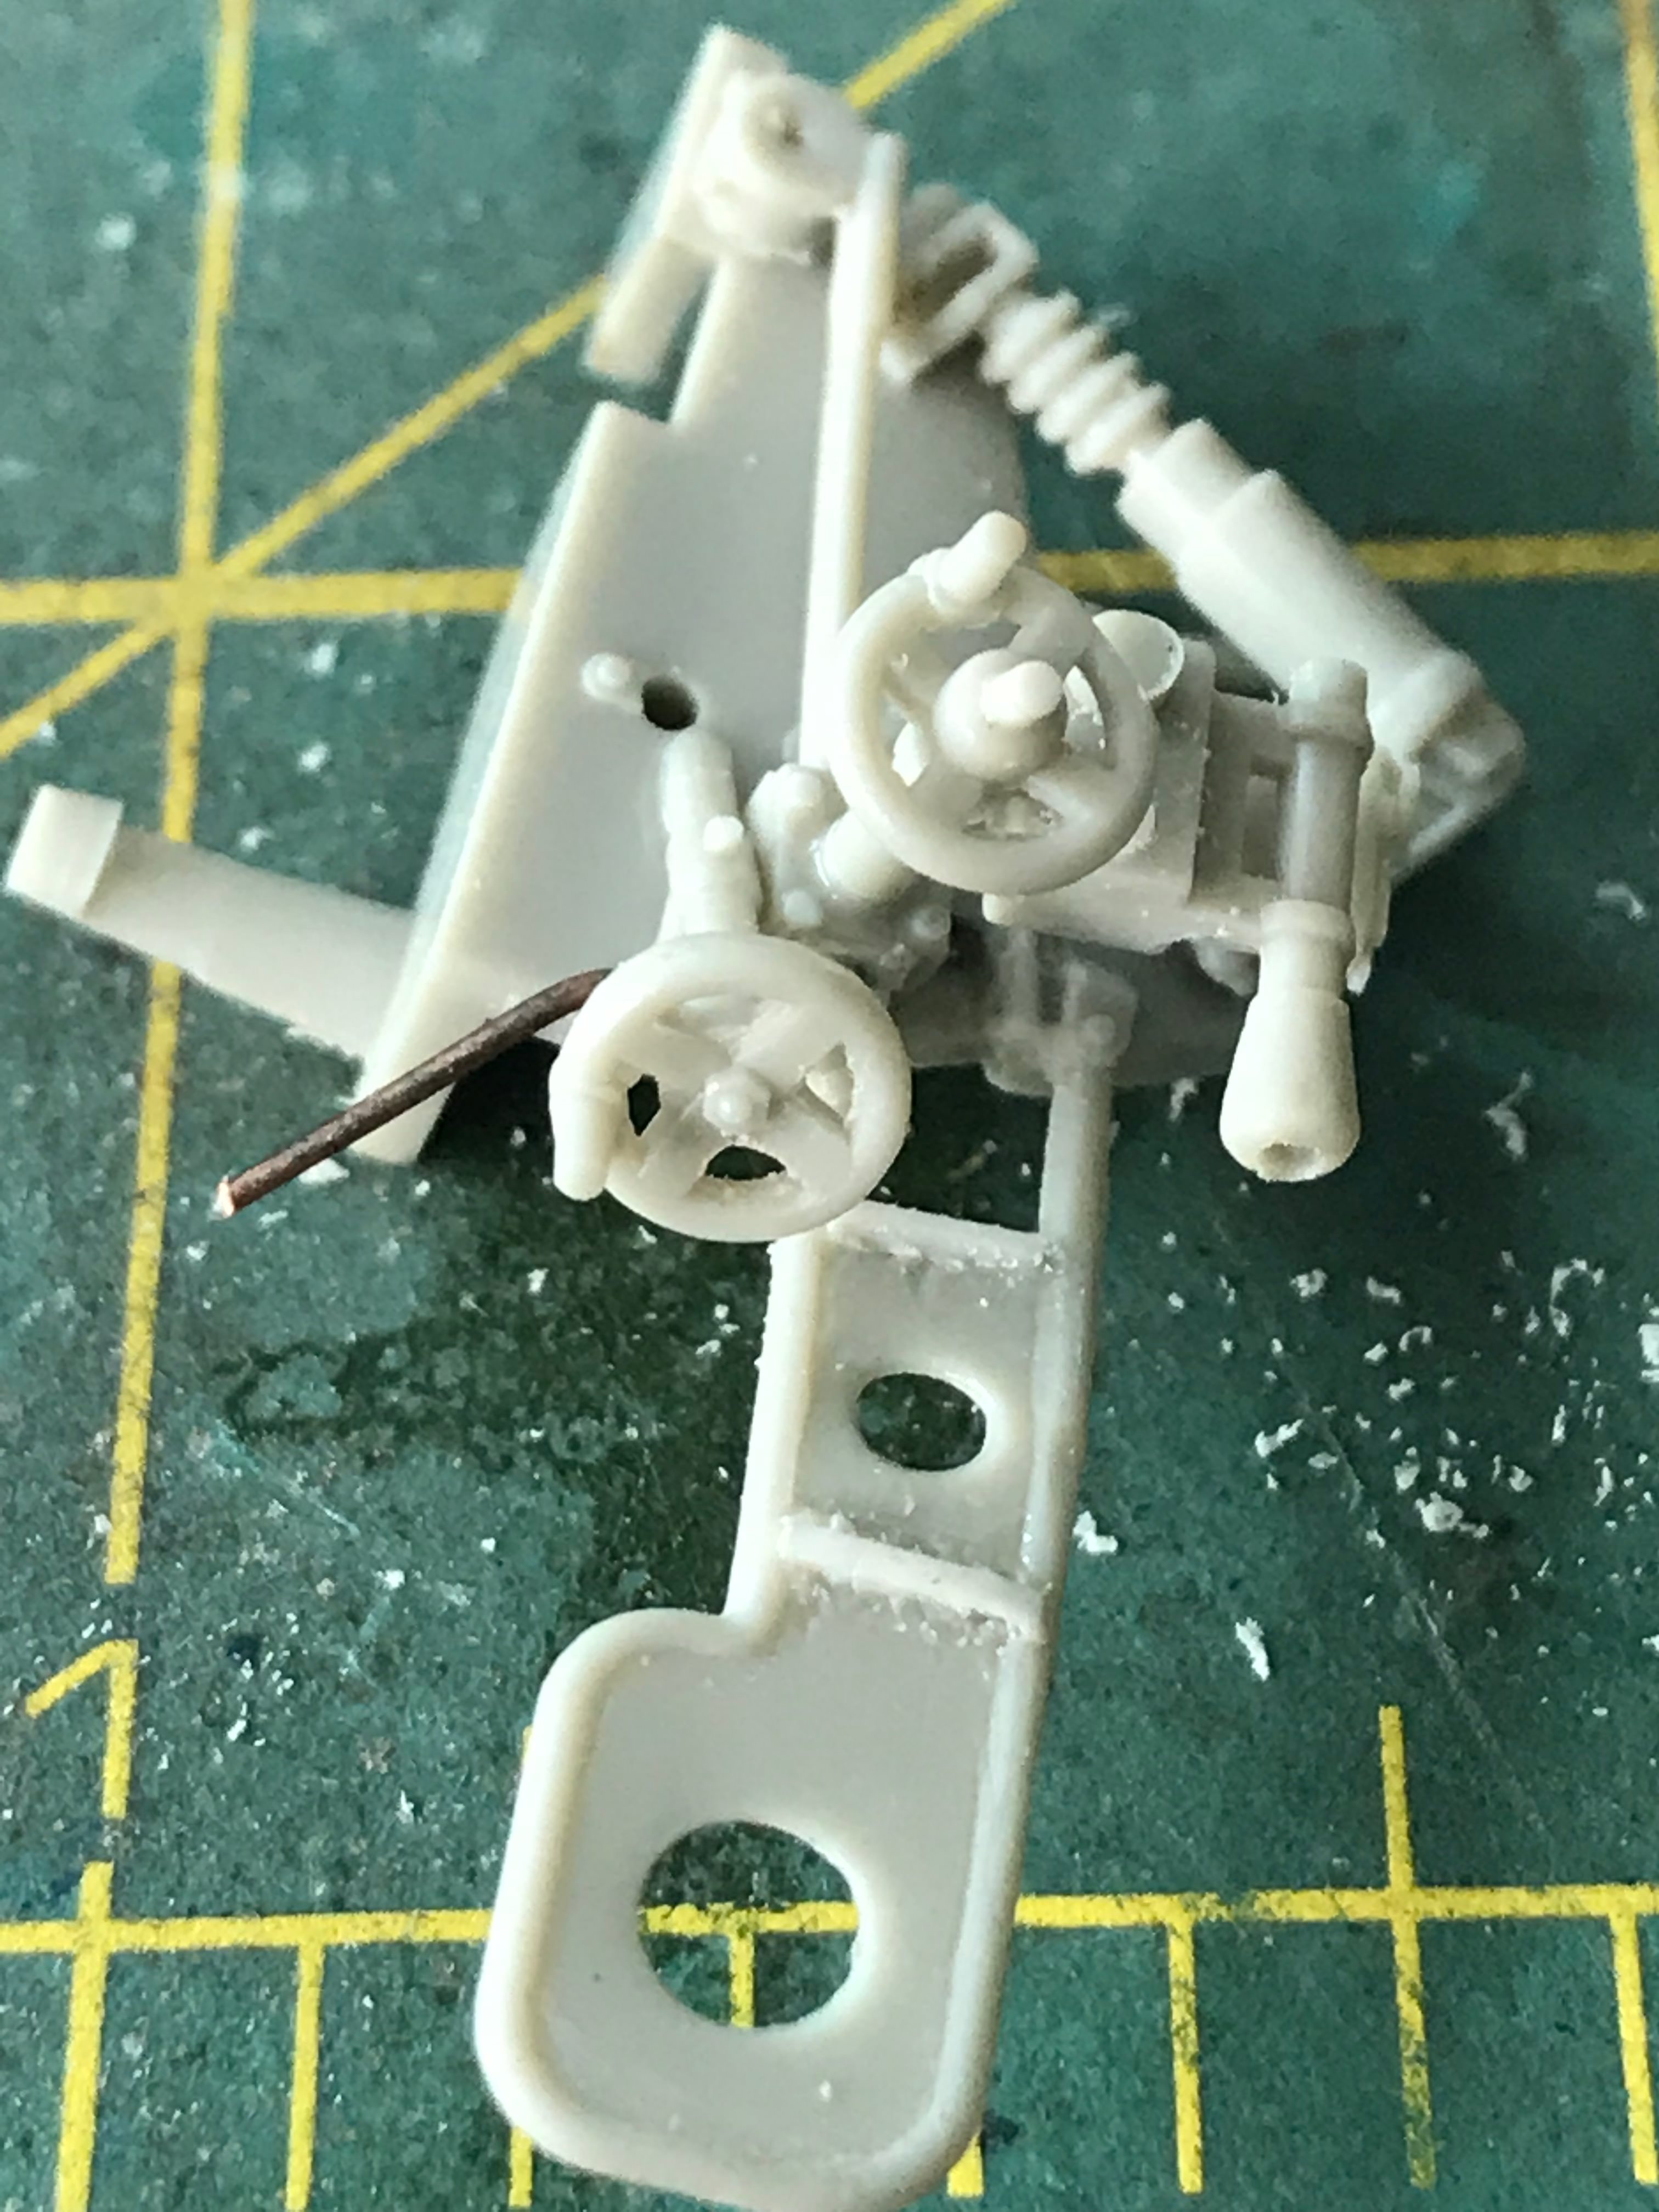
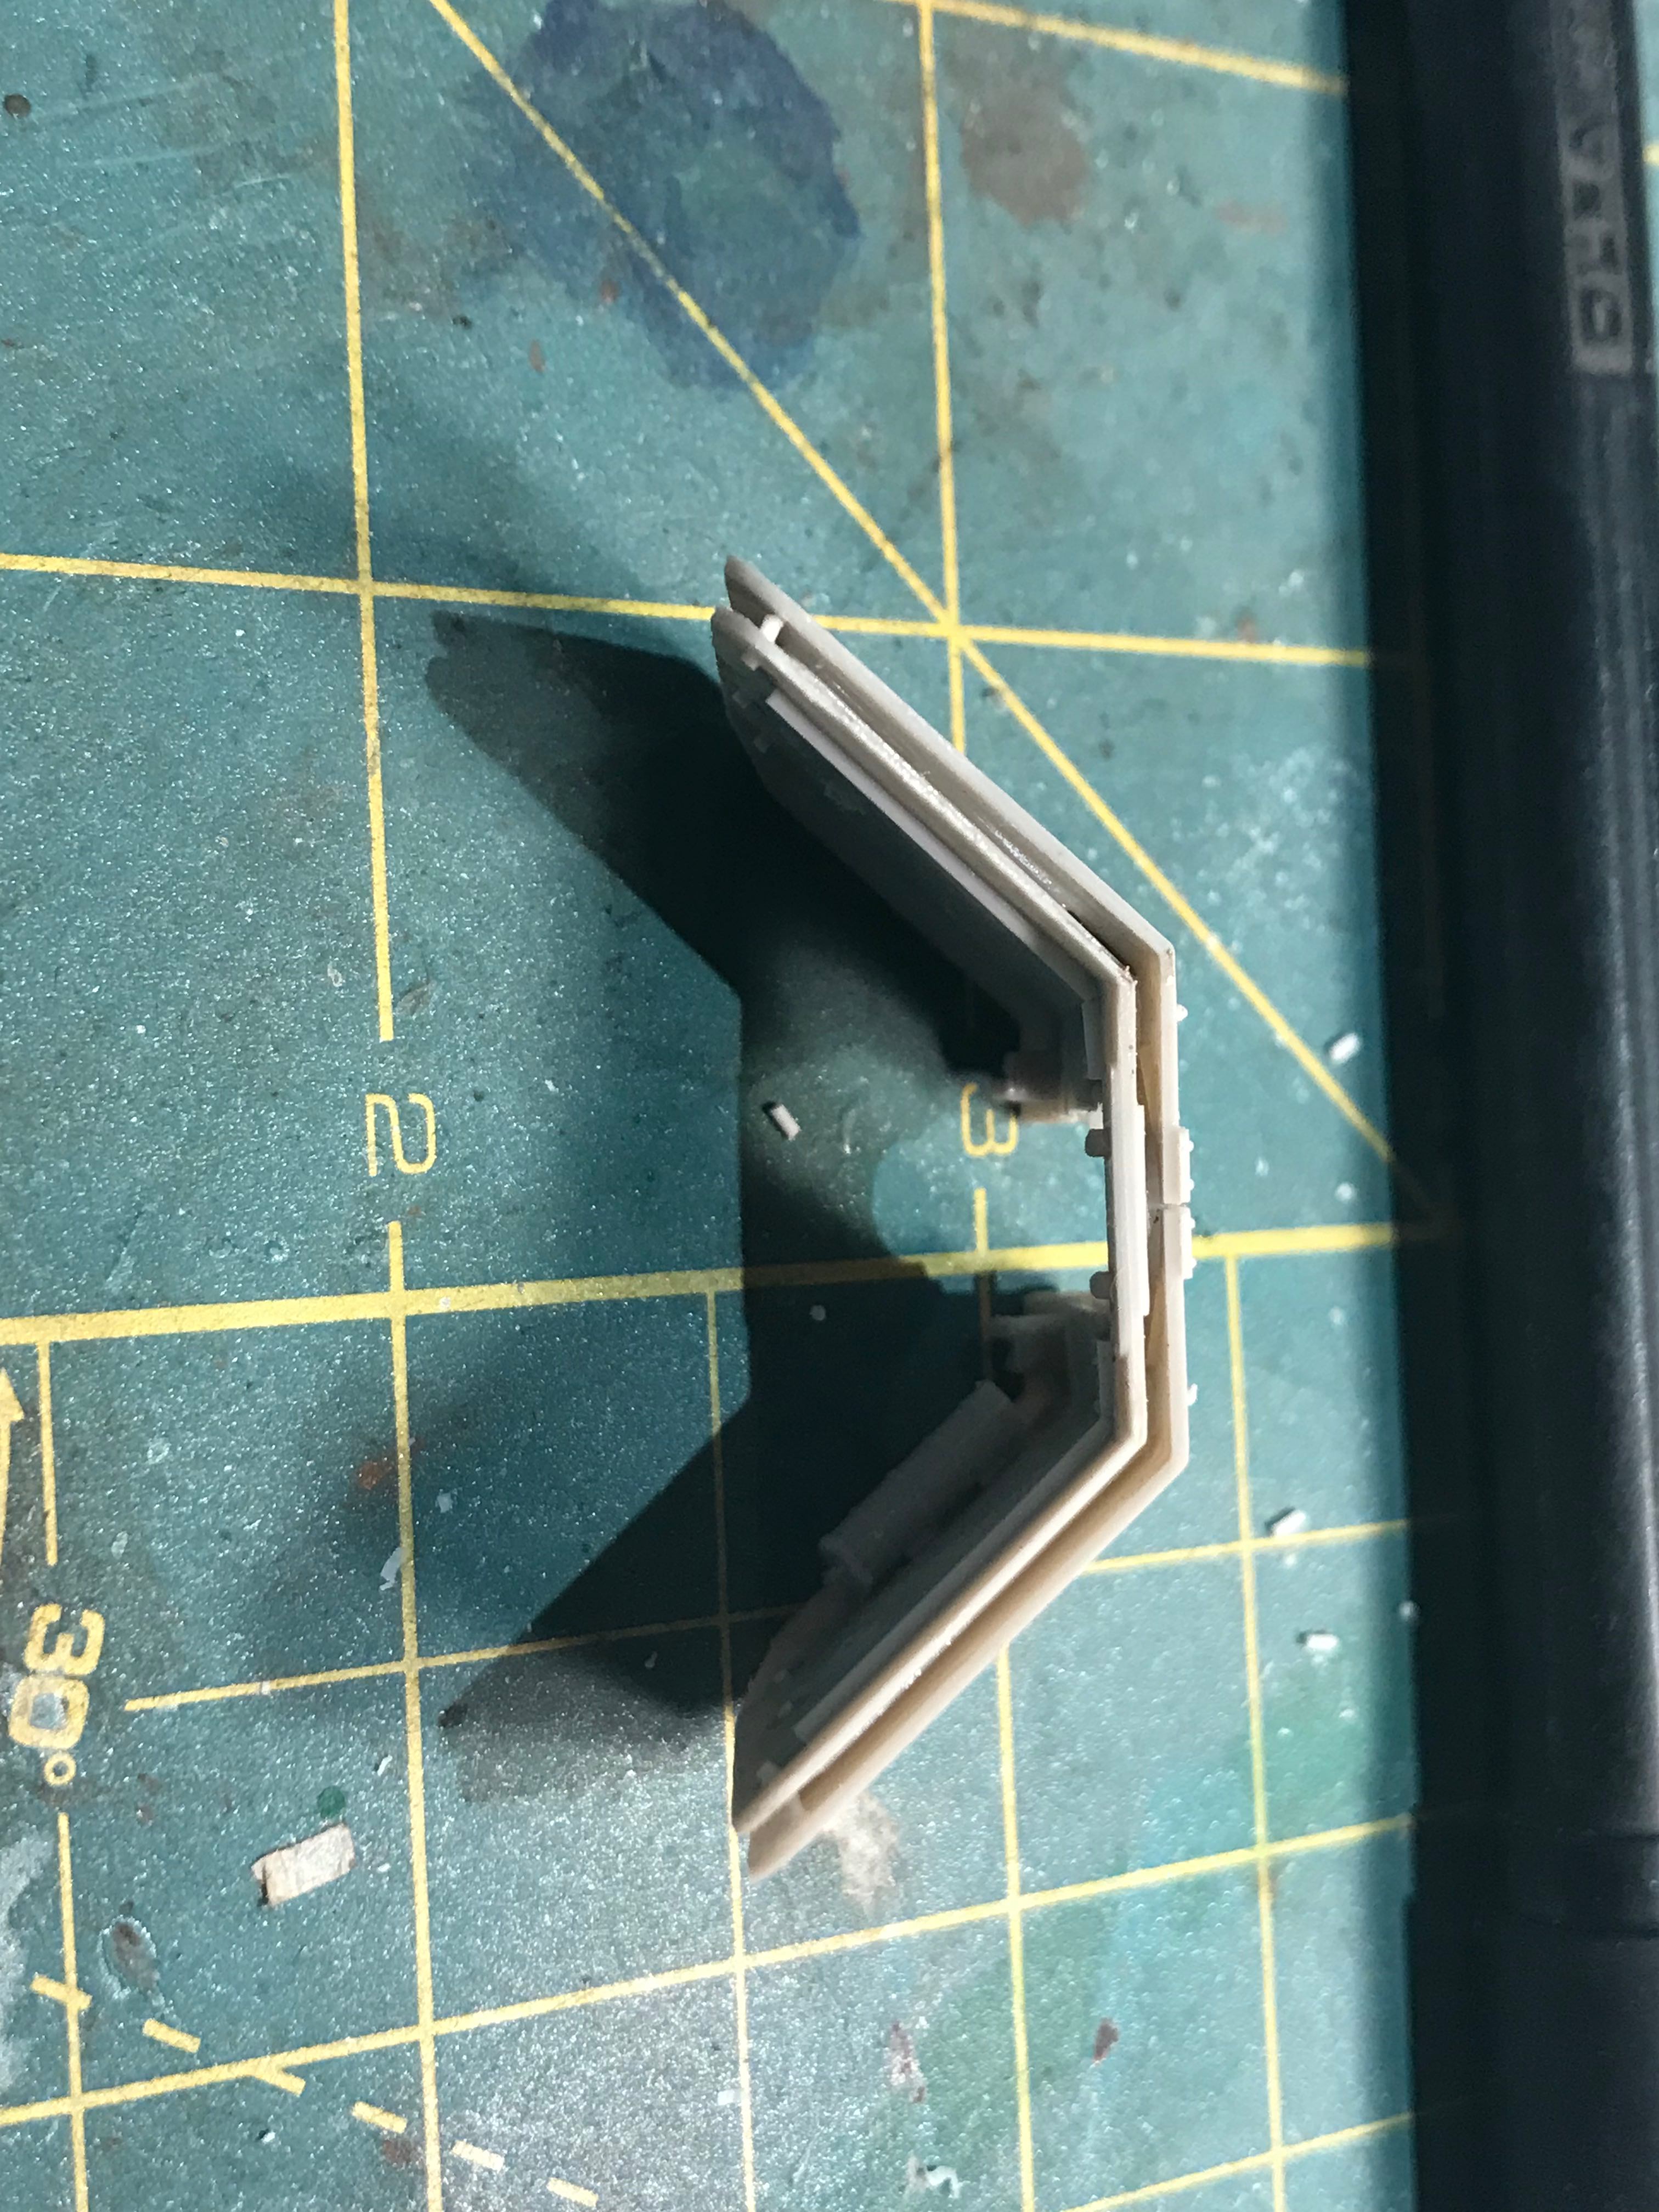
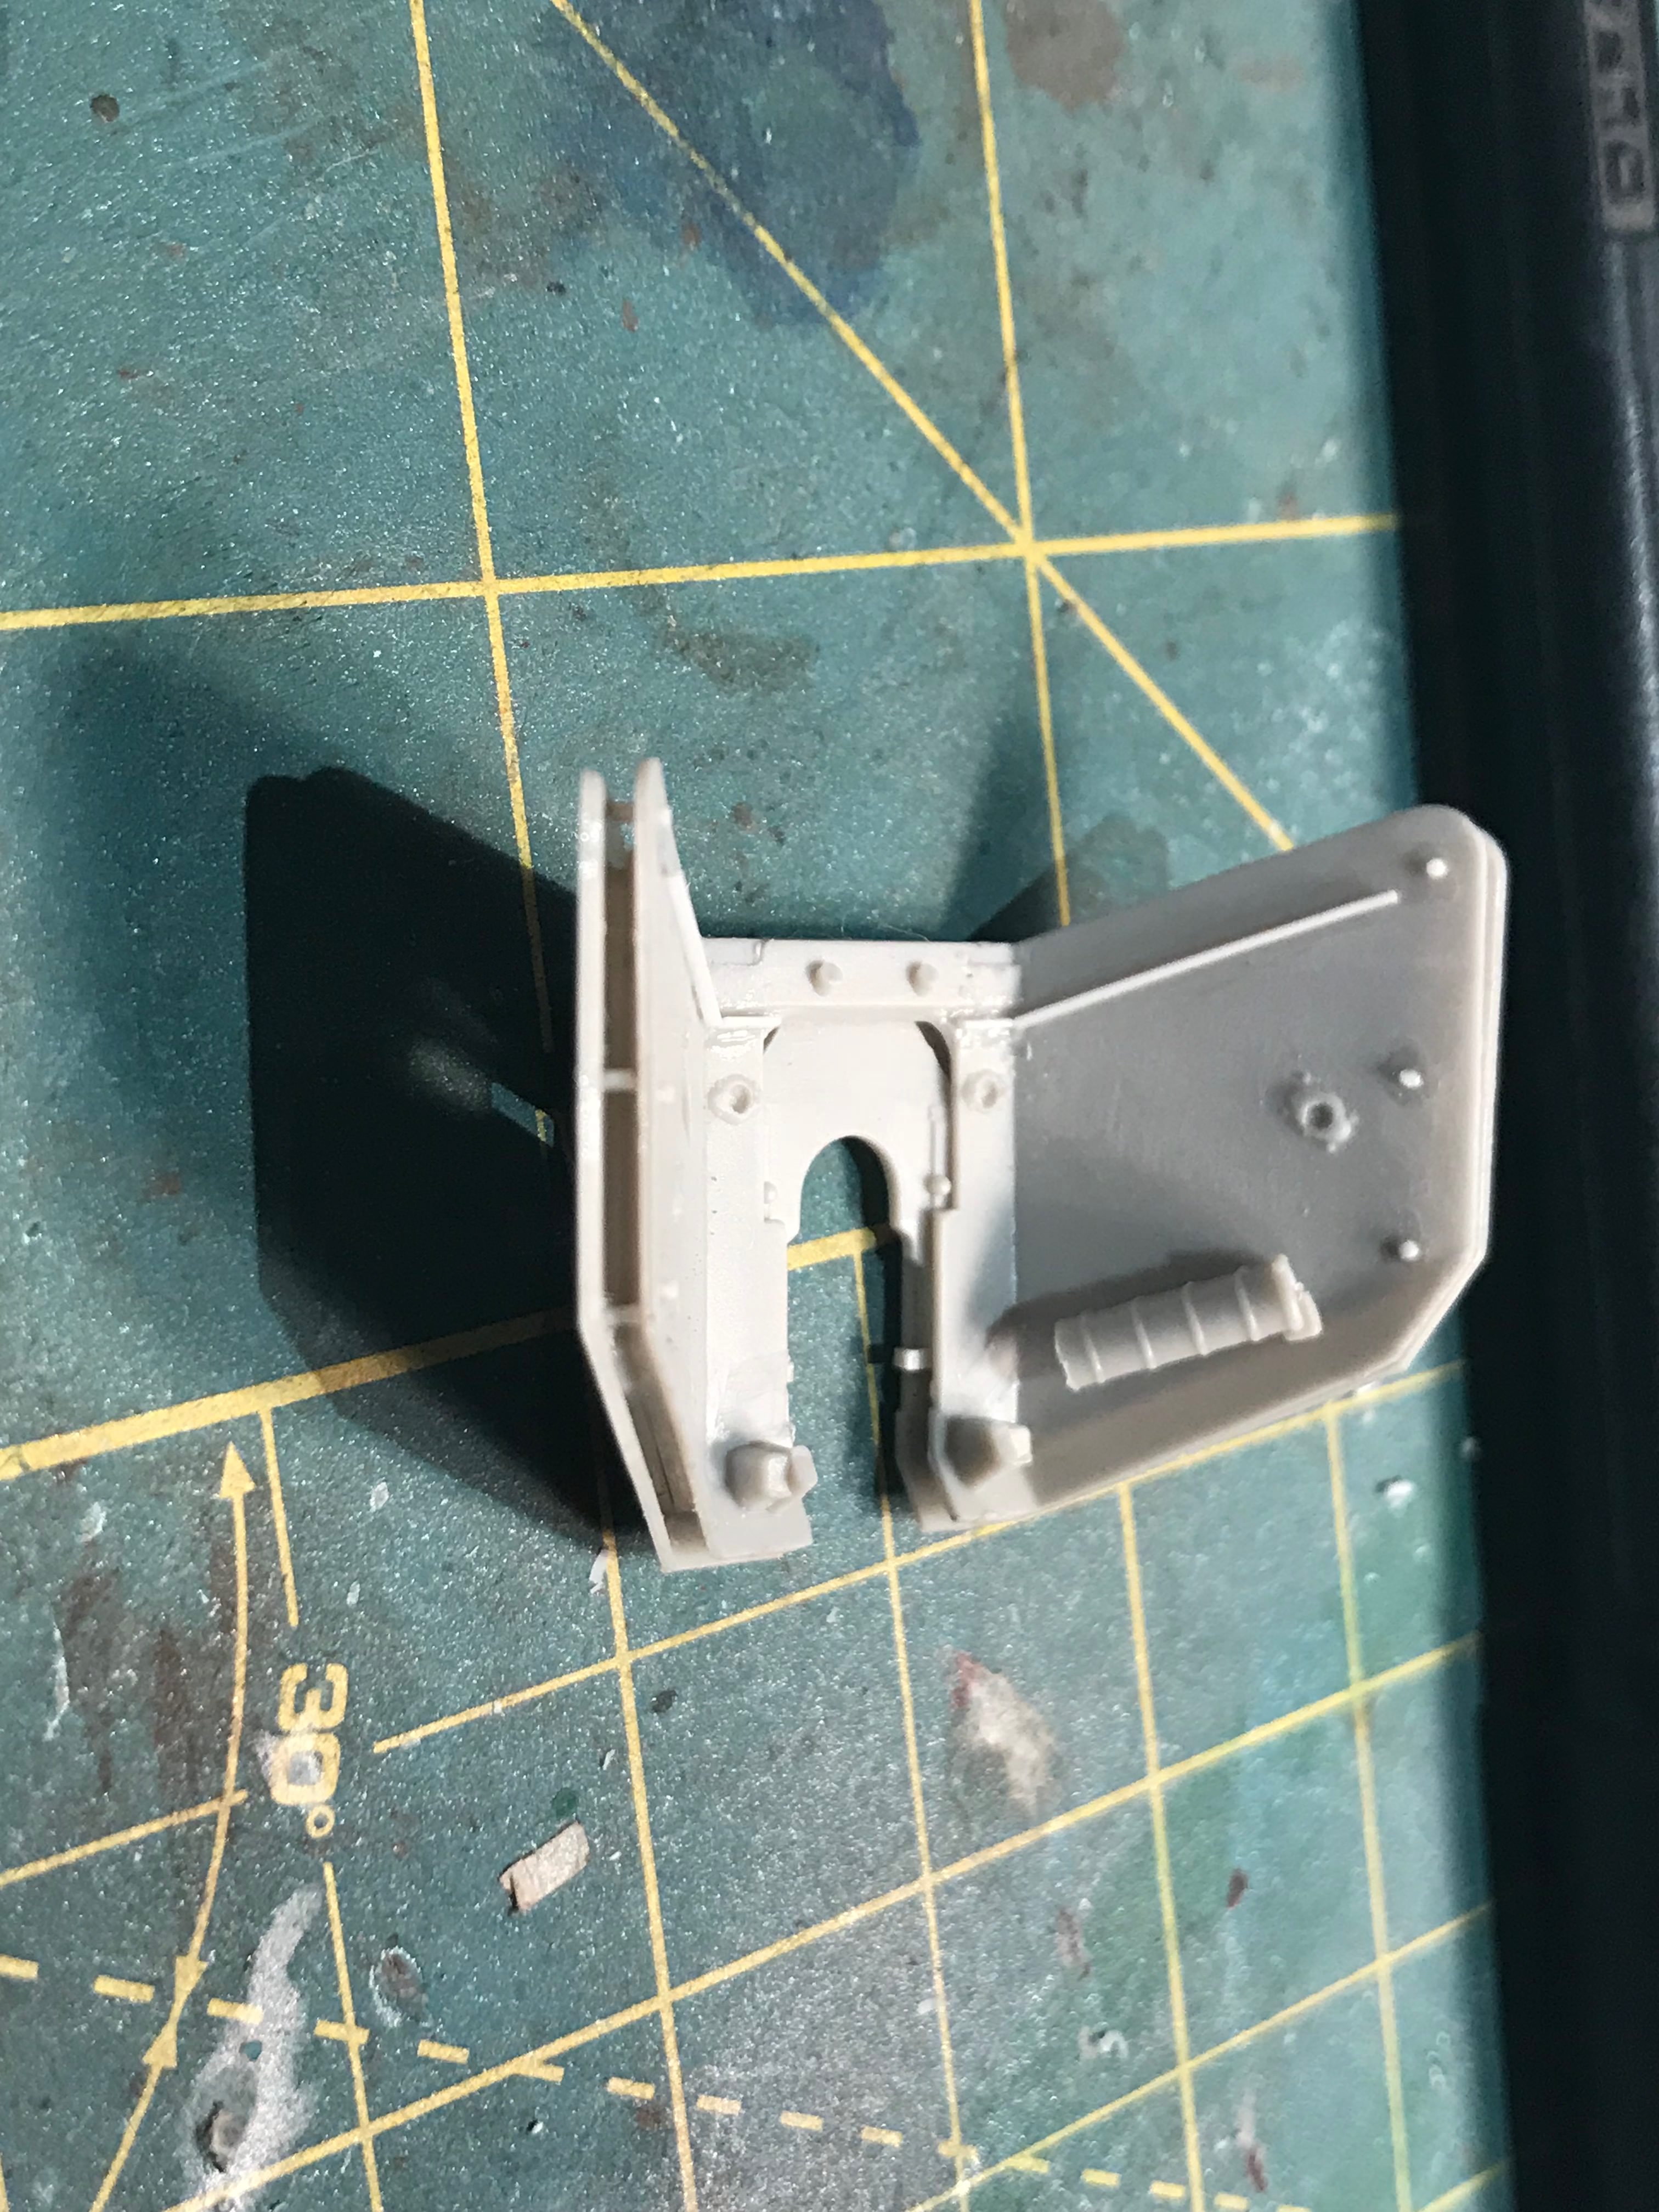
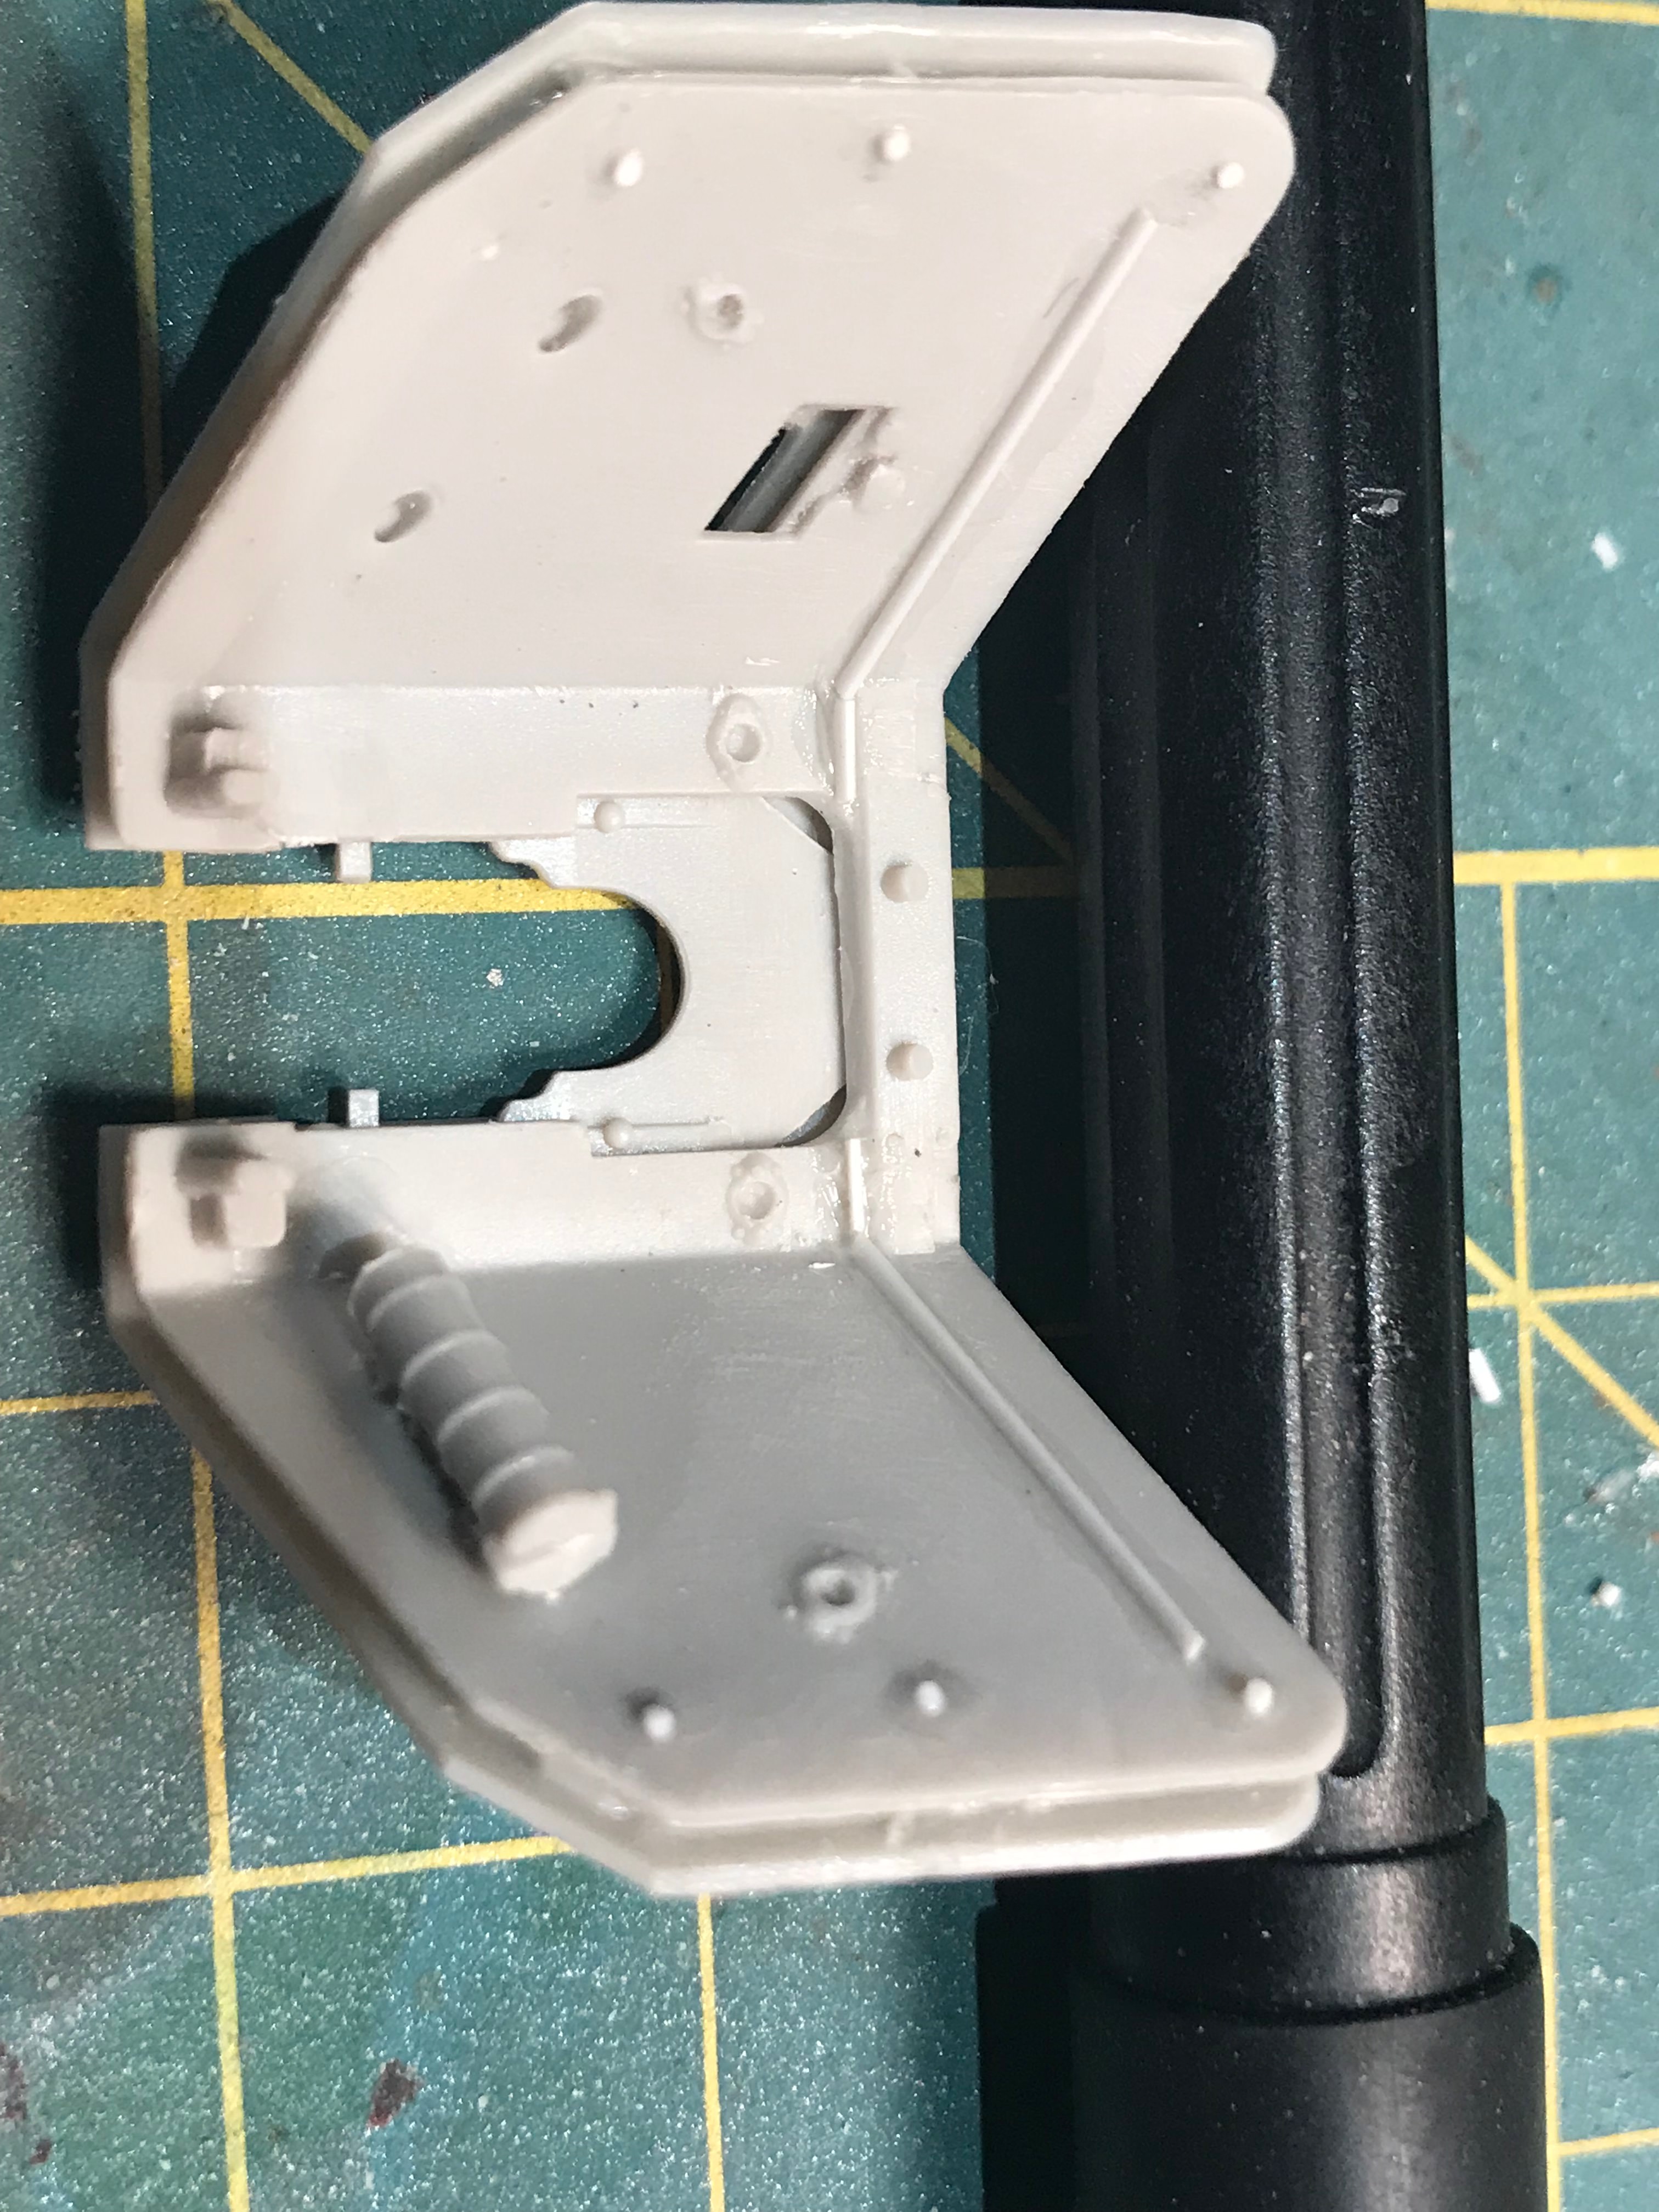
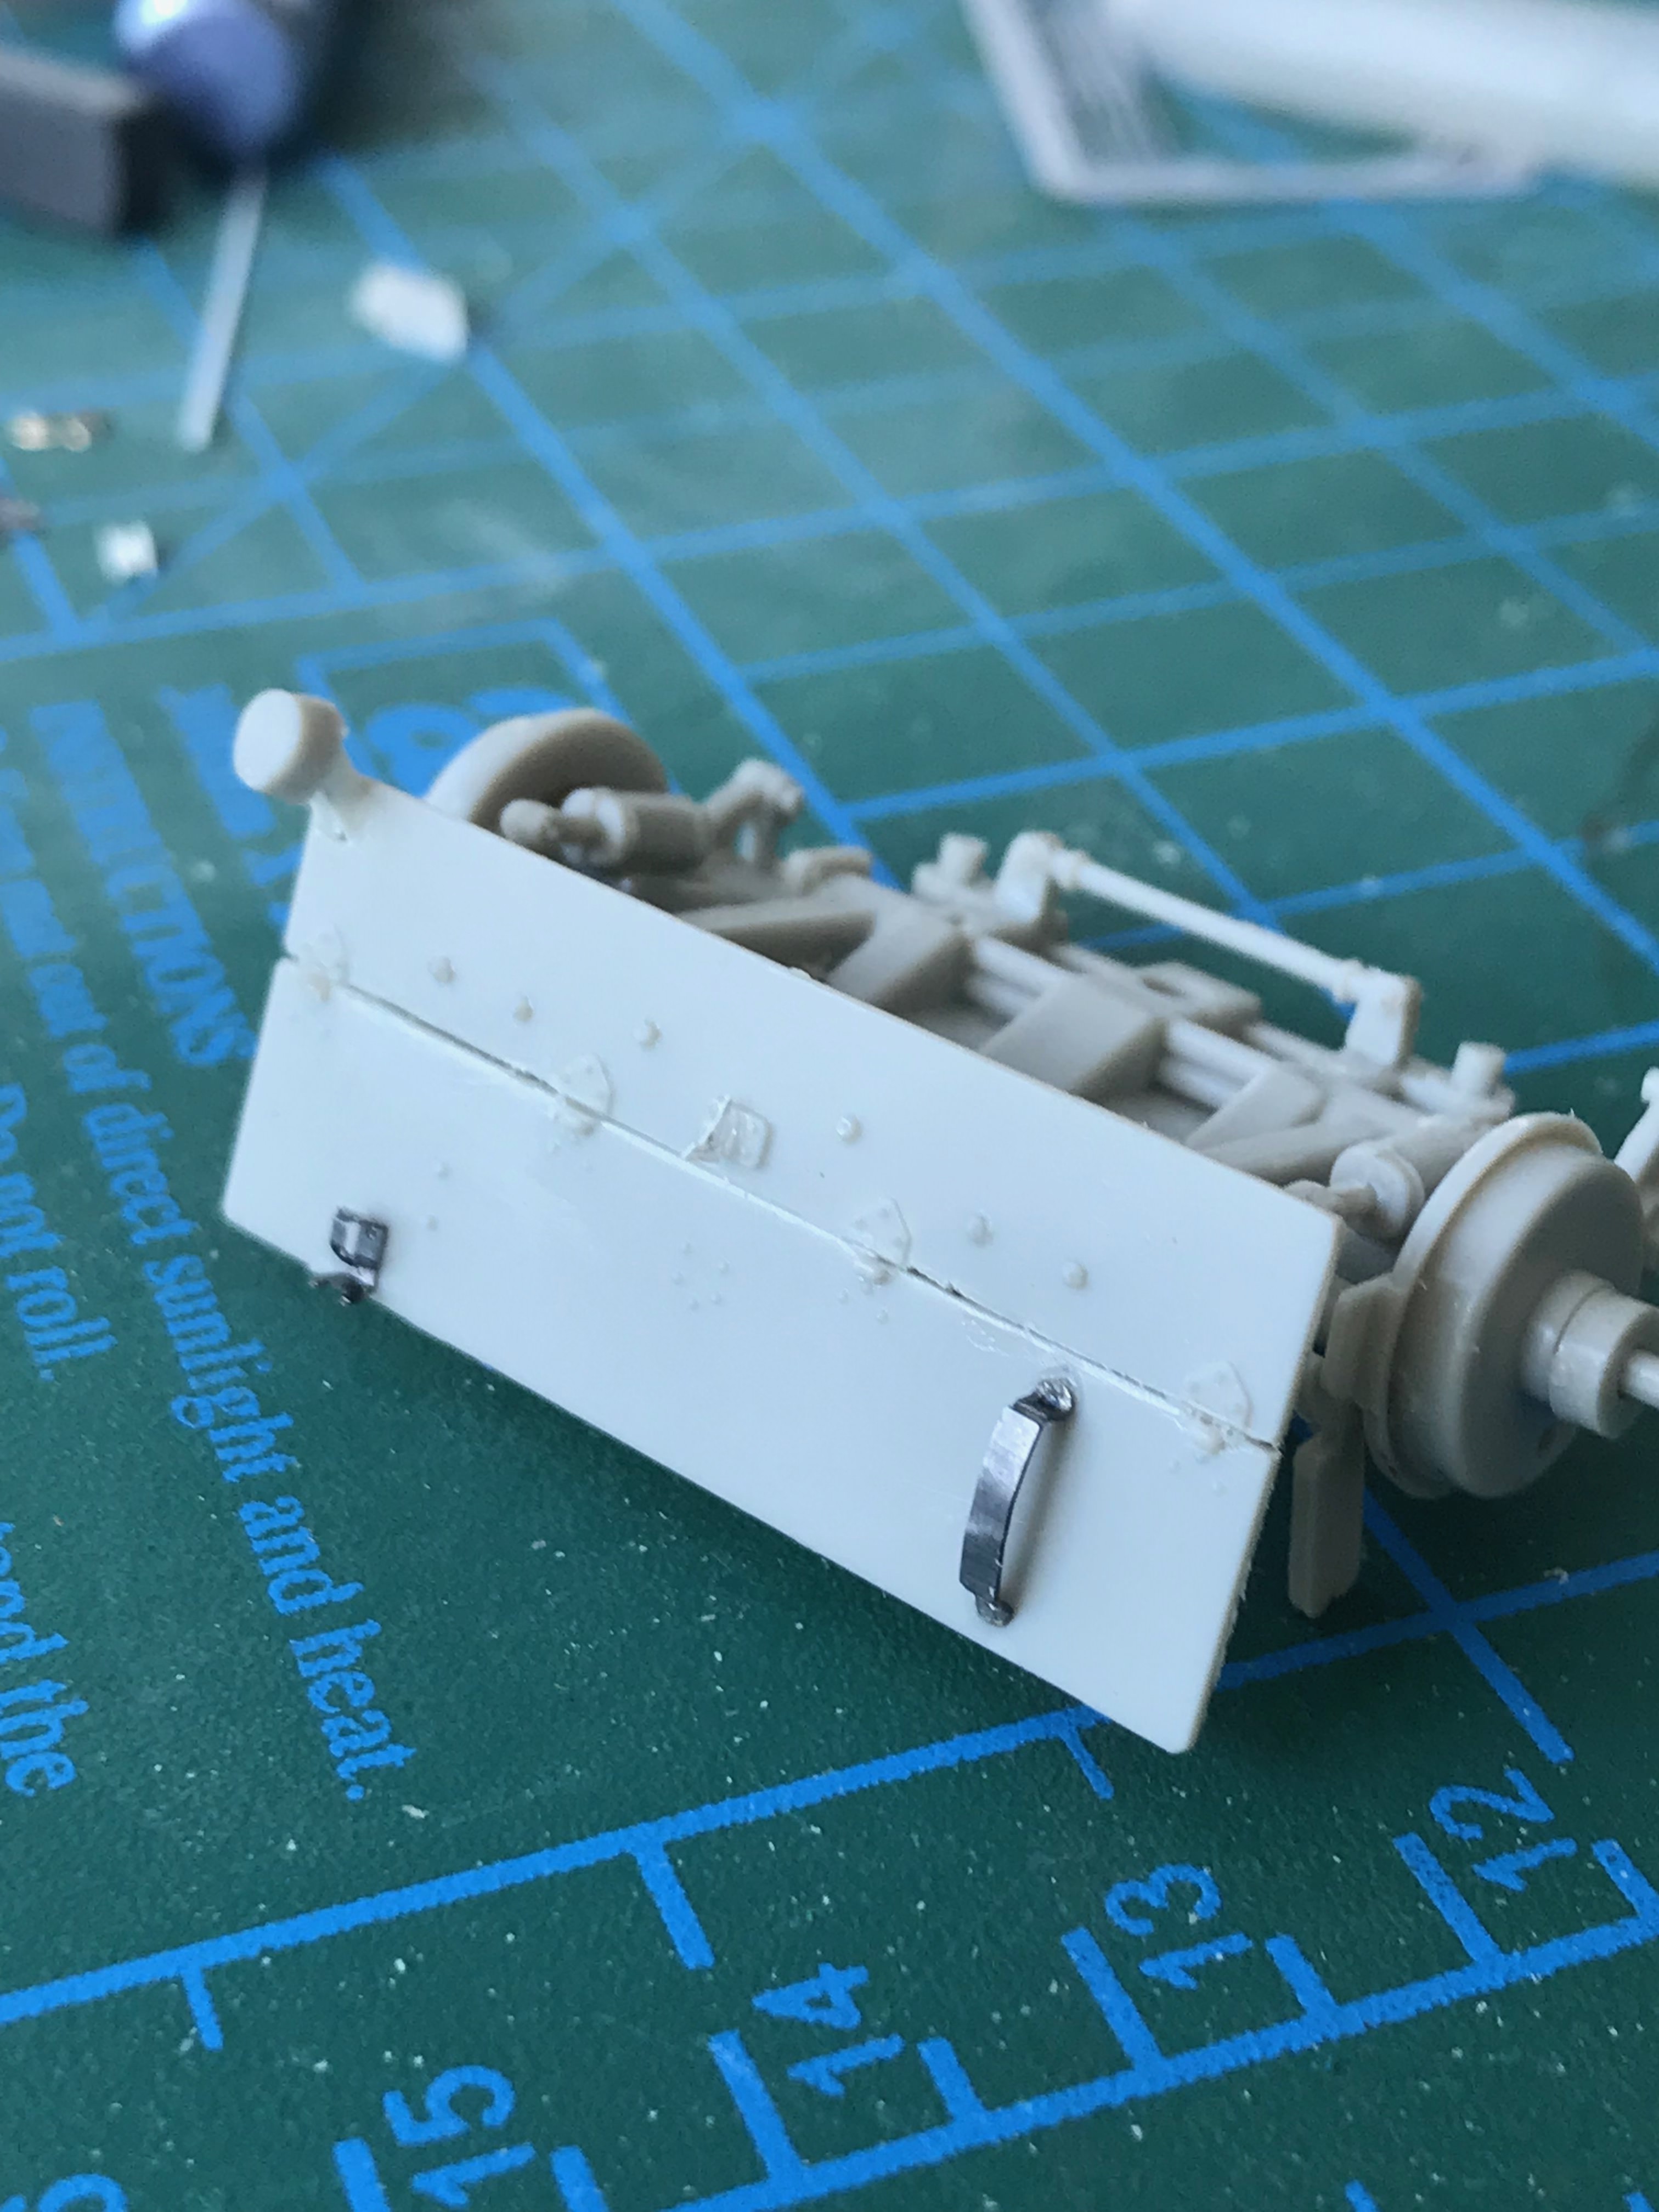
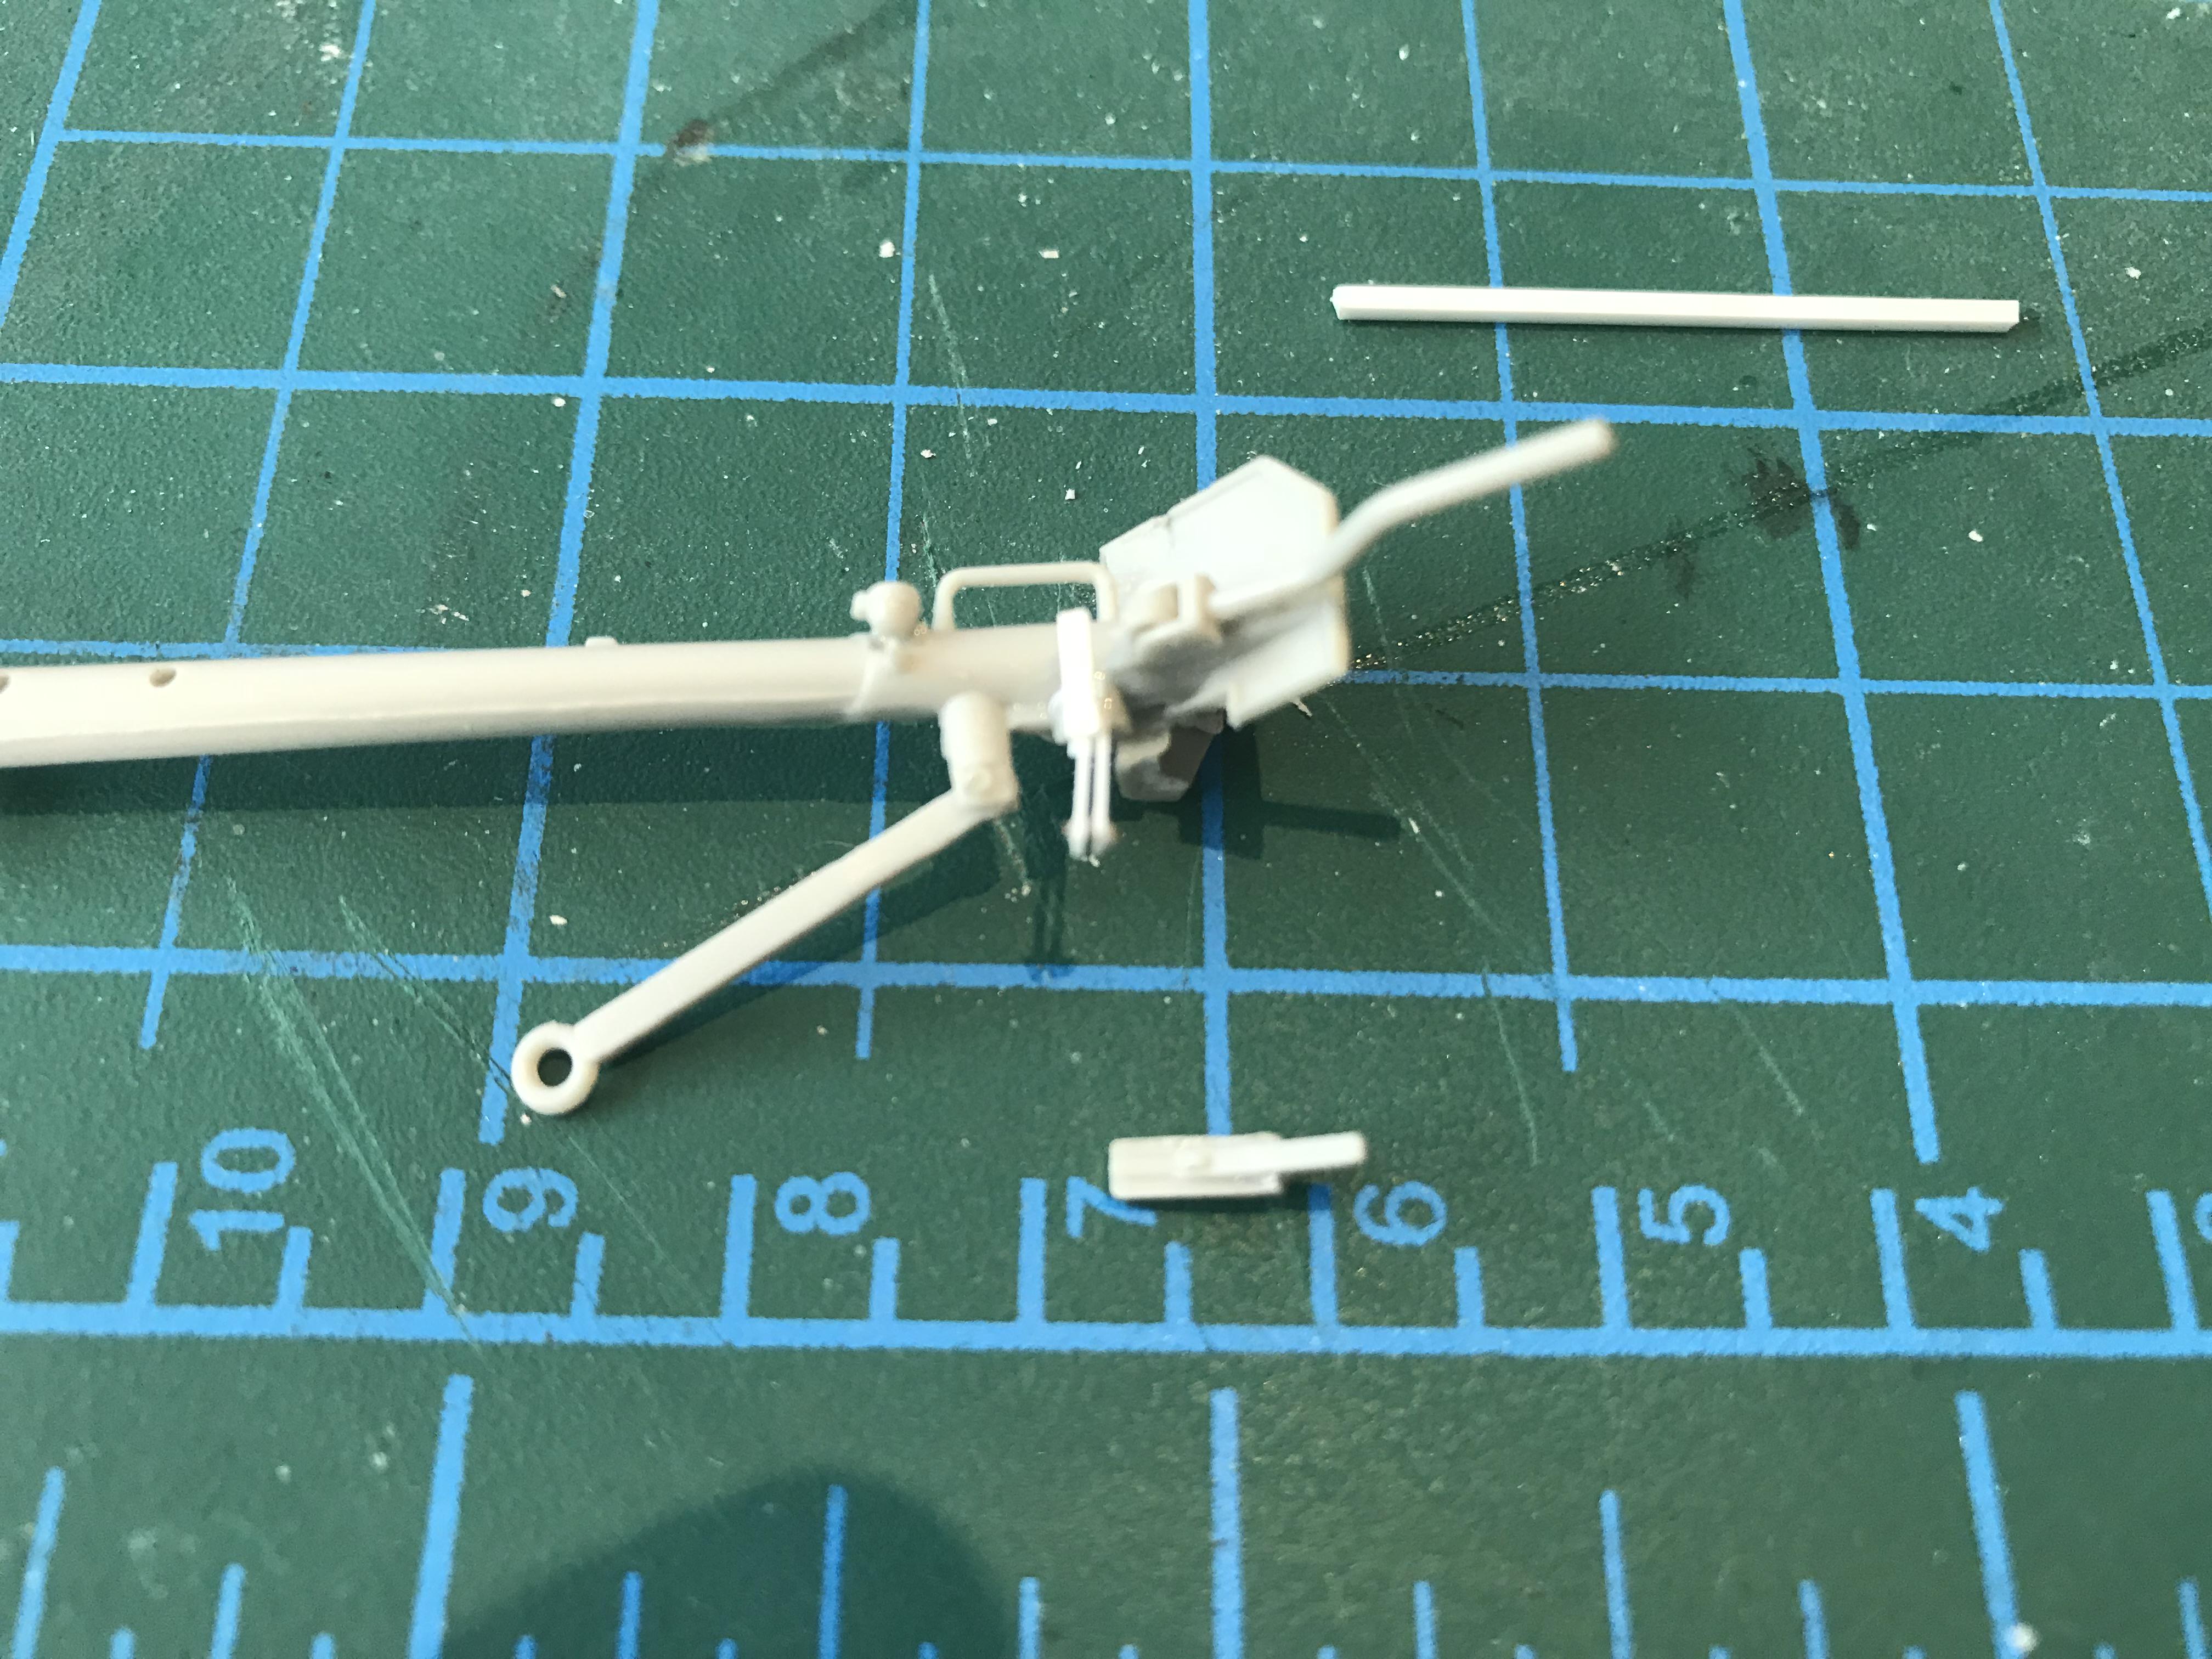
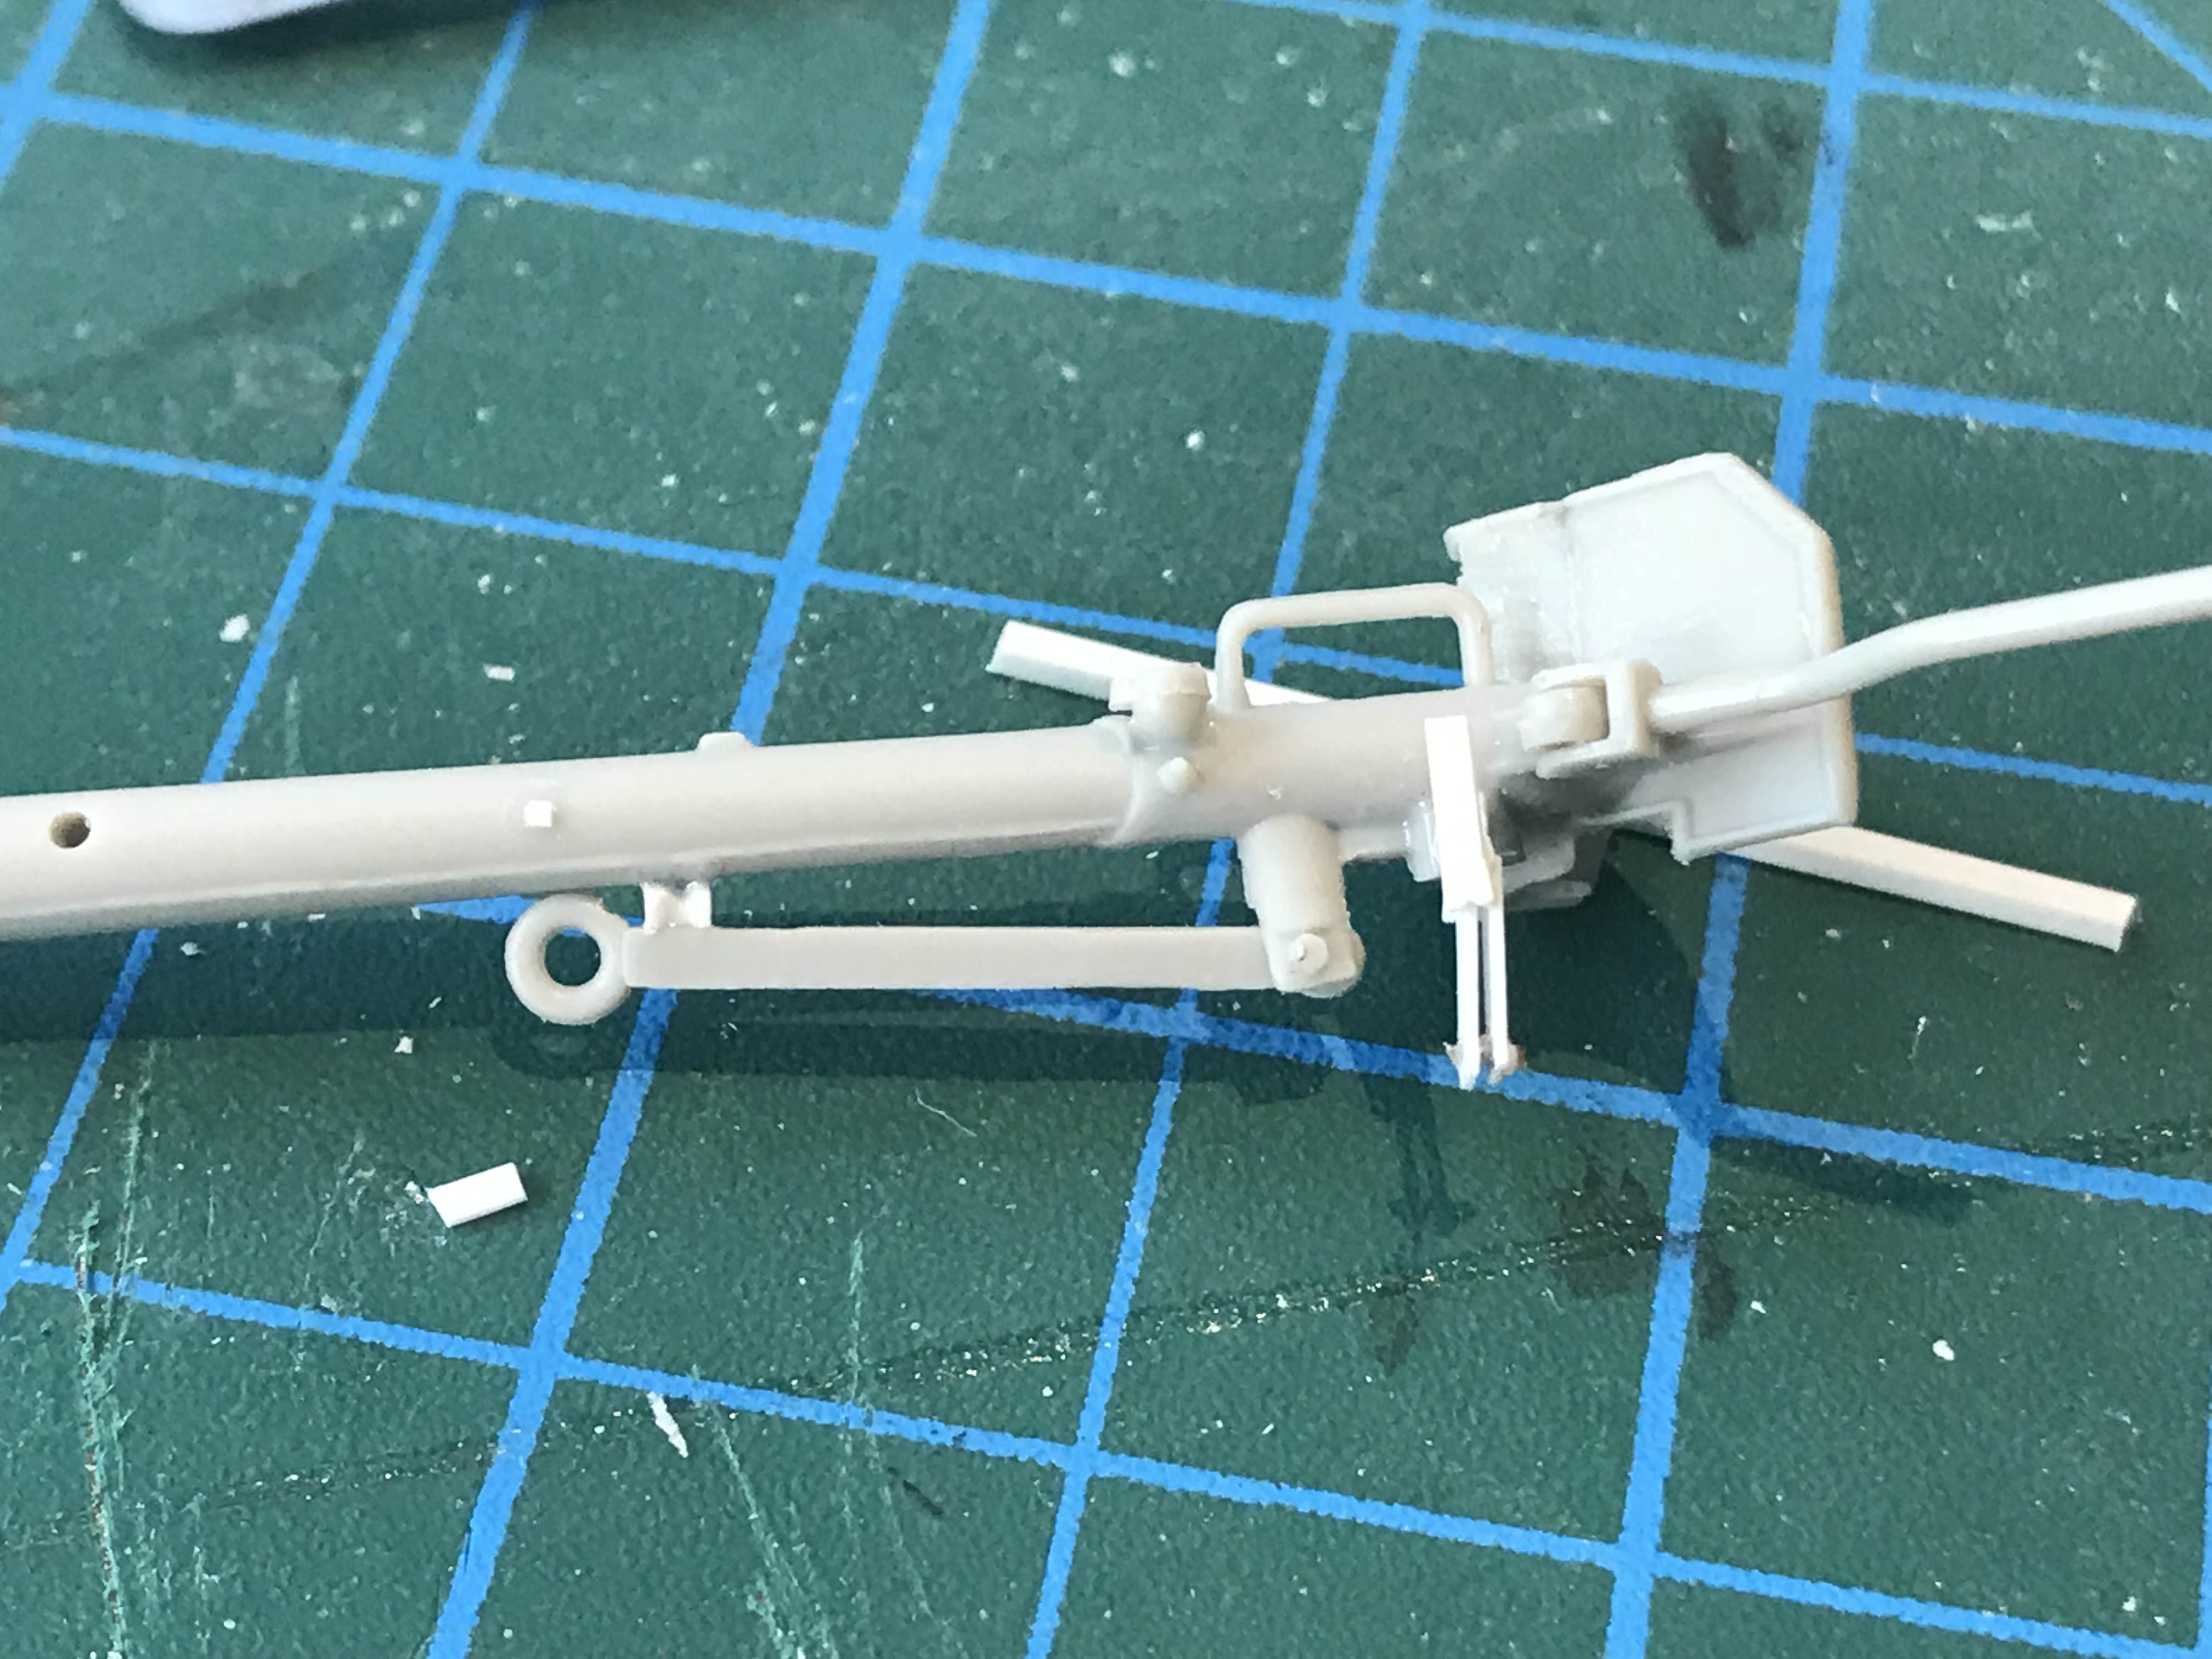
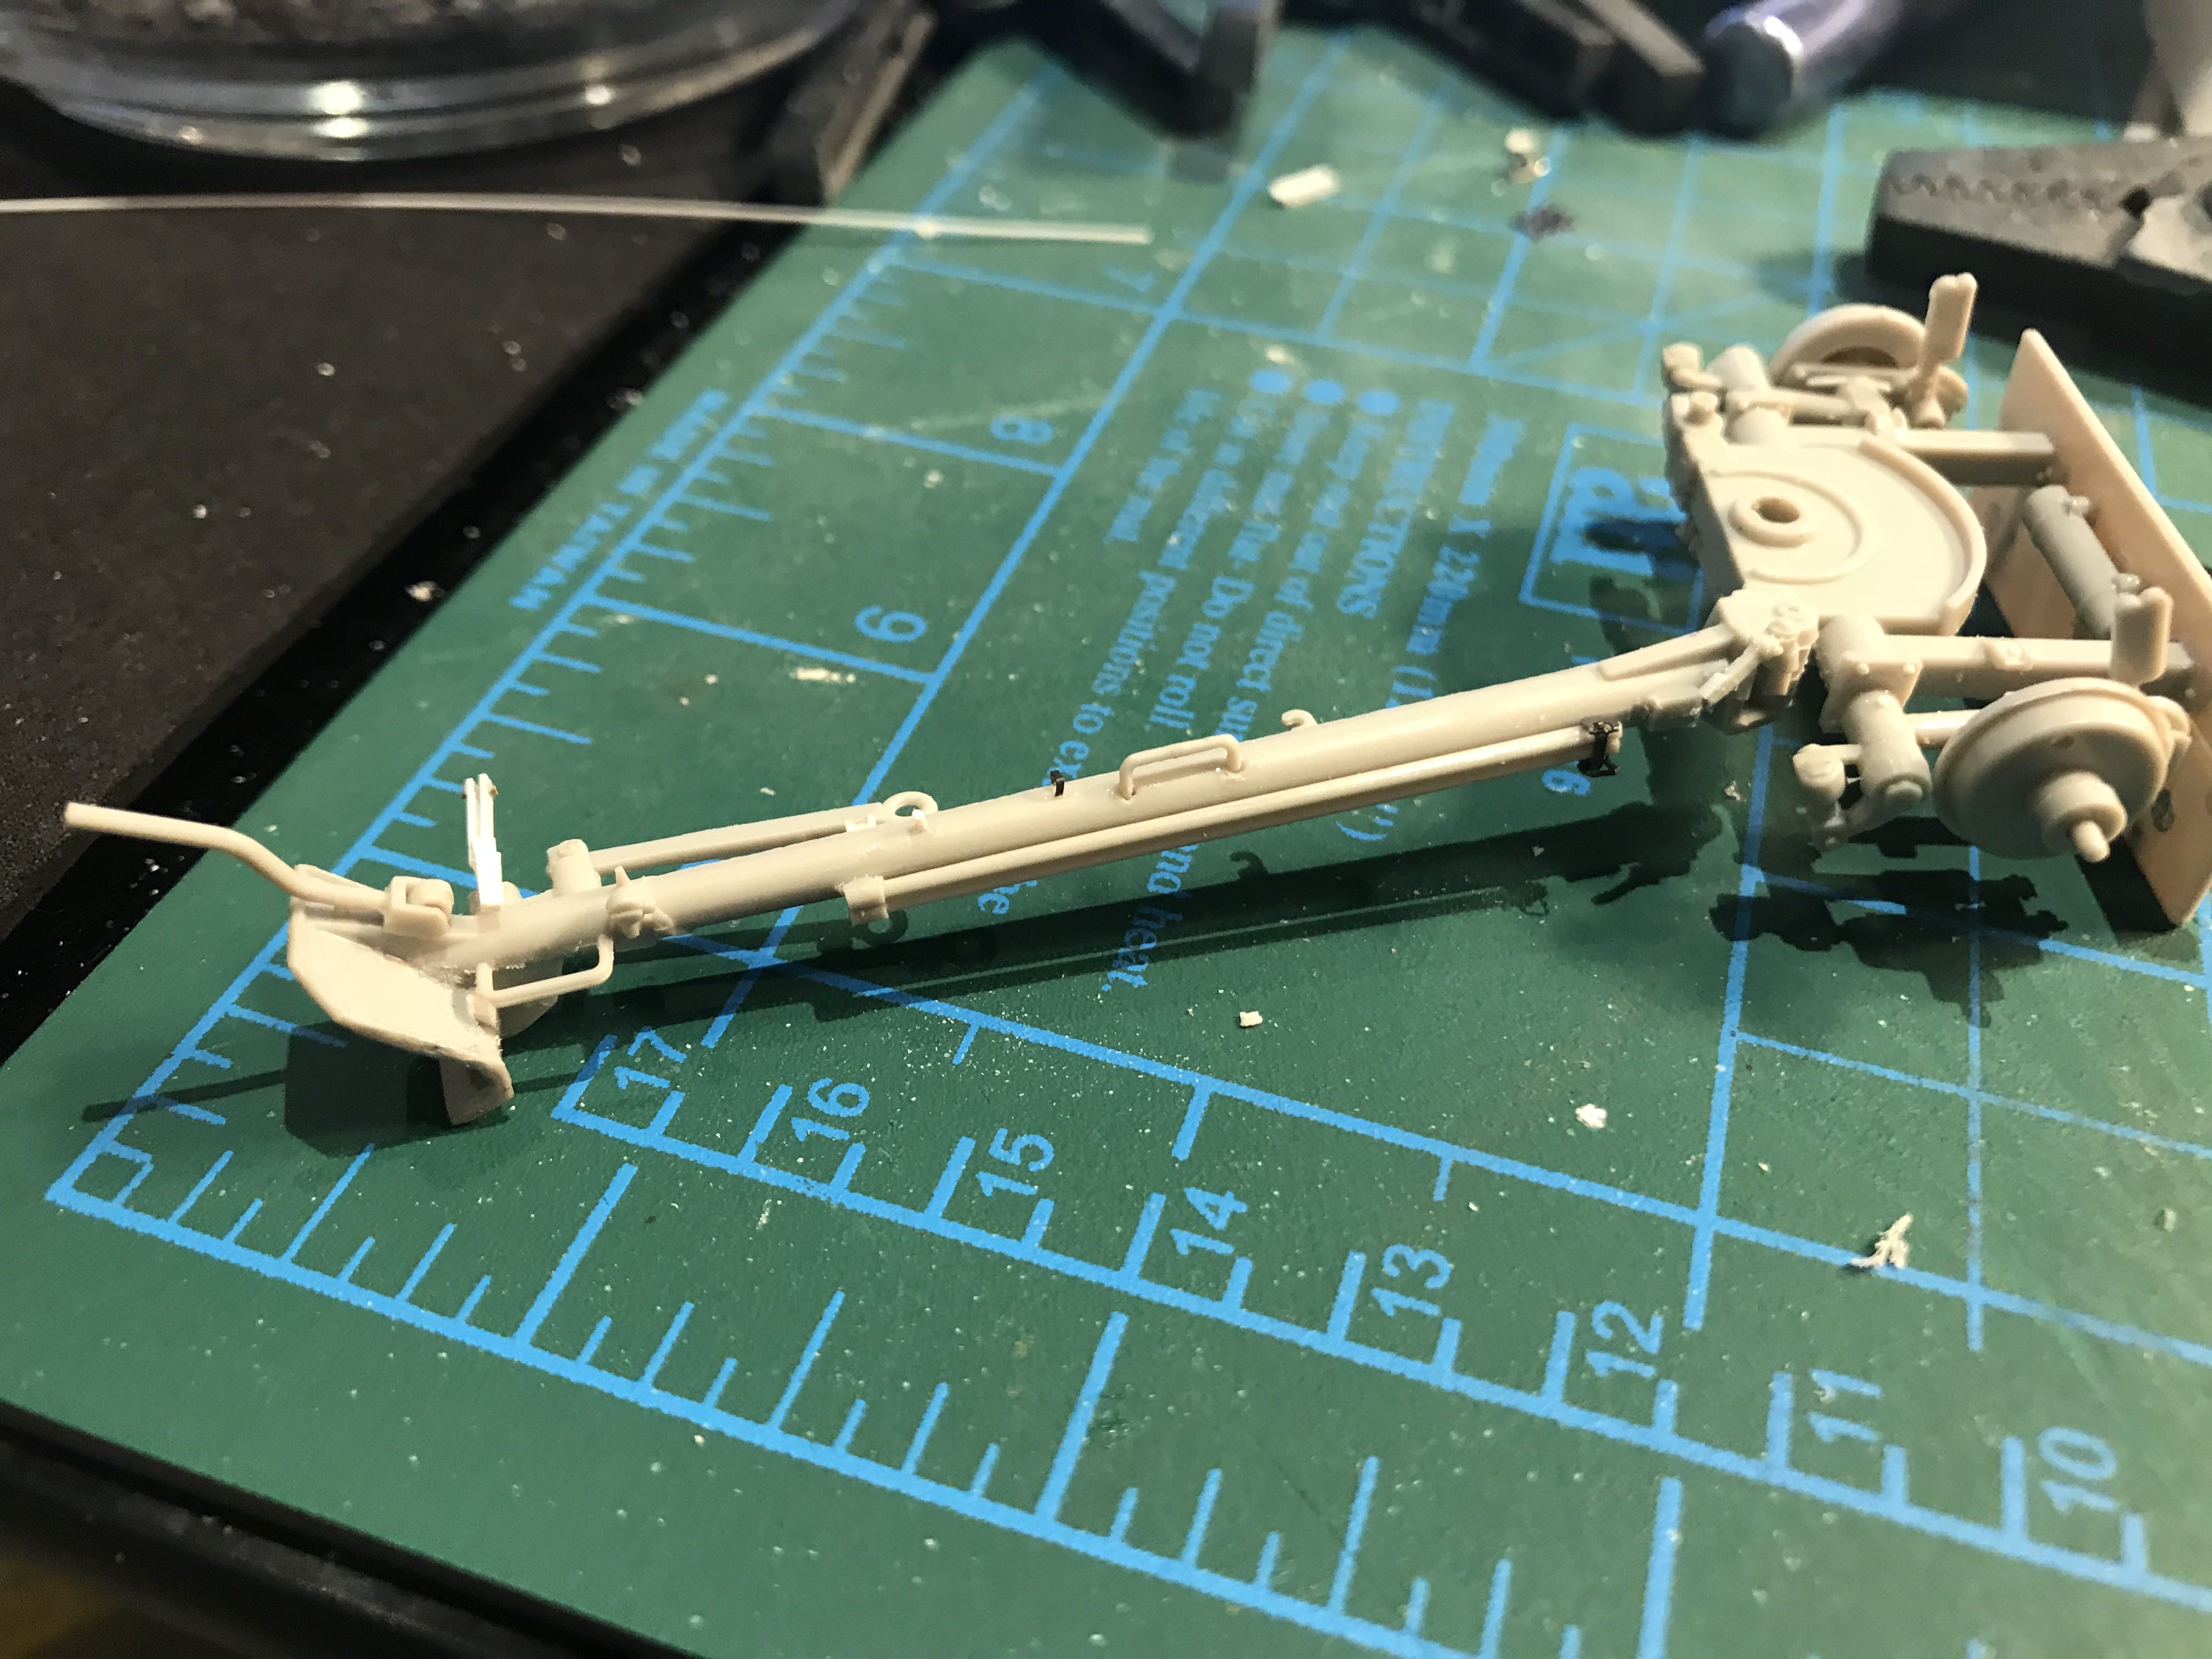
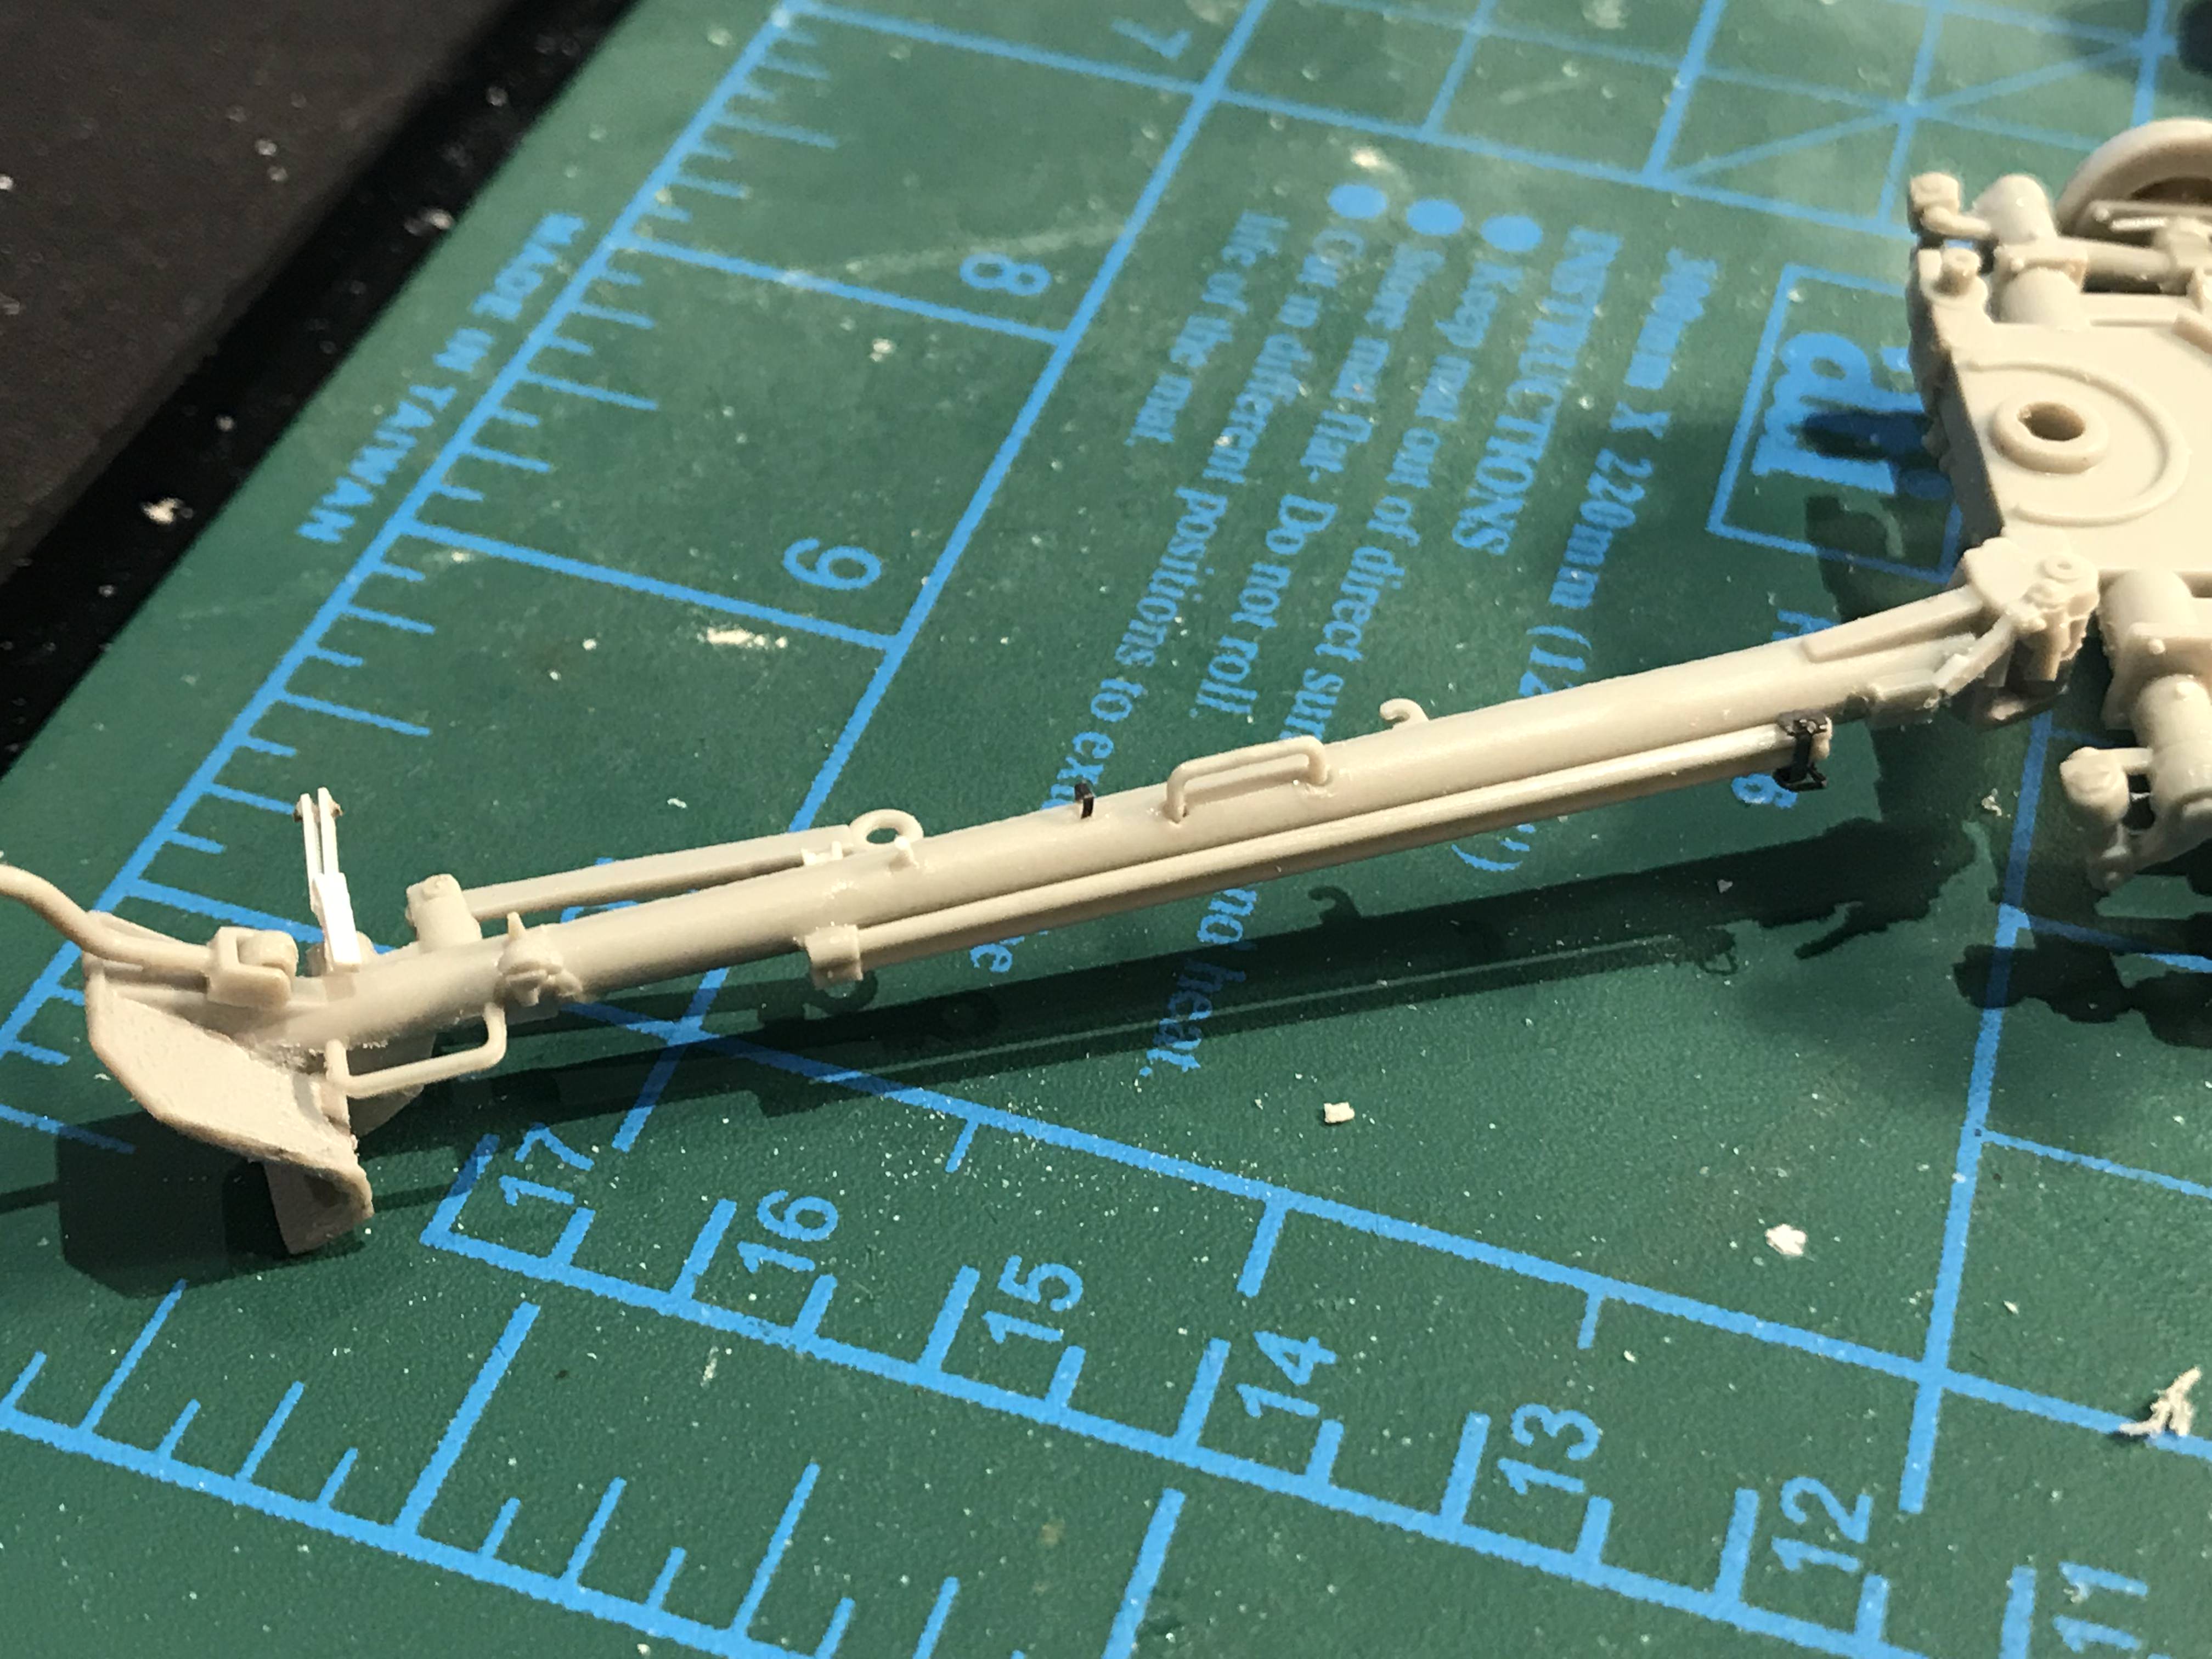
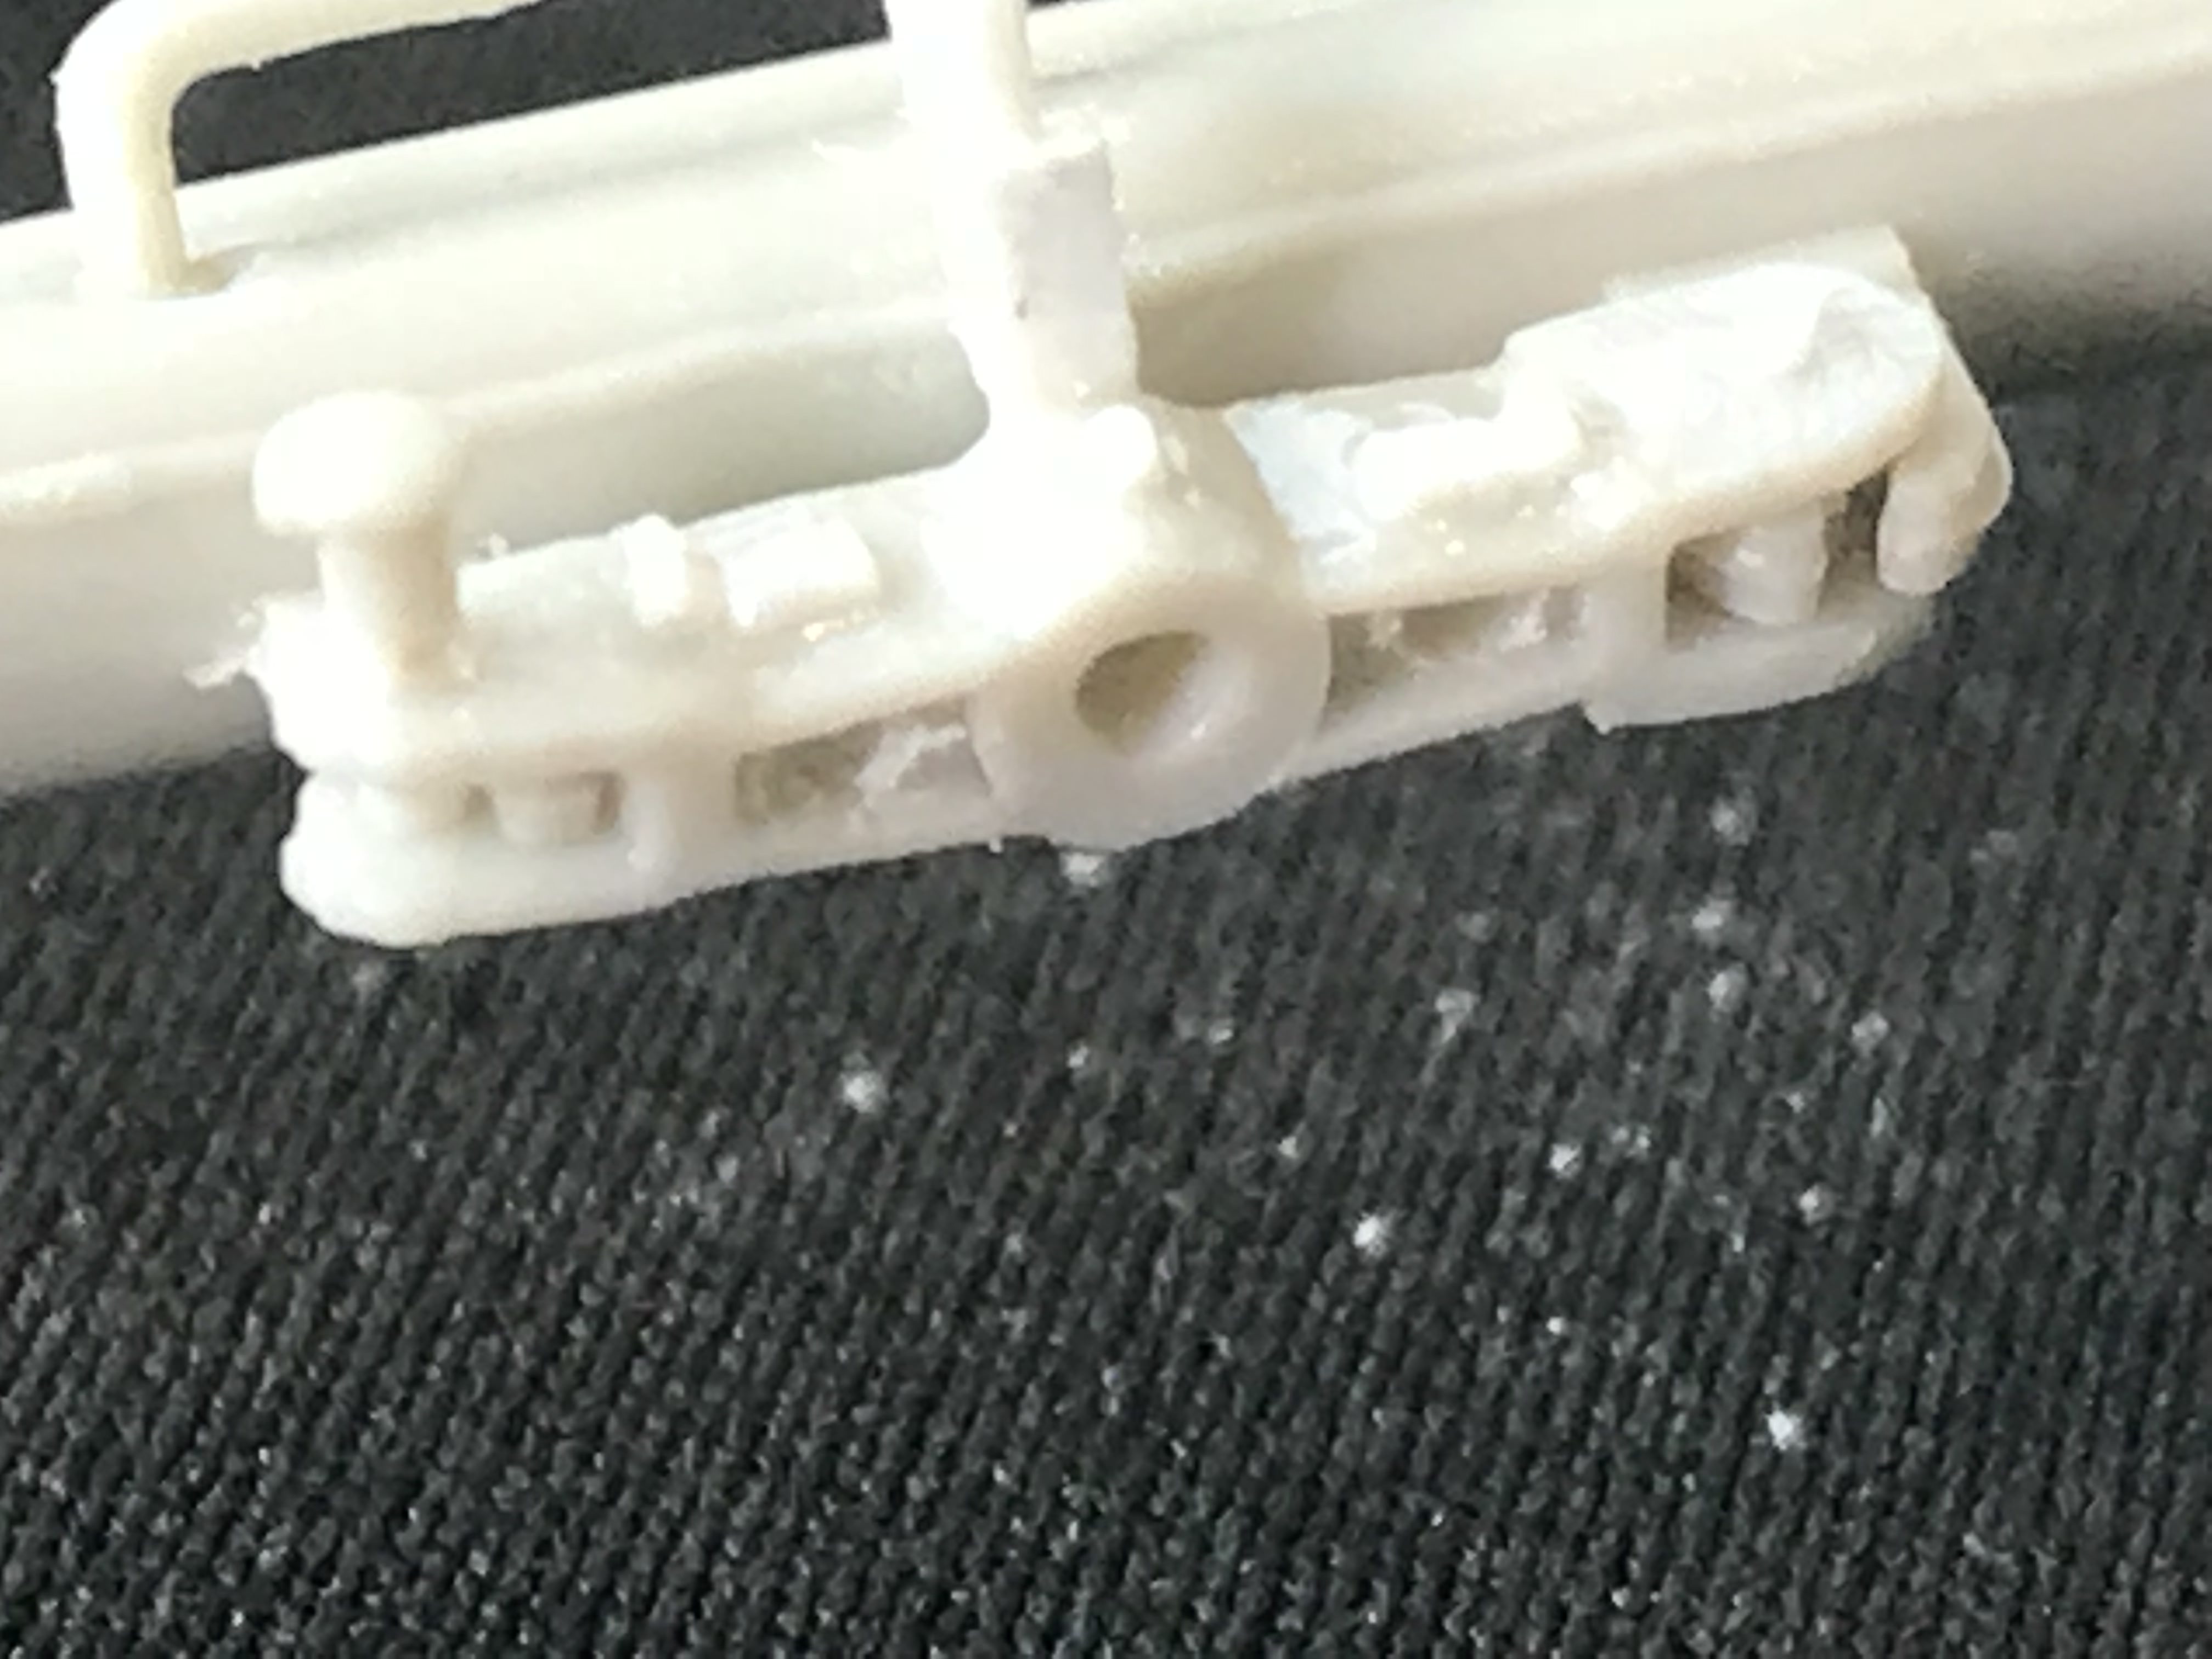
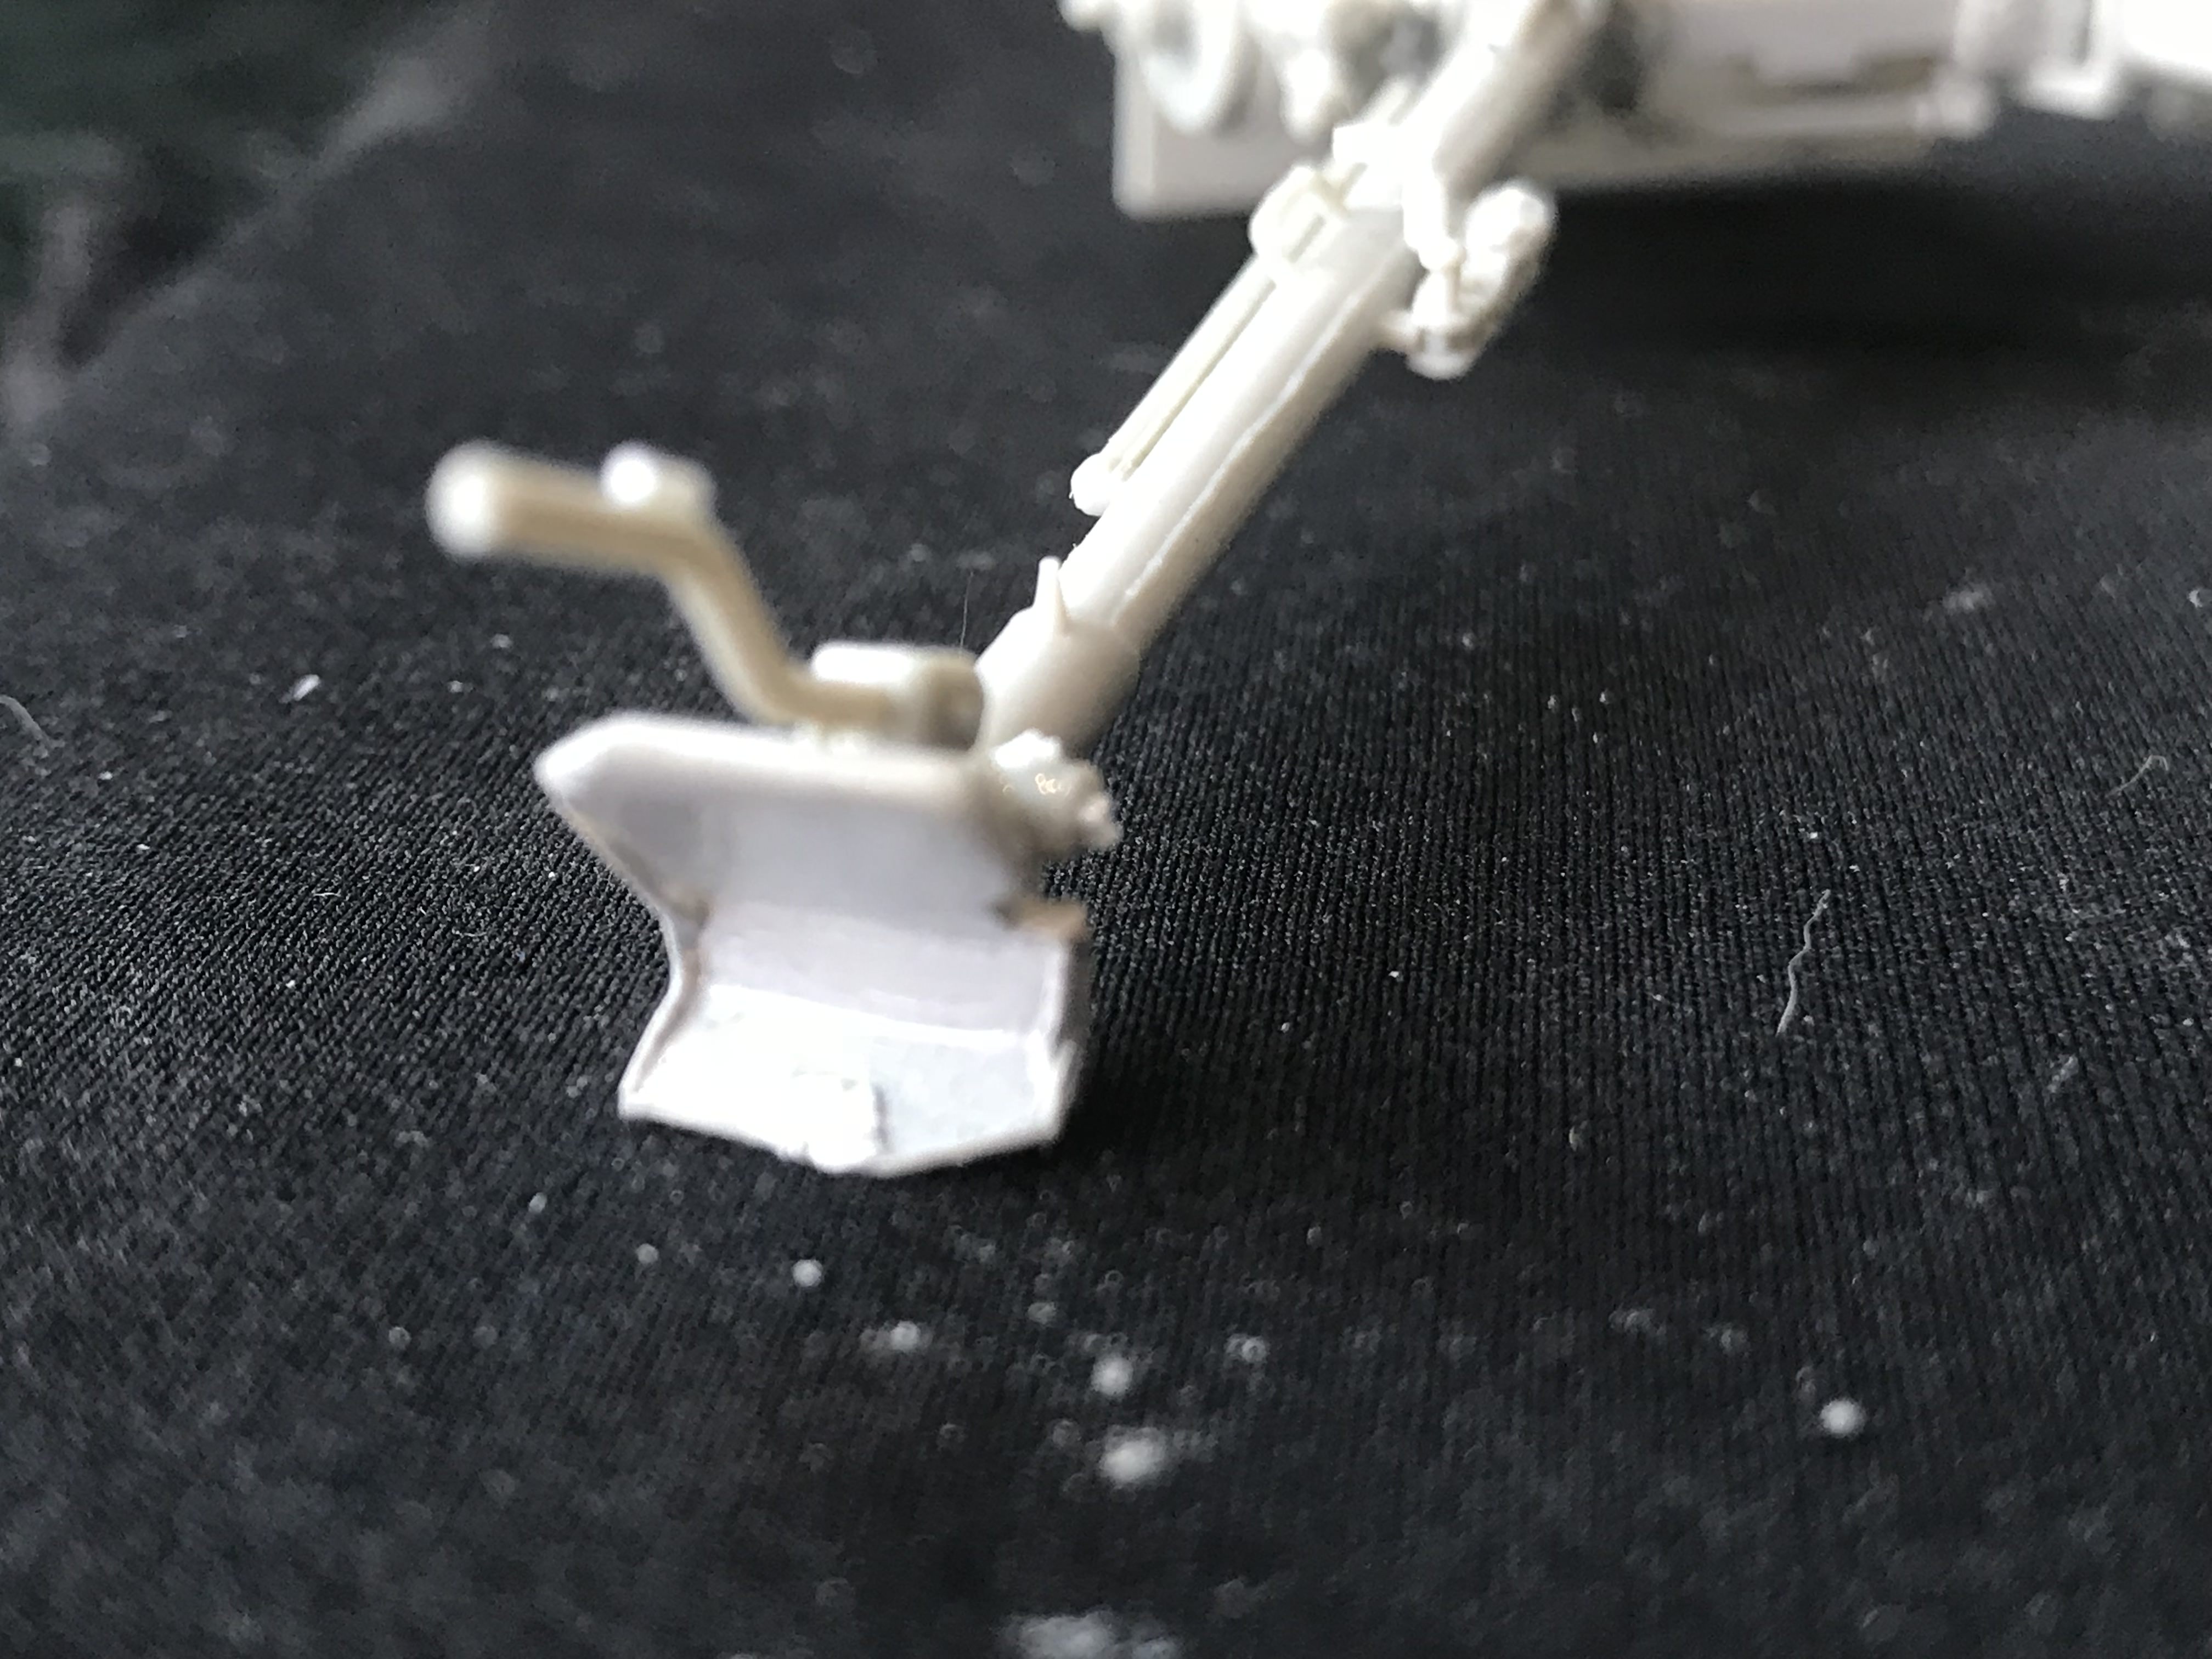
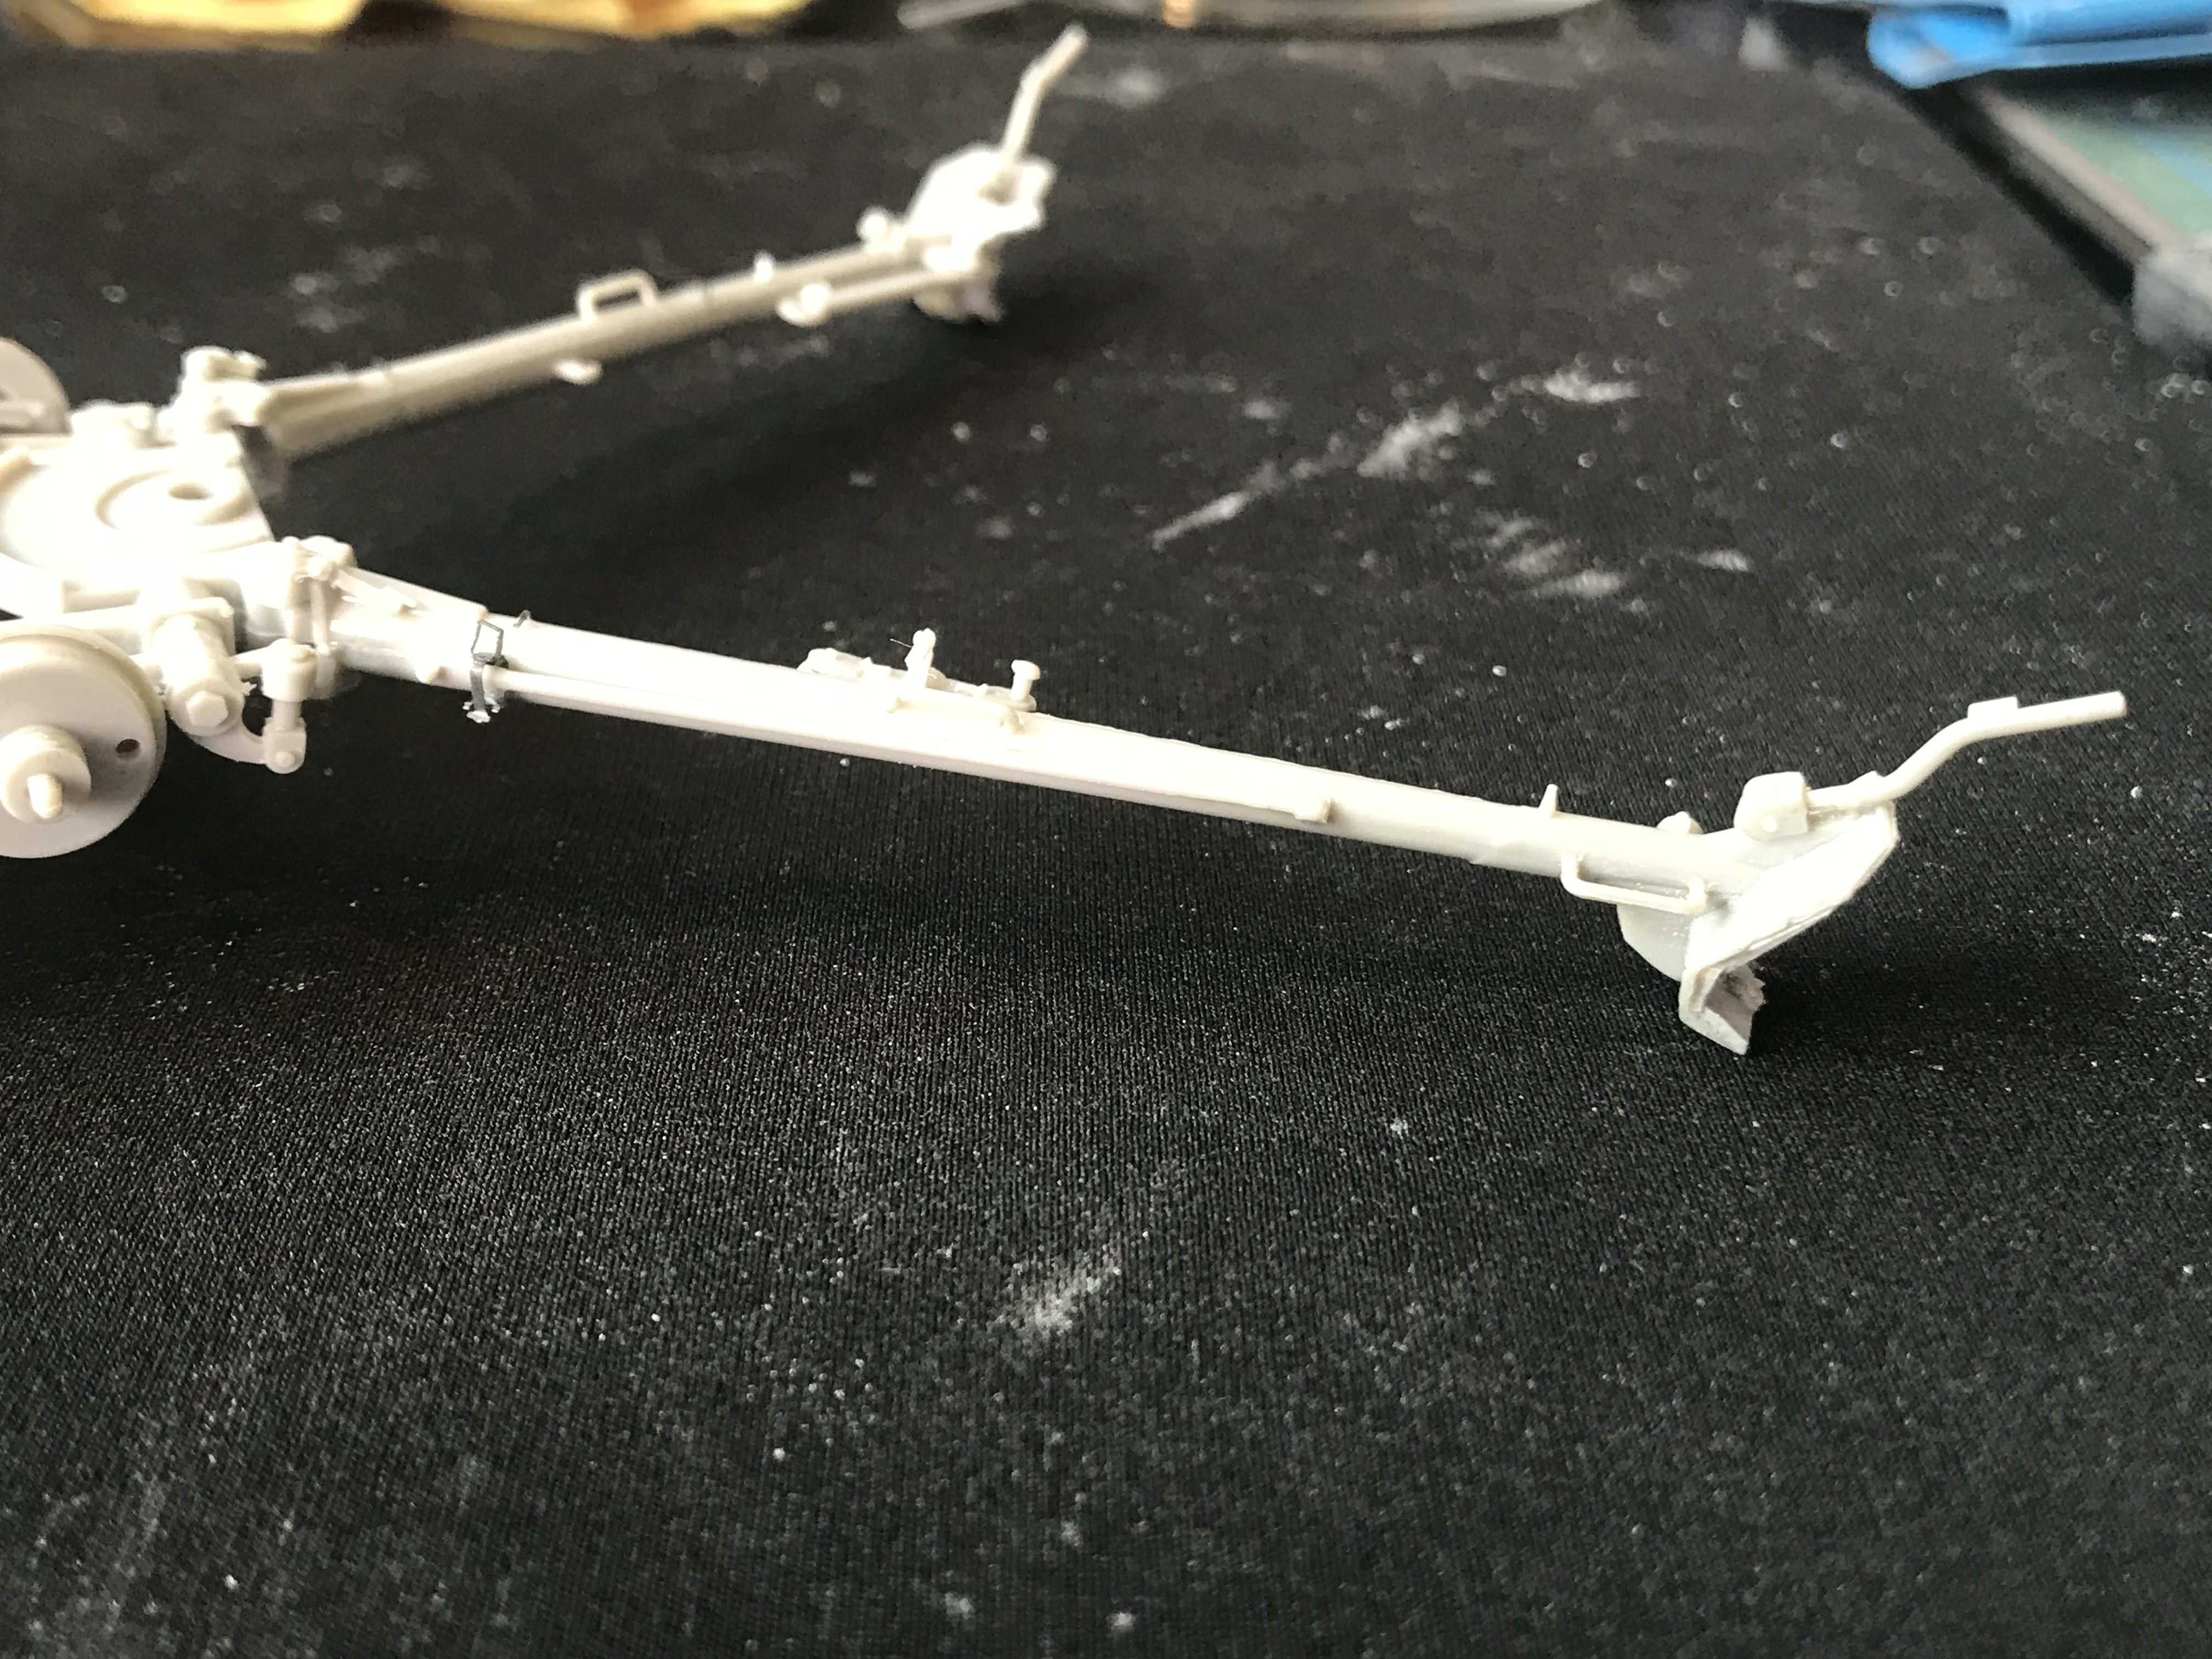
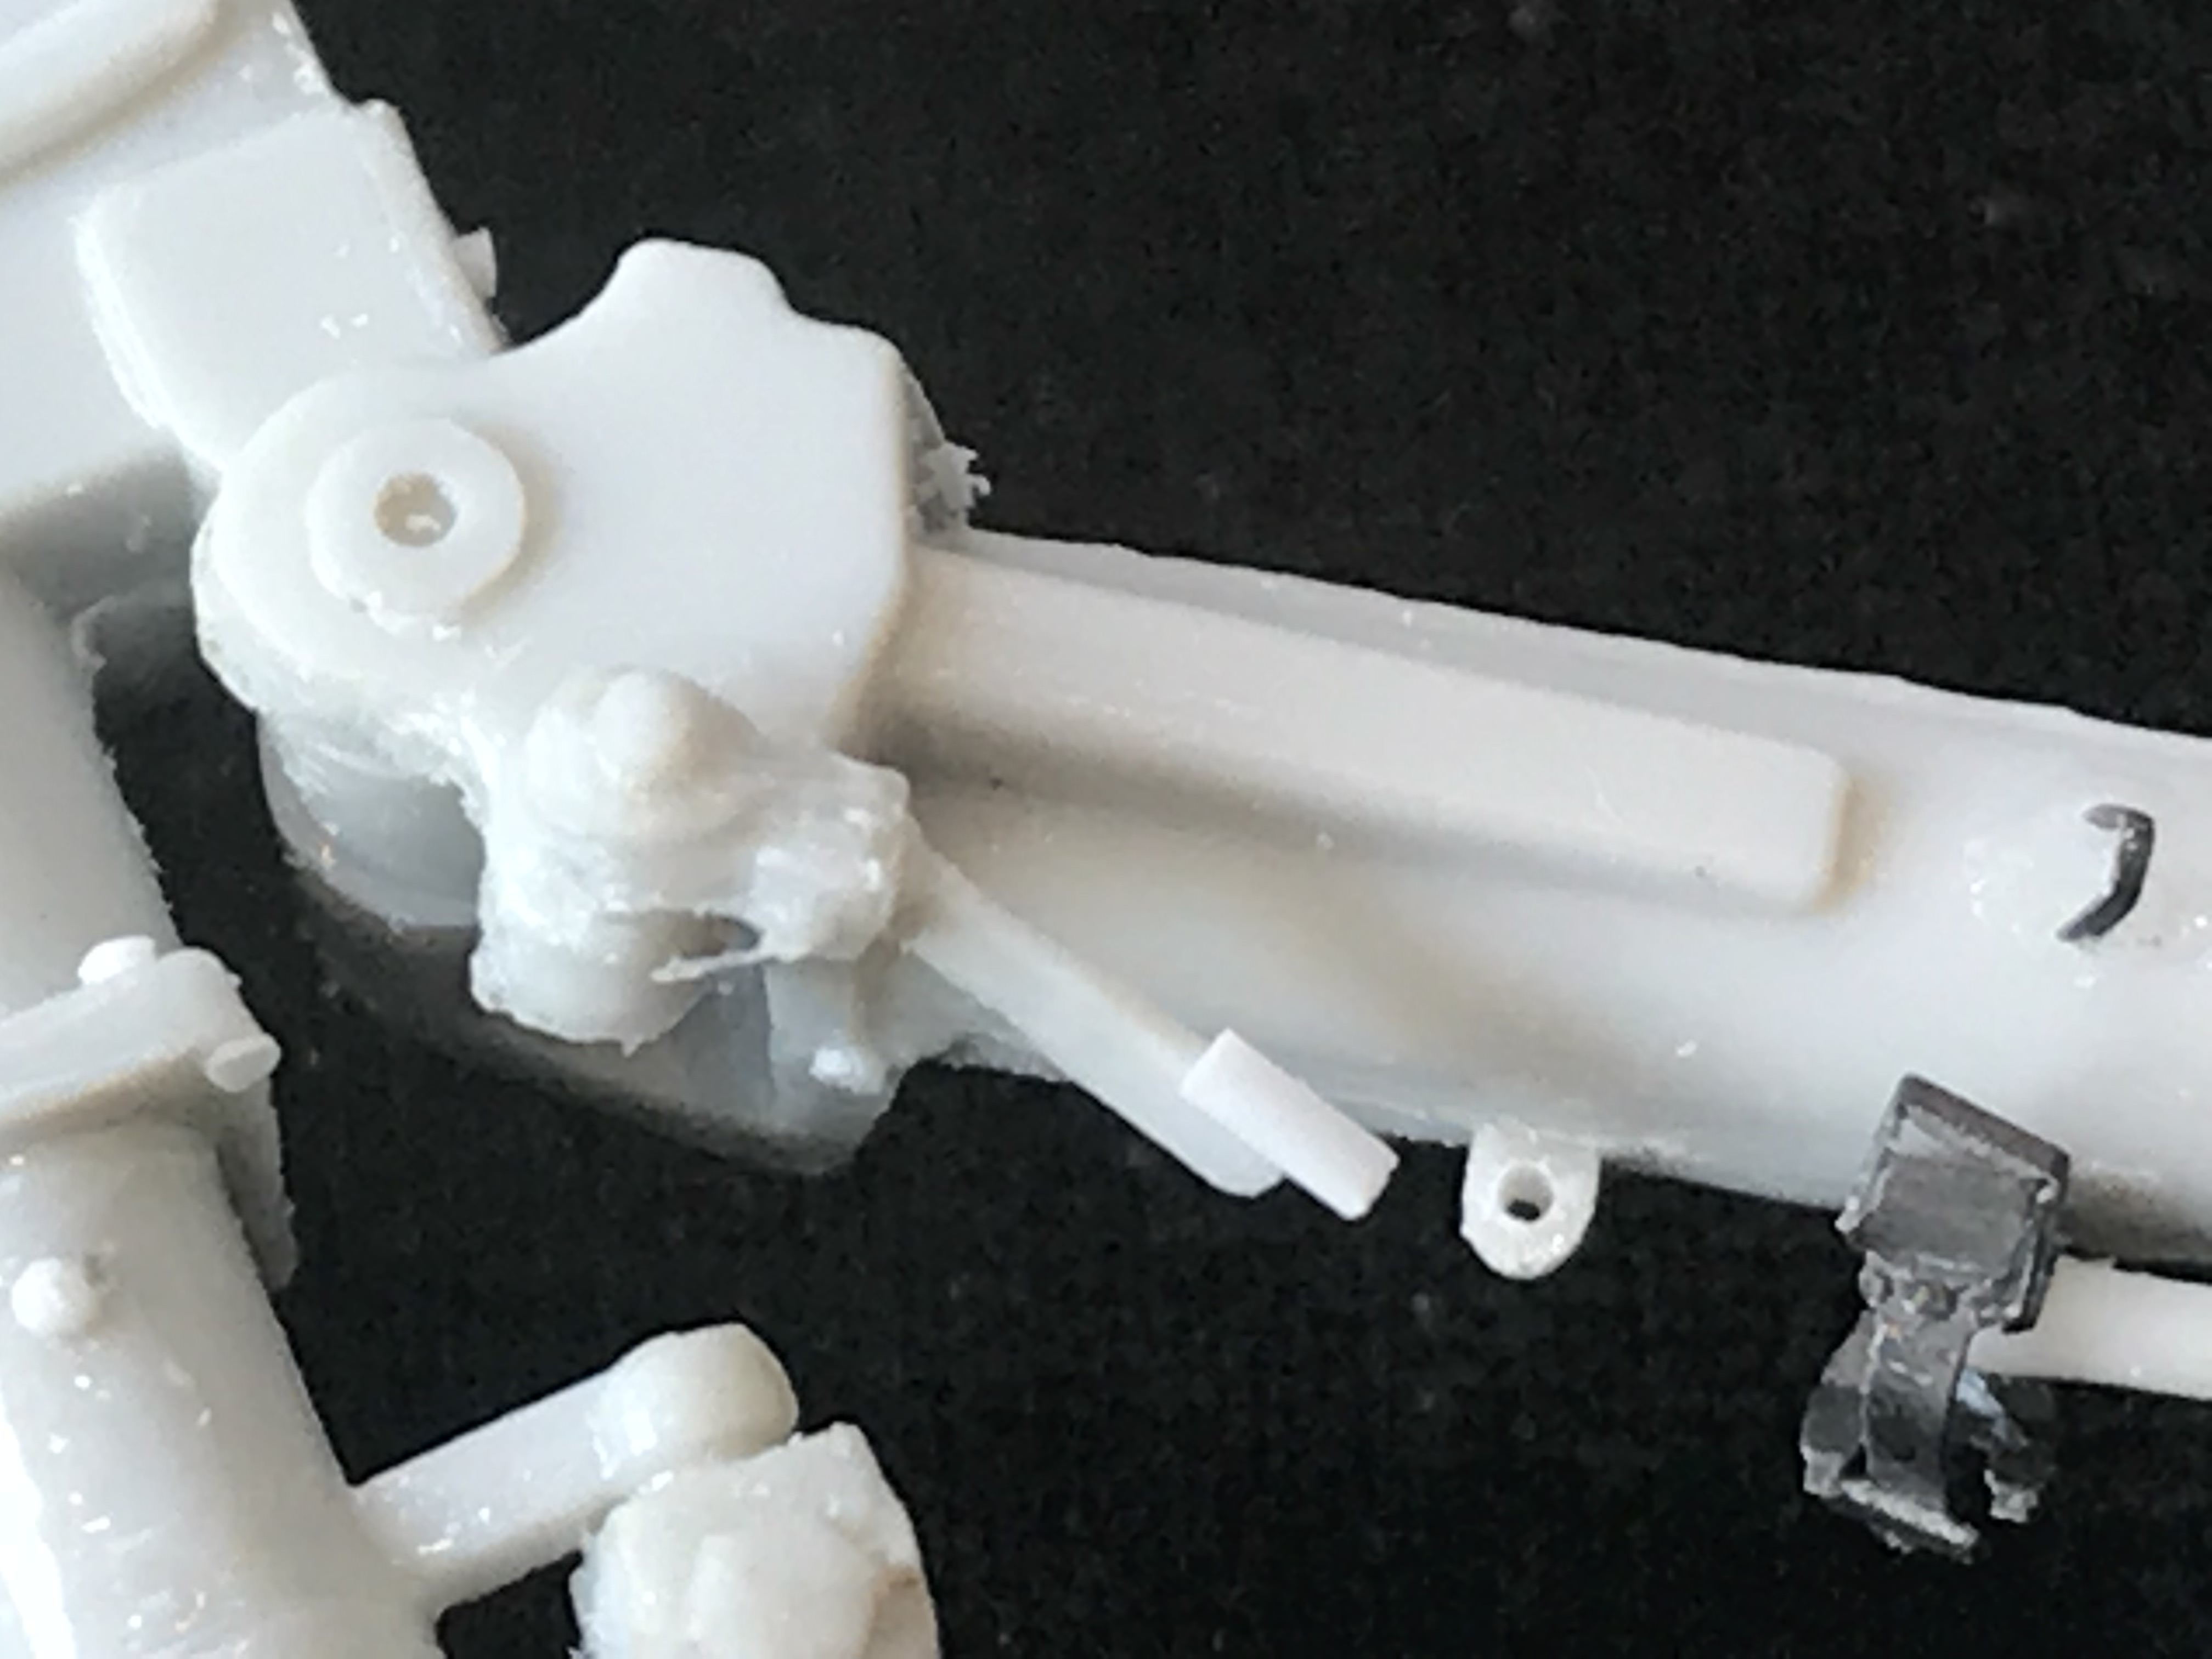
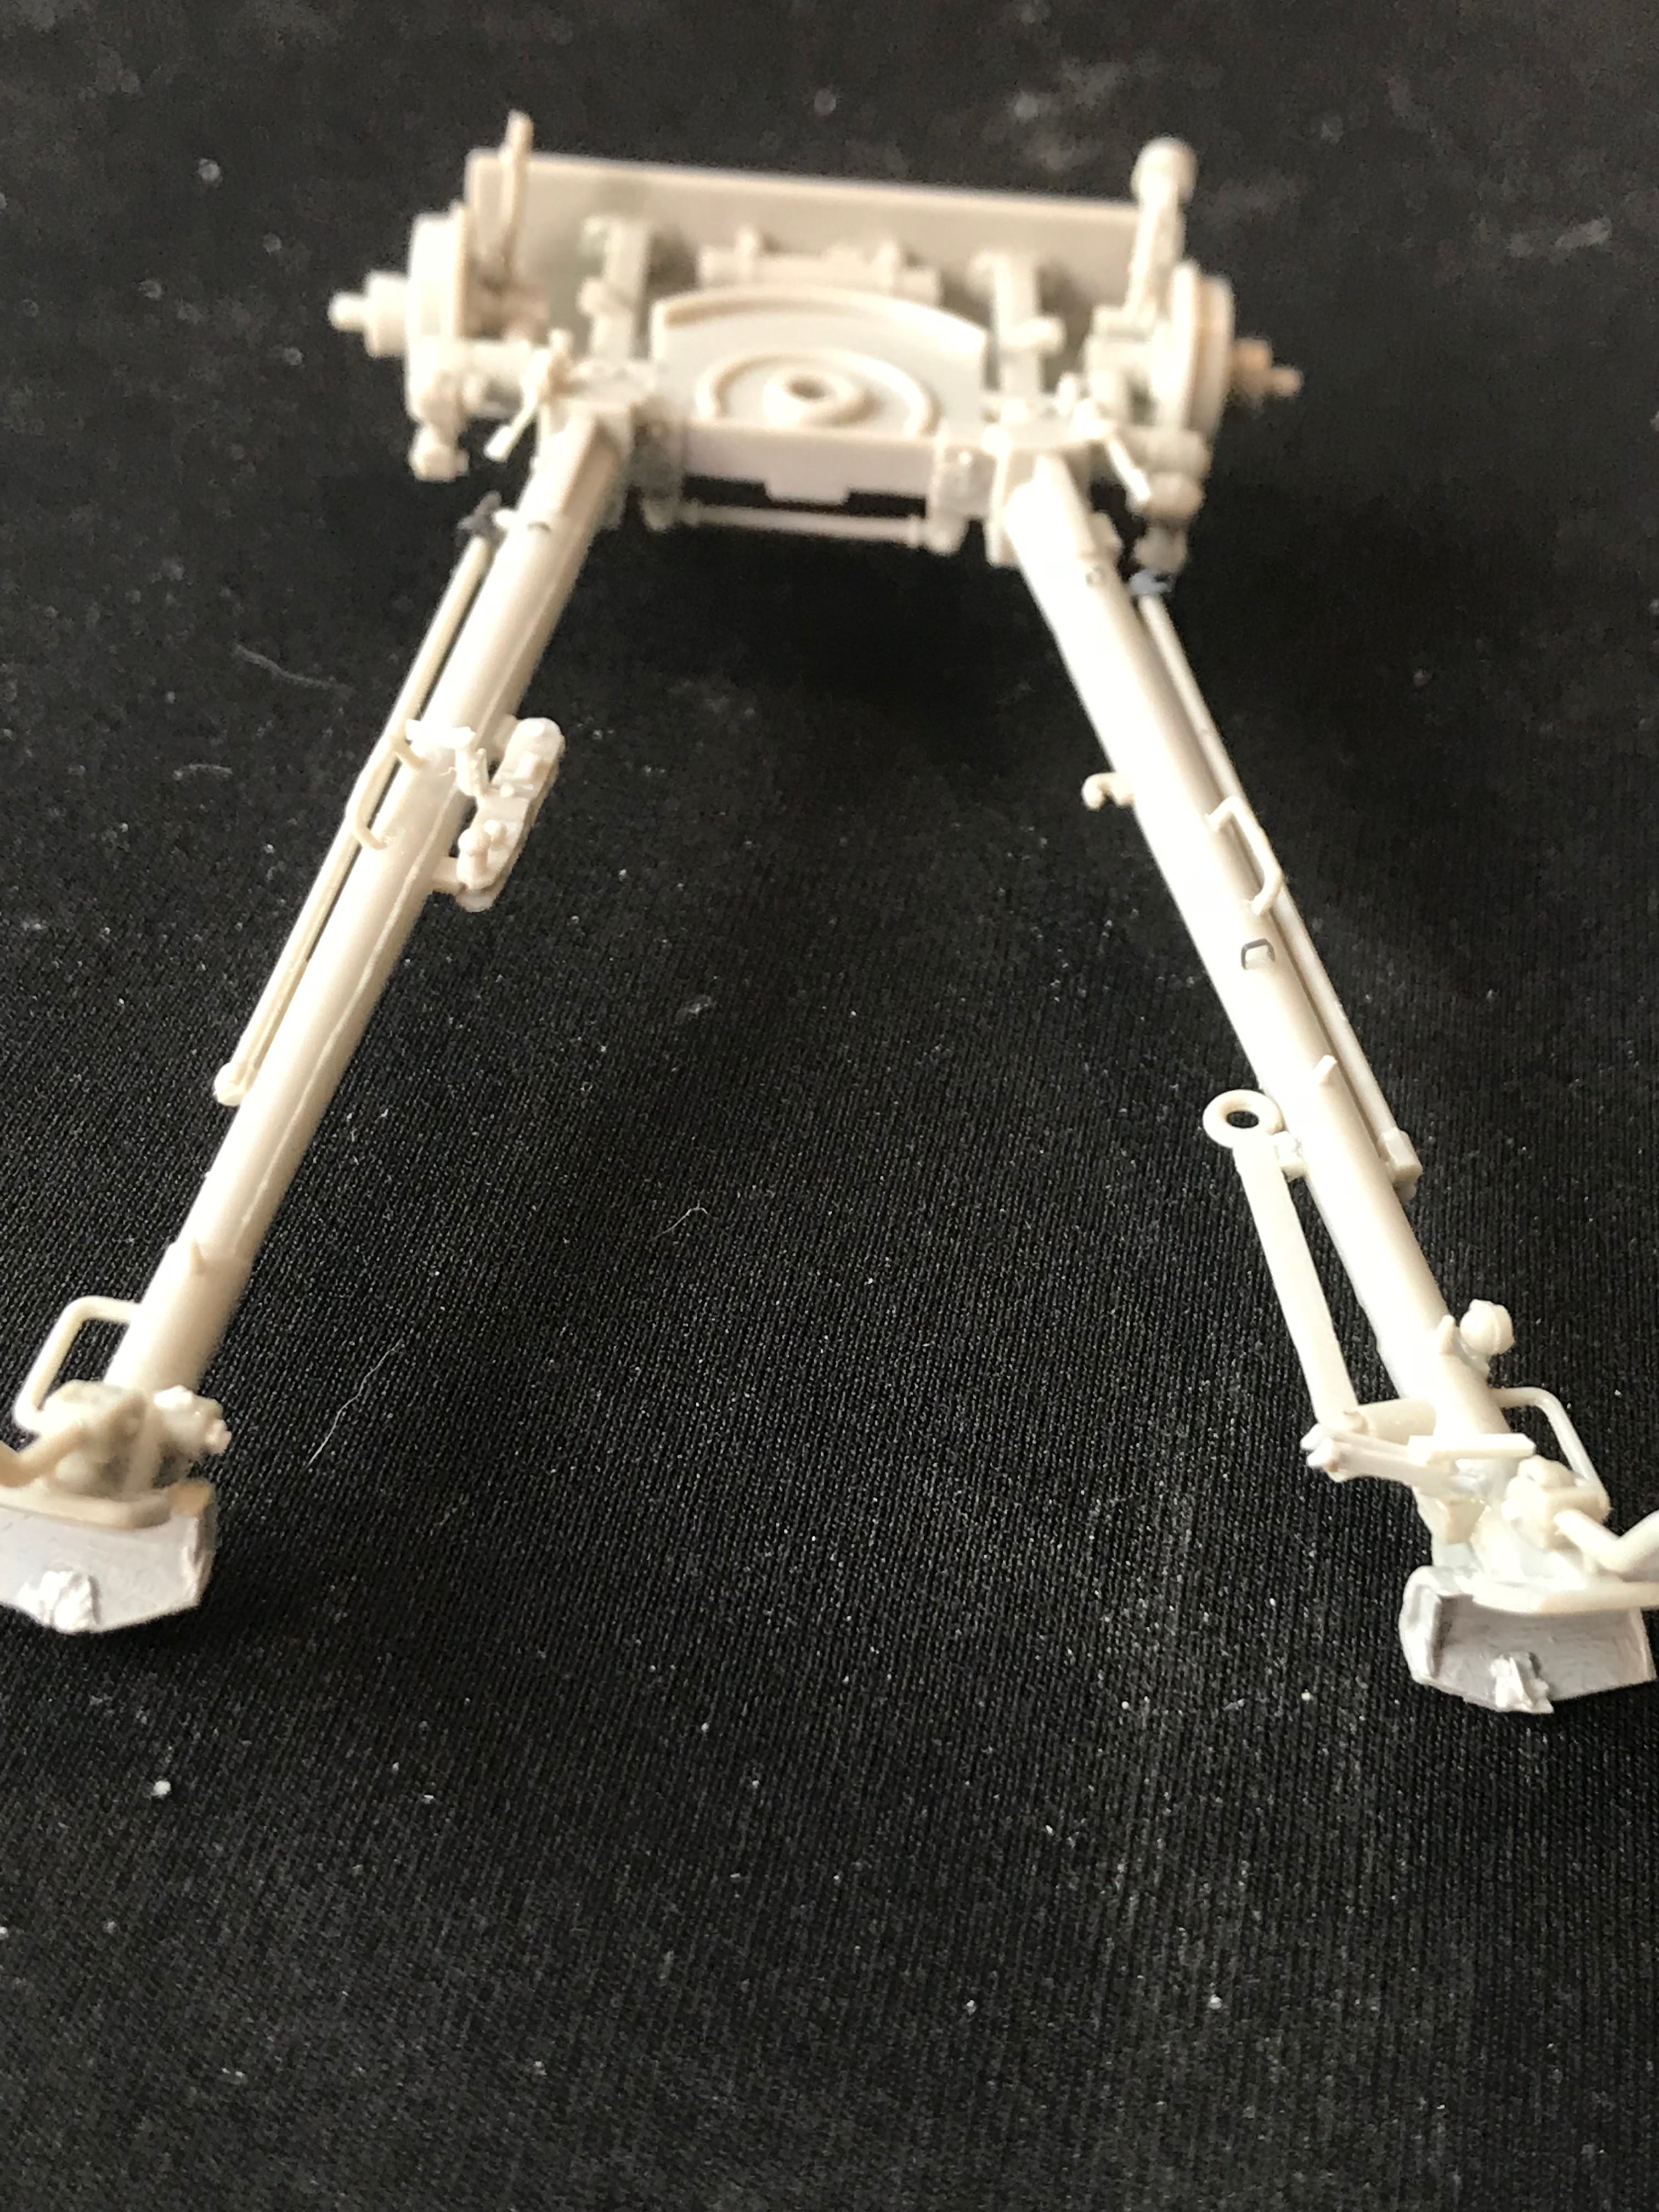
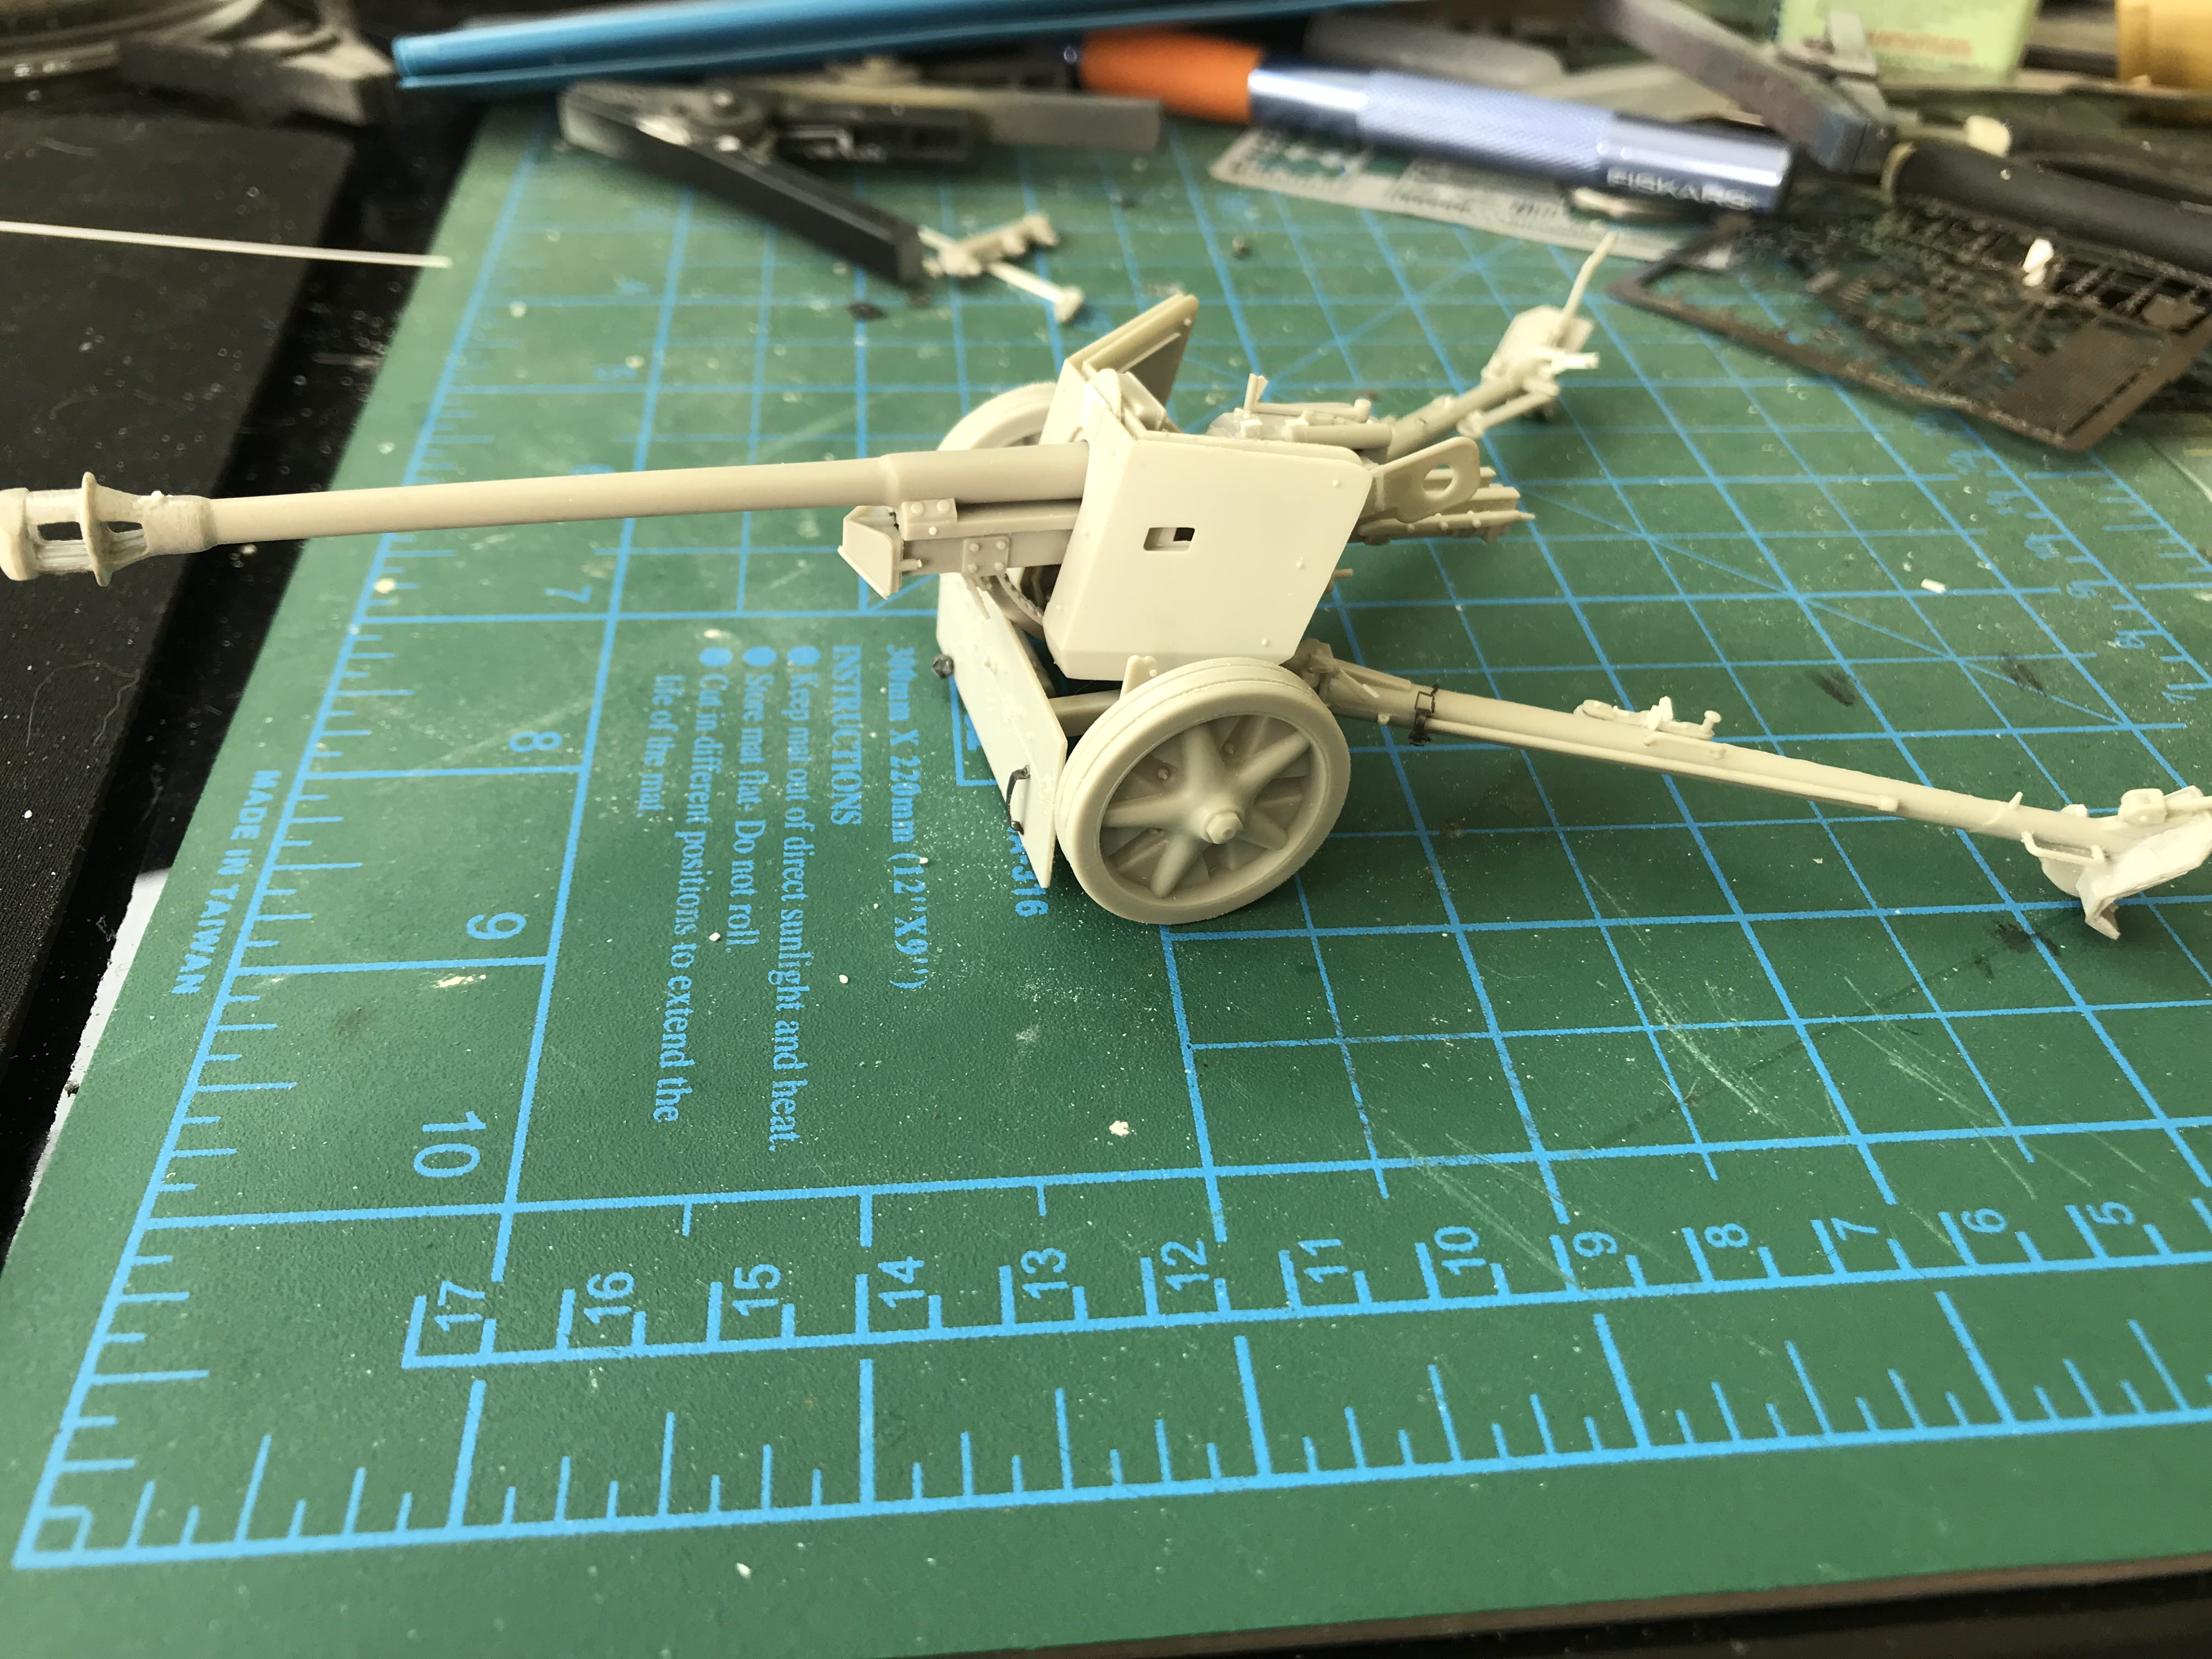
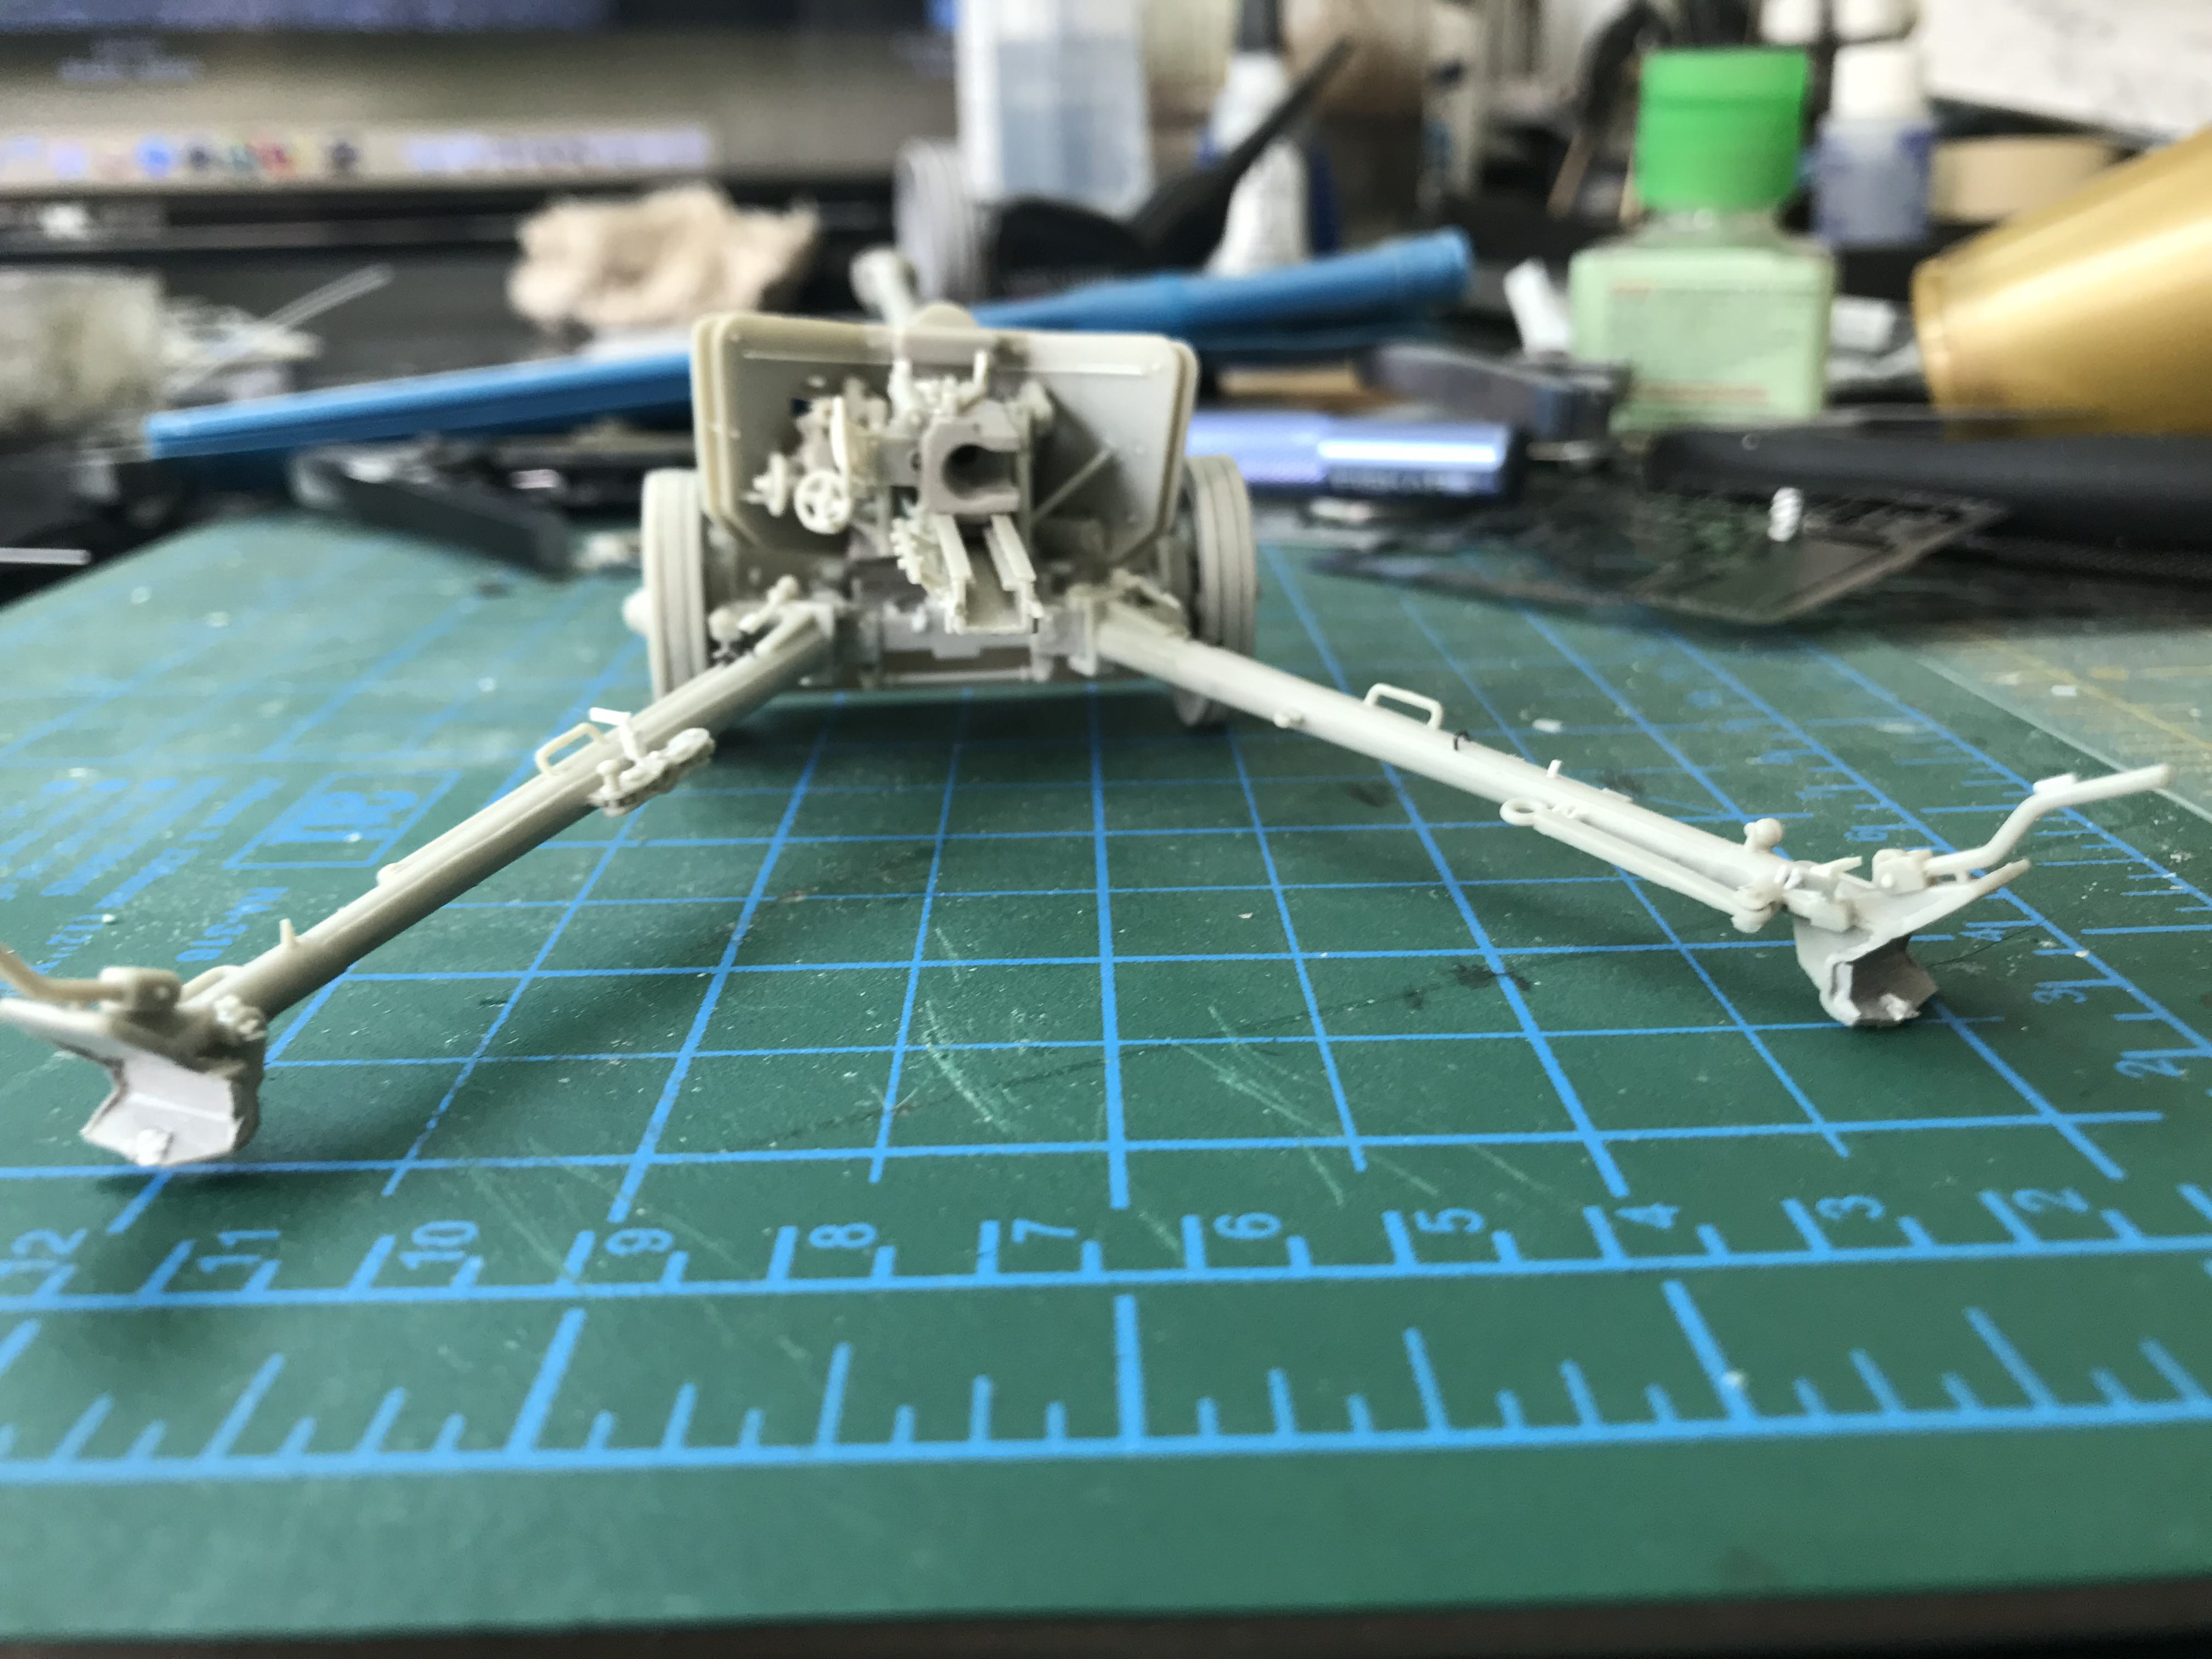
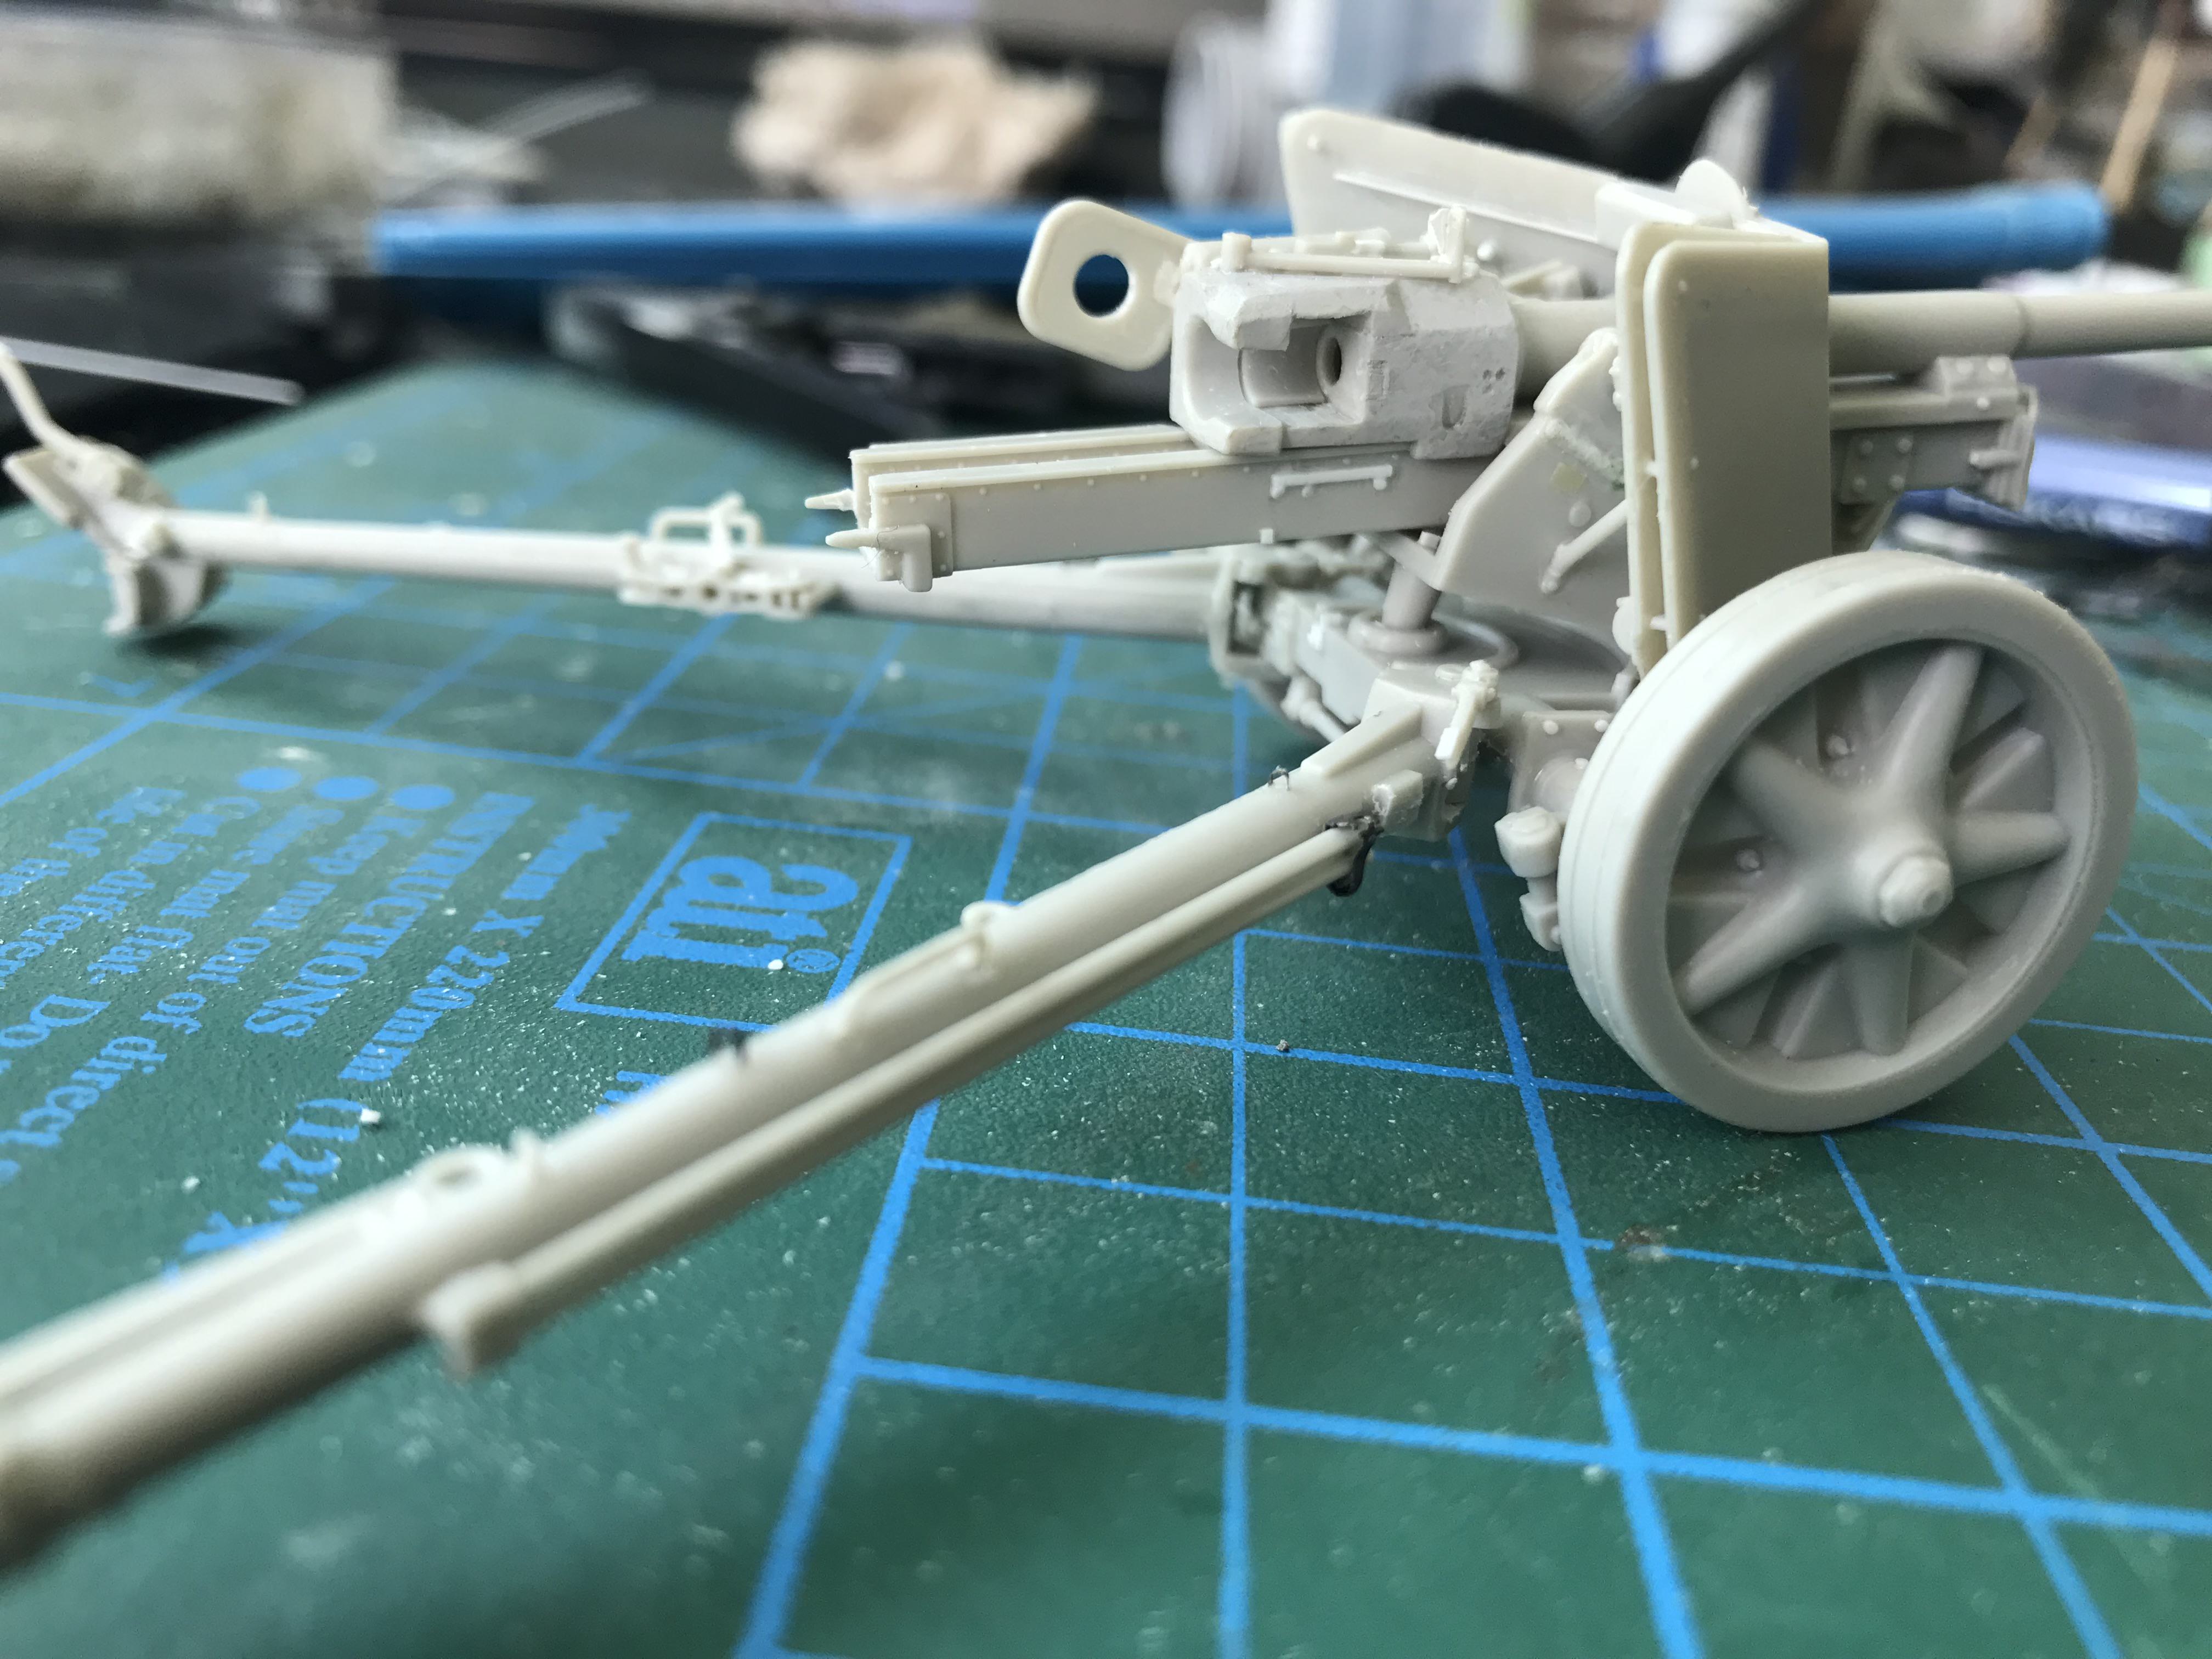
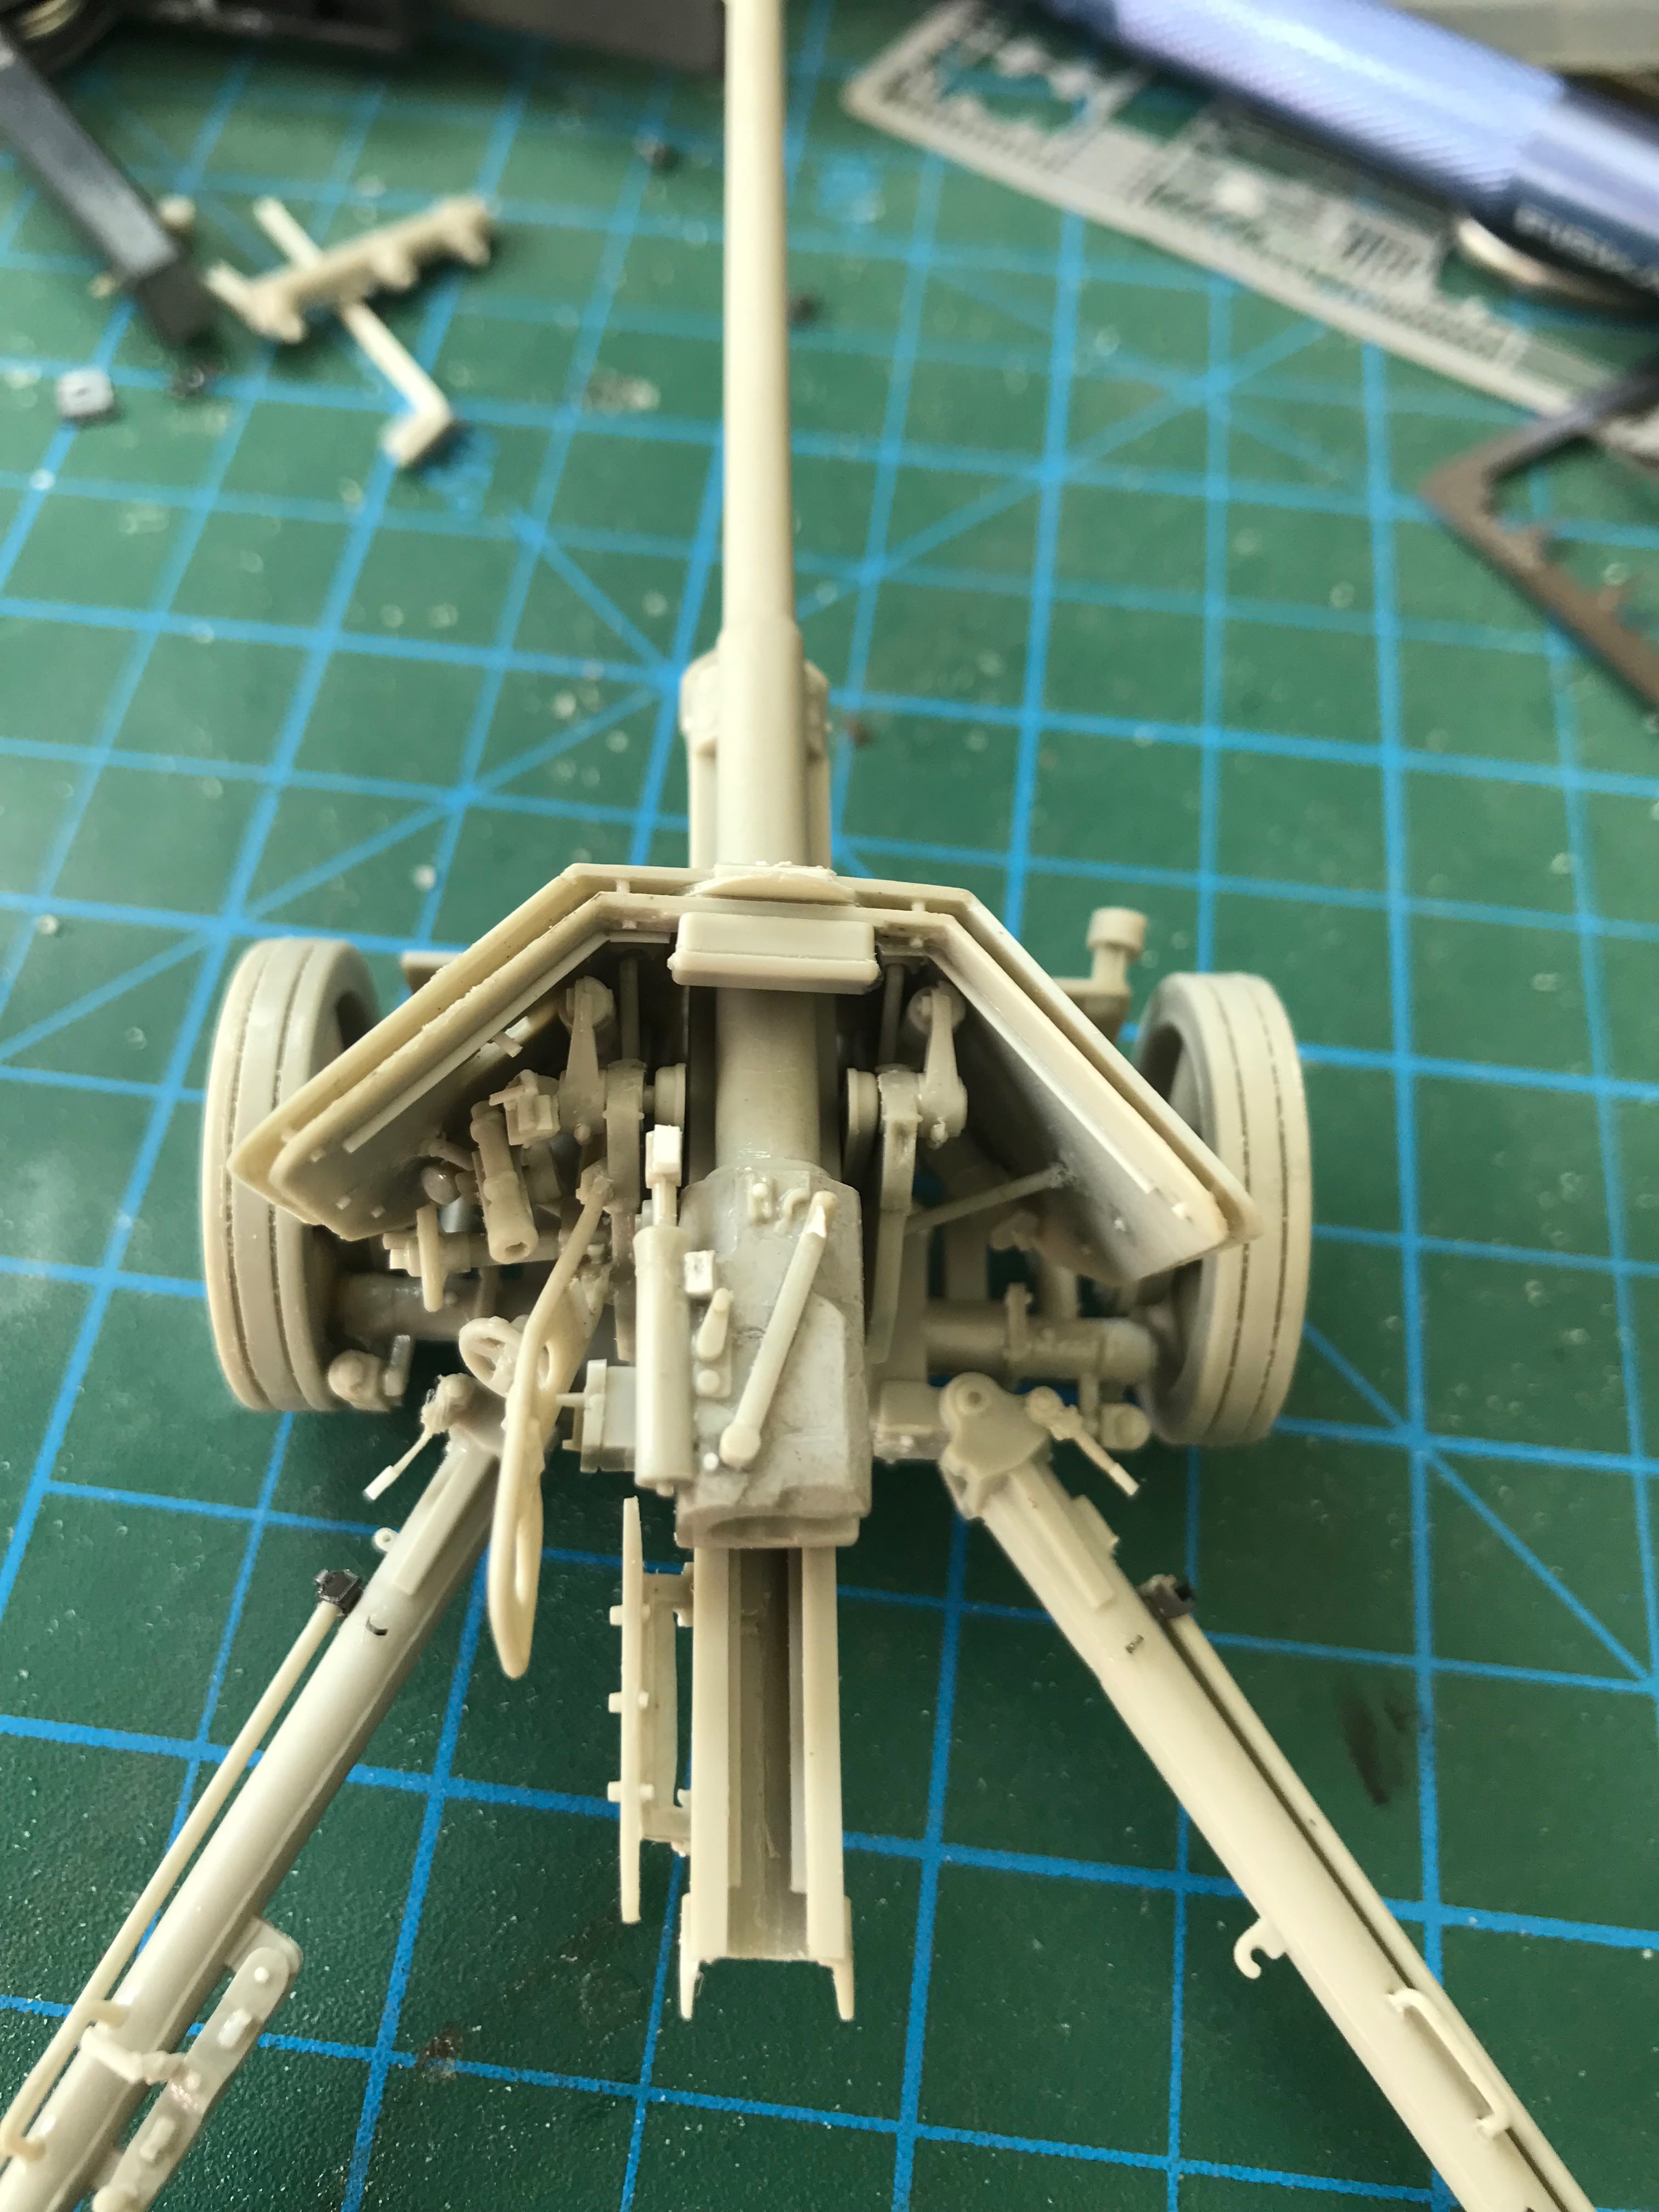
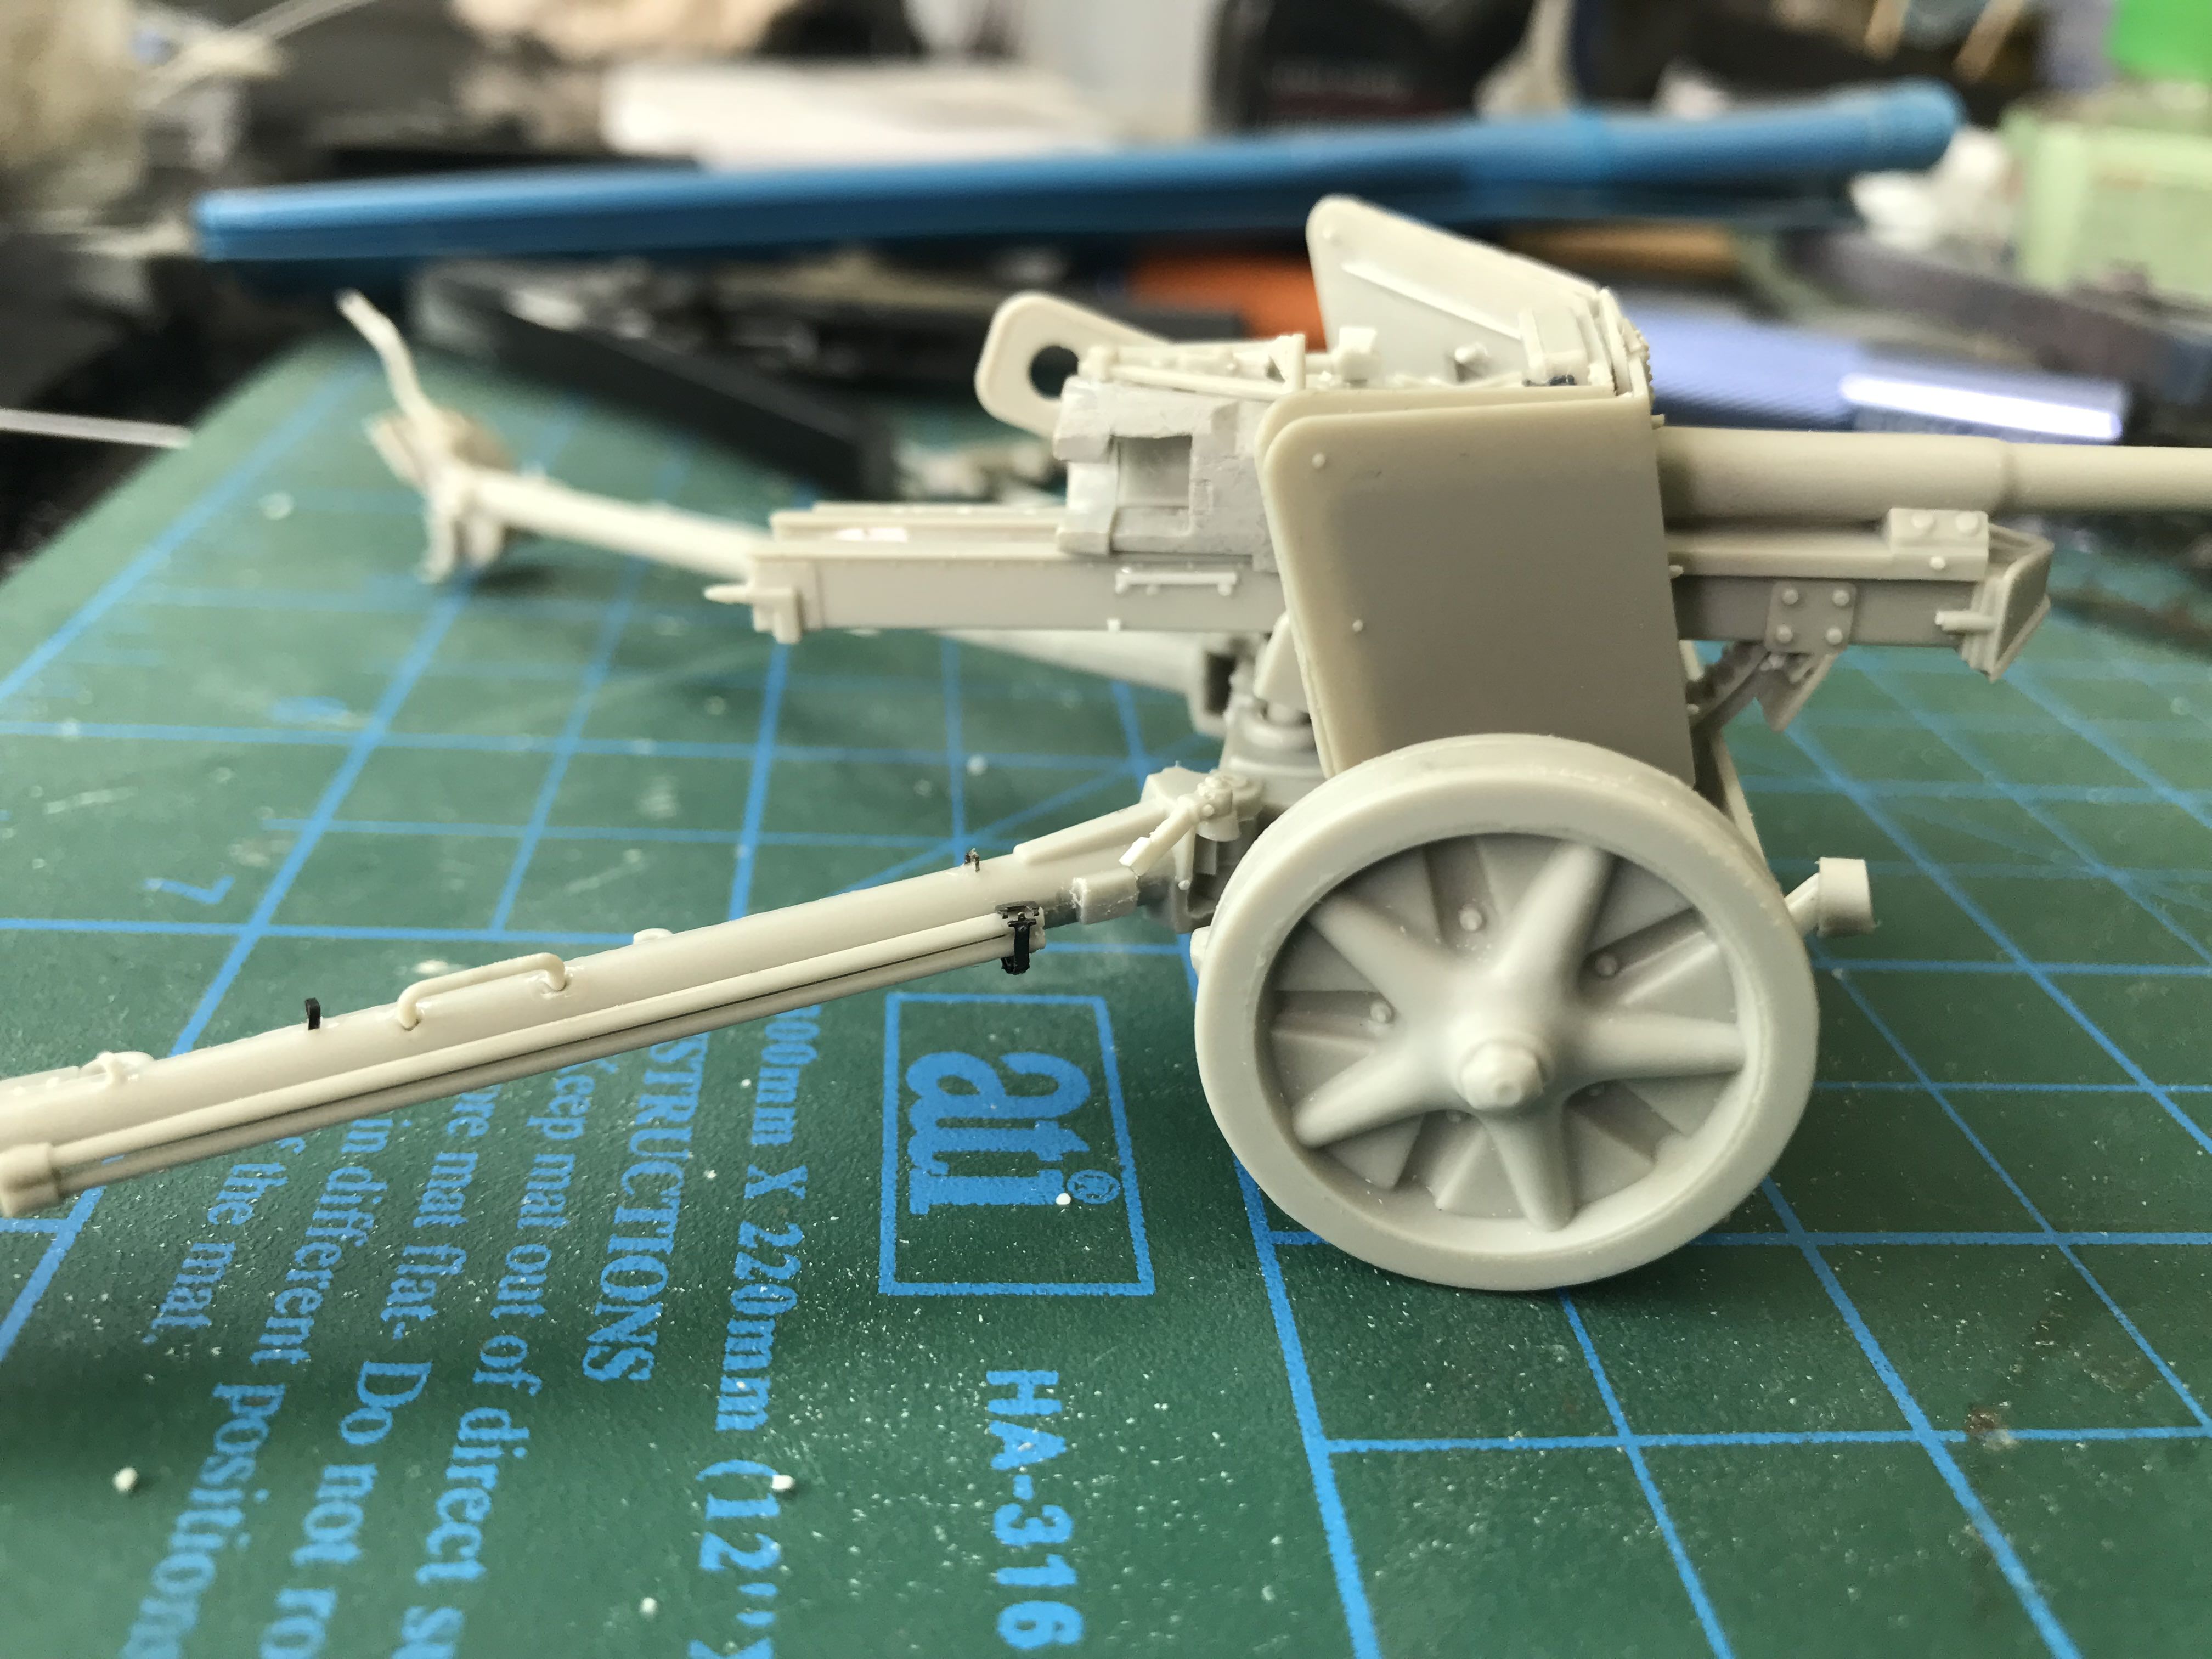
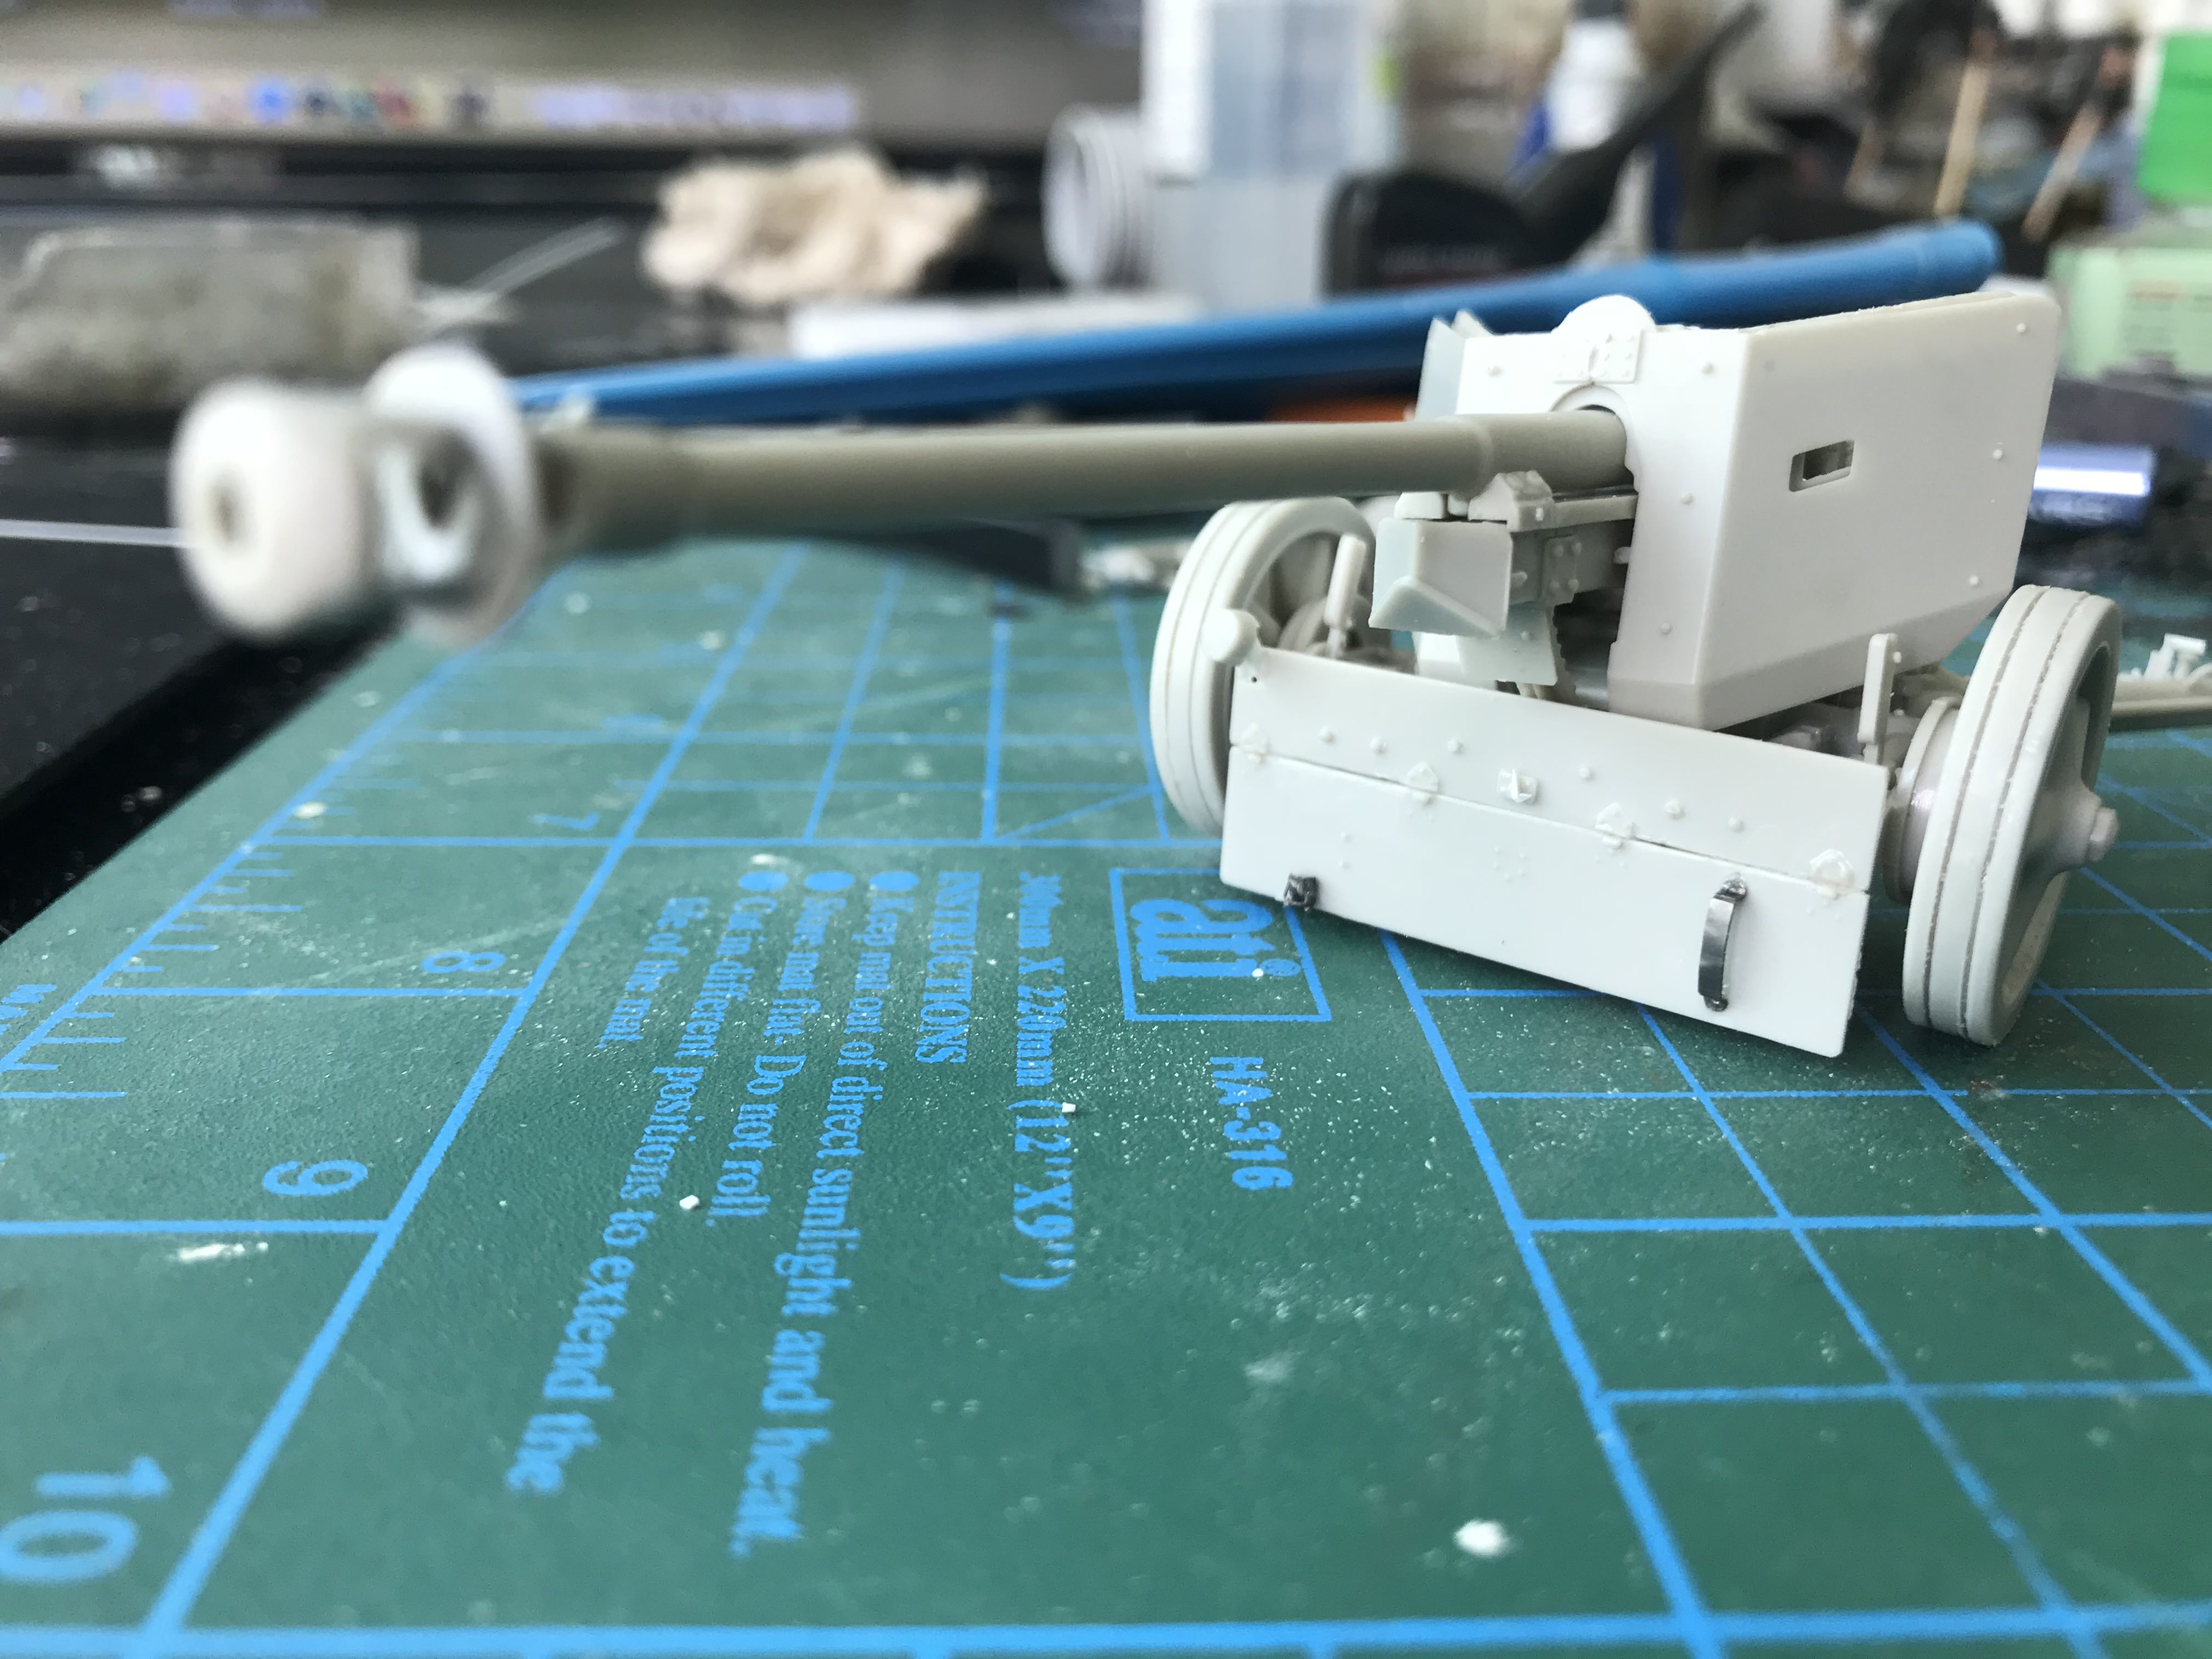
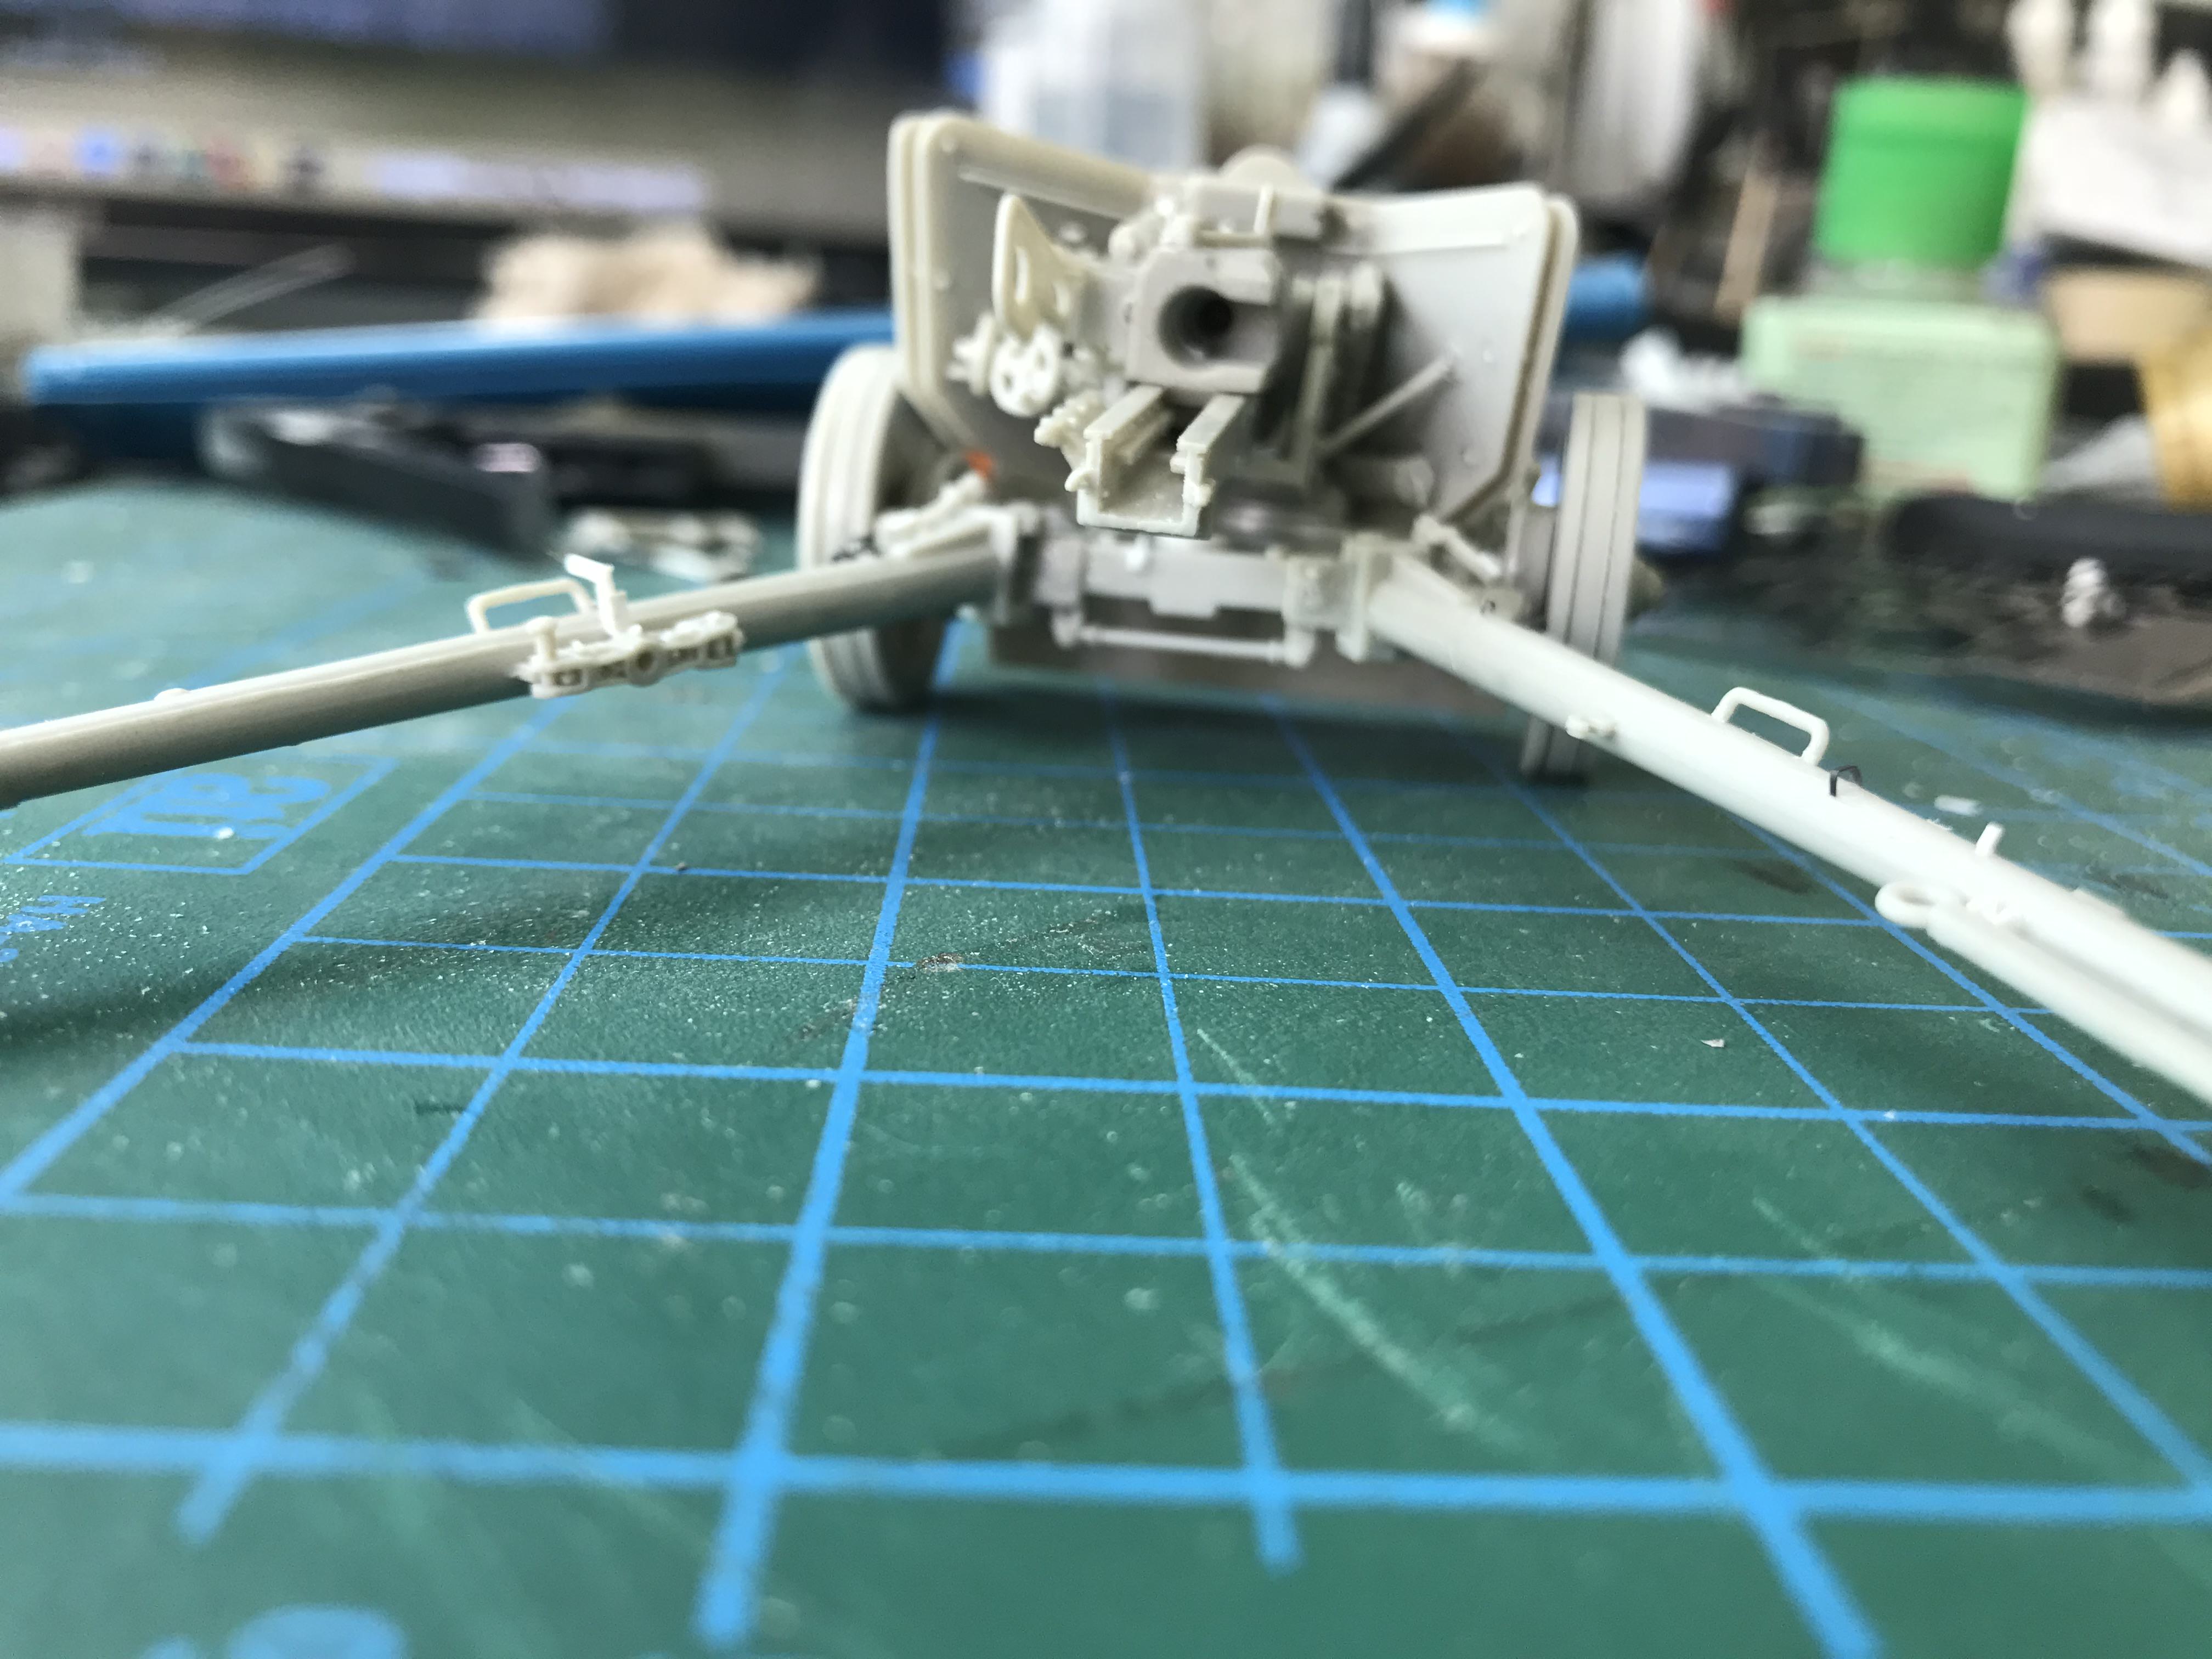
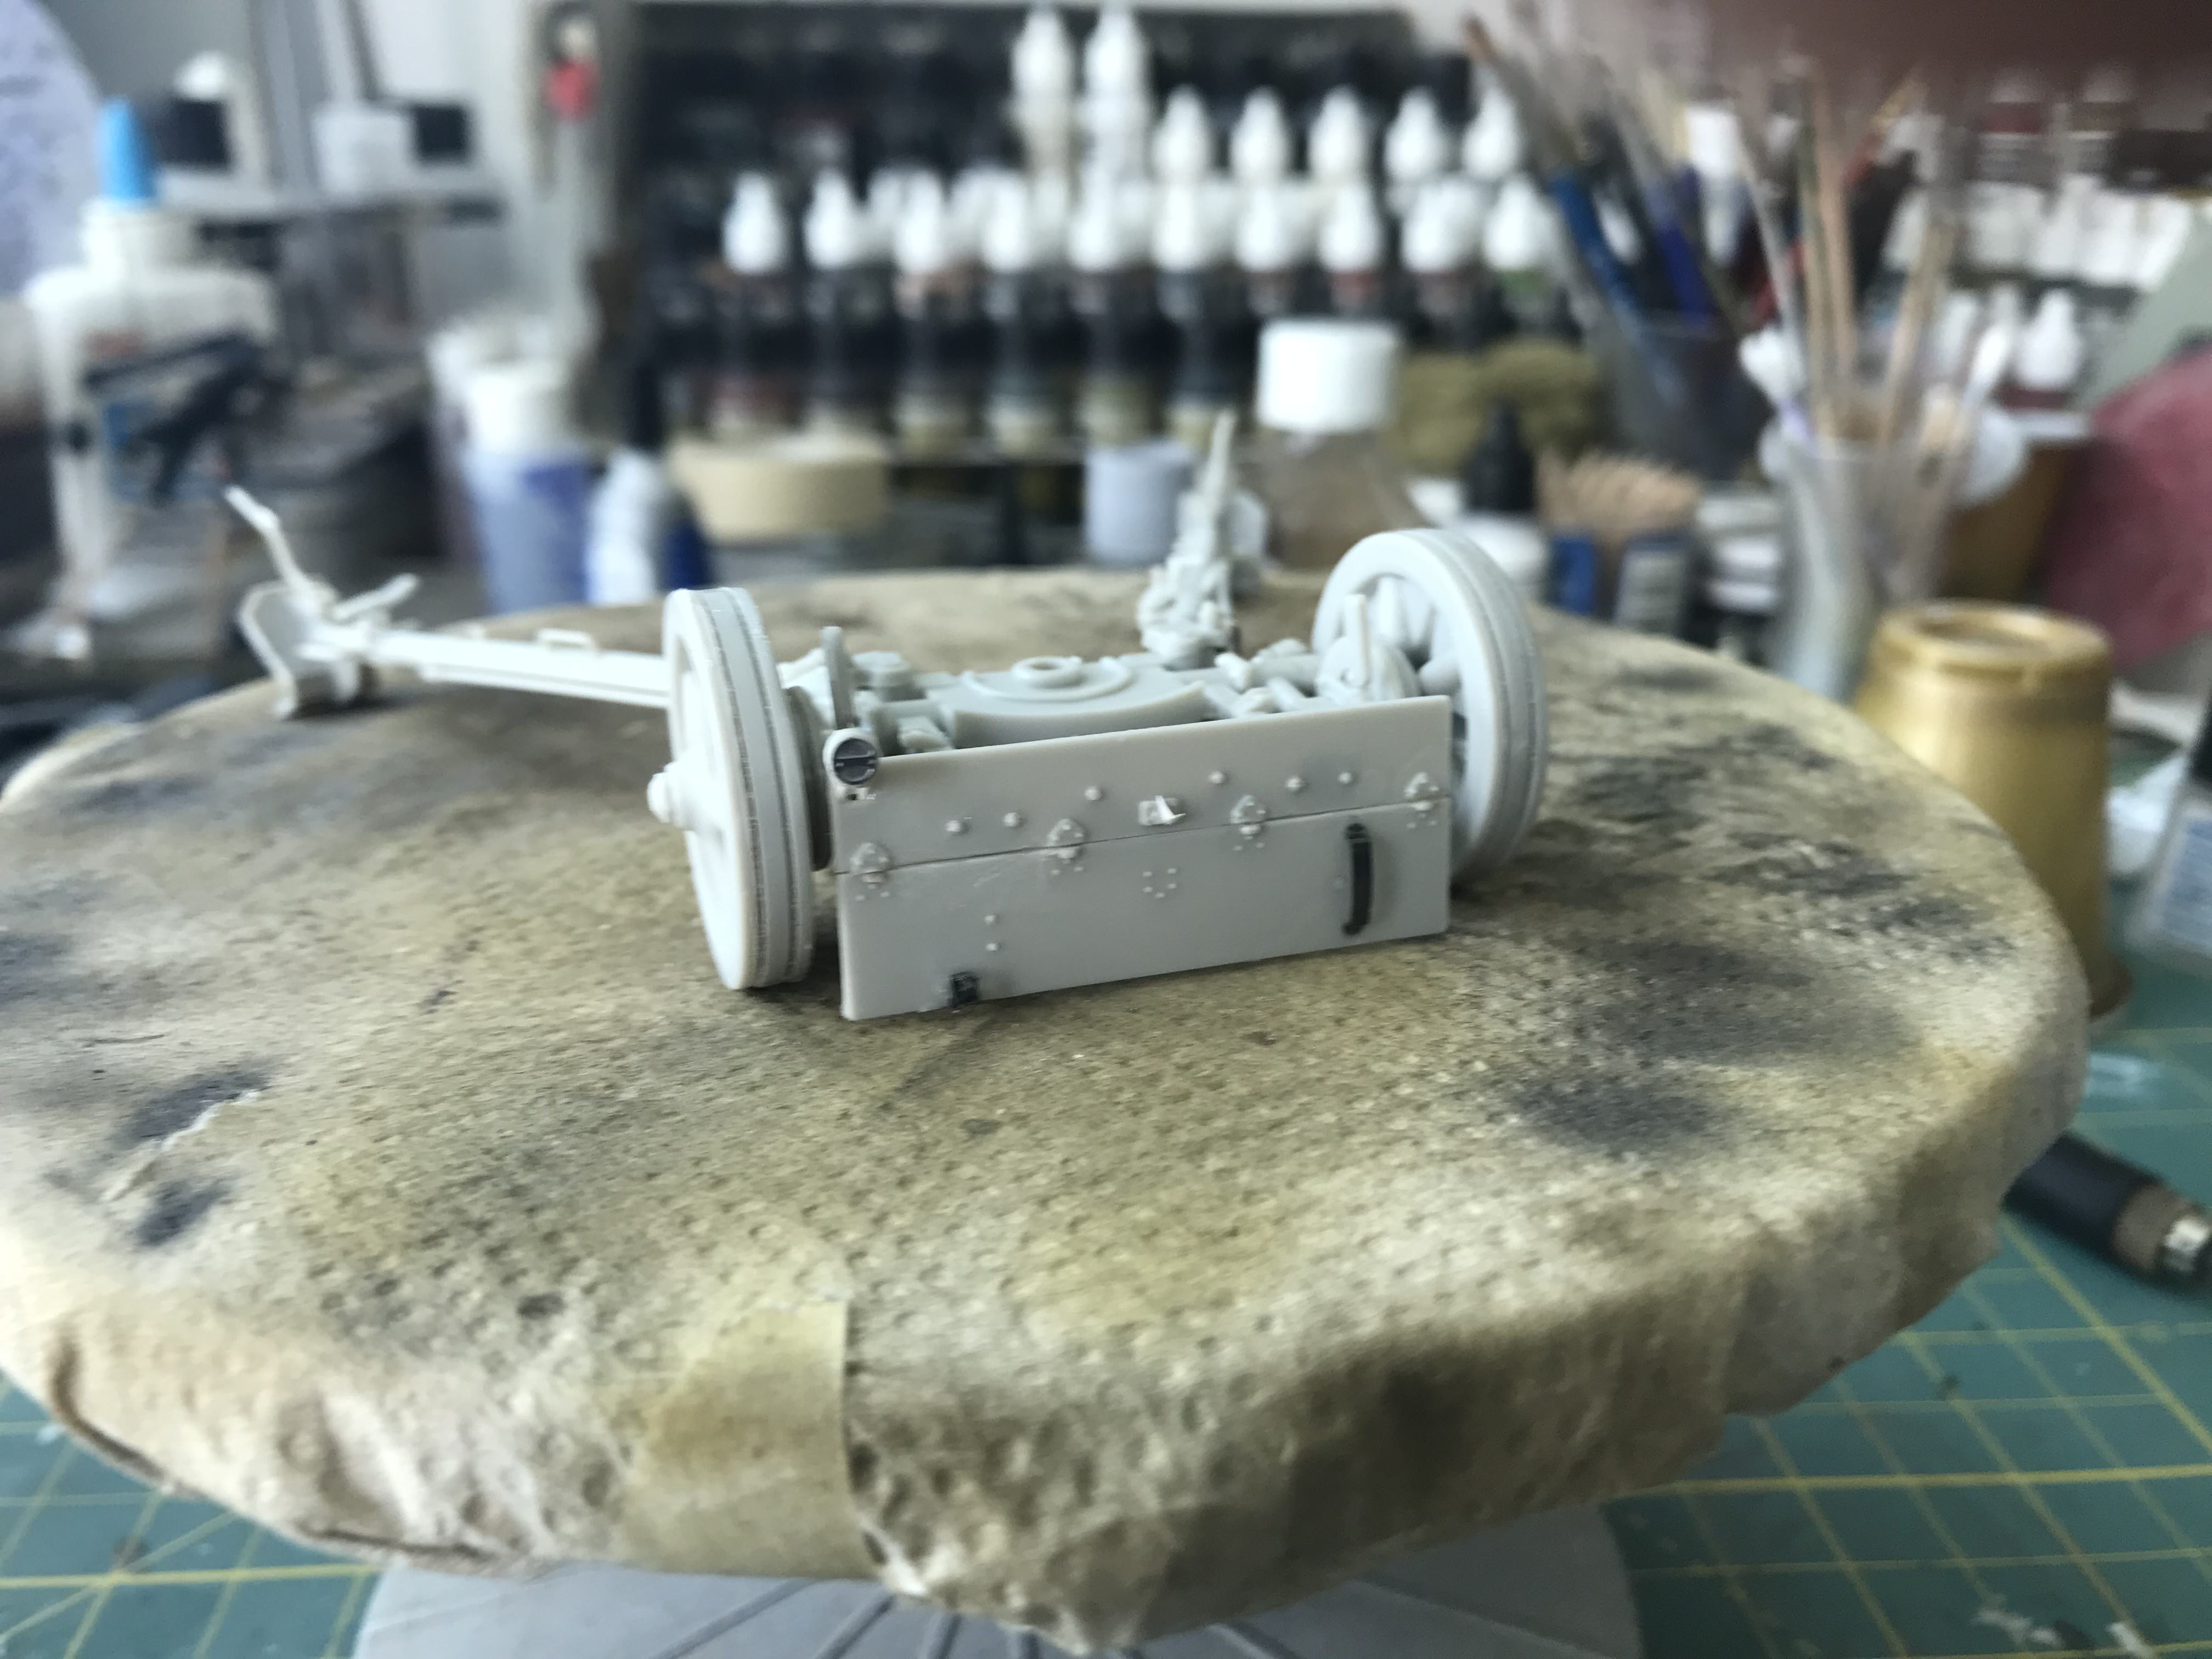
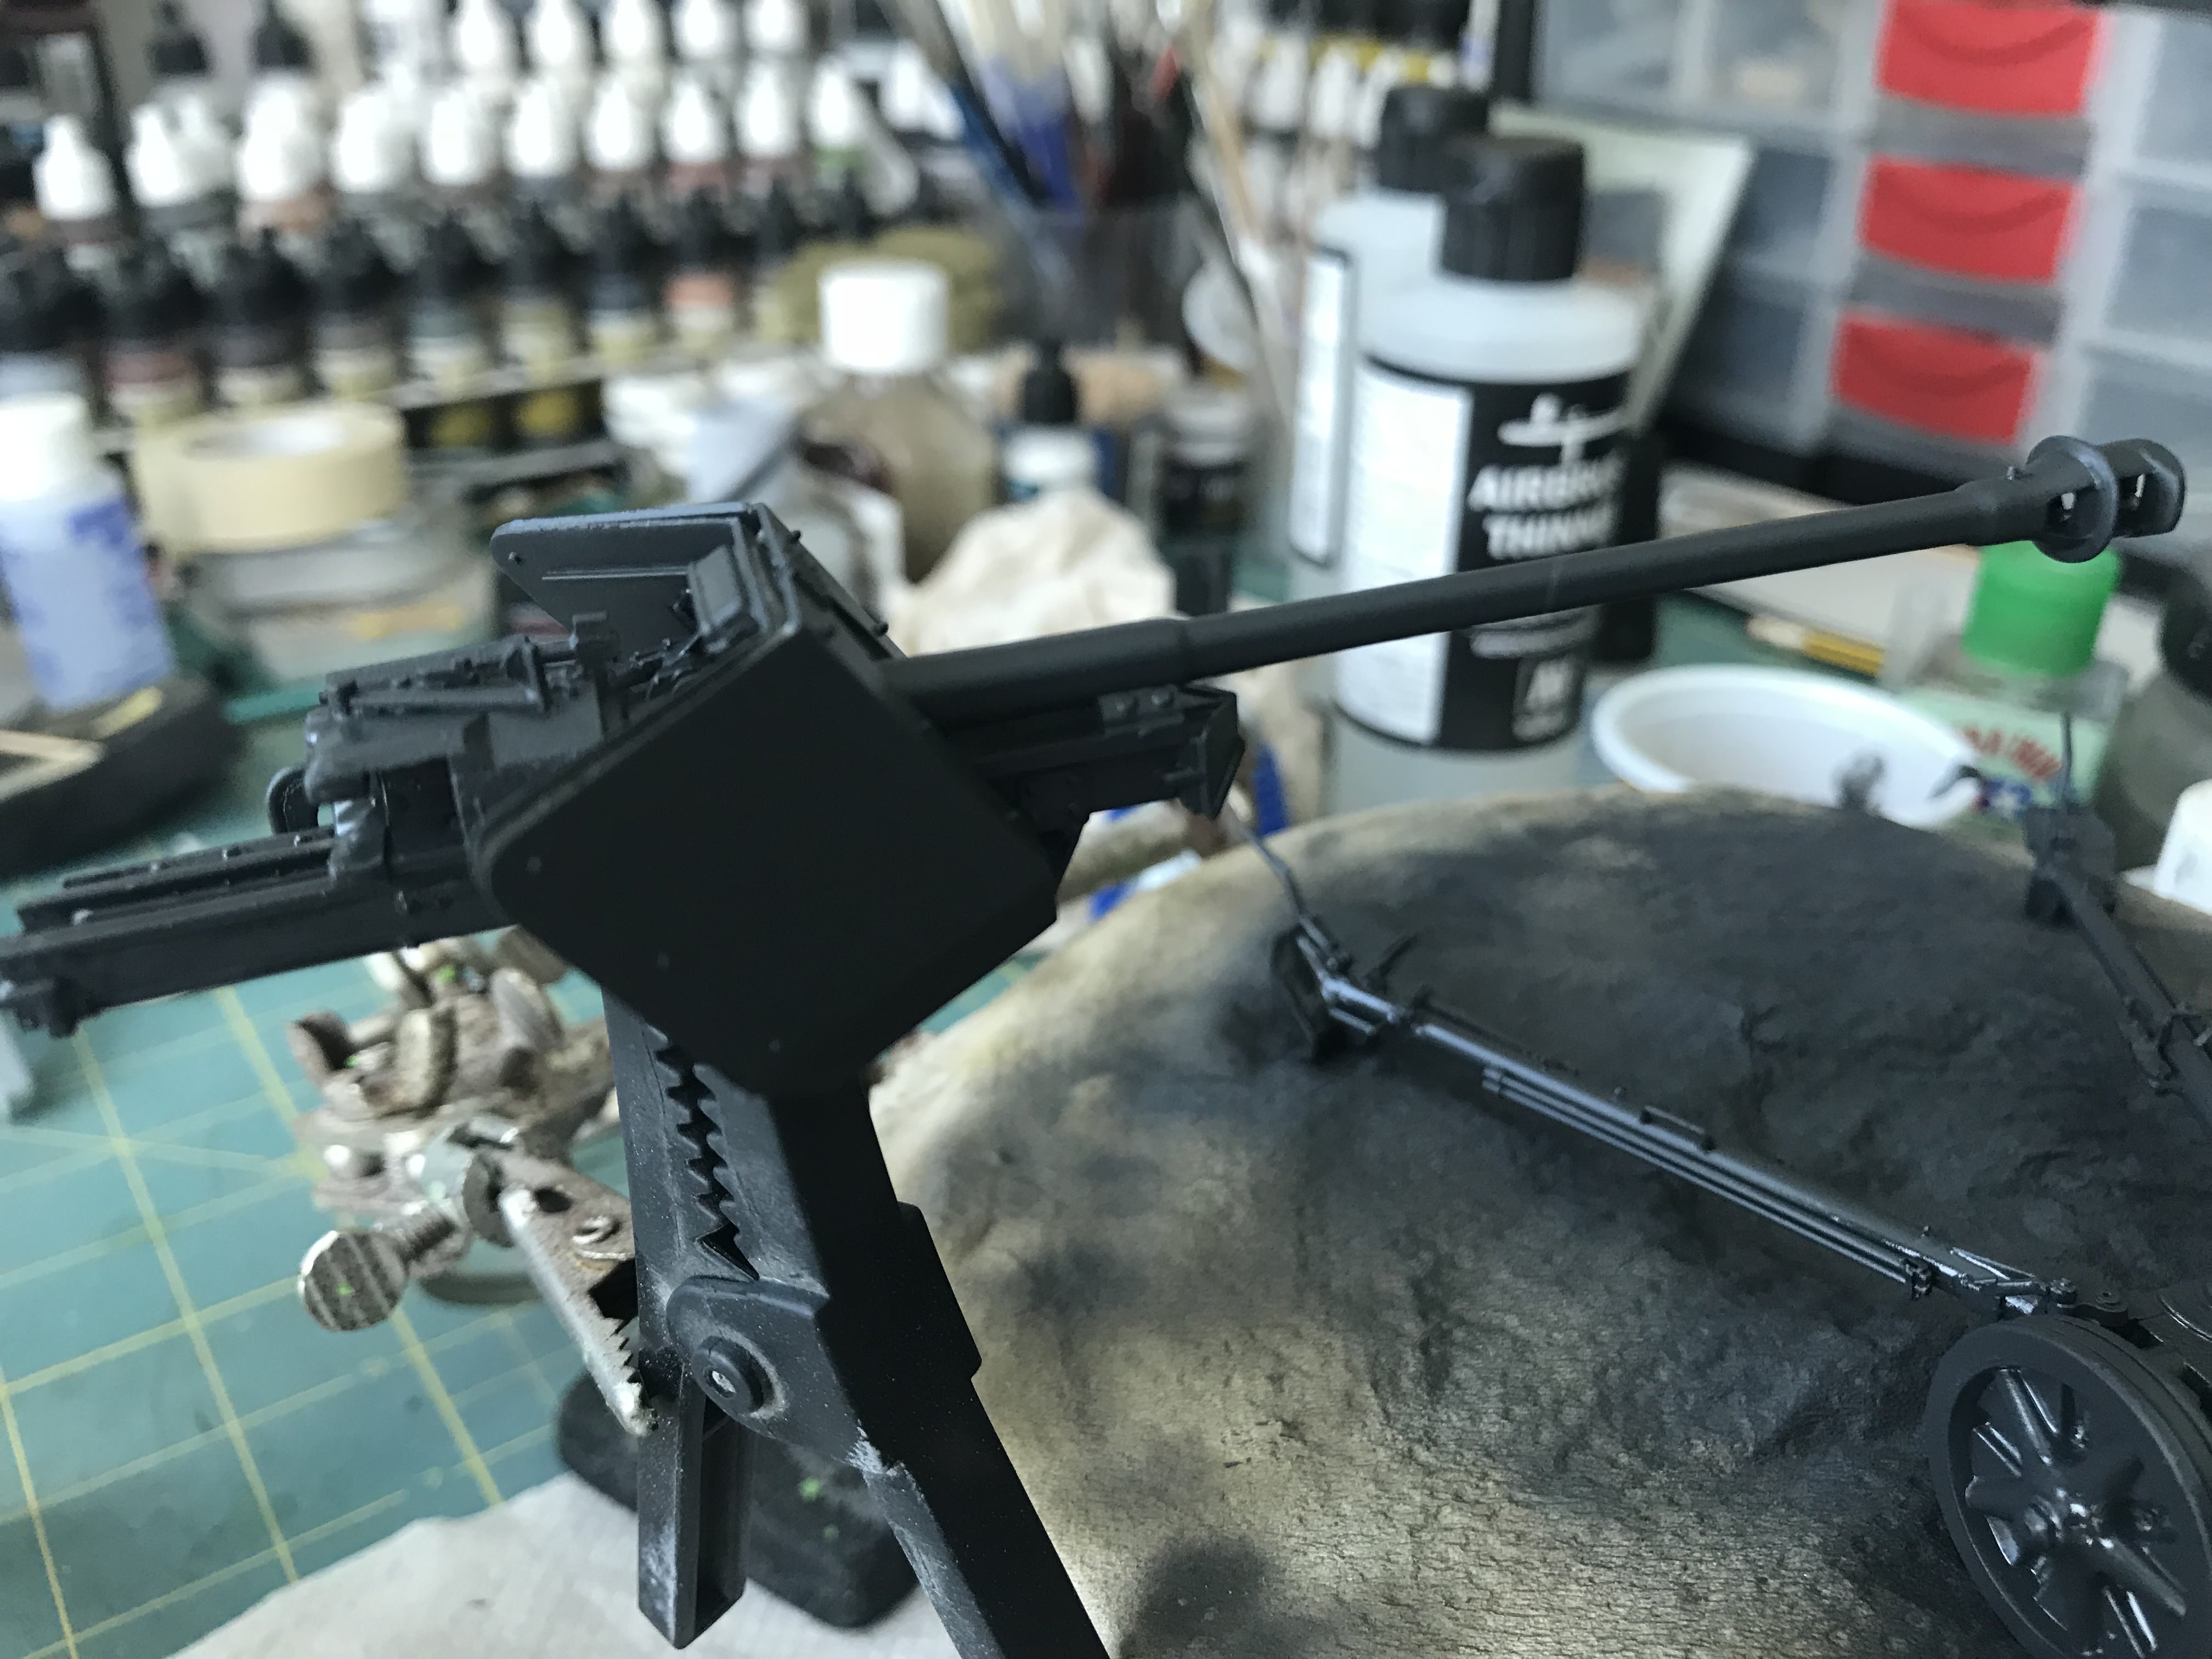
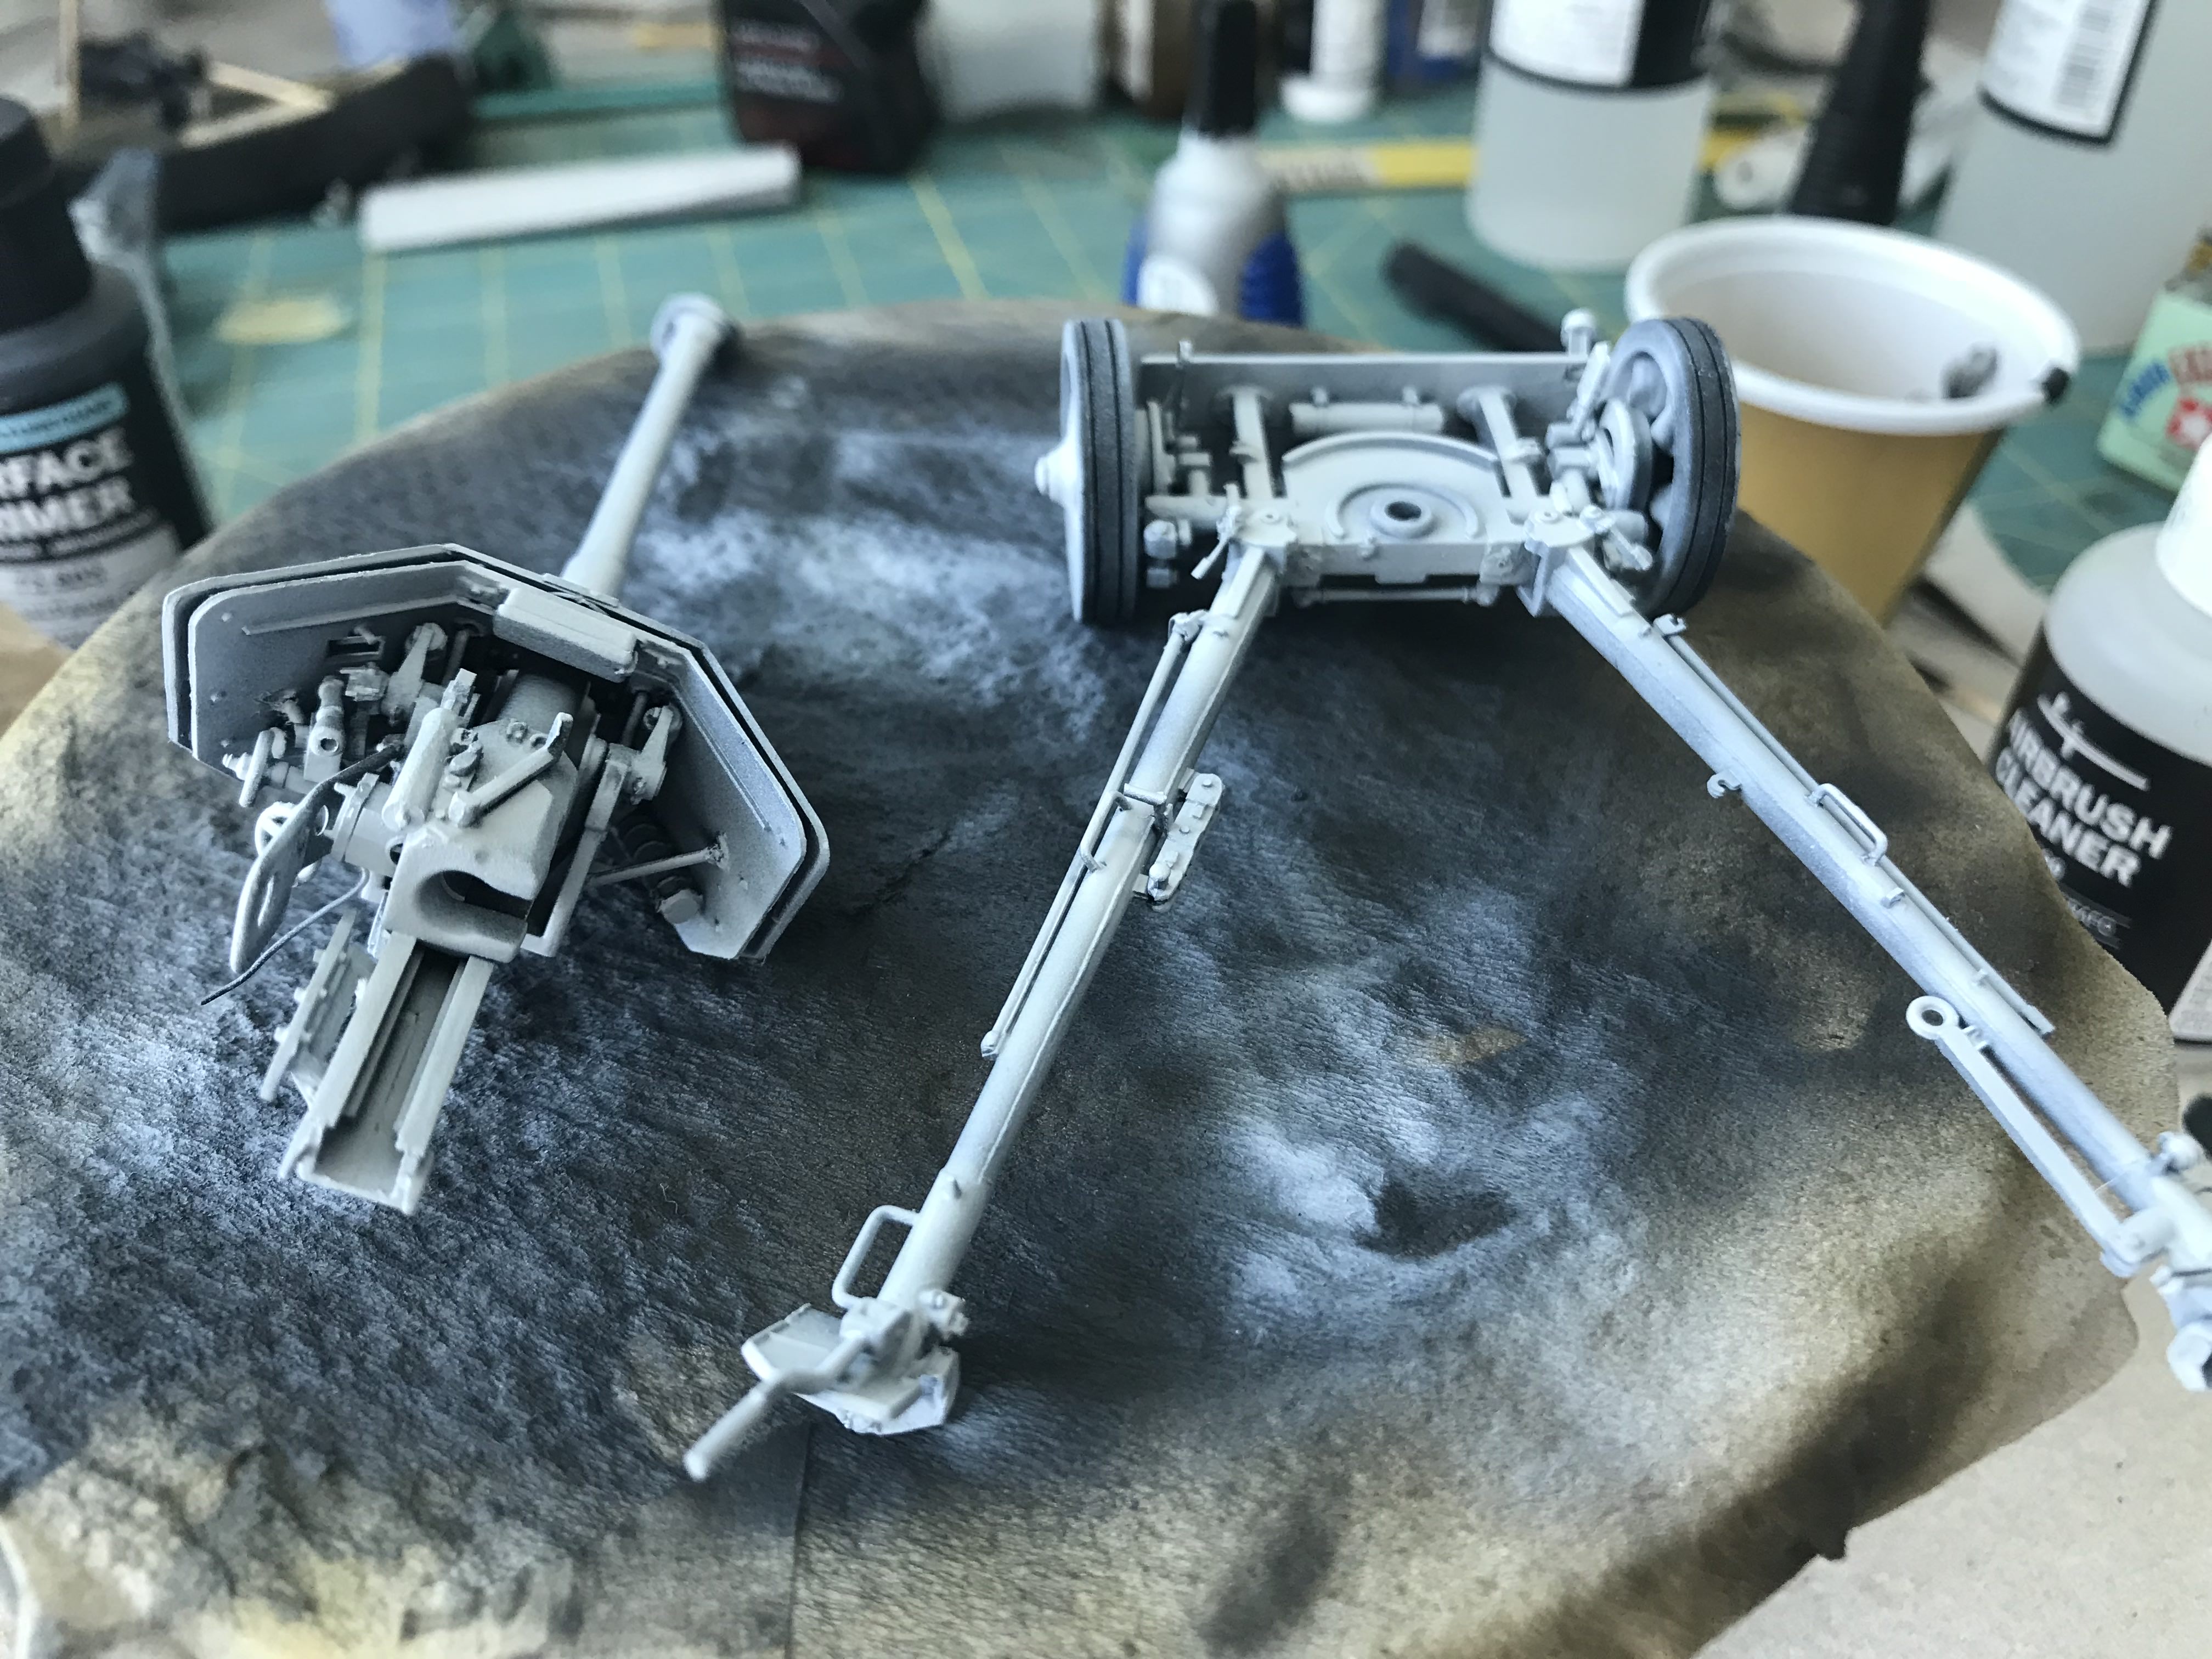
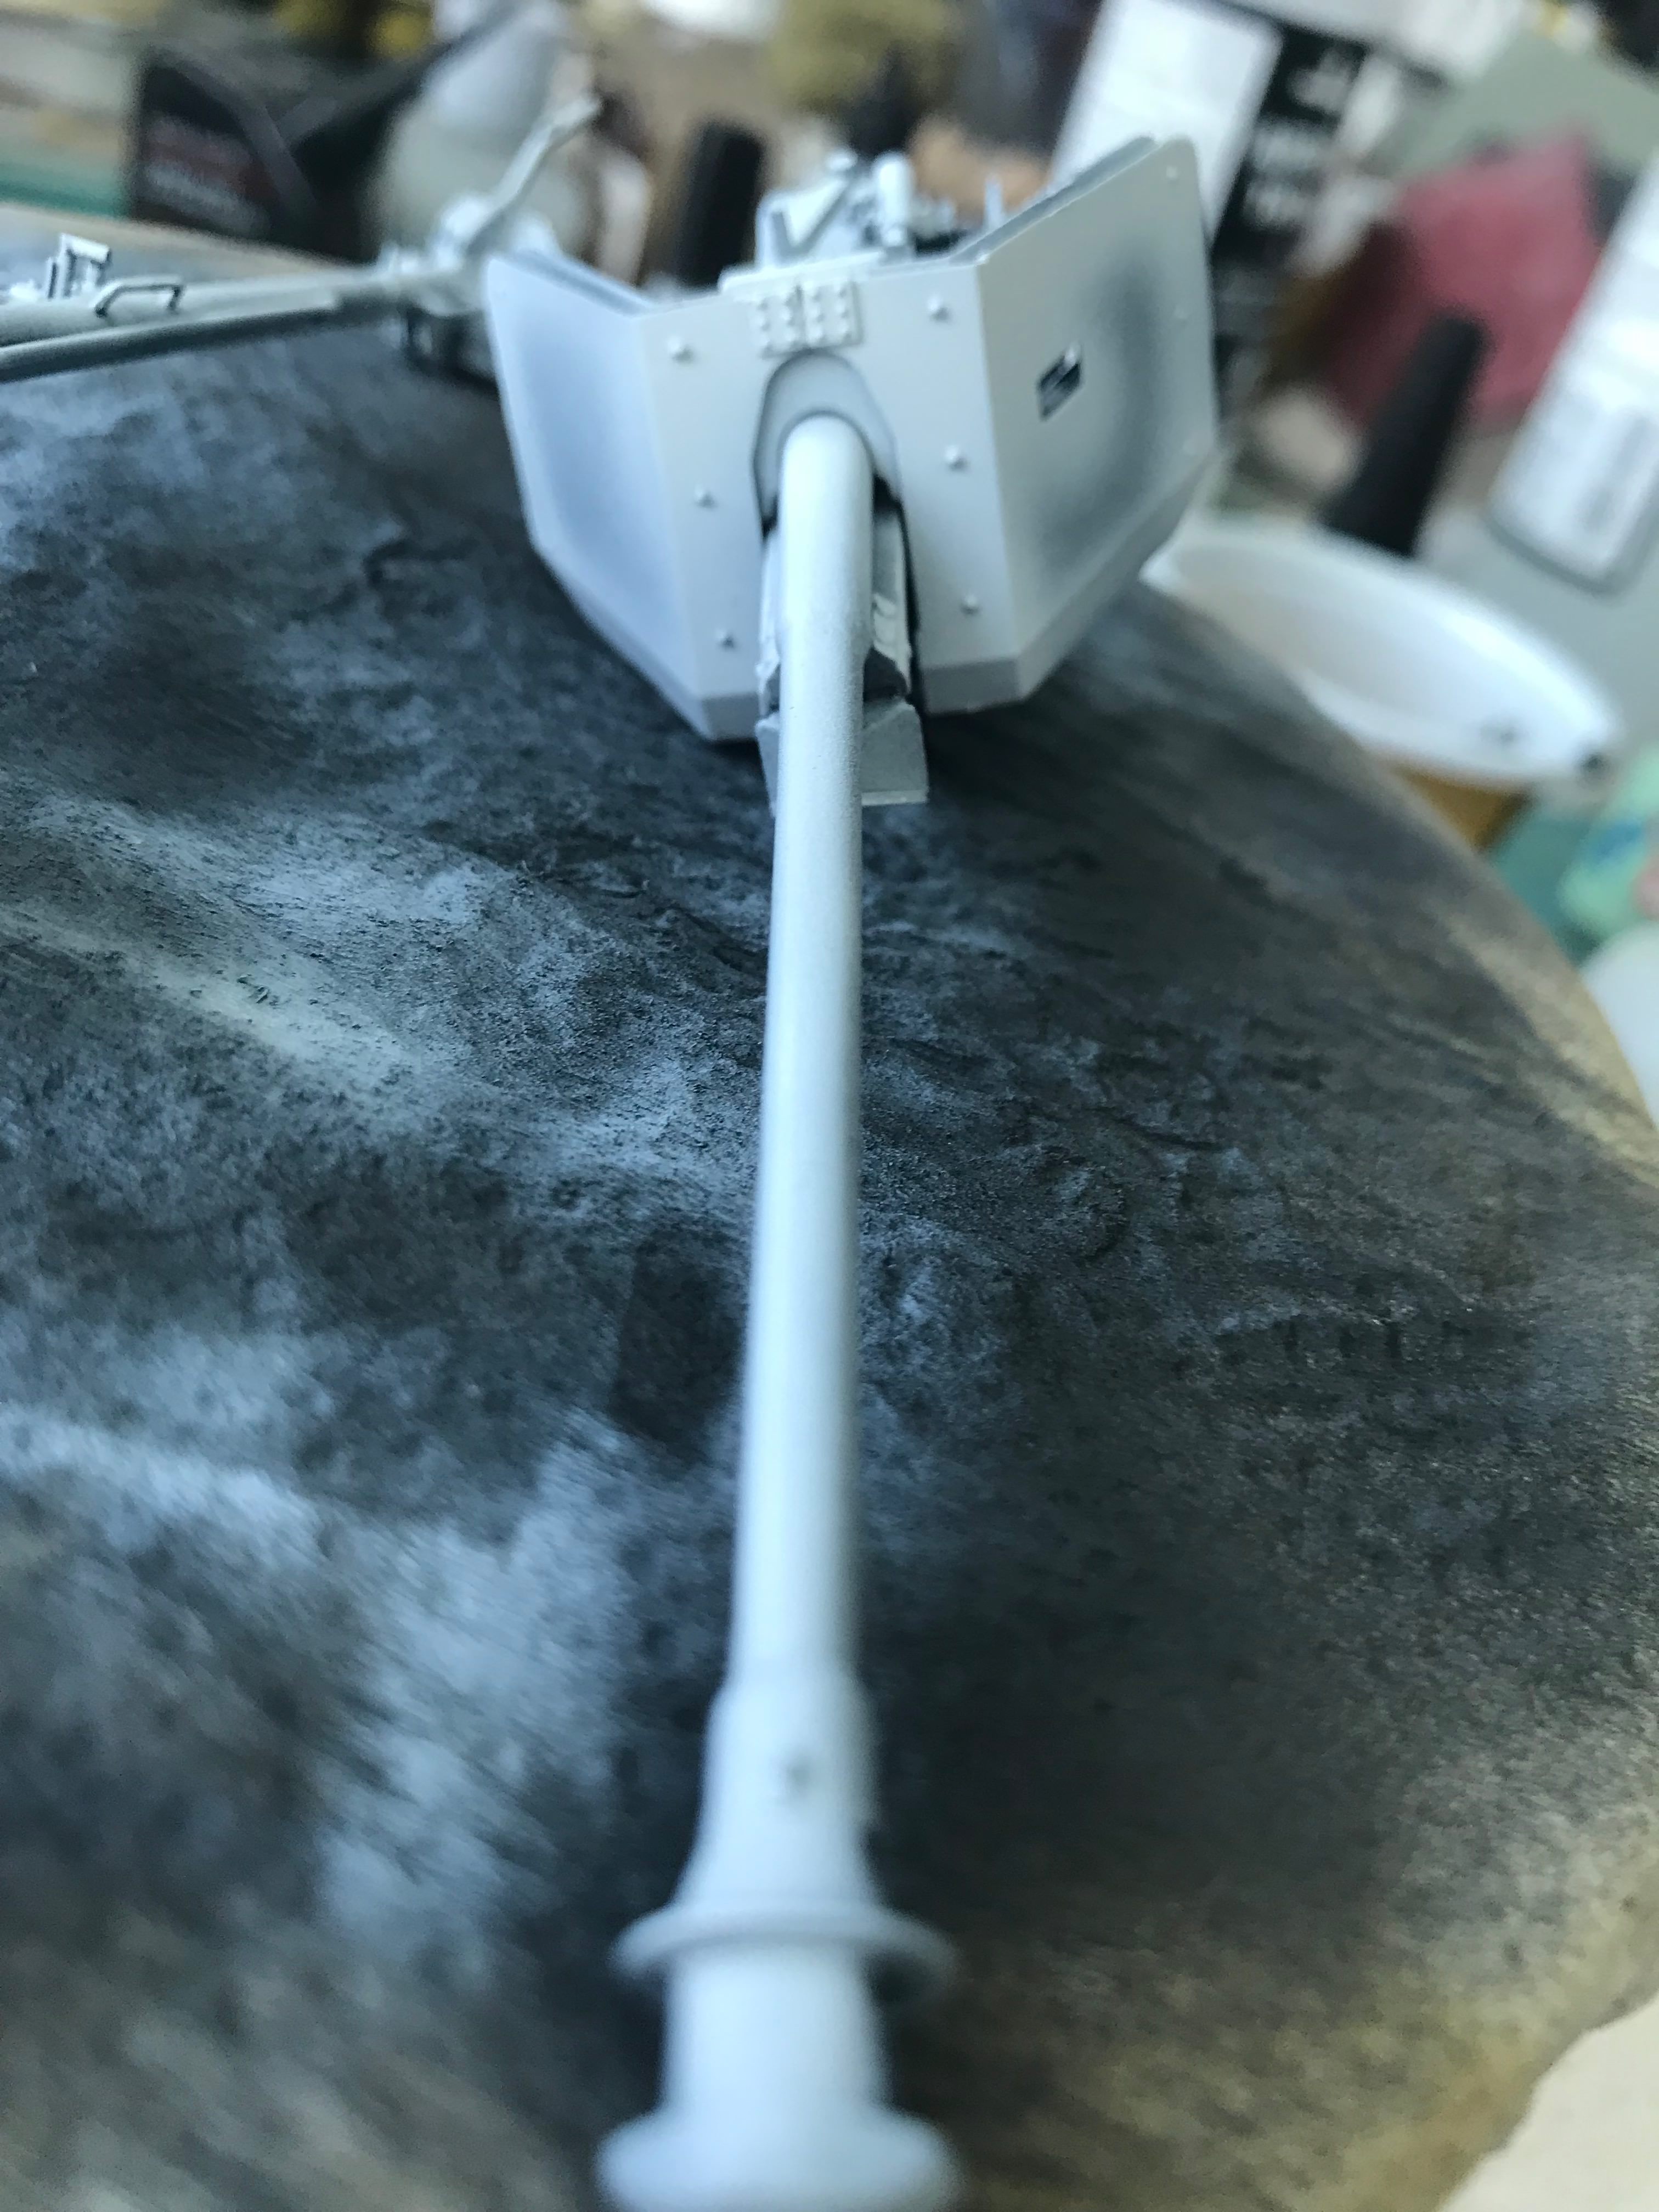
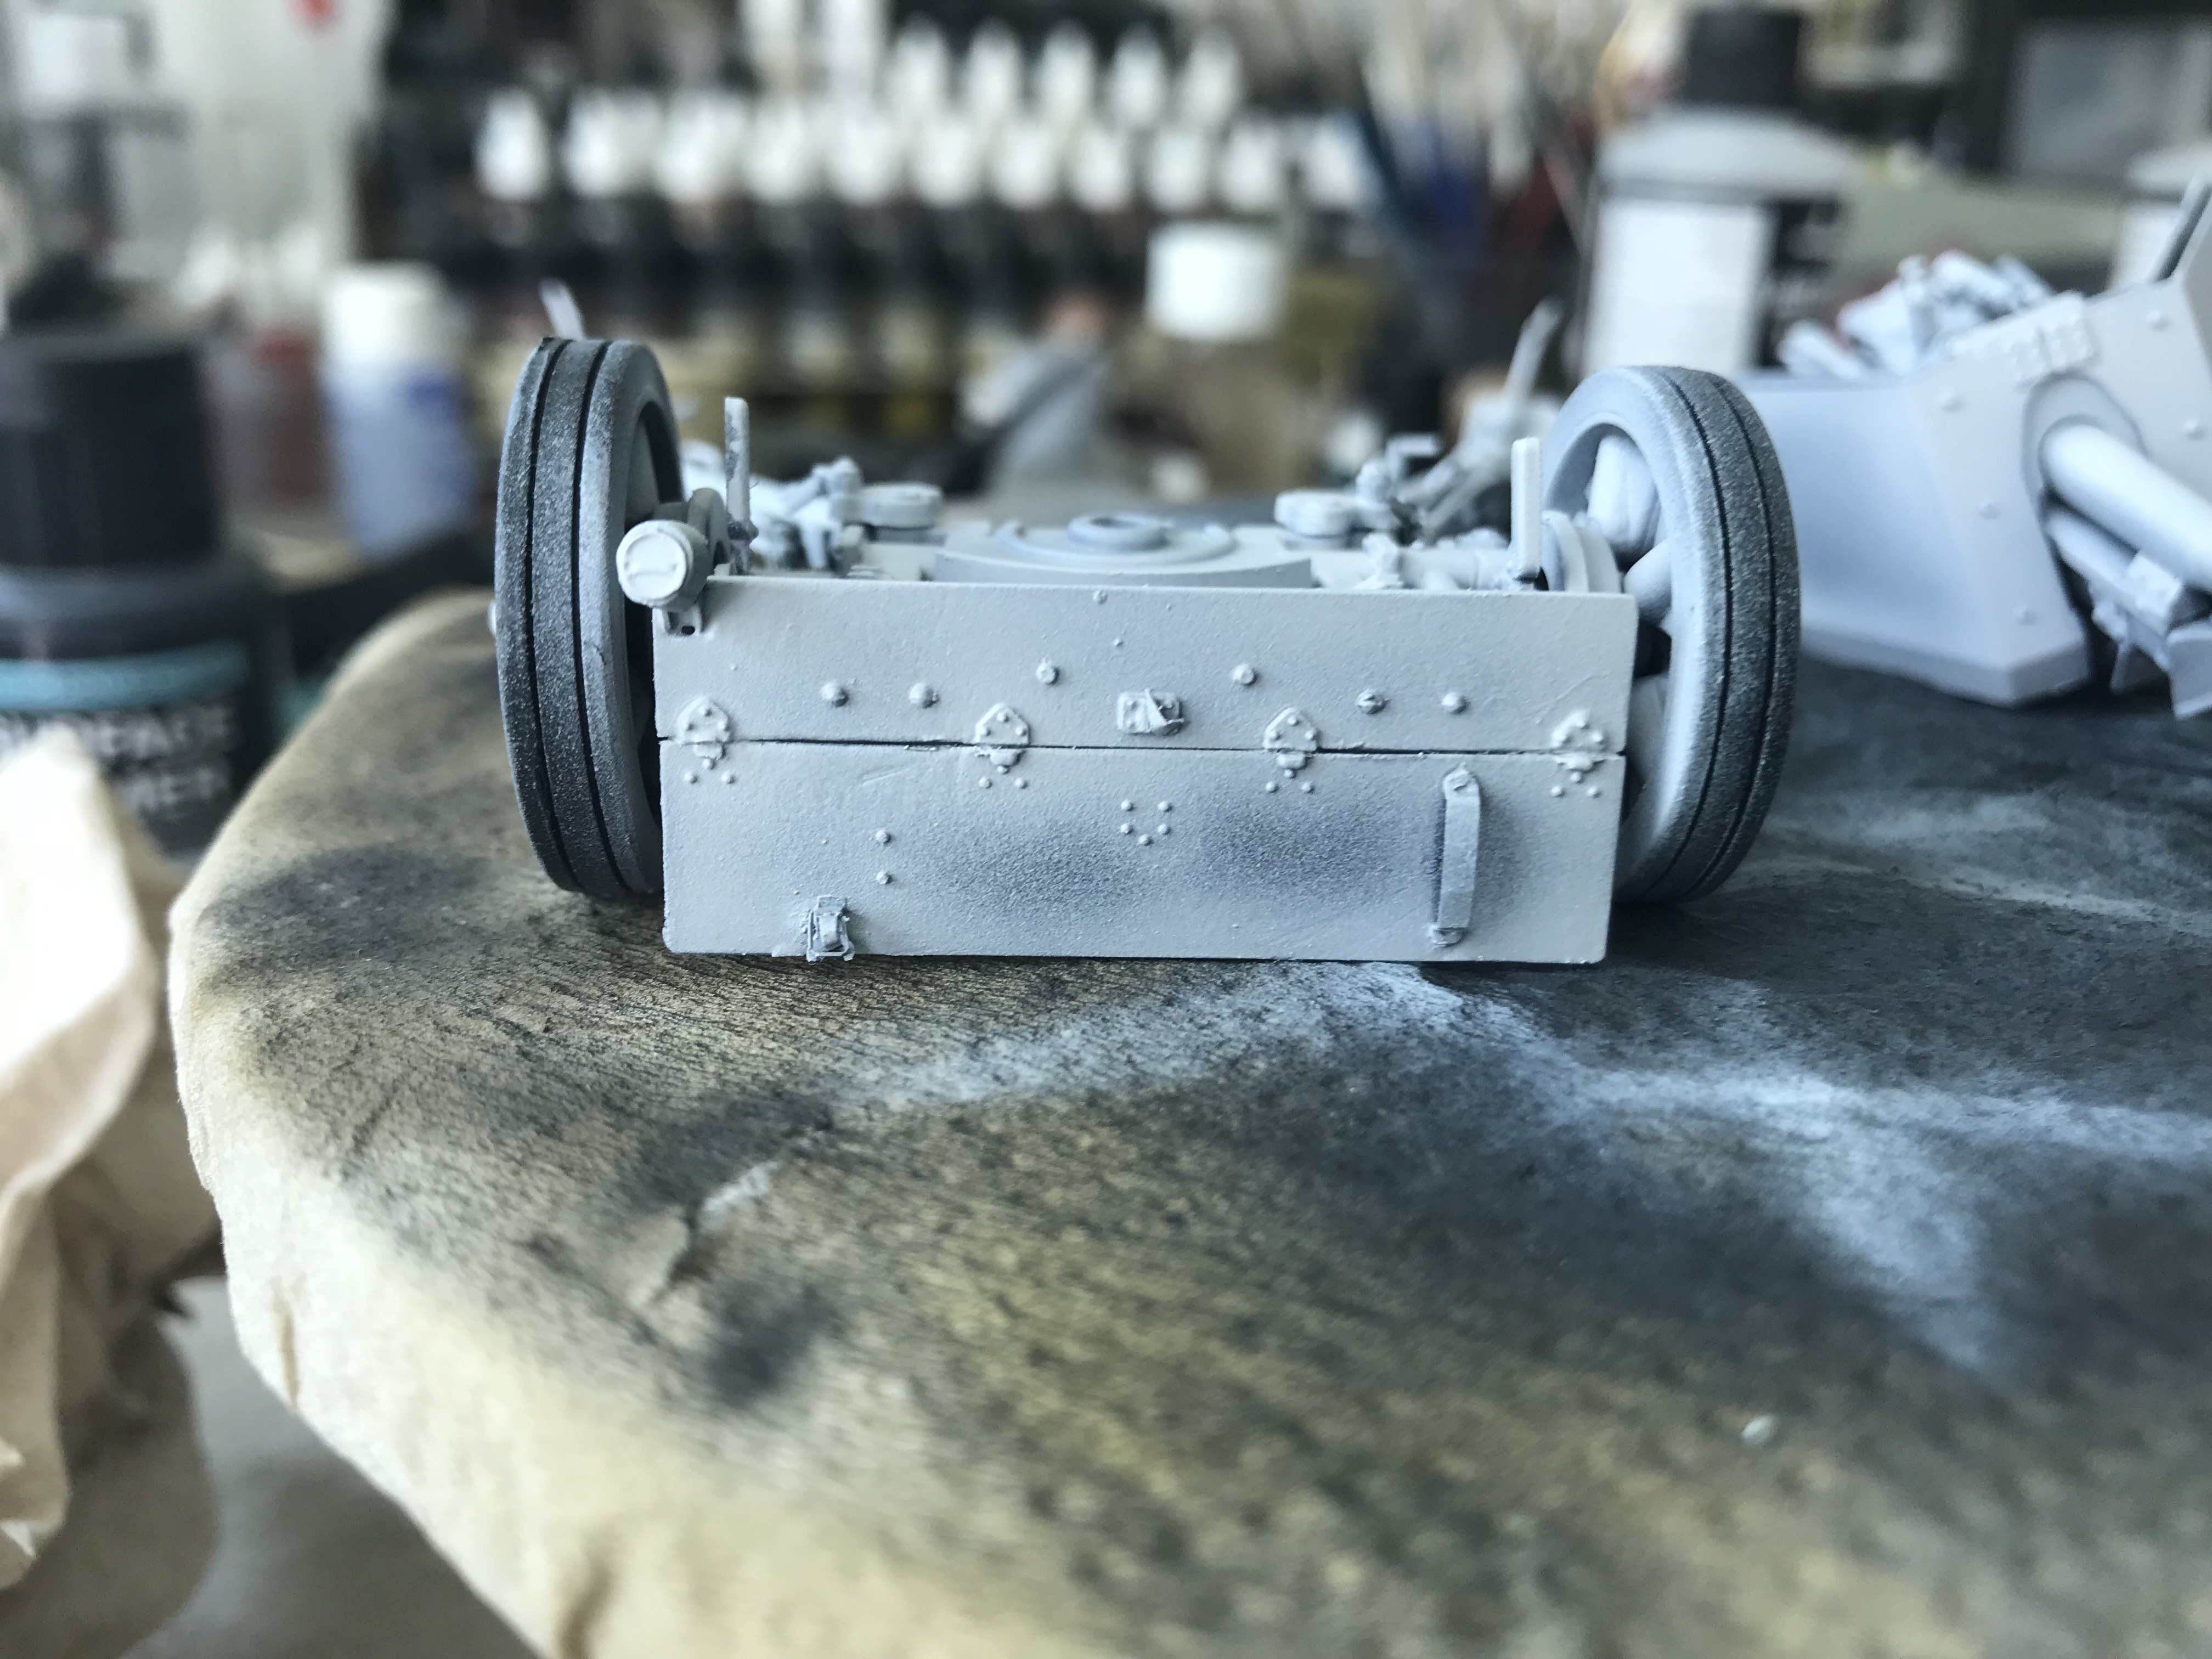
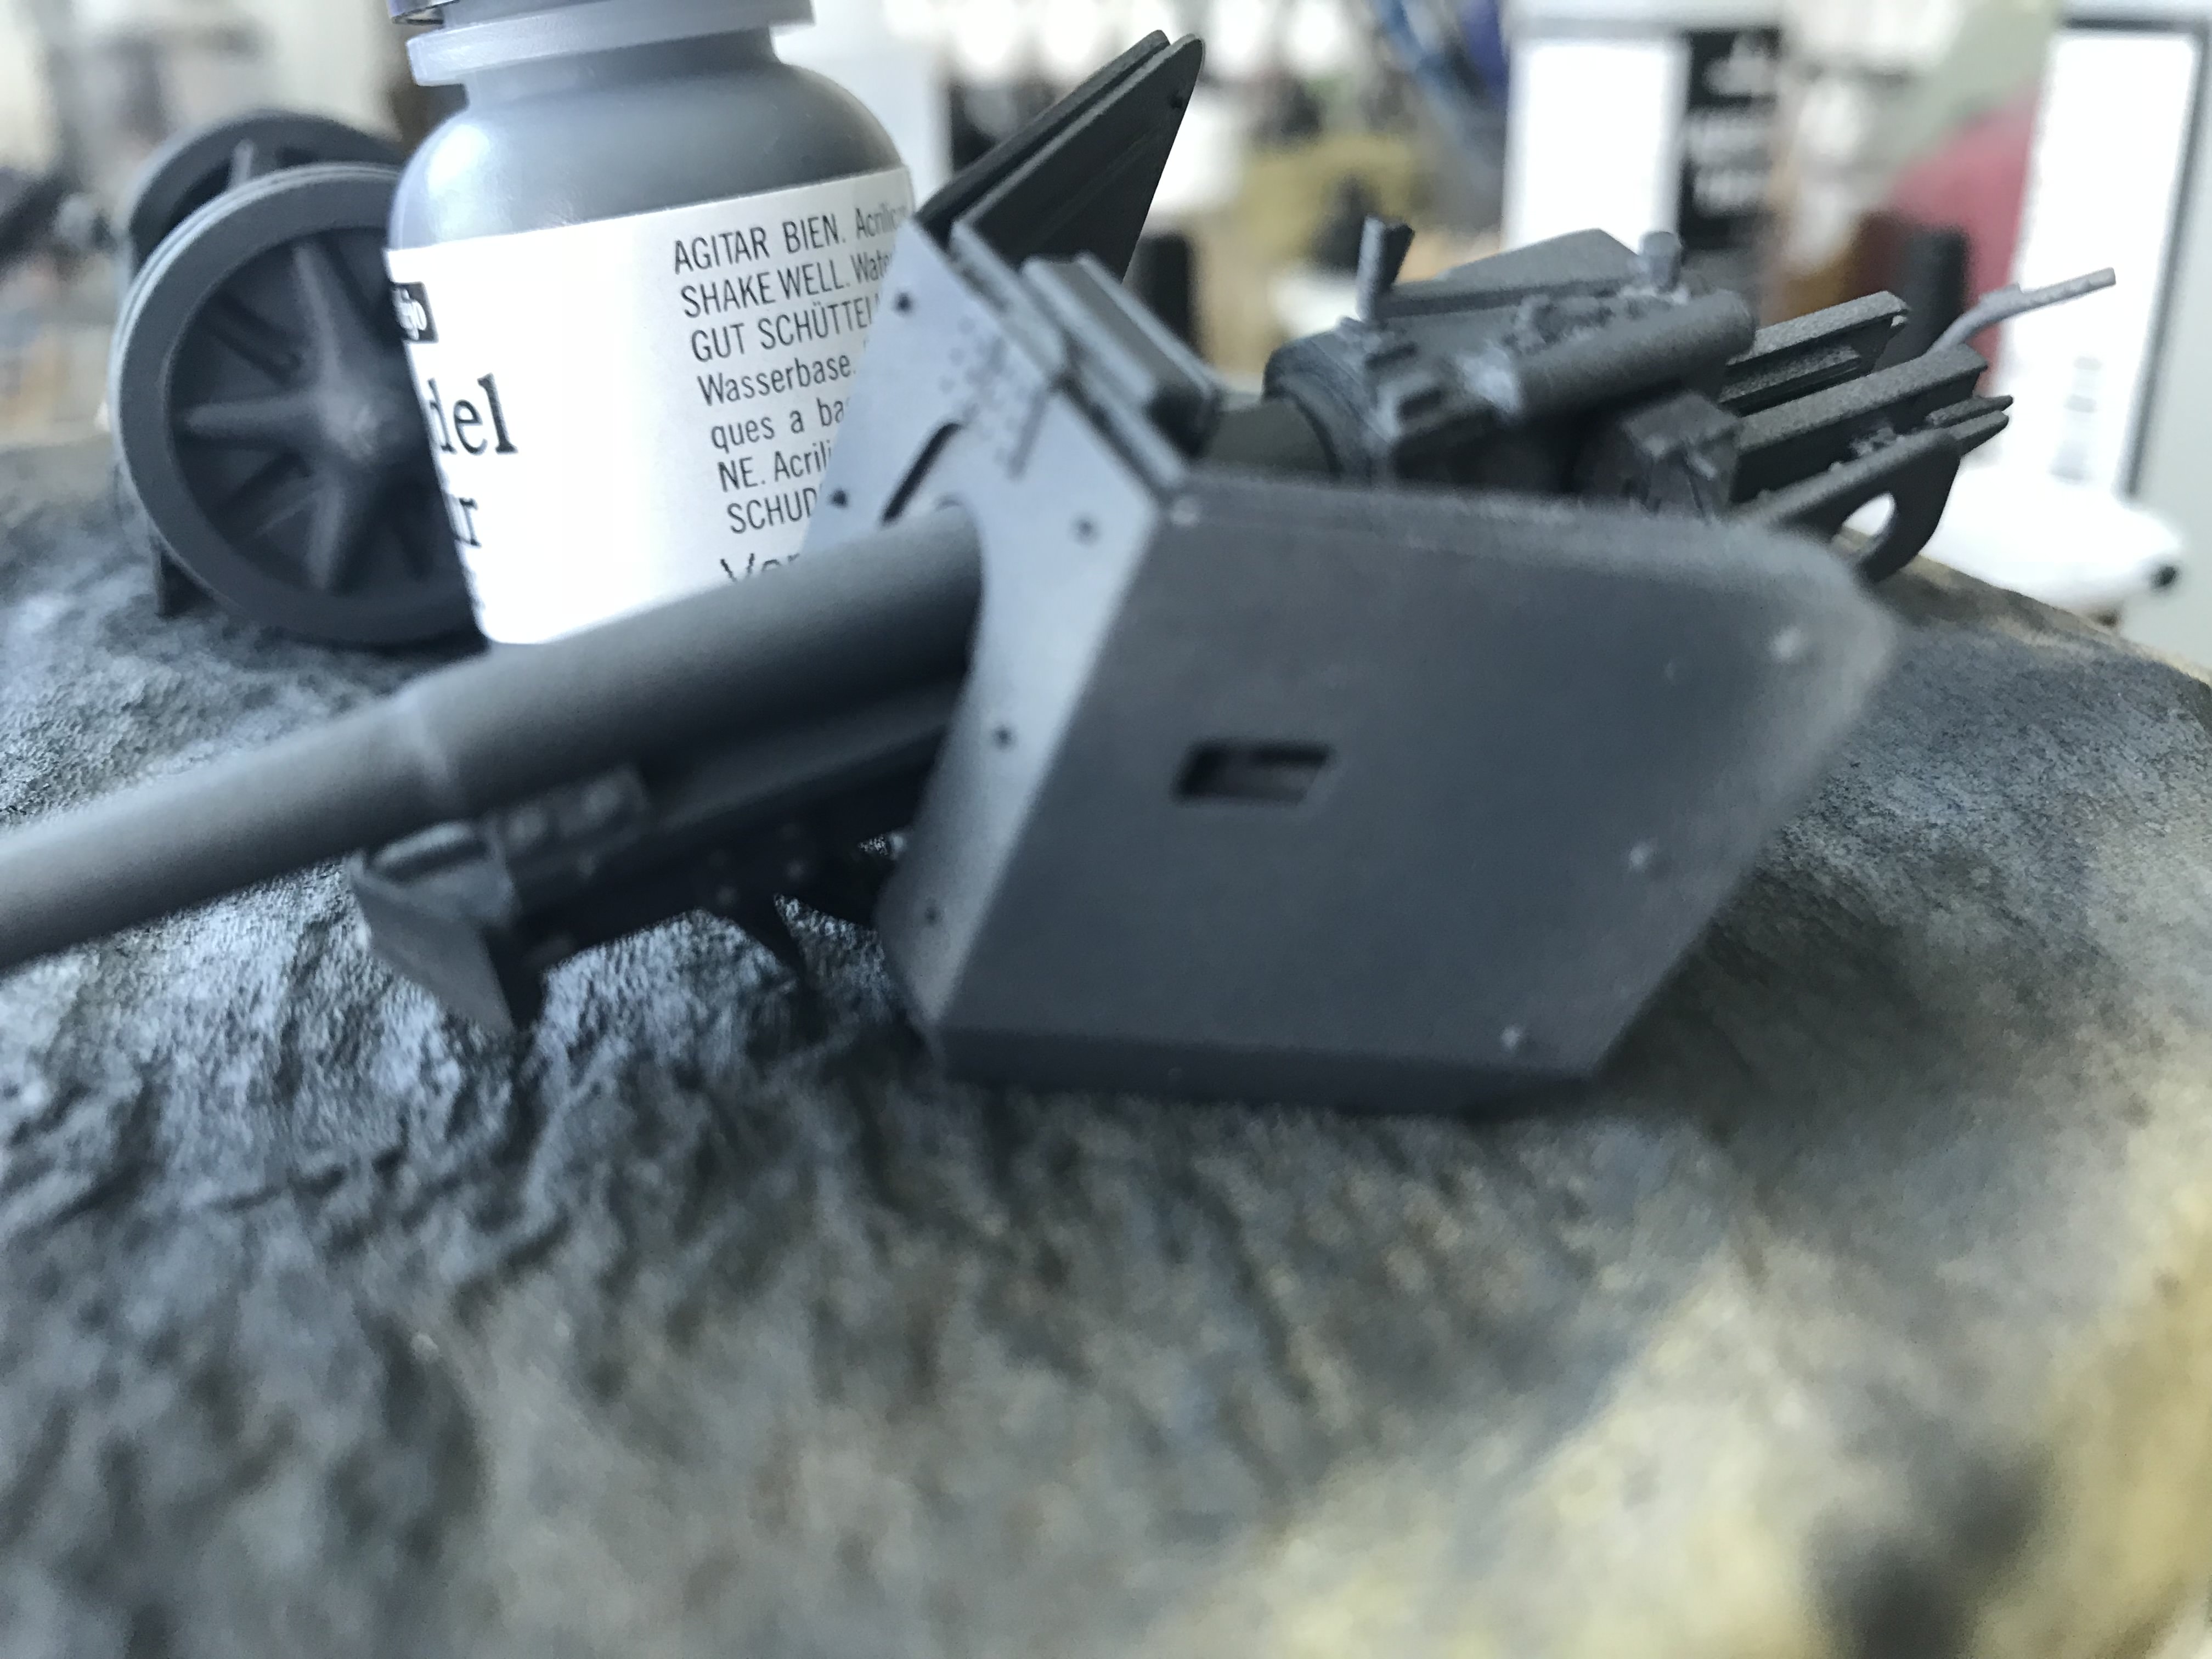
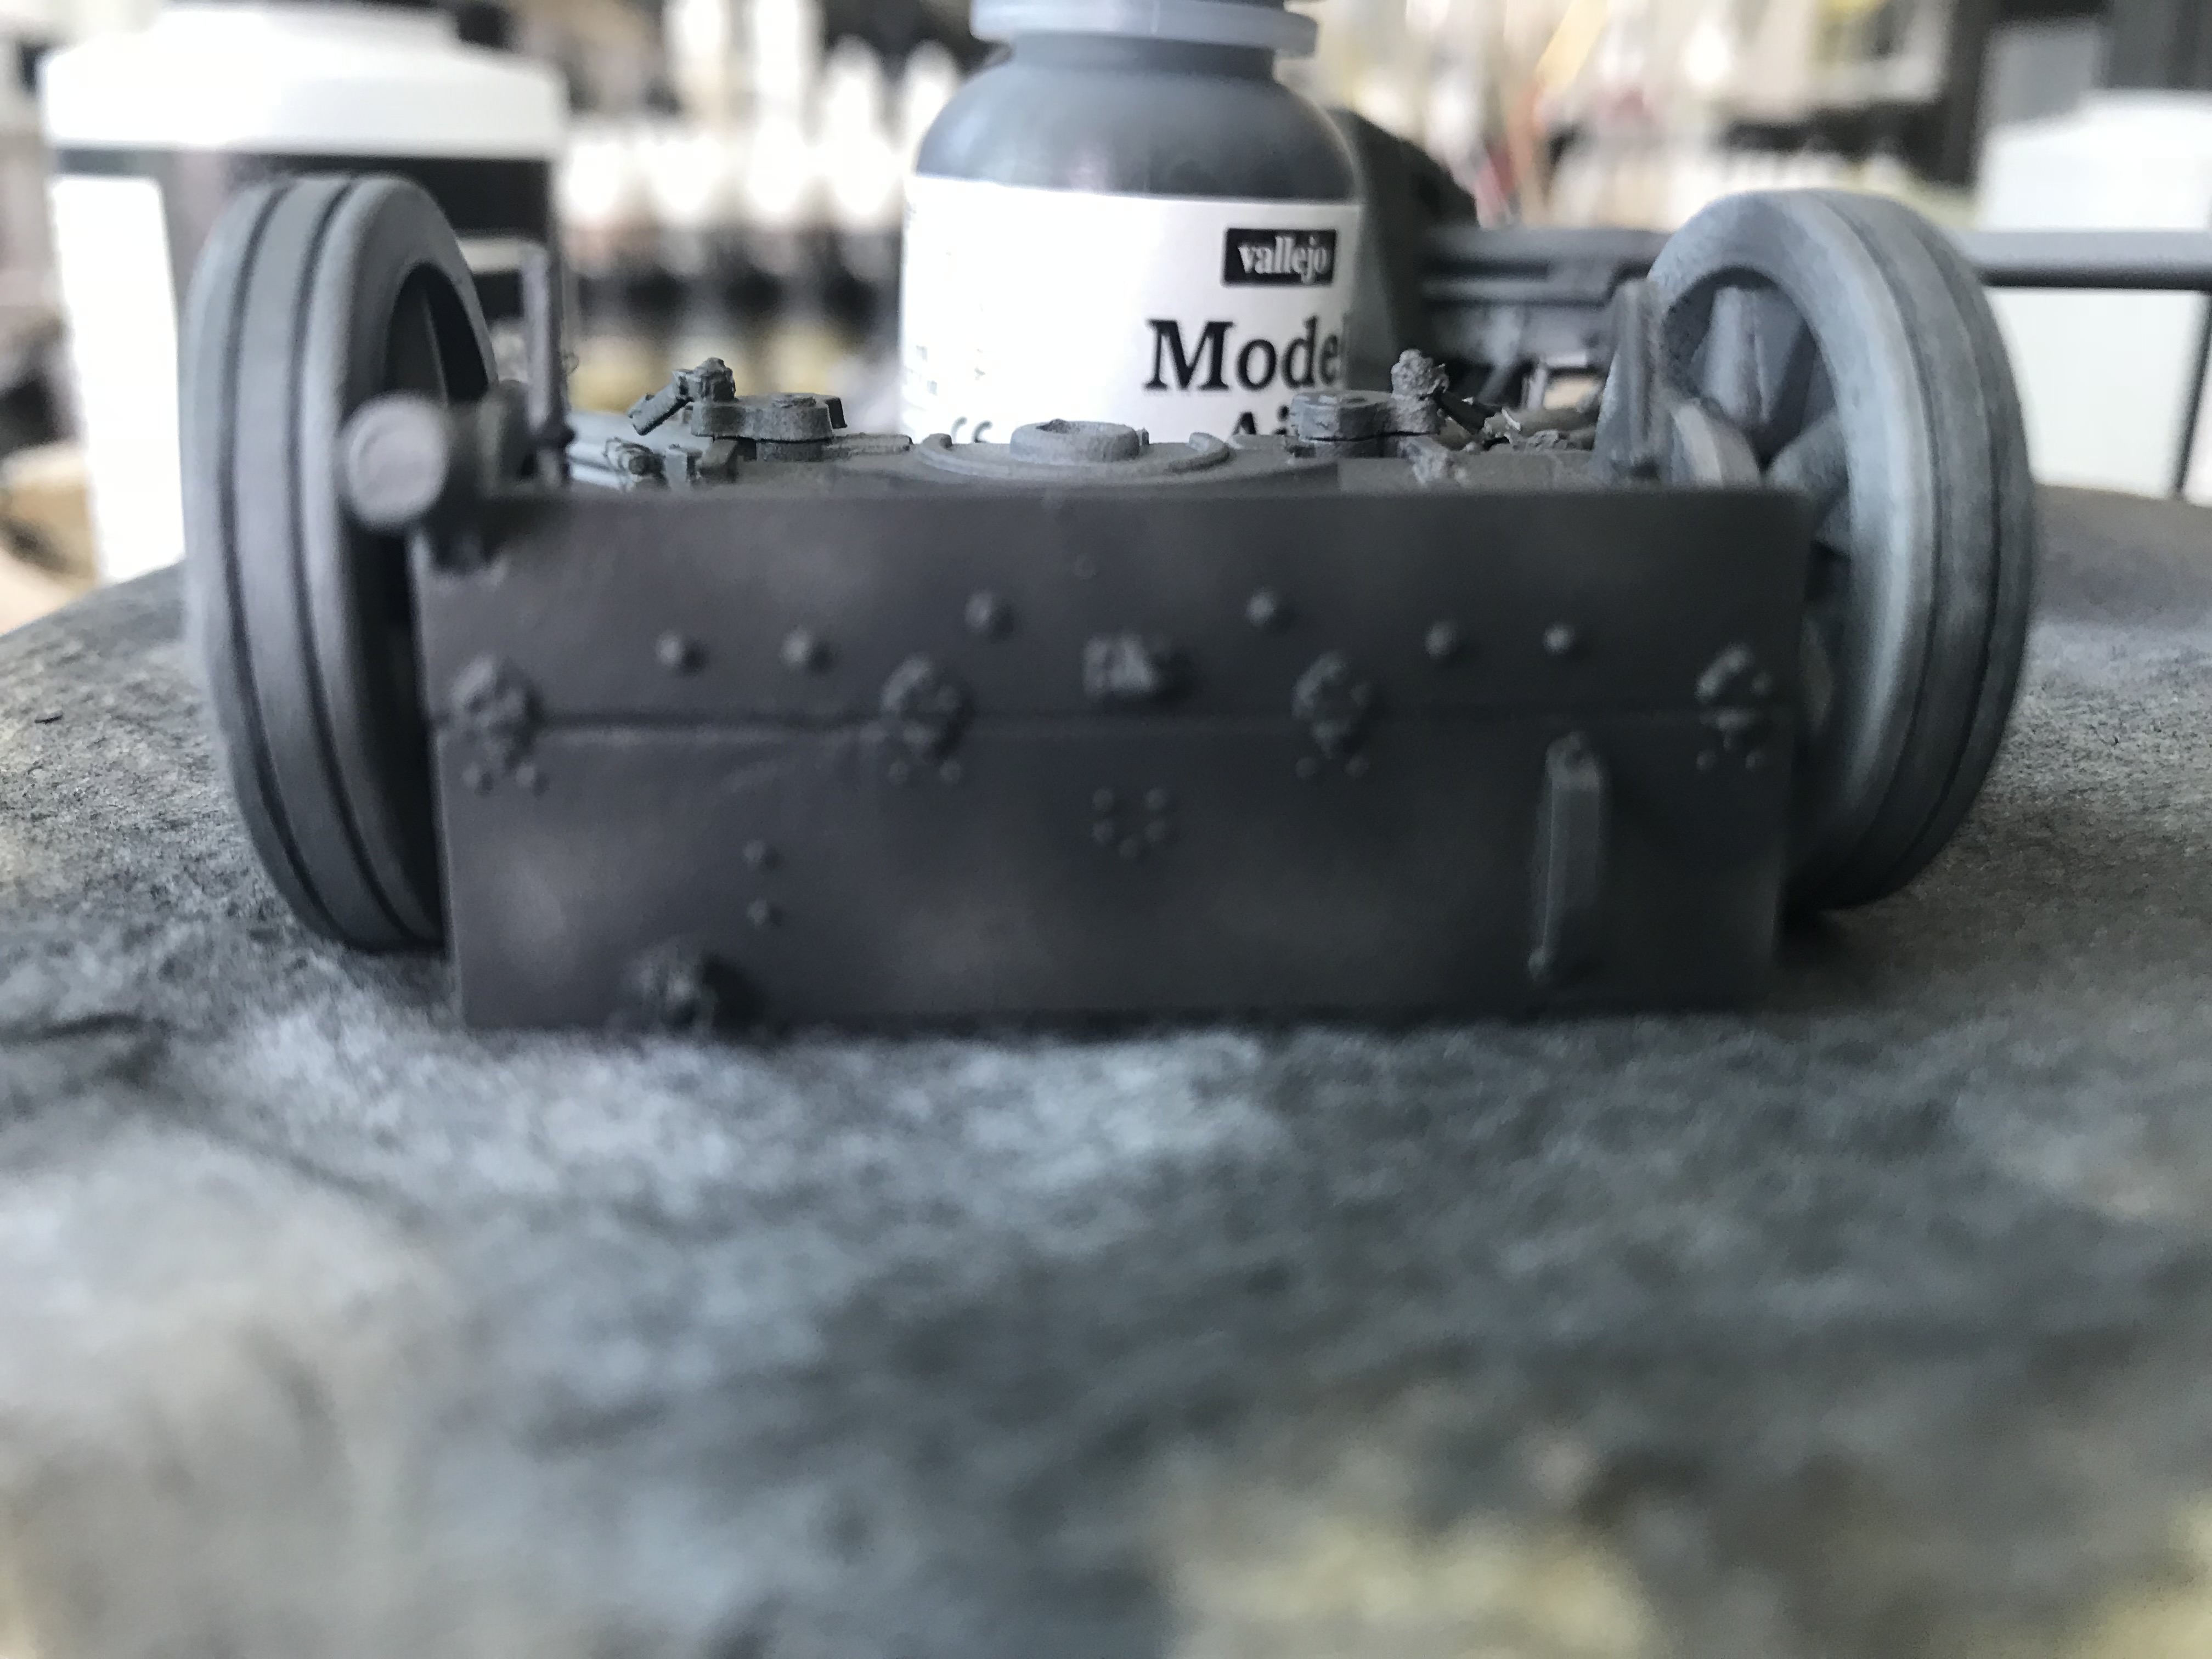
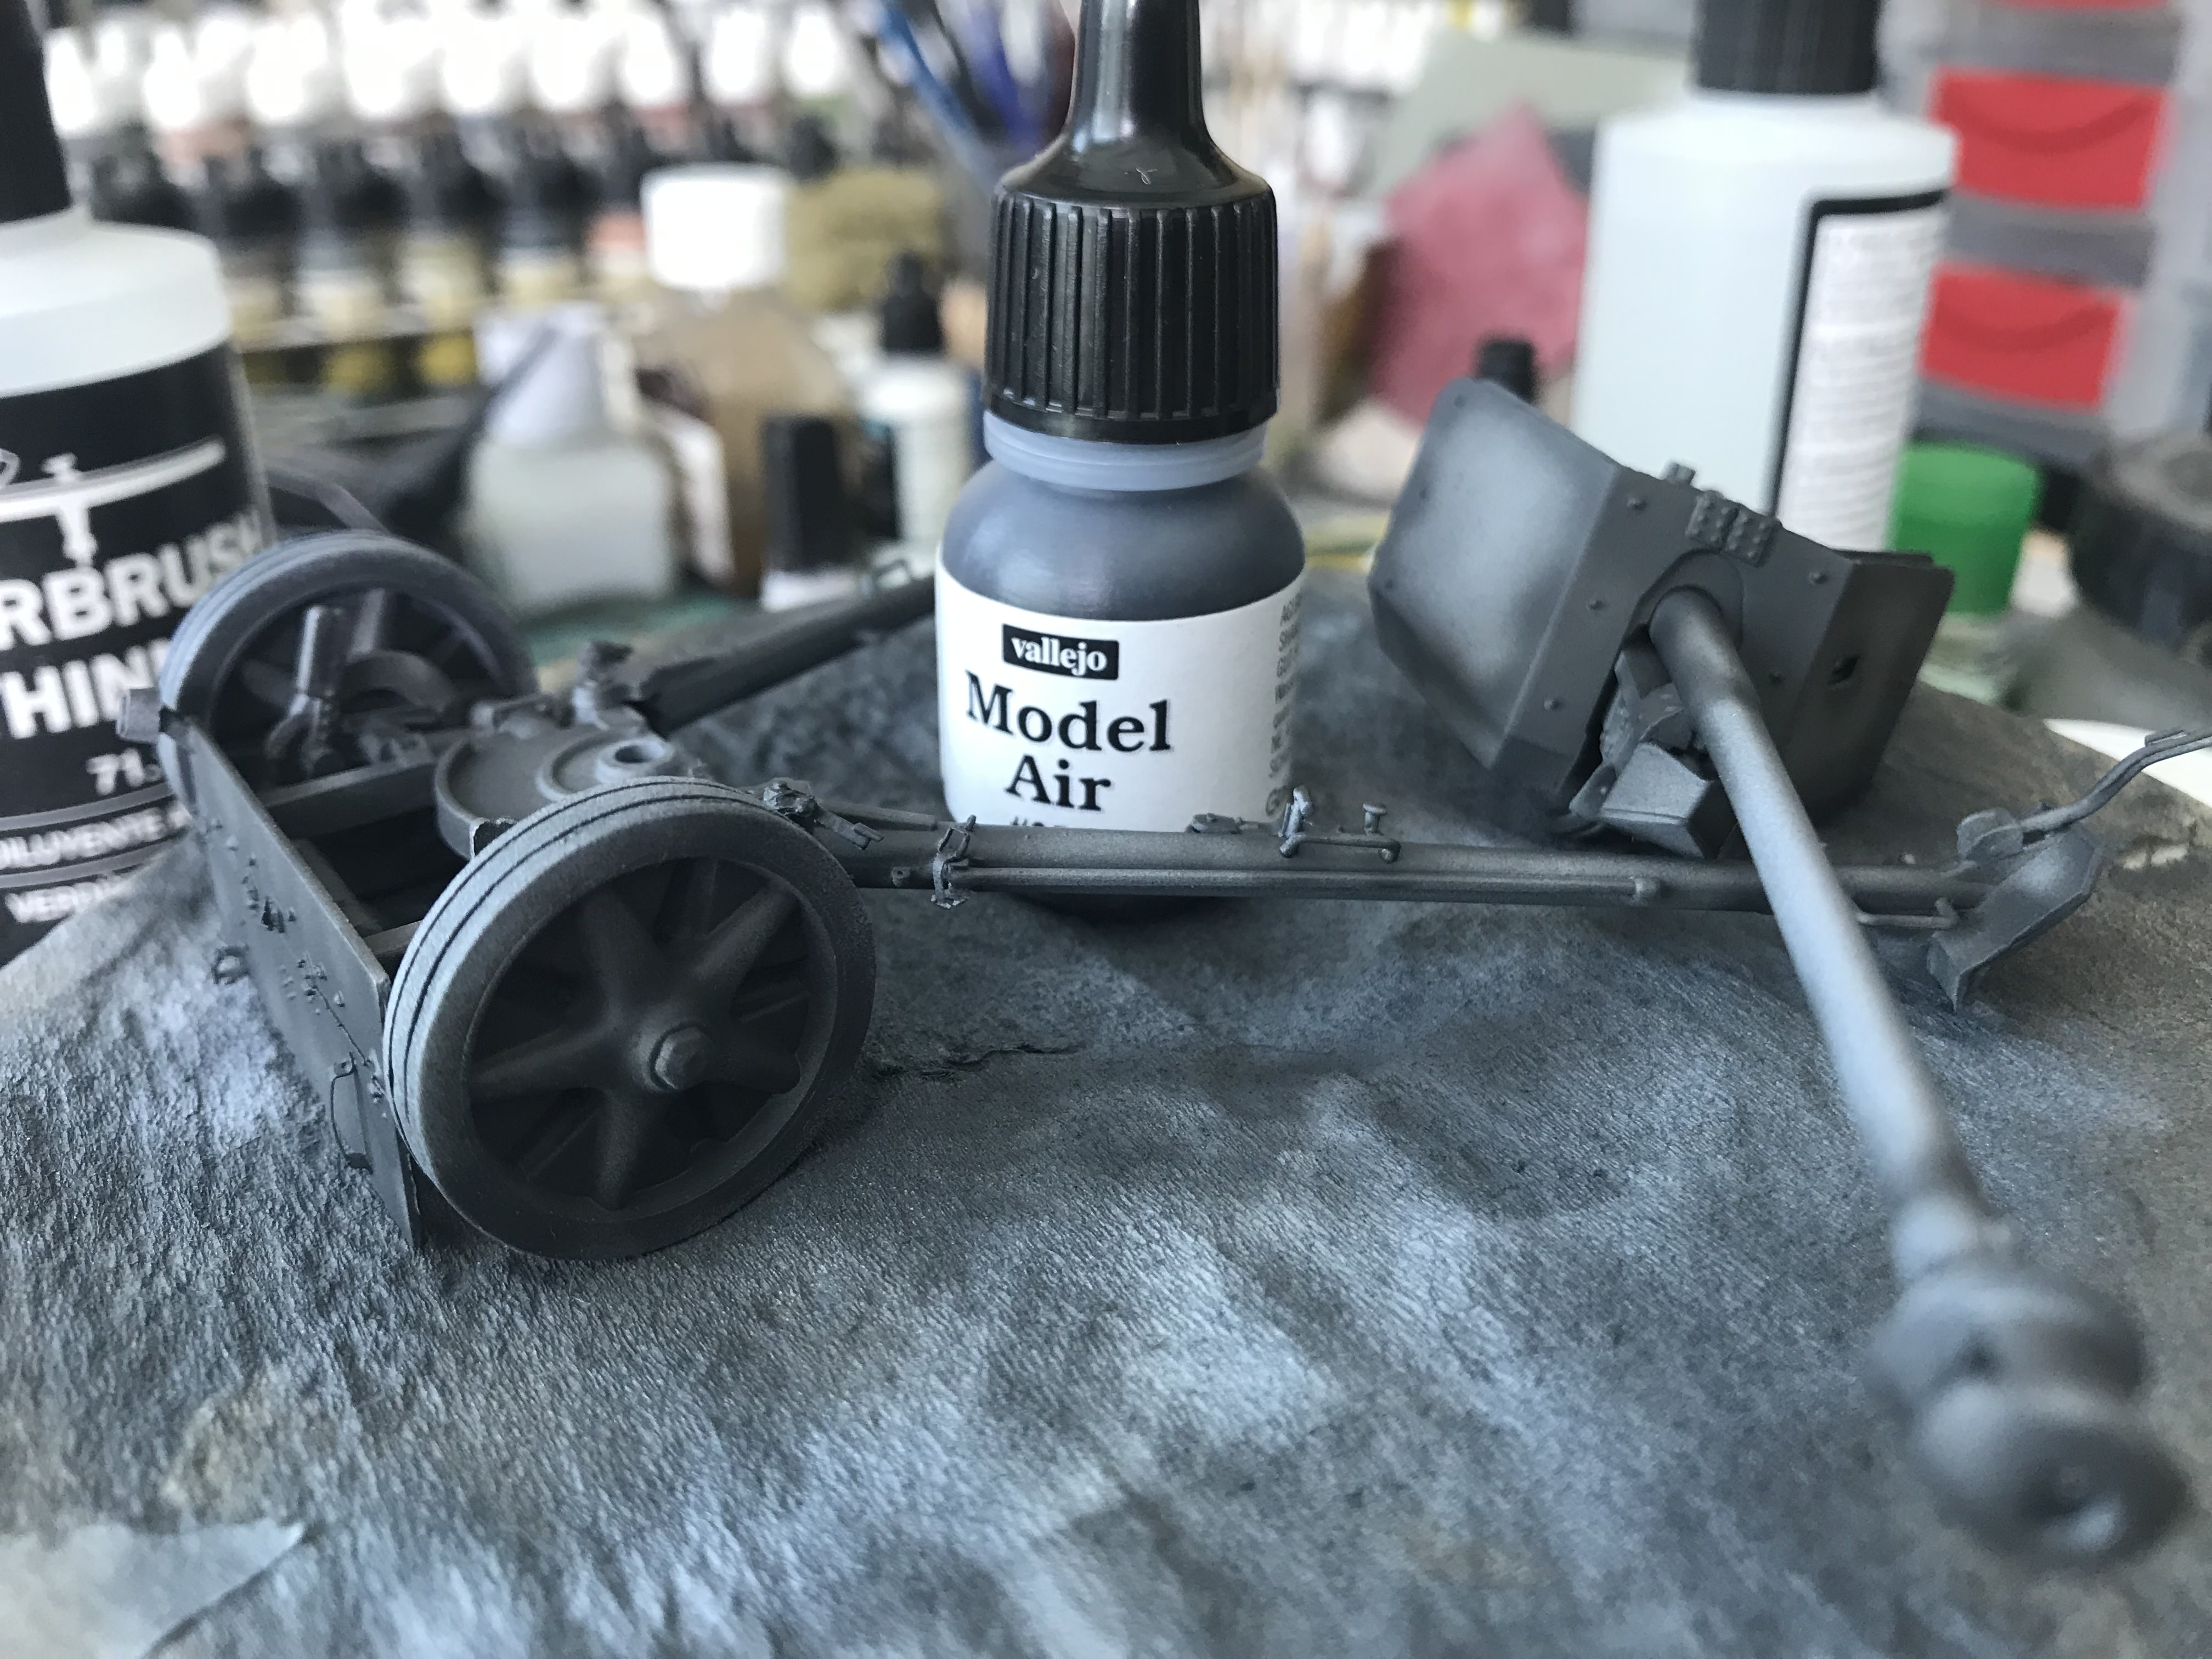
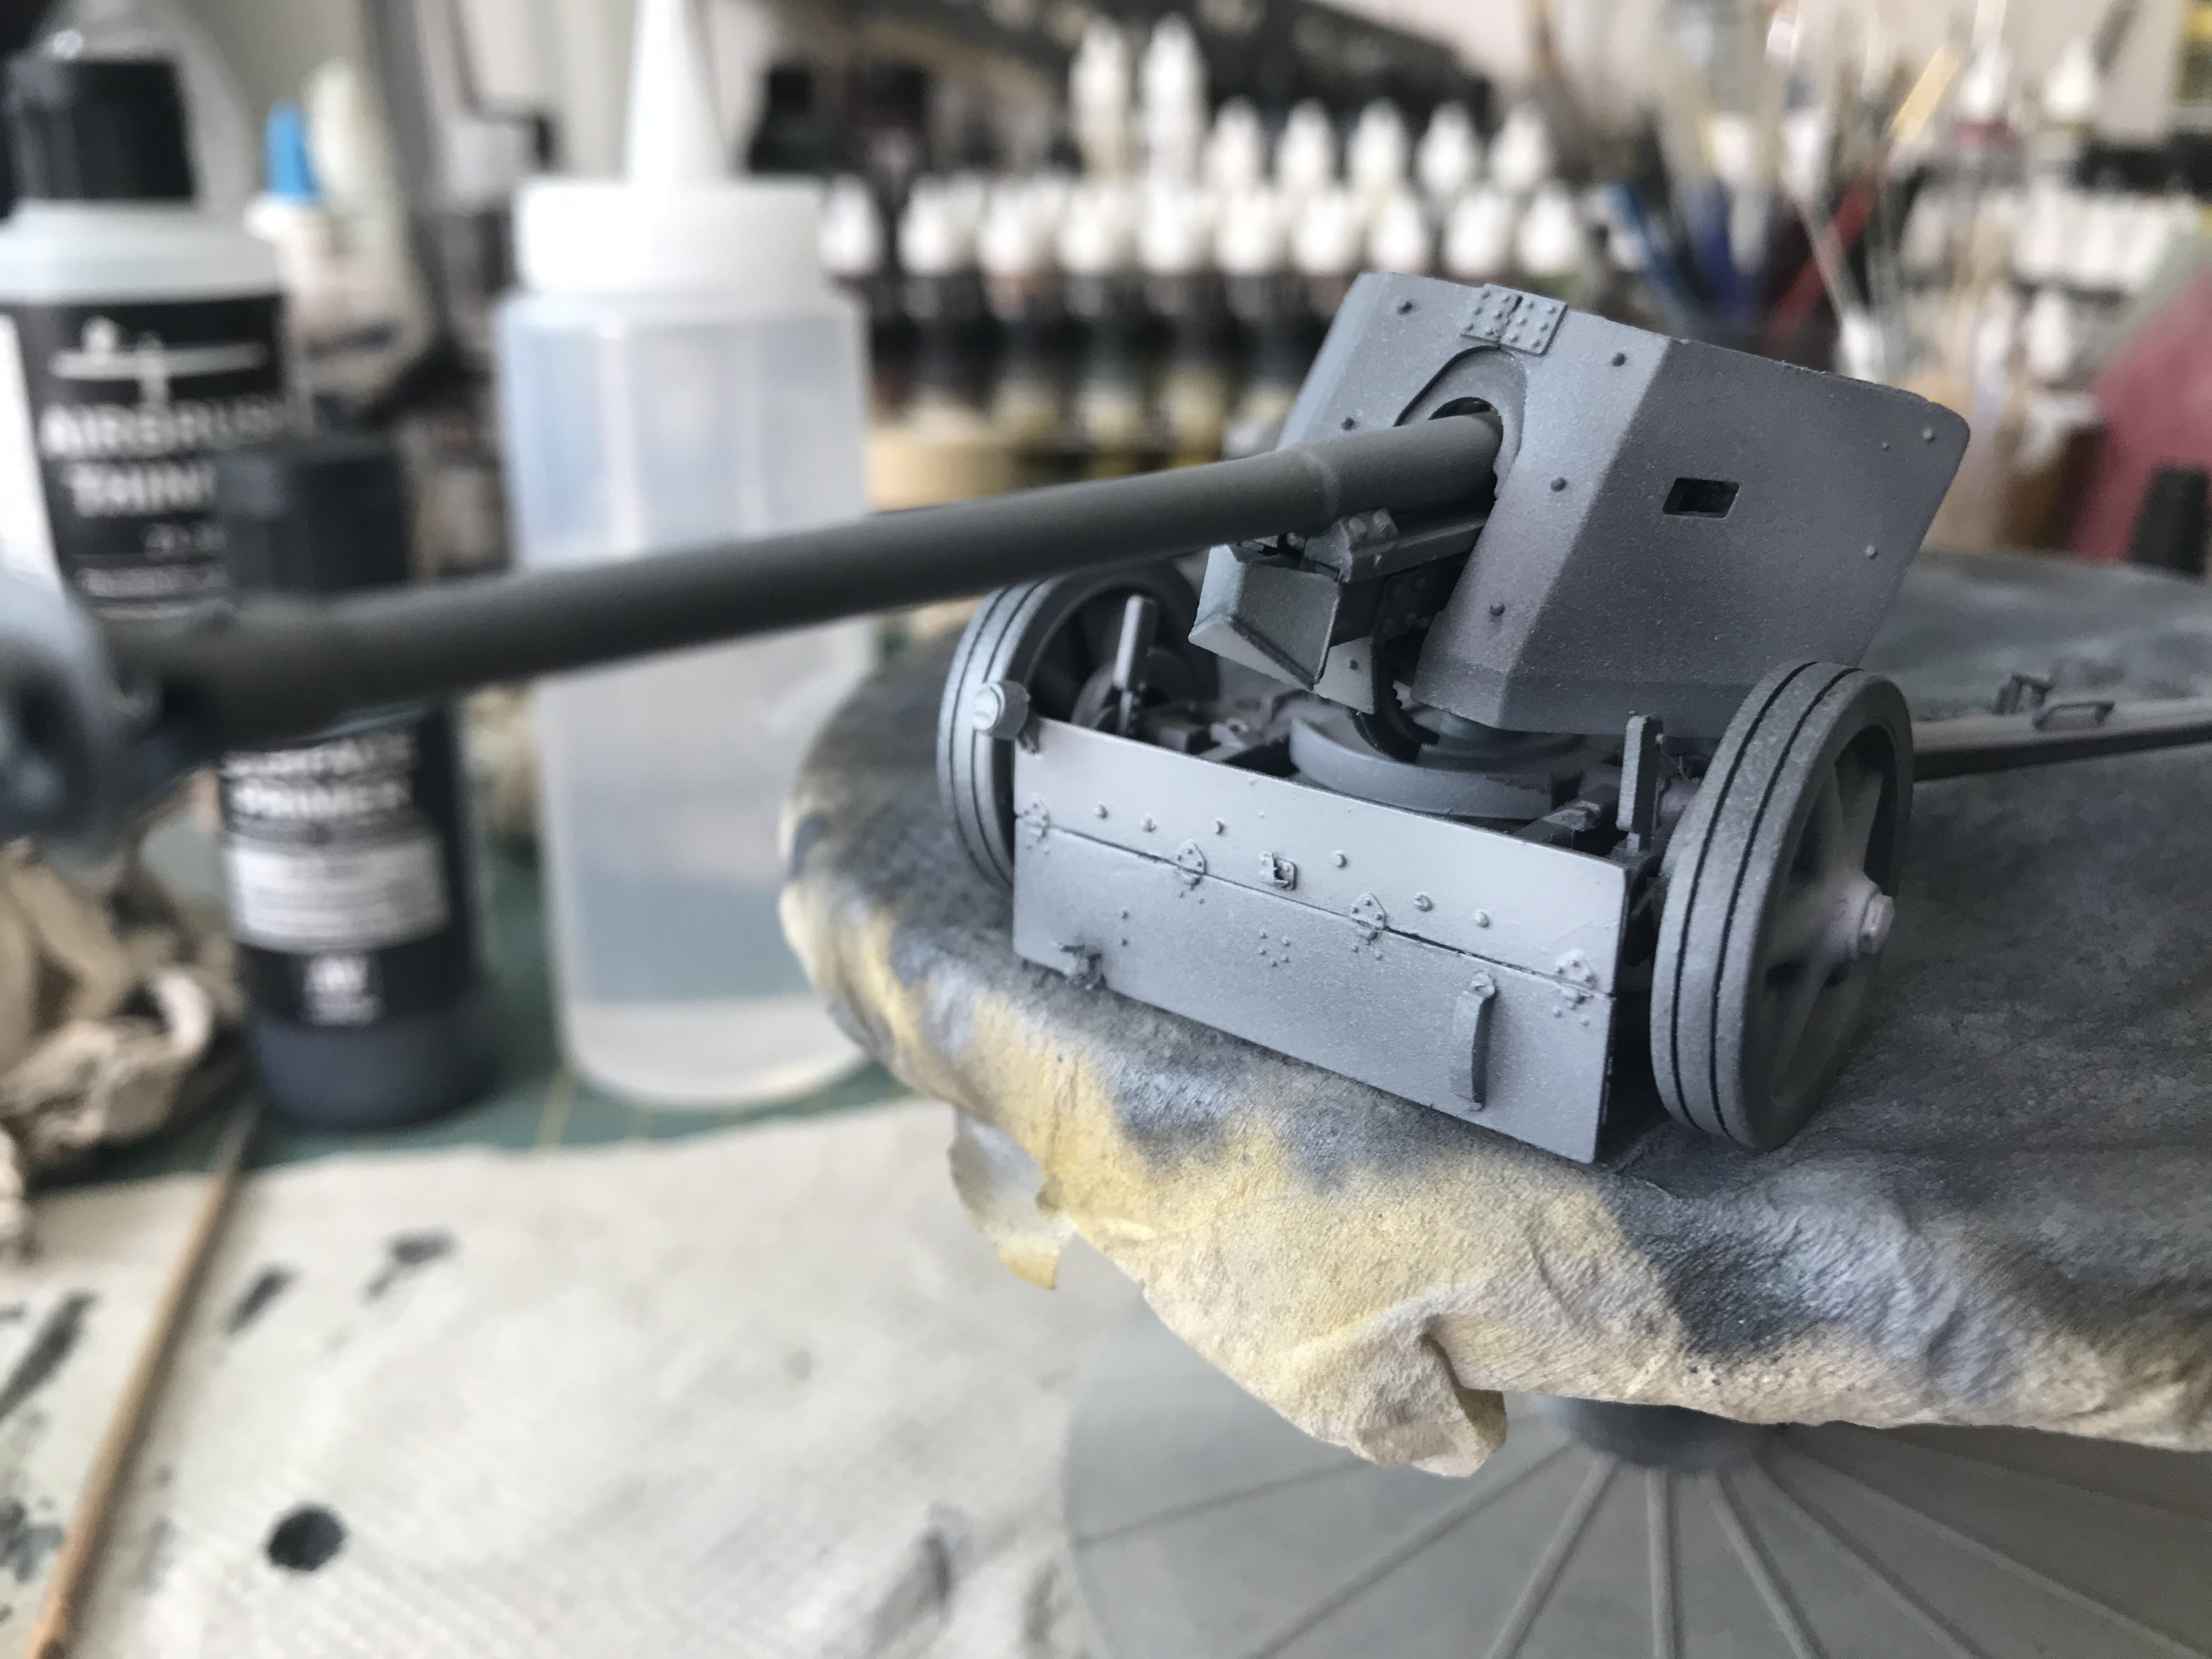
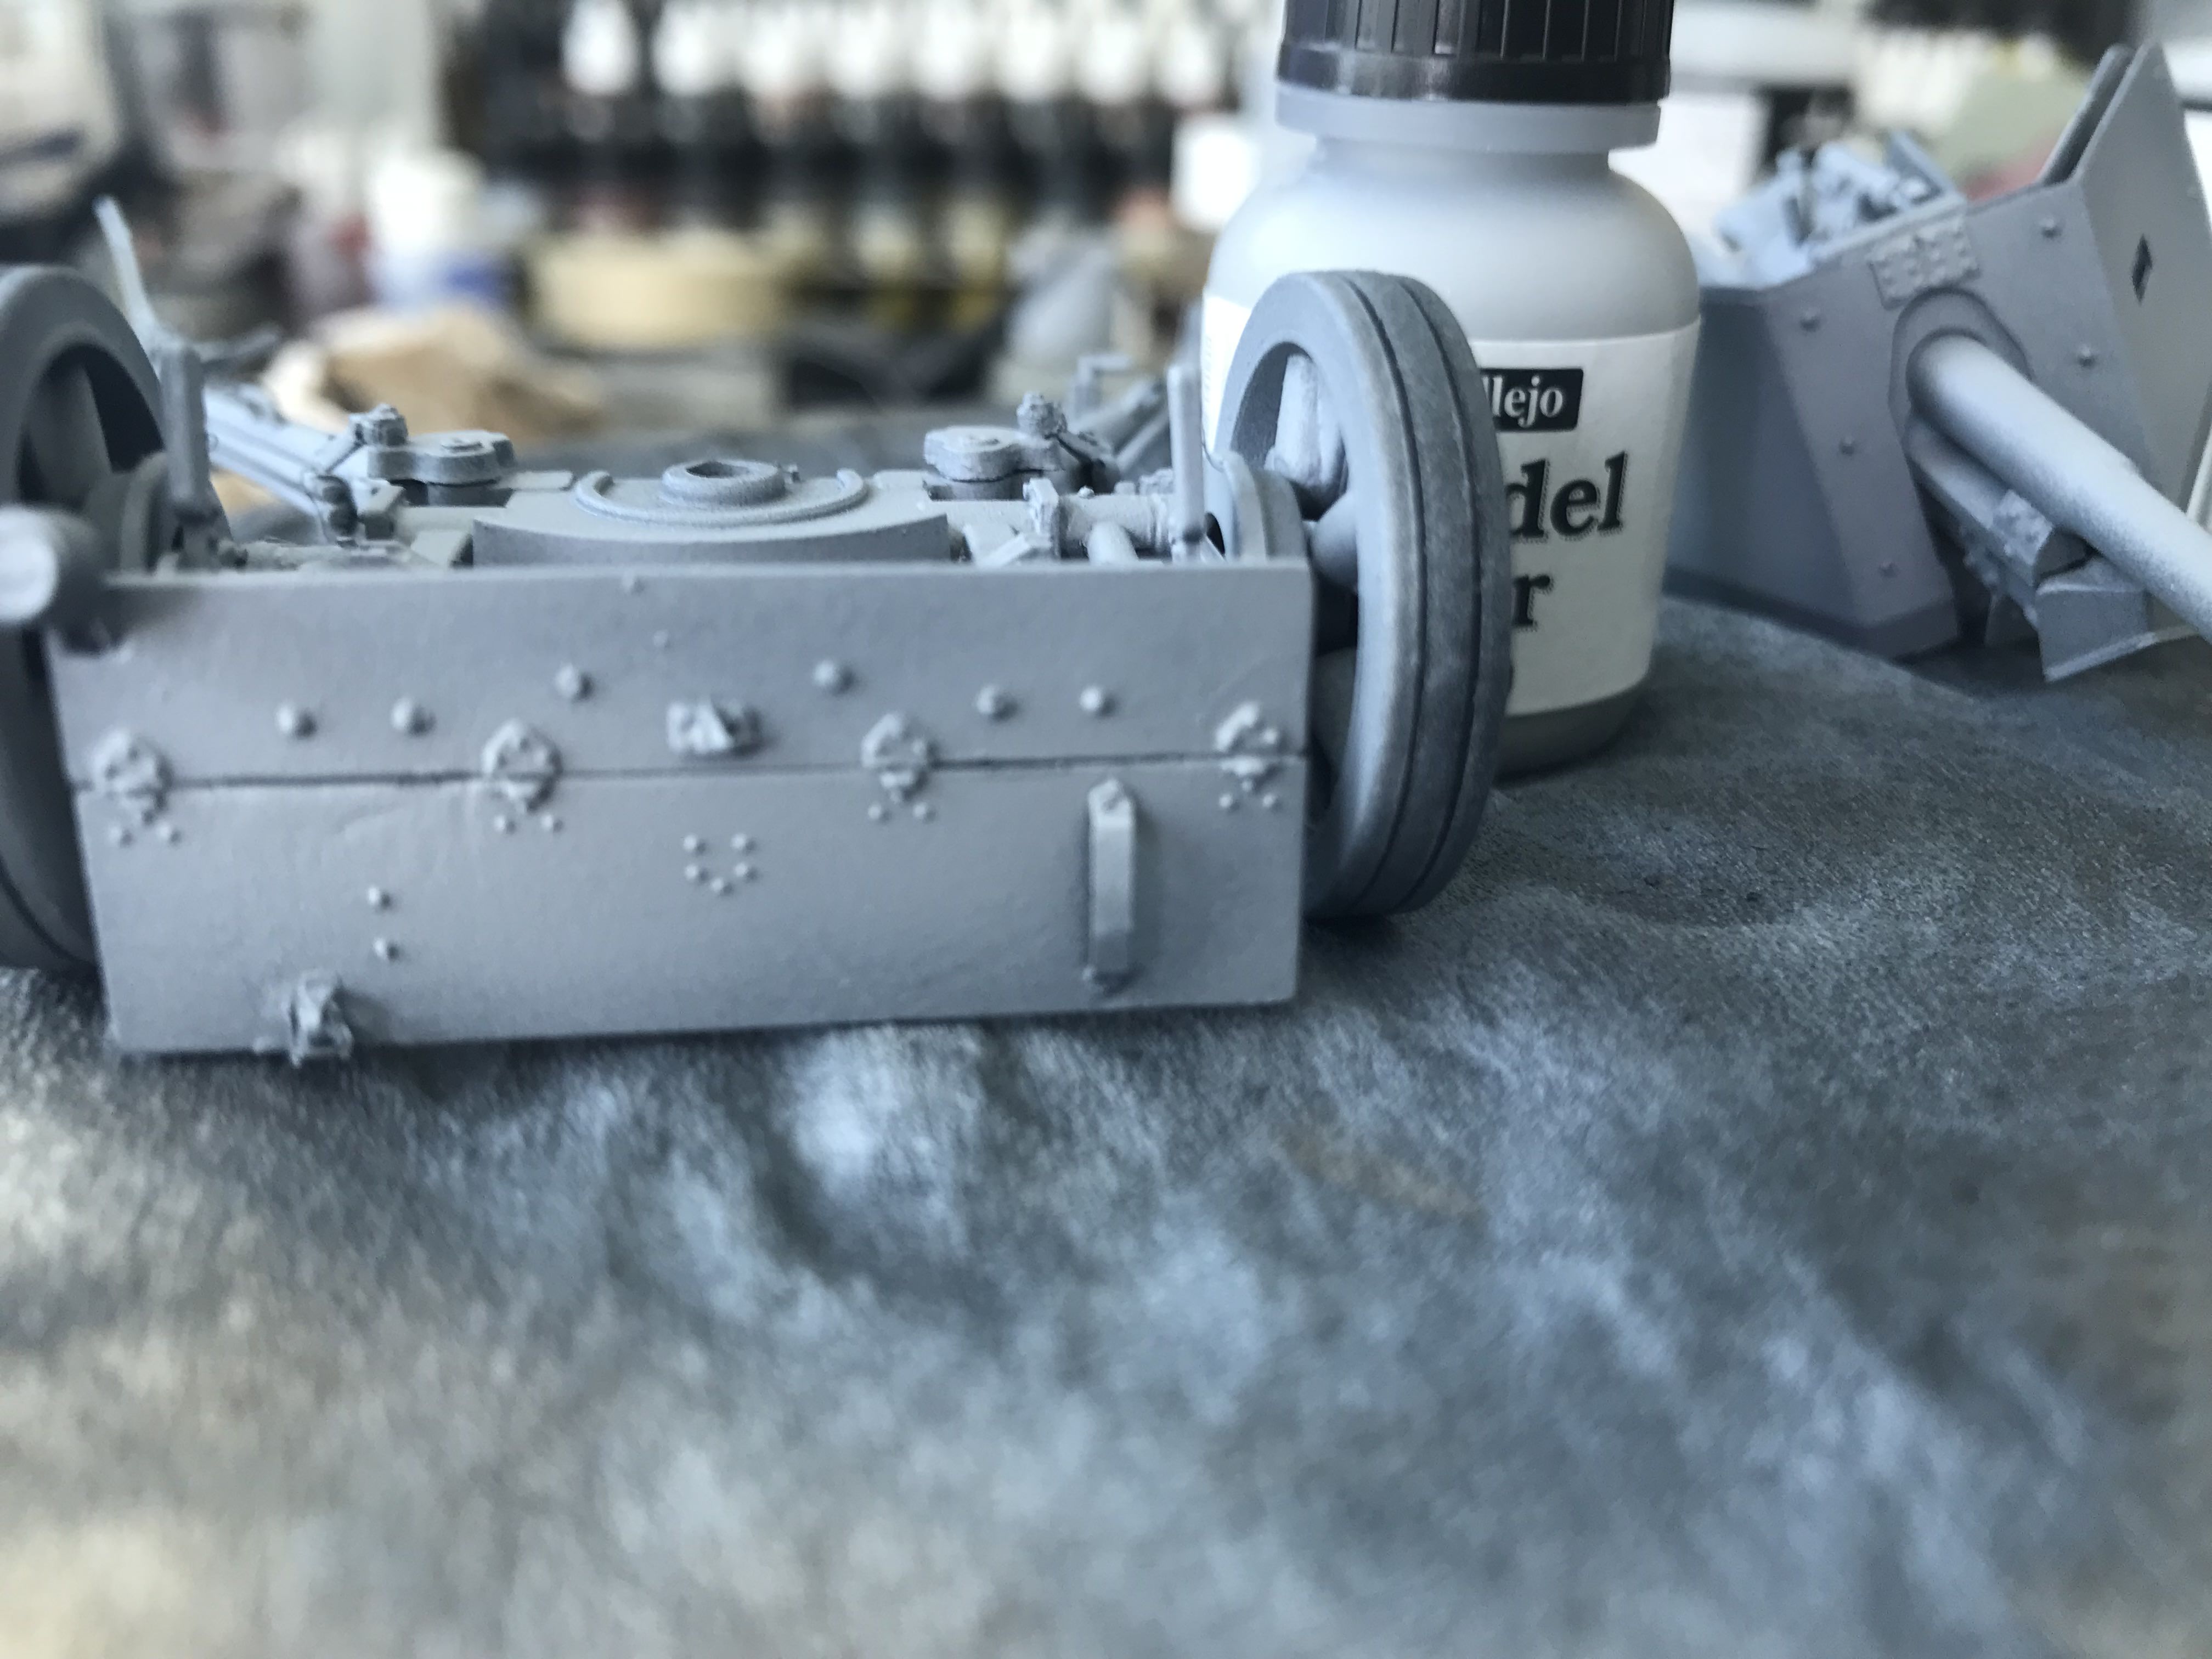
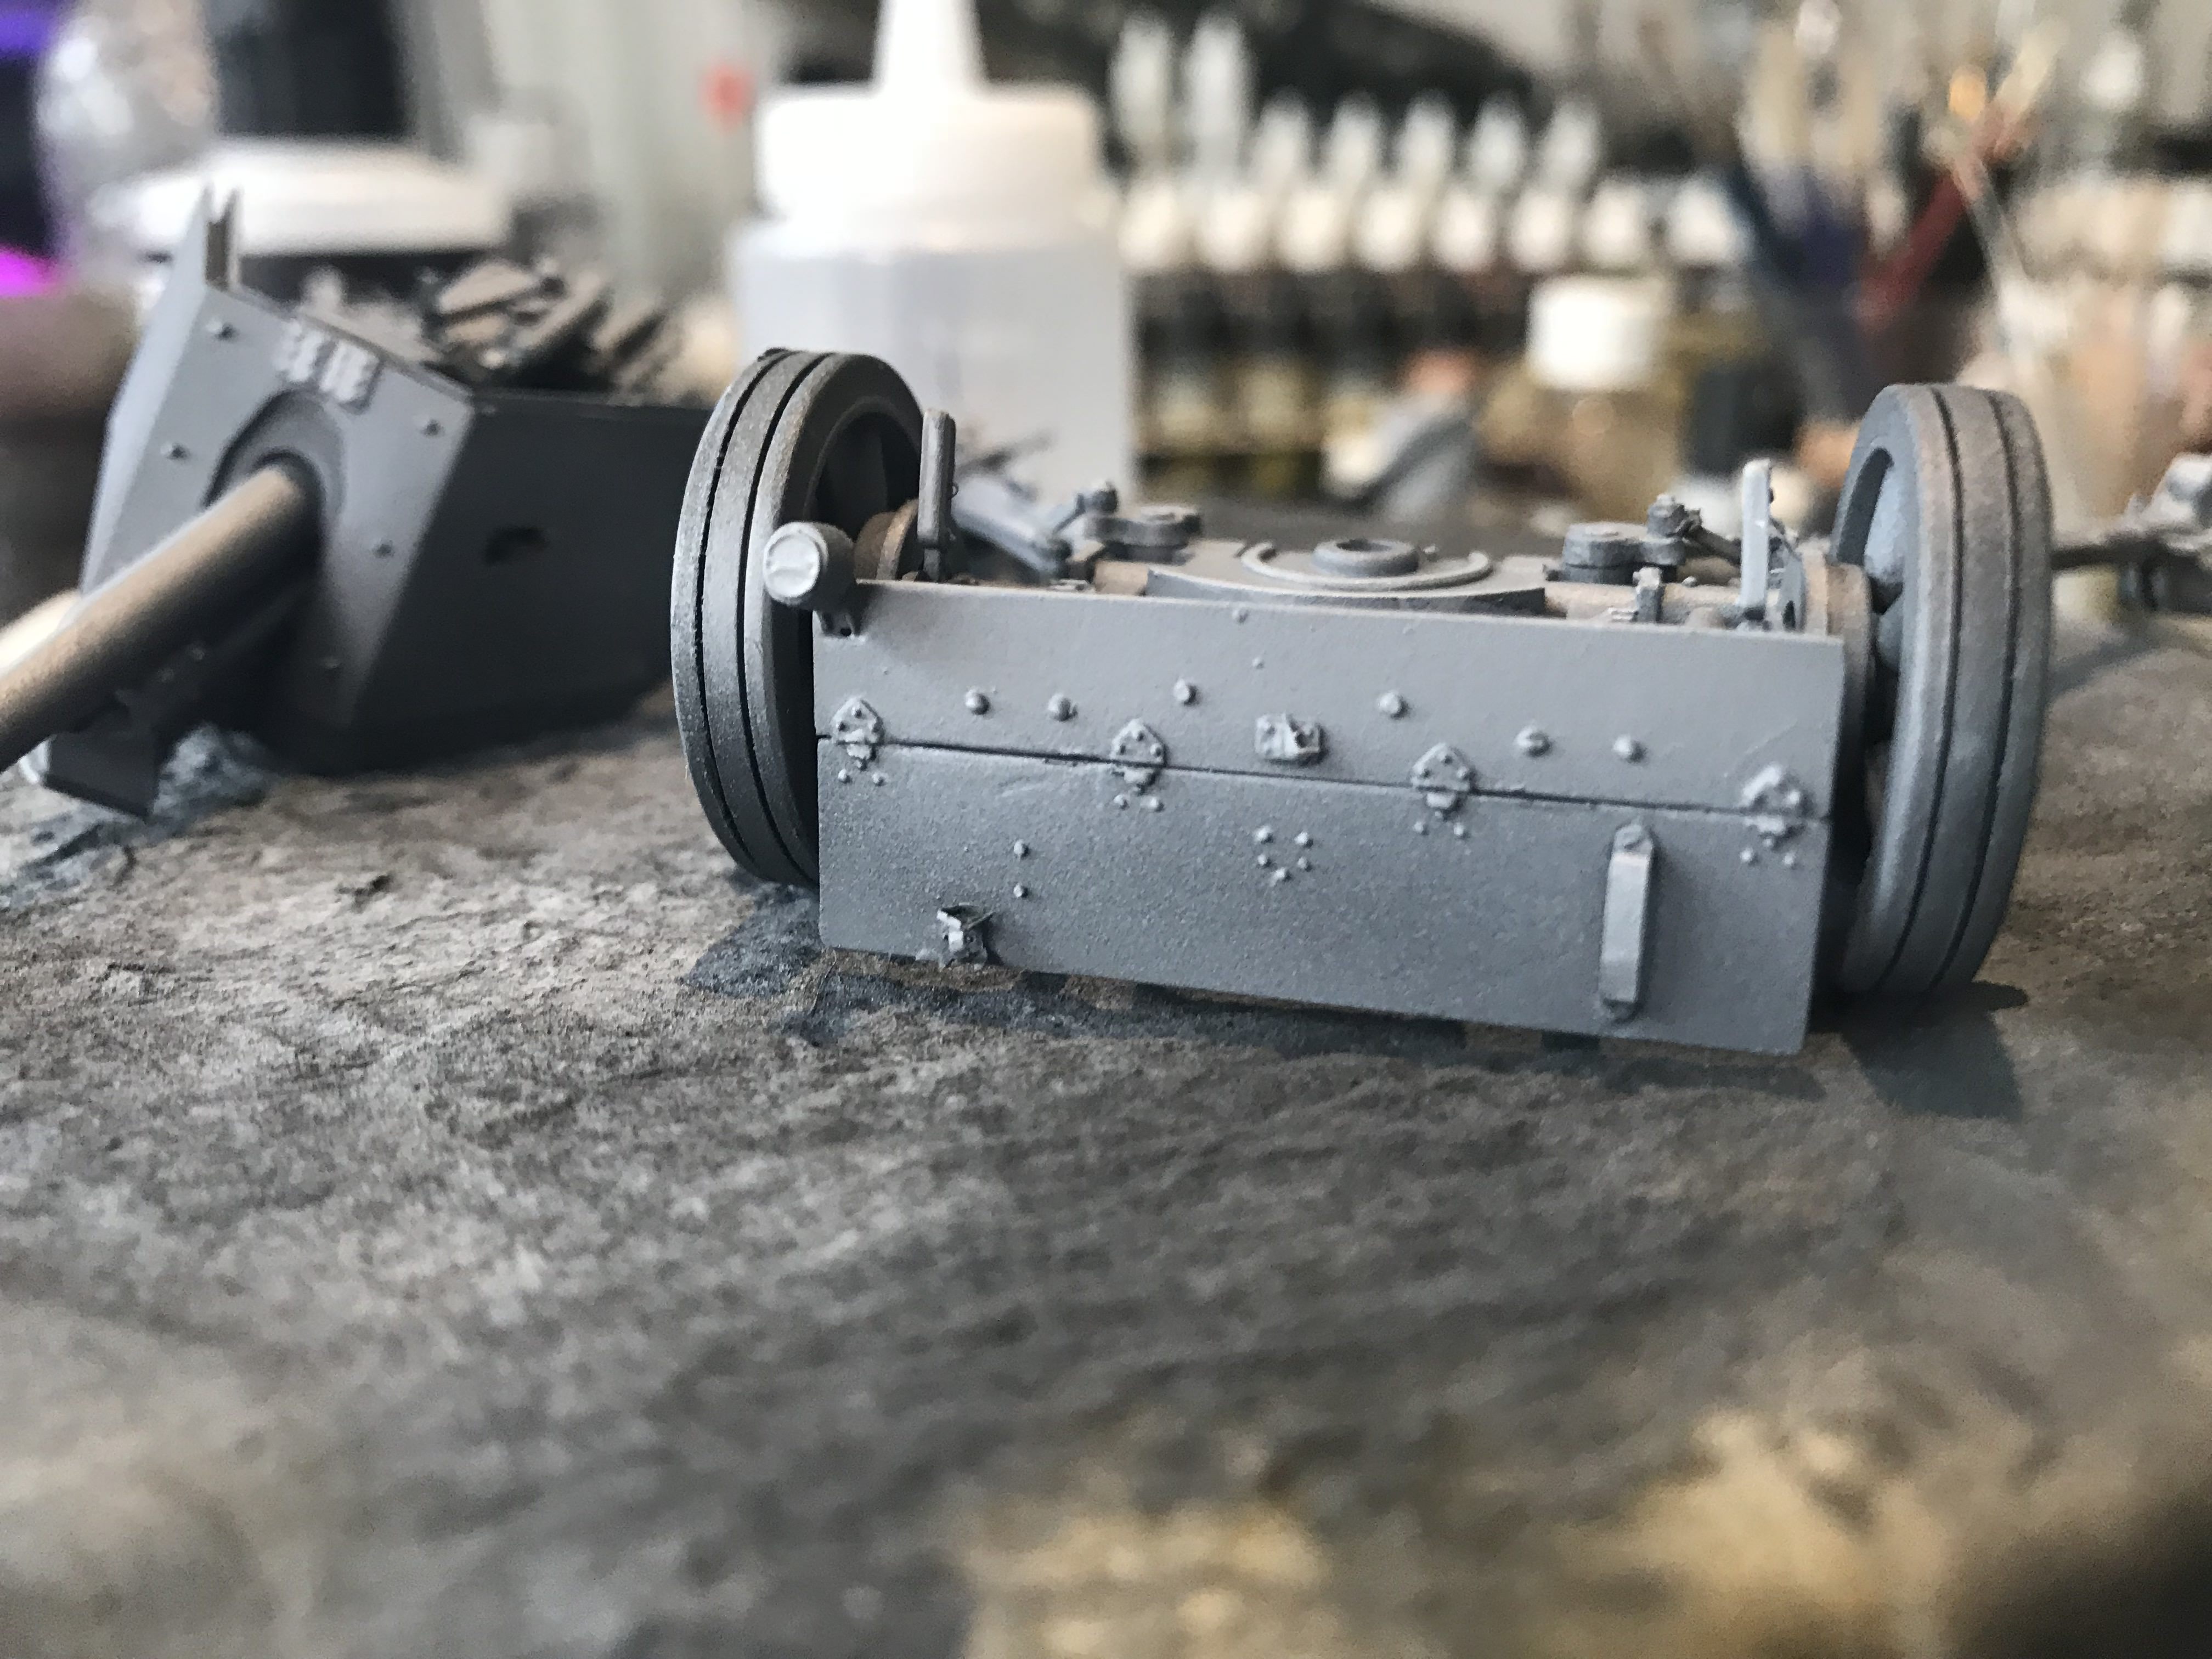
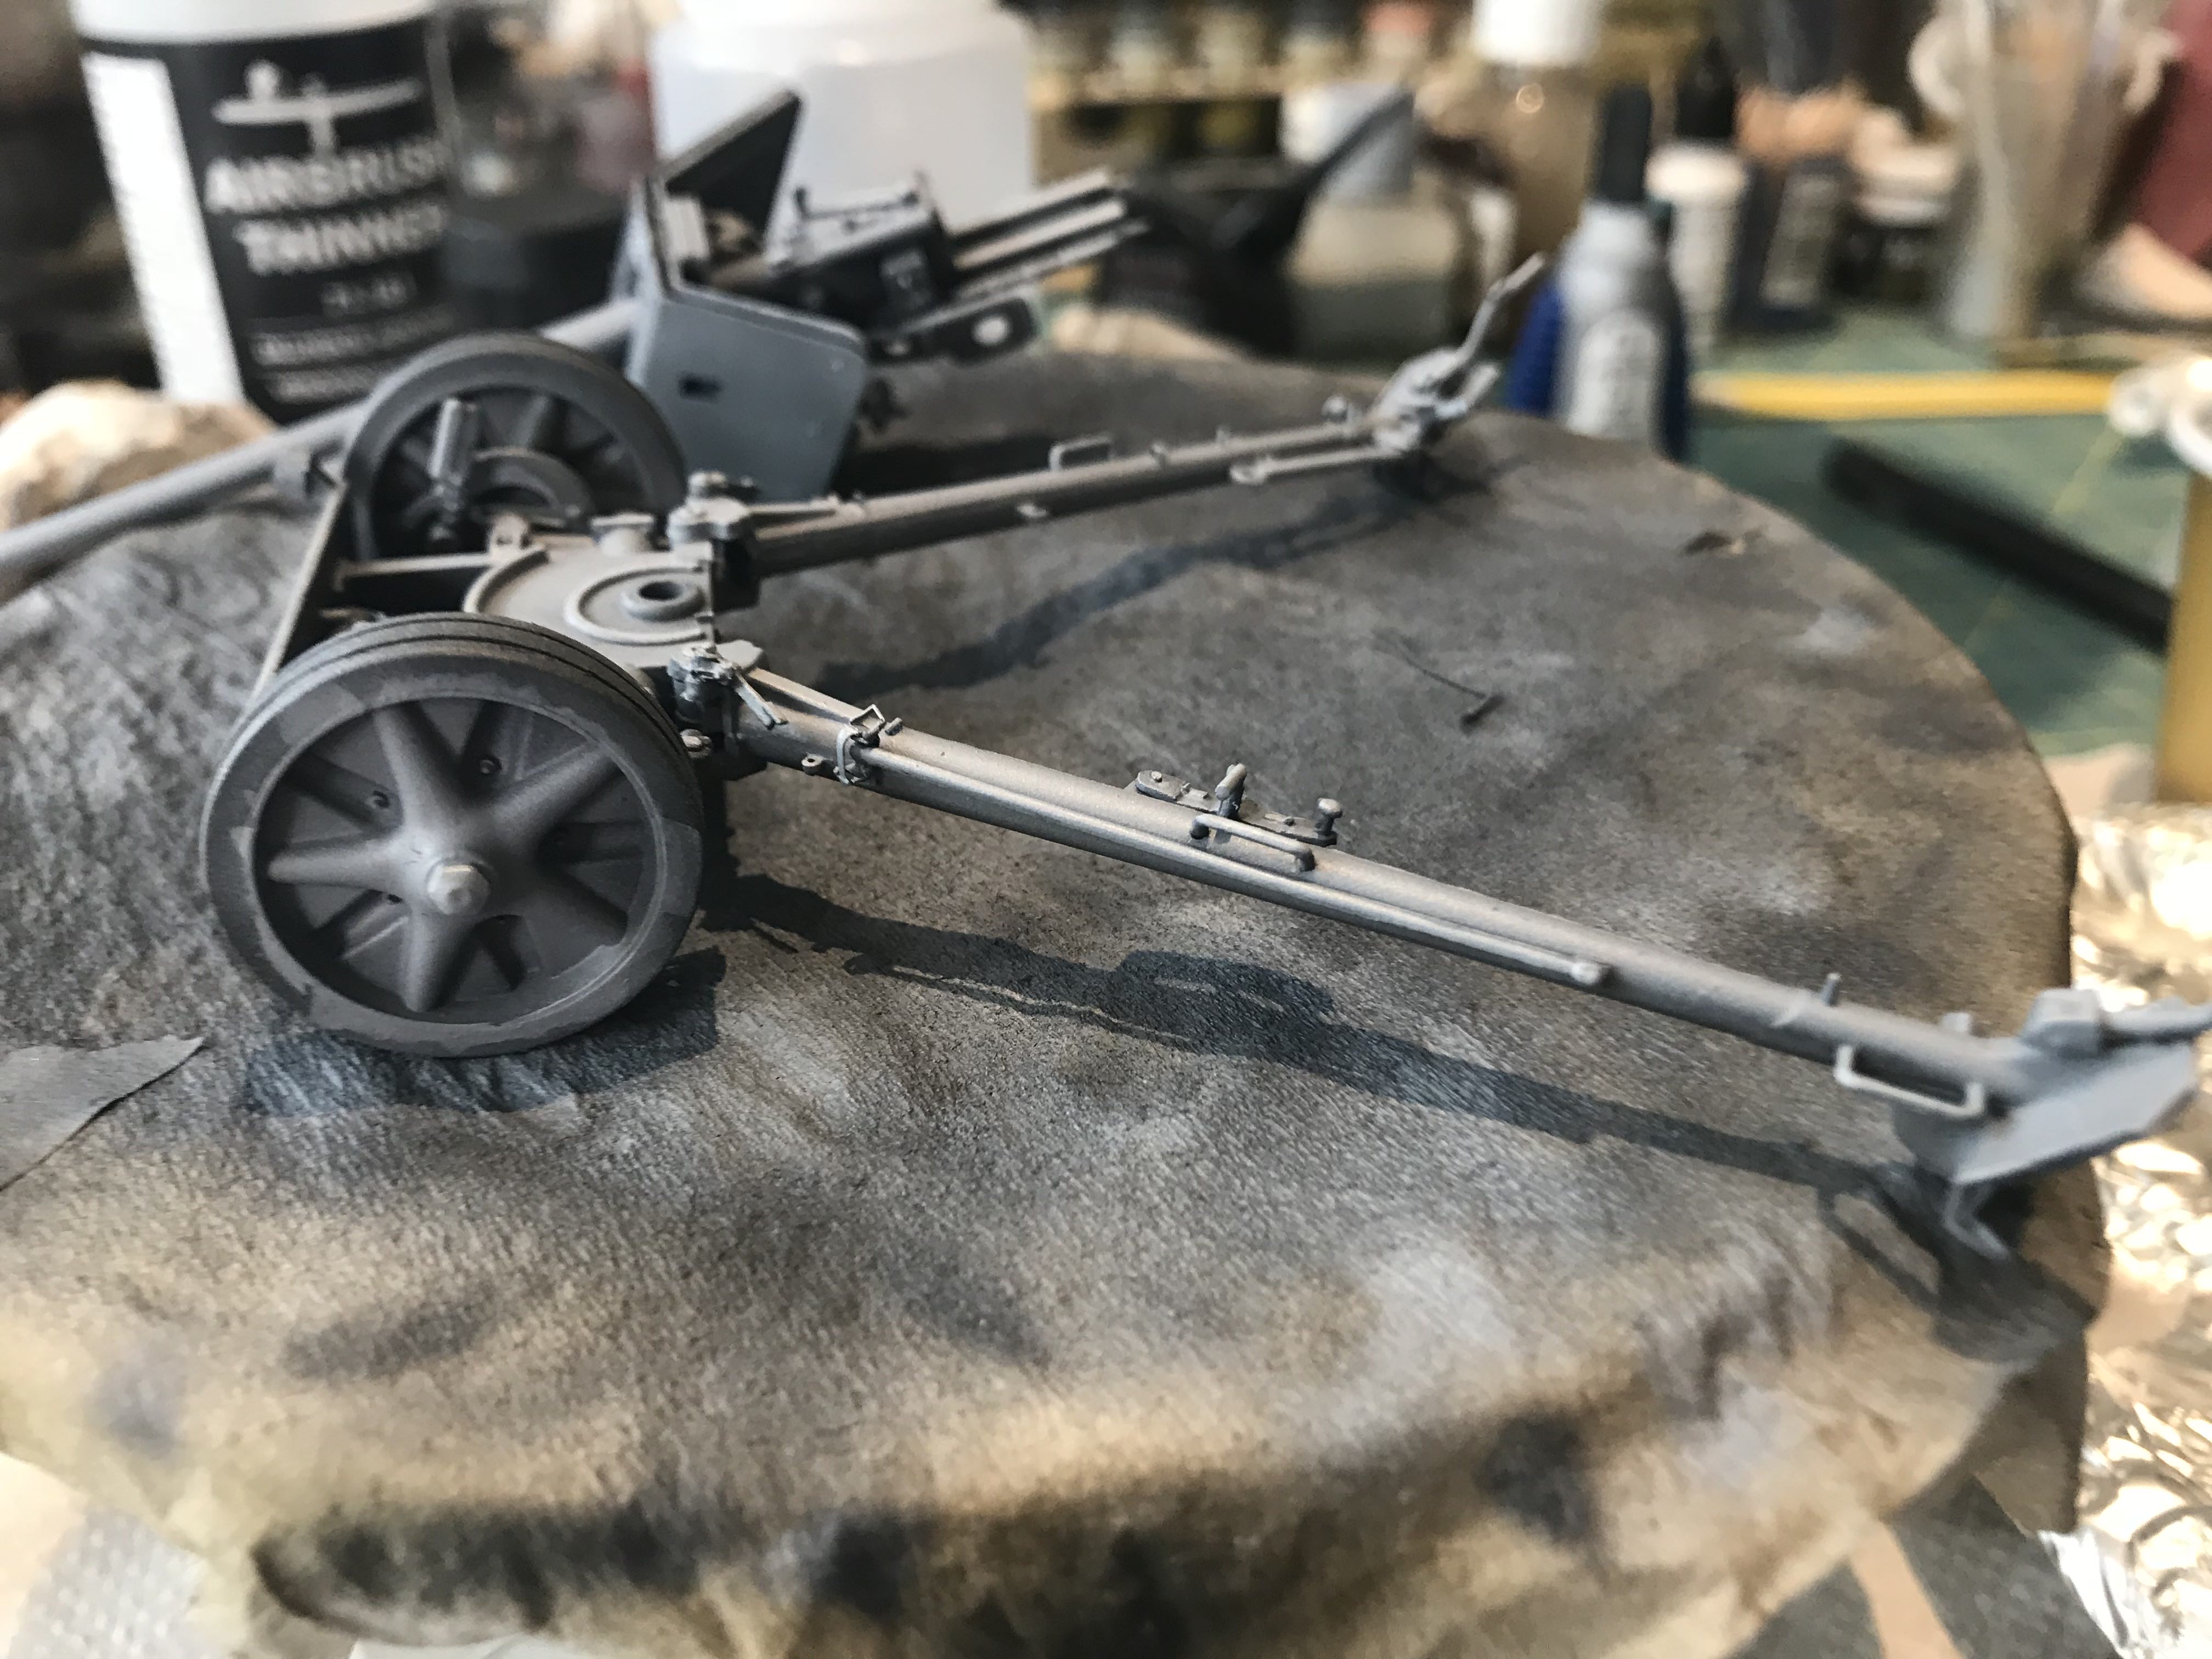
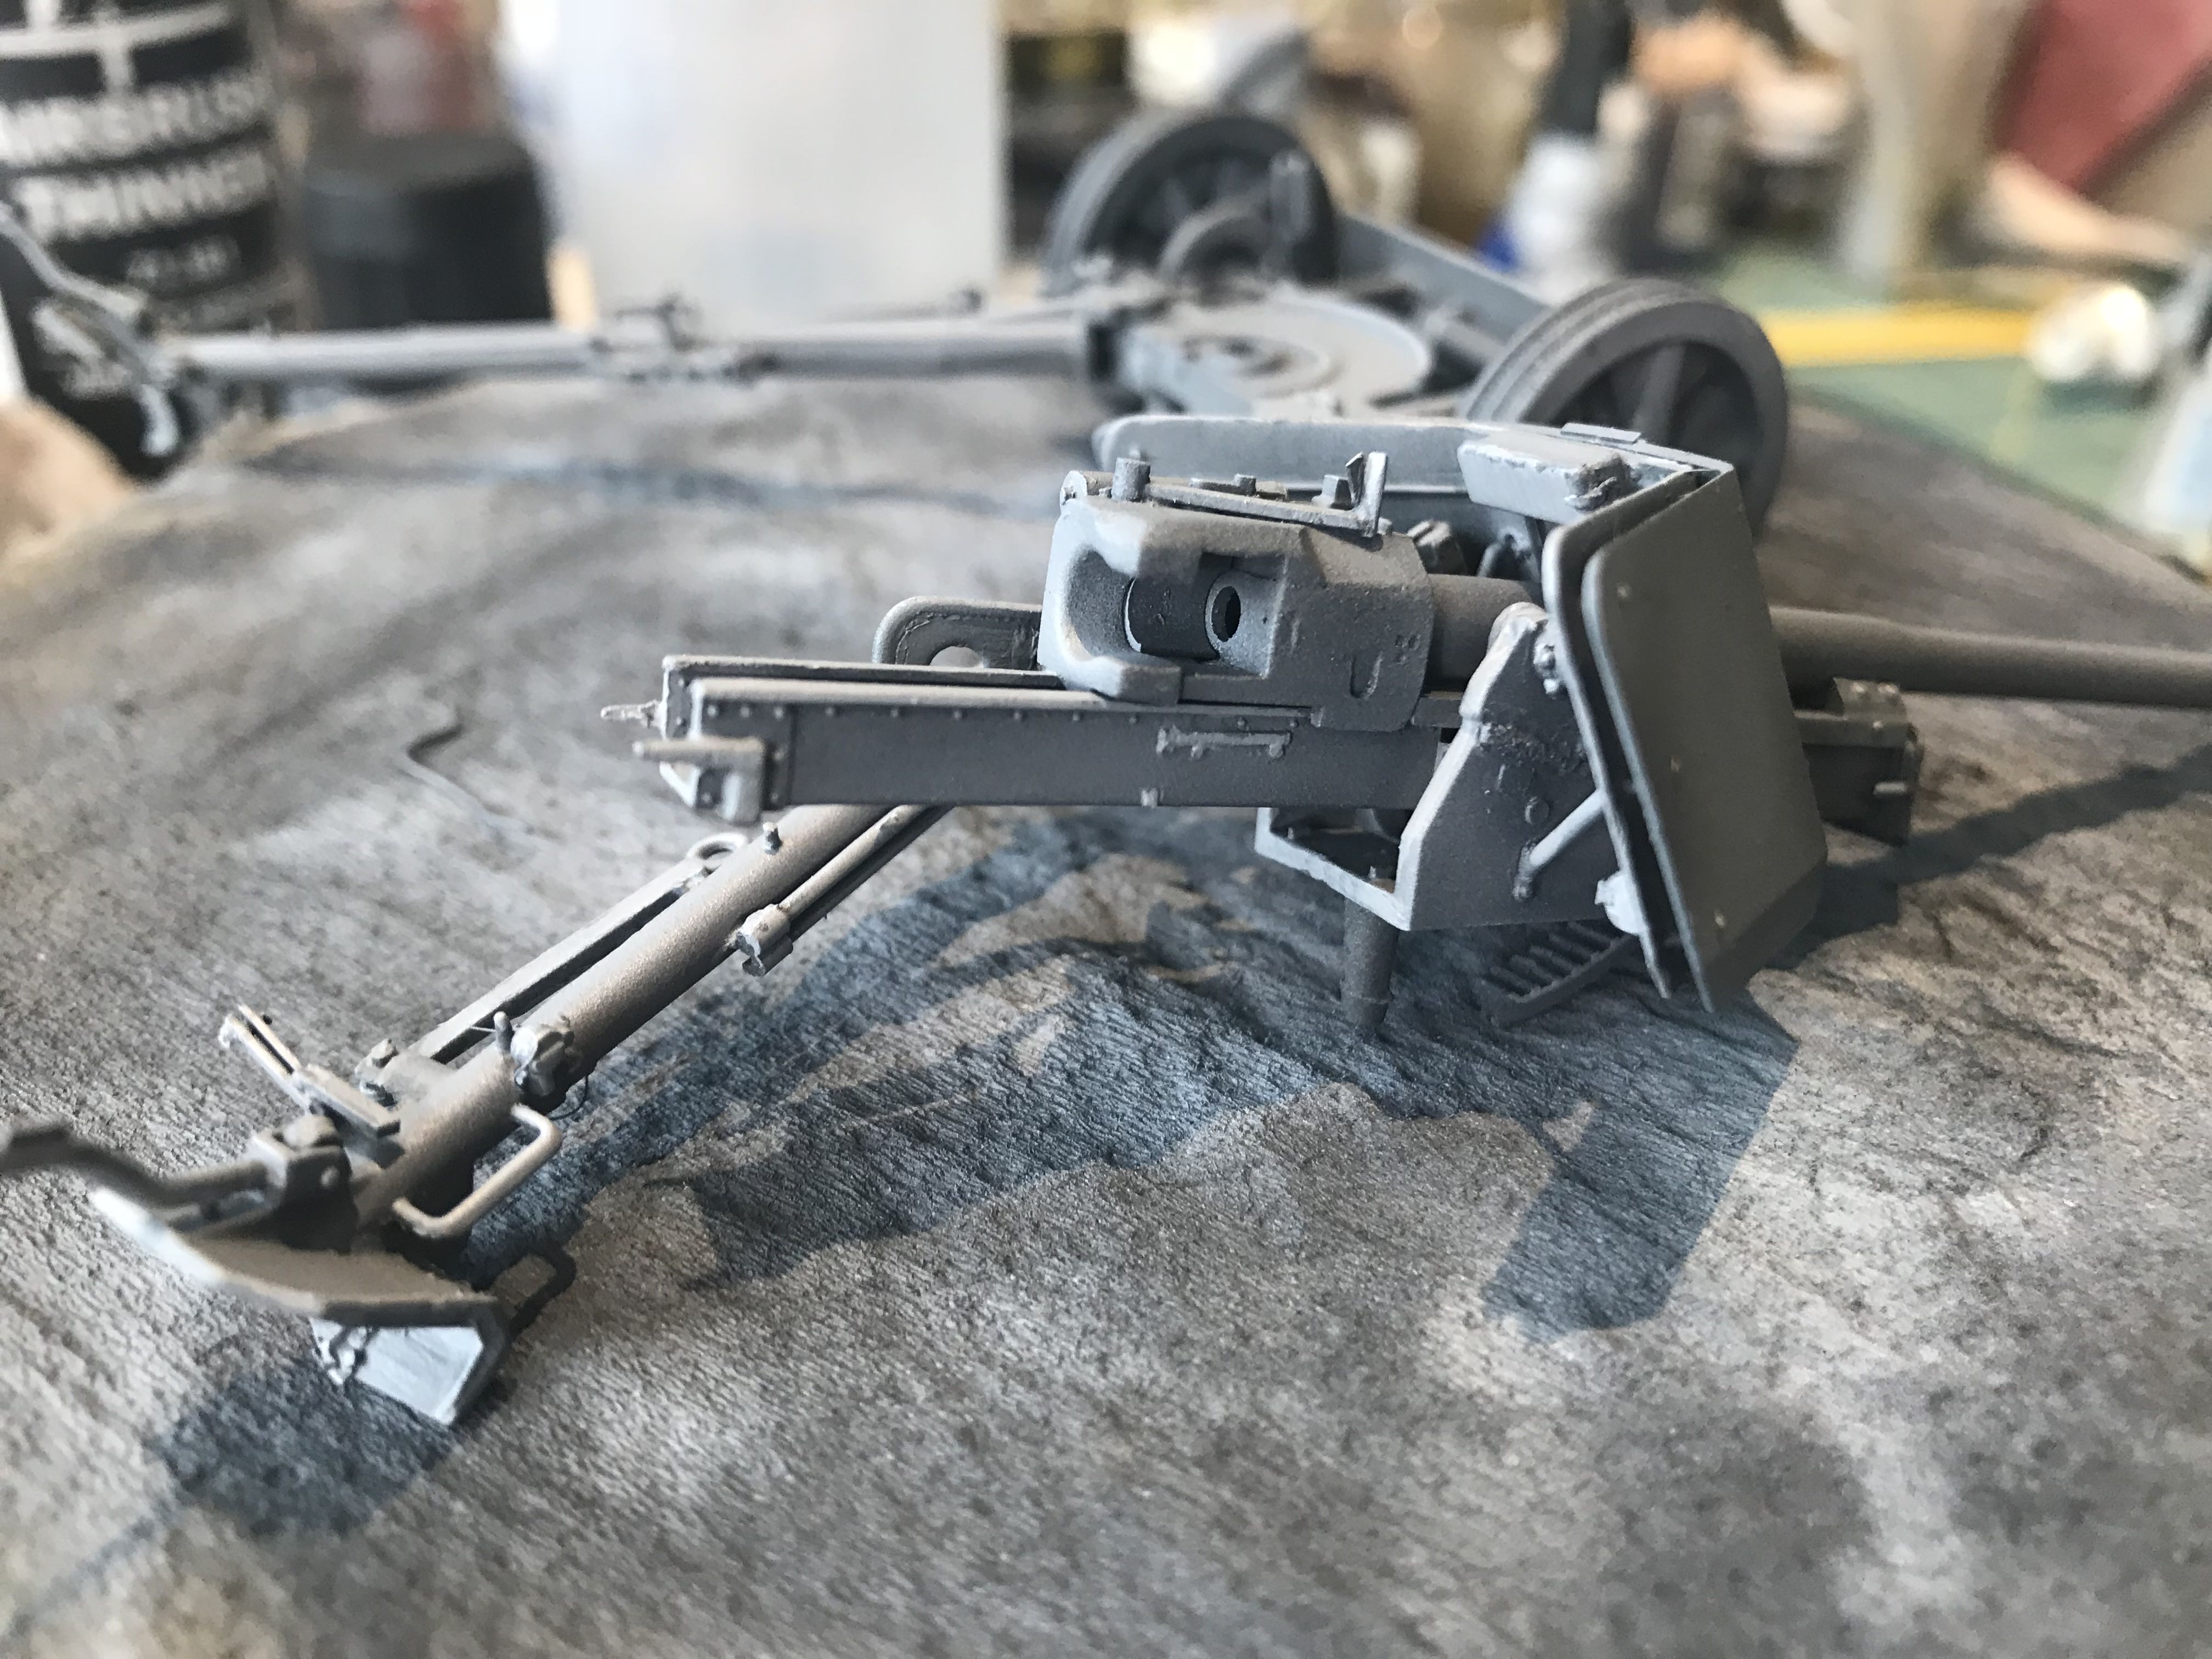
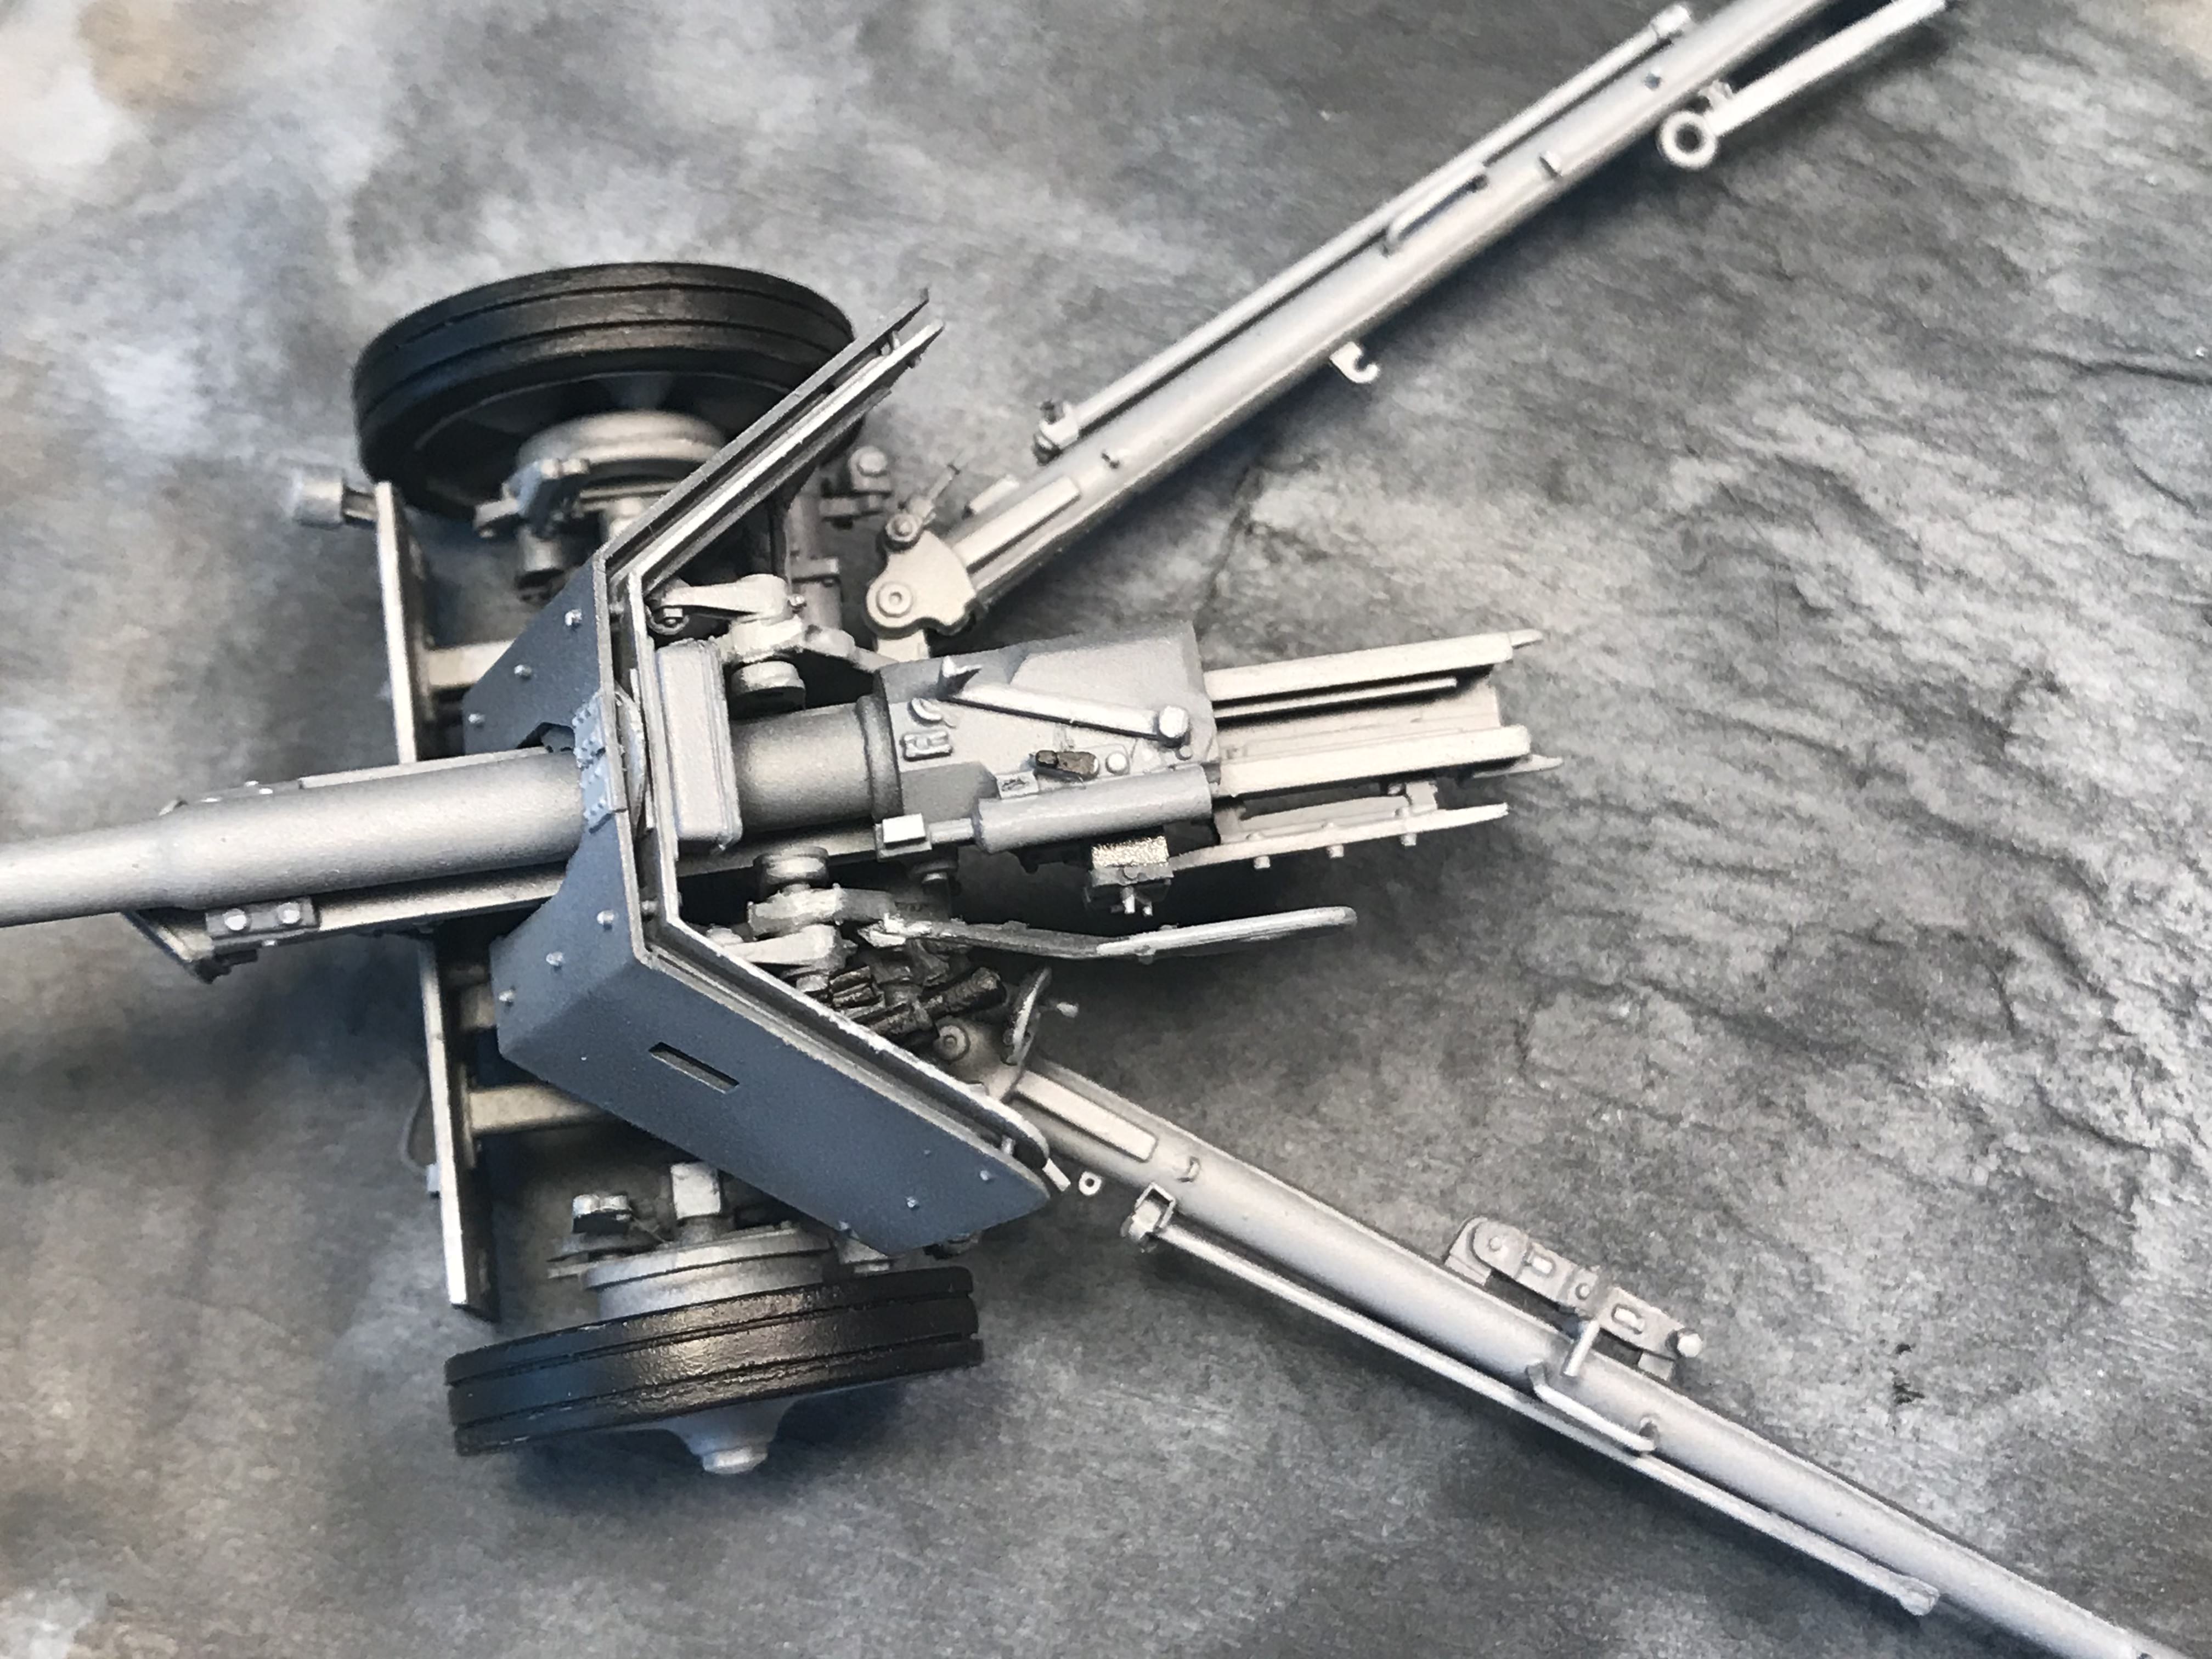
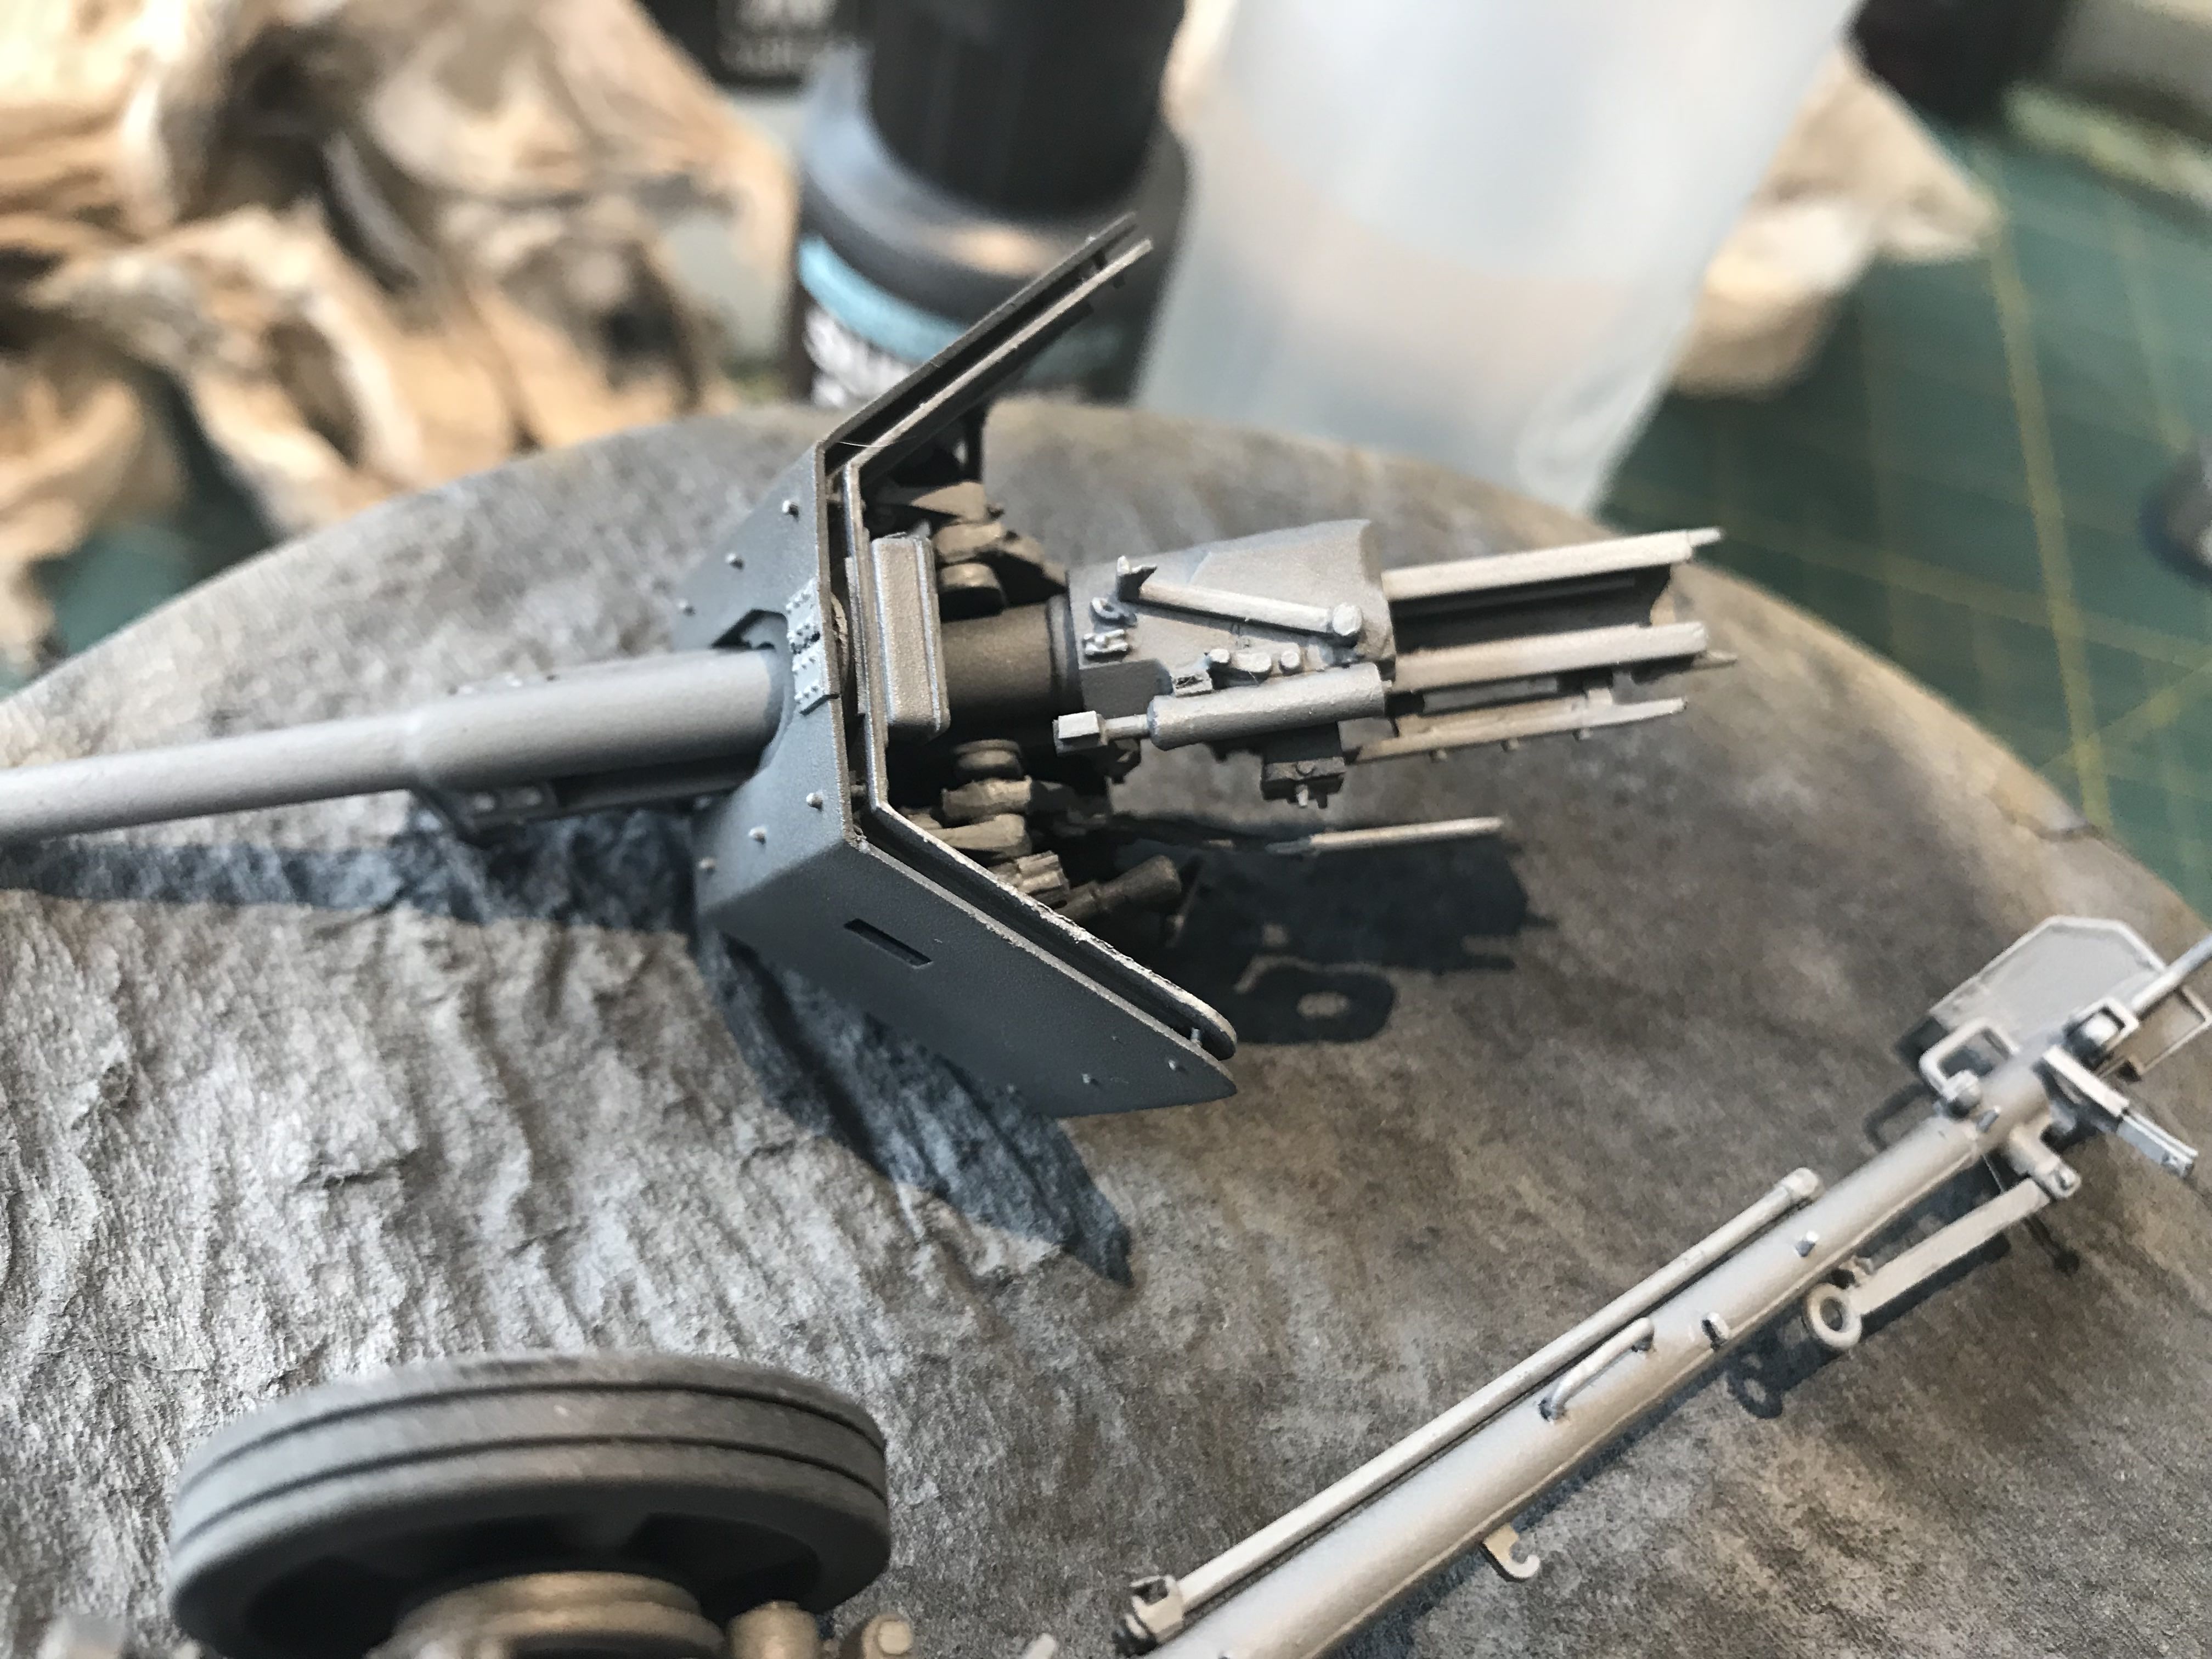
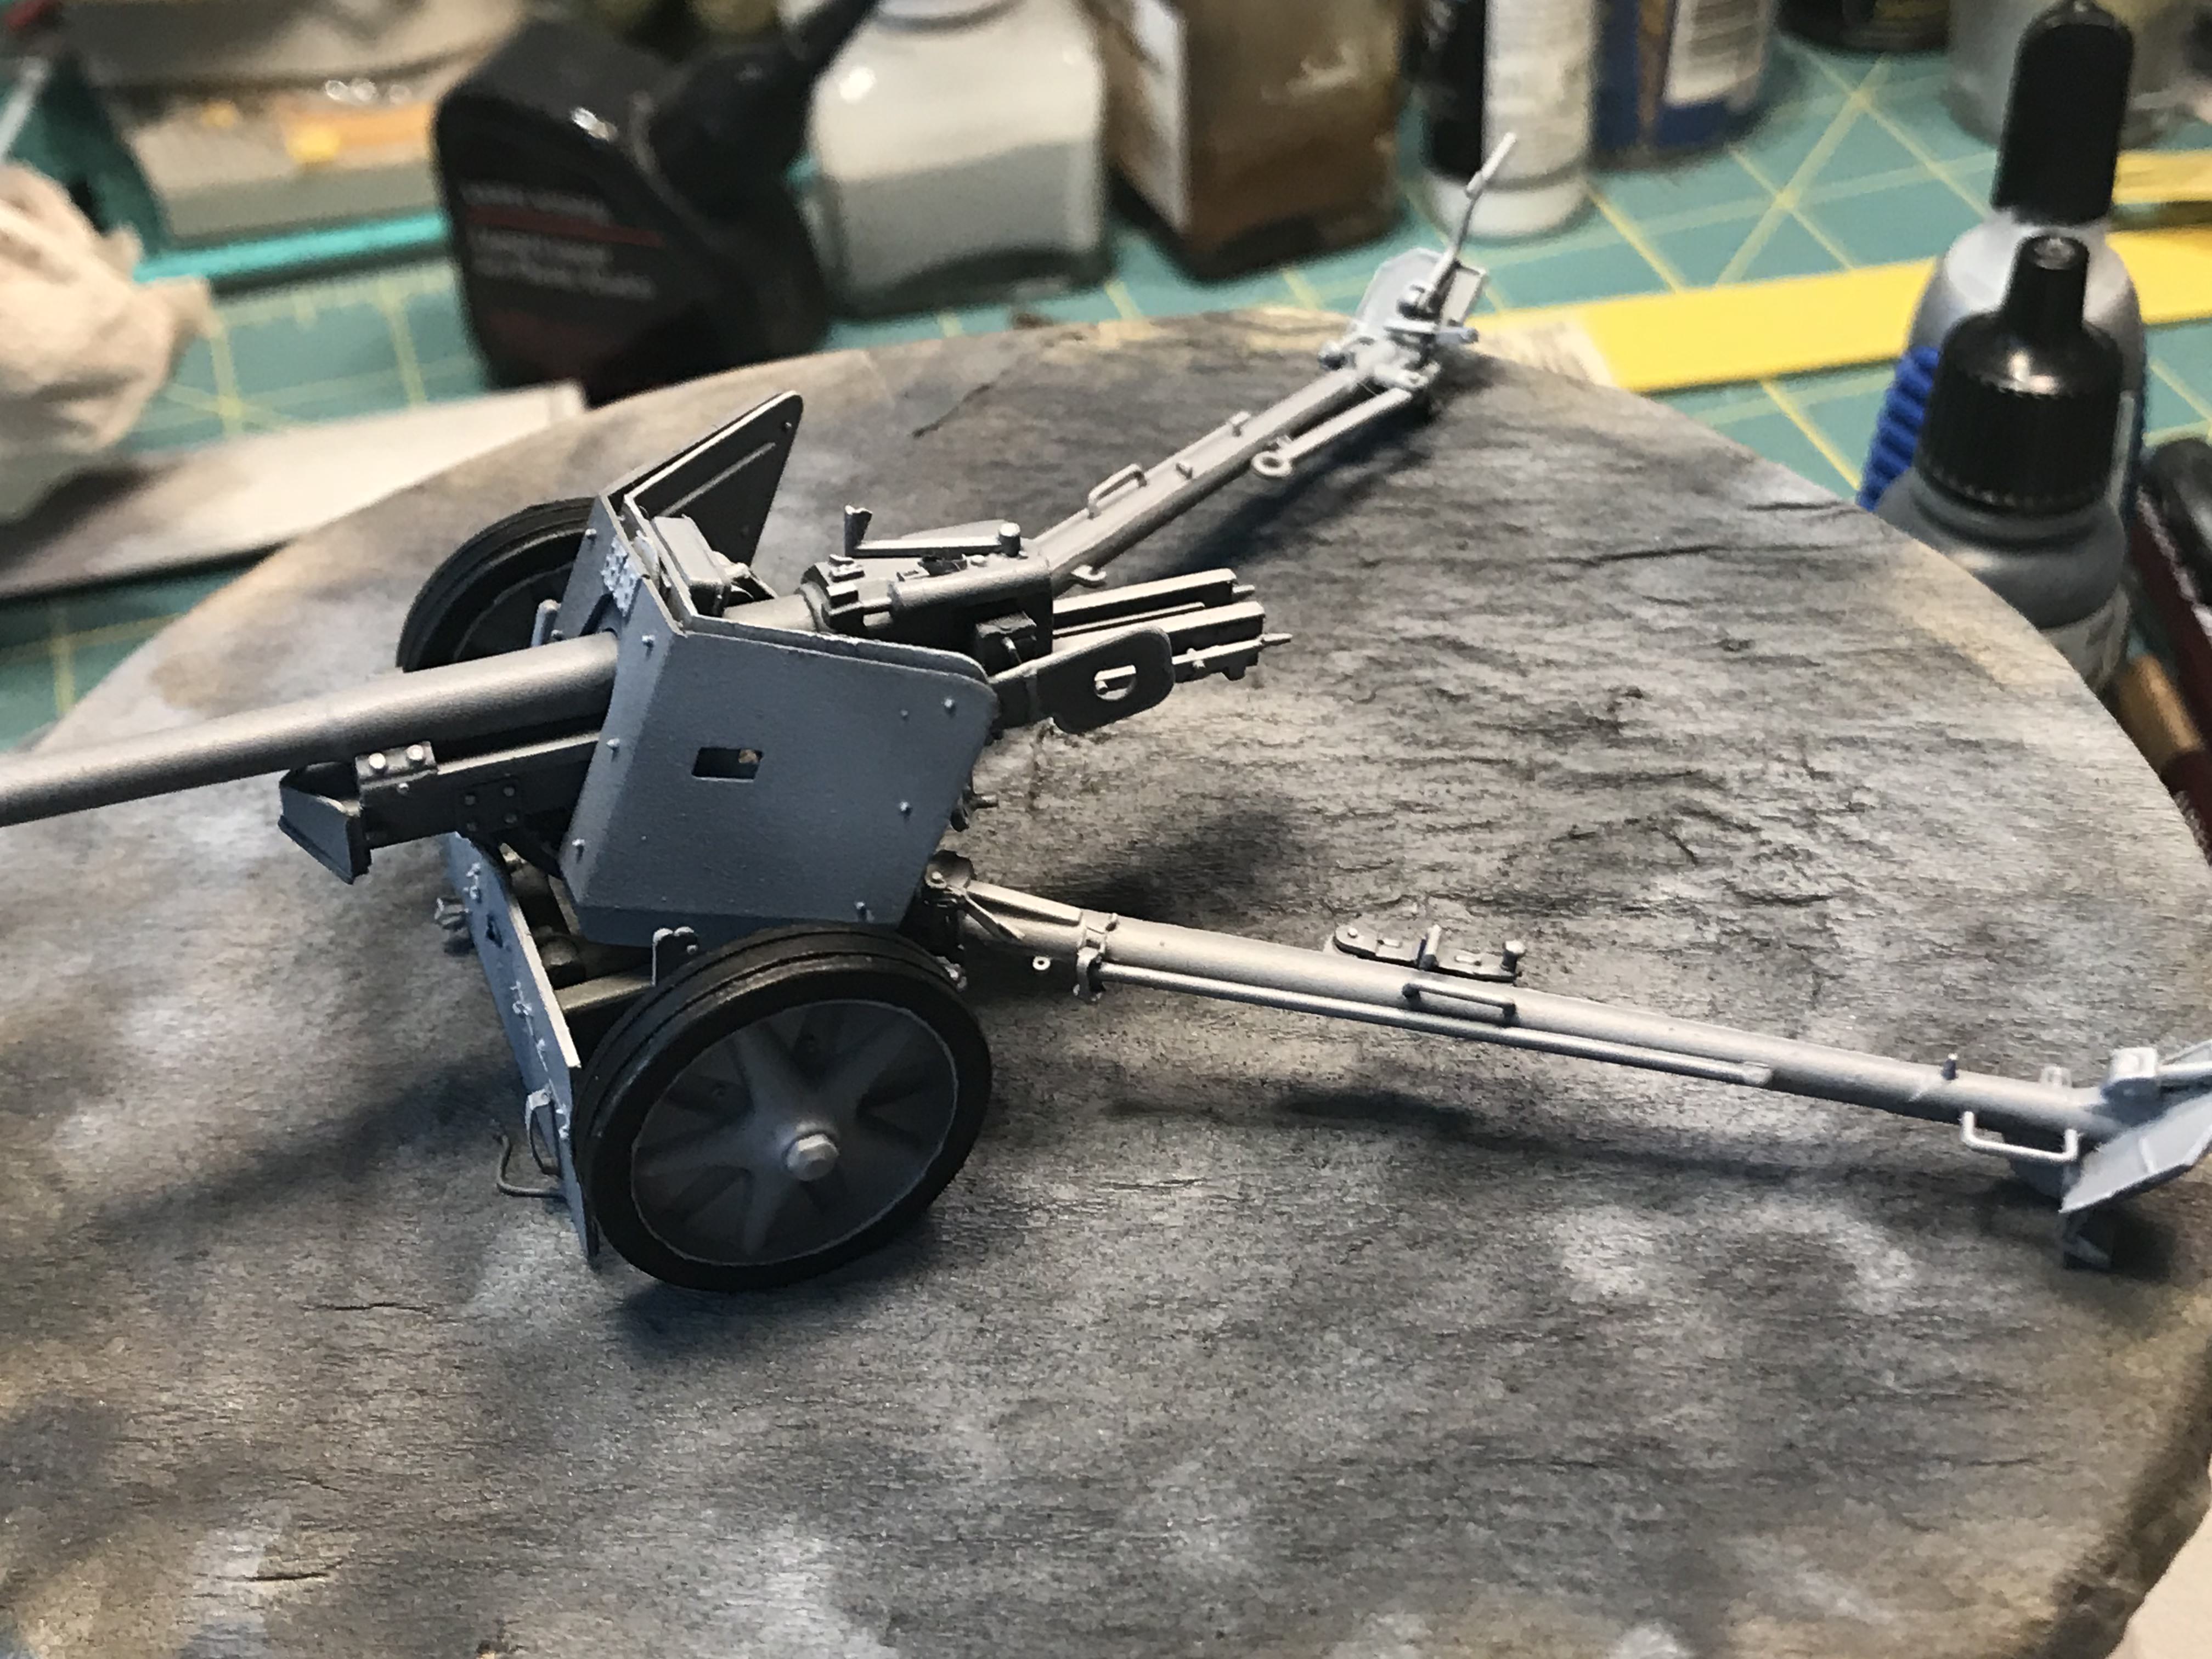
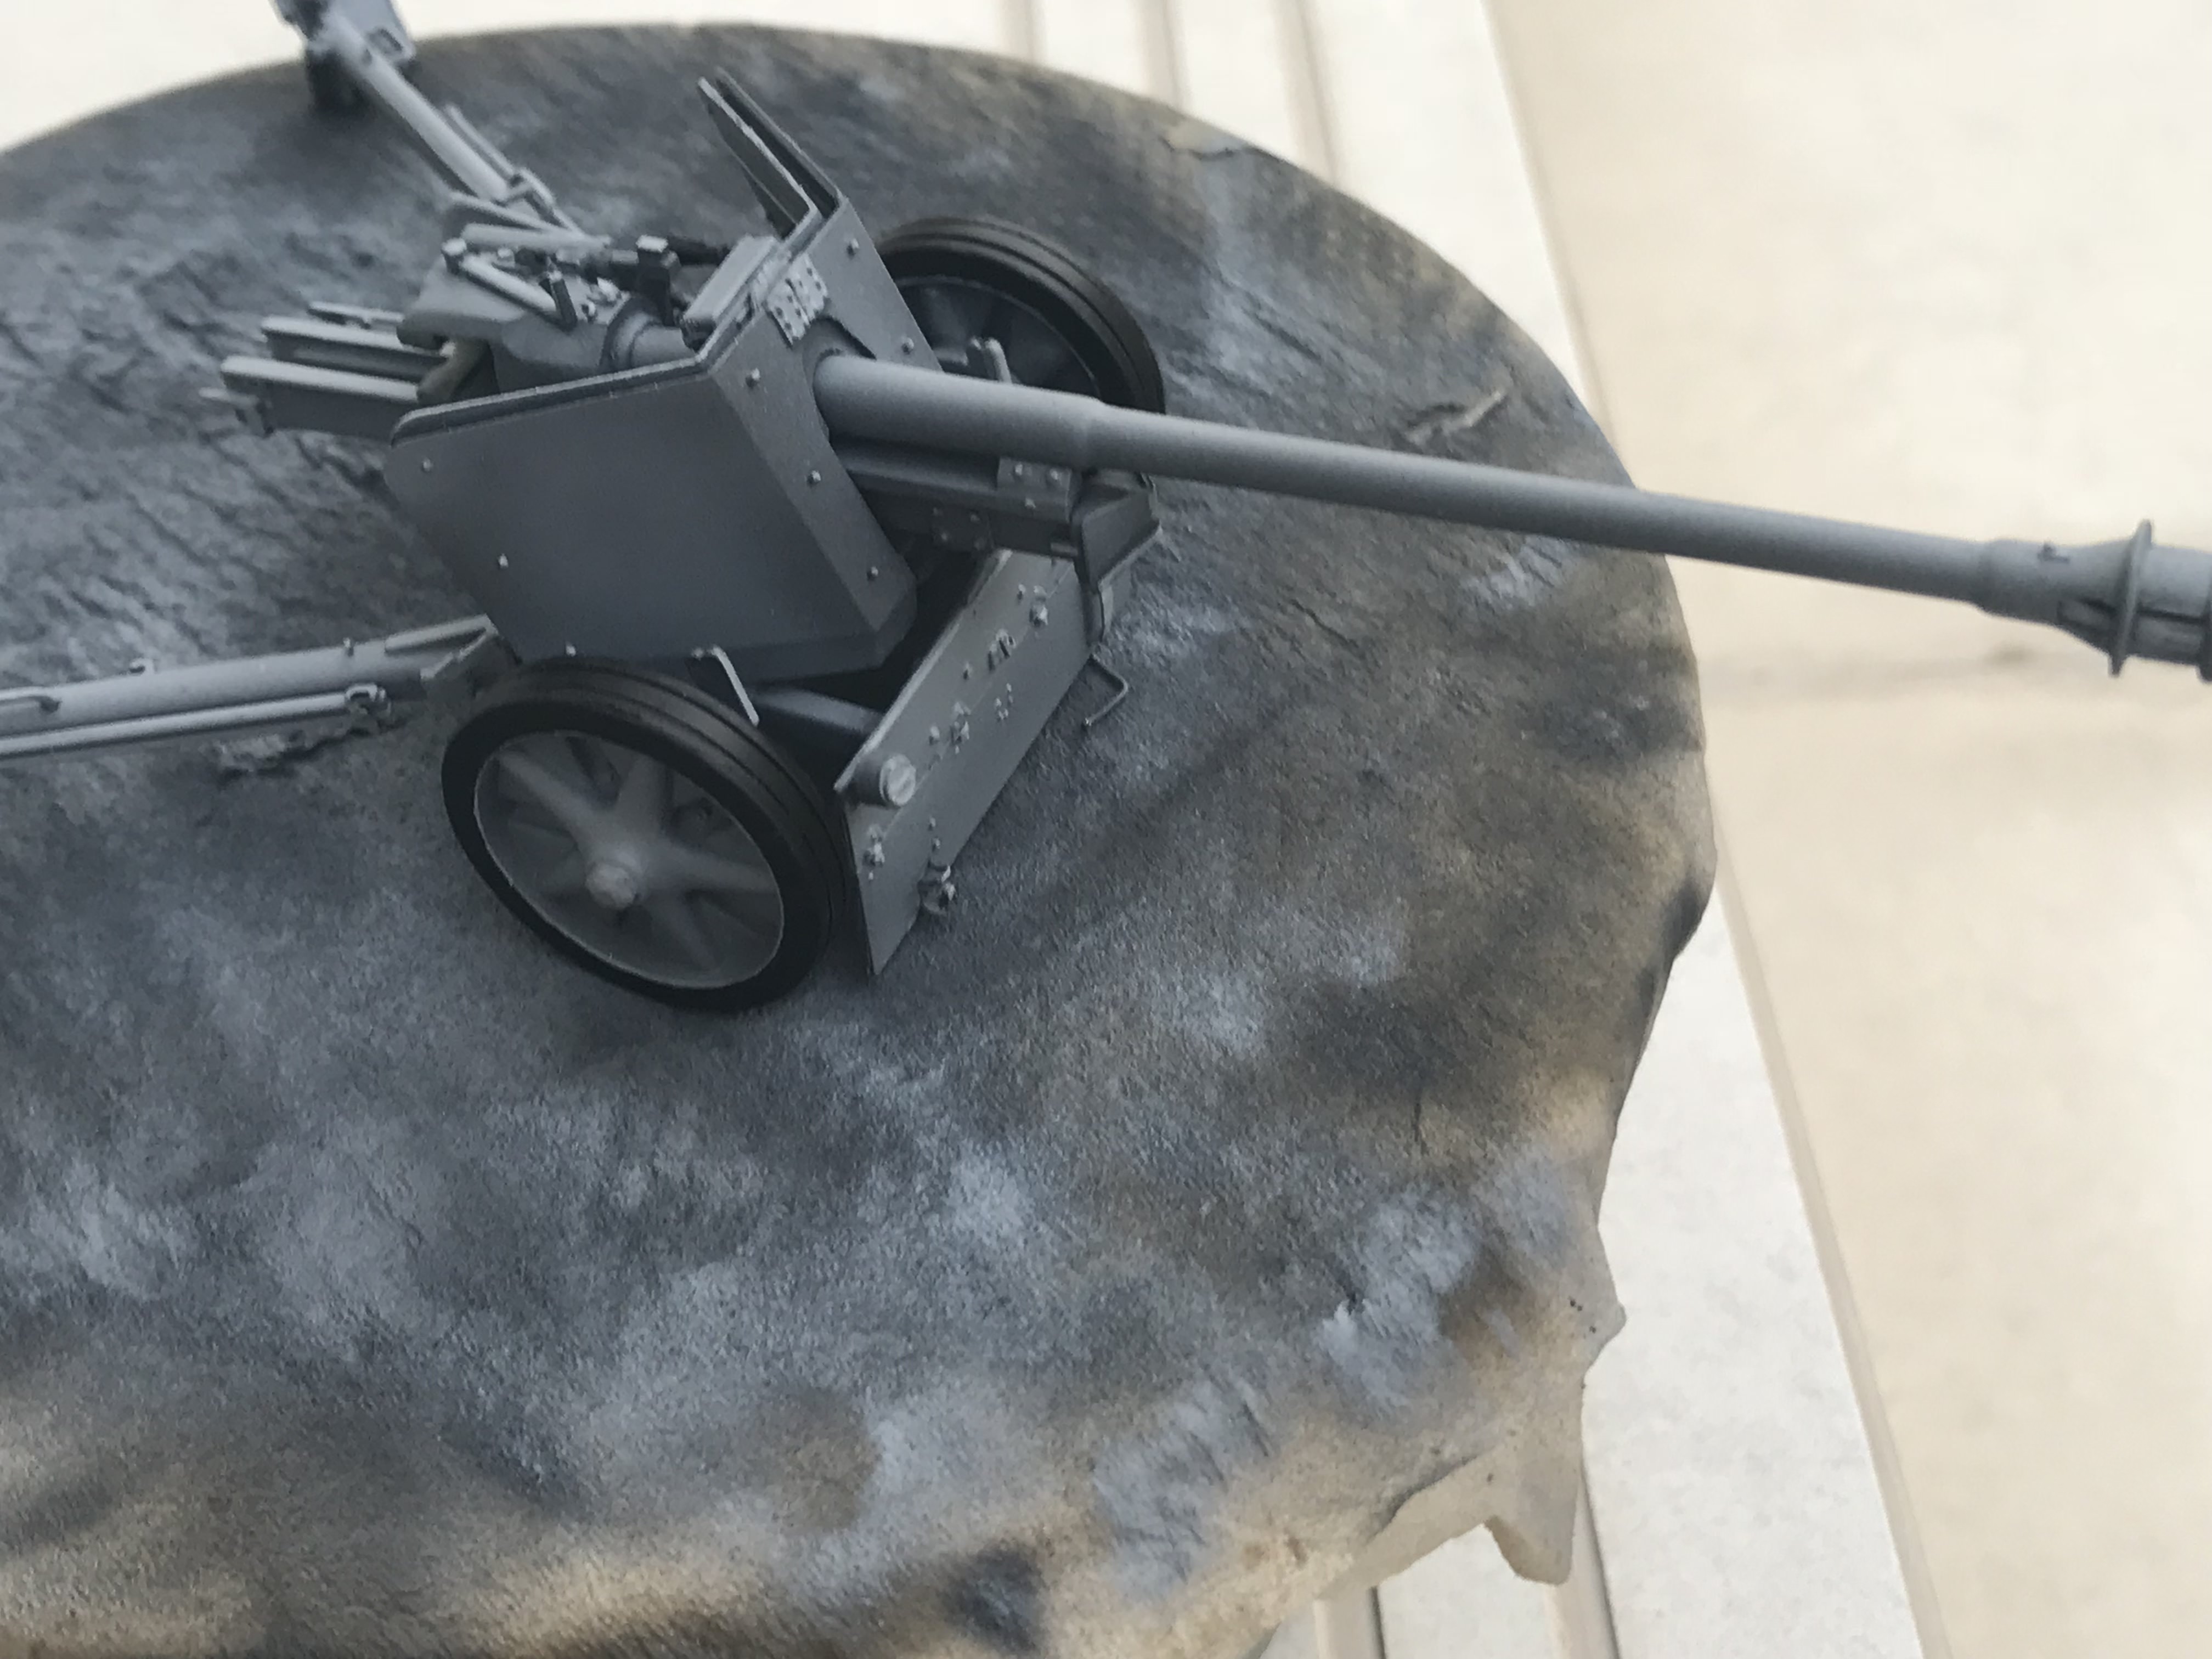
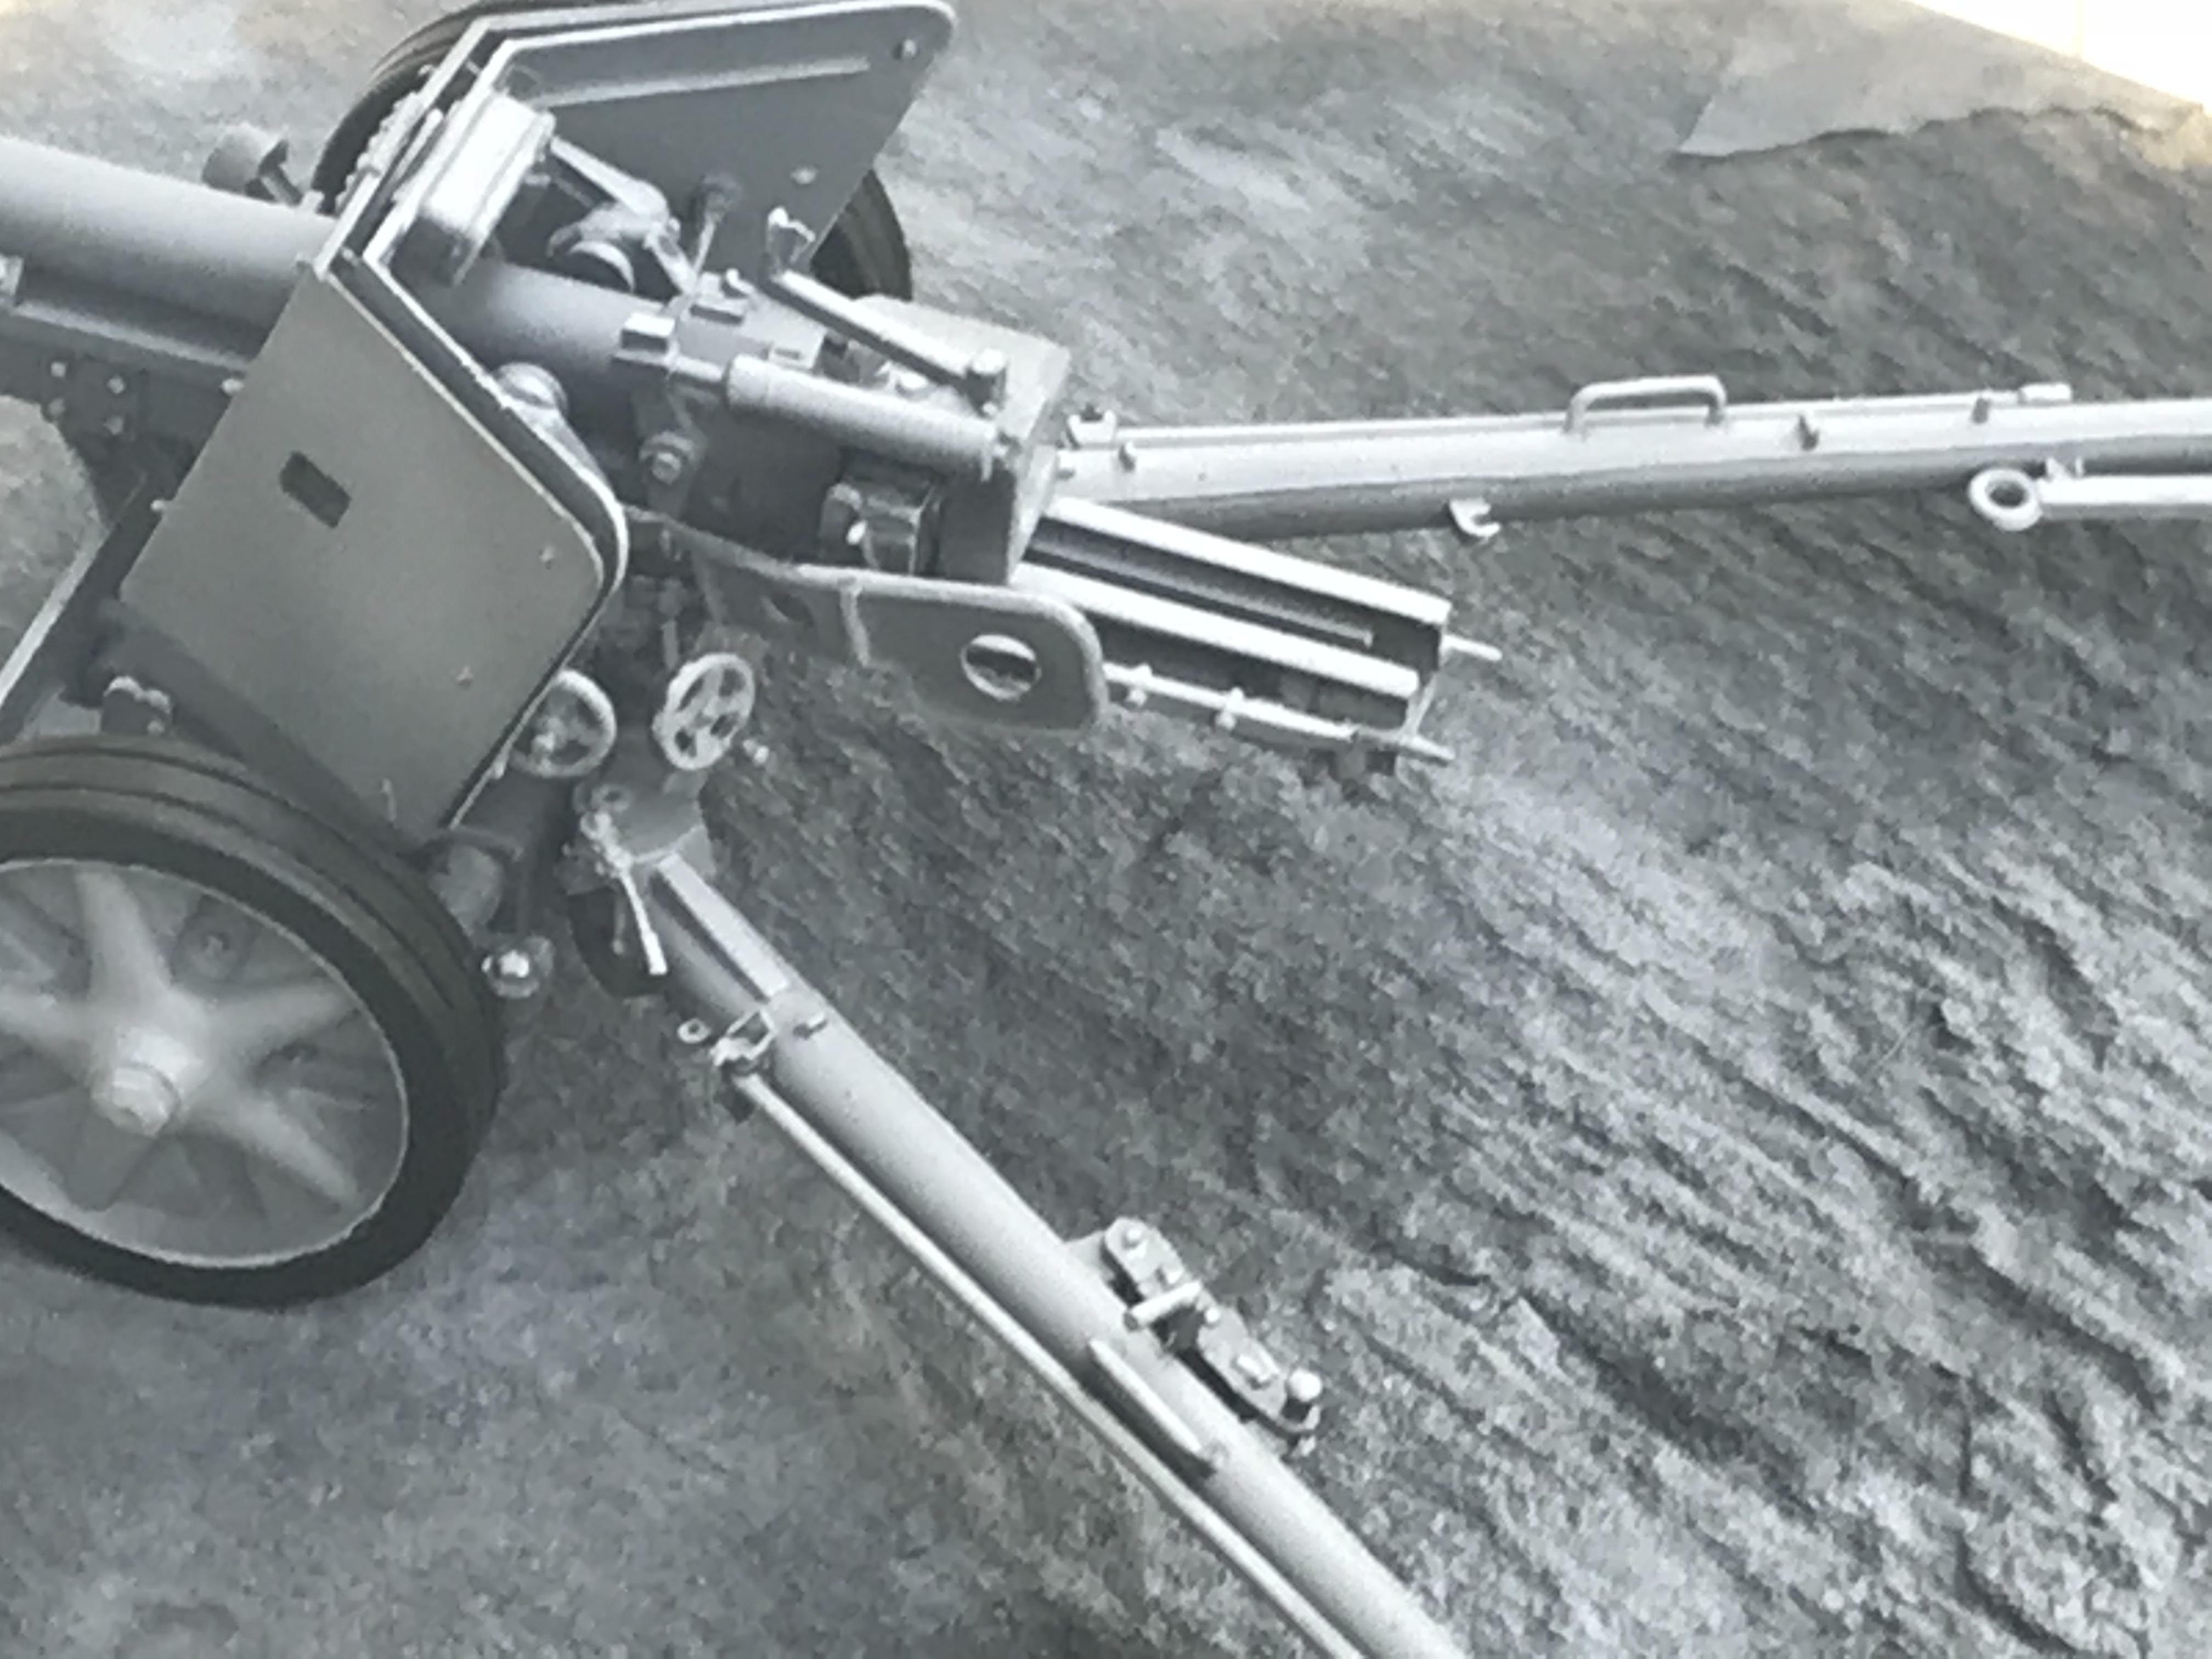
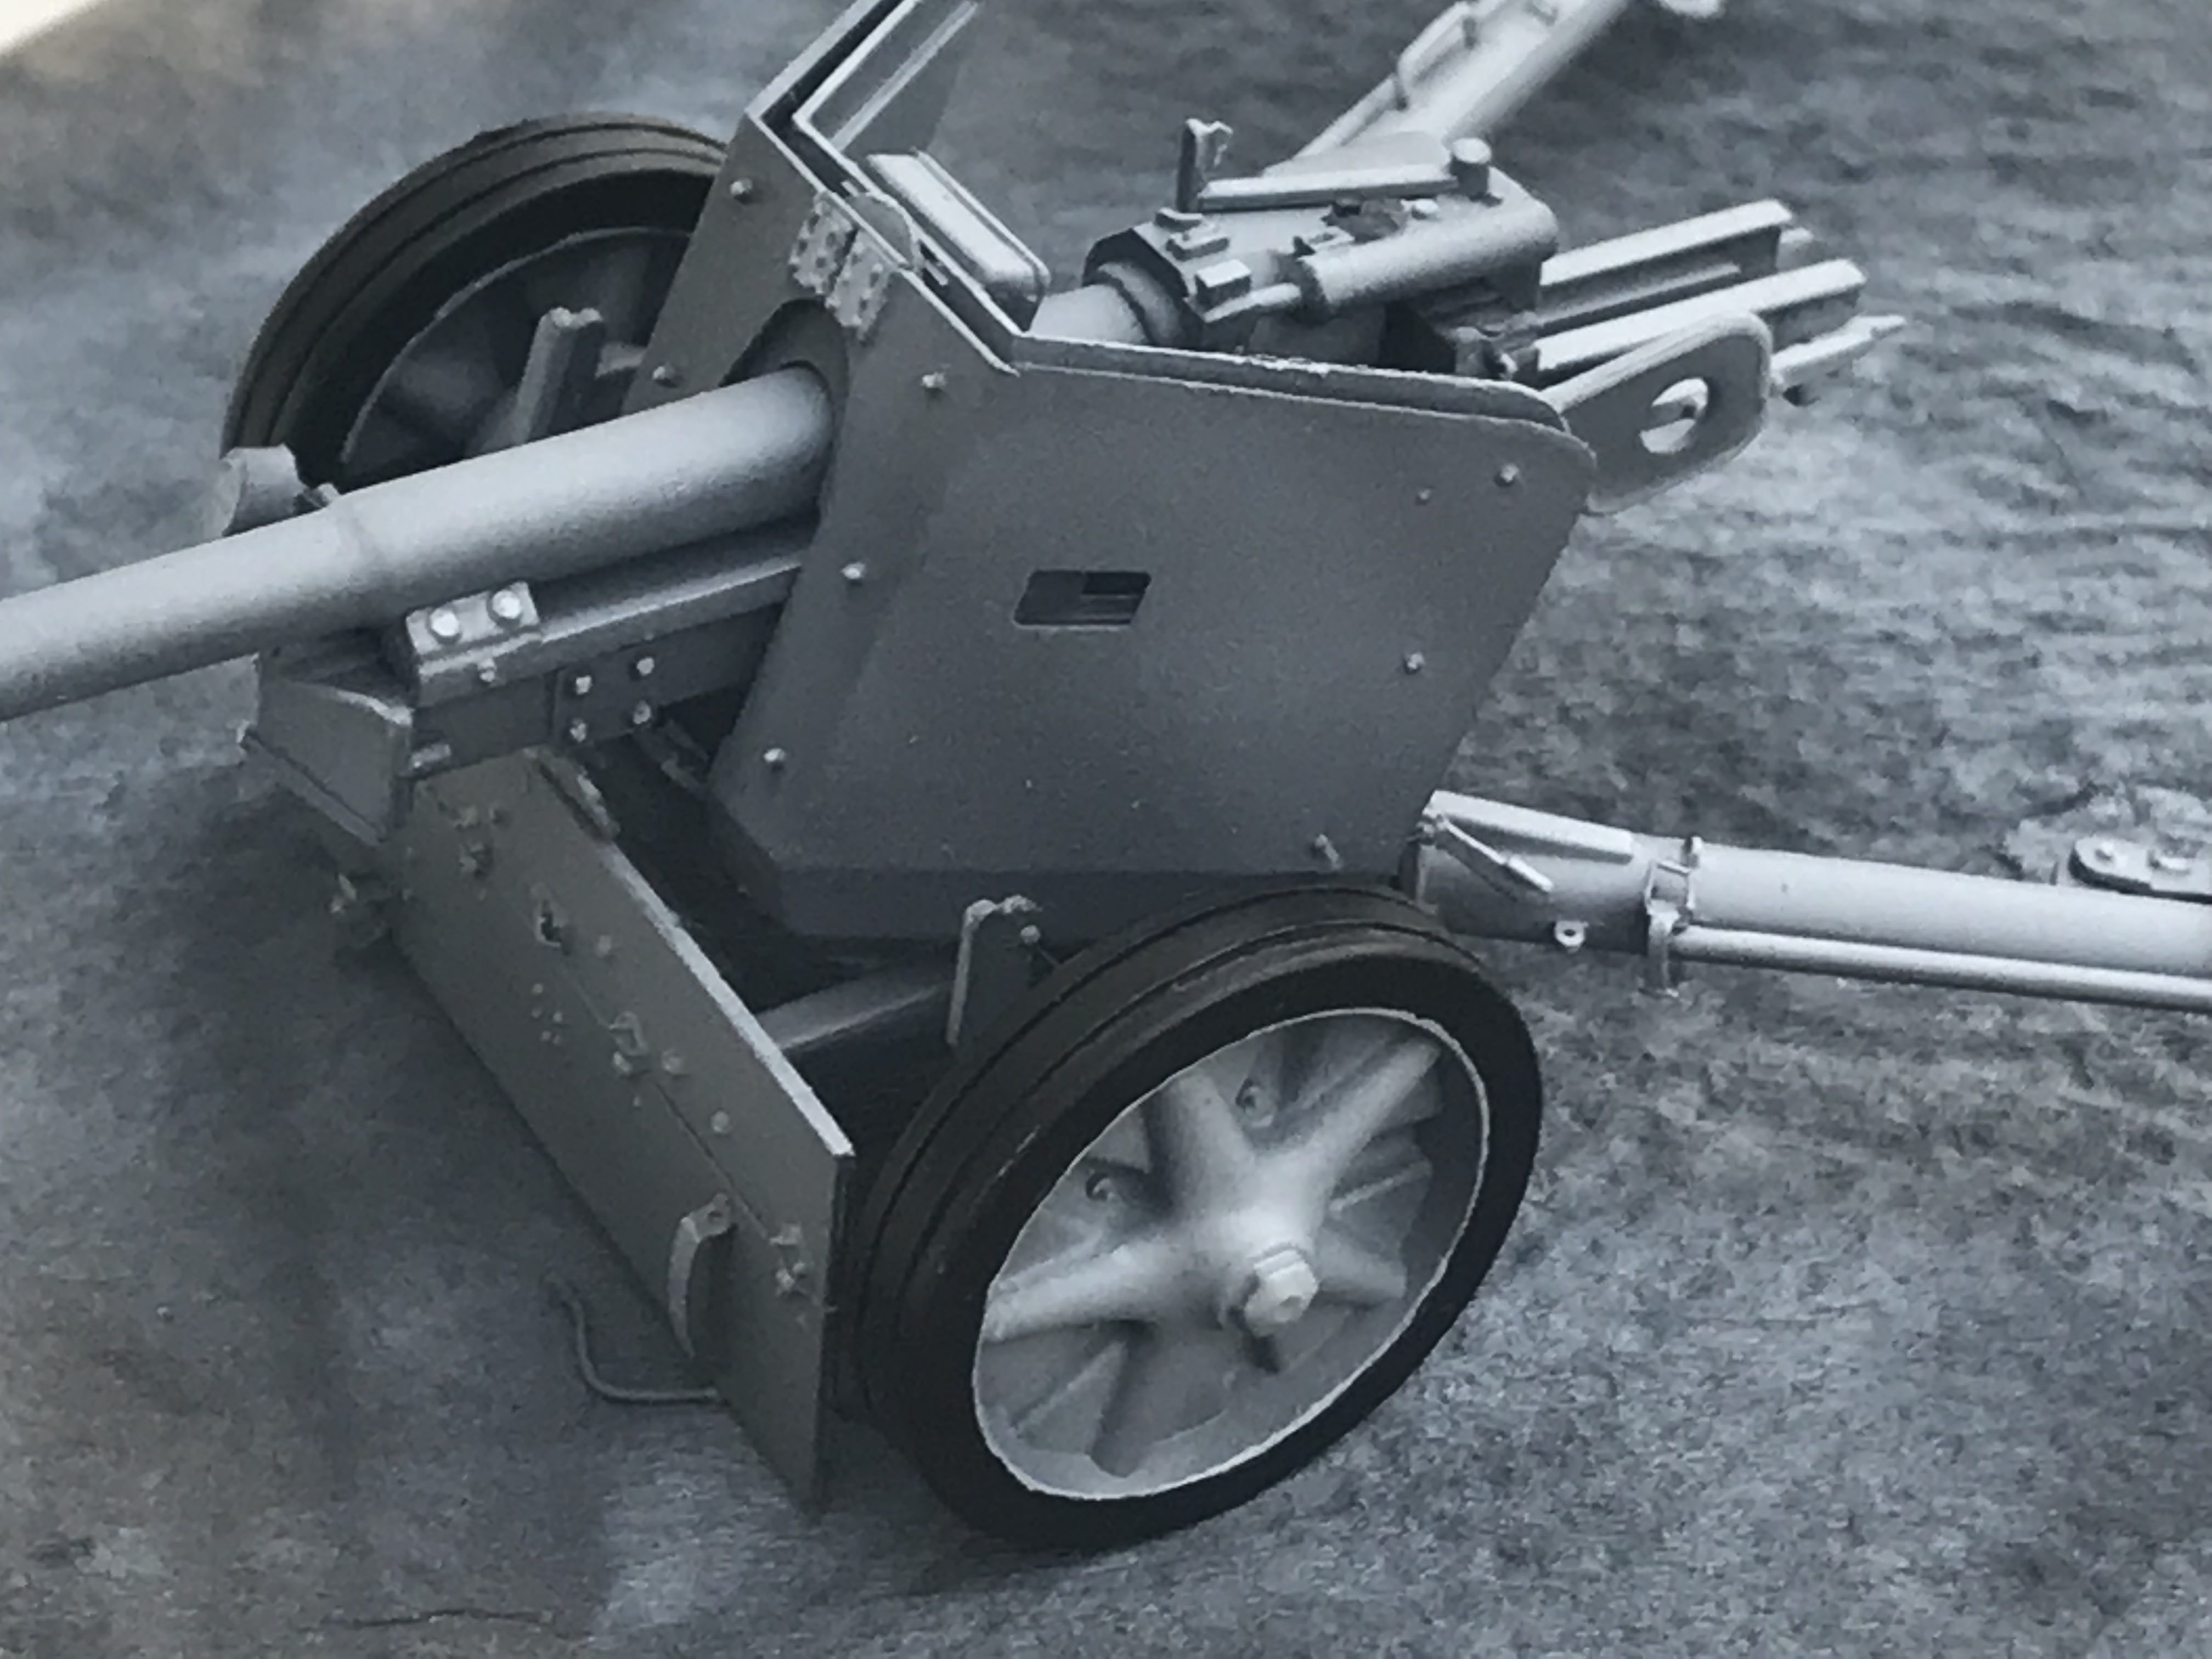
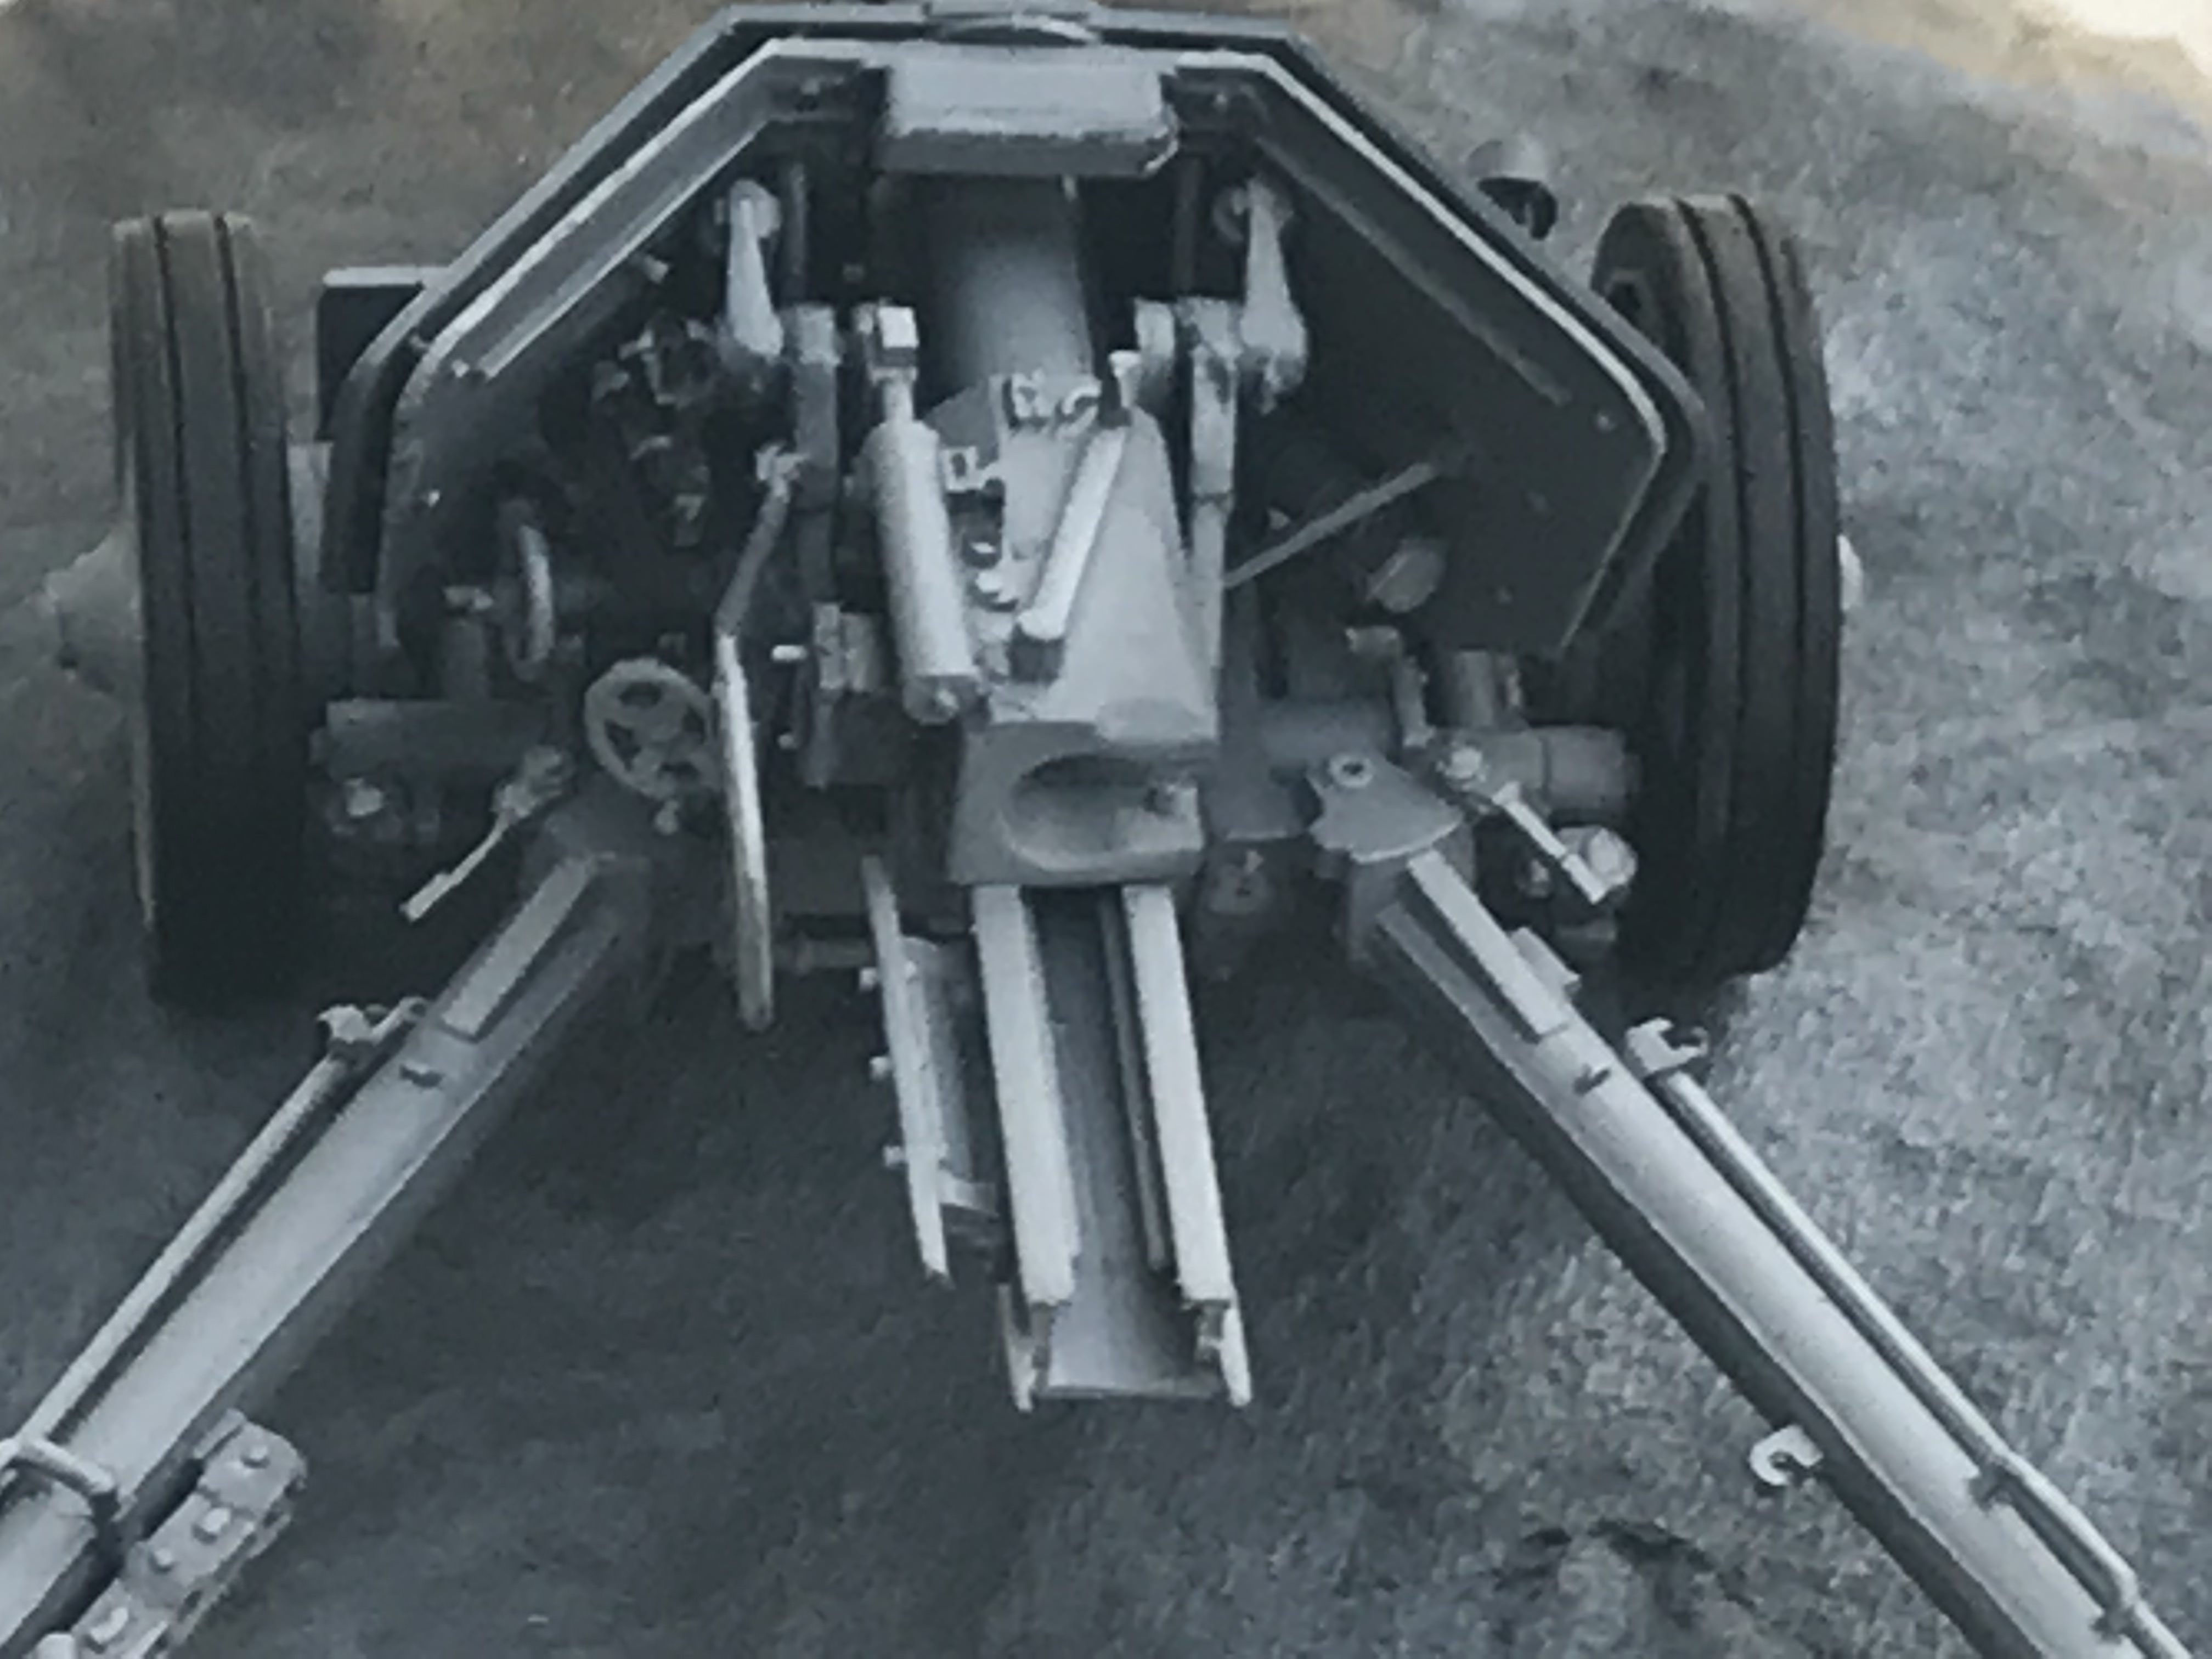
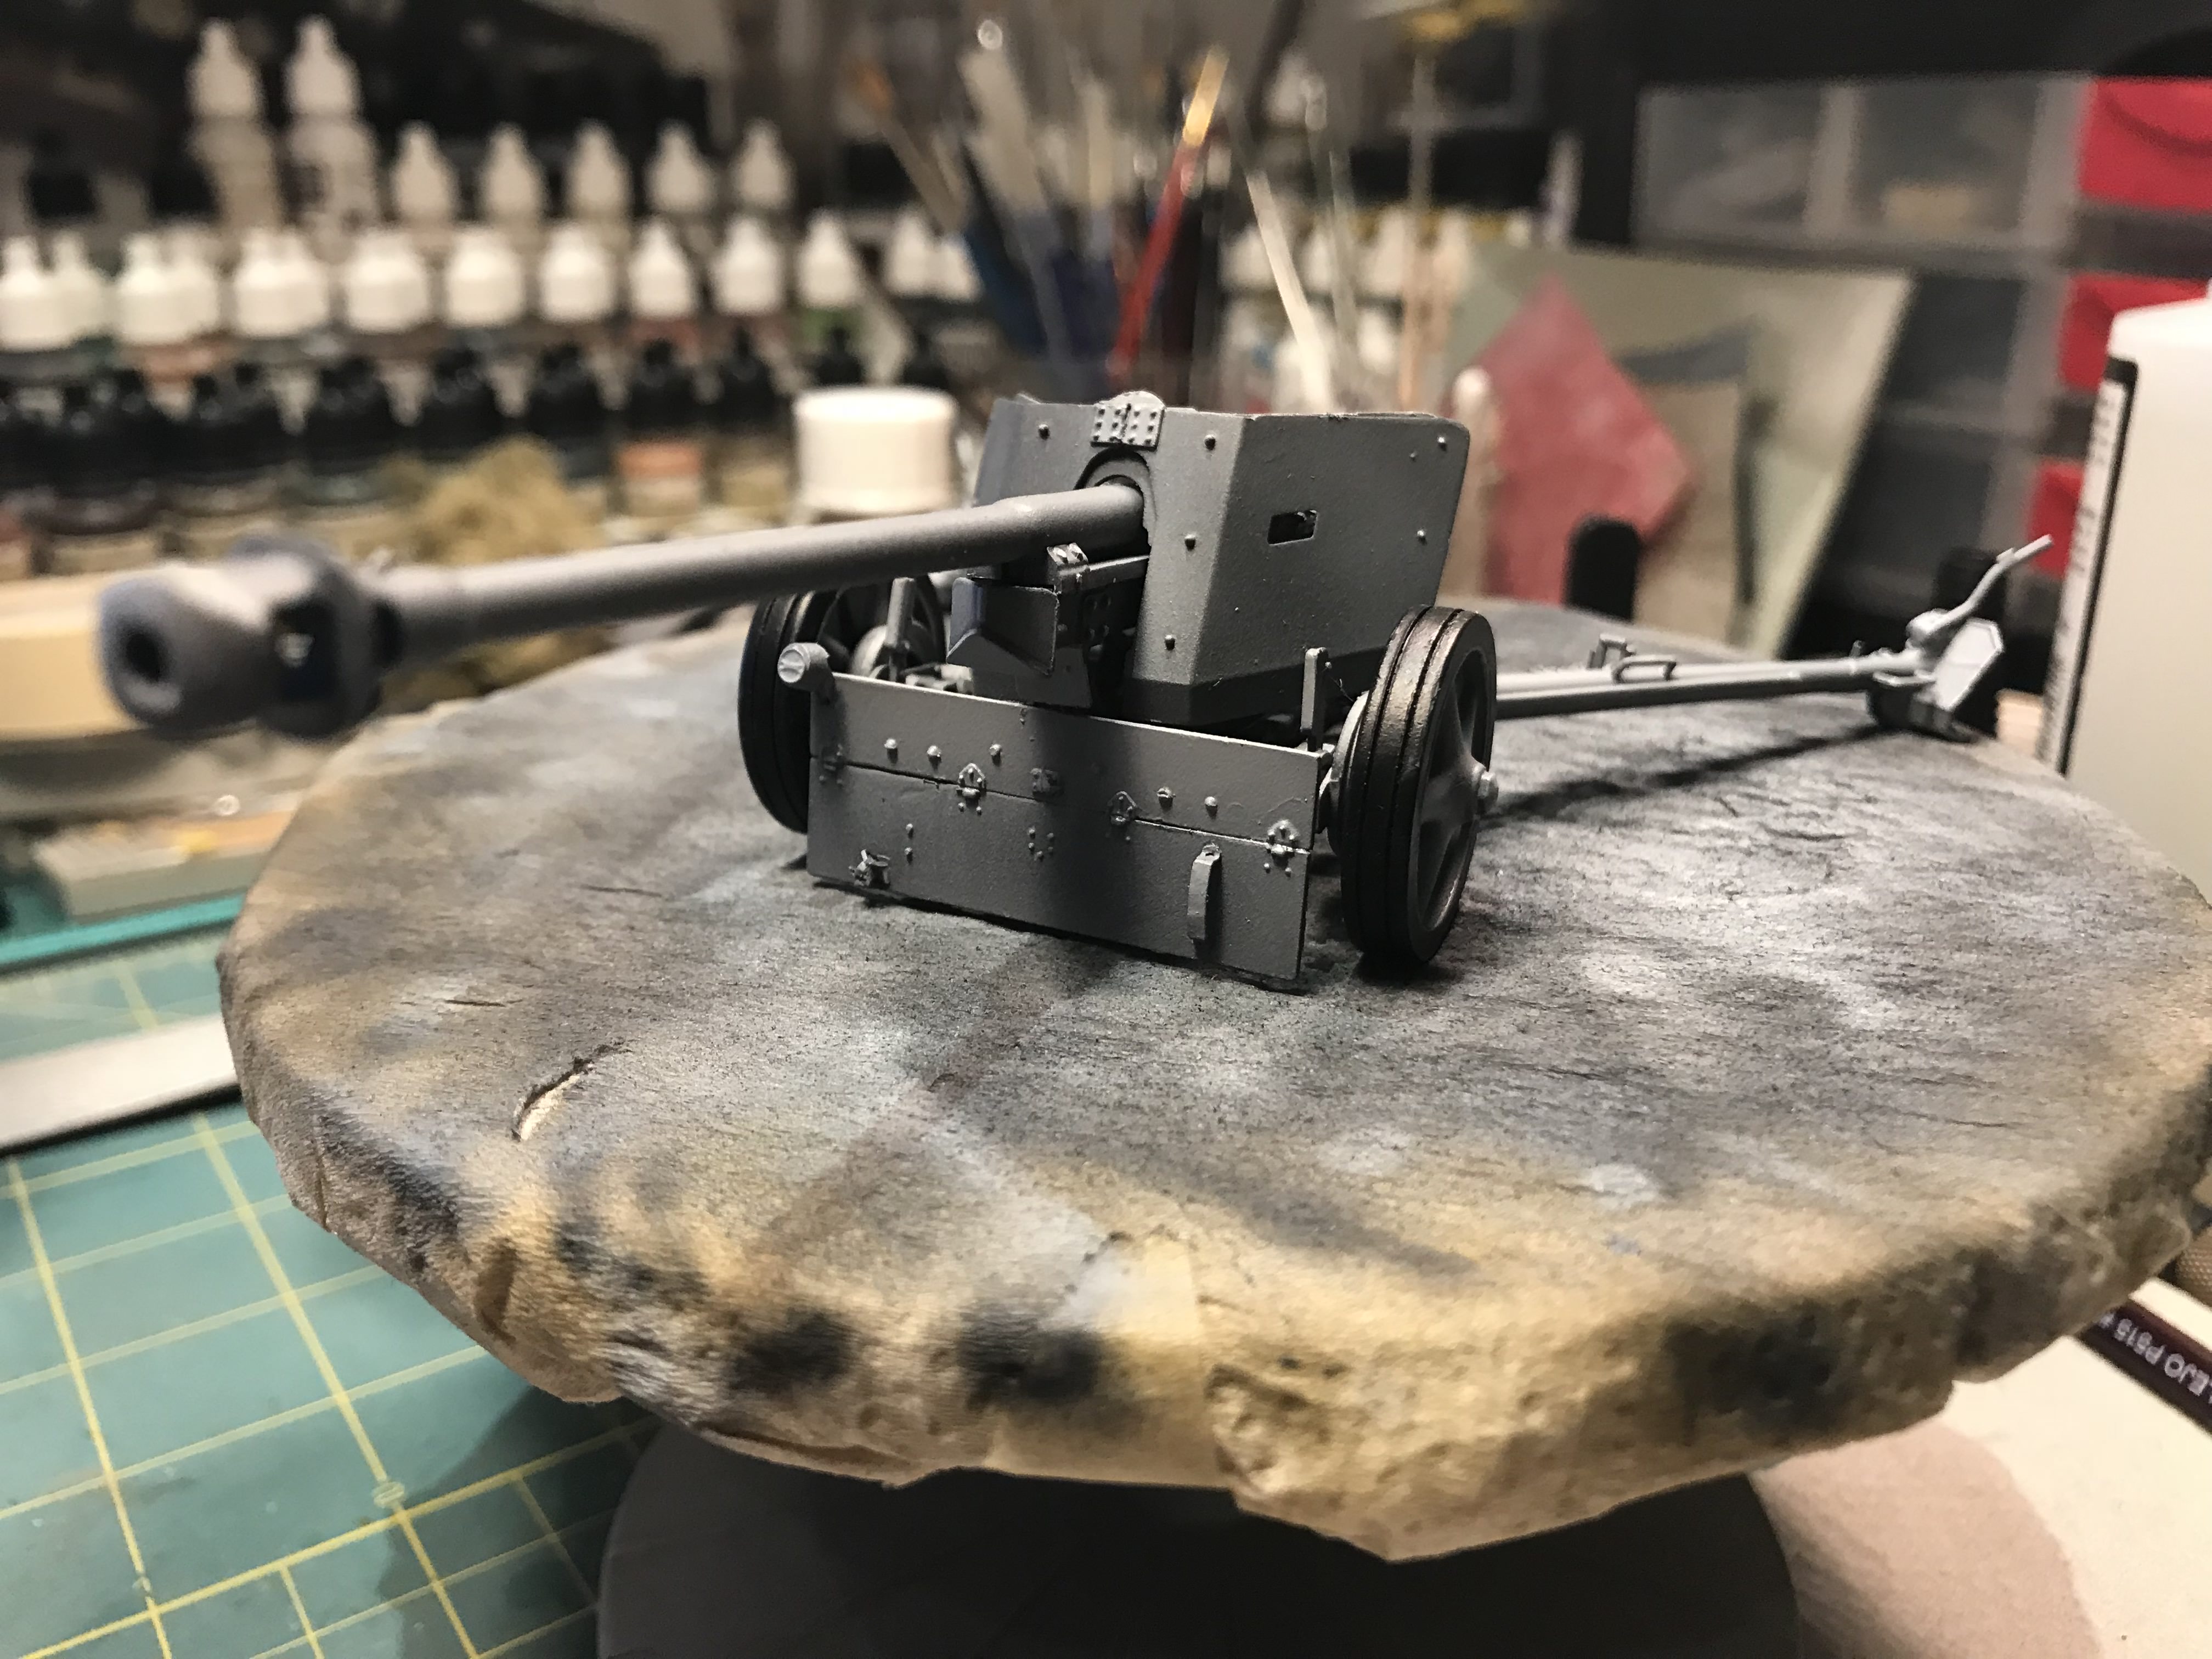
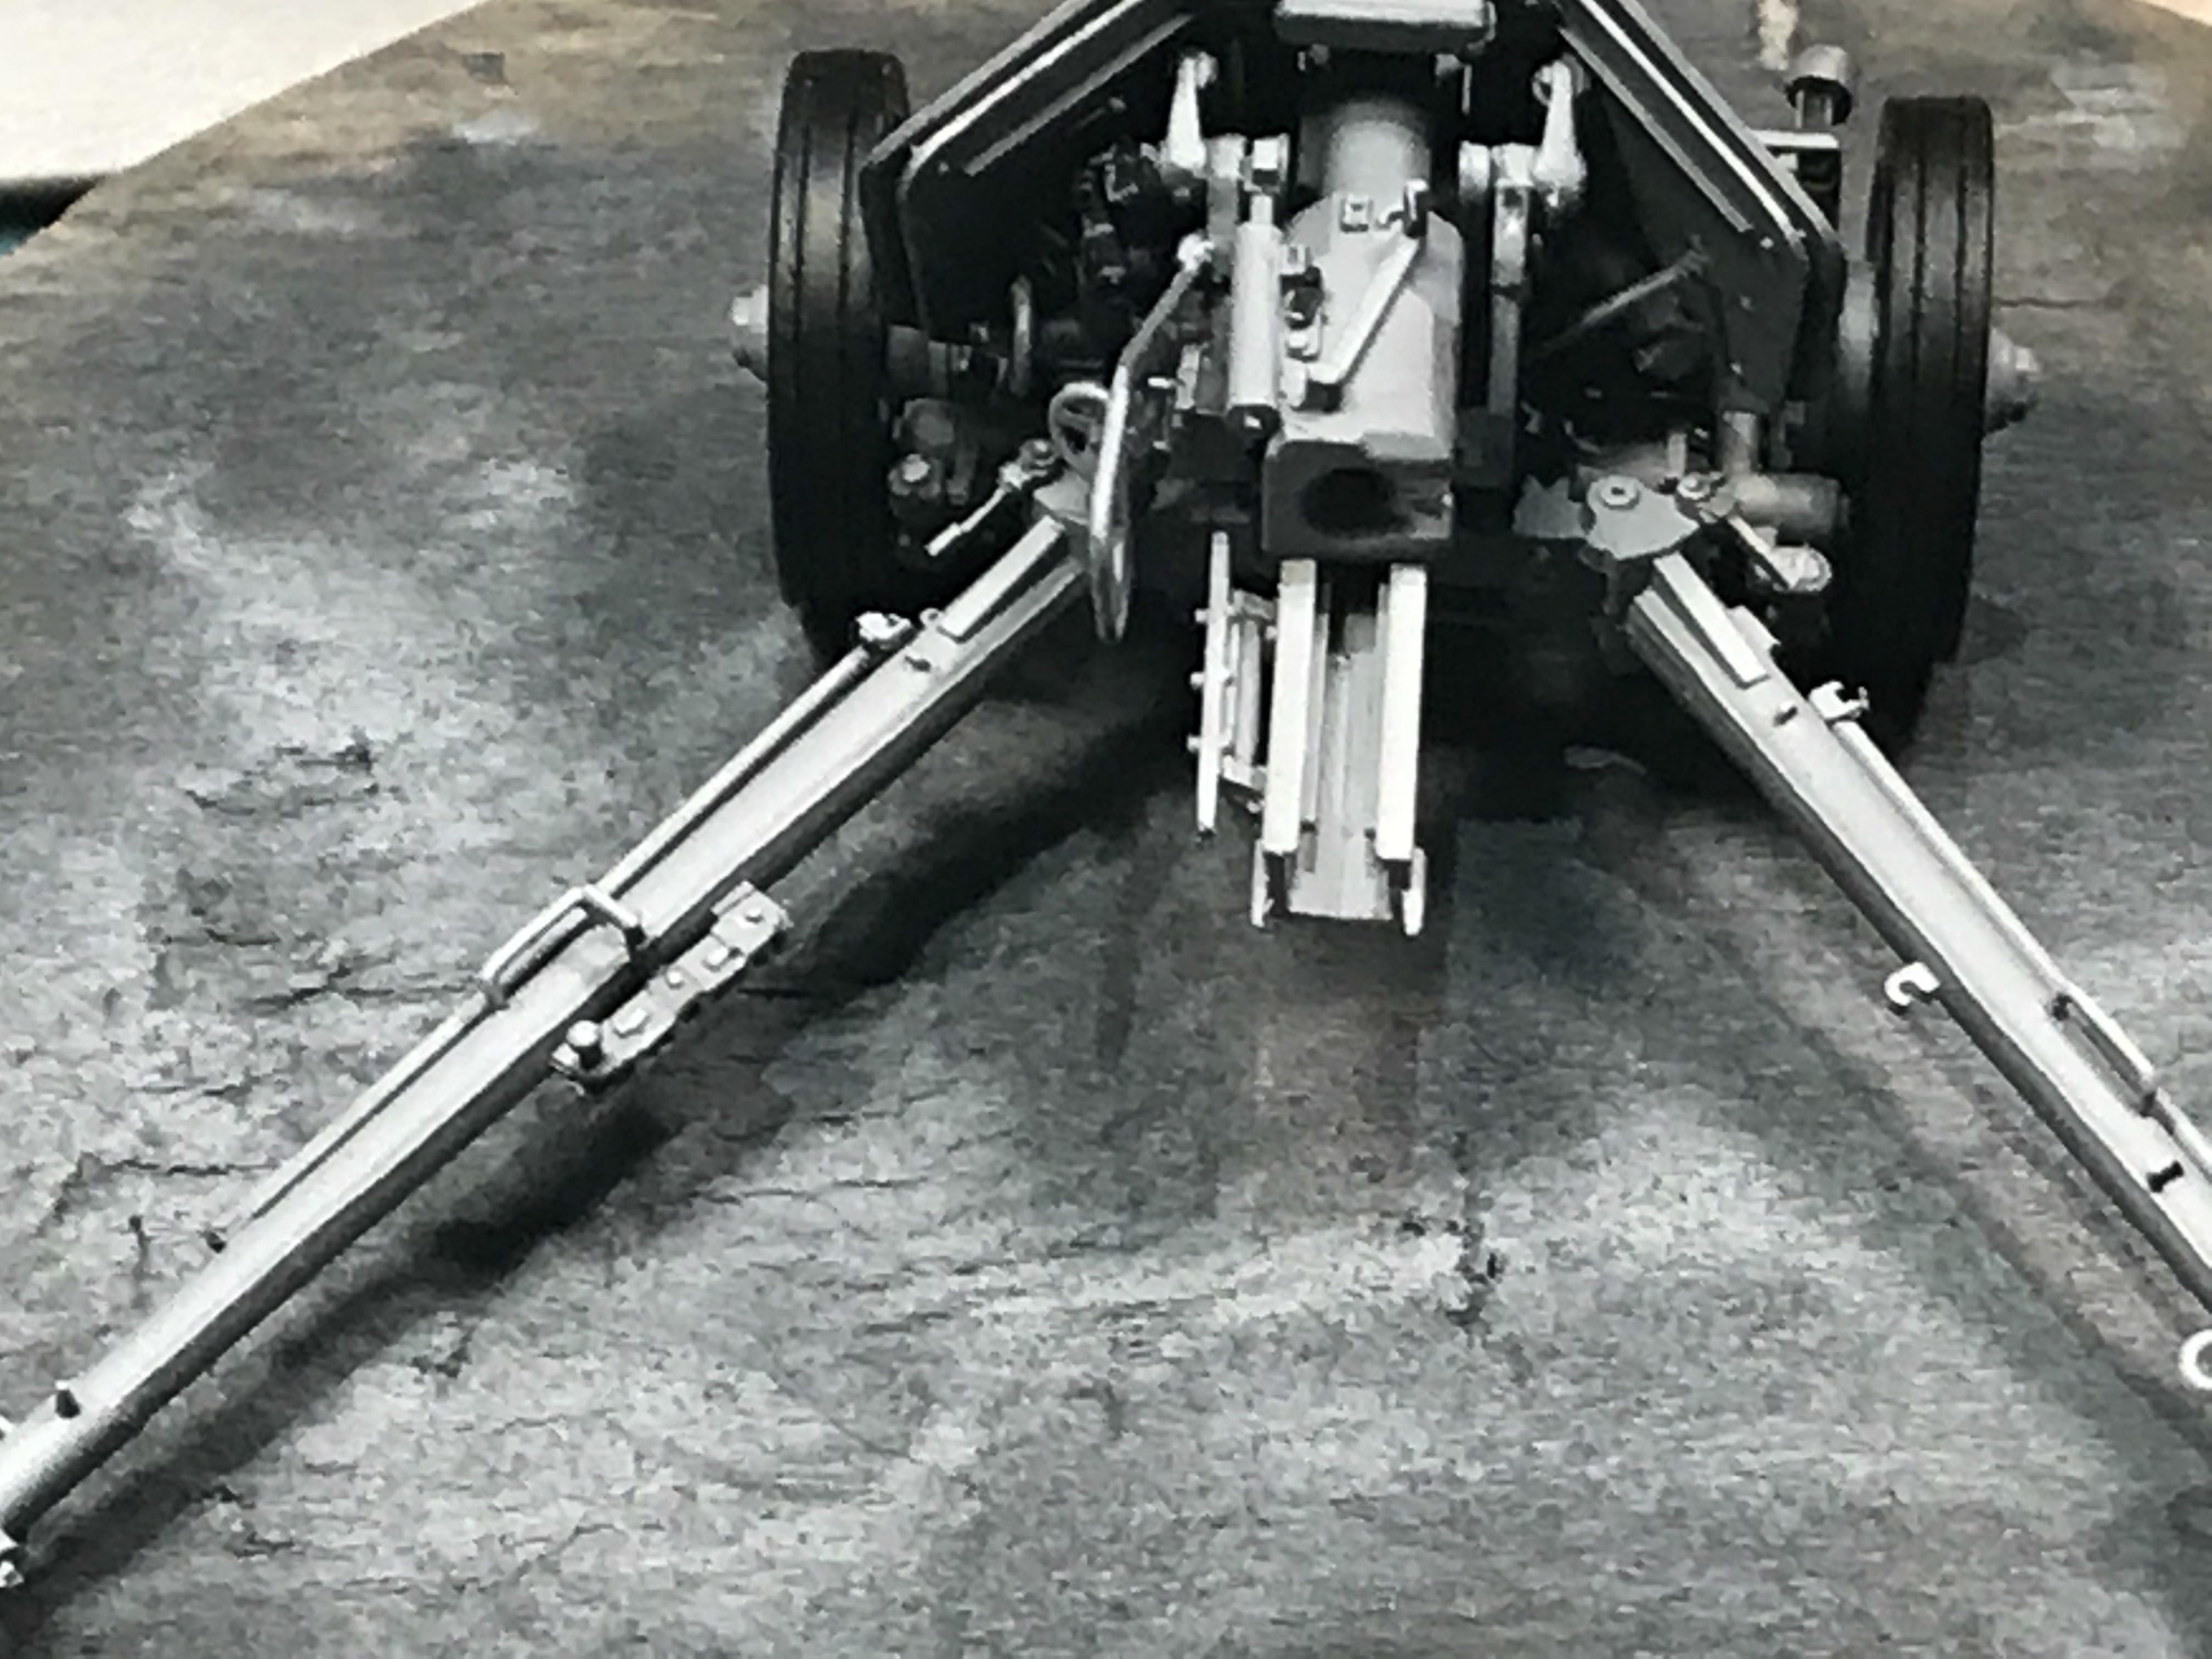
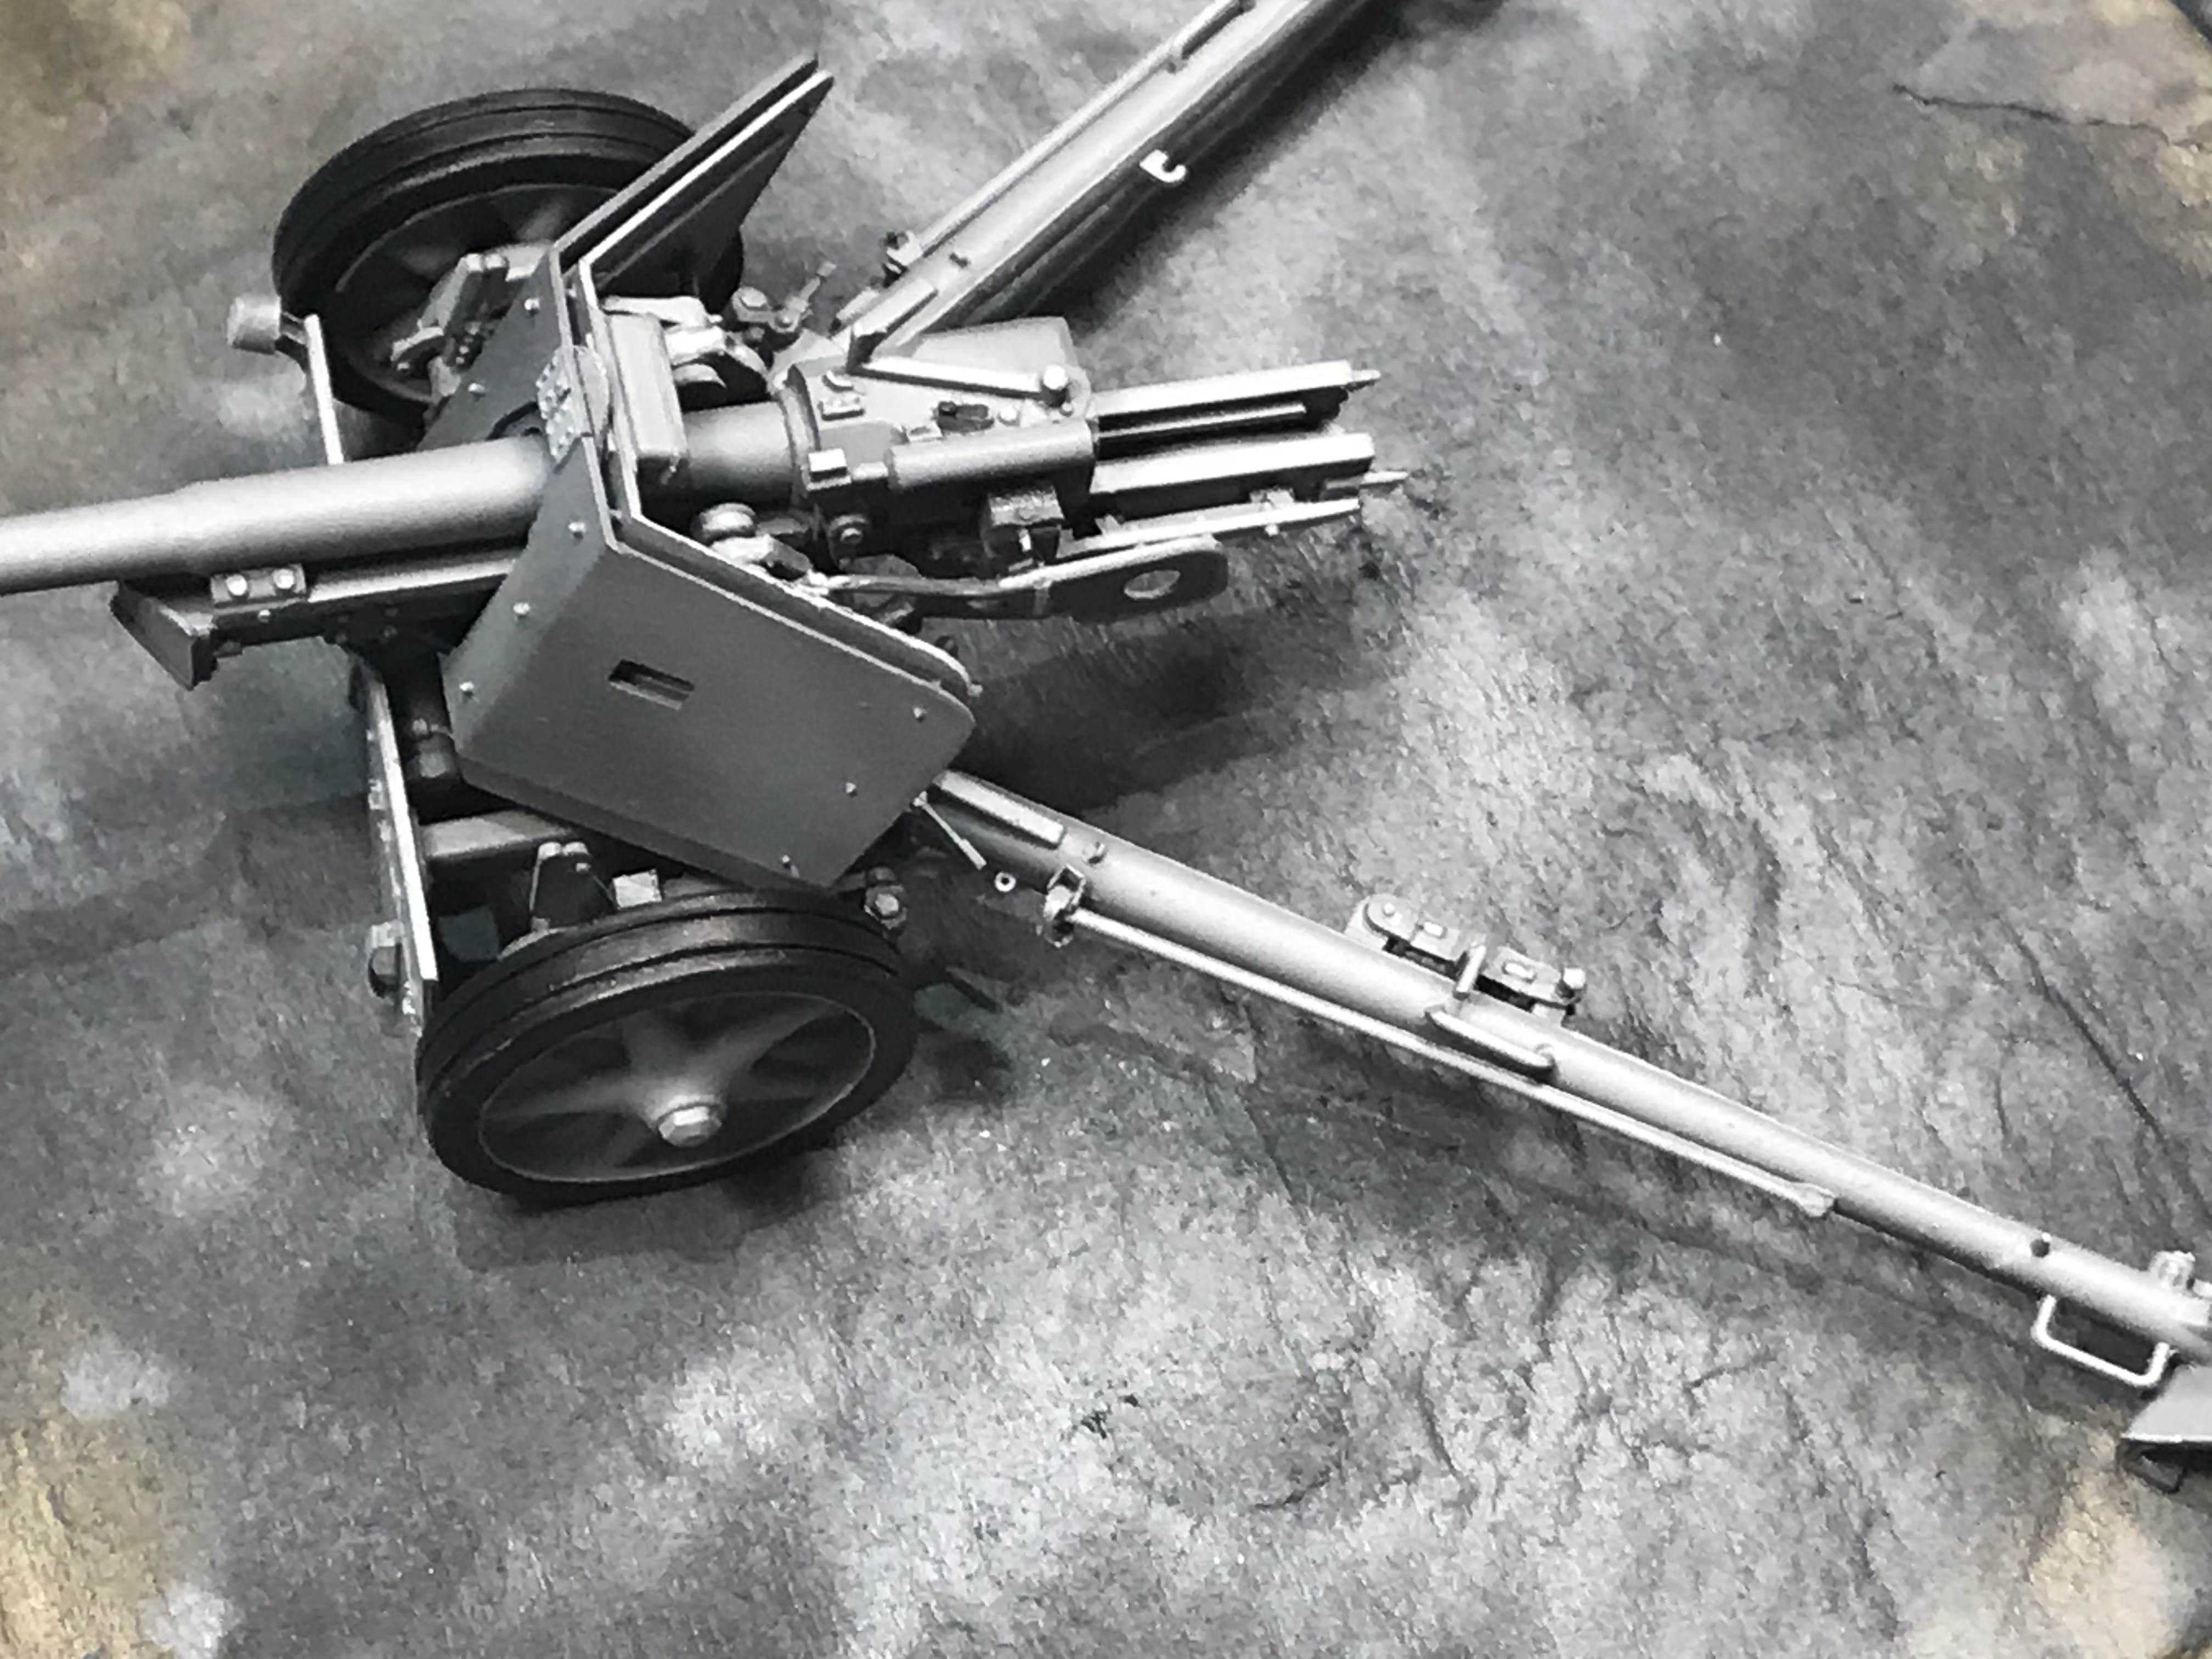
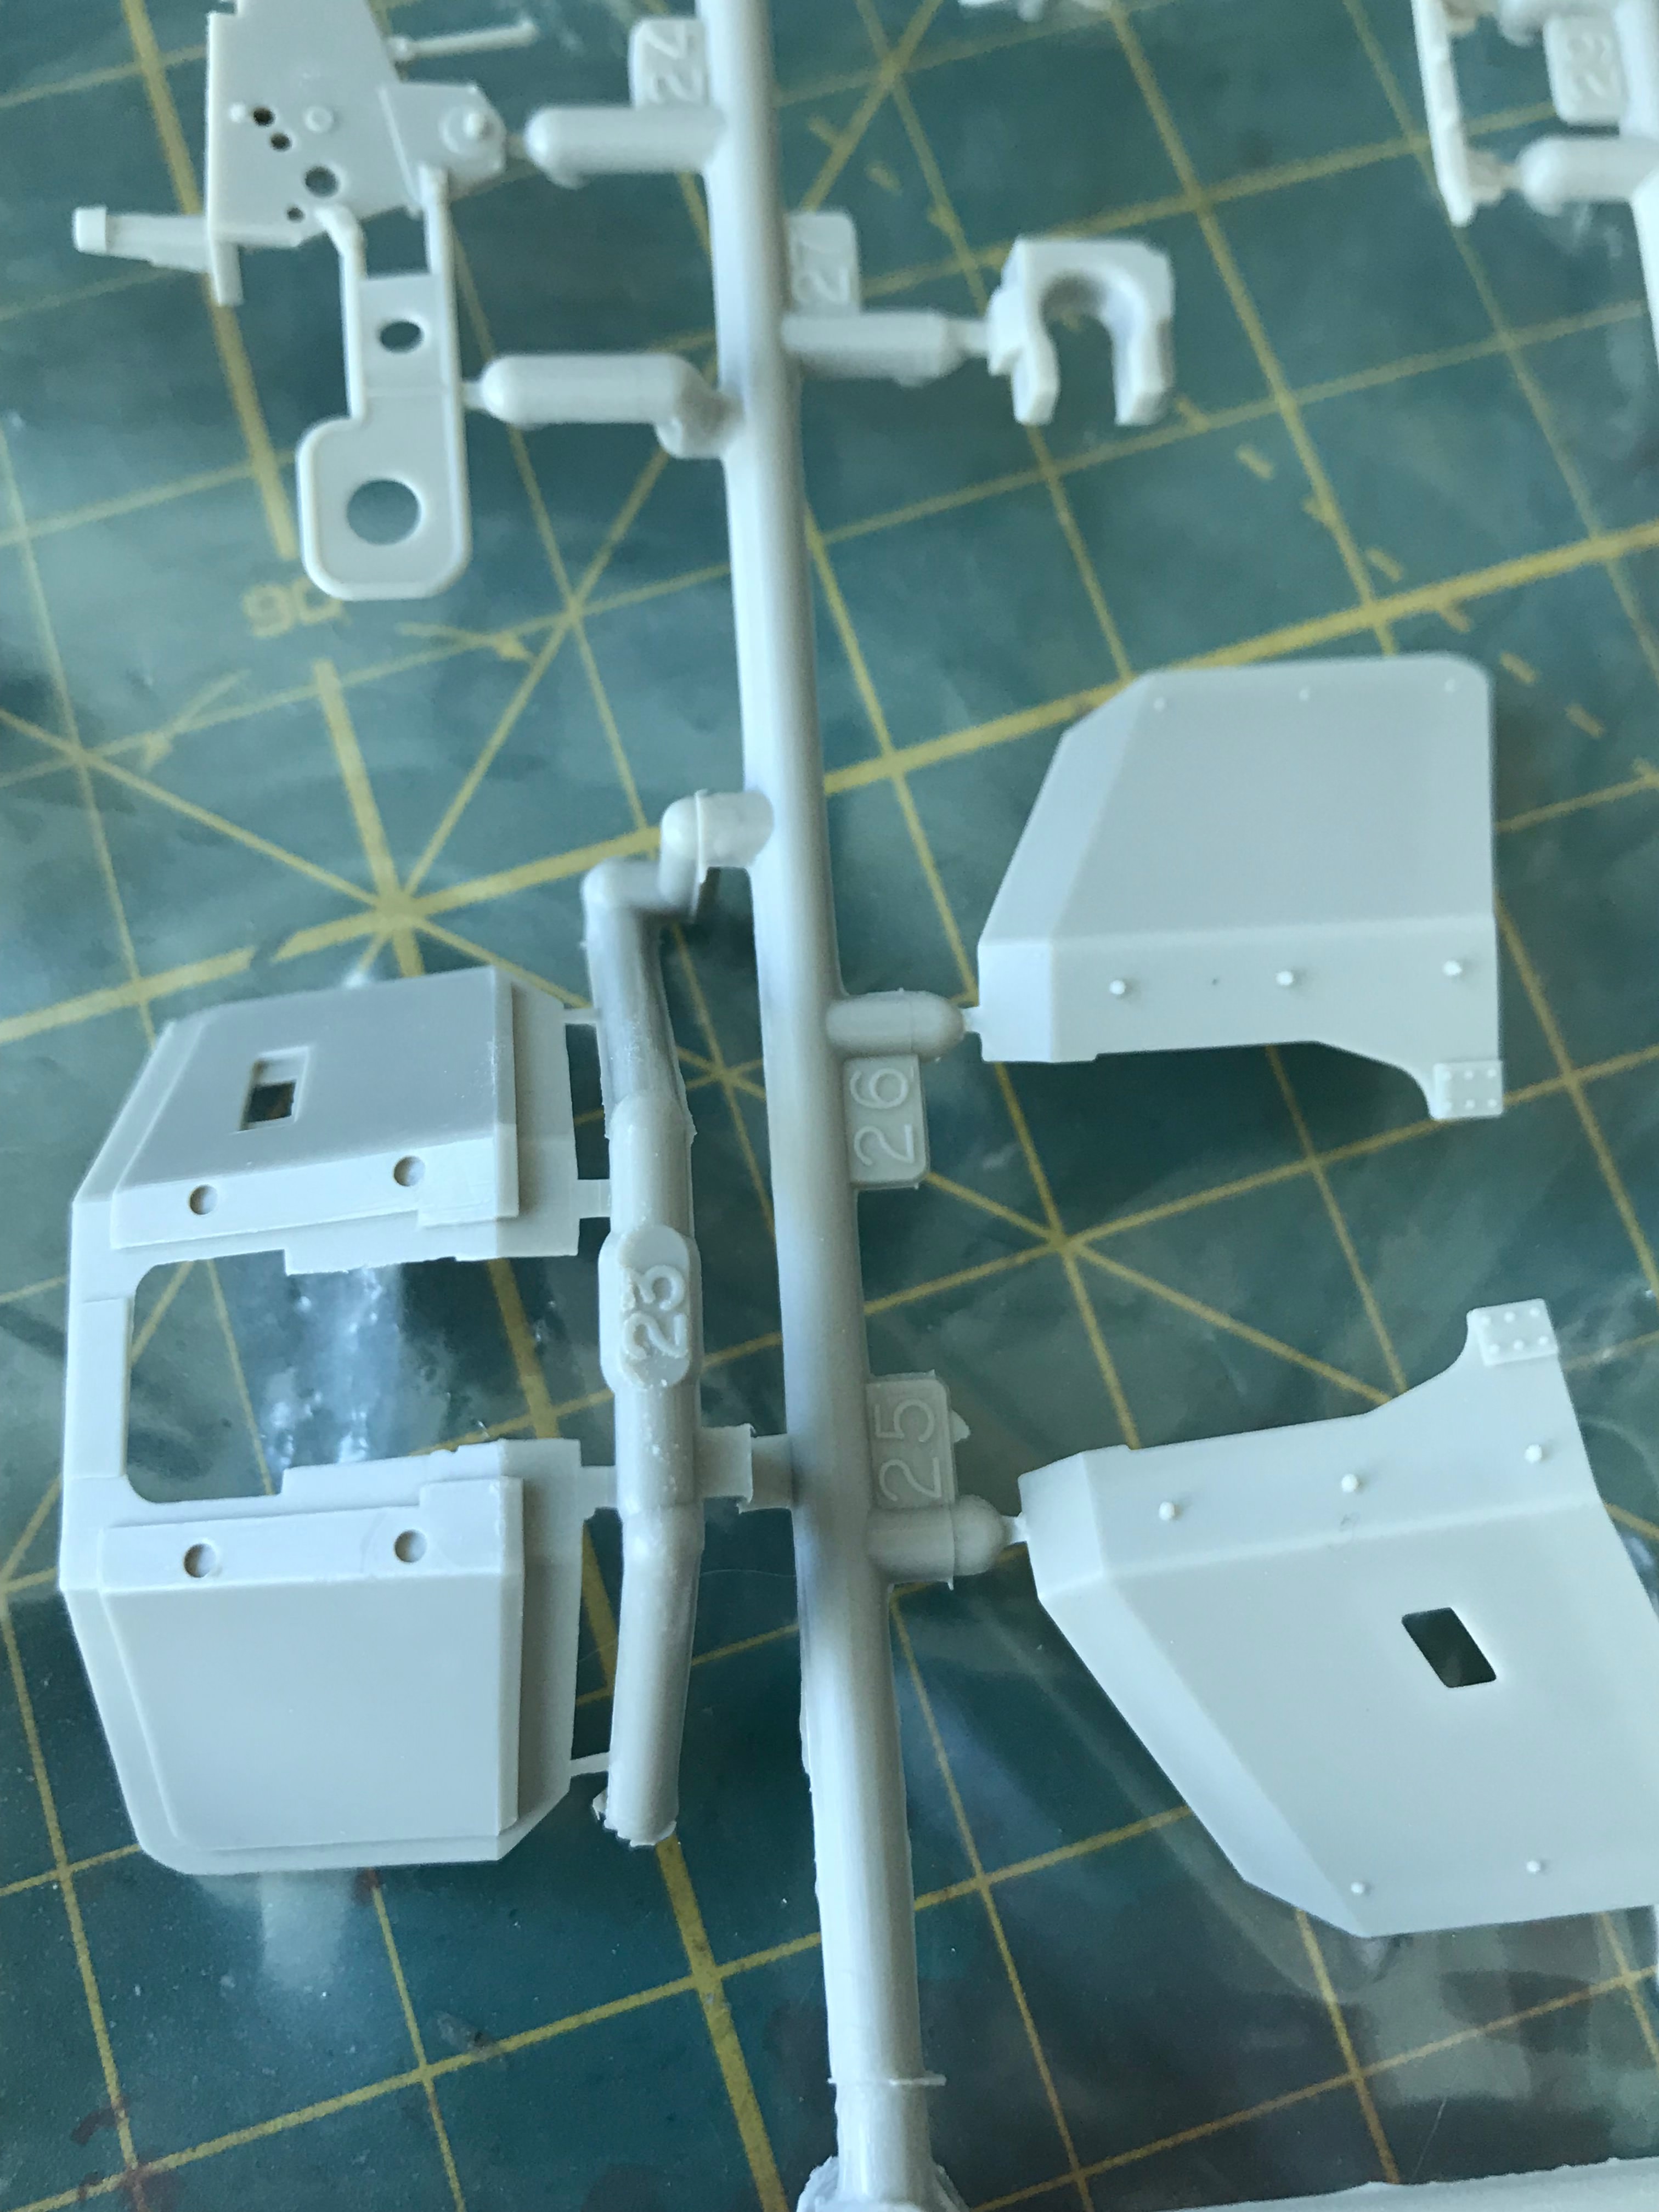
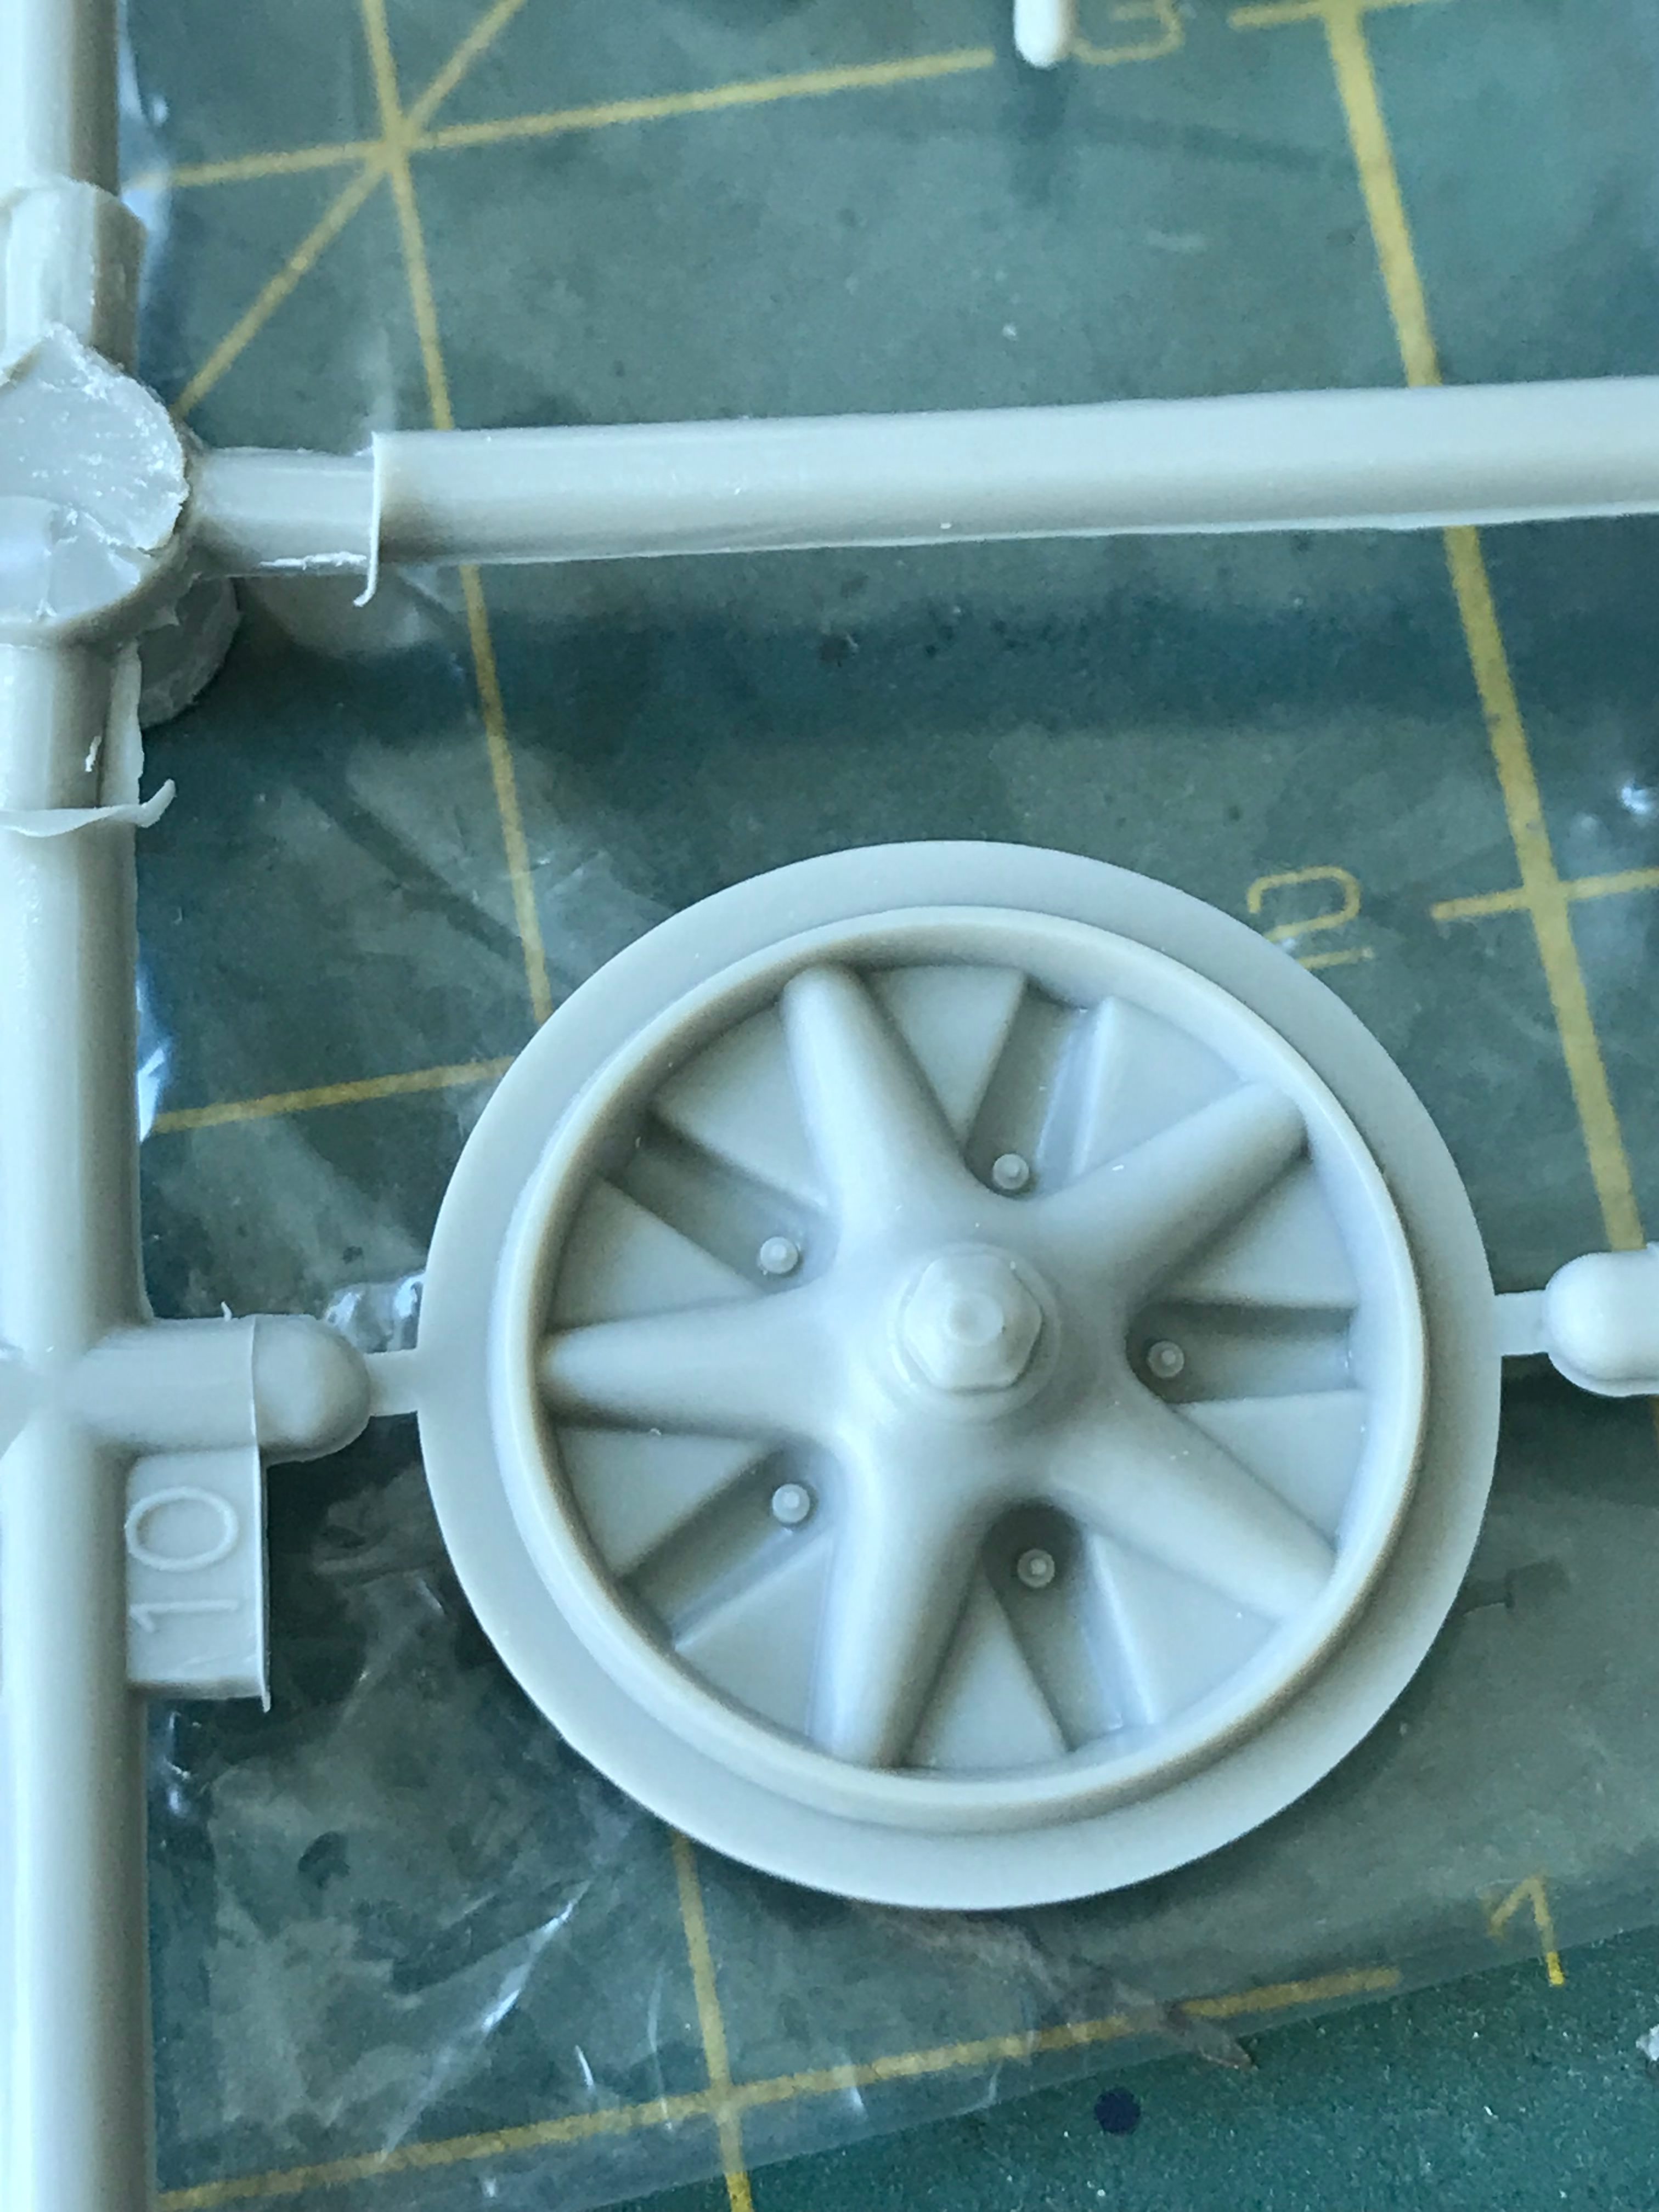
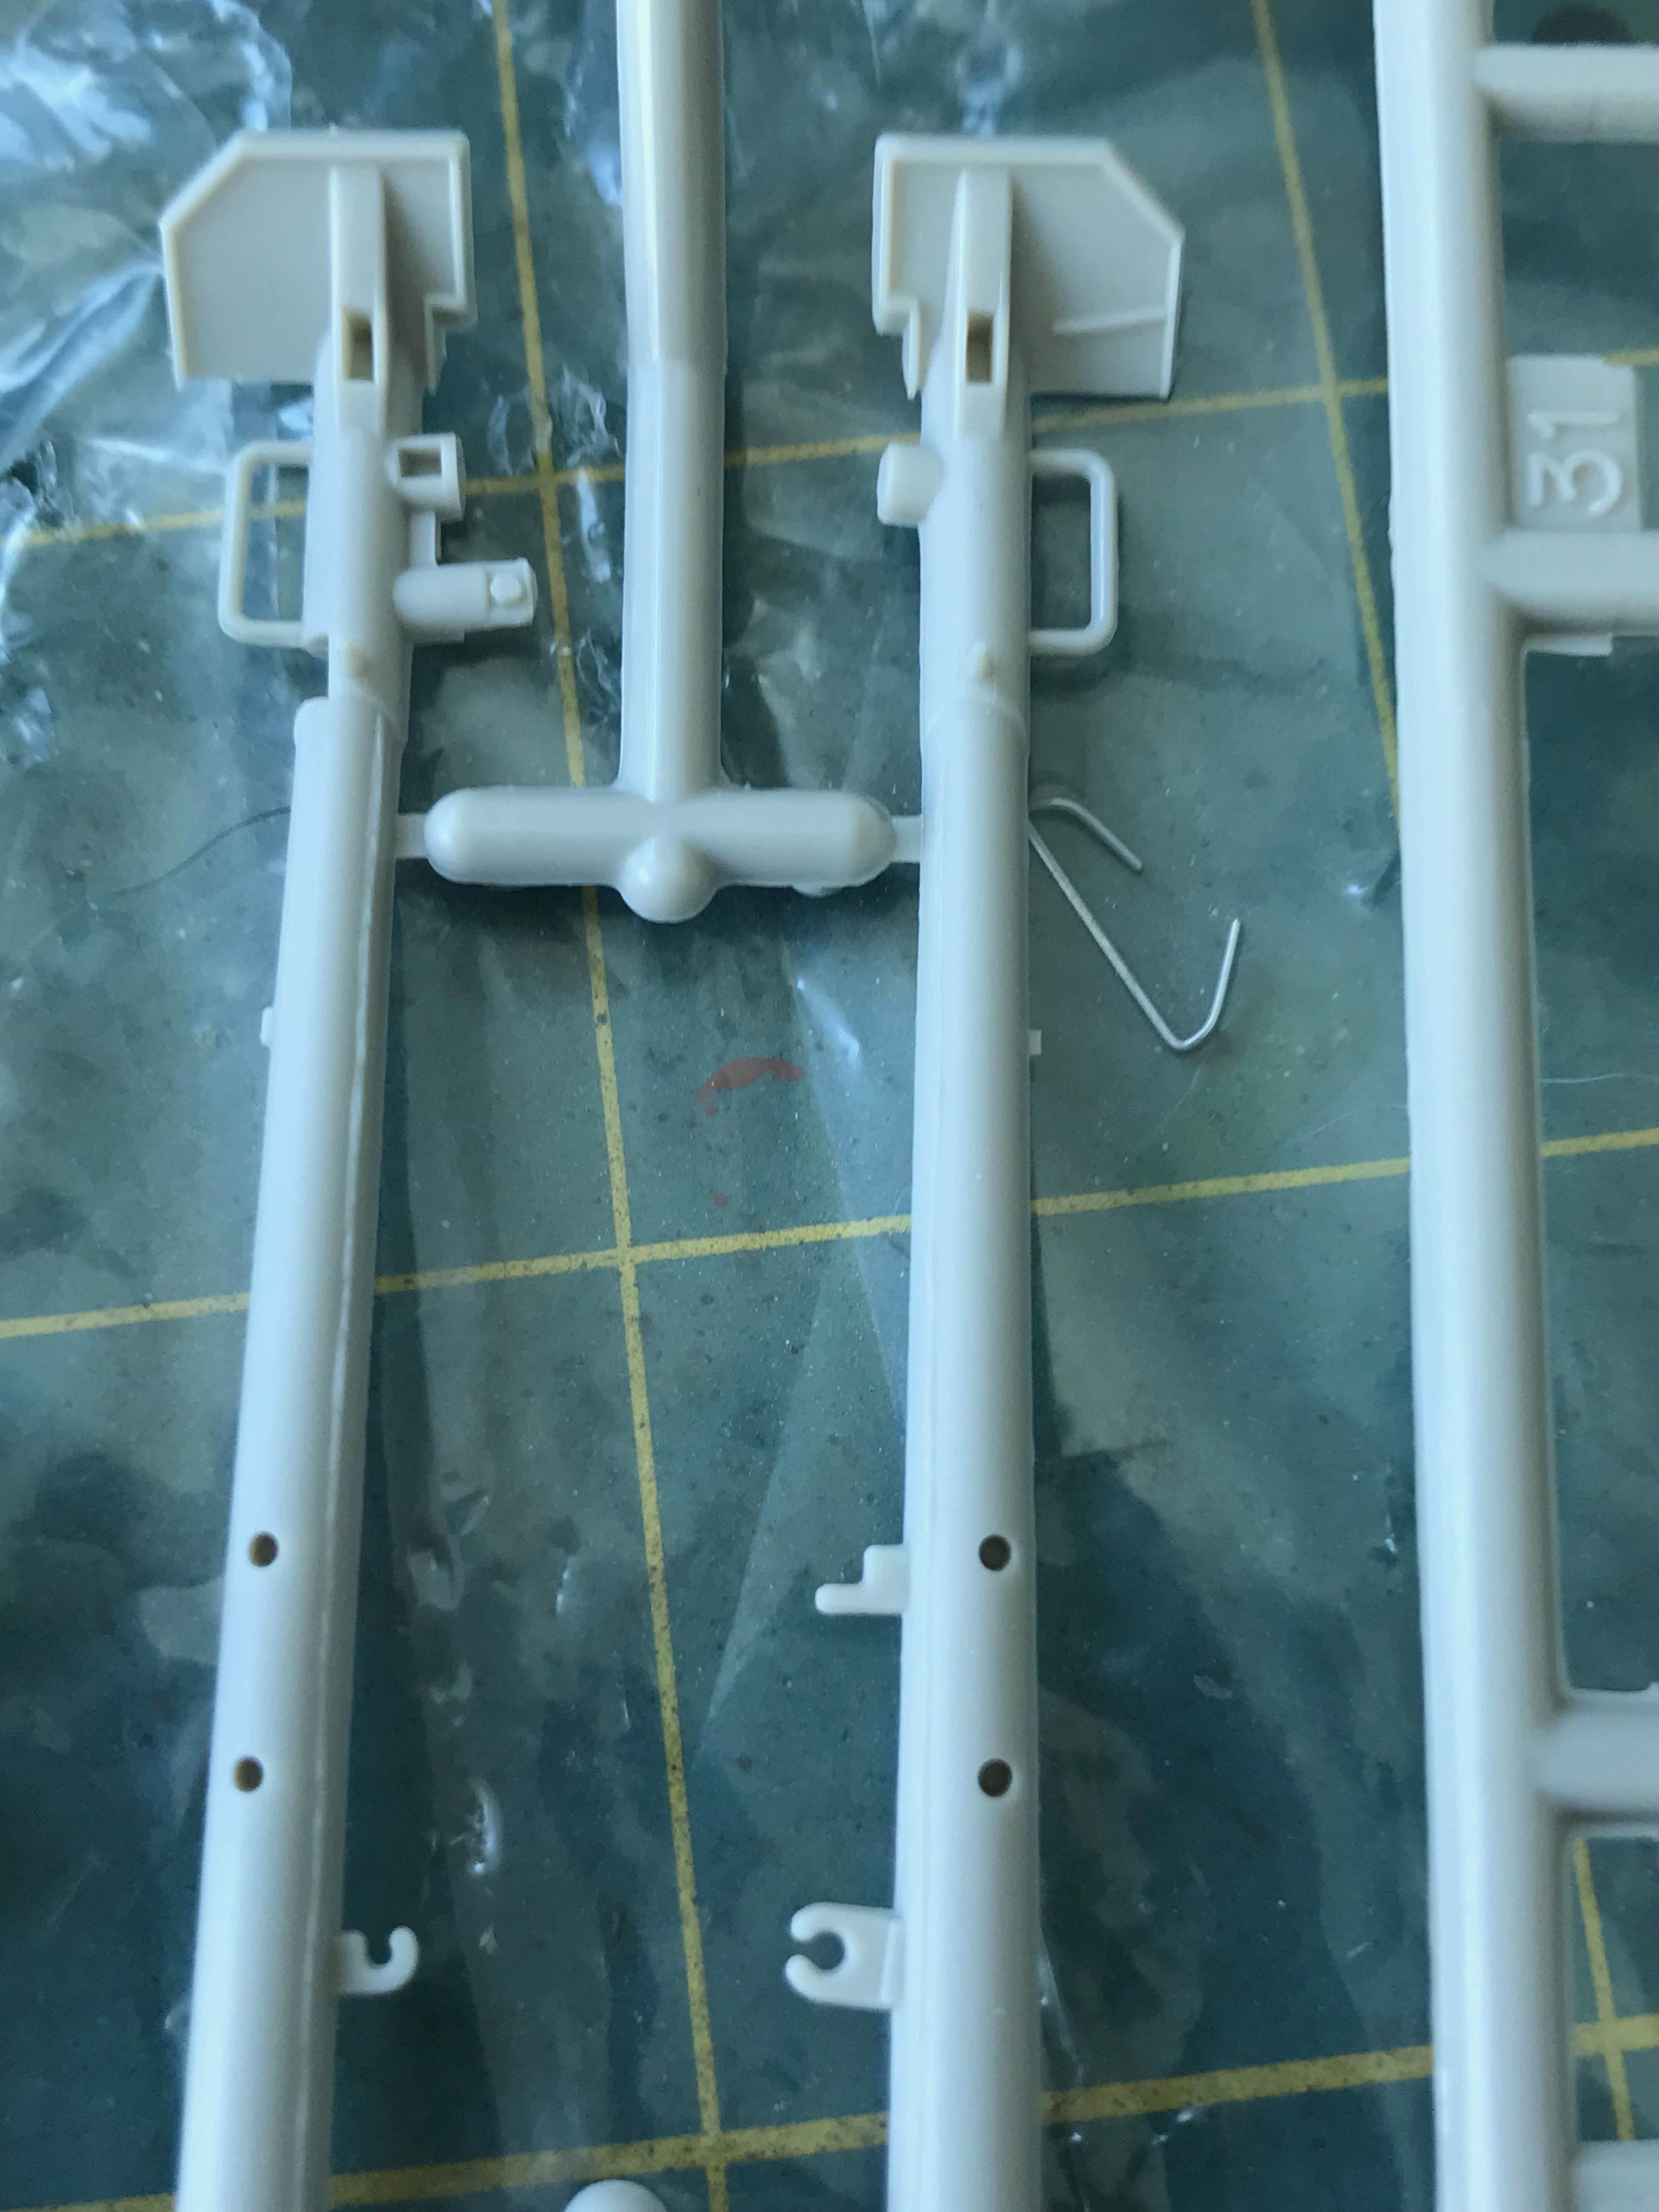
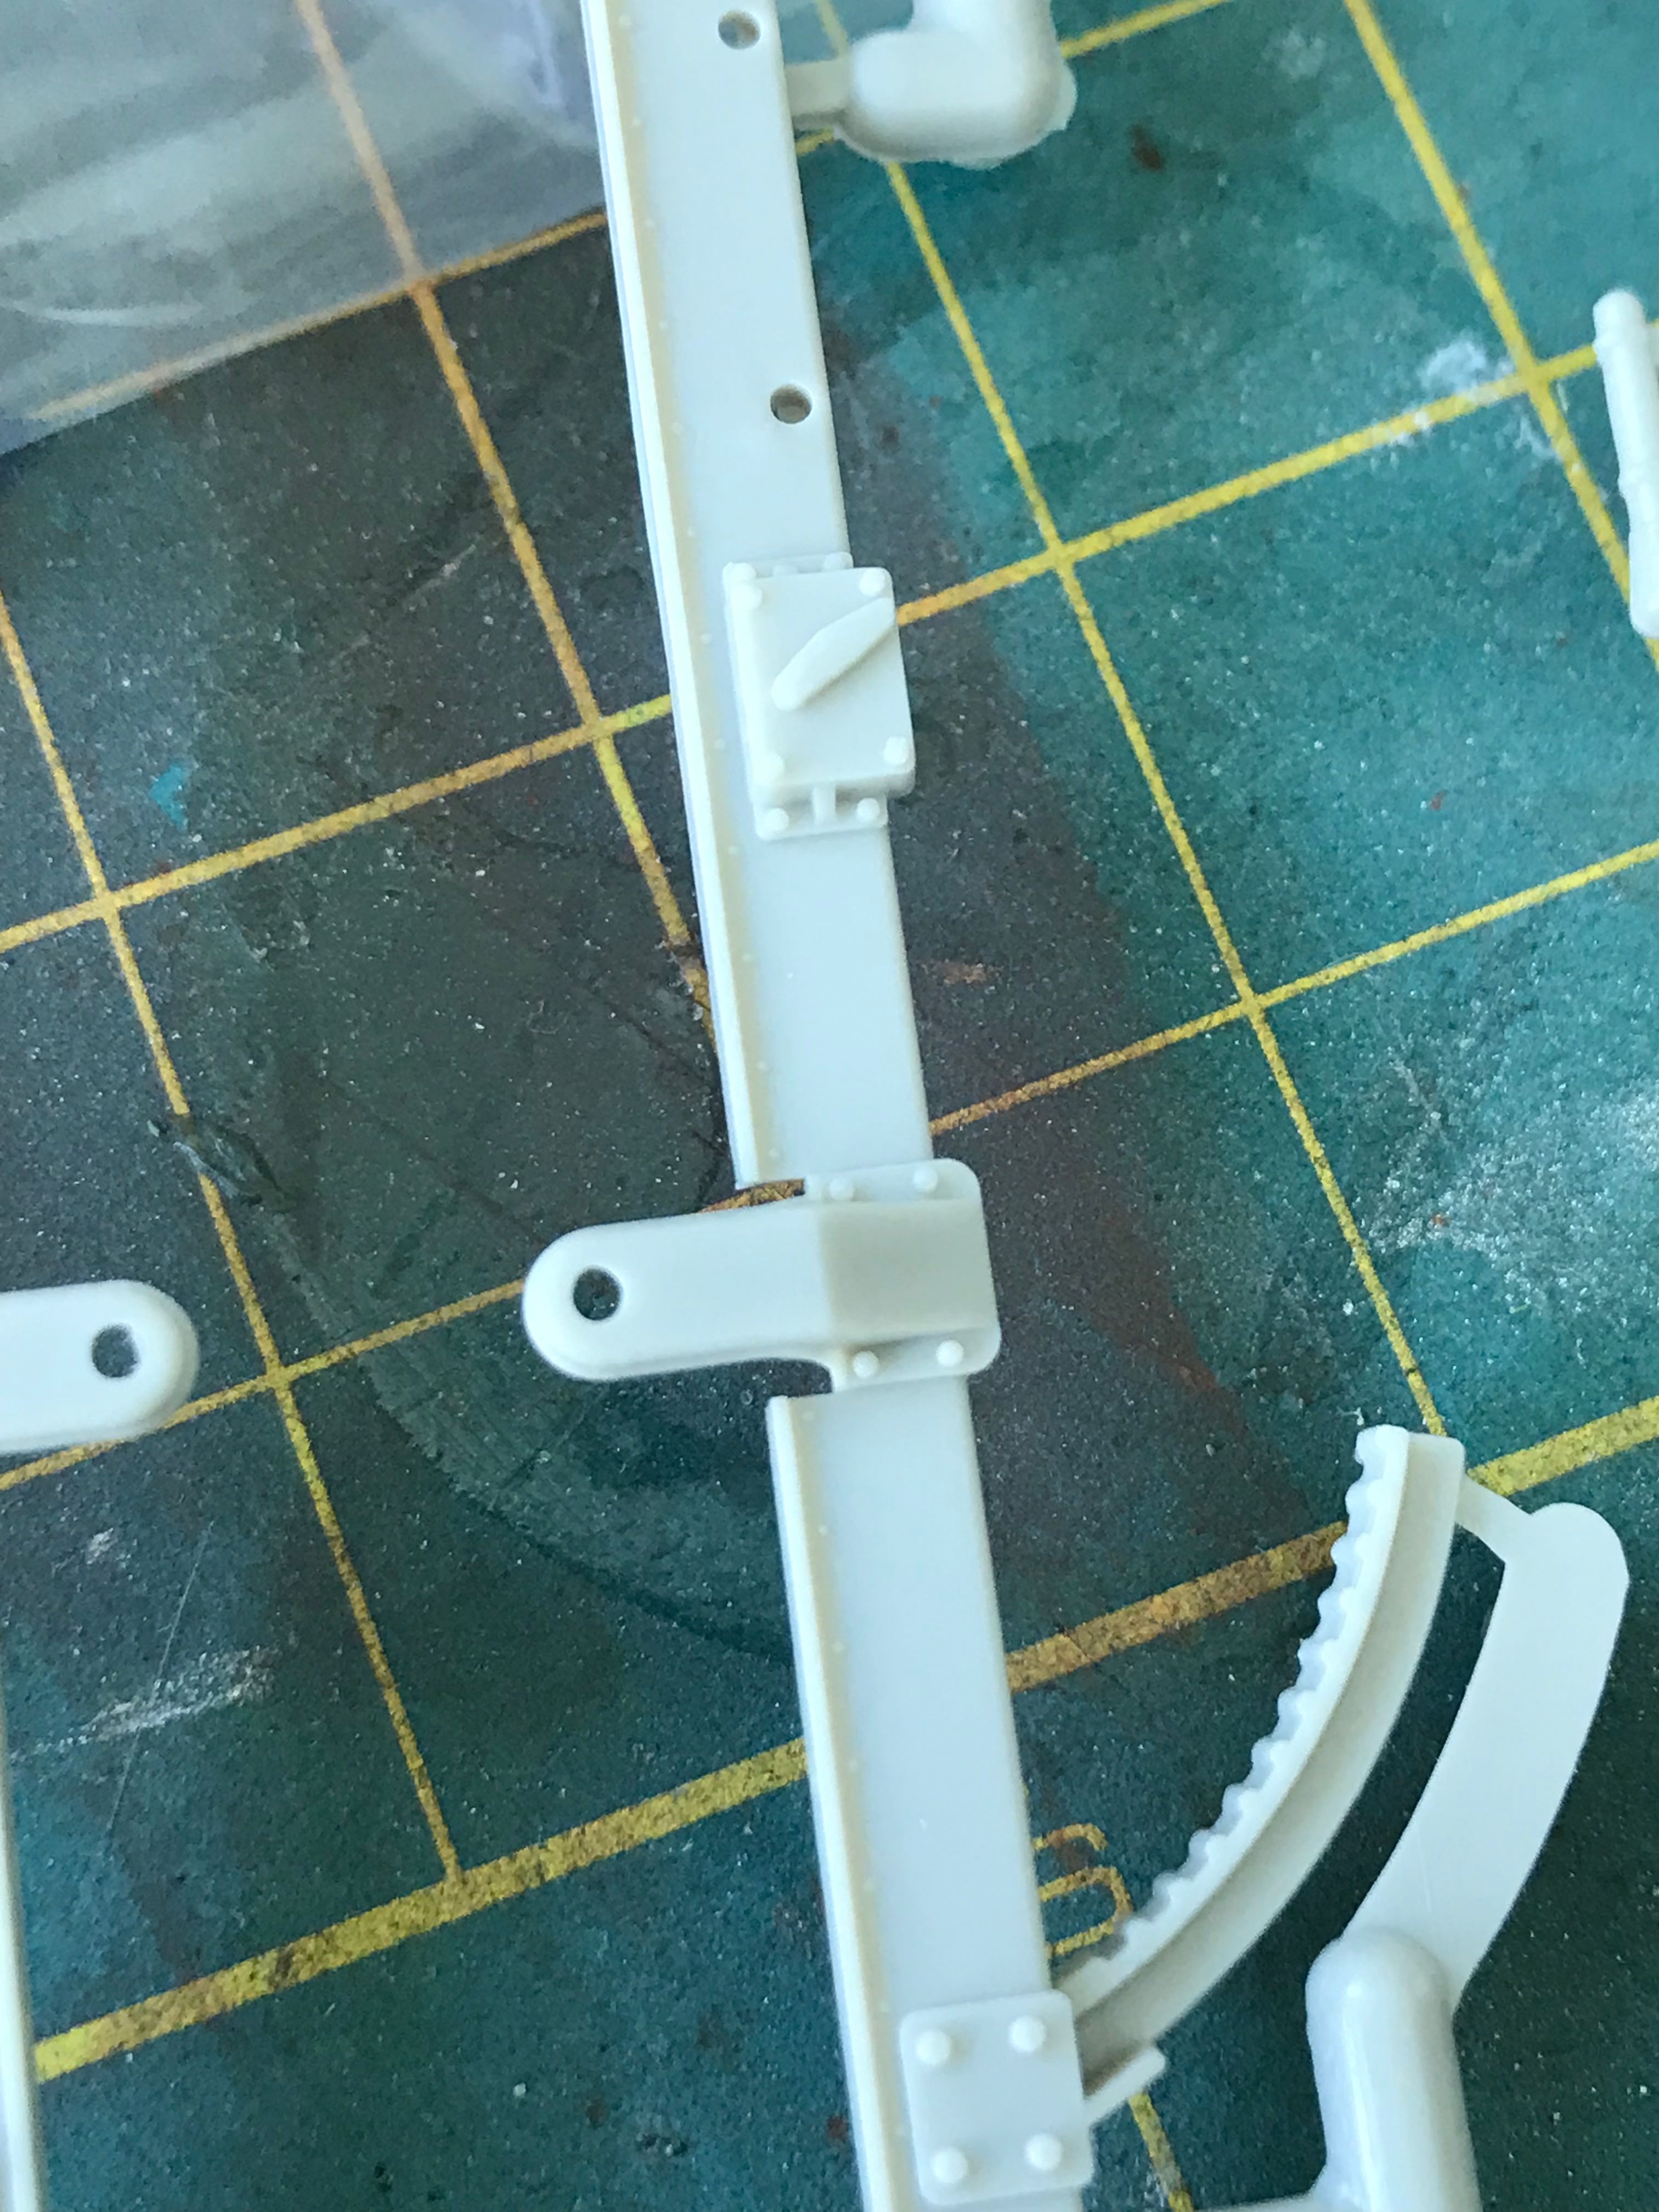
The moulding isnt too bad, considering the age but there are lots of bolts missing and the plates are far too thick and the detail is rather poor compared to newer kits, but not that bad considering. I know AFV Club produce a kit that is far better, along with Dragon, but where is the fun in getting a super duper set when you can potentially super detail this one?


I know this will be a challenge, but that is half the fun really. Well i shall post more during the build and hopefully will pull this one off.
deathdork
Joined: March 26, 2007
KitMaker: 314 posts
Armorama: 296 posts
Posted: Thursday, June 21, 2018 - 07:21 PM UTC
Gotta love a guy who likes a challenge!

Should be fun!
dbrad555
Visit this Community
Dubayy, United Arab Emirates
Joined: May 17, 2018
KitMaker: 65 posts
Armorama: 61 posts
Posted: Thursday, June 21, 2018 - 07:24 PM UTC
it should be frustrating, annoying and at times no doubt i will want to throw it through a window...but then again it should also be fun on occassion...

Although I fully admit I am already annoyed with the barrel, which to frank is very poor really
dbrad555
Visit this Community
Dubayy, United Arab Emirates
Joined: May 17, 2018
KitMaker: 65 posts
Armorama: 61 posts
Posted: Friday, June 22, 2018 - 09:14 PM UTC
Progress, whilst slow, is being made. The barrel was a complete nightmare to be honest. It fitted poorly and required a lot of filling, sanding and playing around with it....oh I should have used a metal after set, but that would've defeated the object!

The breach block was also fun! rather inaccurate, missing bolts, items far too thick, items totally off. Crack out the plastic card! This is the progess so far

Business end of the gun. Added the interior to the barrel, yes a photo etch would have worked, but I dont have one! The plastic card will give the required effect, although it was real pain to get it just about right. I then added some Tamiya surface primer by brush to try and get metal effect. At this scale I think it will work - just!


Starting work on the breach block. Yes i added 1 too many screws, but the wrong one will be filled out, the seam line removed and general tidy up. At this stage the idea was to add the minor details and get the breach opening handle correct, as the kit part is too thick and wrong.


The gun return hydraulic on the kit was wrong also. Too think and not very accurate. Some small plastic card rectifies that of course


Breach block now starting to take shape


Next nightmare is the cradle. Mine didnt fit well, as you can see.


Plenty of filling and sanding later...


It looks bad, but in real life its now flat and nice

Lots of bolts missing and tickness is still a big issue


Its still a work in progress, but so far its taking shape.
dbrad555
Visit this Community
Dubayy, United Arab Emirates
Joined: May 17, 2018
KitMaker: 65 posts
Armorama: 61 posts
Posted: Monday, June 25, 2018 - 01:57 AM UTC
Been a busy weekend, what with England actually playing a football match at a world cup for a change!

Anyway, the PAK is moving along slowly...the latest updates are a reworking of the gun cradle, so that it has the correct shape. Basically a lot of cutting and filing!


Next came the upper parts of the carriage, which needed a few details added and some removed.


I did toy with the idea of completely scratch building the screen, but in the end decided to go with the kit part as the idea is to make this from the box really, with updates added without after market add ons. Plus I tried 2 times and just couldnt get the screen to shape properly.

For an old kit its ok, sure there are lots of little details missing but overall the kit itself is not that bad to be honest. Yes the flash and mould lines are a pain, but even newer kits have this issue.

Anyway more updates to follow...

More updates soon.
210cav
Visit this Community
Virginia, United States
Joined: February 05, 2002
KitMaker: 6,149 posts
Armorama: 4,573 posts
Posted: Monday, June 25, 2018 - 02:37 AM UTC
Darren-- you are doing a fine job with this vintage piece.
Best of luck on completing it
Well done
DJ
dbrad555
Visit this Community
Dubayy, United Arab Emirates
Joined: May 17, 2018
KitMaker: 65 posts
Armorama: 61 posts
Posted: Monday, June 25, 2018 - 03:21 AM UTC
Thanks DJ - looking forward to finishing it, although I am enjoying playing around with this old kit
dbrad555
Visit this Community
Dubayy, United Arab Emirates
Joined: May 17, 2018
KitMaker: 65 posts
Armorama: 61 posts
Posted: Monday, June 25, 2018 - 06:13 AM UTC
Moving onto the armoured shield... because this is an old kit the mould is too thick really, but the way it fits together leaves a nice little gap to put the missing bolts into.


The steel brace inside on the kit is a massive thick moulding, which I removed and replaced with thinner plastic card.


And of course bolt heads where added where required, lined up with the external bolt heads and the bolts themselves in between the 2 shield parts.


Next marrying the gun to the shield and the dry fit already tells me I have problems!
Removed by original poster on 06/25/18 - 18:14:22 (GMT).
varanusk
Staff MemberManaging Editor
ARMORAMA
Visit this Community
Santa Cruz de Tenerife, Spain / España
Joined: July 04, 2013
KitMaker: 1,288 posts
Armorama: 942 posts
Posted: Monday, June 25, 2018 - 08:30 PM UTC
Lots of work for an old kit, but definitively worth
dbrad555
Visit this Community
Dubayy, United Arab Emirates
Joined: May 17, 2018
KitMaker: 65 posts
Armorama: 61 posts
Posted: Tuesday, June 26, 2018 - 12:53 AM UTC
sometimes its more fun to take an old kit and play around with it, rather than buy a new up to date one and spend loads on after market parts...i am enjoyung this one, despite the frustrations!
dbrad555
Visit this Community
Dubayy, United Arab Emirates
Joined: May 17, 2018
KitMaker: 65 posts
Armorama: 61 posts
Posted: Tuesday, June 26, 2018 - 01:07 AM UTC
Work is now progressing on the gun carriage. As with the rest of the kit there are lots of bolts missing, some items, like the light reflector, are far too inaccurate, and thickness is again the main issue.

The Bolts have now been added, reflector sorted and shovel fixings fitted from spares in the scrap box. I still need to add the actual reflector.


Legs are a big issue, namely the the supports - they are are far too thick!

One support thinned compared to the kit part


Better, but still needs a bit of thinning


One leg/support almost completed, with a bit of metal from the etch sprue left over for the additional support... The join line will be removed of course!


Hope to update more soon
dbrad555
Visit this Community
Dubayy, United Arab Emirates
Joined: May 17, 2018
KitMaker: 65 posts
Armorama: 61 posts
Posted: Tuesday, June 26, 2018 - 01:32 AM UTC
oh and before anyone points it out i am fully aware that I dry fitted the front armour plate upside down ... thats why we dry fit
dbrad555
Visit this Community
Dubayy, United Arab Emirates
Joined: May 17, 2018
KitMaker: 65 posts
Armorama: 61 posts
Posted: Tuesday, June 26, 2018 - 02:47 AM UTC
Starting to look like a PAK 40!


Long way to go yet
dbrad555
Visit this Community
Dubayy, United Arab Emirates
Joined: May 17, 2018
KitMaker: 65 posts
Armorama: 61 posts
Posted: Wednesday, June 27, 2018 - 06:04 AM UTC
carriage legs are progressing slowly - thickness and details are basically all wrong, but that was expected! Starting with the end, the towing eye holder is both too thick and inaccurate.


The reworked scratch built holder, with the kit part to compare the thickness and inaccuracy


Now it looks more like what the real thing looks like


The leg release was also too thick and inaccurate, so a new one was built


The reworked leg with the added details, such as the correct fixing for the barrel cleaning rods, and some raised details and a small handle that appears on the real thing.


Not completed yet, still more details to be added but its 75% there and looking much better than i initially thought it would
cheswickthecat
Visit this Community
Washington, United States
Joined: October 13, 2007
KitMaker: 212 posts
Armorama: 208 posts
Posted: Wednesday, June 27, 2018 - 02:30 PM UTC
Wow, what a huge difference from the original kit! Nice work. I'm following to see the finished product.
Terry
dbrad555
Visit this Community
Dubayy, United Arab Emirates
Joined: May 17, 2018
KitMaker: 65 posts
Armorama: 61 posts
Posted: Thursday, June 28, 2018 - 01:24 AM UTC
Thans Terry - much appreciated! I am also looking forward to completing it, althoguh I am having fun with it.
dbrad555
Visit this Community
Dubayy, United Arab Emirates
Joined: May 17, 2018
KitMaker: 65 posts
Armorama: 61 posts
Posted: Thursday, June 28, 2018 - 01:29 AM UTC
Legs are progessing nicely now and almost complete.

Lot of small details were added to the left support, which are missing from the kit - mainly bolts really.


The securing bracket for towing needed an upgrde so holes were drilled, small details added, including the locking arm release.


Leg starting to look a bit better now.


Small holed drilled into the fixing eye, an etched bracket from the spares box for the fixing of the rod, a piece of etch sprue used for another fixing eye, the release thinned and modified and the leg almost completed!


Legs are now done - wheels next


dbrad555
Visit this Community
Dubayy, United Arab Emirates
Joined: May 17, 2018
KitMaker: 65 posts
Armorama: 61 posts
Posted: Thursday, June 28, 2018 - 09:22 PM UTC
The main buliid of this kit is now completed really - a bit of tidy up, need to add the cable again and thats about it! The build itself was good fun. There are numerous references sources for the PAK 40 on the net all of which show different models - especially the wheels! These are the later versions, but as i was committed not to buy any after market sets I stuck with the earlier wheels as provided by Tamiya. There are hardly any reference pictures of these wheels, a graining picture taken in Russia during the war and a musuem piece embedded in a trench also in Russia I believe.

In fairness the kit is not that bad, considering the age, and with a bit of time, lots of plasticard, patience and a will to put a bit of effort in you dont actually need any after market update sets really. Yes you could go with Griffen models for the ultra thin plating but it doesnt really add to the kit in my opinion. Yes there is a requirment ot thin lots of parts, which is time consuming and a pain, but you can pull off the same effect as the expensive etched sets just as easily.

Next comes the painting - I am toying with either a desert version or just a plain early war grey. Either way I am going to attempt to colour modultate, which on such a small kit will be interesting. With the painting stage in mind, I havent fitted the actual gun to the carriage yet - for ease of painting - which should be good fun also!


d6mst0
#453
Visit this Community
Texas, United States
Joined: August 28, 2016
KitMaker: 1,925 posts
Armorama: 601 posts
Posted: Thursday, June 28, 2018 - 11:43 PM UTC
Darren,

Sweet! At first I thought the breech was rotated a little but it was the angle of the photo. Looking forward to the final.

Mark
dbrad555
Visit this Community
Dubayy, United Arab Emirates
Joined: May 17, 2018
KitMaker: 65 posts
Armorama: 61 posts
Posted: Friday, June 29, 2018 - 12:27 AM UTC
Cheers mate - the breach looks odd because I haven’t fitted the gun as yet it’s just testing in the carriage - great spot!
dbrad555
Visit this Community
Dubayy, United Arab Emirates
Joined: May 17, 2018
KitMaker: 65 posts
Armorama: 61 posts
Posted: Friday, June 29, 2018 - 08:41 PM UTC
Painting stage is next - the model is ready for the first coat. As i said, I will attempt to colour modulate this paint job - lets see how it turn out!


For the first coat i will use Vallejo Panzer Grey Primer. I thought about black, but this dark grey will suffice.


I think its dark enough for the shadow undercoat.

dbrad555
Visit this Community
Dubayy, United Arab Emirates
Joined: May 17, 2018
KitMaker: 65 posts
Armorama: 61 posts
Posted: Saturday, June 30, 2018 - 03:11 AM UTC
Colour modulating such a small piece has been a challenge, but an interesting one that I think paid off in the end.

After the primer coat, I basically thinned light grey surface primer, heavily thinned, as the undercaot highlight.


That was followed by a heavily thinned coat of dark grey - and i mean very heavily thinned!


This was followed by Dark Sea green


Then a coat of Panzer Grey


Followed by a very thinned coat of light grey.


Then another very thin coat of Panzer Grey


Then a thinned coat of panzer grey and light grey primer


Finally followed by hand brushing a thin coat of light grey onto certain raised areas.


Then the the final touches, a few parts painted black, the breach paint gun metal and the wheels painted.


And that is the initial painting stage now complete...just the weathering stage to start now!

You'll have to excuse the pictures - my Iphone isnt the best a taking pics in fading light! Once I have better lighting I shall post some pics that show the paint job off better
dbrad555
Visit this Community
Dubayy, United Arab Emirates
Joined: May 17, 2018
KitMaker: 65 posts
Armorama: 61 posts
Posted: Saturday, June 30, 2018 - 05:08 AM UTC
Hopefully these come out better


Ringleheim
Visit this Community
Florida, United States
Joined: September 04, 2009
KitMaker: 184 posts
Armorama: 183 posts
Posted: Saturday, June 30, 2018 - 05:57 AM UTC
Beautiful work, Darren!

 _GOTOTOP