Rightho, now back from Moscow - after all WorldCup tickets beckoned and couldnt pass that opportunity! Plus there are some great model shops there, not up to UK or US standard in what they carry but plenty on offer and really cheap! So i decided to get a load of stuff - none of which was a Tmaiya FAMO lol
Ive had the FAMO lying around for a few years now and finaly decided to build it! I even have the various etched update sets from Aber and Royal Model so I will also give them a go as well. Lets see how it progresses!
Hosted by Darren Baker
Tamiya FAMO
dbrad555

Joined: May 17, 2018
KitMaker: 65 posts
Armorama: 61 posts

Posted: Sunday, July 08, 2018 - 06:23 AM UTC
brekinapez

Joined: July 26, 2013
KitMaker: 2,272 posts
Armorama: 1,860 posts

Posted: Sunday, July 08, 2018 - 07:35 AM UTC
Check out this, then:
https://armorama.kitmaker.net/forums/216454#1818570
Michael has a few threads devoted to this build and a couple of other FAMO-related you may want to check out. I'm using some of his techniques when I start mine.
https://armorama.kitmaker.net/forums/216454#1818570
Michael has a few threads devoted to this build and a couple of other FAMO-related you may want to check out. I'm using some of his techniques when I start mine.
dbrad555

Joined: May 17, 2018
KitMaker: 65 posts
Armorama: 61 posts

Posted: Sunday, July 08, 2018 - 08:01 PM UTC
Thanks for that - yes this article is really good and no doubt I will reference it during my buid. Im not going wiht the panzer grey on mine, deciding to do a later war paint job
dbrad555

Joined: May 17, 2018
KitMaker: 65 posts
Armorama: 61 posts

Posted: Sunday, July 08, 2018 - 08:17 PM UTC
Ok, well I have started the FAMO build. I could take pictures of the box and the sprues but because there are already loads of FAMO related topics which show that I thought why reinvent the wheel?
So started on the main frame and fiddled with all the photo etch and piping...time consuming but good fun in a perverted way
Progress so far:
Various piping parts. Most wont be scene but I thought I would give it a go anyway
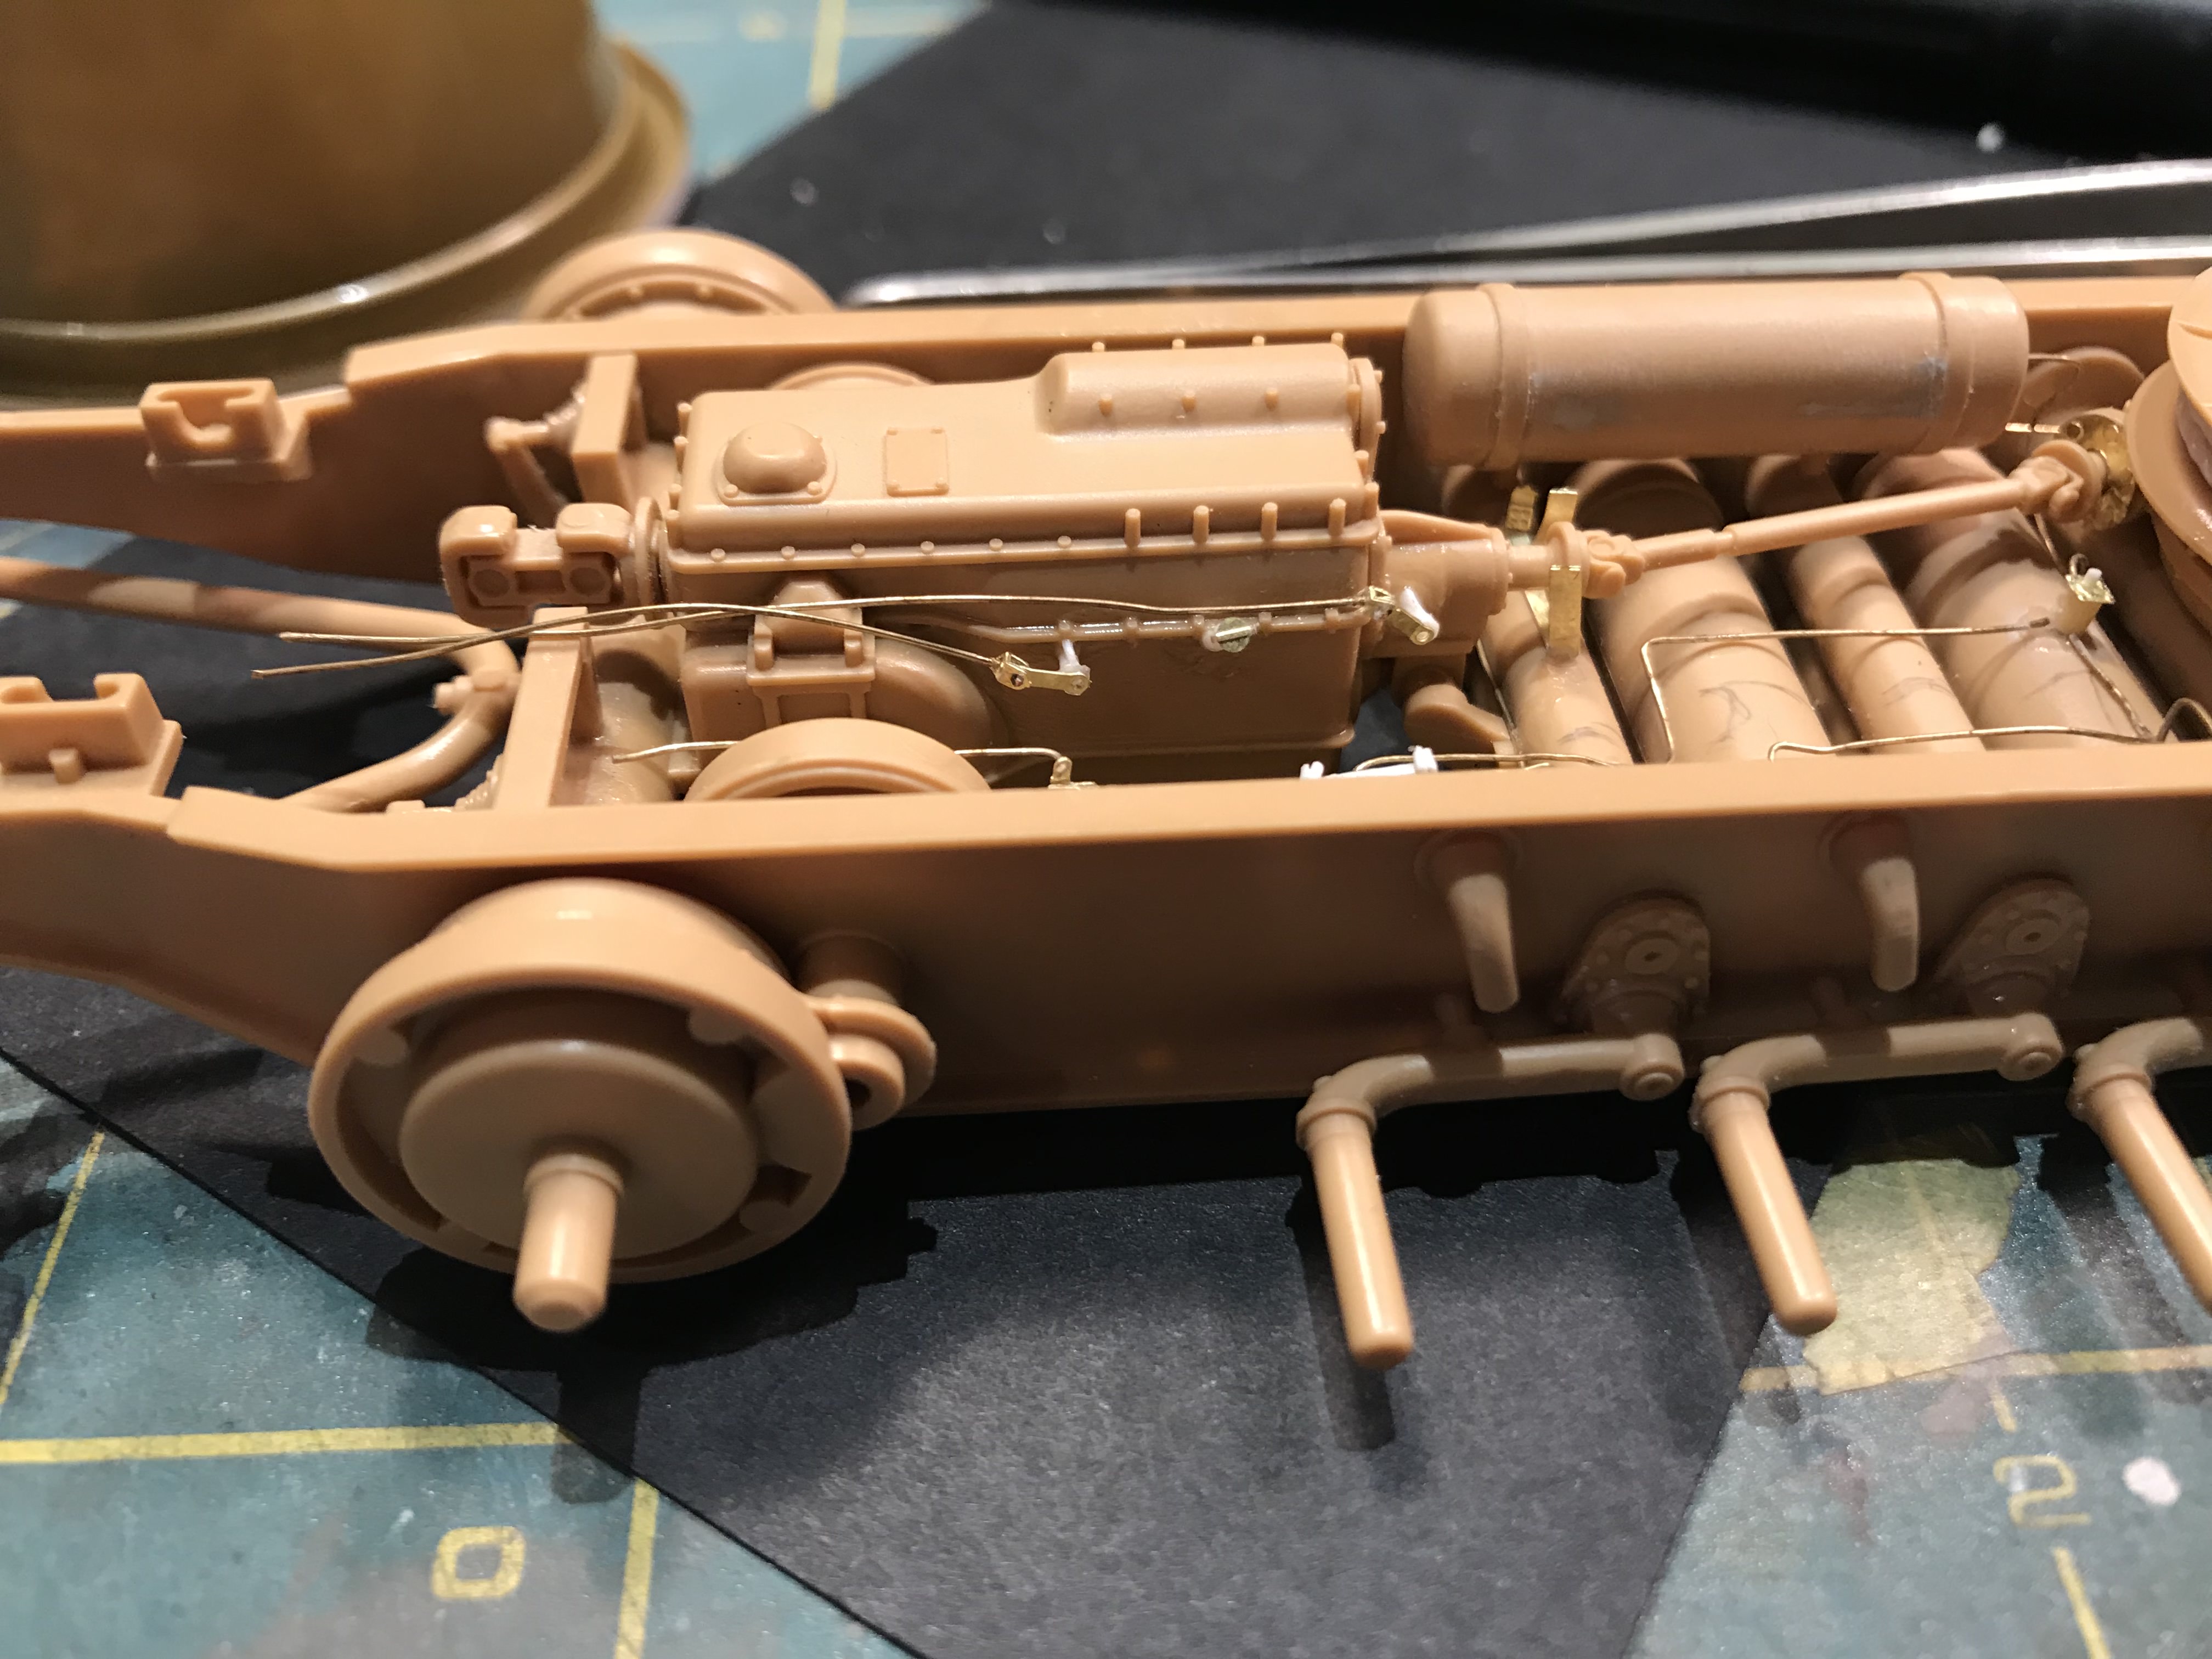
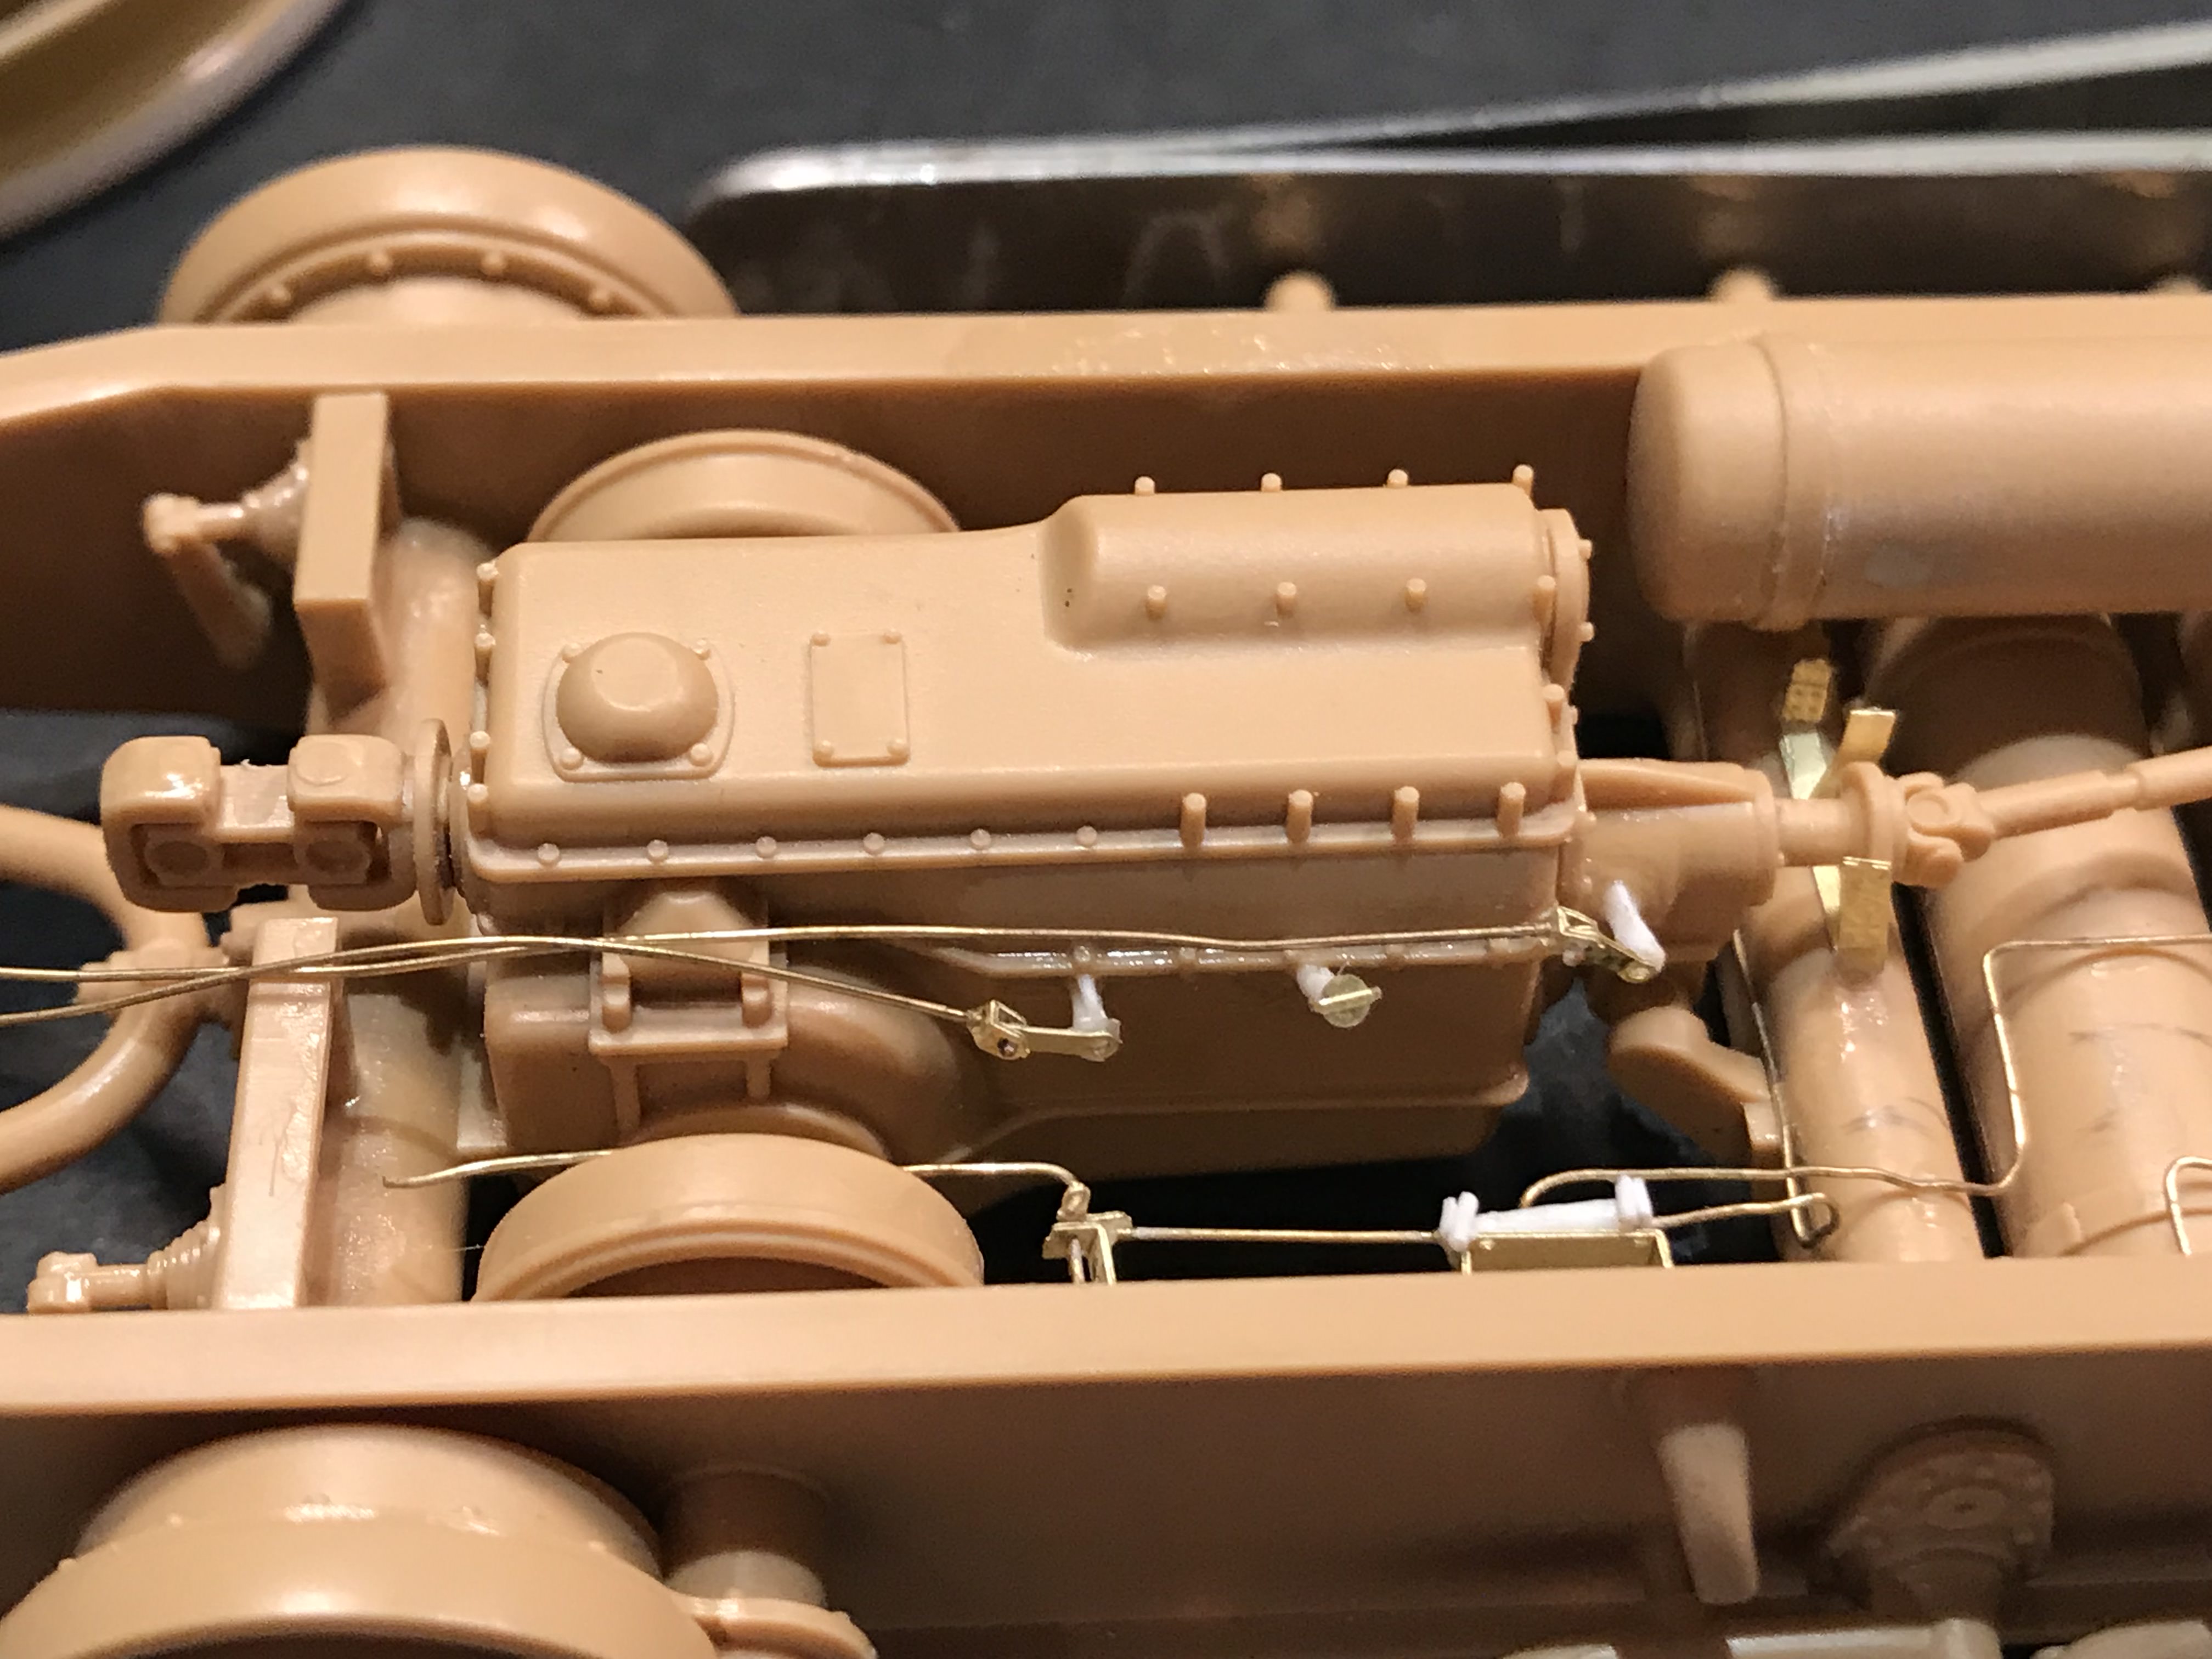
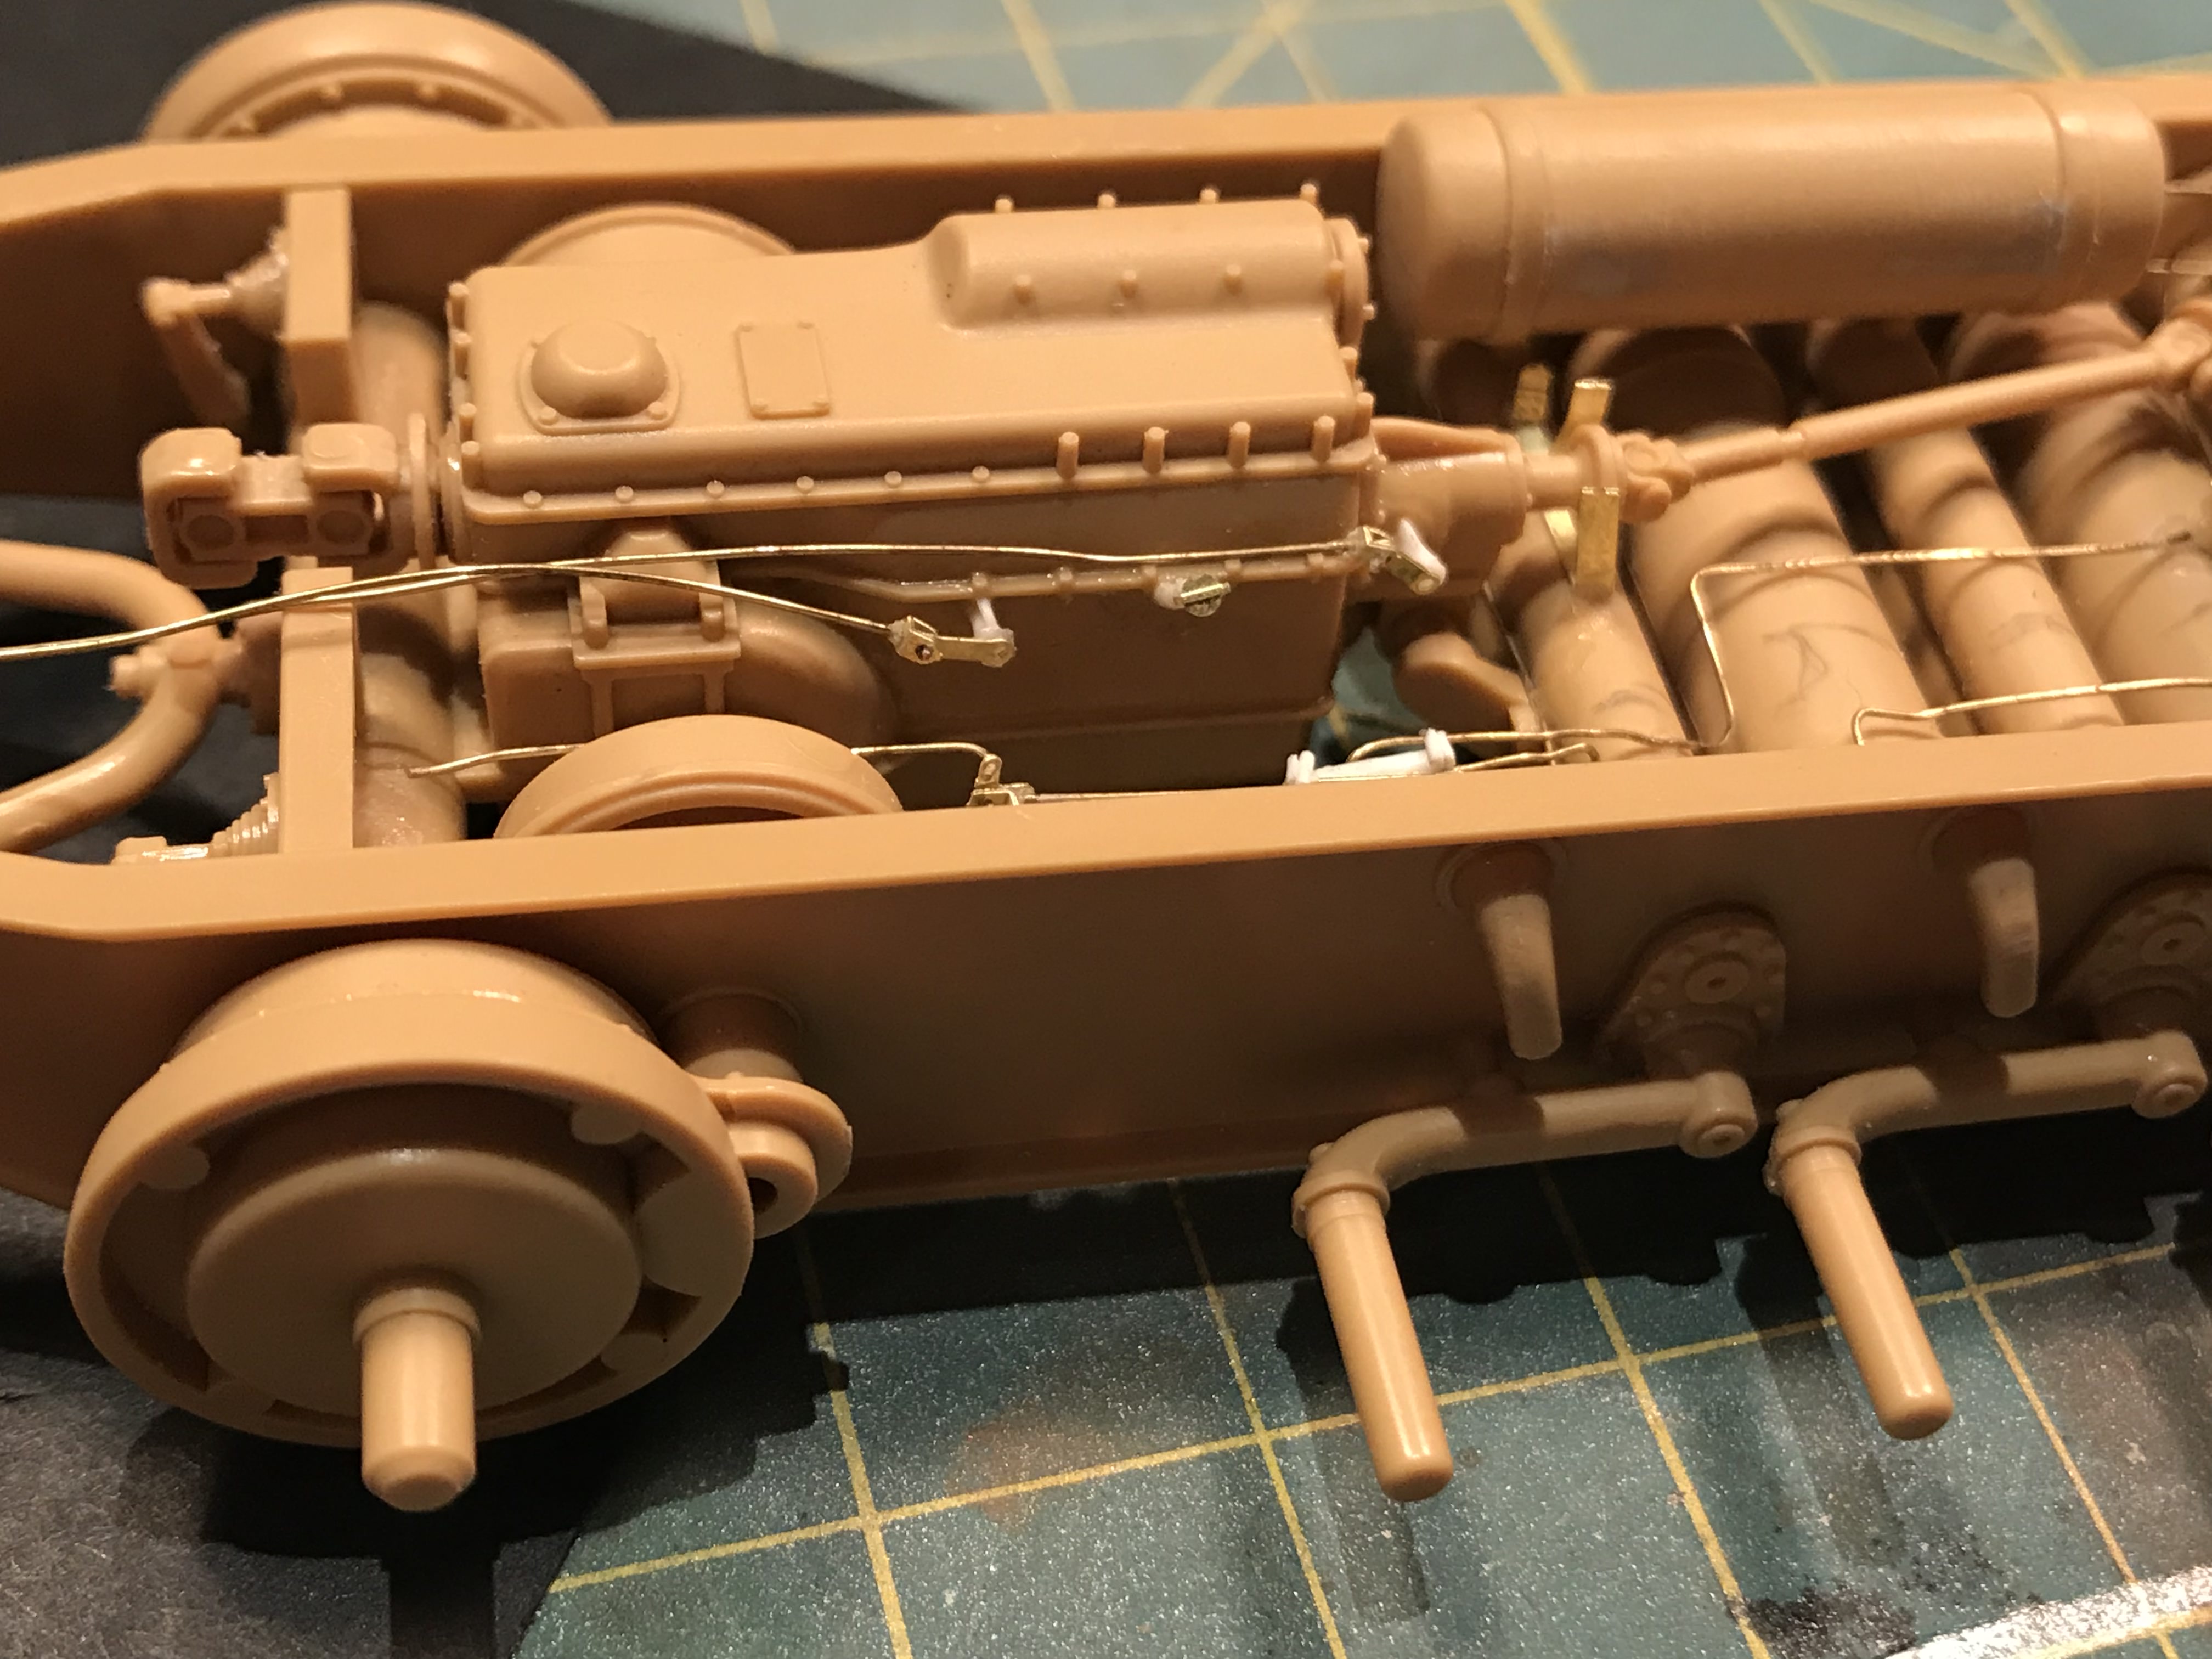
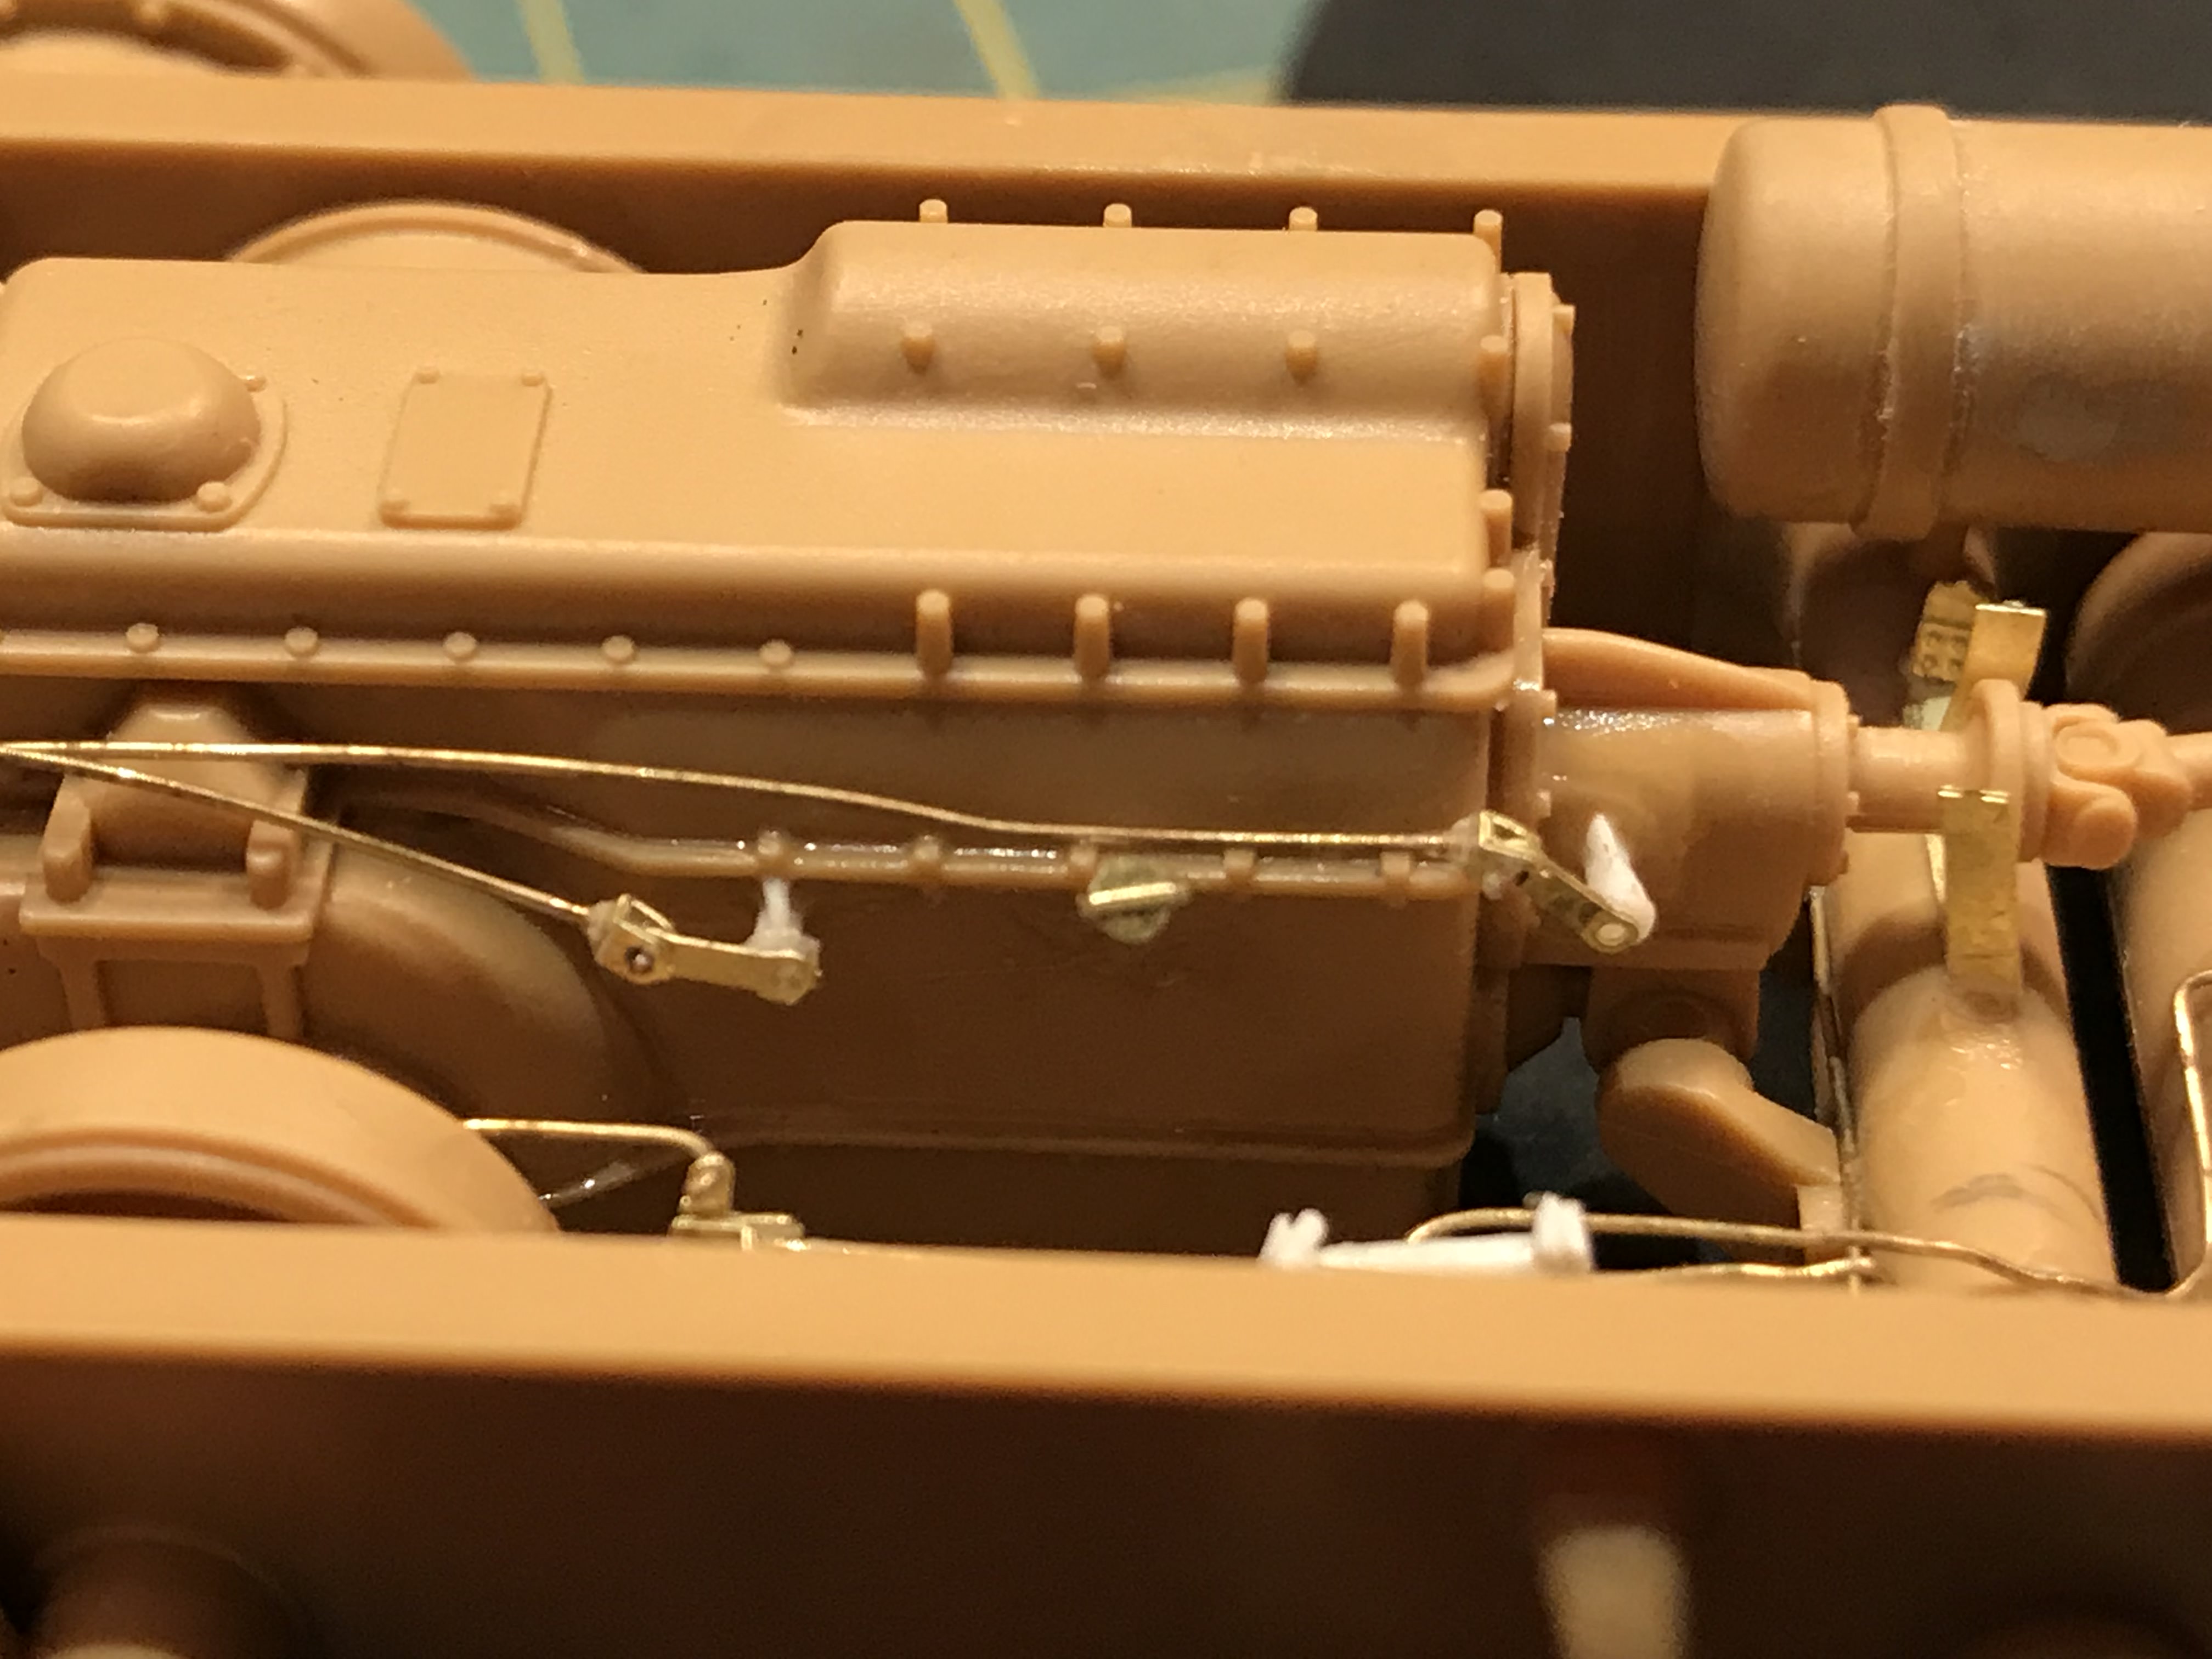
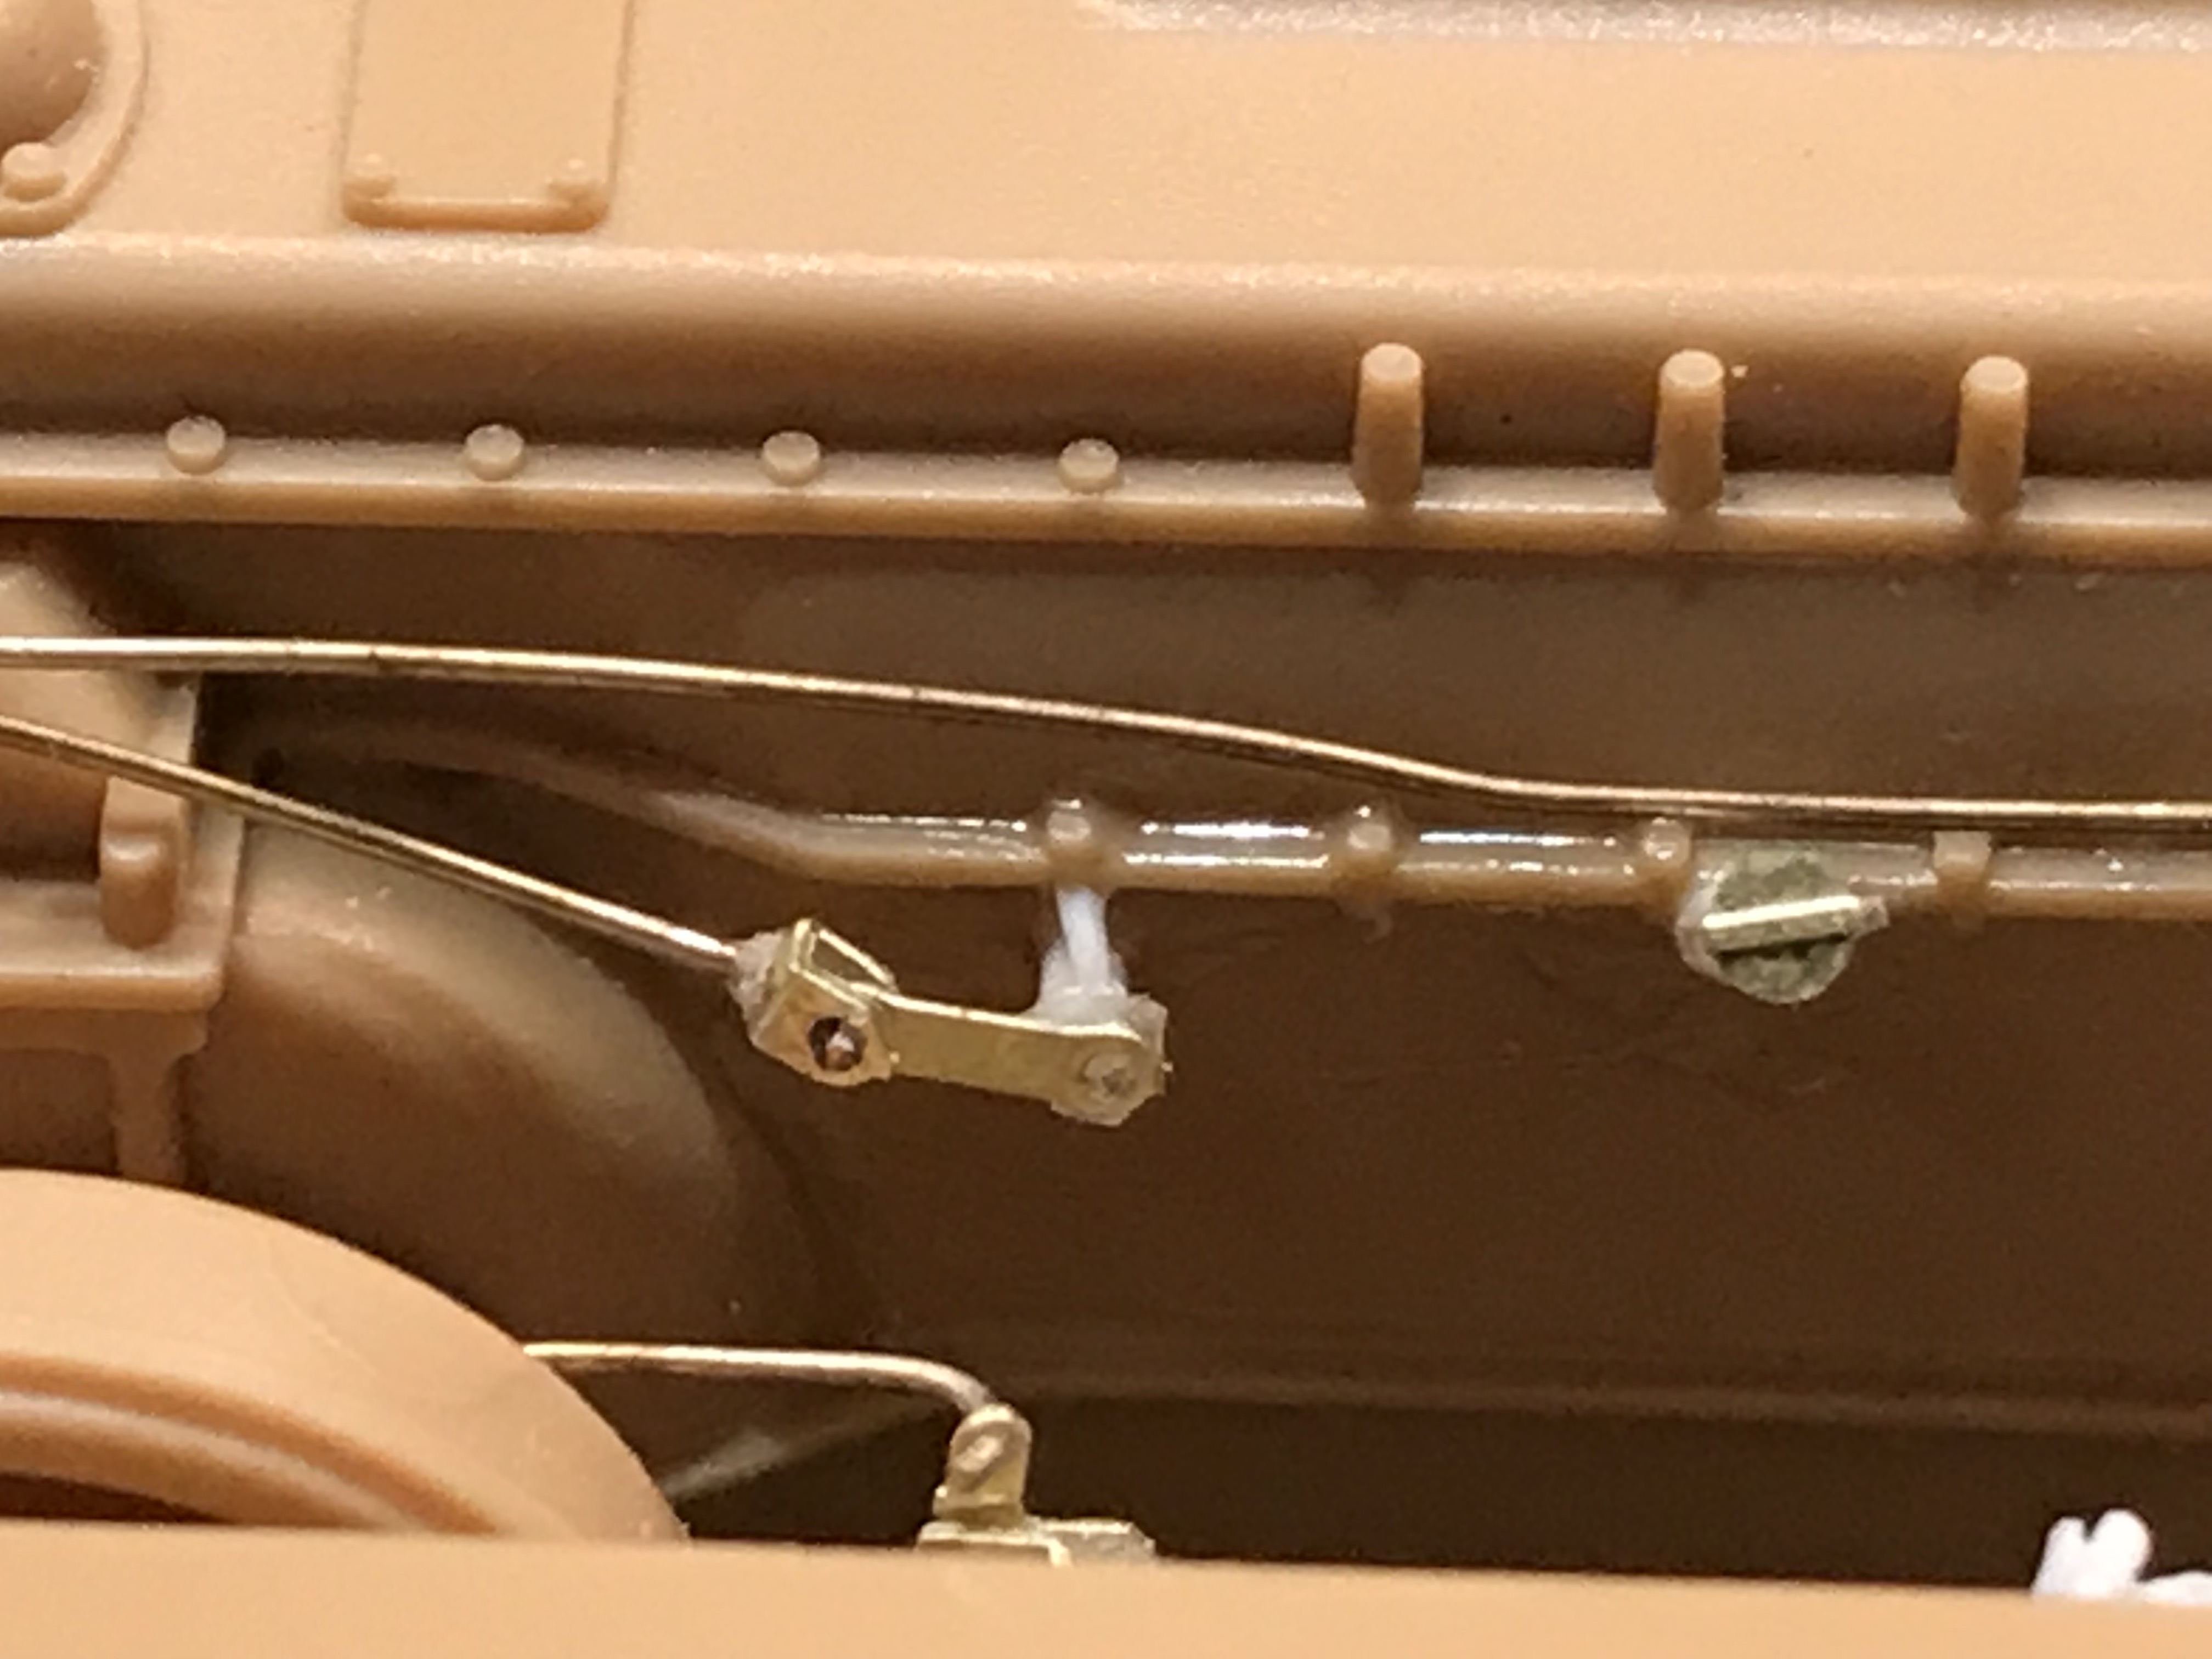
The Aber detail set is really good, albeit there are lots of really small and fiddly parts that just dont like to play fair
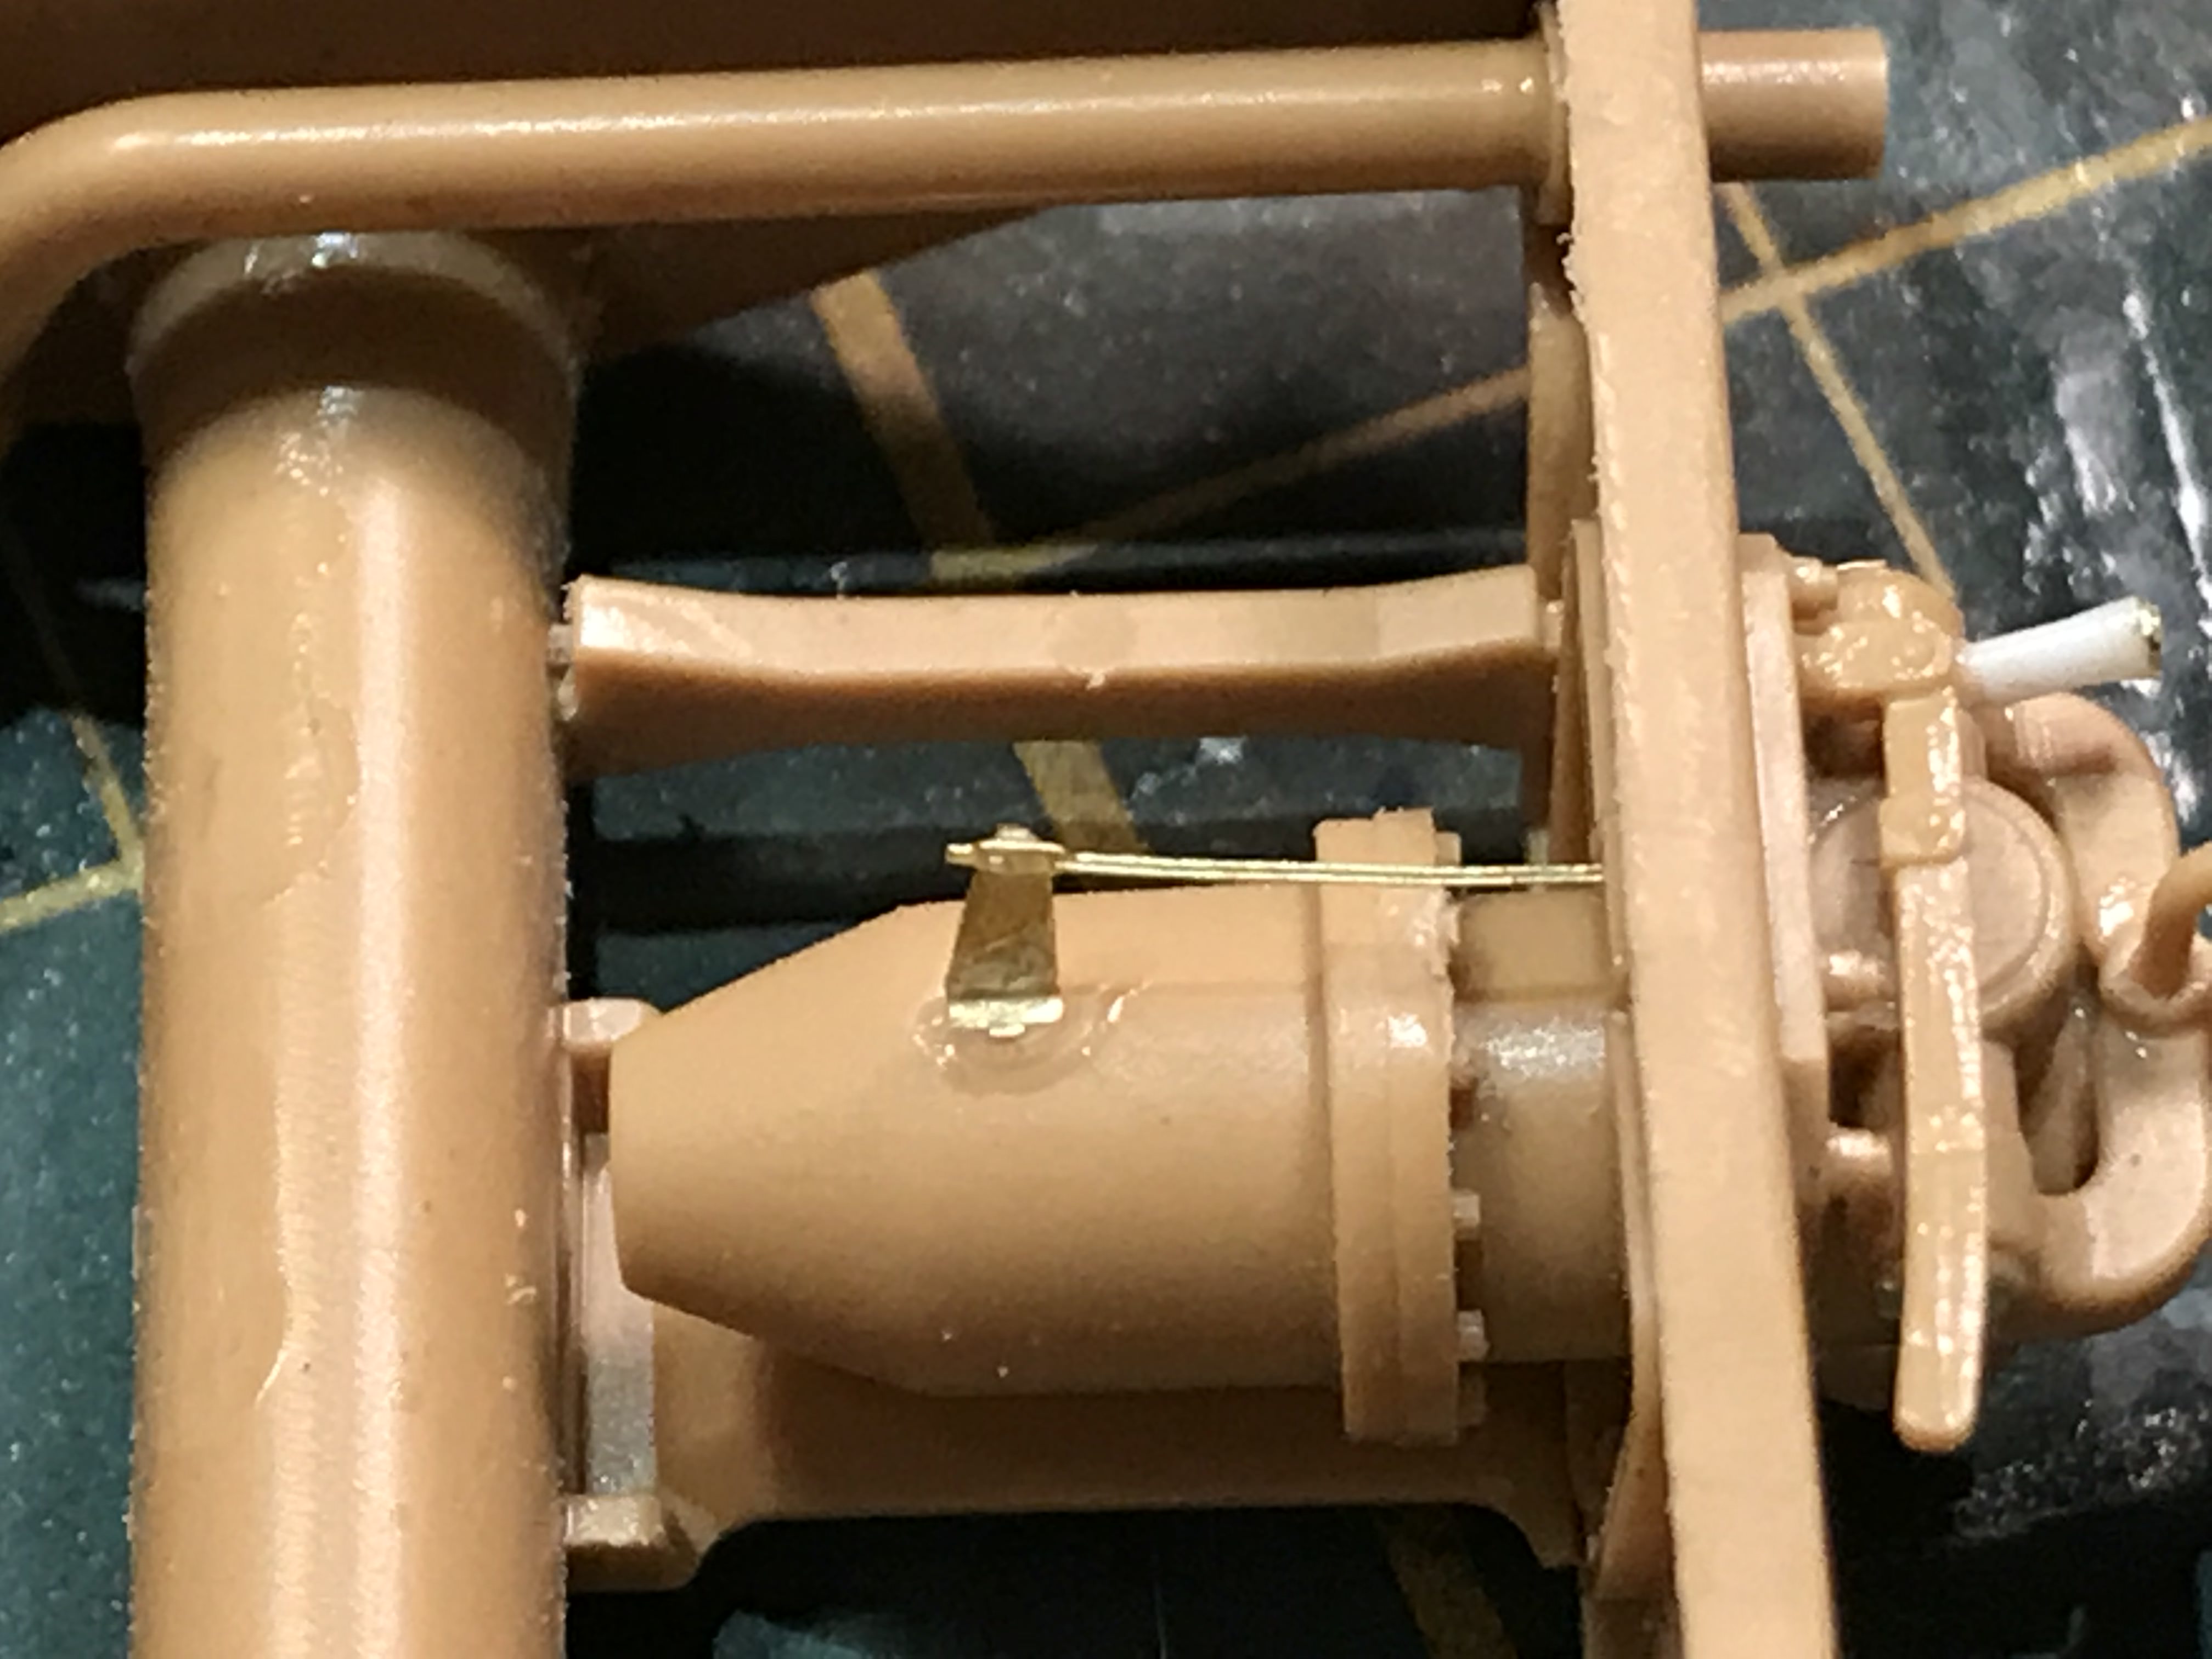
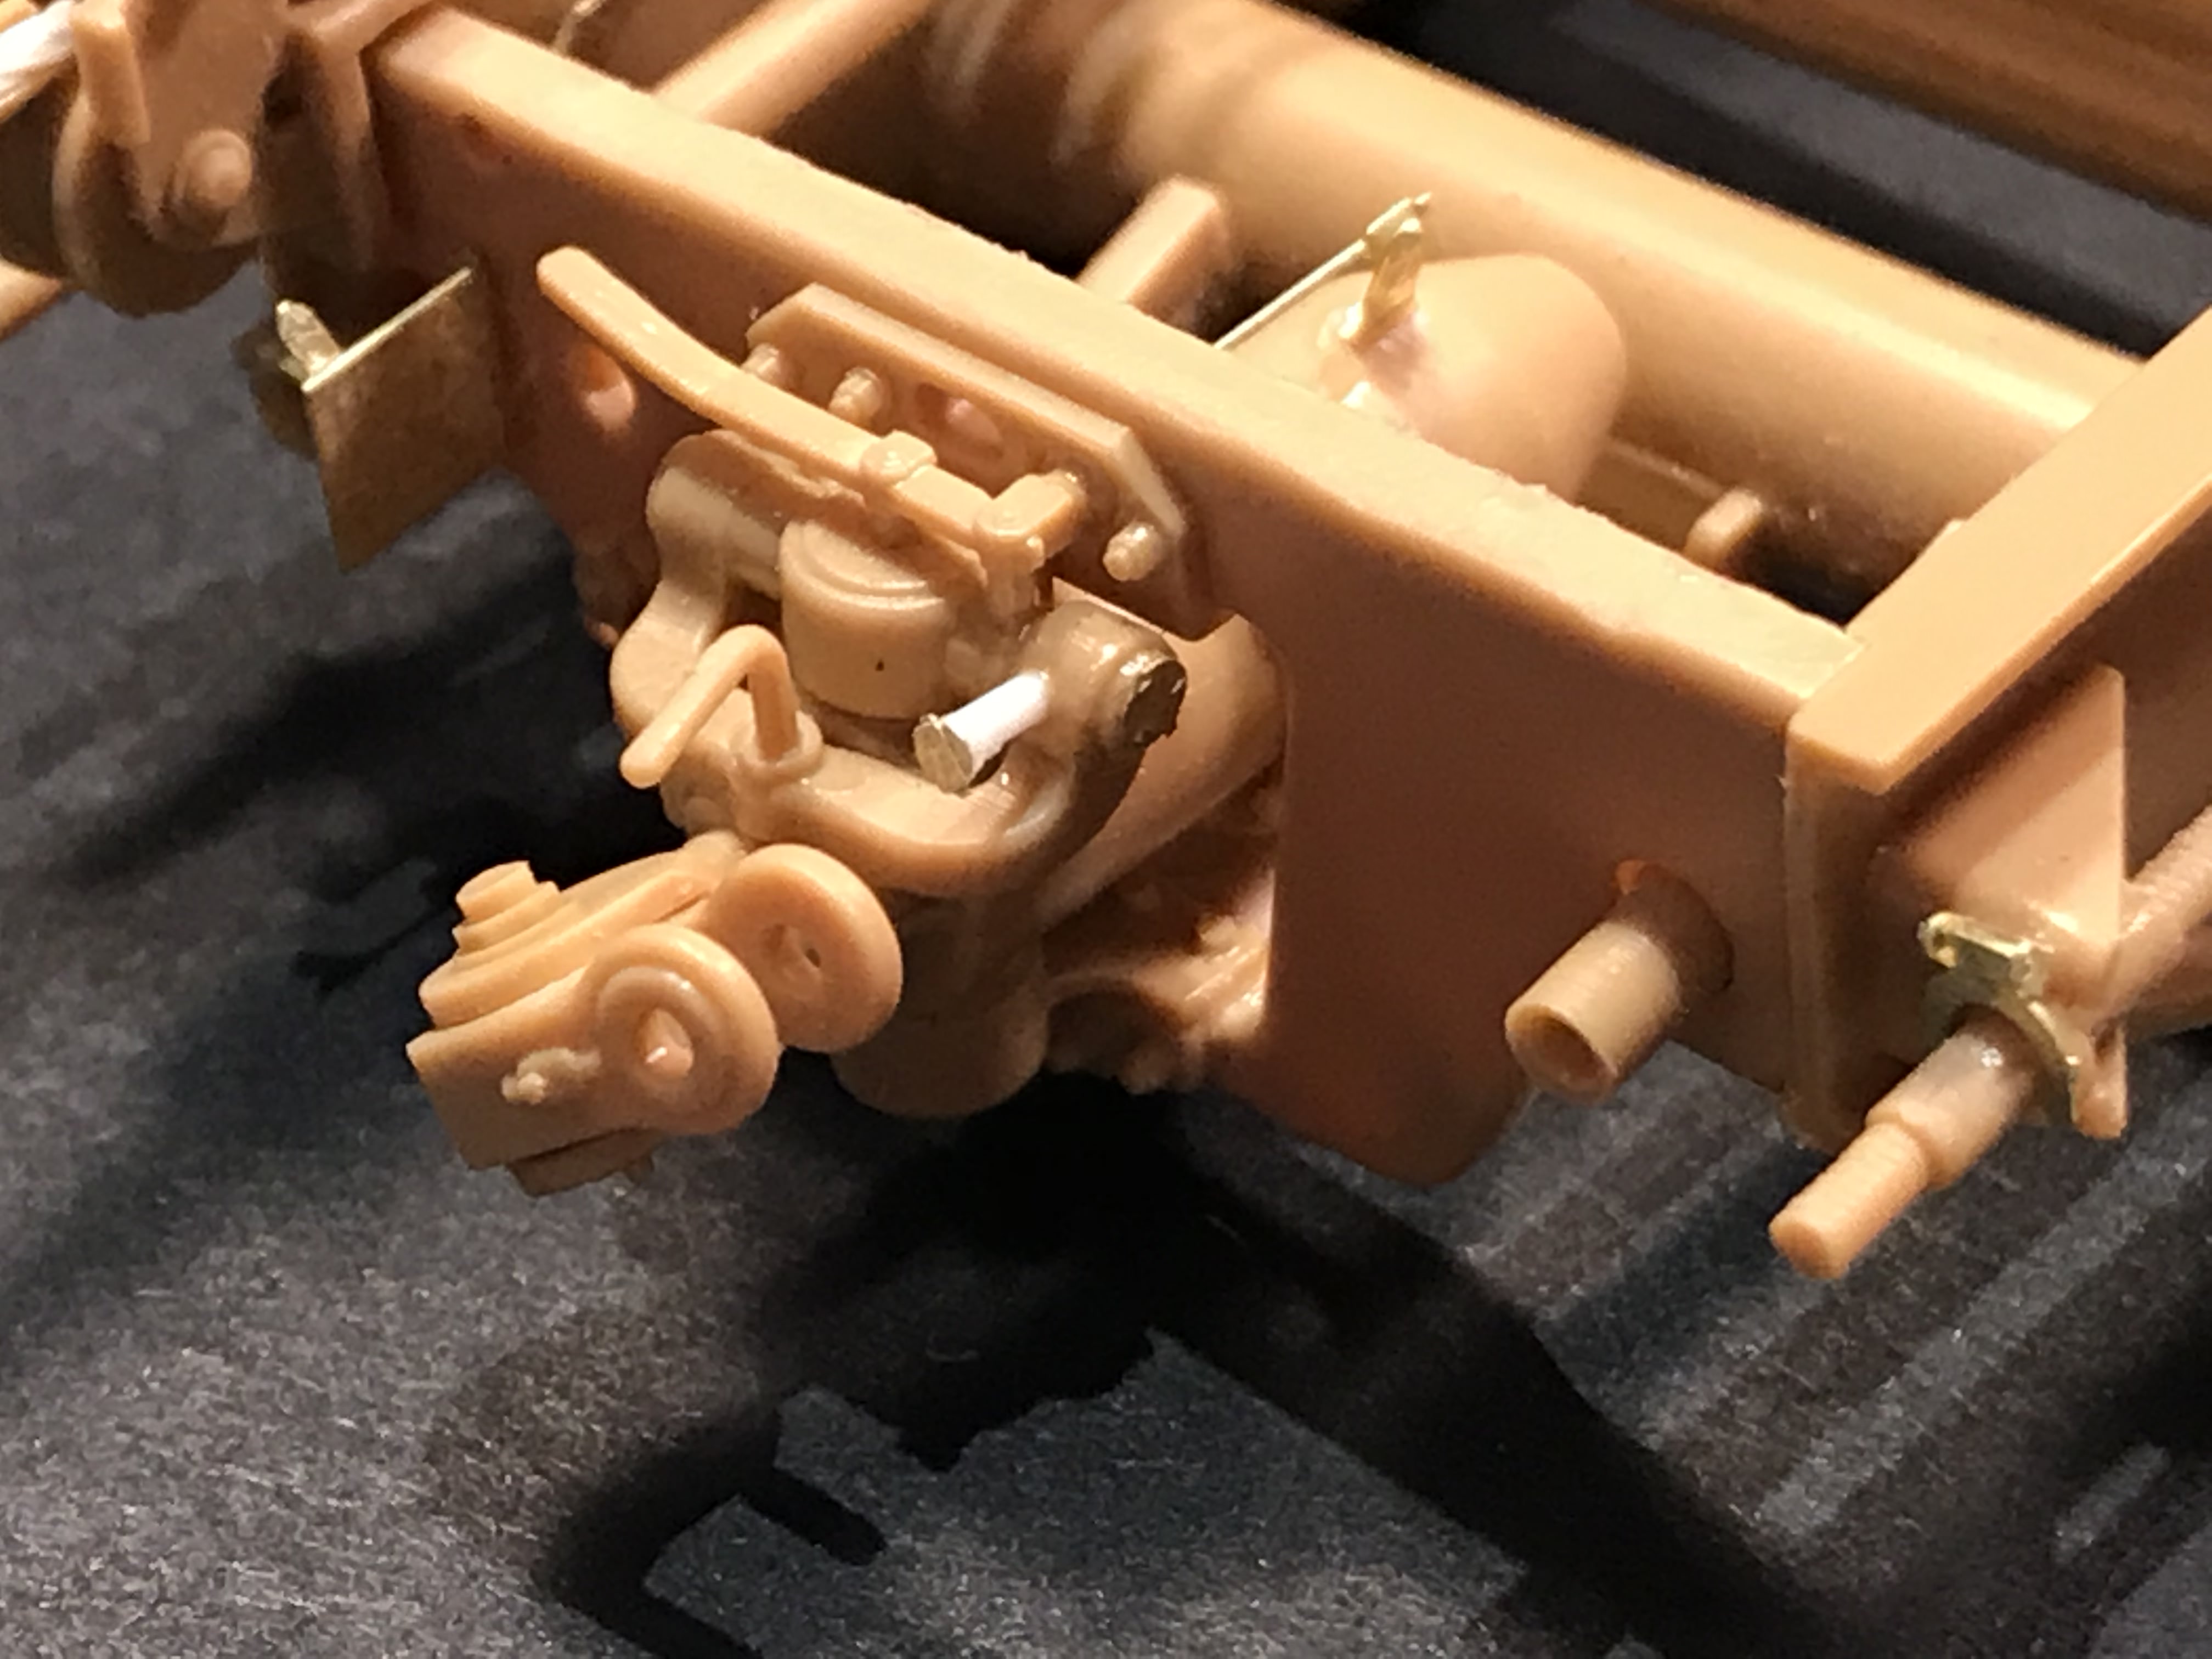
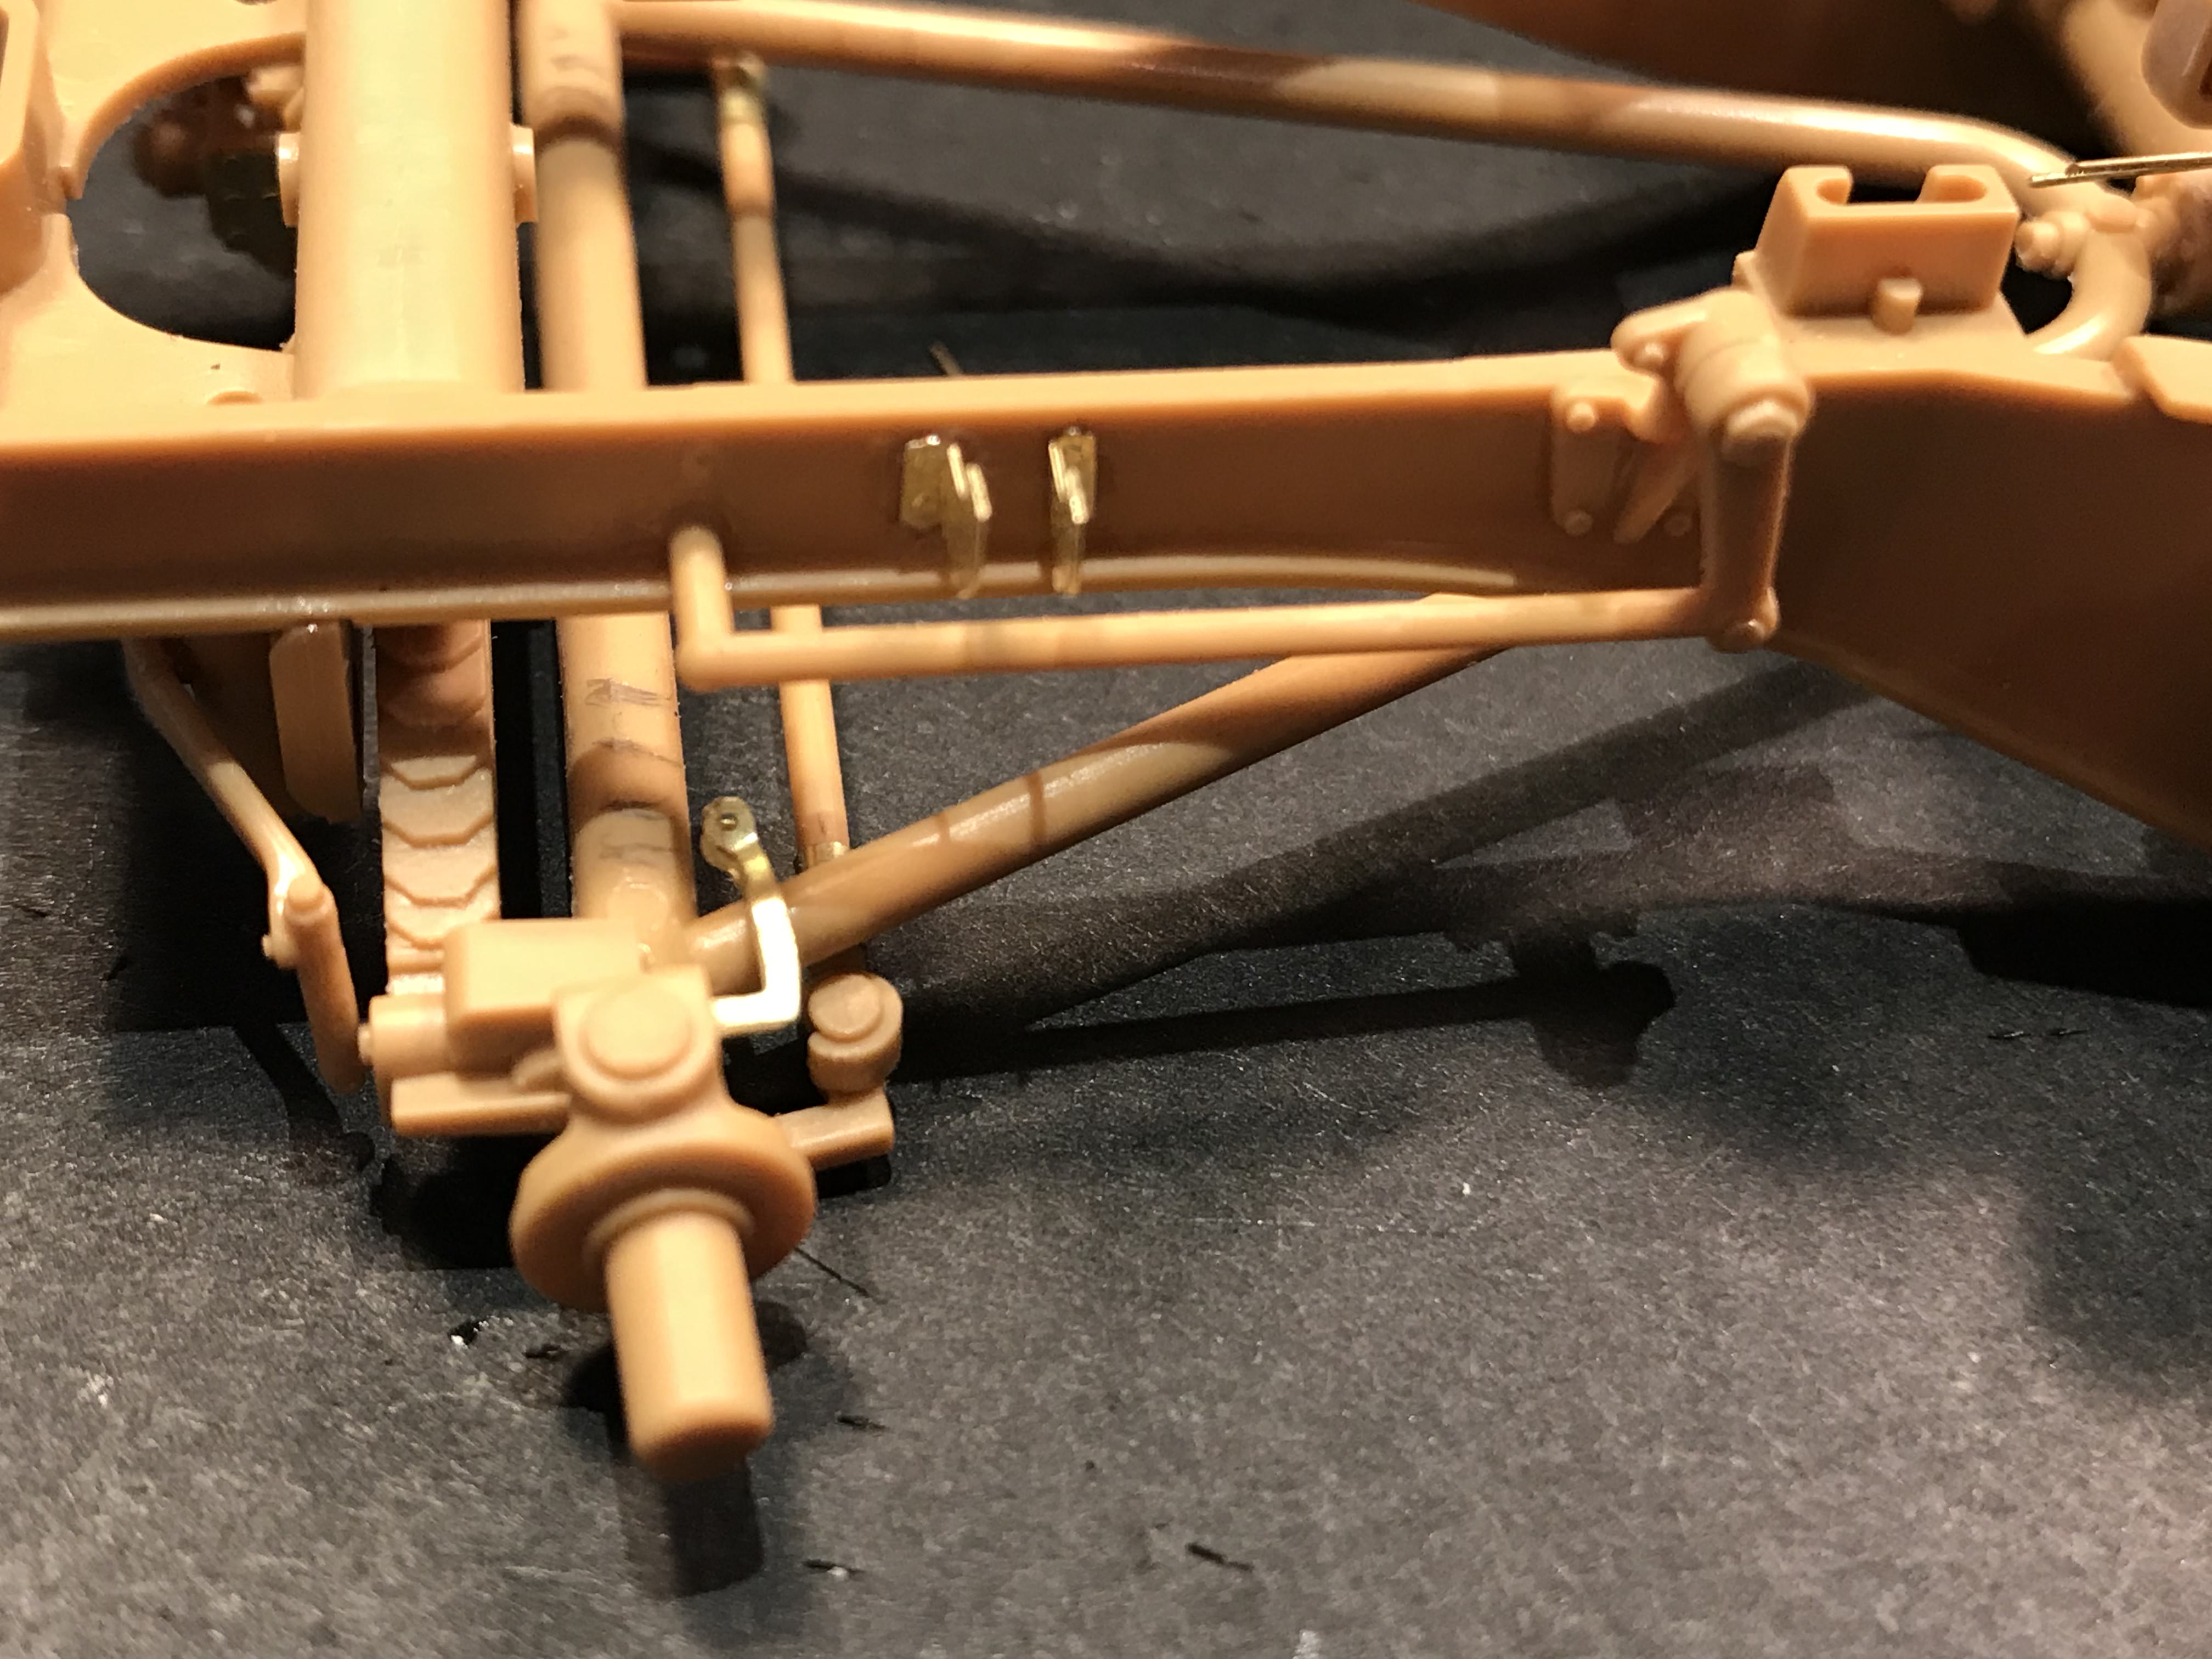
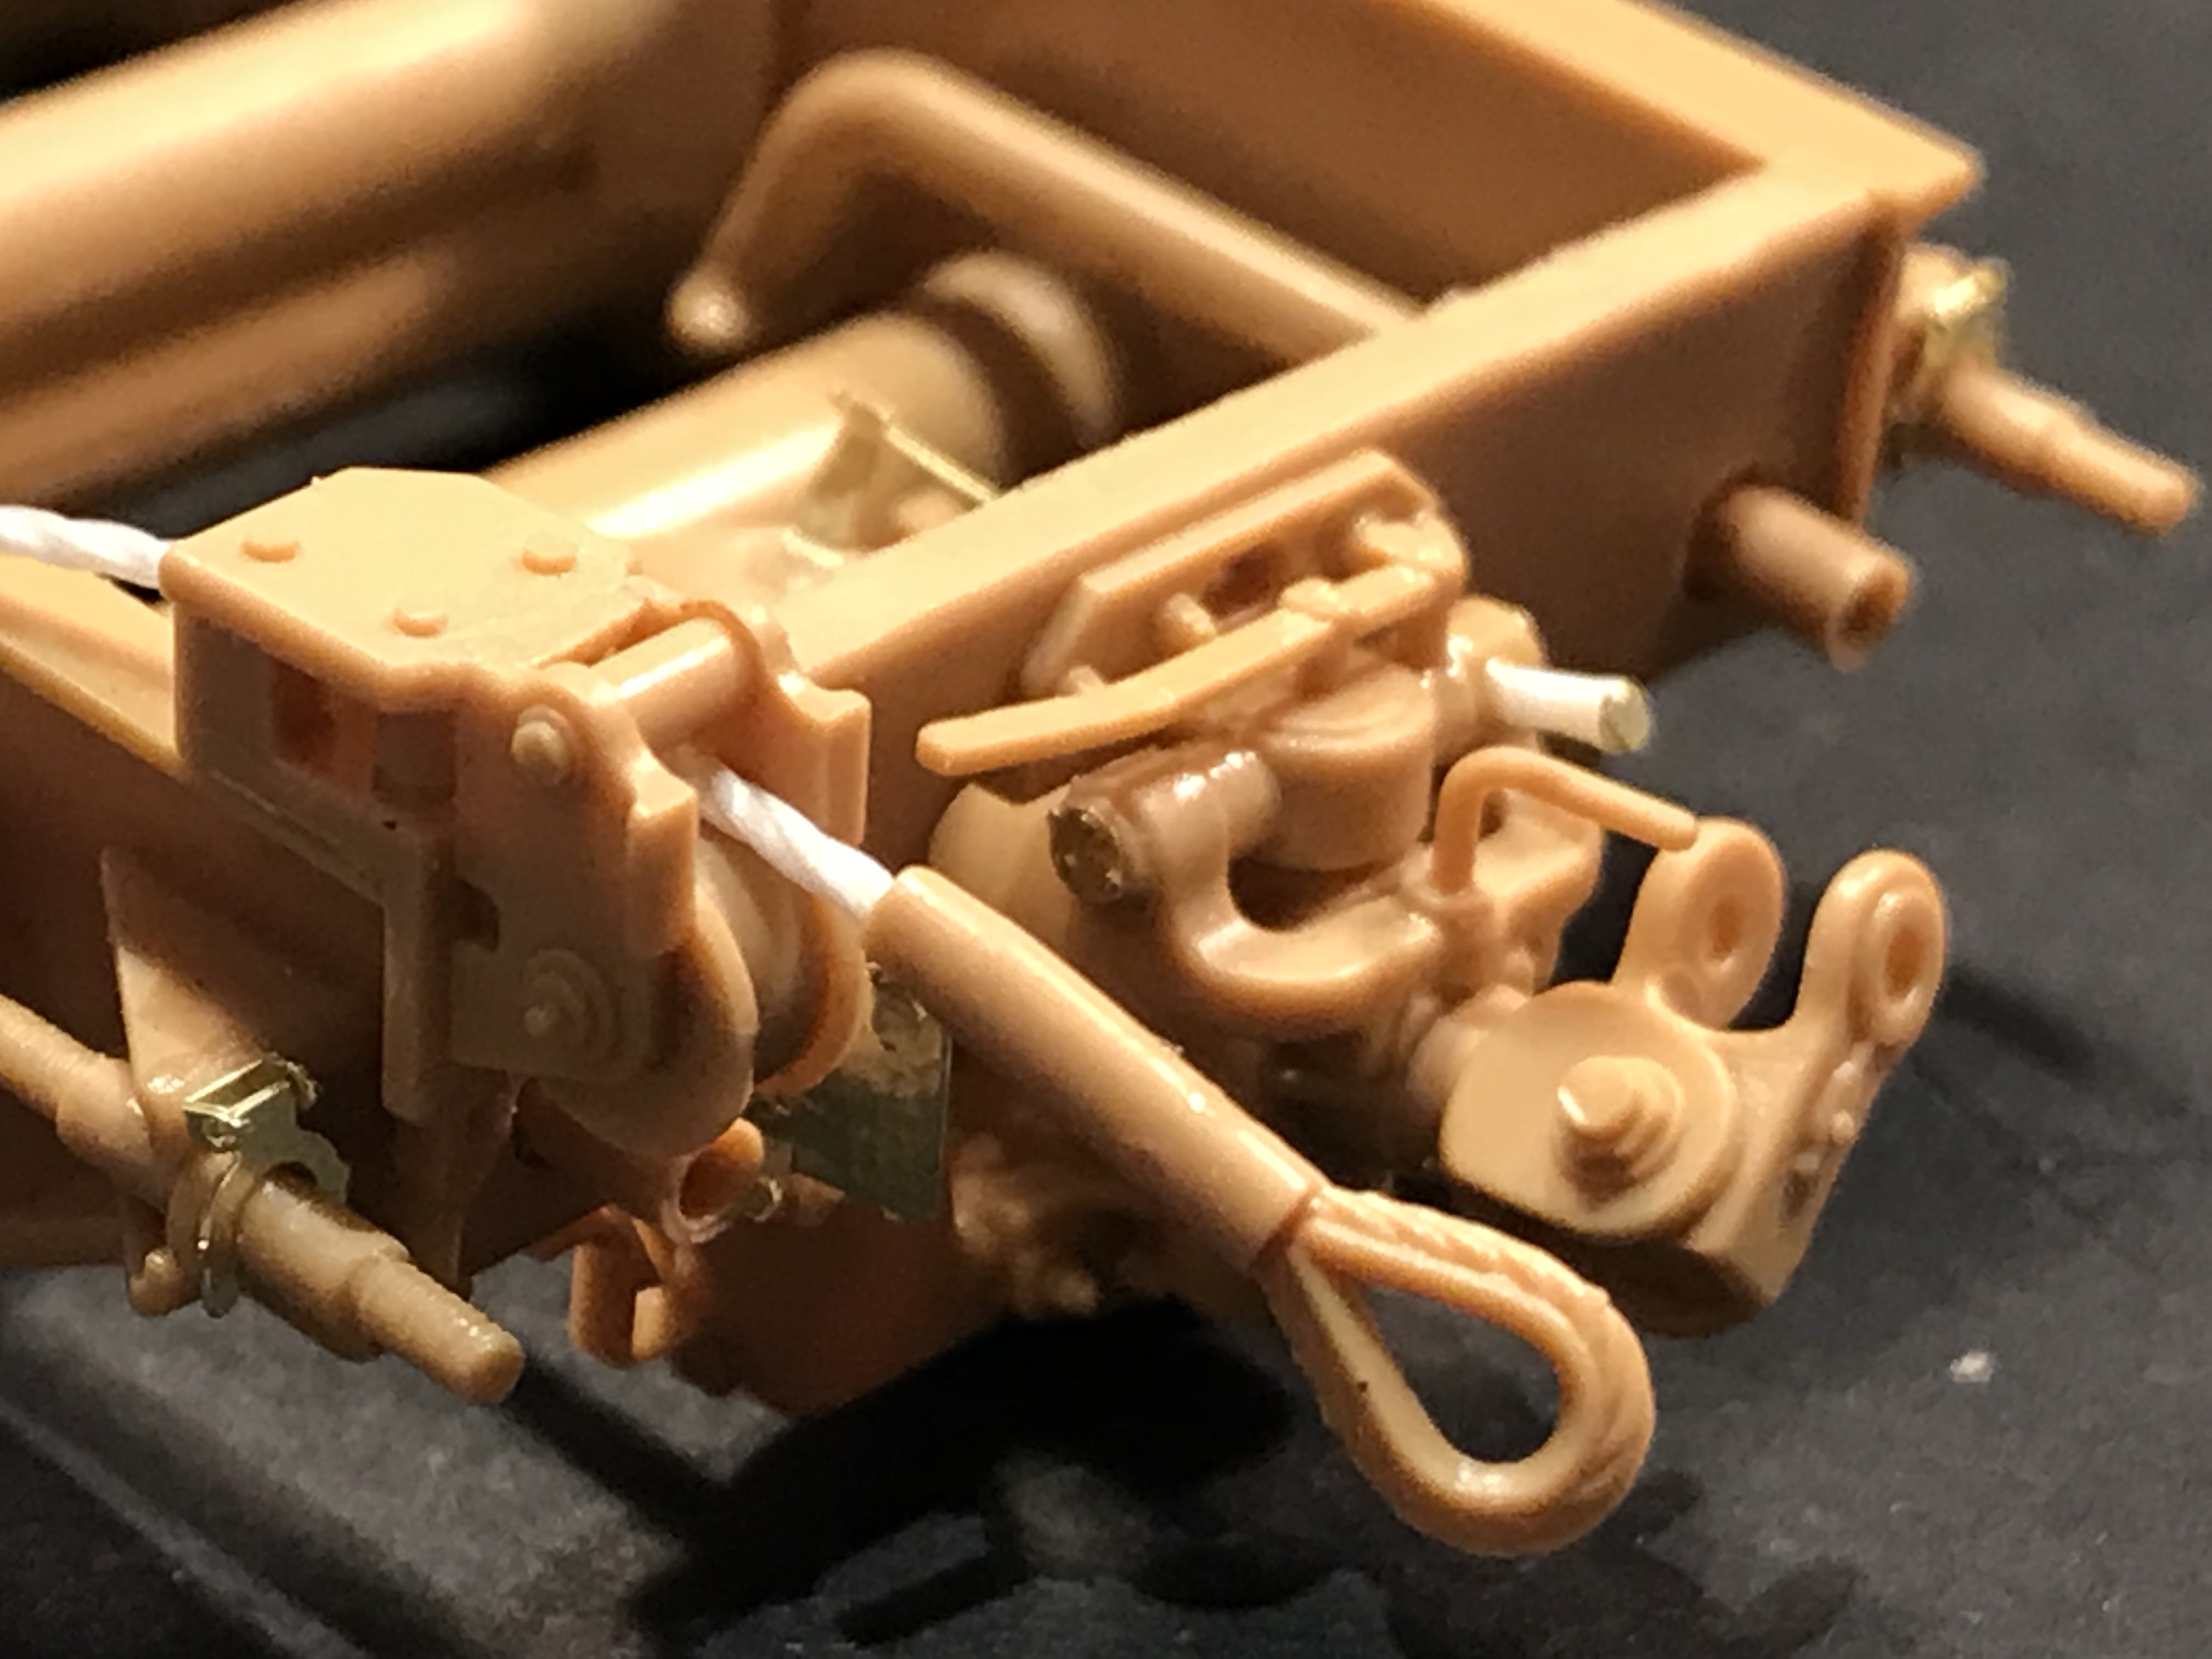
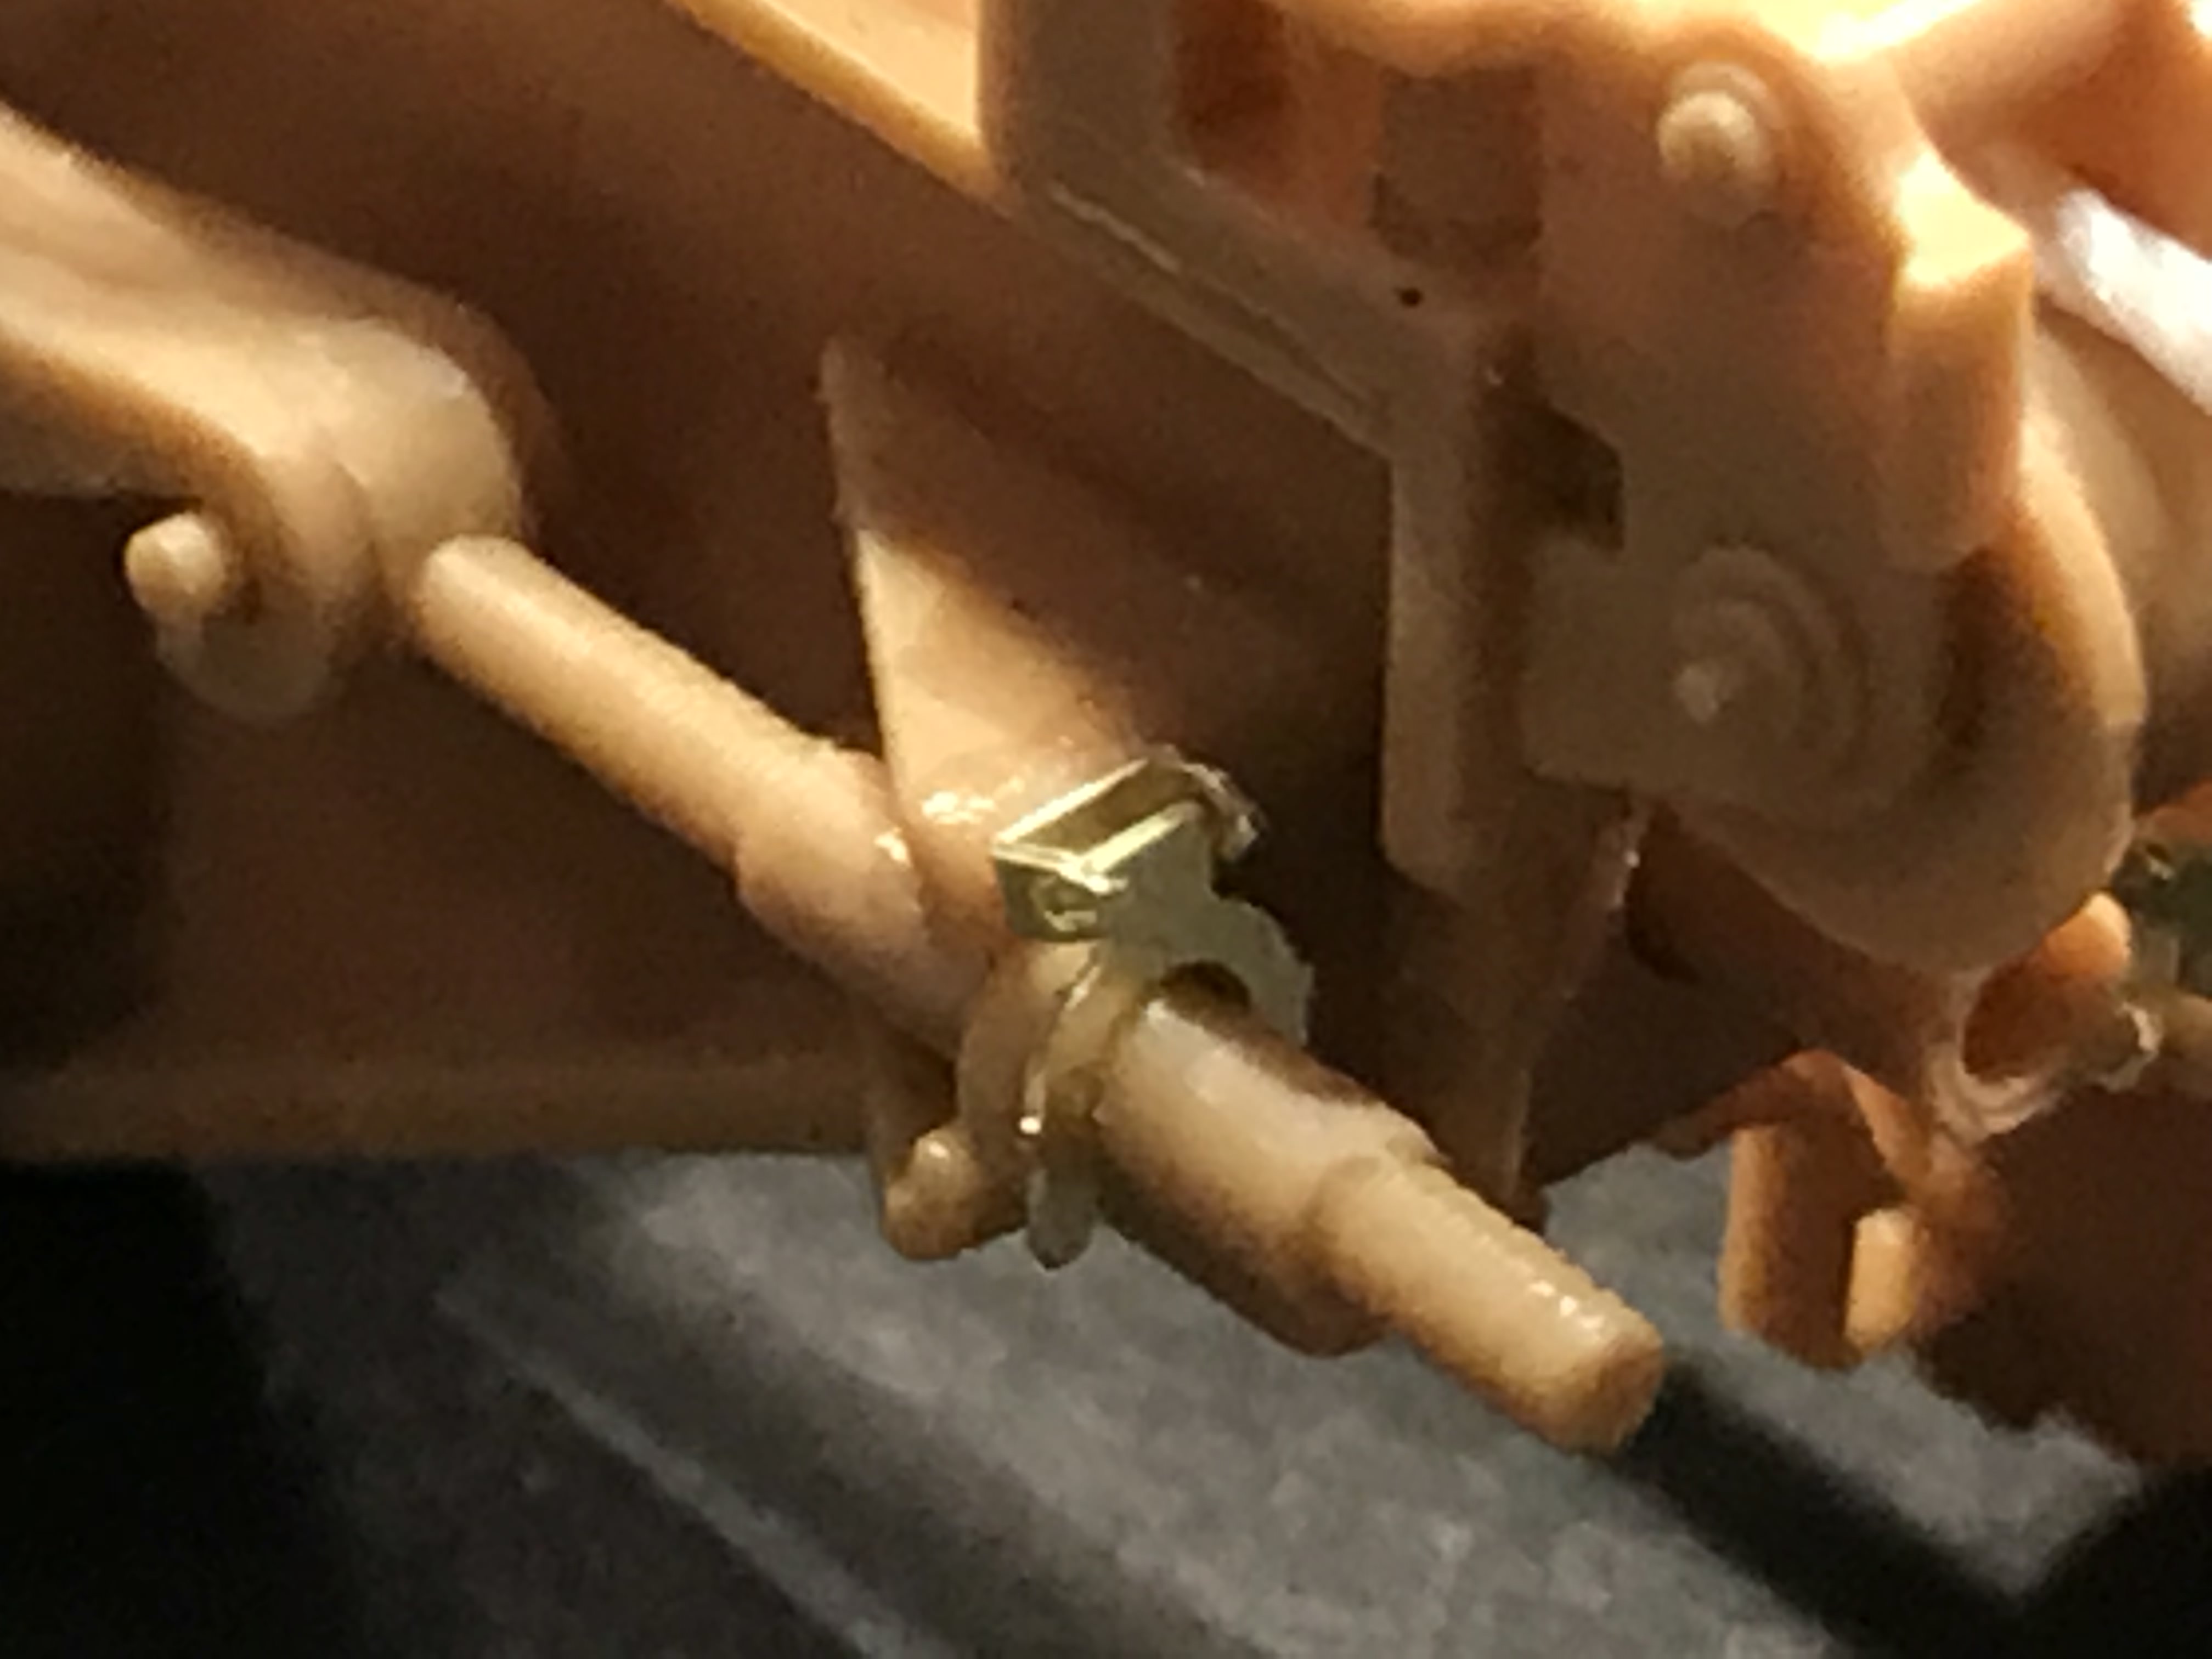

The front drive sprocket was a pain and I have another one to do!

More to come soon!
So started on the main frame and fiddled with all the photo etch and piping...time consuming but good fun in a perverted way
Progress so far:
Various piping parts. Most wont be scene but I thought I would give it a go anyway


The Aber detail set is really good, albeit there are lots of really small and fiddly parts that just dont like to play fair


The front drive sprocket was a pain and I have another one to do!

More to come soon!

dbrad555

Joined: May 17, 2018
KitMaker: 65 posts
Armorama: 61 posts

Posted: Monday, July 09, 2018 - 07:32 AM UTC
Moving onto the tracks now. I toyed with the idea of using the kit tracks, which do look good to be fair, but I had a spare set of friulmodel links, late type, so decided to go with those instead.
These tracks are great, as most people know, but time consuming. Thnakfully I have one side now done - mine had most of the holes filled in so the clean up took a while. I also use staples instead of the wire provided, as they make it easier - well they do in my opinion

More to come soon
These tracks are great, as most people know, but time consuming. Thnakfully I have one side now done - mine had most of the holes filled in so the clean up took a while. I also use staples instead of the wire provided, as they make it easier - well they do in my opinion

More to come soon
redcap

Joined: November 06, 2005
KitMaker: 753 posts
Armorama: 378 posts

Posted: Monday, July 09, 2018 - 09:34 AM UTC
Excellent start on an oldie but still great kit. I shall follow this with interest!
Gary
Gary
dbrad555

Joined: May 17, 2018
KitMaker: 65 posts
Armorama: 61 posts

Posted: Monday, July 09, 2018 - 08:21 PM UTC
Thanks Gary for the kind words. In fairness I have been meaning to build this kit for some time, its been collecting dust on the top shelf for a fair few years now! I am hoping I can do it justice!
dbrad555

Joined: May 17, 2018
KitMaker: 65 posts
Armorama: 61 posts

Posted: Tuesday, July 10, 2018 - 06:25 AM UTC
Progress Update:
Starting work on the cab now. Not got very far, mainly because as Im getting older the mark 1 eyeball is getting less great and the Aber etch is so darn small! But they do look great really.
Working tool clamps, not that anyone will be using them of course!
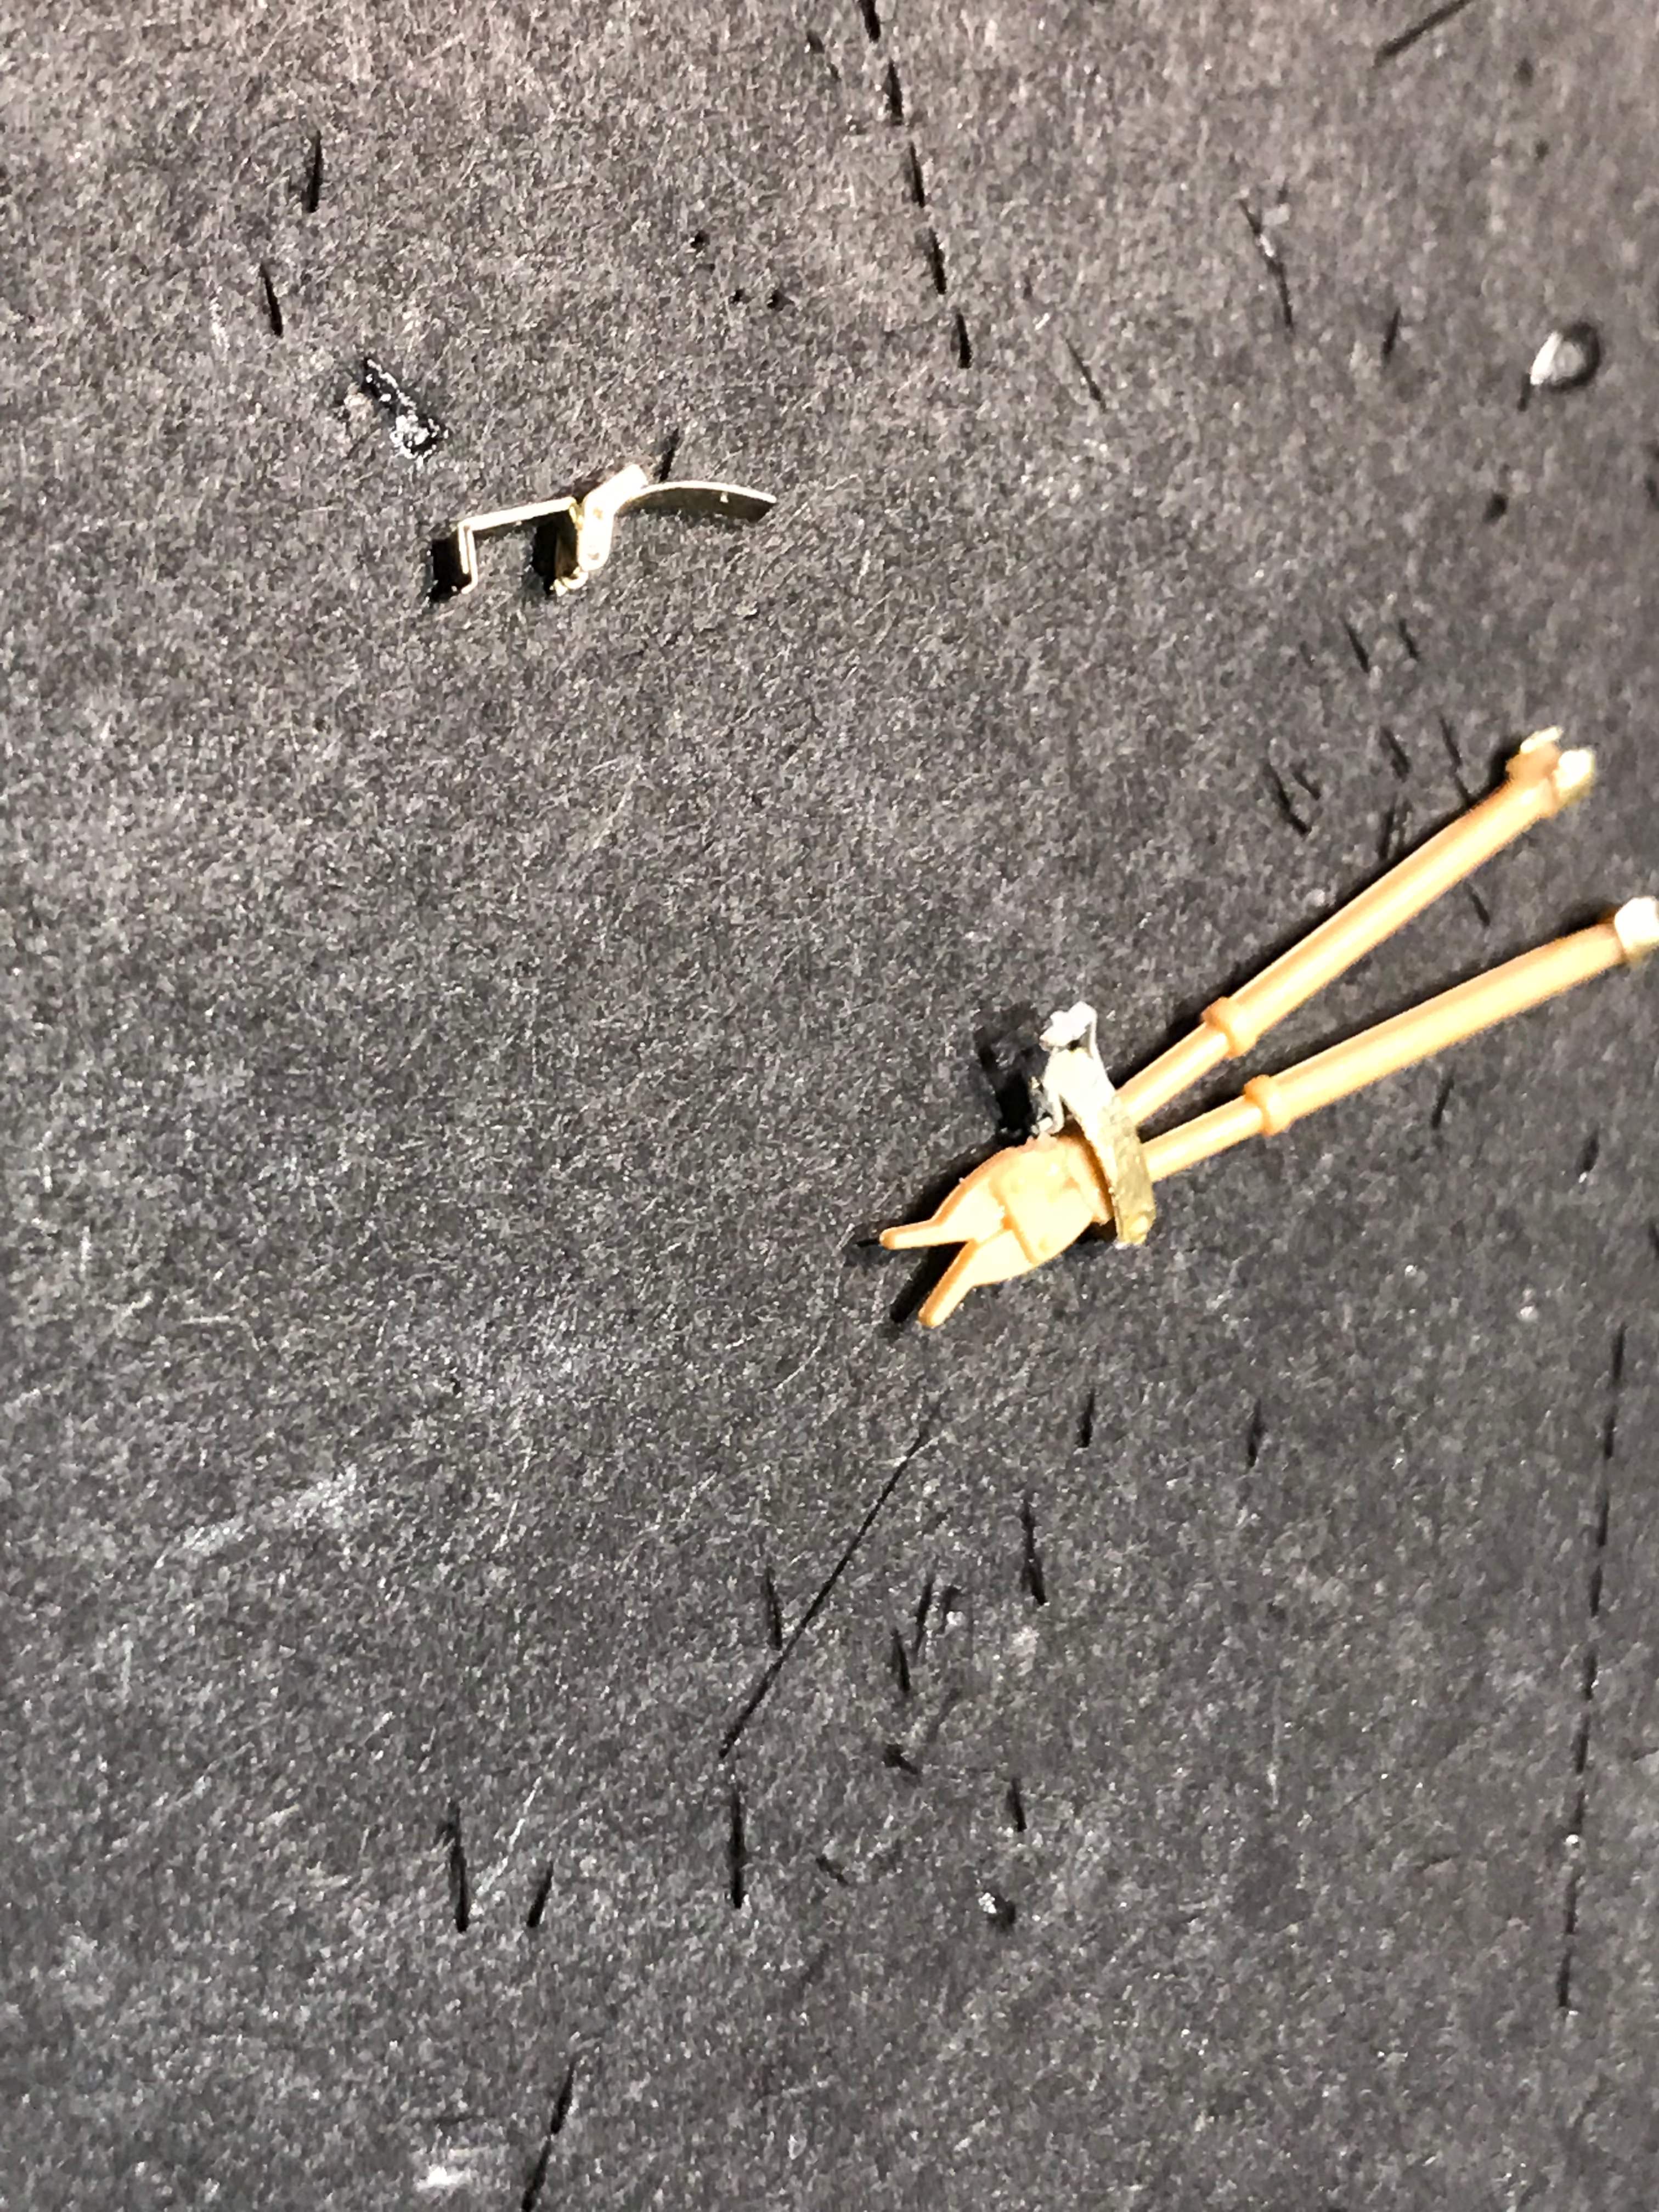
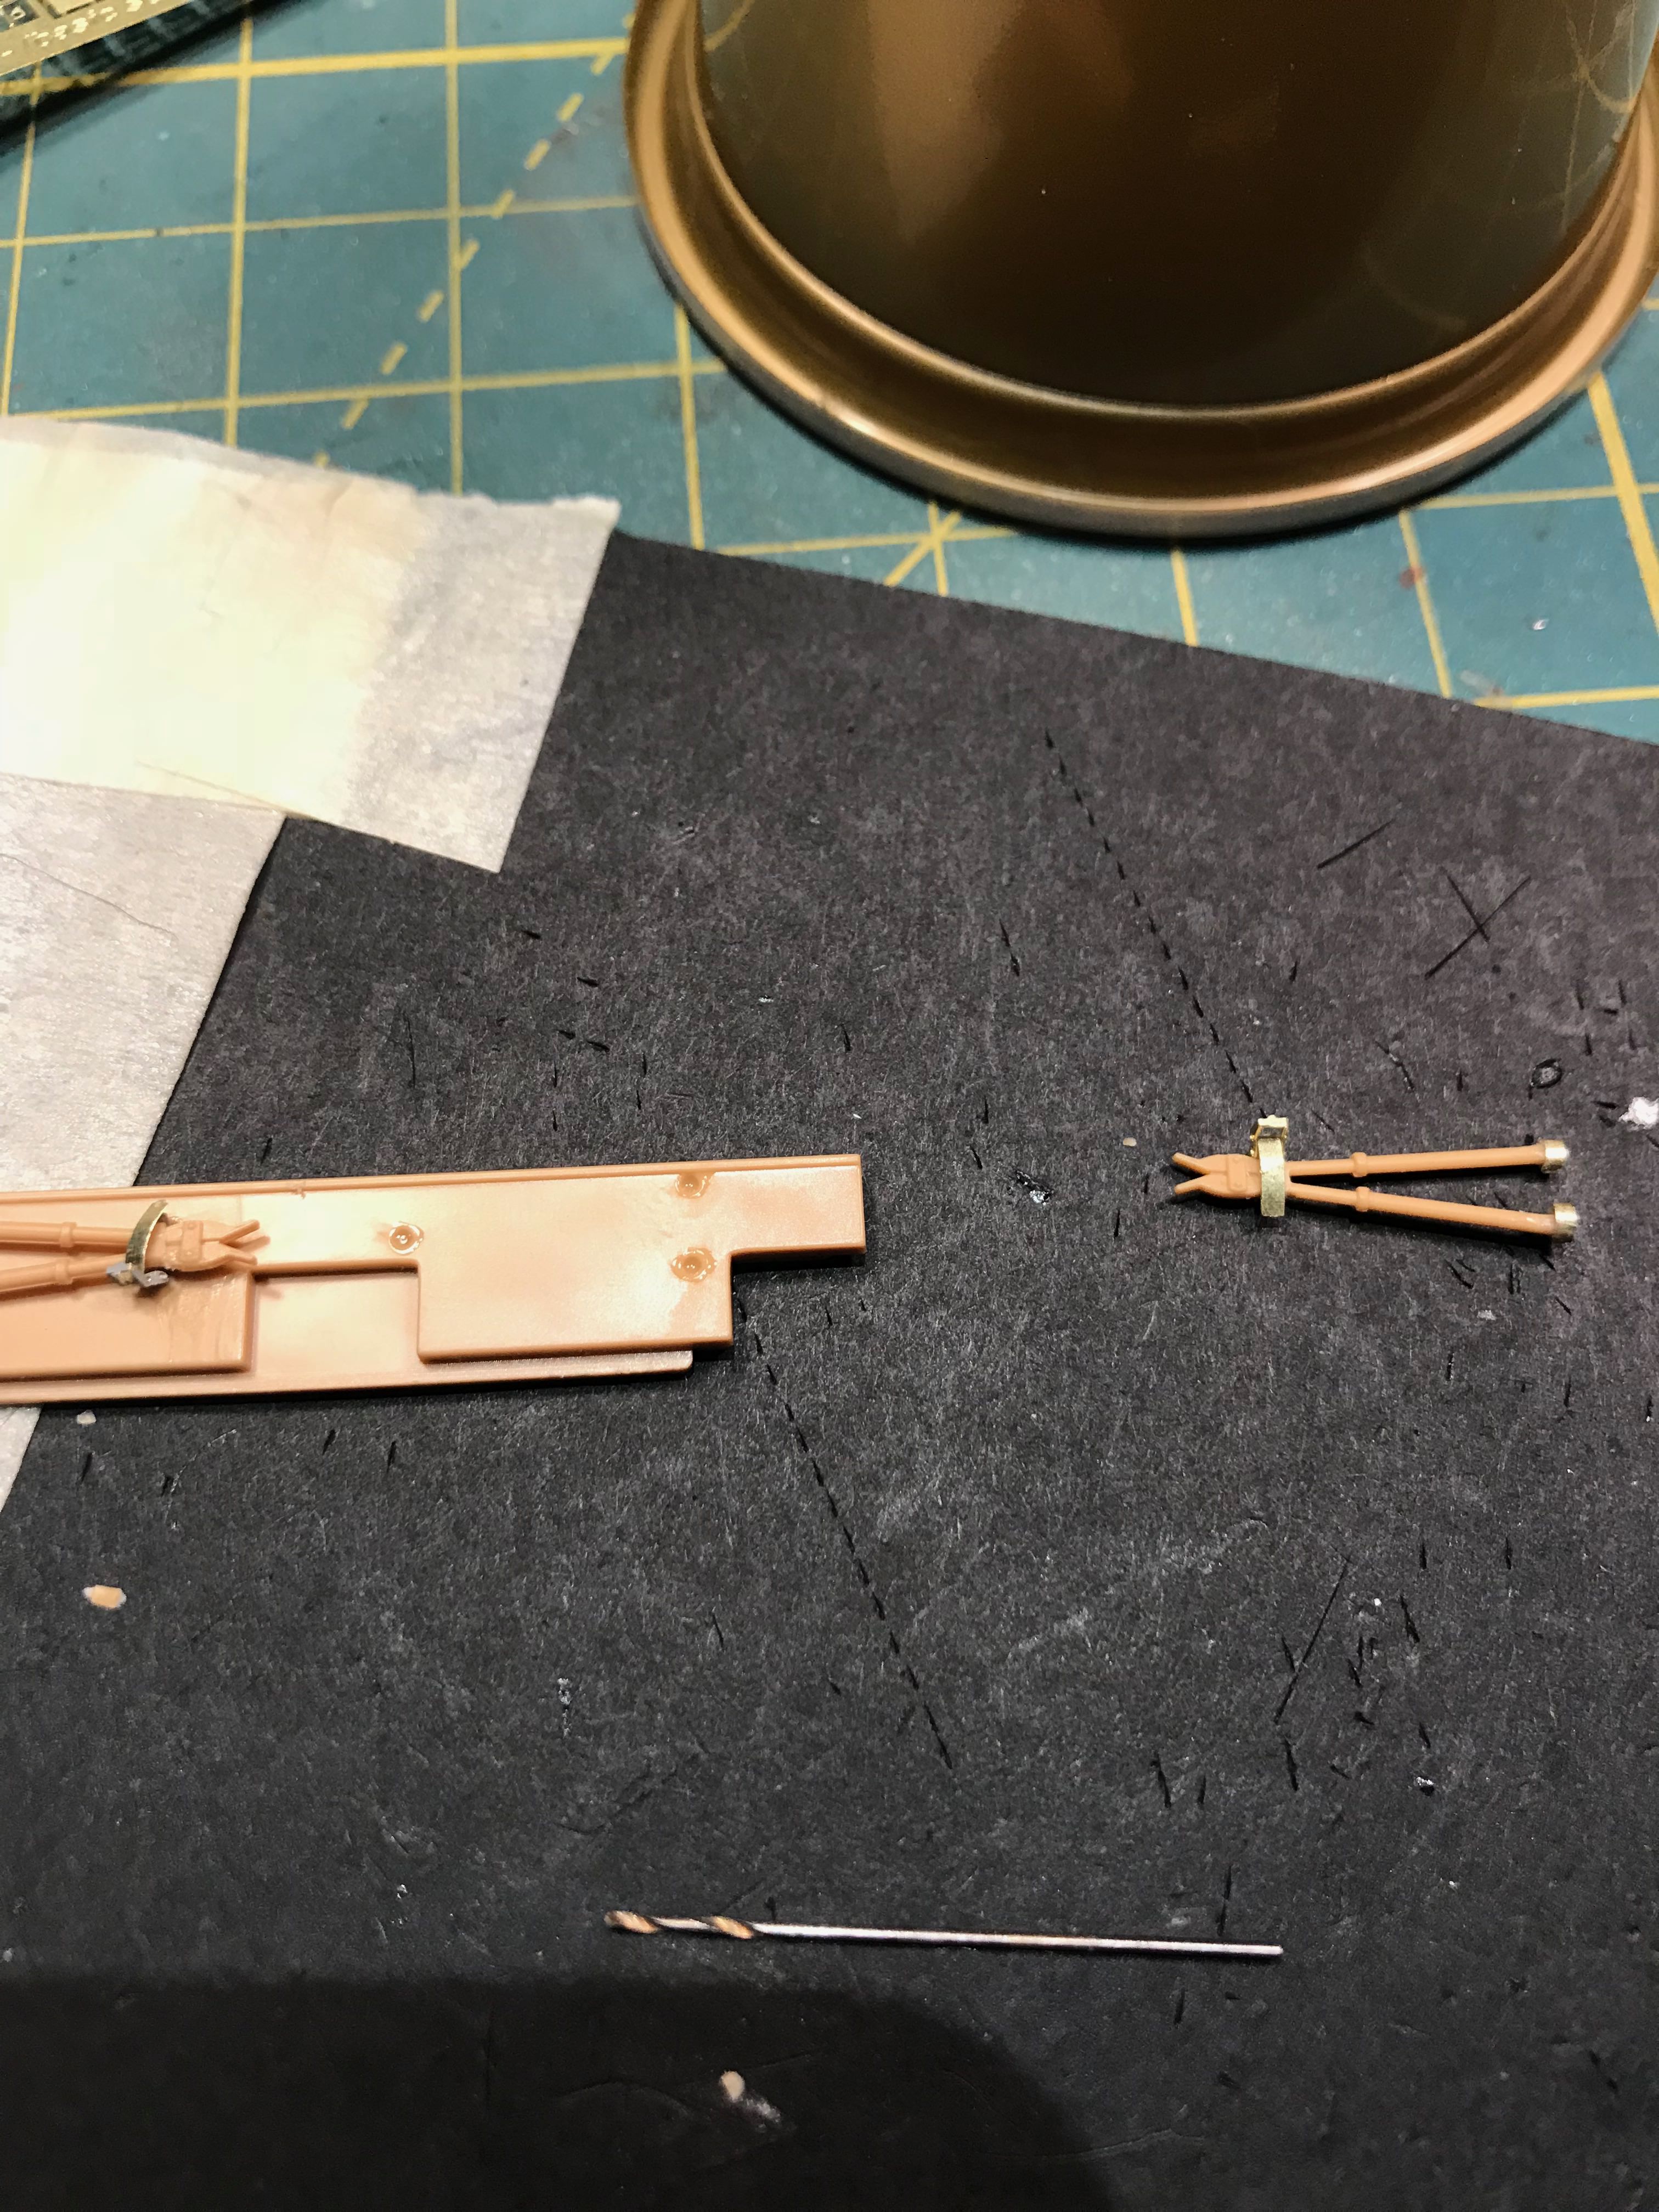
Work on the cab coming along - dry fitted here
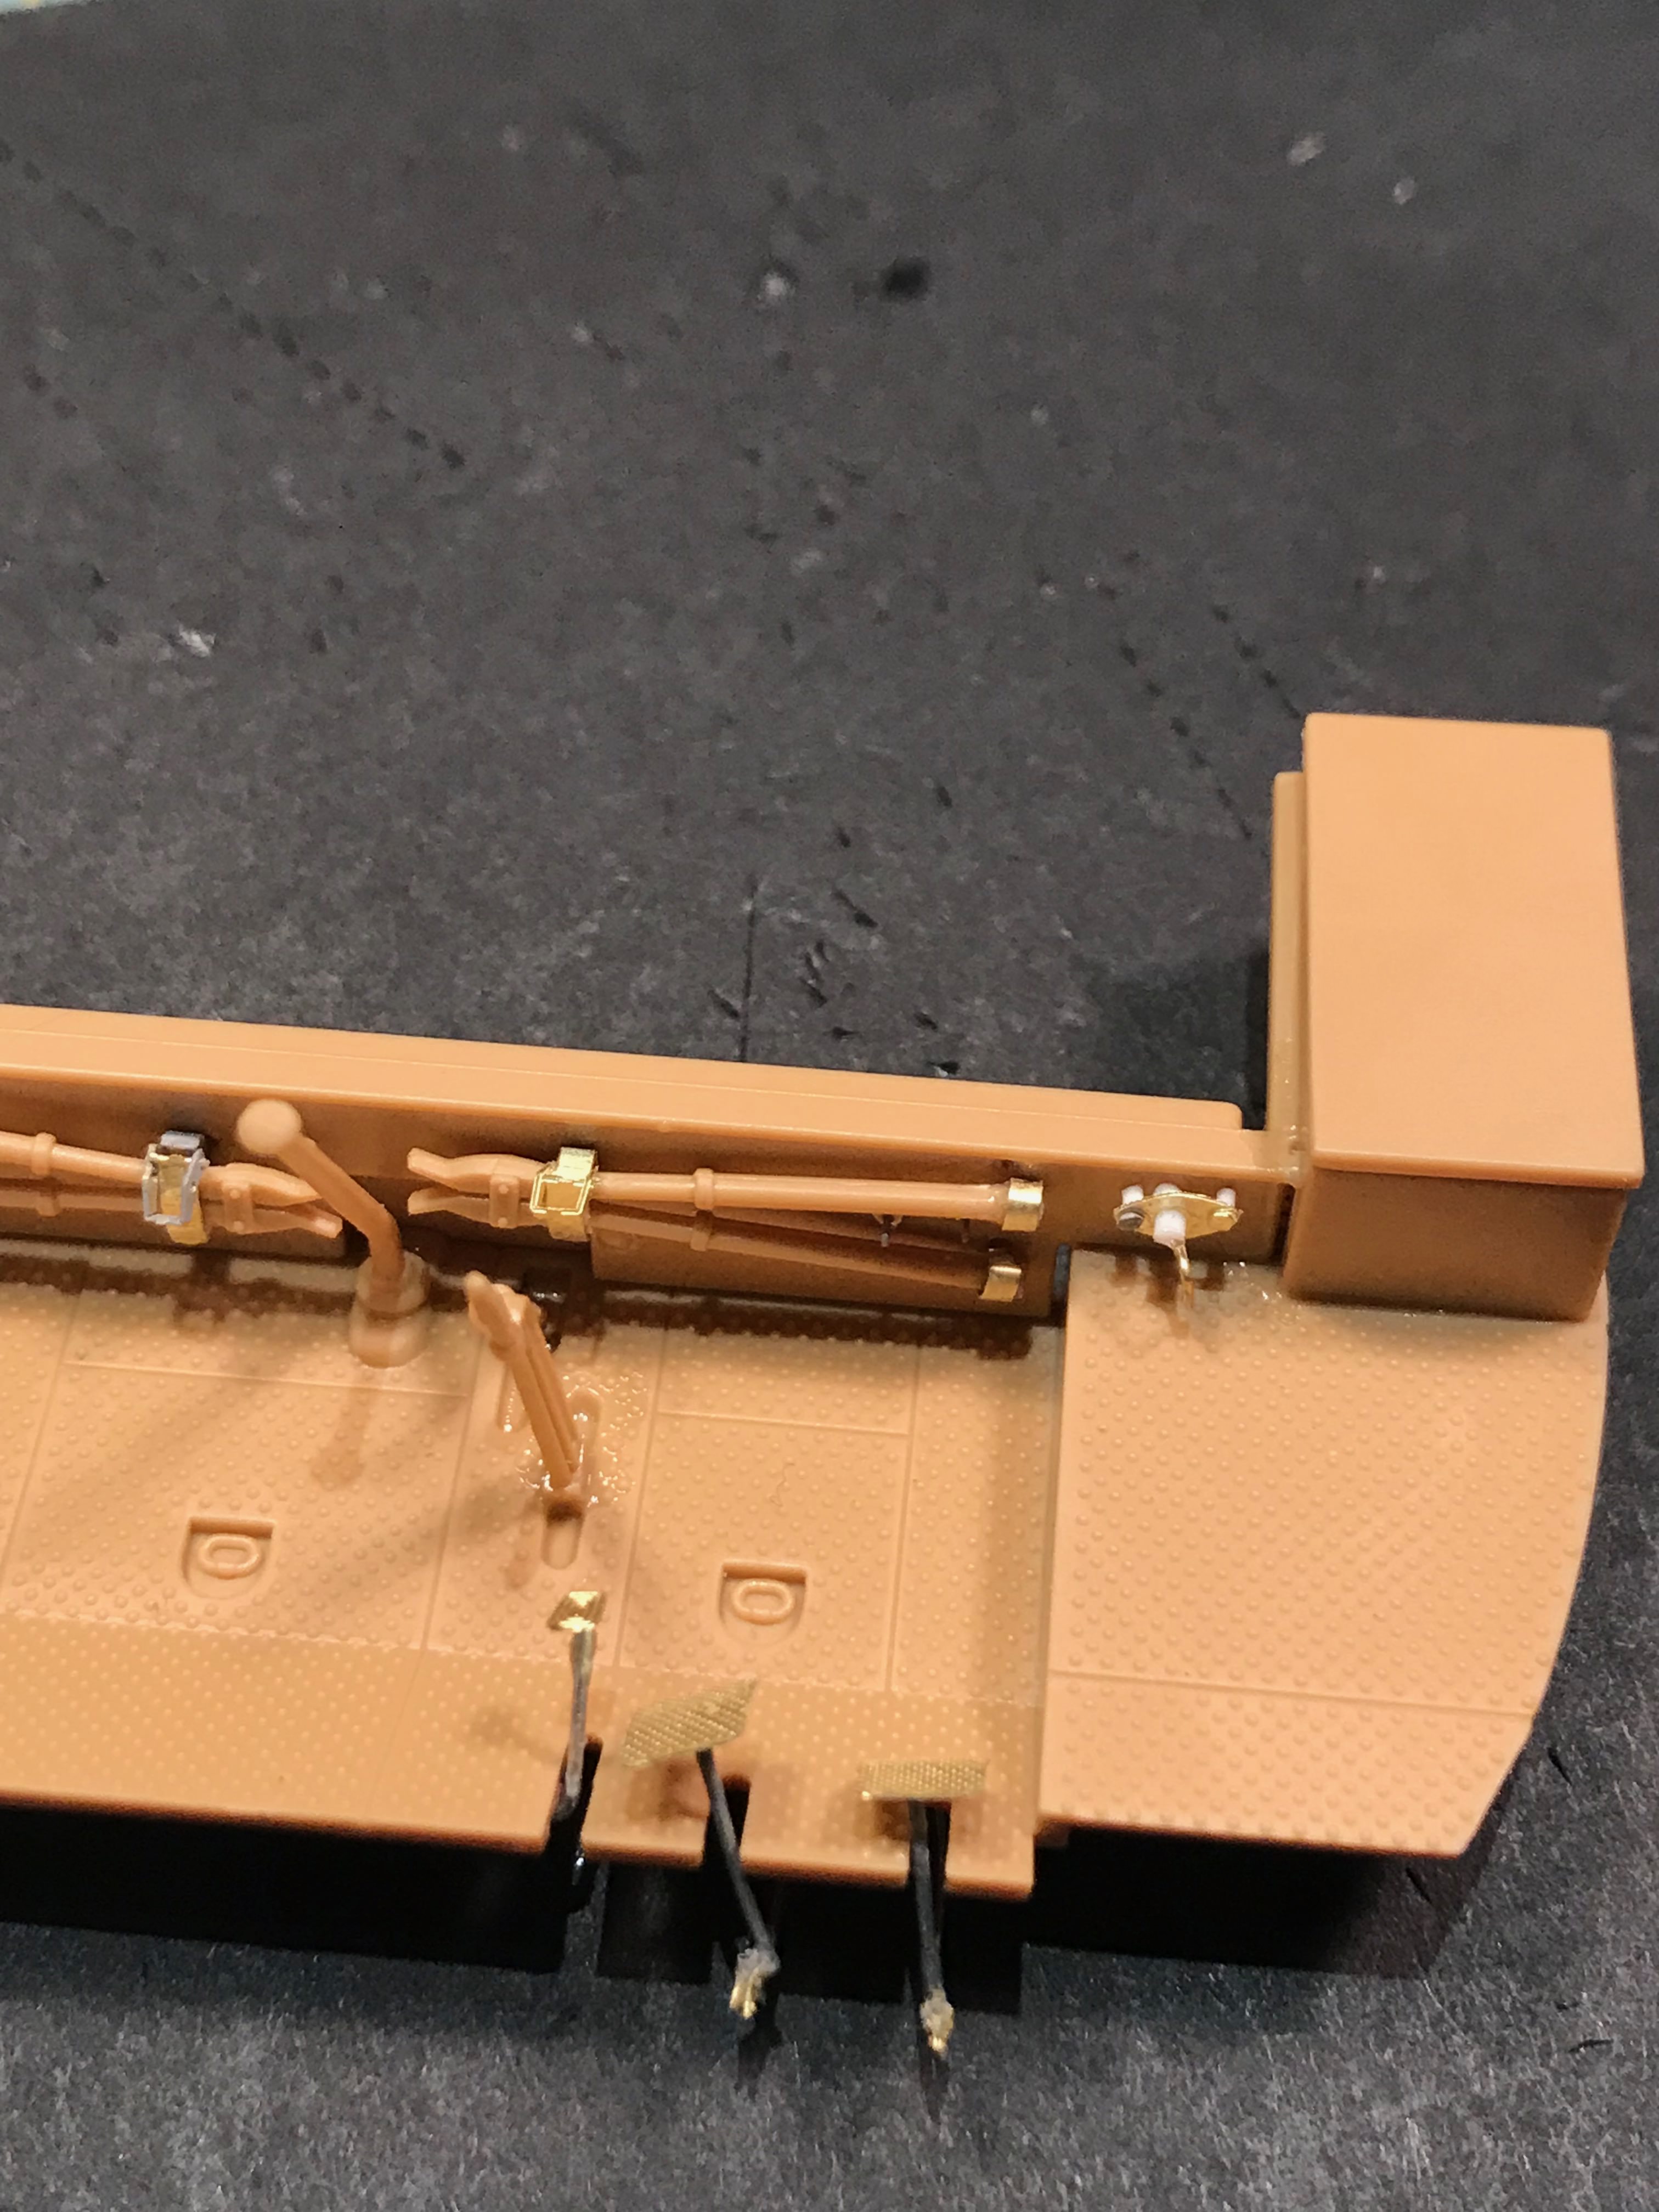
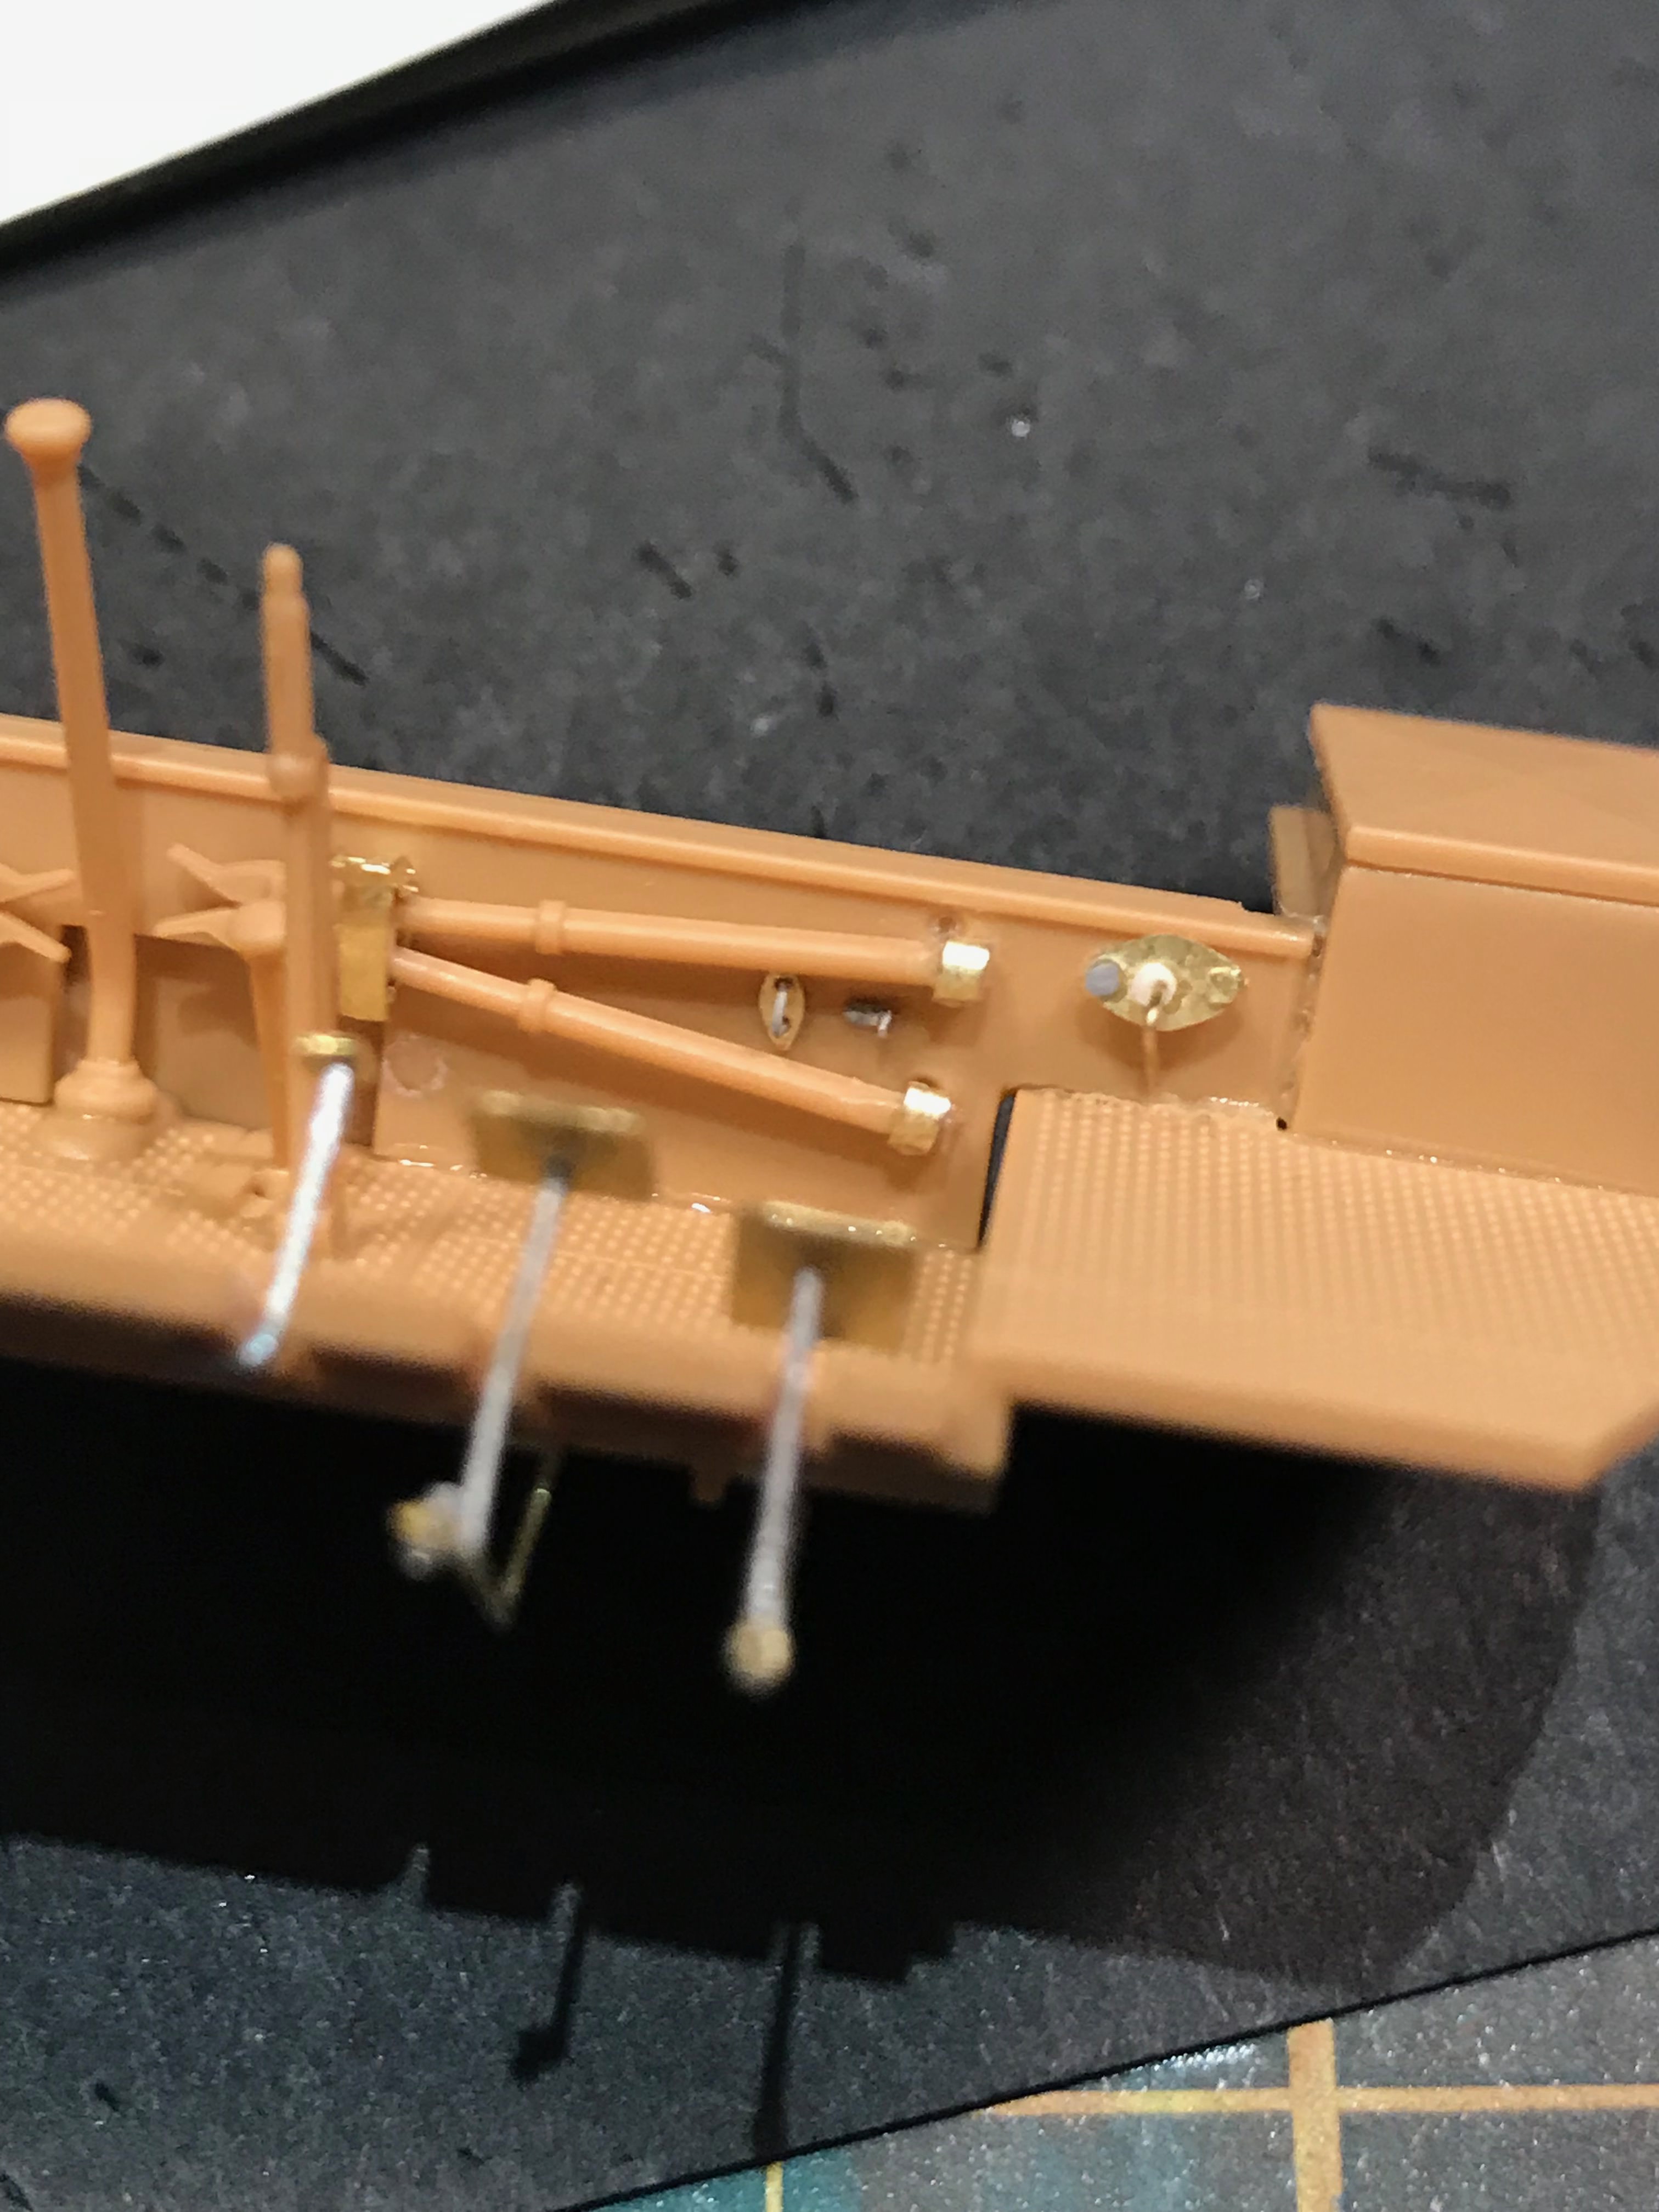
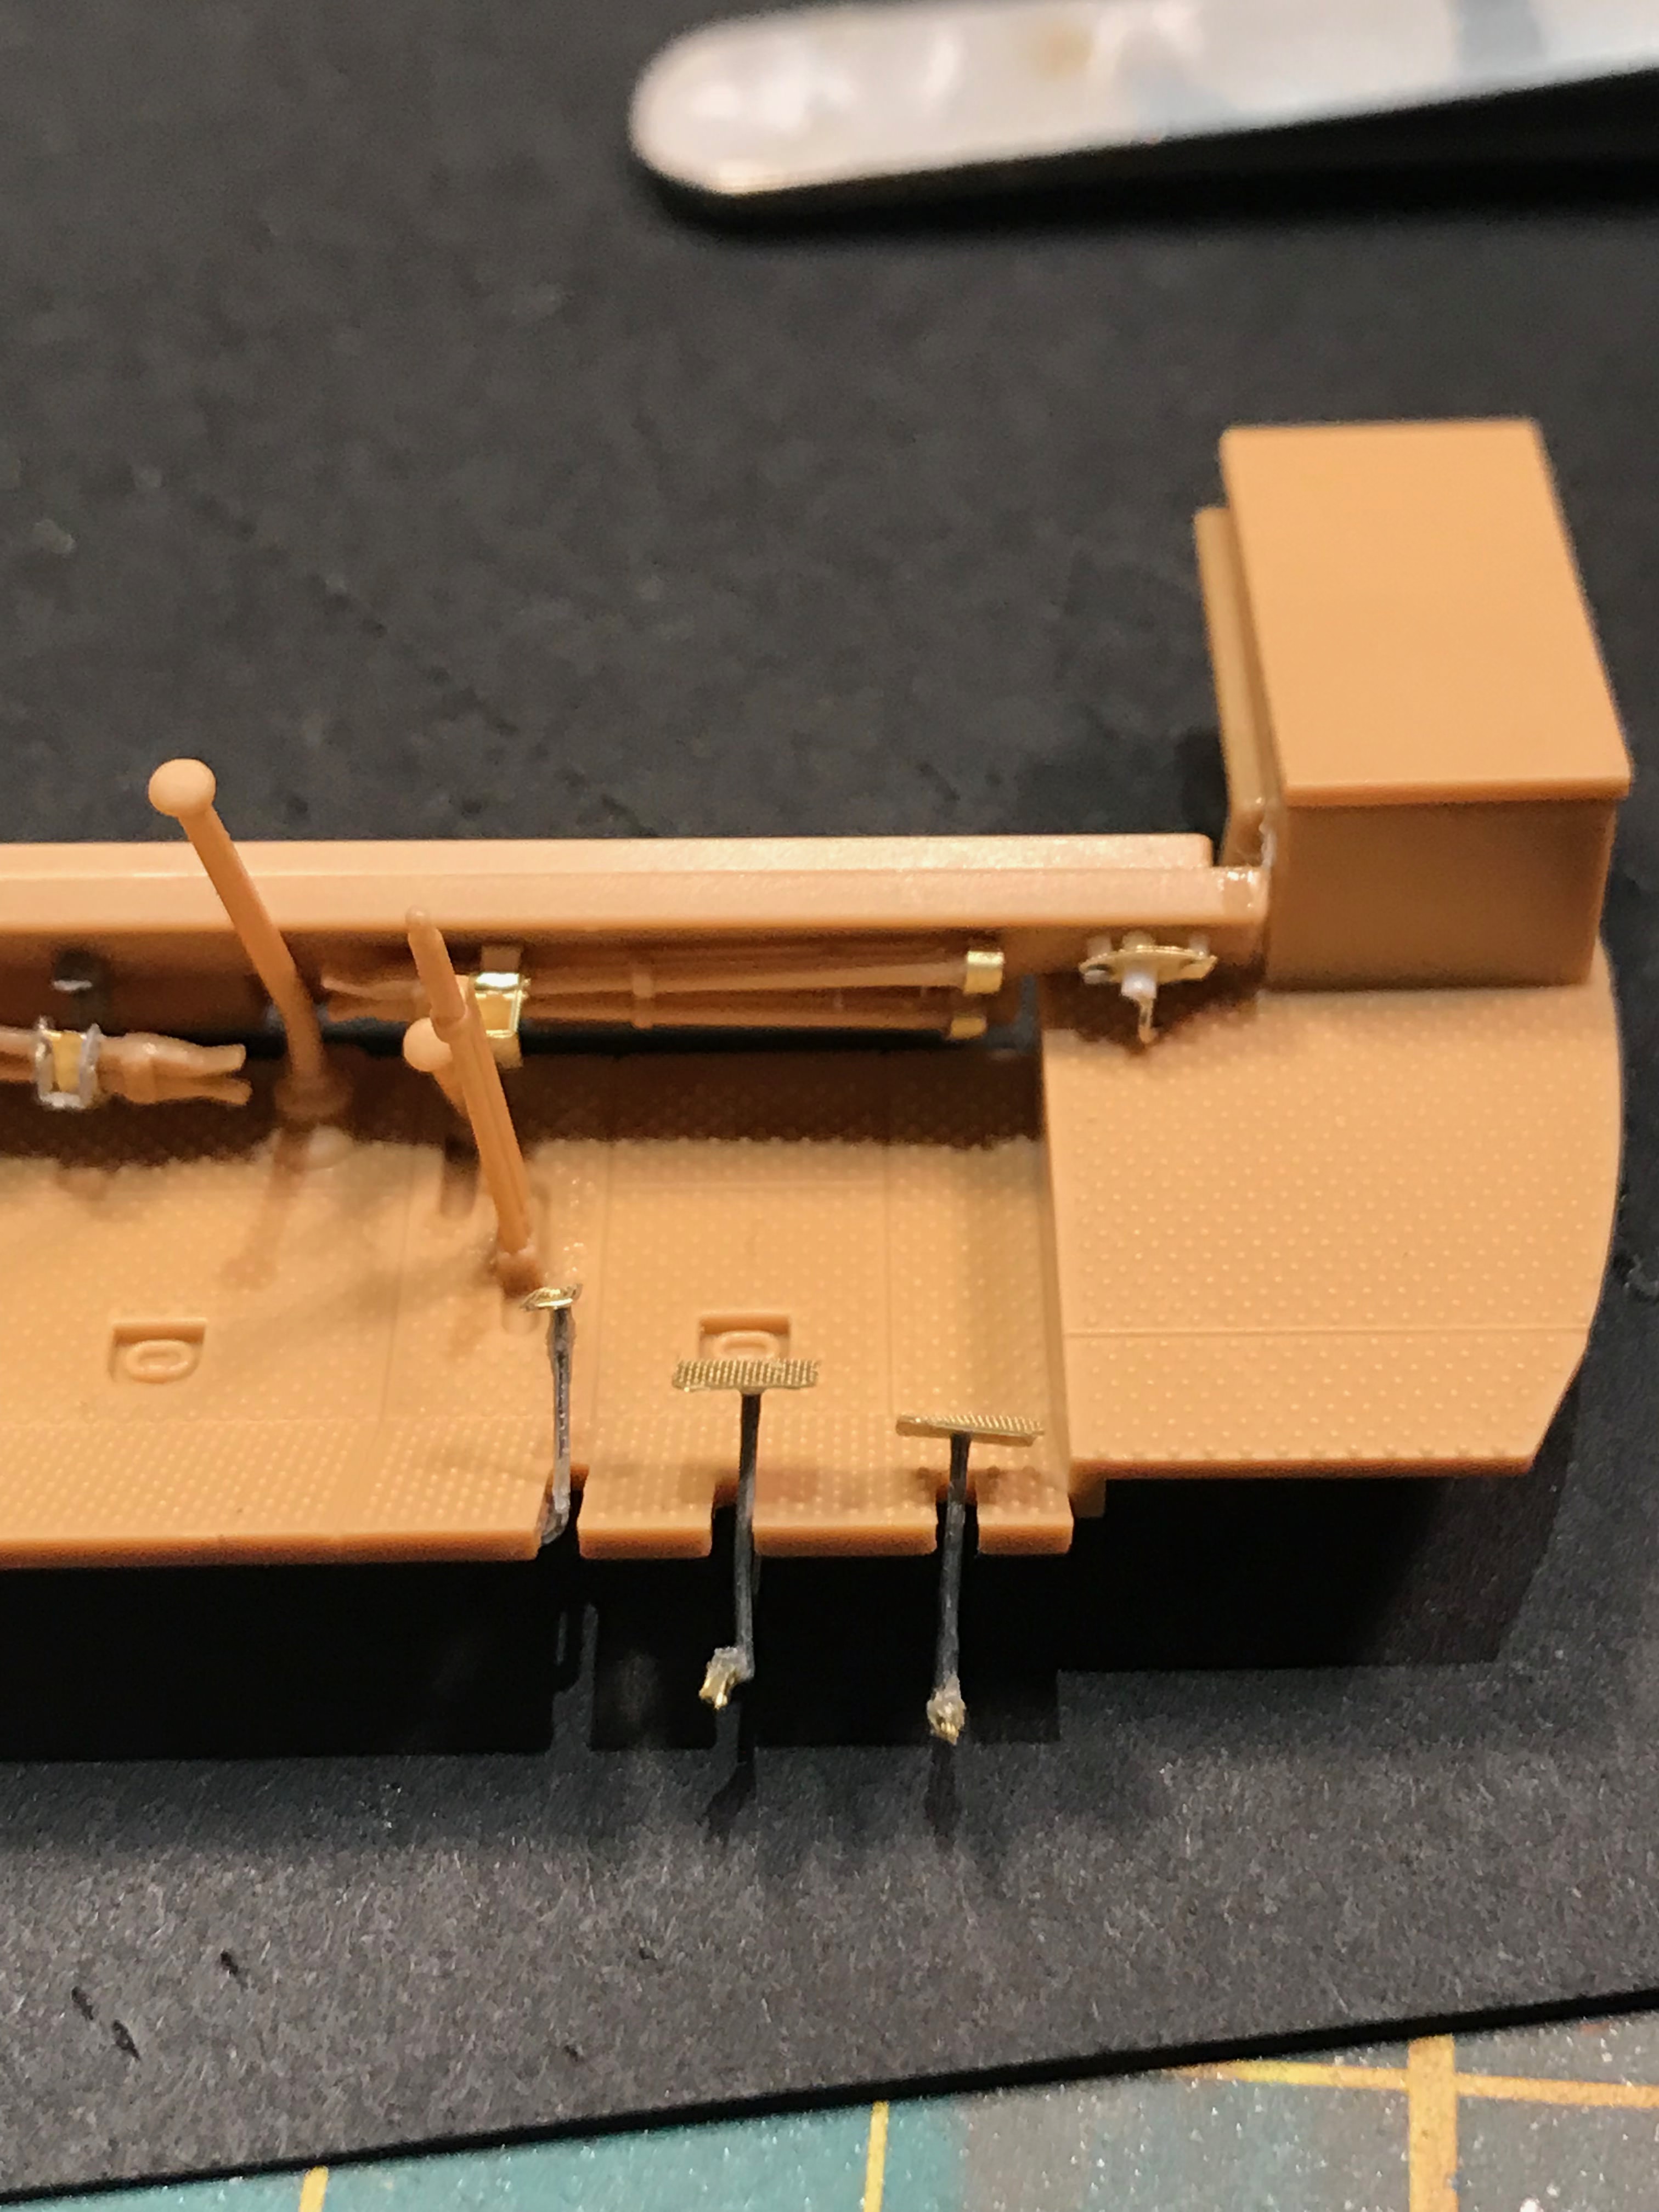
I hope to get some more done tomorrow, but I think football will dominate the evening for dome strnge reason! I am not even going ot say anything silly like "It's coming home"

More soon!
Starting work on the cab now. Not got very far, mainly because as Im getting older the mark 1 eyeball is getting less great and the Aber etch is so darn small! But they do look great really.
Working tool clamps, not that anyone will be using them of course!


Work on the cab coming along - dry fitted here


I hope to get some more done tomorrow, but I think football will dominate the evening for dome strnge reason! I am not even going ot say anything silly like "It's coming home"


More soon!

dbrad555

Joined: May 17, 2018
KitMaker: 65 posts
Armorama: 61 posts

Posted: Tuesday, July 10, 2018 - 09:52 PM UTC
Ok progress update: Its going slowly, mainly because of some minor issues I have encountered, especially with the Aber set. Whilst the Aber etch is great, there are some annoying issues, which are as follows:
1. The instructions. These are not the best to be fair. If you have an engineering Phd then maybe they are fine, but I dont have such a thing and the lack of any logical order to the instructions is annoying and can be fatal. My advice is to make sure you really know the instructions well, because you will discover that at a later stage you will be pulling apart parts you have already fitted in order to get the etch part placed - especially in the cab area.
2. Also the instructions tells you to place either rod or wire at certain points in order to build up the etch part. However, no diameters or lengths are given so its a guessing game as to size and a lot of trial and error really. It can be very frustrating indeed.
3. Not ony that, but the instructions also refers to cetain parts, like axes and crowbar, with the various brackets produced in etch. Each item directs you to the kit part, which in my kit doesnt exist! Tamiya doesnt refer to them nor do they provide them. Now this could be an add on, for your own tastes, but Aber dont say this they merely tell you to add "kit part". You could spend hours looking for these parts and will never find them. I thought that maybe this was because I was building te stand alone FAMO and not the one with the trailer. However, I have both kits and guess what, not axes in either!
4. The Aber set also give 3 handle type things in the drivers cab area, no idea what they are actualy. These go at the seat ends and one in the middle. Problem is the one in the middle requires that you file out the Tamiya seat, which isnt mentioned and you have to guess at this, which if you have glued the seat back into place before test fitting these items it will be a real pain the neck!
5. Friulmodel tracks are my next moan. The Tamiya instructions calls for 46 links each side, whereas no mention is made at all by Friulmodel about how many links. Now it could be that its the same, 46 links, but the metal links are slightly bigger, not much I admit but it could be enough to make it 45 links. Nevertheless, whilst i love guessing games, i shall go with 46 links and see what happens.
Aside form these annoing issues, the etch is great and the kit pulls together nicely - although soe of the fits on my model werent great with some small warpage, but nothing too major.
The cab is coming along - albeit slowly
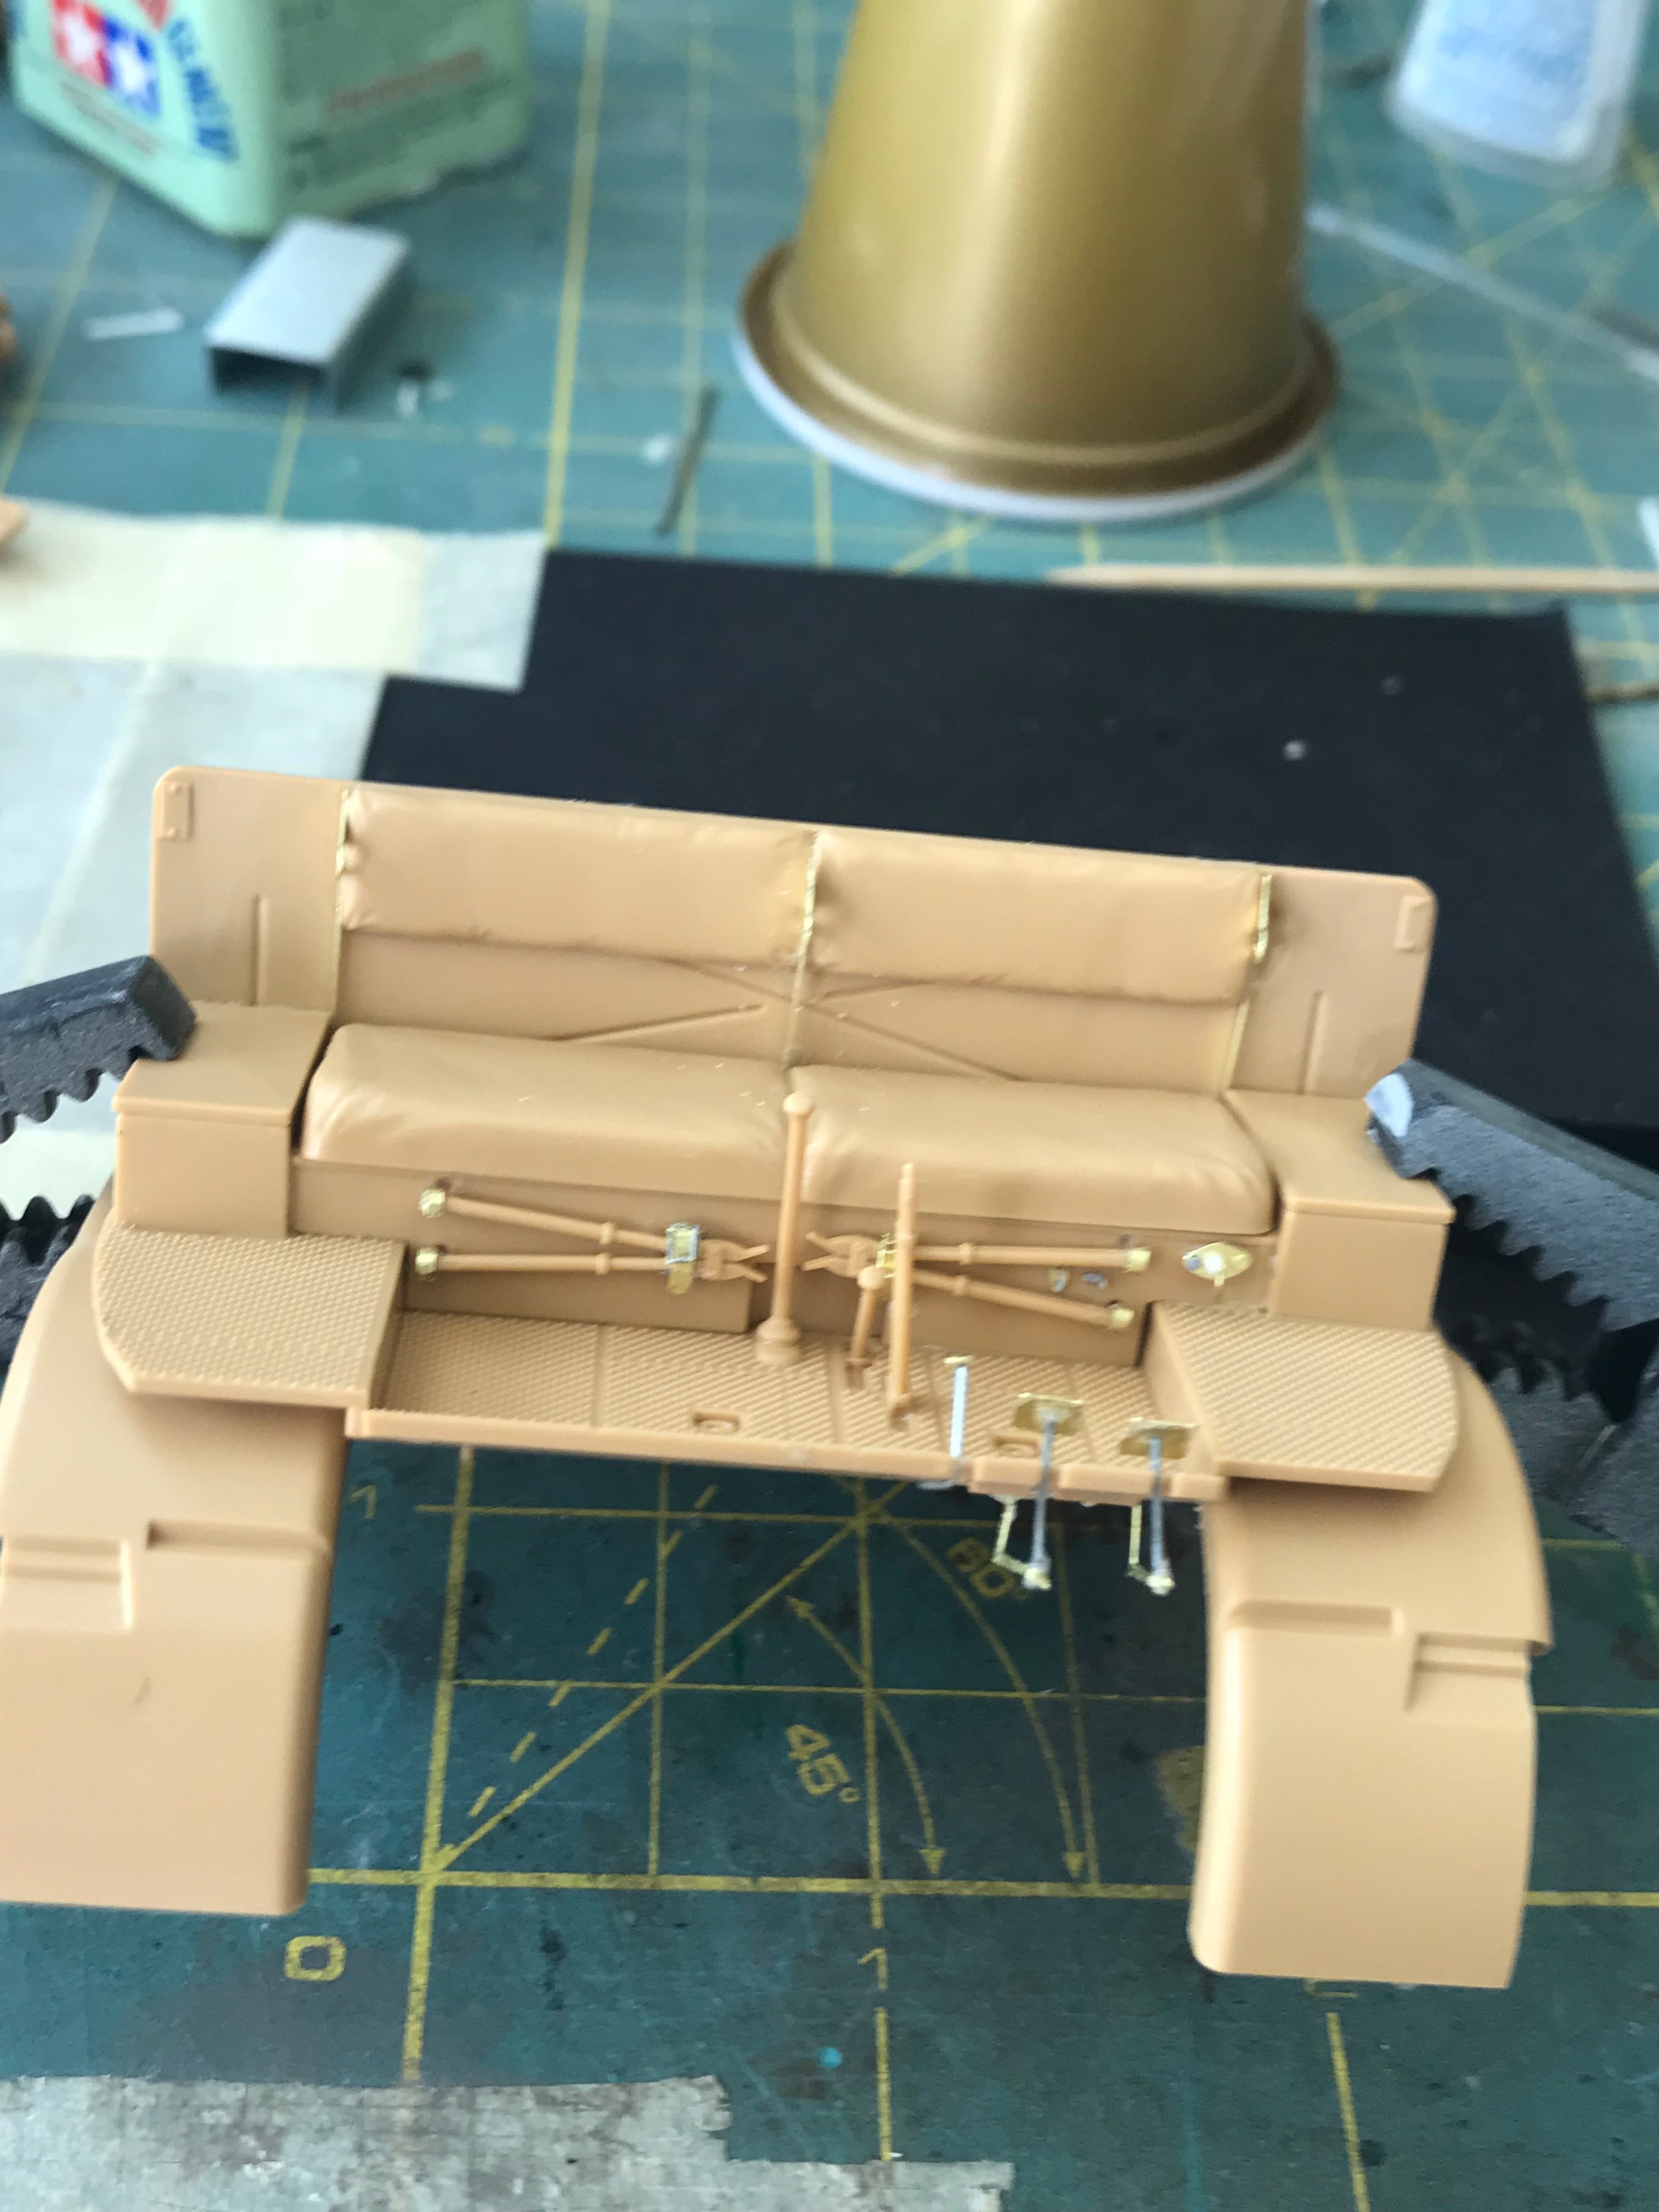

More to come soon
1. The instructions. These are not the best to be fair. If you have an engineering Phd then maybe they are fine, but I dont have such a thing and the lack of any logical order to the instructions is annoying and can be fatal. My advice is to make sure you really know the instructions well, because you will discover that at a later stage you will be pulling apart parts you have already fitted in order to get the etch part placed - especially in the cab area.
2. Also the instructions tells you to place either rod or wire at certain points in order to build up the etch part. However, no diameters or lengths are given so its a guessing game as to size and a lot of trial and error really. It can be very frustrating indeed.
3. Not ony that, but the instructions also refers to cetain parts, like axes and crowbar, with the various brackets produced in etch. Each item directs you to the kit part, which in my kit doesnt exist! Tamiya doesnt refer to them nor do they provide them. Now this could be an add on, for your own tastes, but Aber dont say this they merely tell you to add "kit part". You could spend hours looking for these parts and will never find them. I thought that maybe this was because I was building te stand alone FAMO and not the one with the trailer. However, I have both kits and guess what, not axes in either!
4. The Aber set also give 3 handle type things in the drivers cab area, no idea what they are actualy. These go at the seat ends and one in the middle. Problem is the one in the middle requires that you file out the Tamiya seat, which isnt mentioned and you have to guess at this, which if you have glued the seat back into place before test fitting these items it will be a real pain the neck!
5. Friulmodel tracks are my next moan. The Tamiya instructions calls for 46 links each side, whereas no mention is made at all by Friulmodel about how many links. Now it could be that its the same, 46 links, but the metal links are slightly bigger, not much I admit but it could be enough to make it 45 links. Nevertheless, whilst i love guessing games, i shall go with 46 links and see what happens.
Aside form these annoing issues, the etch is great and the kit pulls together nicely - although soe of the fits on my model werent great with some small warpage, but nothing too major.
The cab is coming along - albeit slowly


More to come soon
redcap

Joined: November 06, 2005
KitMaker: 753 posts
Armorama: 378 posts

Posted: Tuesday, July 10, 2018 - 10:57 PM UTC
Agree about the Aber instructions and I am glad to hear it just isn't me who finds them perhaps the most confusing and difficult to follow in the hobby.
Irrespective, great work and progress Darren and some nice attention to details which will pay dividends once it all gets a coat of paint.
Great stuff!
Gary
Irrespective, great work and progress Darren and some nice attention to details which will pay dividends once it all gets a coat of paint.
Great stuff!
Gary
vettejack

Joined: November 23, 2012
KitMaker: 1,277 posts
Armorama: 1,254 posts

Posted: Wednesday, July 11, 2018 - 01:56 AM UTC
Having 3 Famos's in the stash, for 3 different configurations, I'll be following this thread. Always nice and convenient to follow what can be done/used on your own personal build! Thanx for letting us peek in! 

dbrad555

Joined: May 17, 2018
KitMaker: 65 posts
Armorama: 61 posts

Posted: Wednesday, July 11, 2018 - 09:52 PM UTC
Thanks Gary and John for the kind words - and Gary yep I once again run into a Aber instruction issue! They are so annoying these instructions and they just keep you guessing all the time! I couldnt work out if you had to remove the whole of the elevator bar, I think its for the cab cover, or just the top part. Aber show no detail at all and by removing only the top part it will leave a nasty line - in the end I just removed the top part. Normally I would look atthe various walkarounds that are out there, but the FAMO lacks these in any major detail unfortunatly. Those that do show complete vehicles all have the damn roof on! There are some under restoration, and some do show this part, but the pictures arent that clear.
Anyway, back to the build. The cab is still progressing slowly.
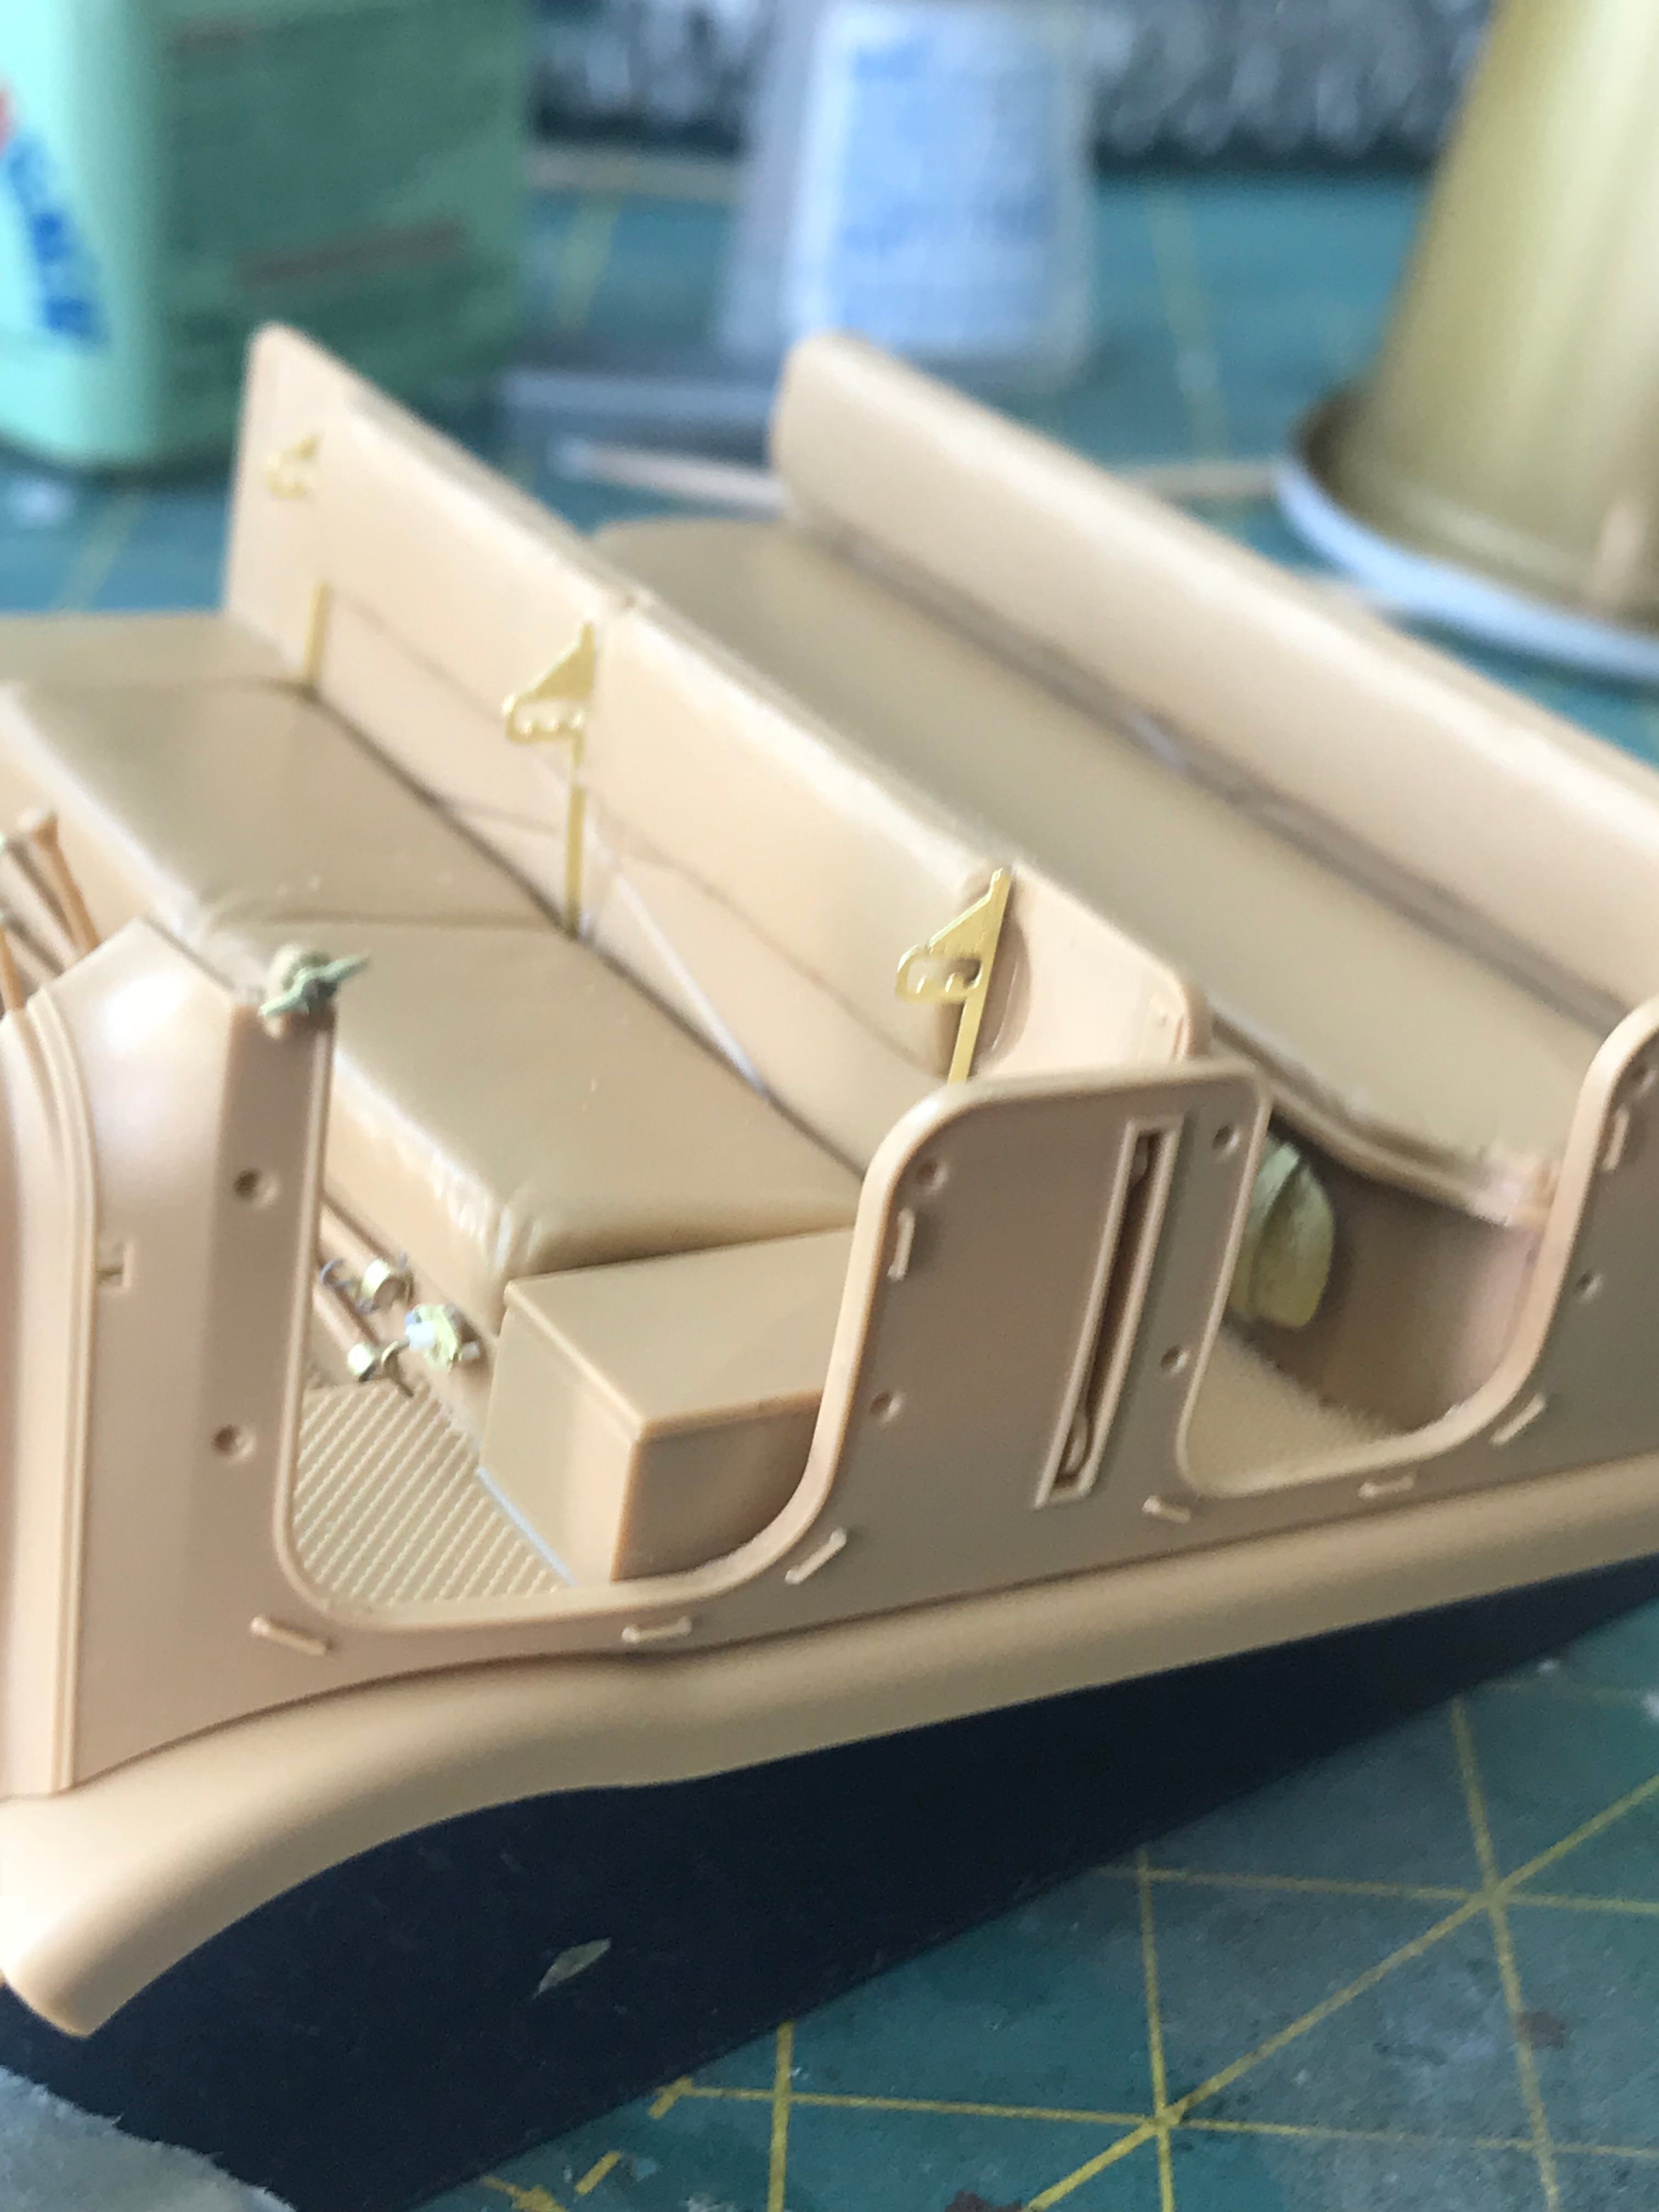
Yes the windscreen locking tool was a real pain, but well worth it
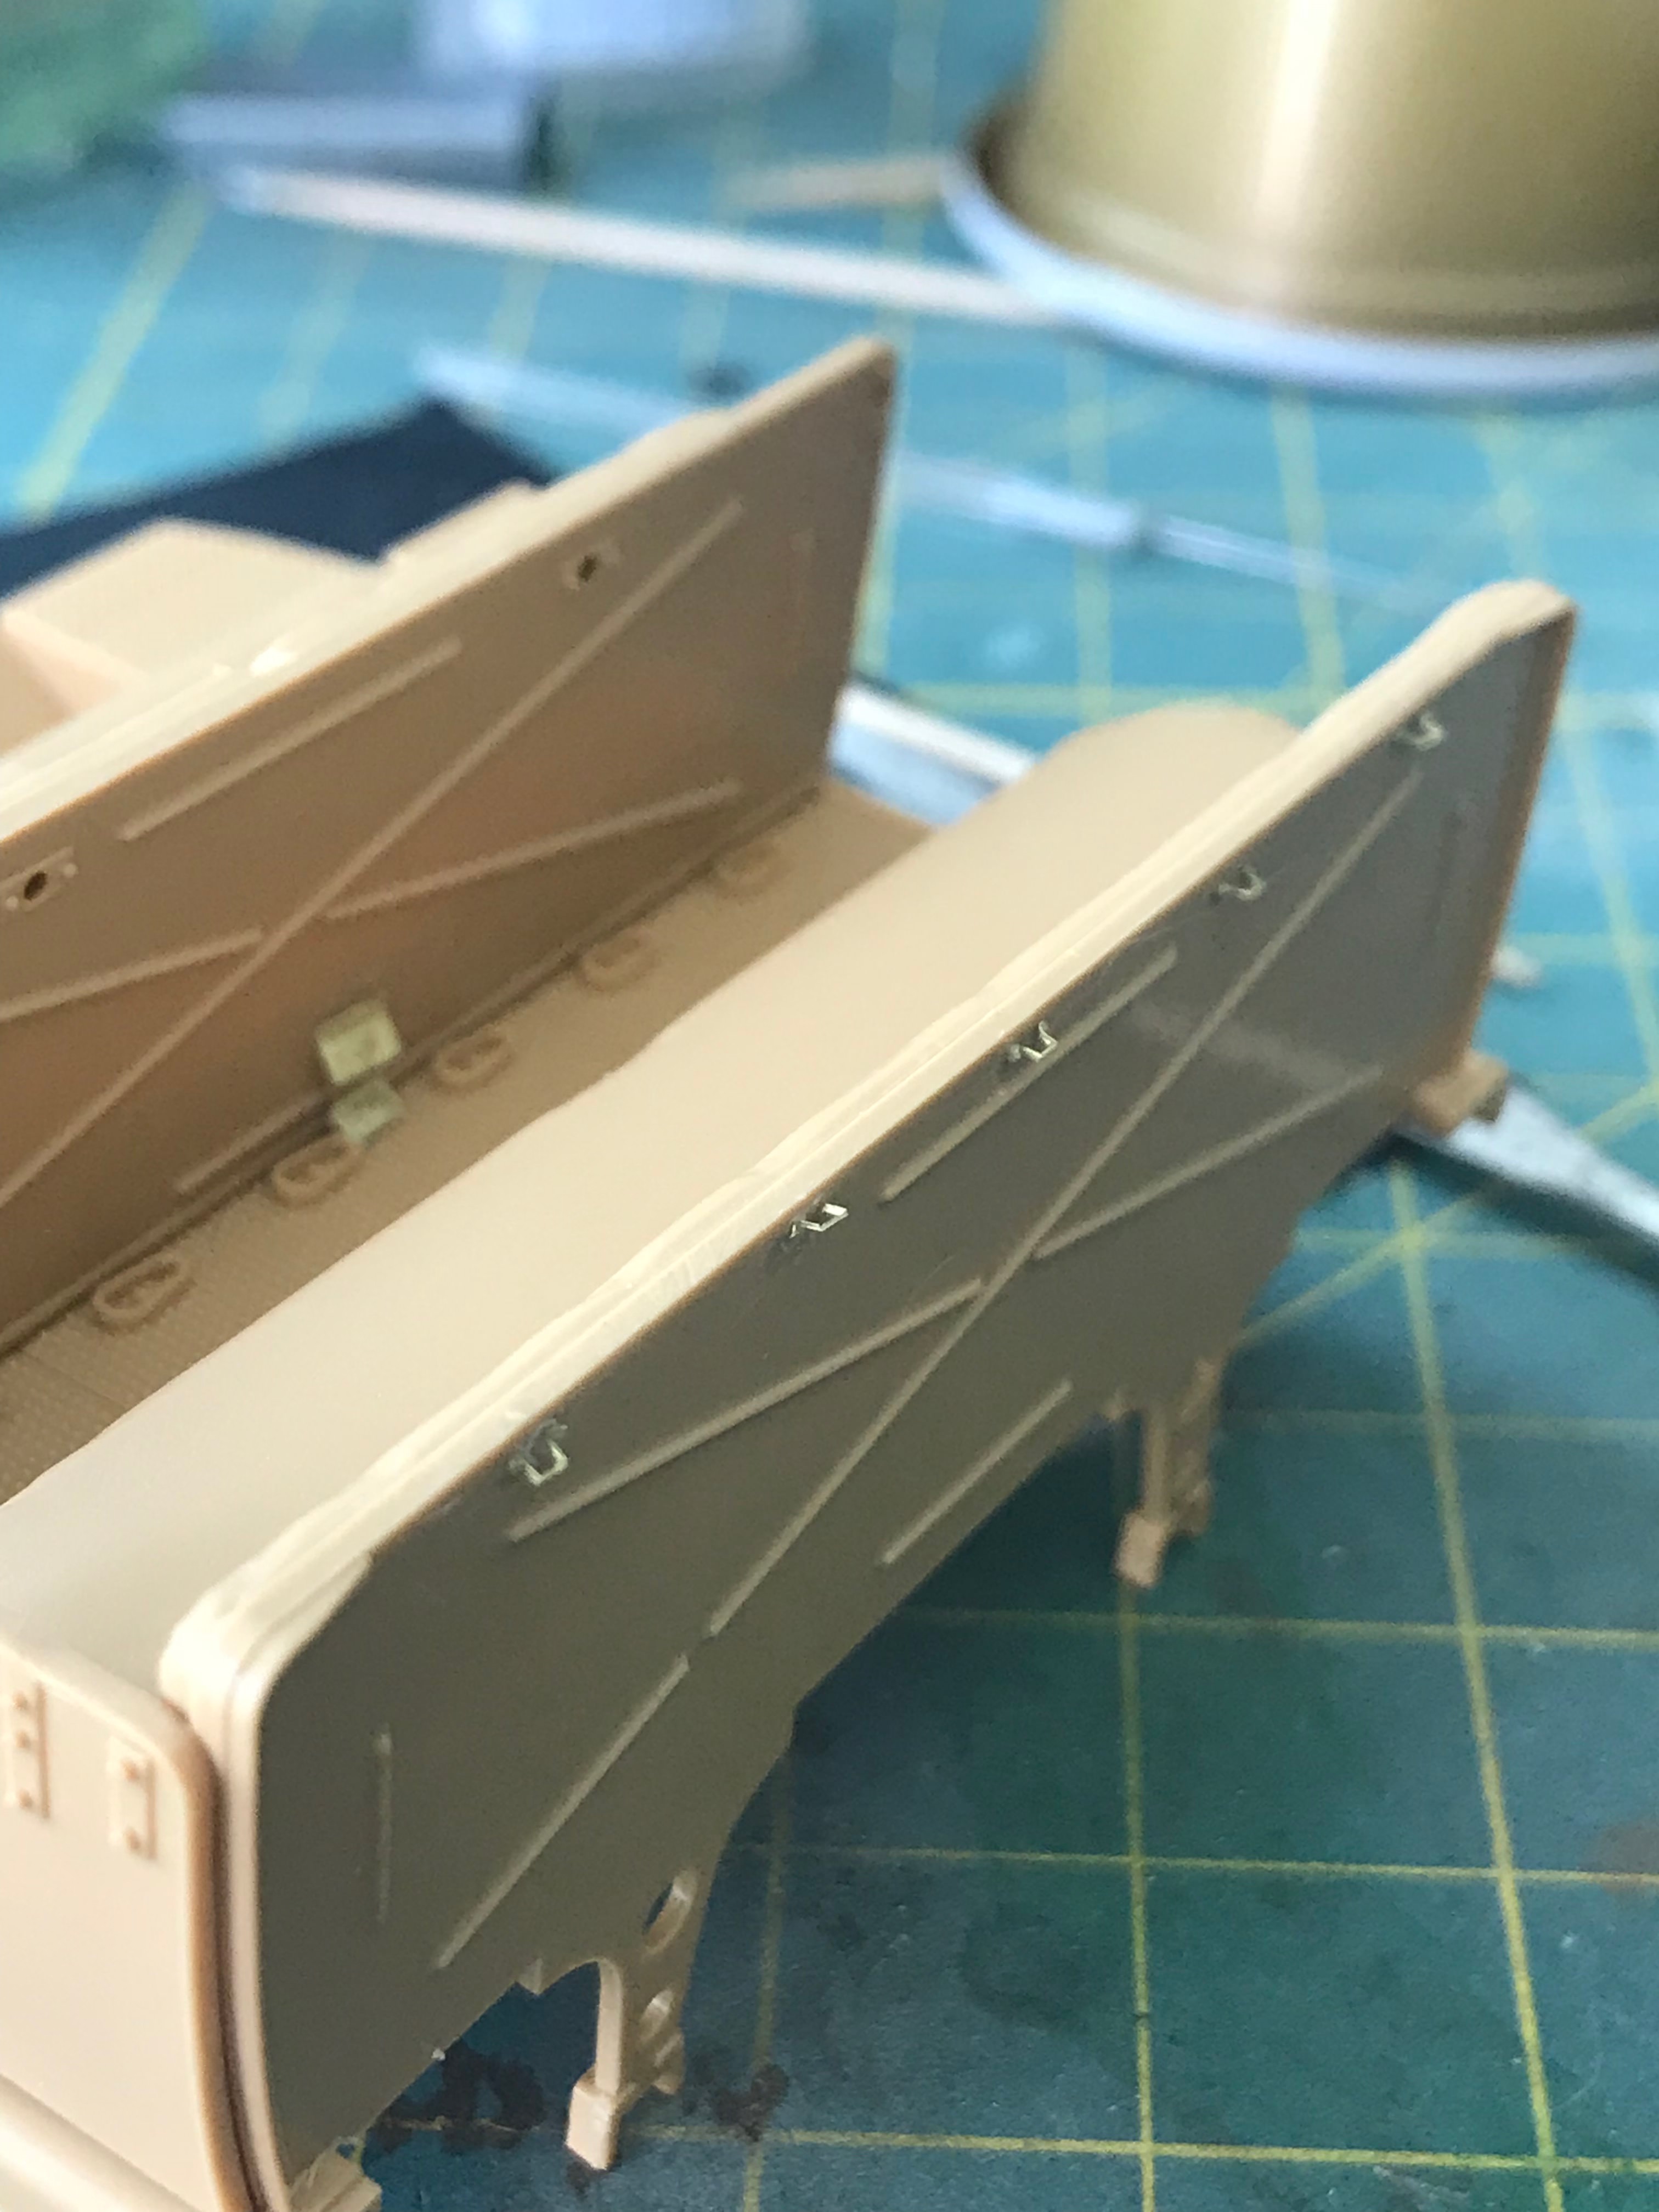
More to come soon!
Anyway, back to the build. The cab is still progressing slowly.

Yes the windscreen locking tool was a real pain, but well worth it

More to come soon!

bill_c

Joined: January 09, 2008
KitMaker: 10,553 posts
Armorama: 8,109 posts

Posted: Thursday, July 12, 2018 - 04:51 AM UTC
Nice work. If you include a "brag book" with photos of the hidden parts and maybe some reference photos for that work, you can pick up extra credit should you enter the kit in a contest.
redcap

Joined: November 06, 2005
KitMaker: 753 posts
Armorama: 378 posts

Posted: Thursday, July 12, 2018 - 05:48 AM UTC
Just superb and this is clearly a 'labour of love' project.
Keep the pics coming!
Gary
Keep the pics coming!
Gary

timcc2008

Joined: May 12, 2010
KitMaker: 139 posts
Armorama: 135 posts

Posted: Thursday, July 12, 2018 - 06:03 AM UTC
Looking to be a nice build with lots of PE. I will be following this one.
vr,
Tim
vr,
Tim
dbrad555

Joined: May 17, 2018
KitMaker: 65 posts
Armorama: 61 posts

Posted: Thursday, July 12, 2018 - 06:46 AM UTC
Thanks for the kind words guys, really appreciate it. Contest material, oh Im not sure Im up to that level just yet lol and it being a labour of love, kind of I guess, although I certainly dont love Aber instructions lol
Anyway, next update. Cab is still coming along. I put the outer frame on, but as I stated earier due to some minor warpage mine really didnt fit that well. I dont think this is Tamiya's fault, the kit has been lying in a box for a fair few years and I live out in one of most hot and humid places on the planet, so I think its that. Anyway, a little filler and some filing sorted out the issue really.
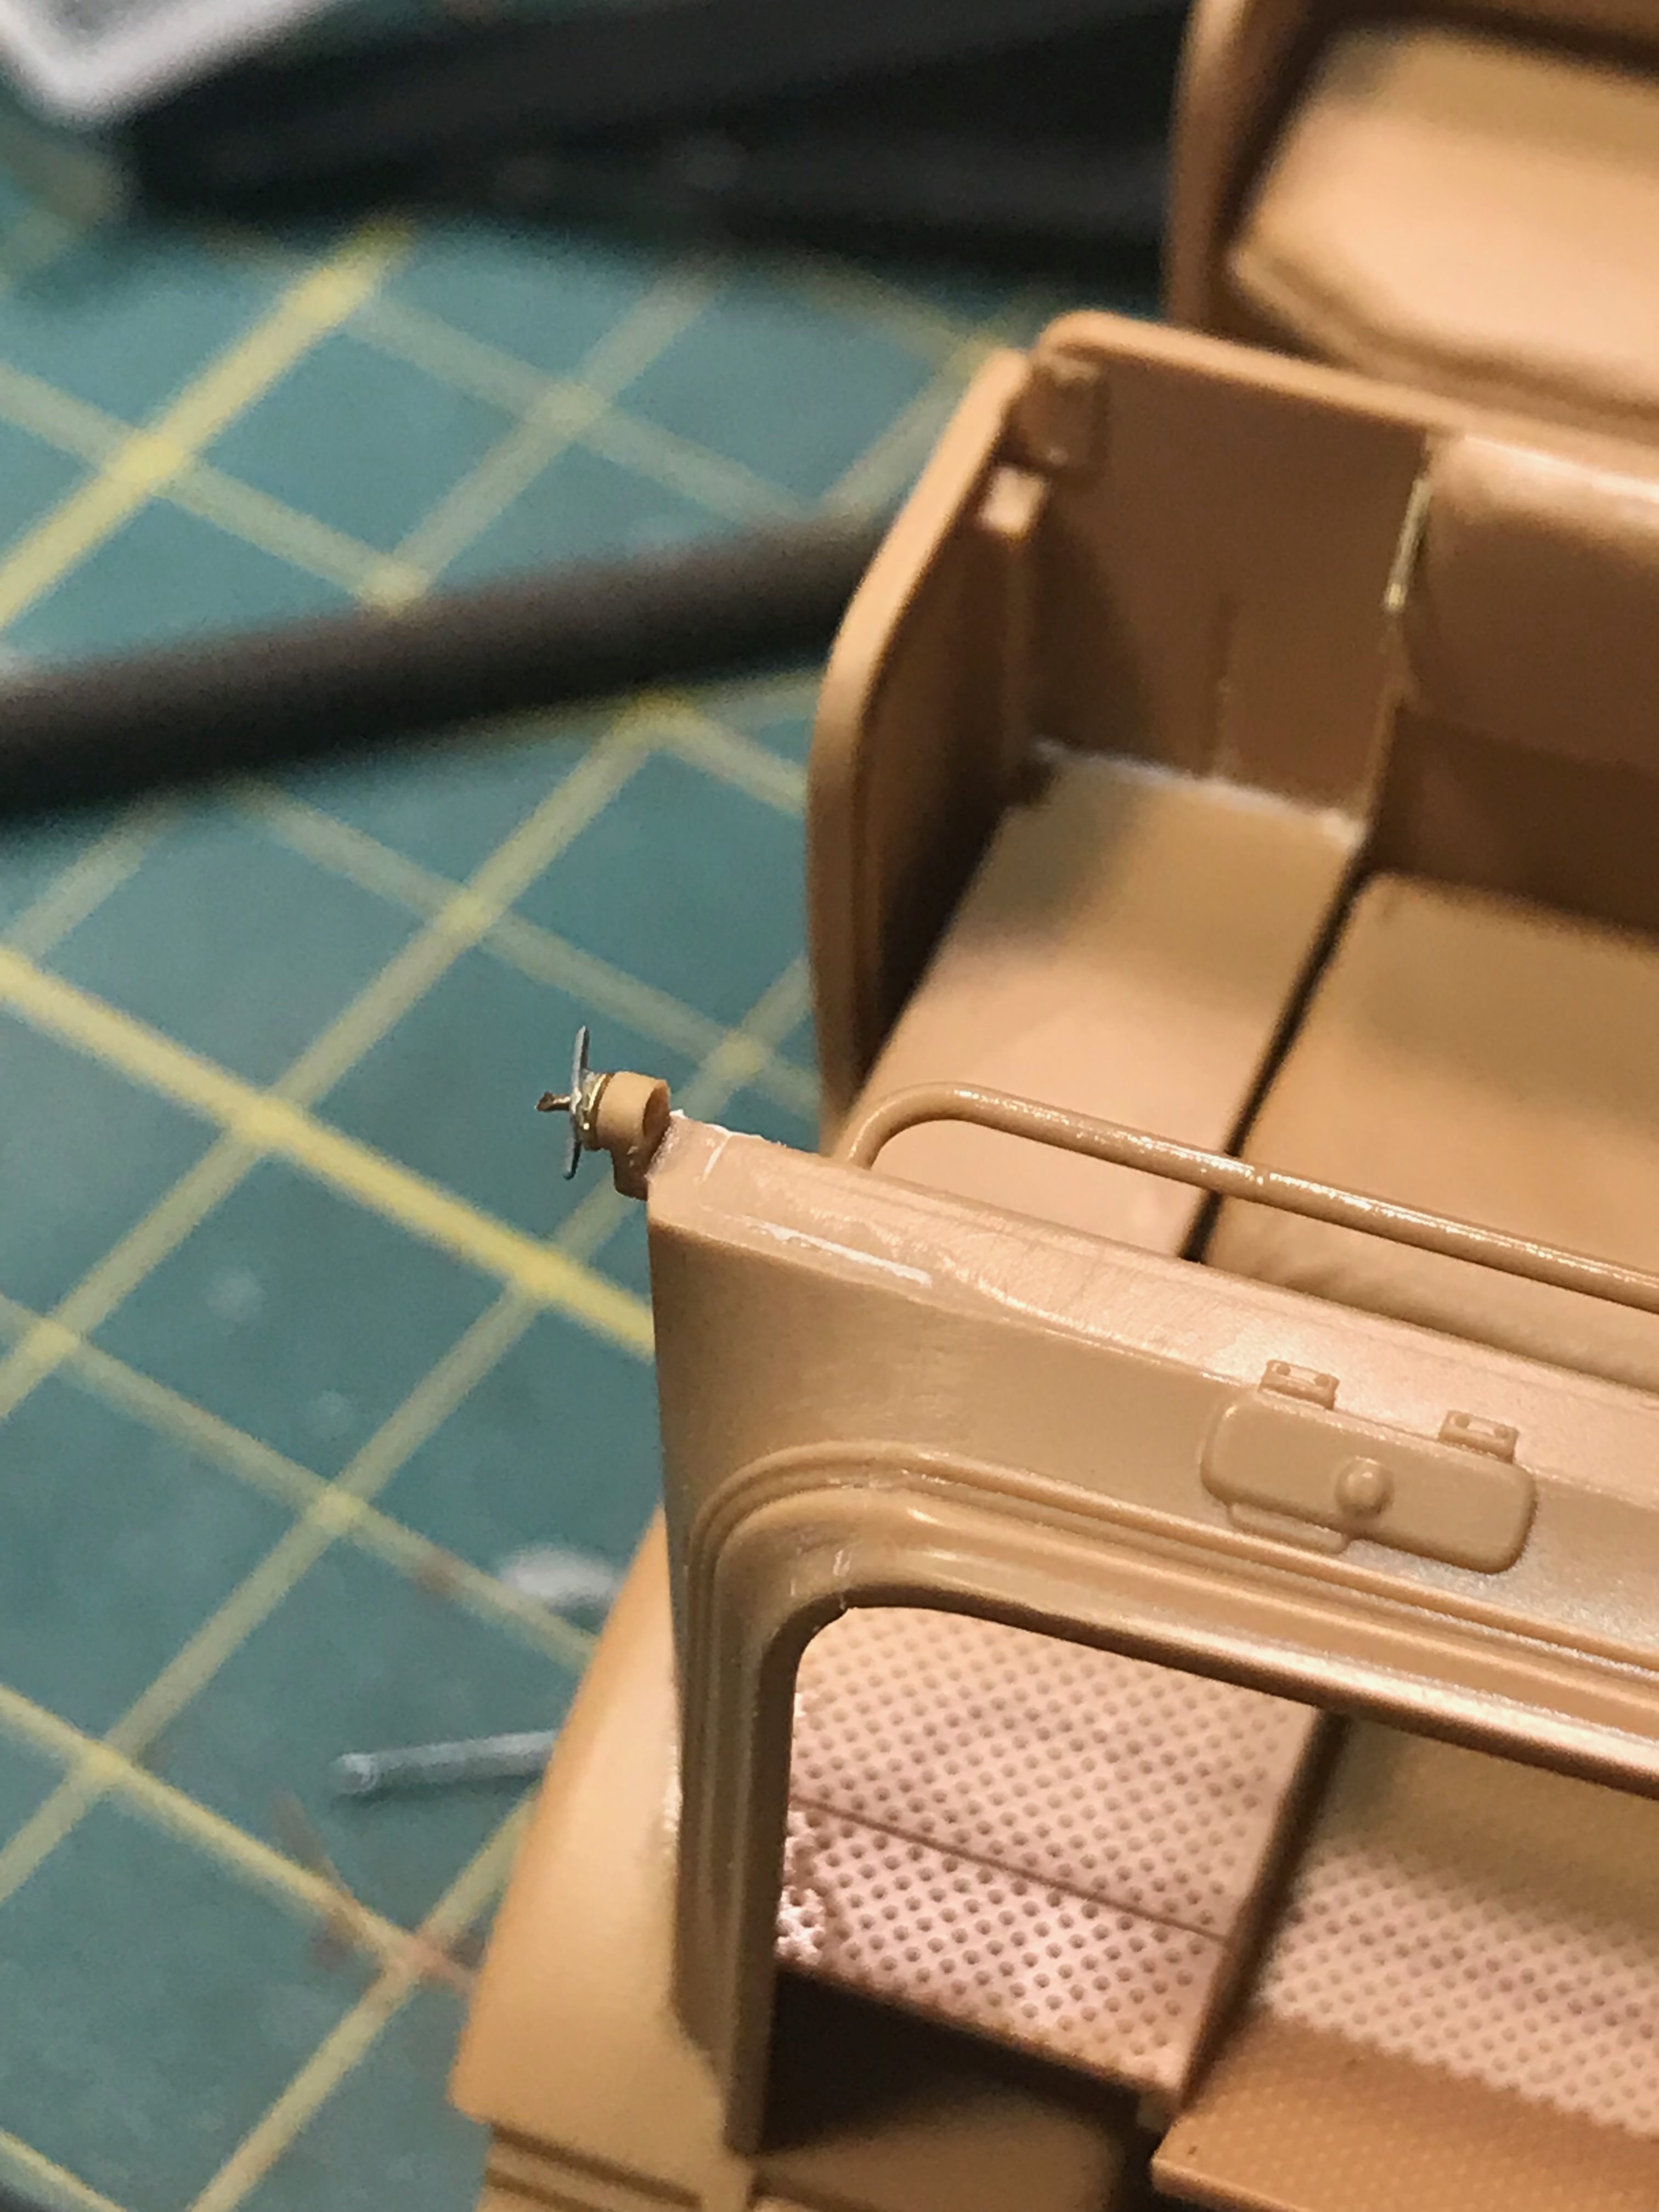
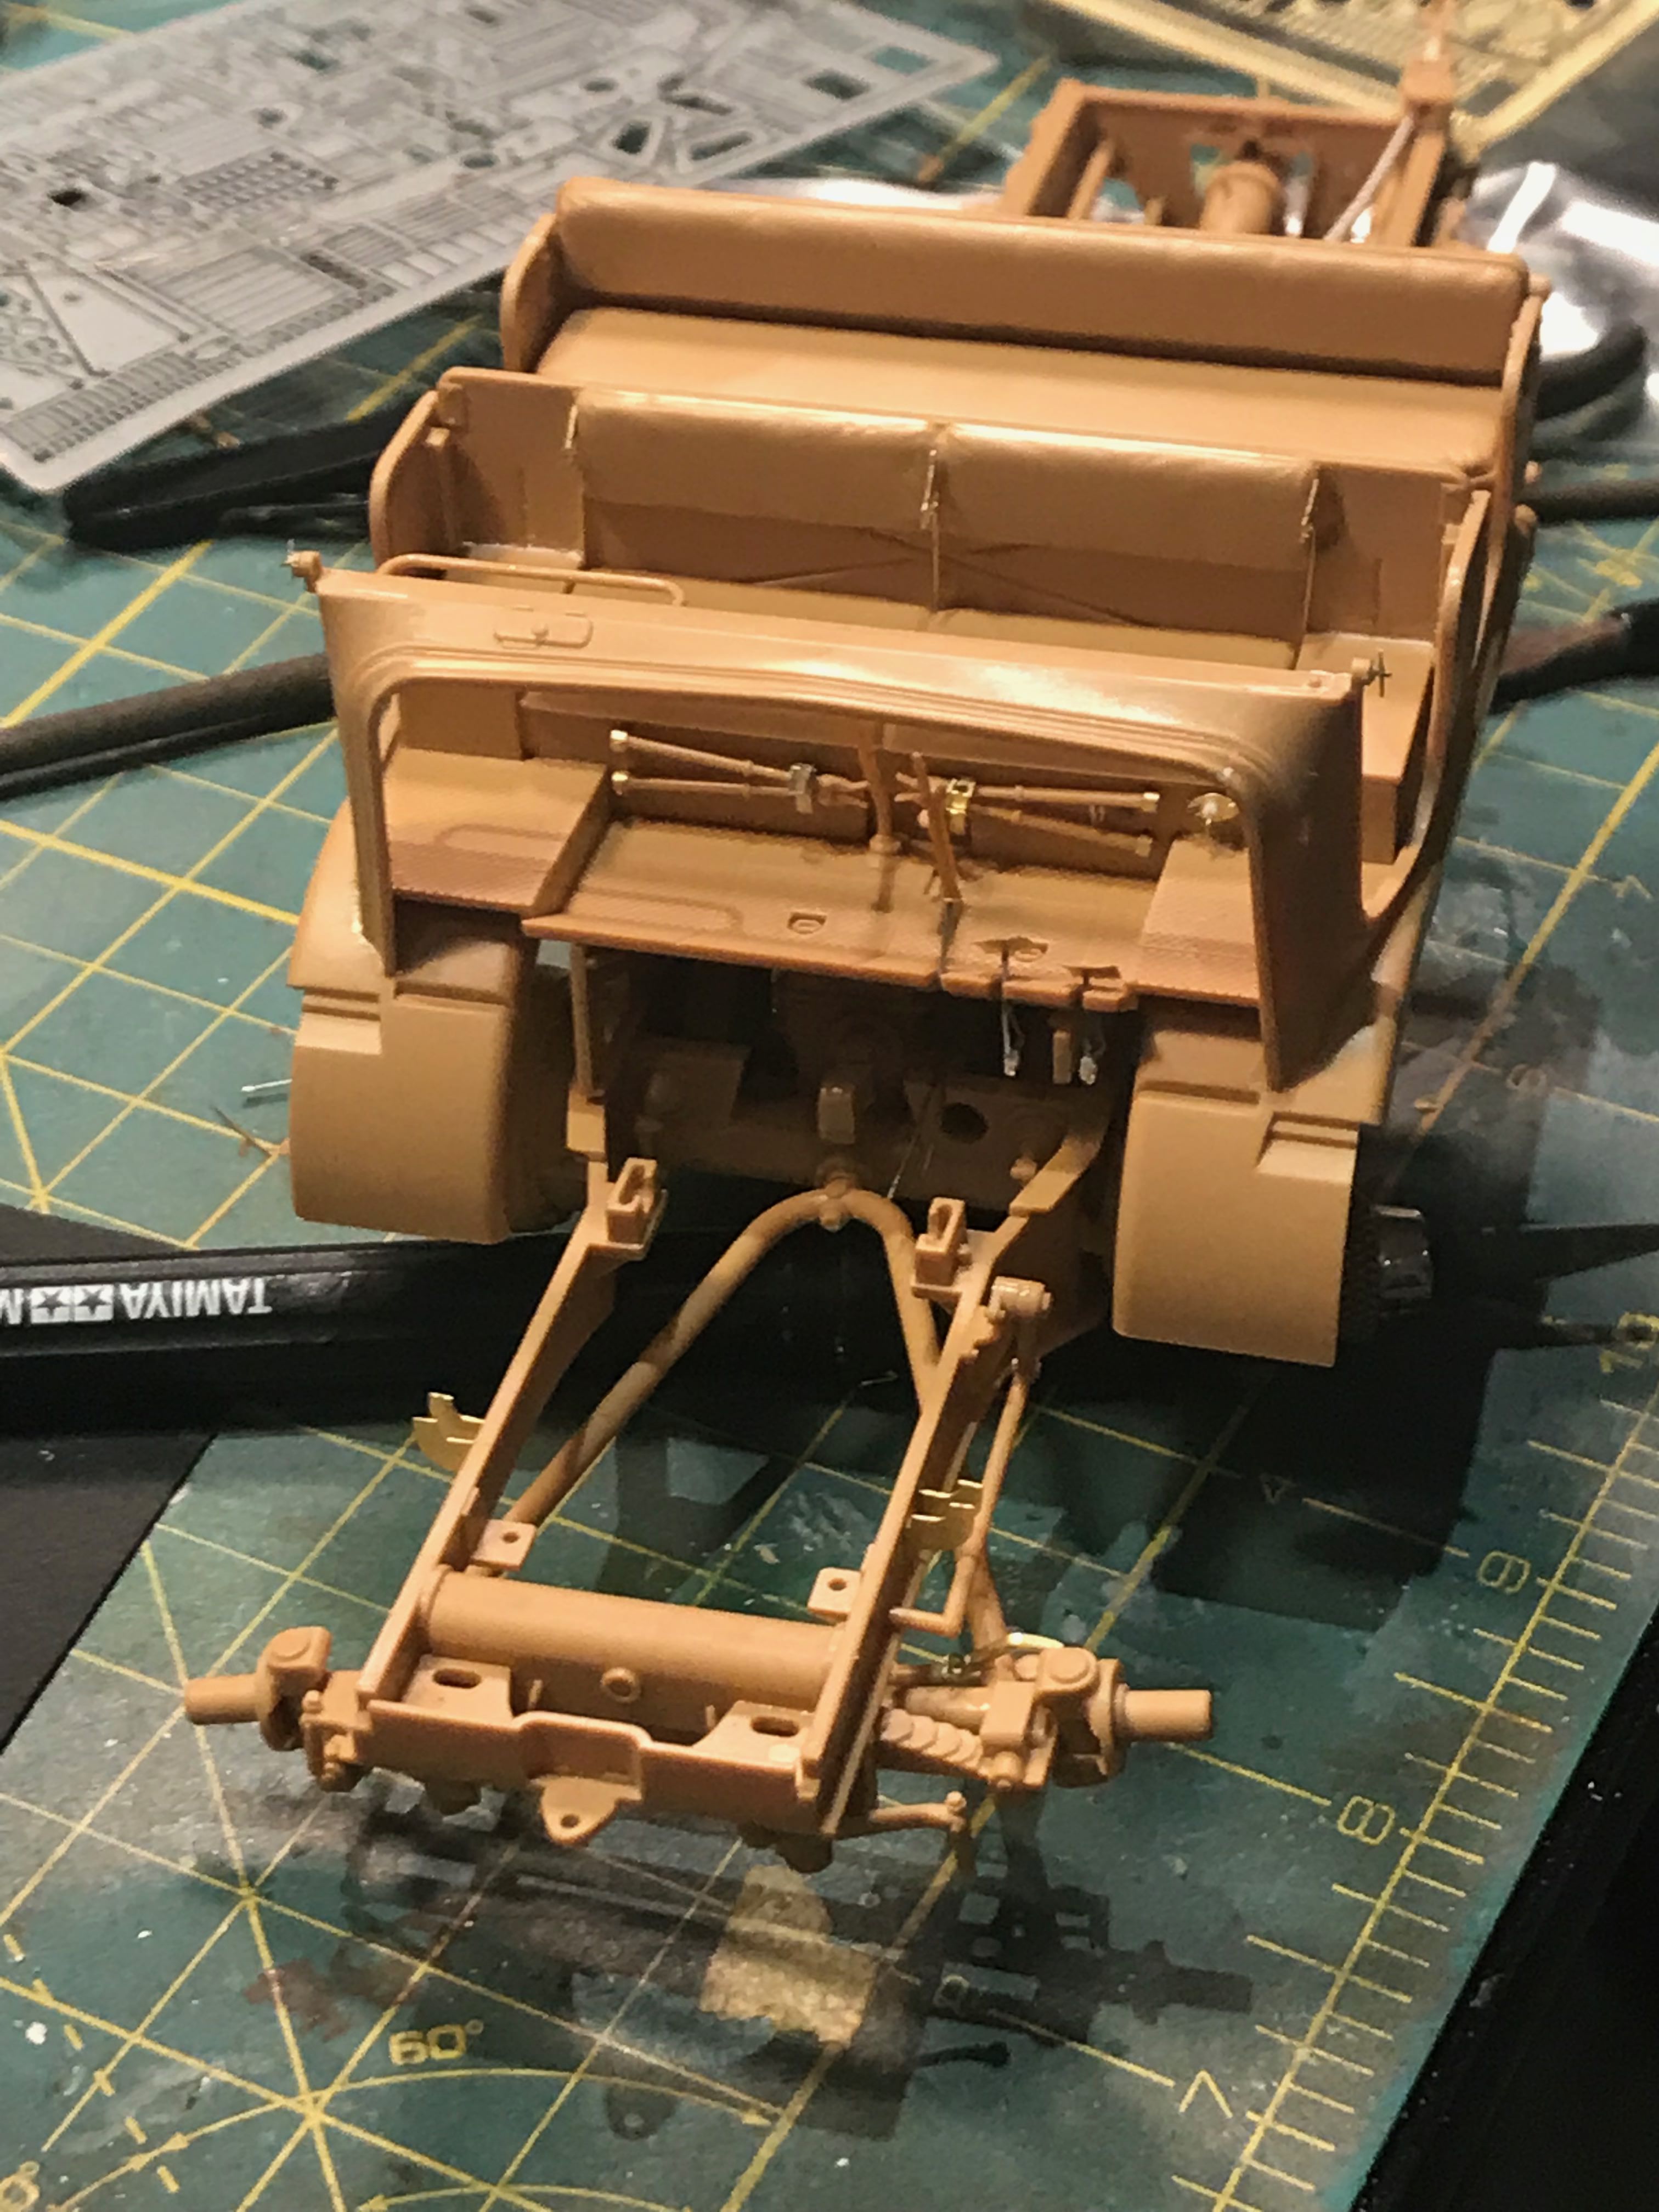
I havent married the cab to the frame yet, its just dry fitted to help cure the warp a little bit.
Work also started on the dash - and boy these Aber parts are tiny

Again Aber's instructions were pretty unclear. In fairness they do give you 2 options for the dash, one a complete sratch build one and the other with the reworked kit part. Problem with both options is that the the guage on the left shows 3 film parts but Aber give only one and it would have been almost impossible to cut out those tiny parts. Not only that they dont show how you are meant to rework the kit part, so I just erred on the the side of caution and removed all the raised detail and filed it back to zero and just put the entire film in place. I have no idea if that is what you are menat to do, but it looks ok to me and obviously the black parts outside the etch will be painted. The main instrument panel was also rather lacking detail on what to do. So again removed all raised parts and filed it flat. In hindsight however I shouldve painted the reworked dash white before placing the film, but at this scale it may work with the tan plastic colour. Wouldve been nice if Aber said to do this however... Not to worry though!
More updates soon
Anyway, next update. Cab is still coming along. I put the outer frame on, but as I stated earier due to some minor warpage mine really didnt fit that well. I dont think this is Tamiya's fault, the kit has been lying in a box for a fair few years and I live out in one of most hot and humid places on the planet, so I think its that. Anyway, a little filler and some filing sorted out the issue really.


I havent married the cab to the frame yet, its just dry fitted to help cure the warp a little bit.
Work also started on the dash - and boy these Aber parts are tiny

Again Aber's instructions were pretty unclear. In fairness they do give you 2 options for the dash, one a complete sratch build one and the other with the reworked kit part. Problem with both options is that the the guage on the left shows 3 film parts but Aber give only one and it would have been almost impossible to cut out those tiny parts. Not only that they dont show how you are meant to rework the kit part, so I just erred on the the side of caution and removed all the raised detail and filed it back to zero and just put the entire film in place. I have no idea if that is what you are menat to do, but it looks ok to me and obviously the black parts outside the etch will be painted. The main instrument panel was also rather lacking detail on what to do. So again removed all raised parts and filed it flat. In hindsight however I shouldve painted the reworked dash white before placing the film, but at this scale it may work with the tan plastic colour. Wouldve been nice if Aber said to do this however... Not to worry though!
More updates soon

dbrad555

Joined: May 17, 2018
KitMaker: 65 posts
Armorama: 61 posts

Posted: Thursday, July 12, 2018 - 07:51 AM UTC
Slowly moving along with this build, but boy its a good test! The Tamiya instructions now call for putting together the dash and marrying it with the wall between cab and engine. Before doing this, there is quite a lot of Aber etch to add and it needs to be done before you even think about putting the wall into place!
After a careful review of Abers instructions it becomes clear that some scratch building is required here, especially on a part (an oil filter maybe) that Tamiya doesnt provide. Aber do give some indication here of the size, but as you will see the instructions are not that clear really. Now I dont carry any rod that is 2.5mm, but i noticed the Tamyia sprue is around that lenght so I cut that up and started there.
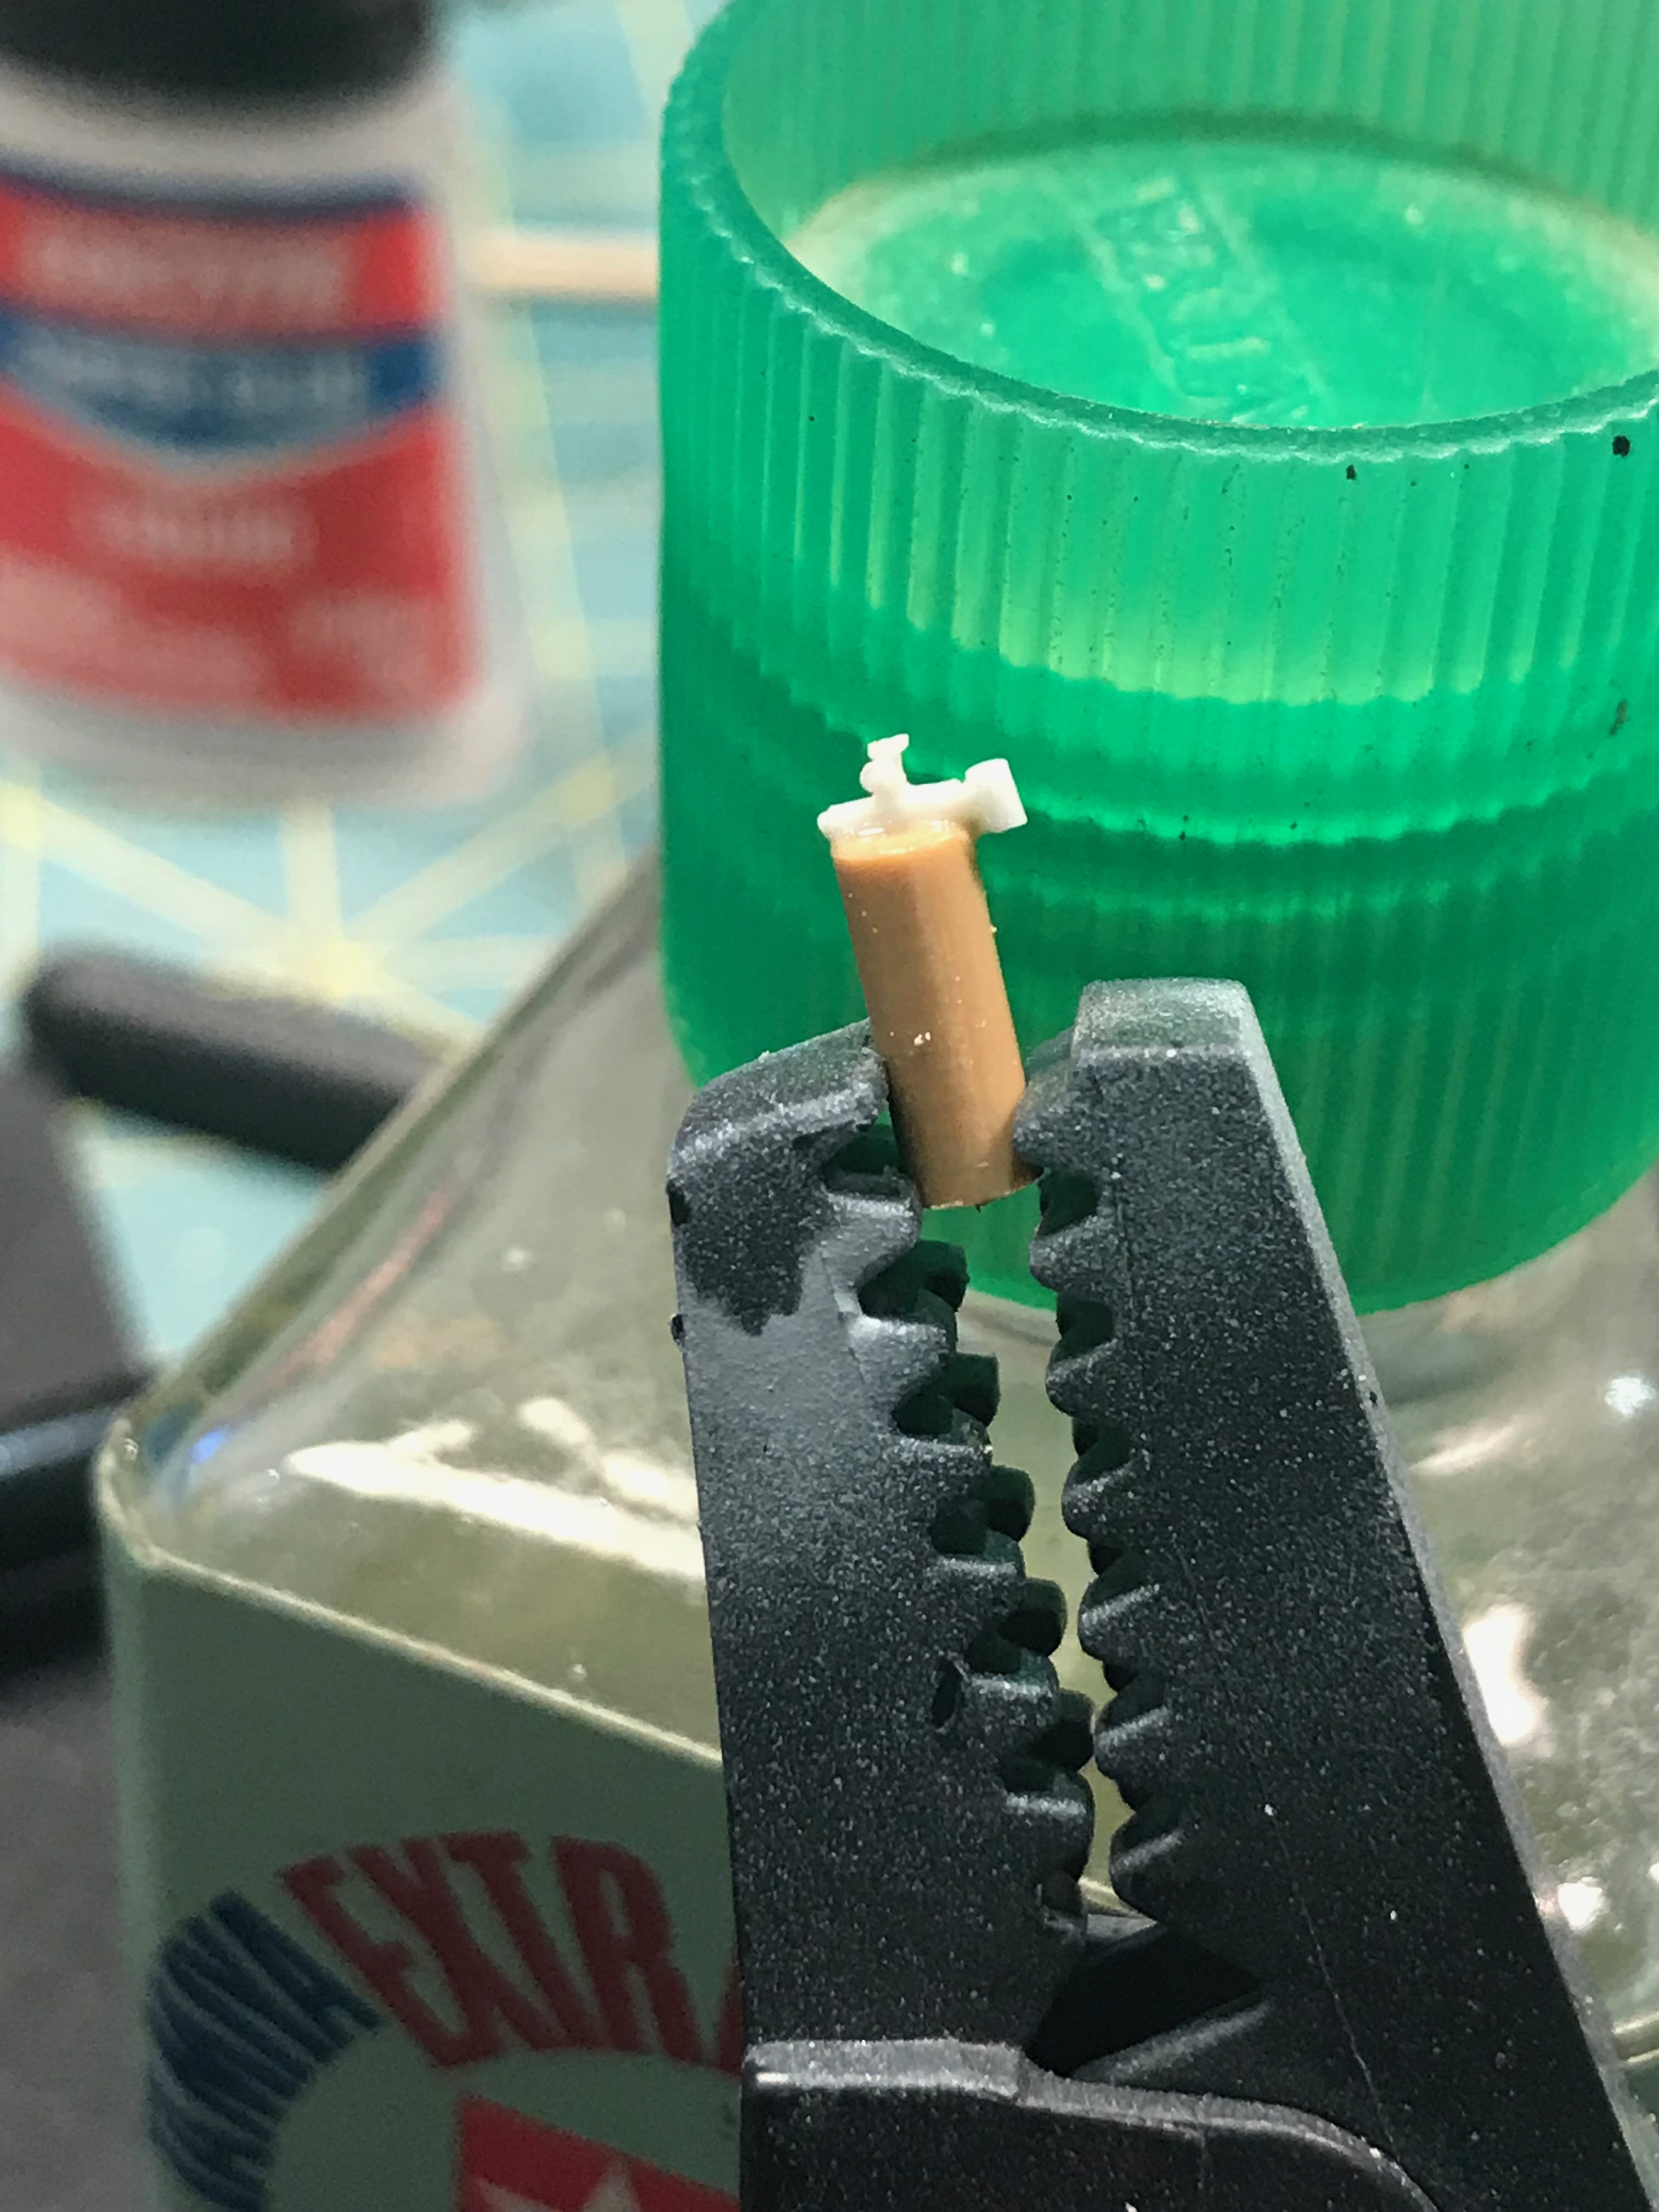
Aber give zero indication as to the other various pipes etc, so its just guess work! So all i did was get various lengths of rod and put them where I thought they looked right and corresponded with the the instructions.
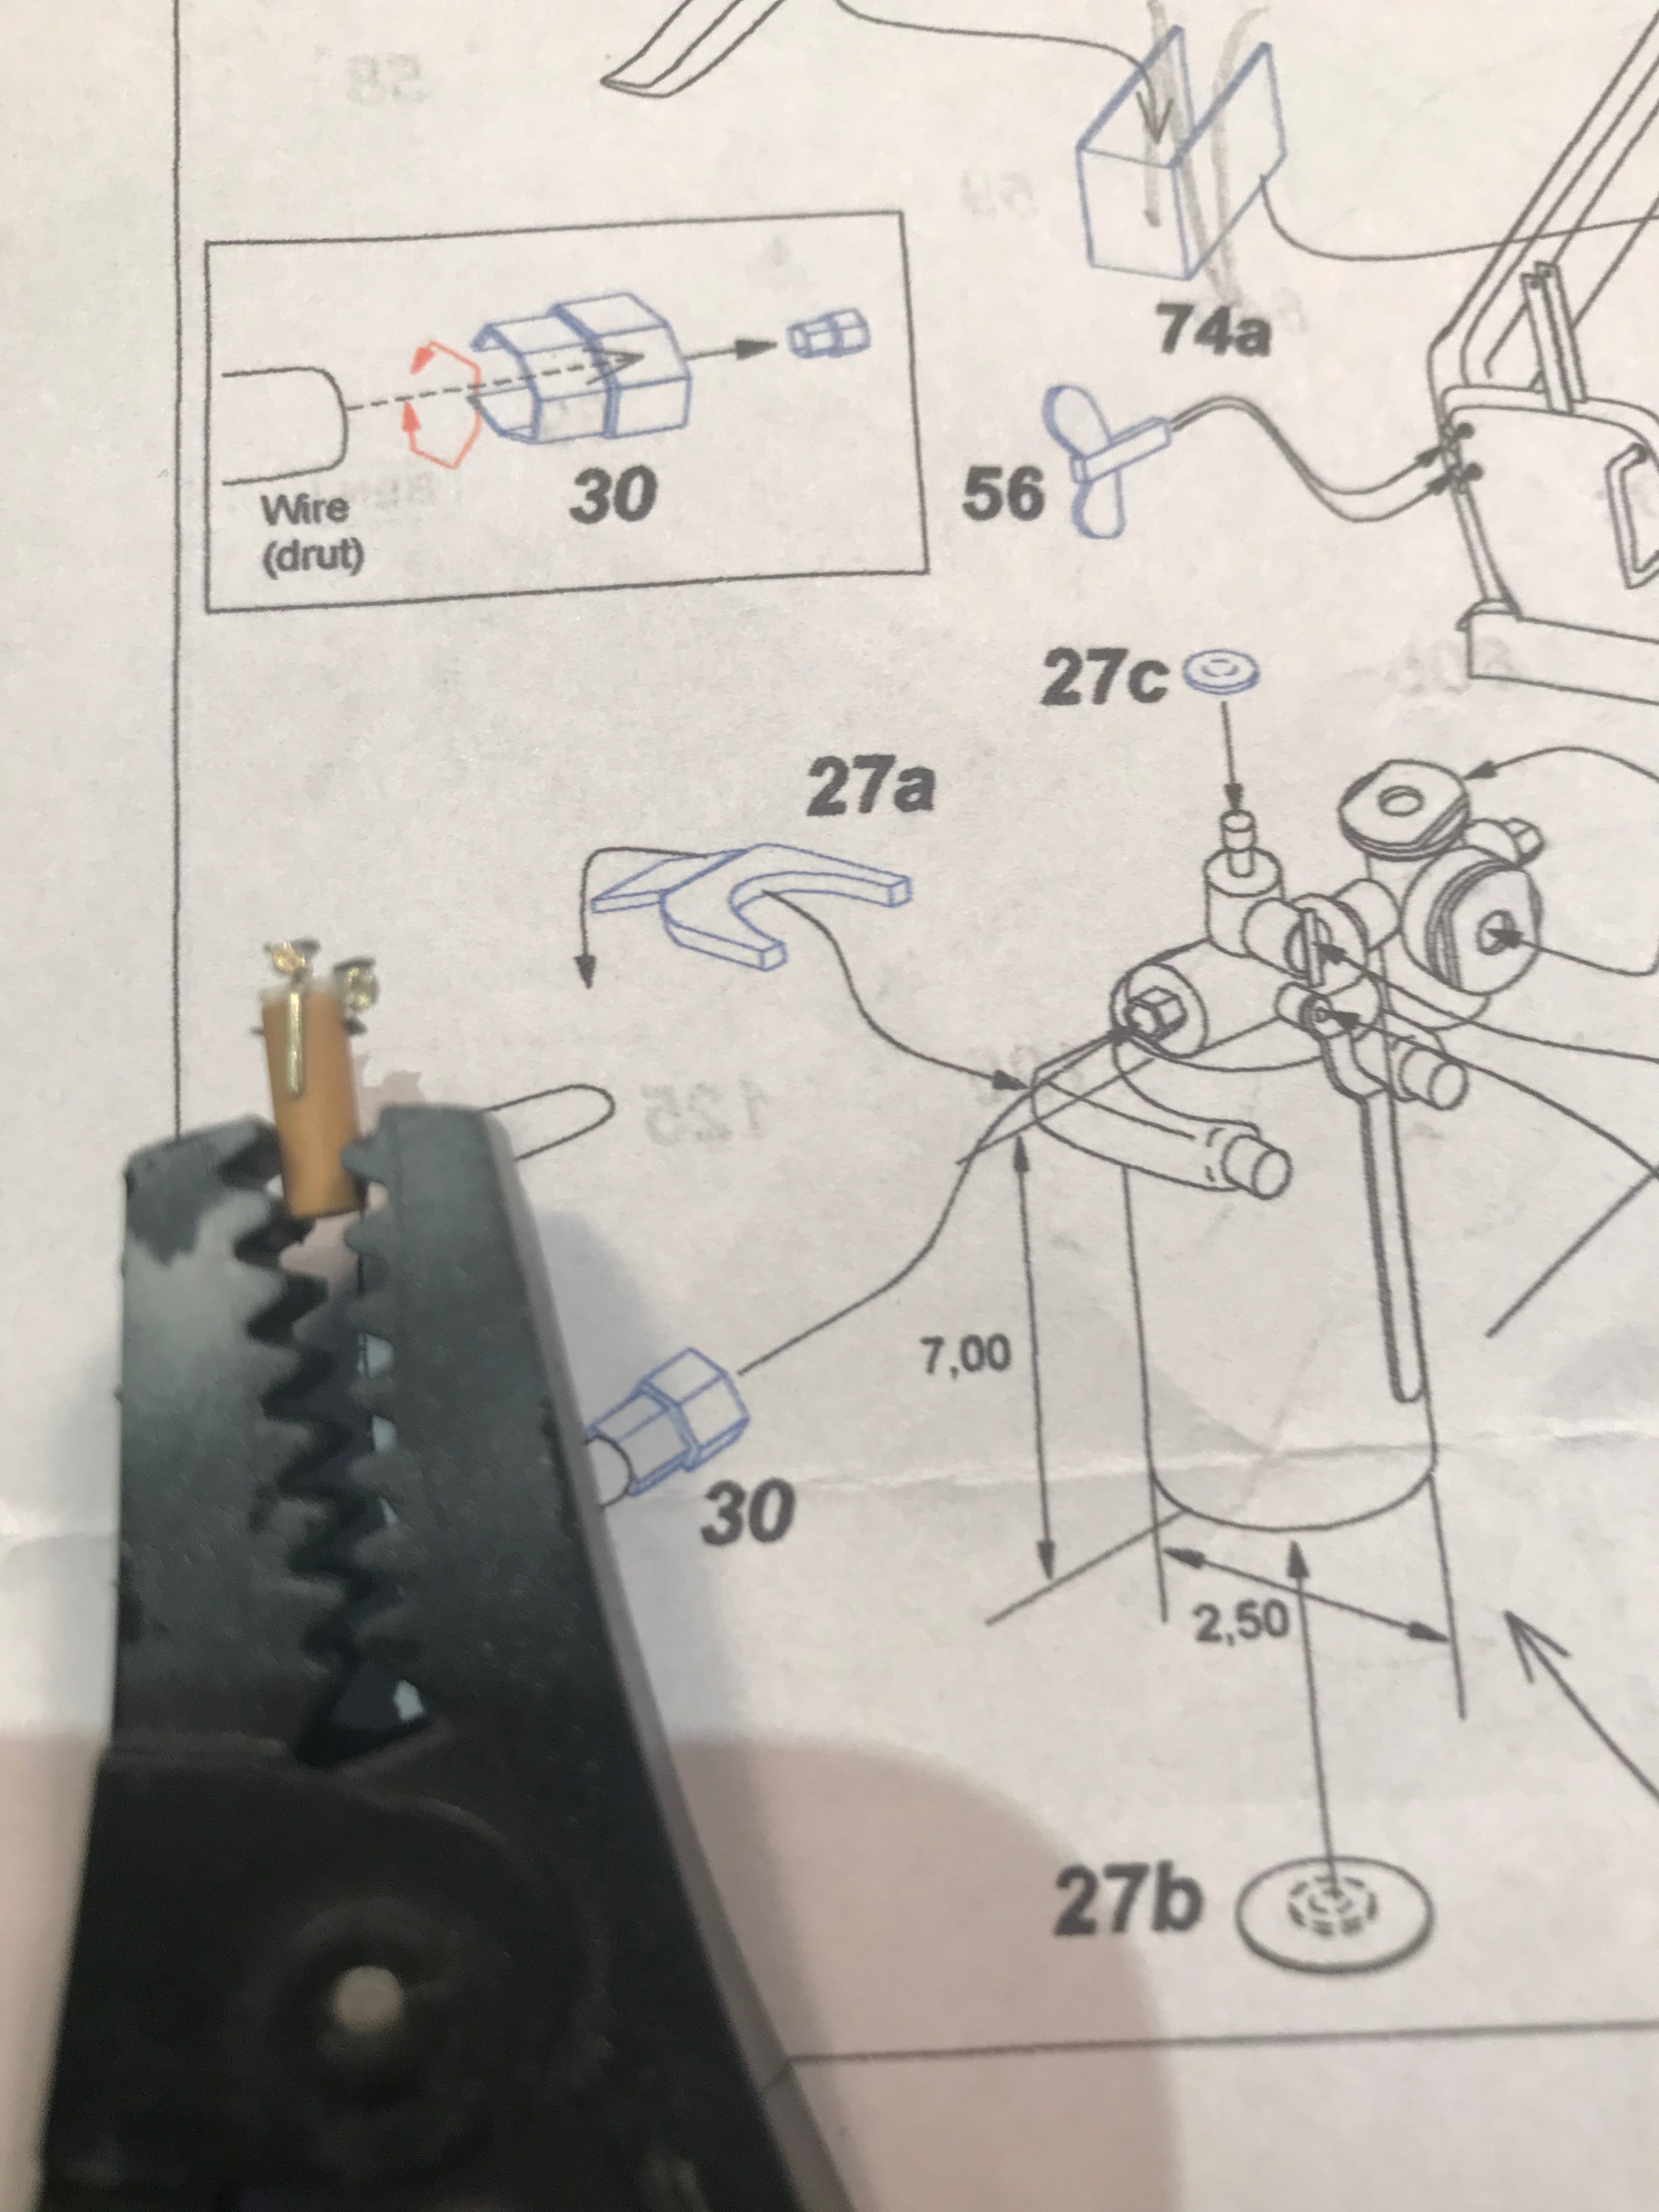
As you can see this is a tiny part indeed and the etch is even smaller!
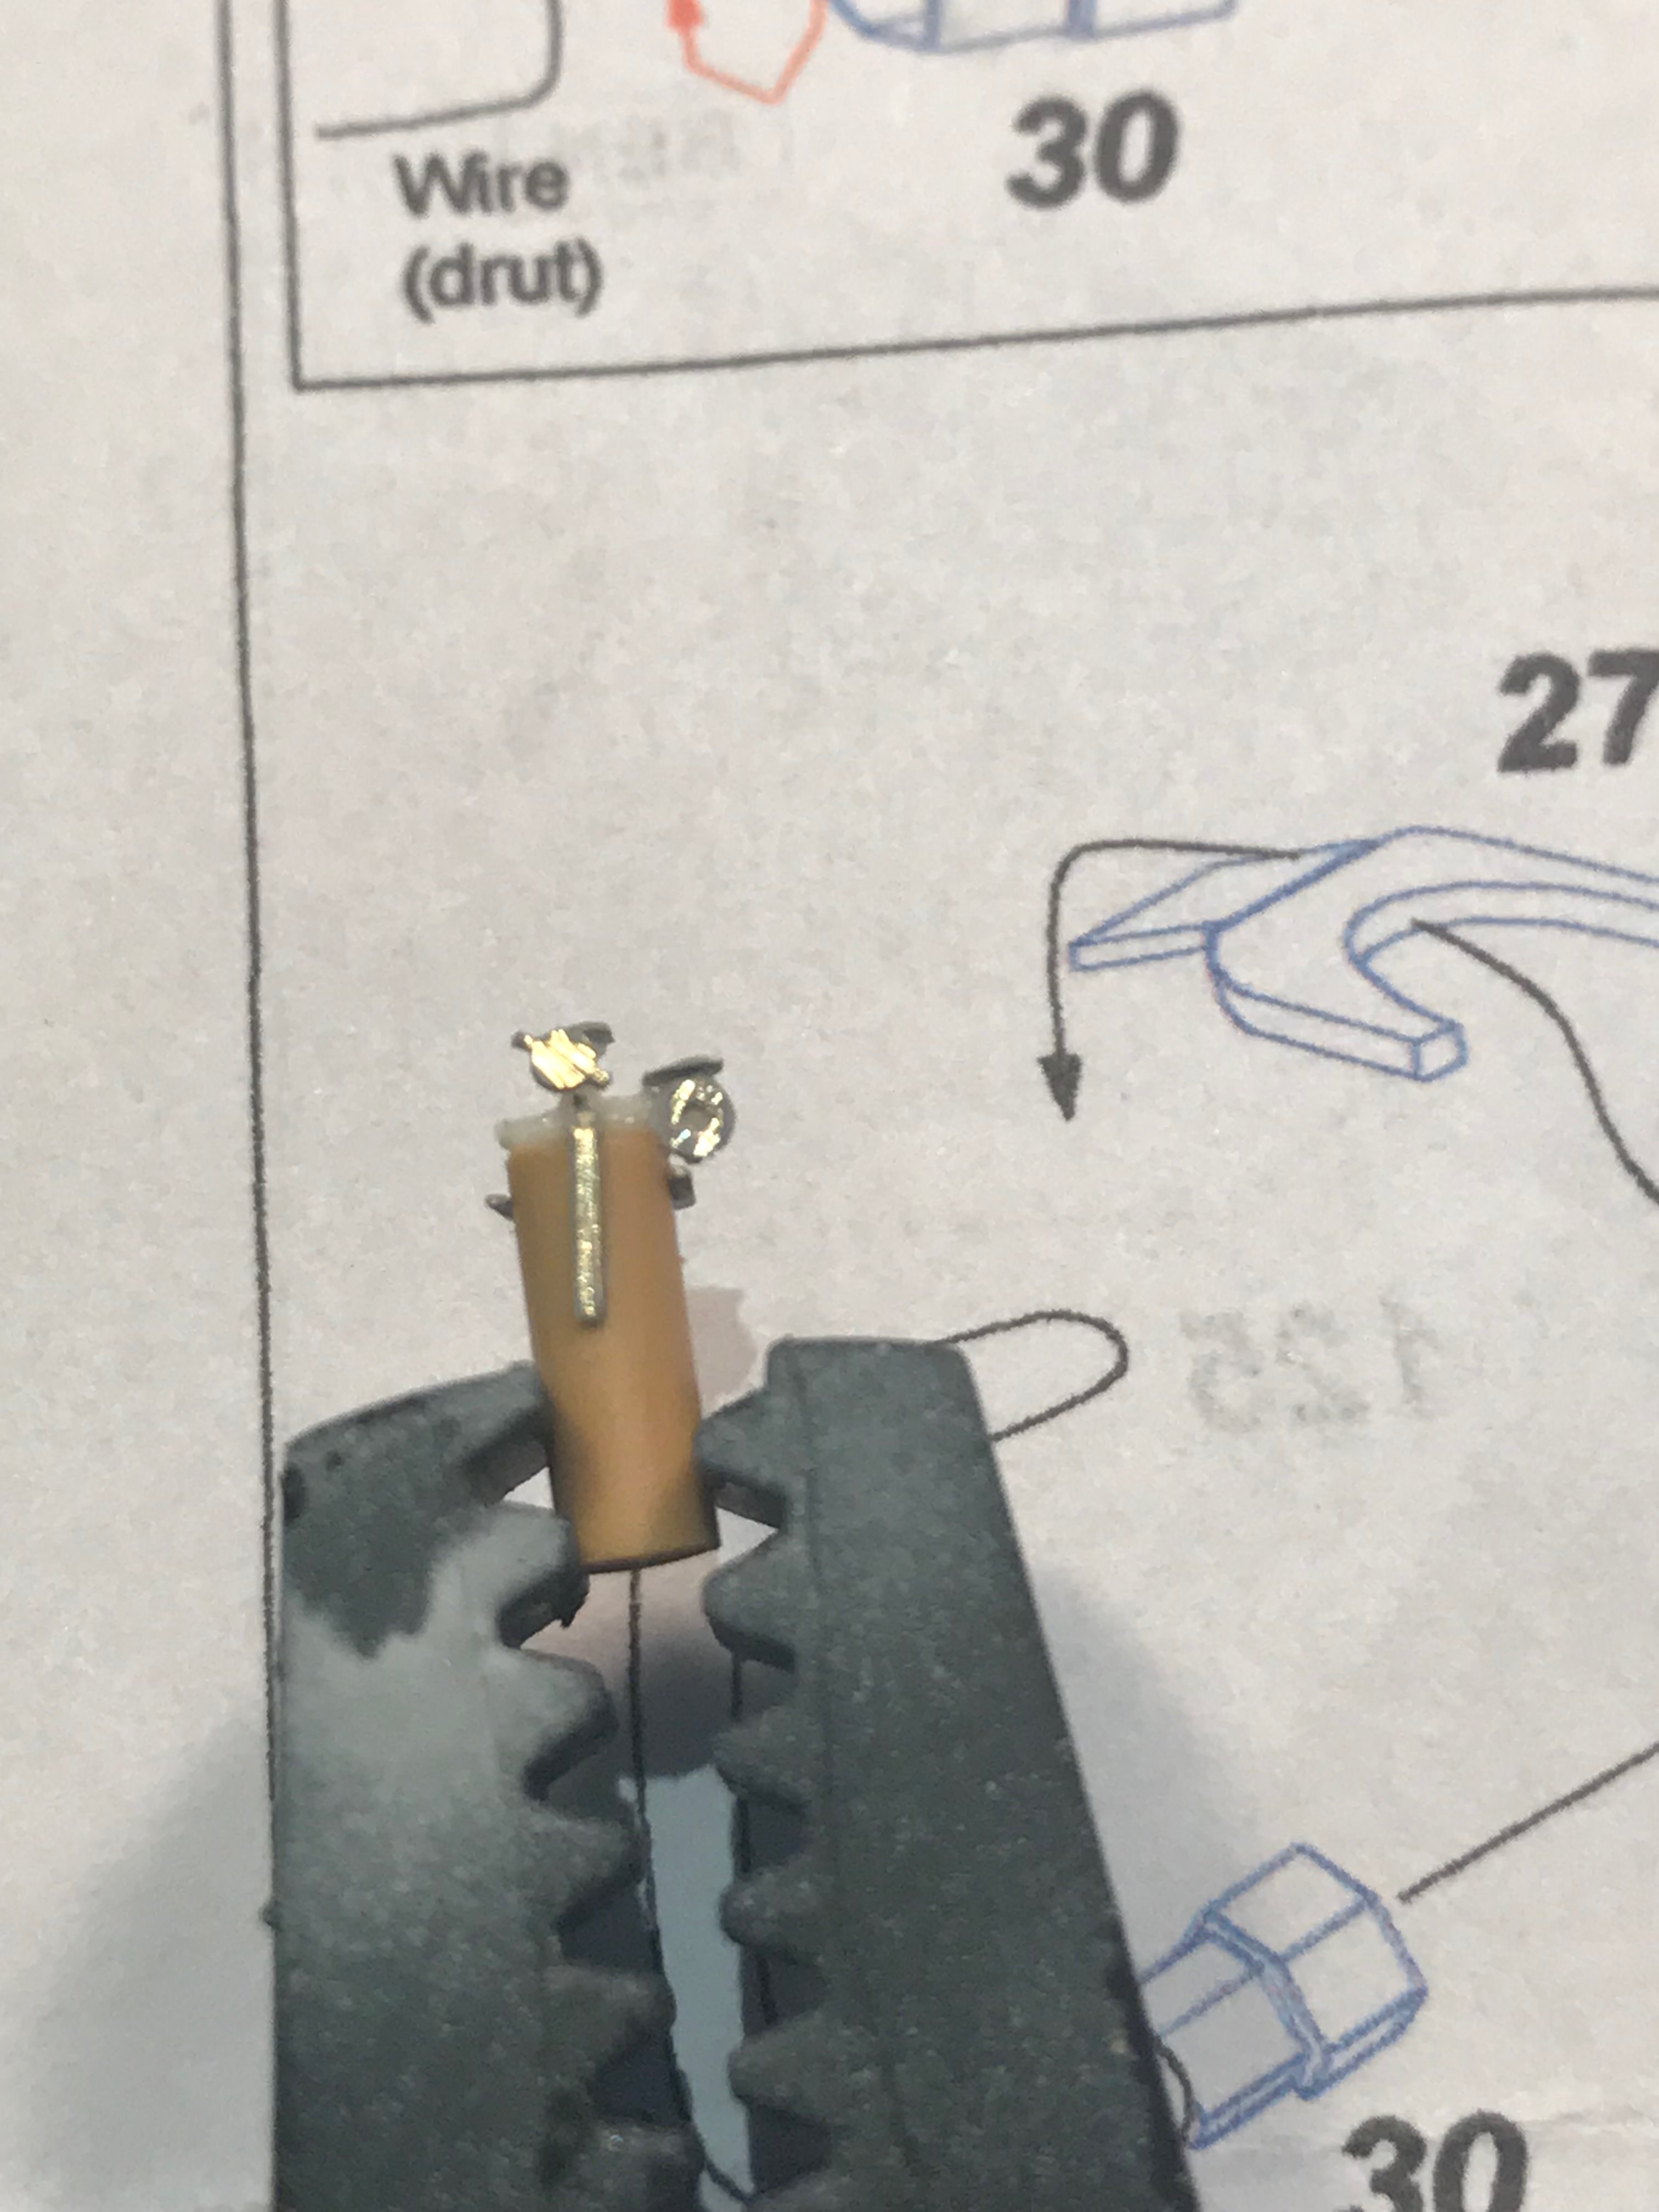
But the finshed product looks ok to me...
More to come soon once my eyers have readjusted!

After a careful review of Abers instructions it becomes clear that some scratch building is required here, especially on a part (an oil filter maybe) that Tamiya doesnt provide. Aber do give some indication here of the size, but as you will see the instructions are not that clear really. Now I dont carry any rod that is 2.5mm, but i noticed the Tamyia sprue is around that lenght so I cut that up and started there.

Aber give zero indication as to the other various pipes etc, so its just guess work! So all i did was get various lengths of rod and put them where I thought they looked right and corresponded with the the instructions.

As you can see this is a tiny part indeed and the etch is even smaller!

But the finshed product looks ok to me...
More to come soon once my eyers have readjusted!

dbrad555

Joined: May 17, 2018
KitMaker: 65 posts
Armorama: 61 posts

Posted: Friday, July 13, 2018 - 02:05 AM UTC
Latest update:
The cab is still ongoing and to say that the Aber set is a PITA is an understatment - it is unbelievably fiddly and the parts are so darn small - but, after a few hours, yes thats right a few hours, the results are truly outstanidng really. It does require patience and, in my case, a large vocabulary of naughty words said in various pitches at numerosu times!
However, with the wires in place and the various etch bits all together the results are amazing really.
The engine side of the dash, with the scratch built paert now in plae and the various wires and levels added - time consuming annoying, fiddly and well worth it!
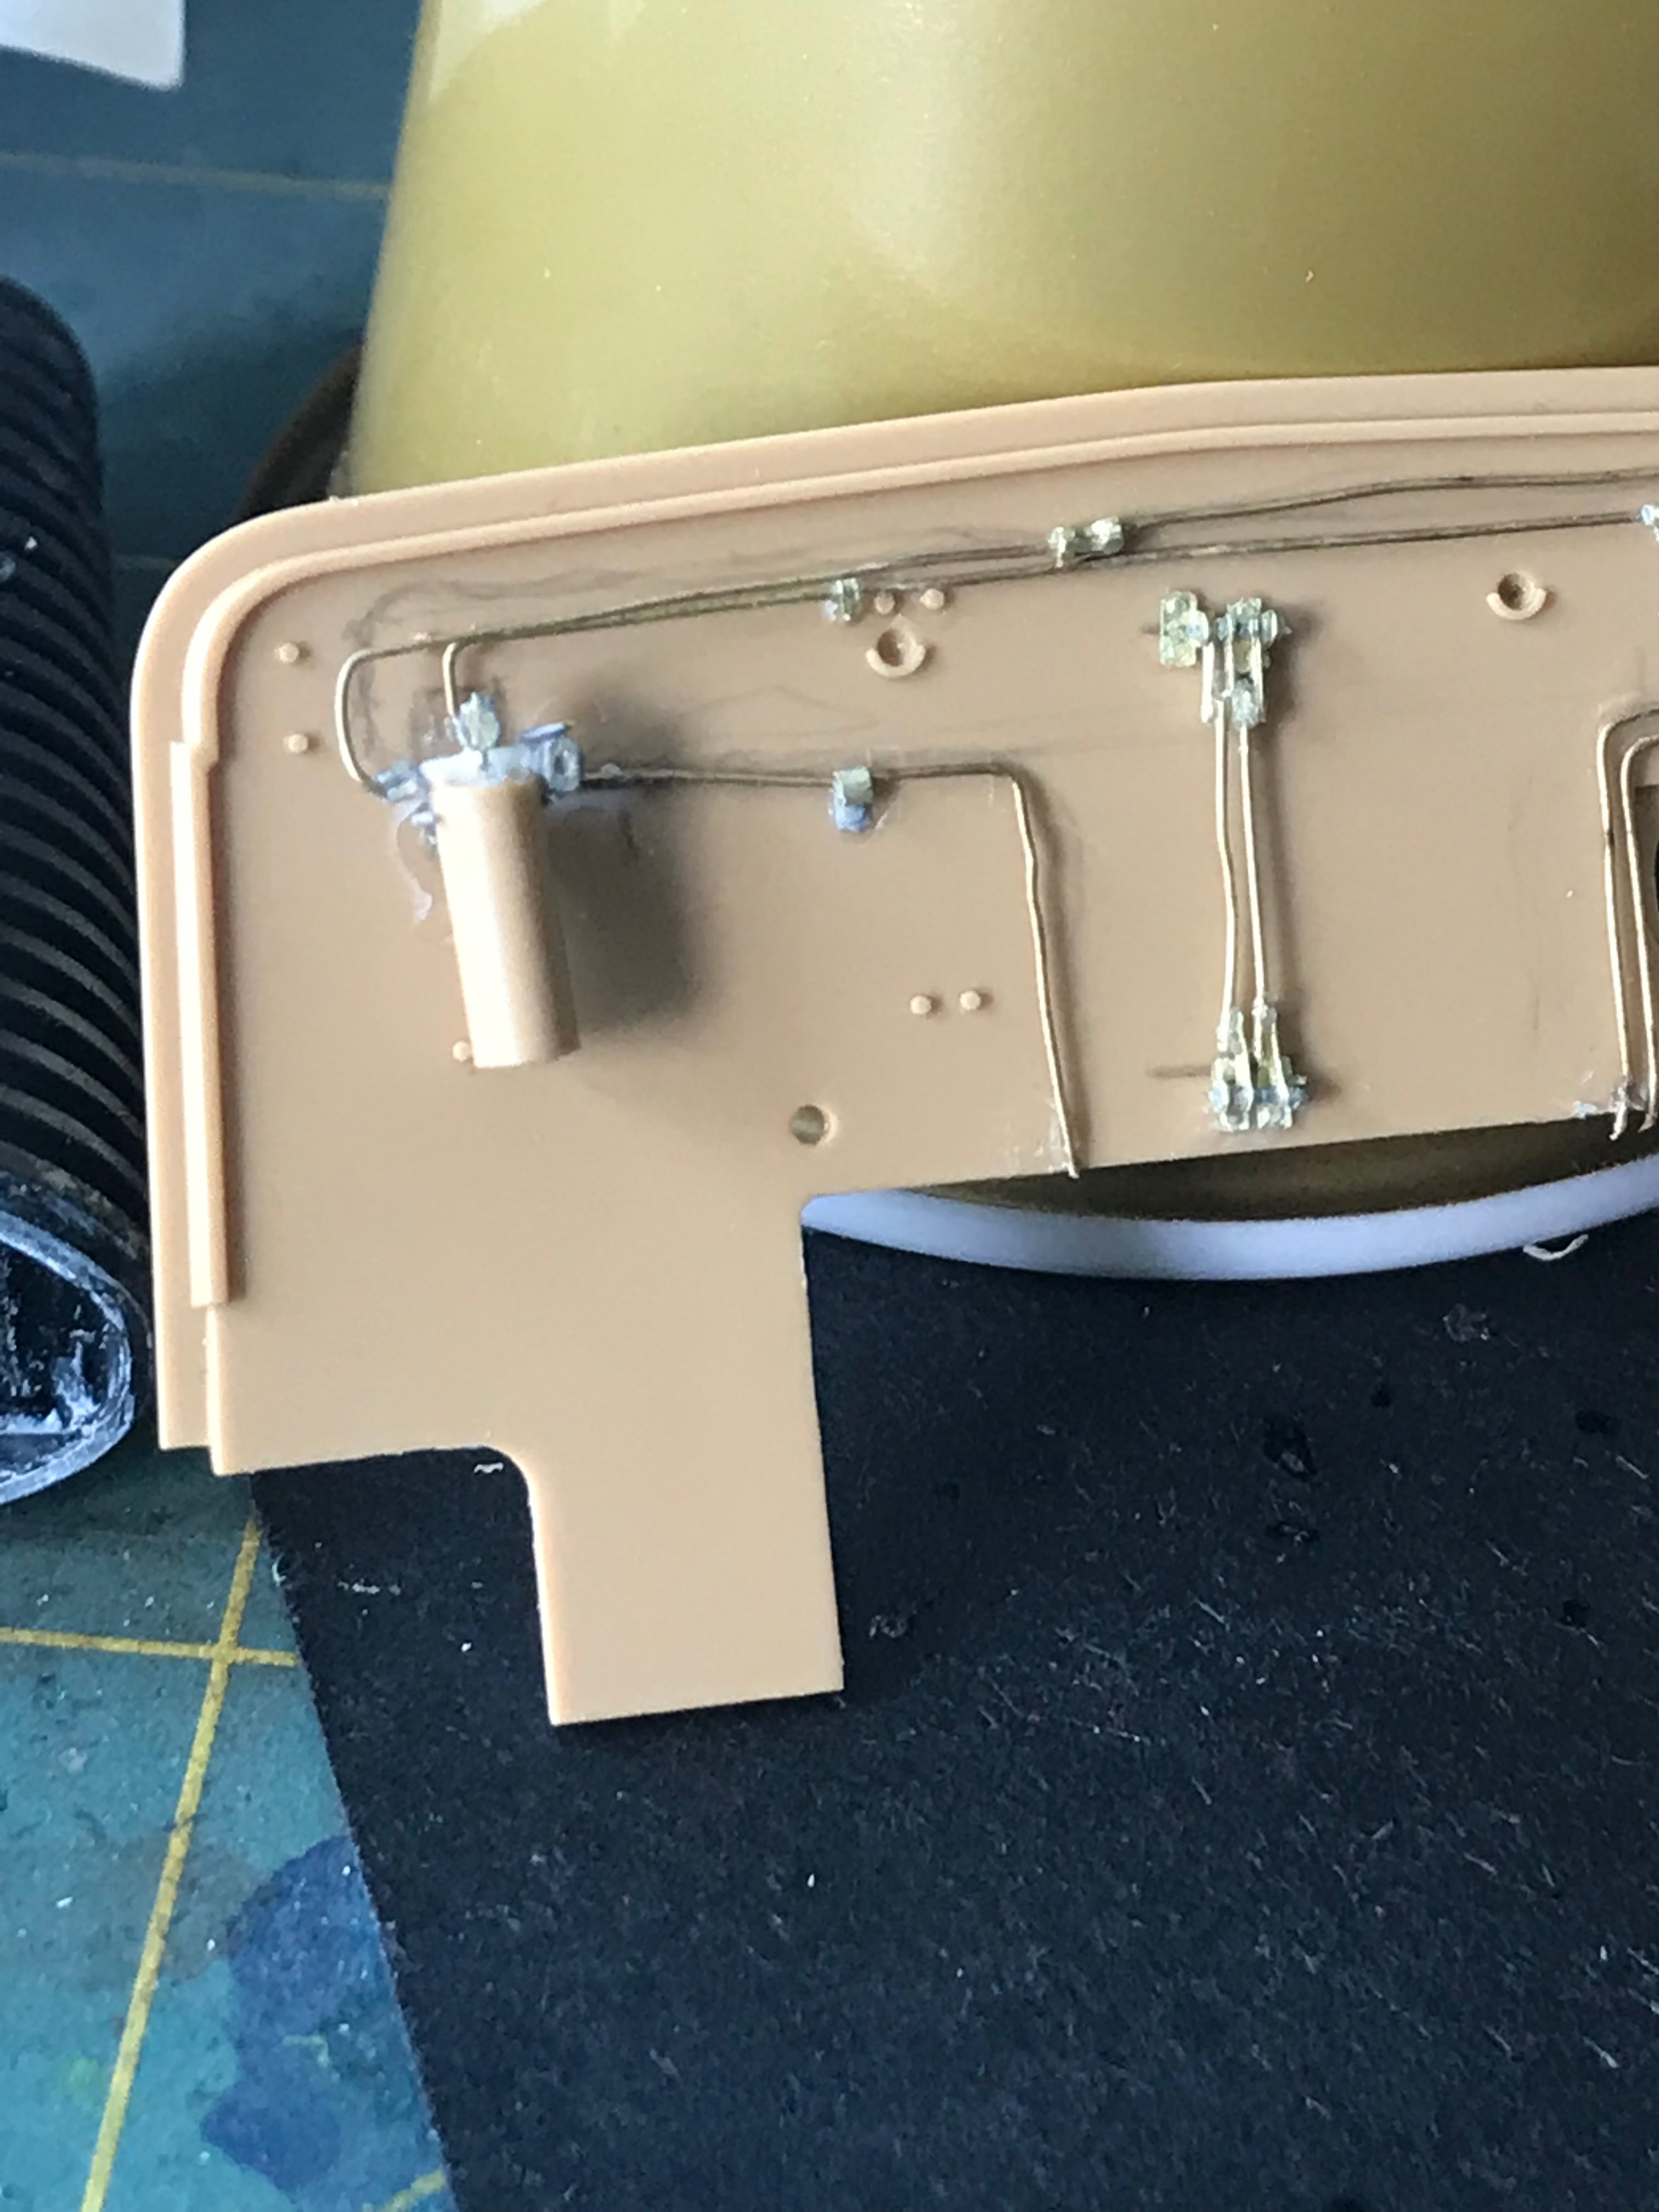
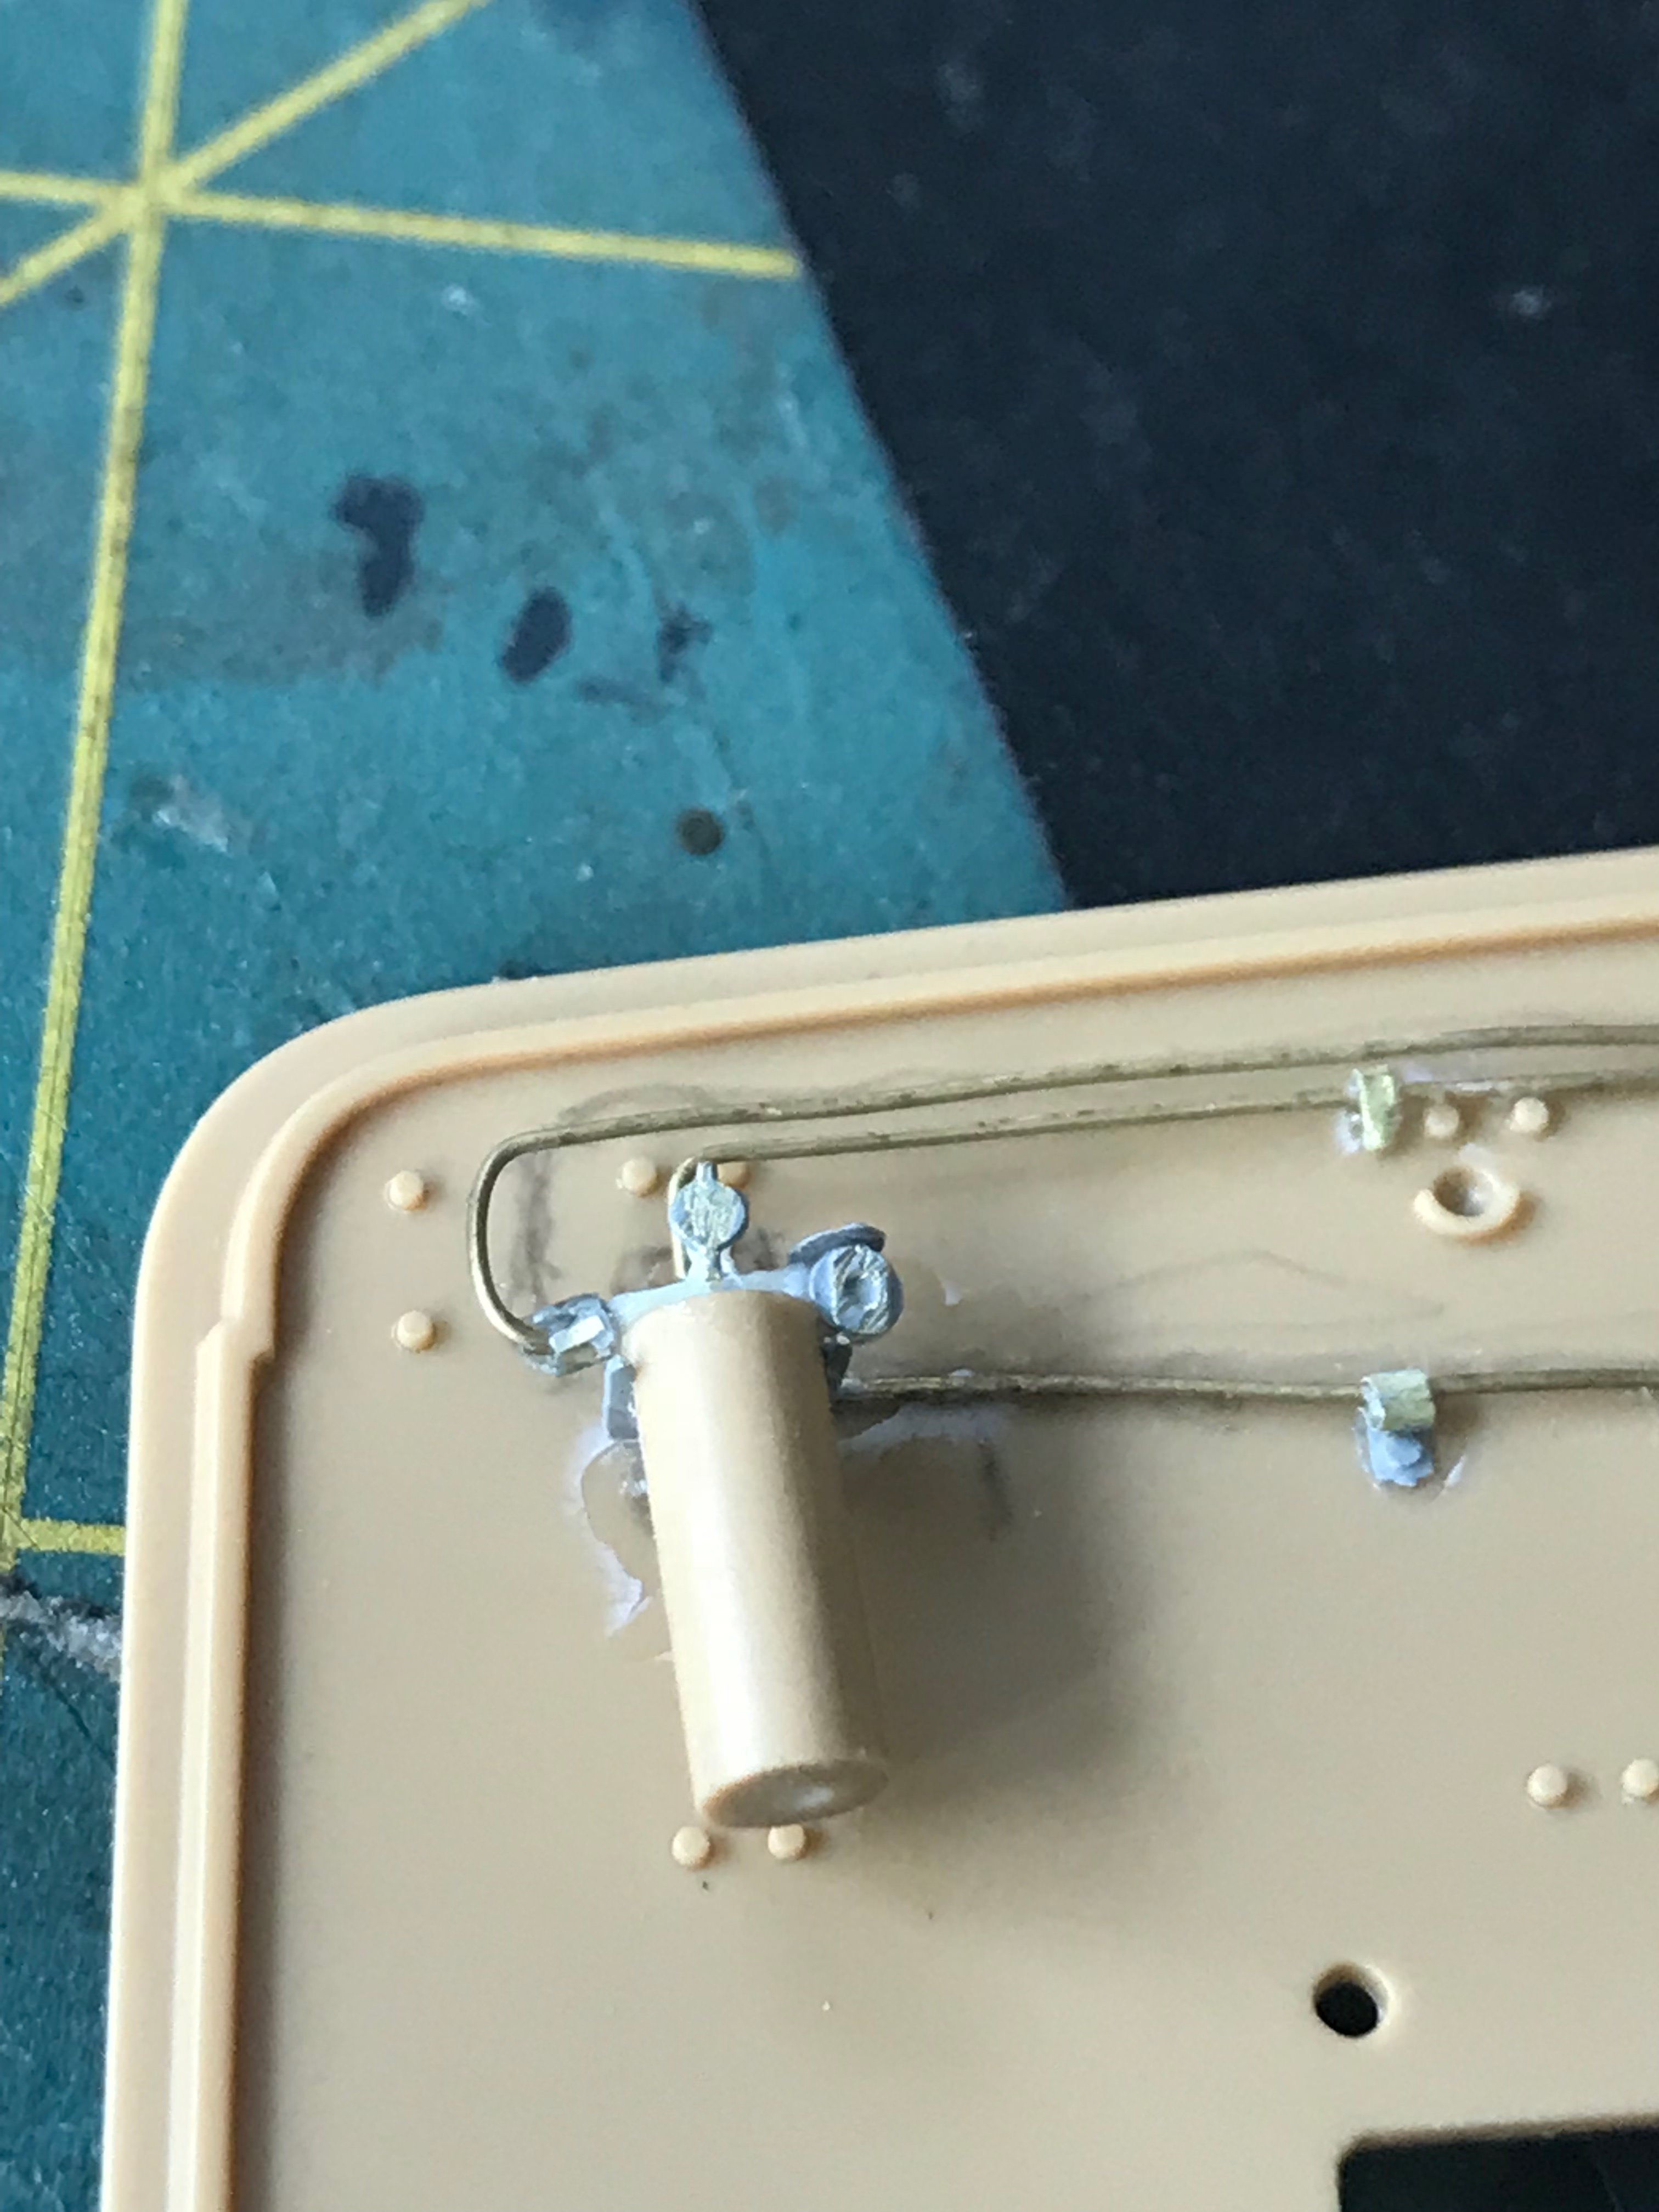
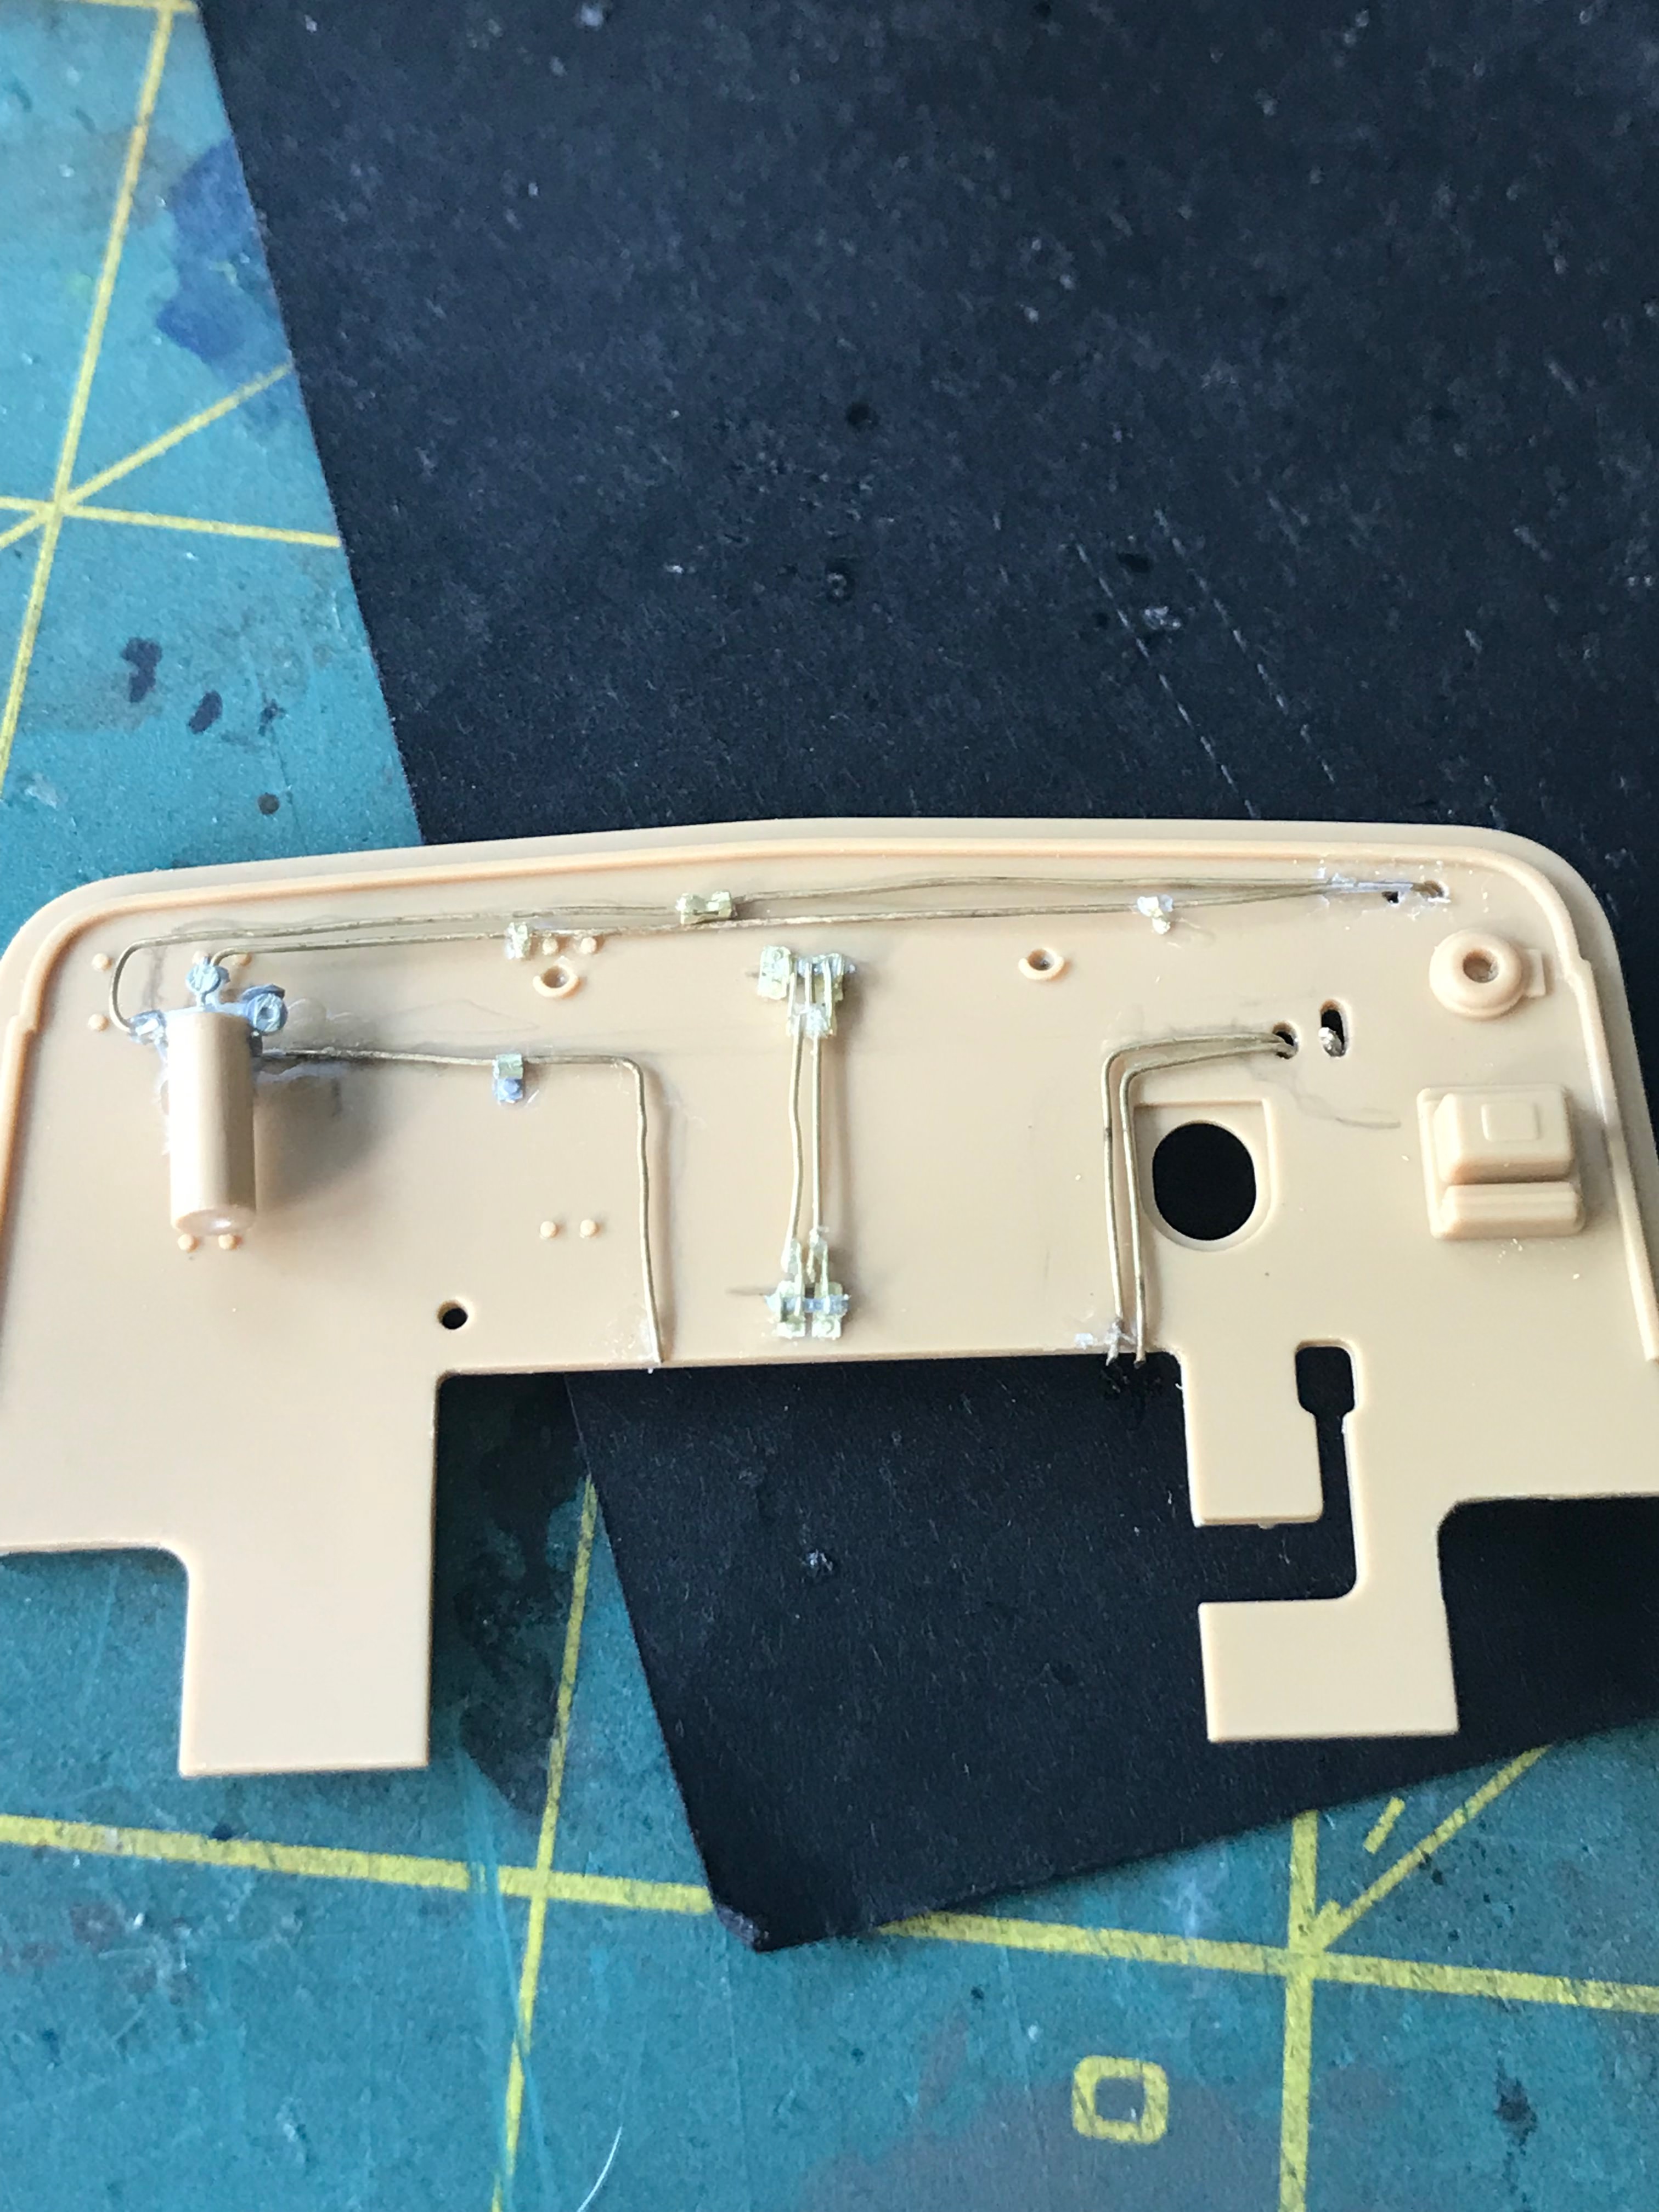
Modified kit part on the drivers side of the bulkhead wall to the engine. These parts are unbelievably small and after paint may not be viable, but they look the bees knees here.


Yes I know there are flash marks, but these wont be seen and ive filled them anyway now
The dash completed so far - still lots to do however!
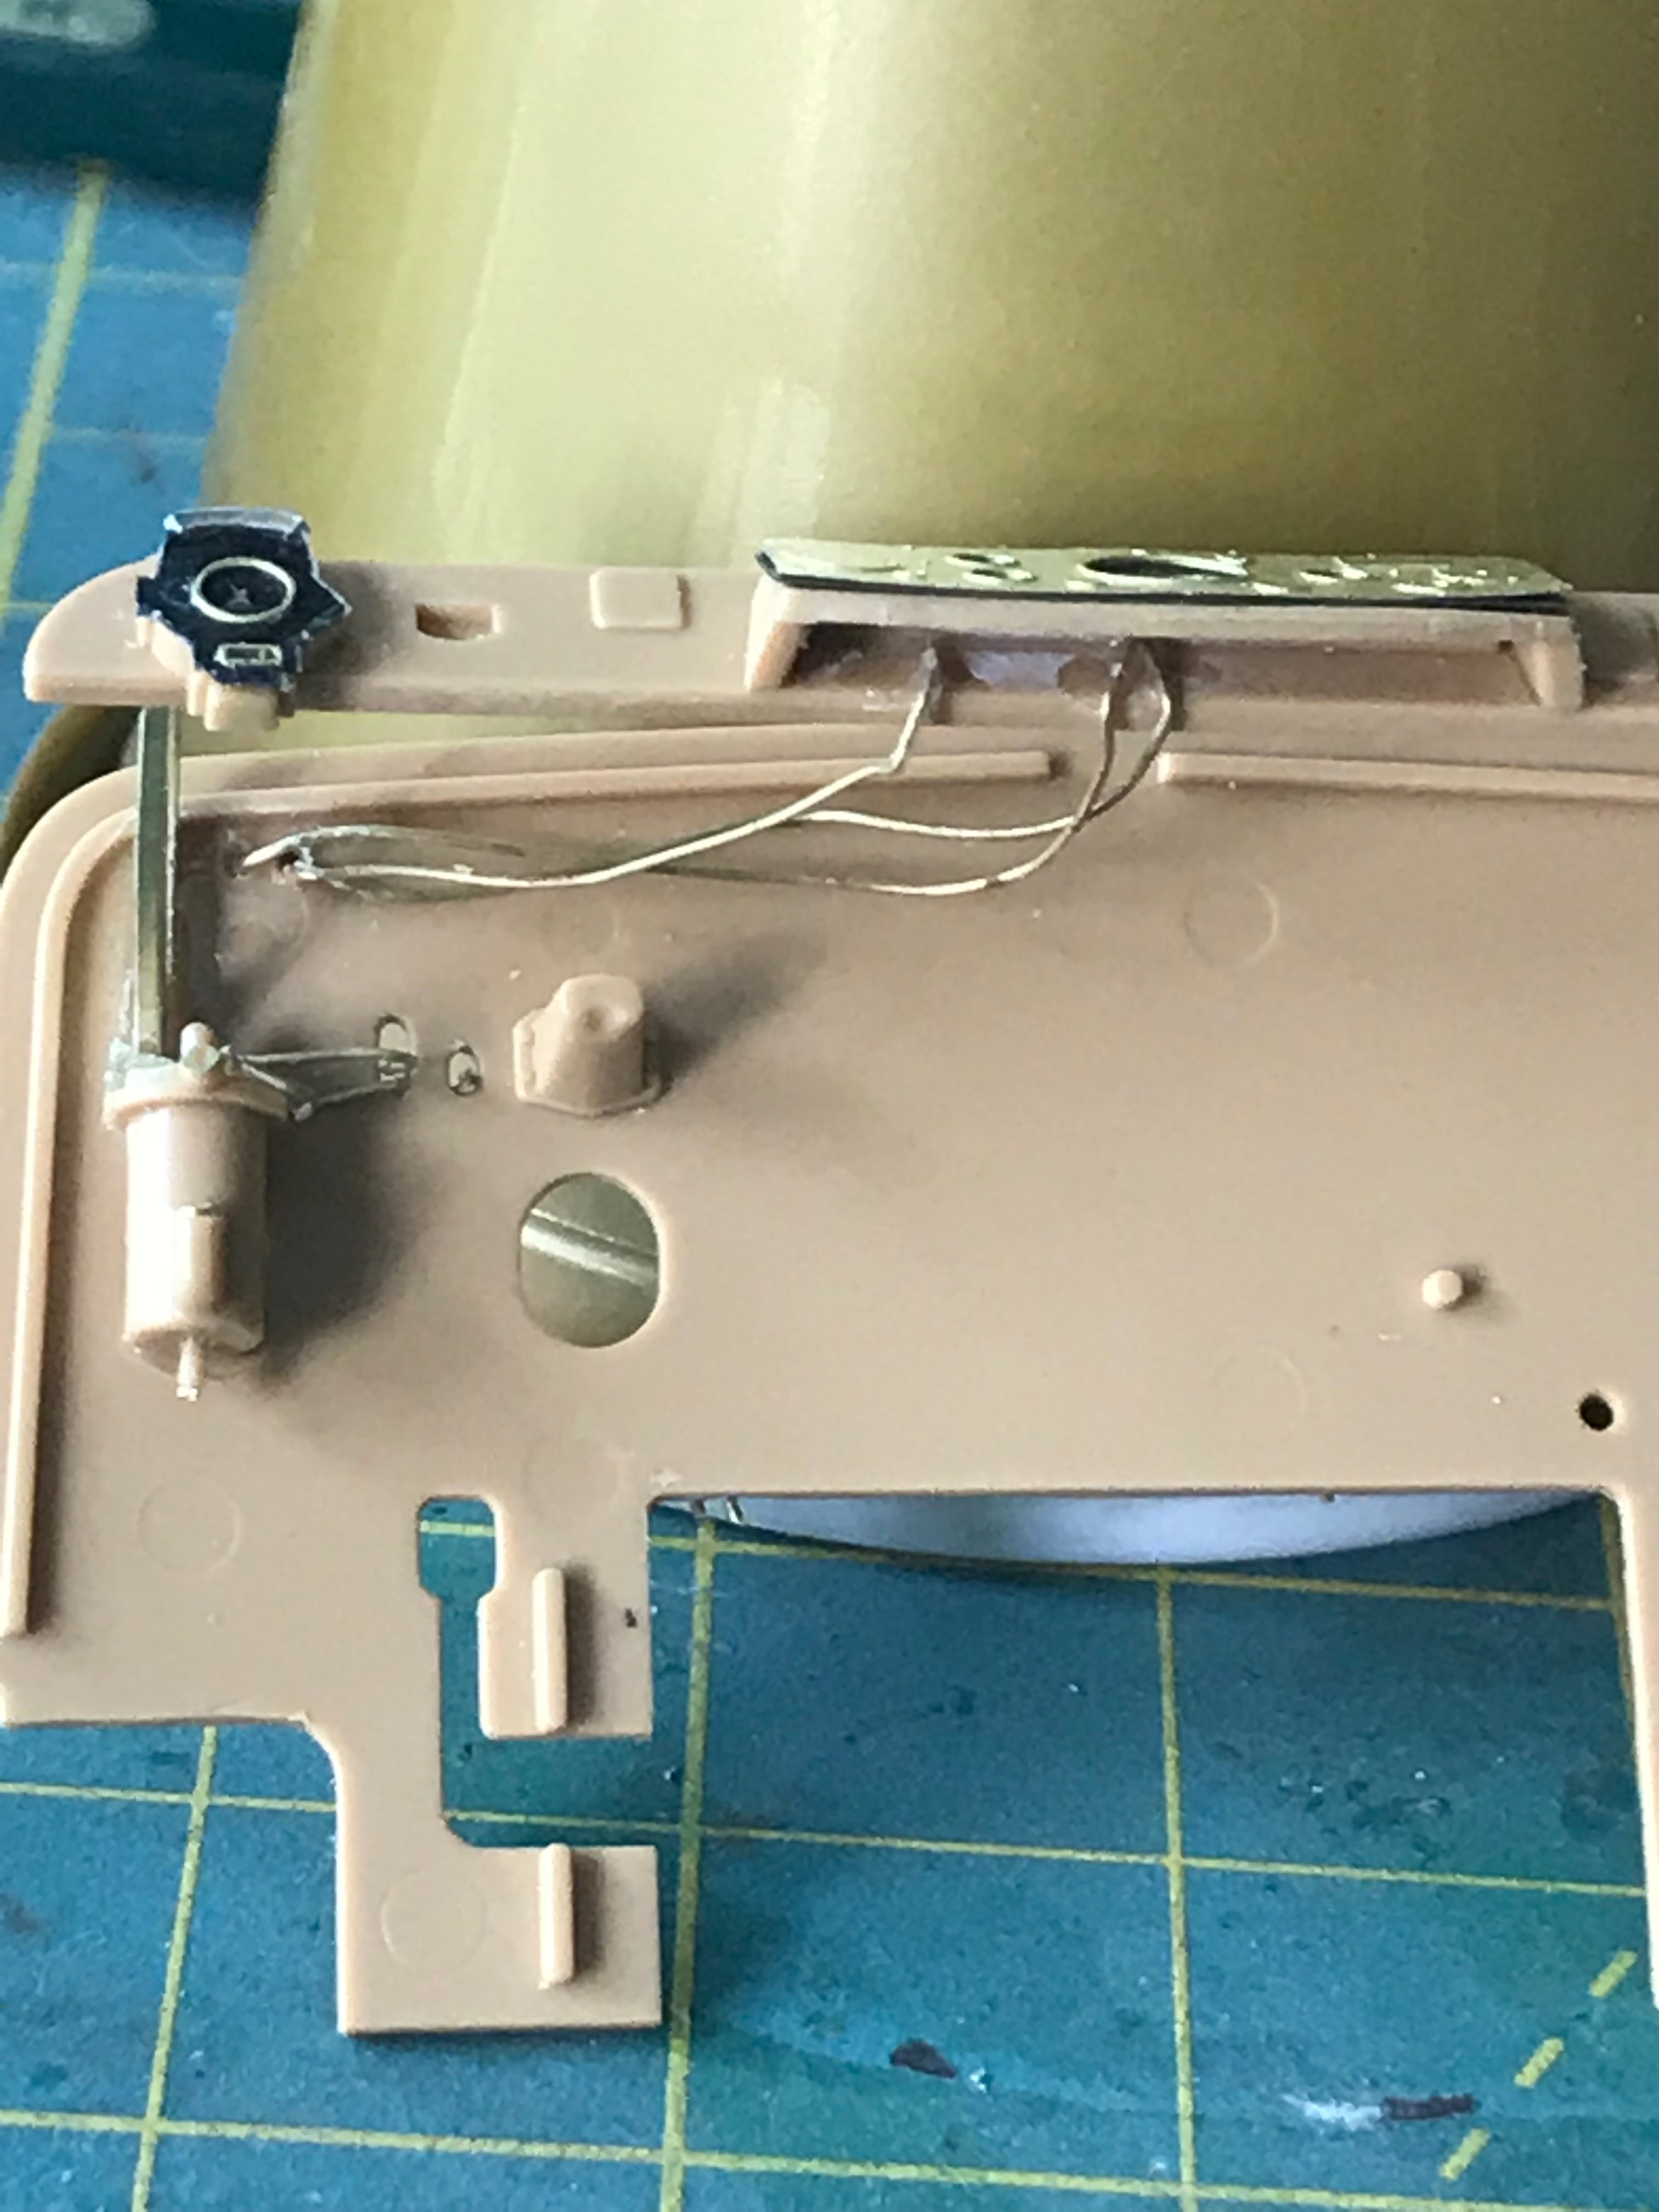
More to come soon

The cab is still ongoing and to say that the Aber set is a PITA is an understatment - it is unbelievably fiddly and the parts are so darn small - but, after a few hours, yes thats right a few hours, the results are truly outstanidng really. It does require patience and, in my case, a large vocabulary of naughty words said in various pitches at numerosu times!
However, with the wires in place and the various etch bits all together the results are amazing really.
The engine side of the dash, with the scratch built paert now in plae and the various wires and levels added - time consuming annoying, fiddly and well worth it!


Modified kit part on the drivers side of the bulkhead wall to the engine. These parts are unbelievably small and after paint may not be viable, but they look the bees knees here.


Yes I know there are flash marks, but these wont be seen and ive filled them anyway now
The dash completed so far - still lots to do however!

More to come soon

dbrad555

Joined: May 17, 2018
KitMaker: 65 posts
Armorama: 61 posts

Posted: Sunday, July 15, 2018 - 10:01 PM UTC
Hi guys, progress is moving on slowly with the FAMO. As i dedcided to do a later war paint scheme, dark yellow, I pondered how to approach this. I figured that the Germans wouldnt have repainted the entire vehicle and therefore the the underneath and chassis would be in the orginal dark panzer grey. That being the case I opted to show this. I therefore commenced in painting the chassis etc before proceeding further with the build and whilst most wont be seen really I decided on a basic colour modulation rather than full on.
First coat - namely surface primer from Vallejo. I actually decided to give the vallejo AFV collur modulation set a go - its not bad, but not as good as you would expect.
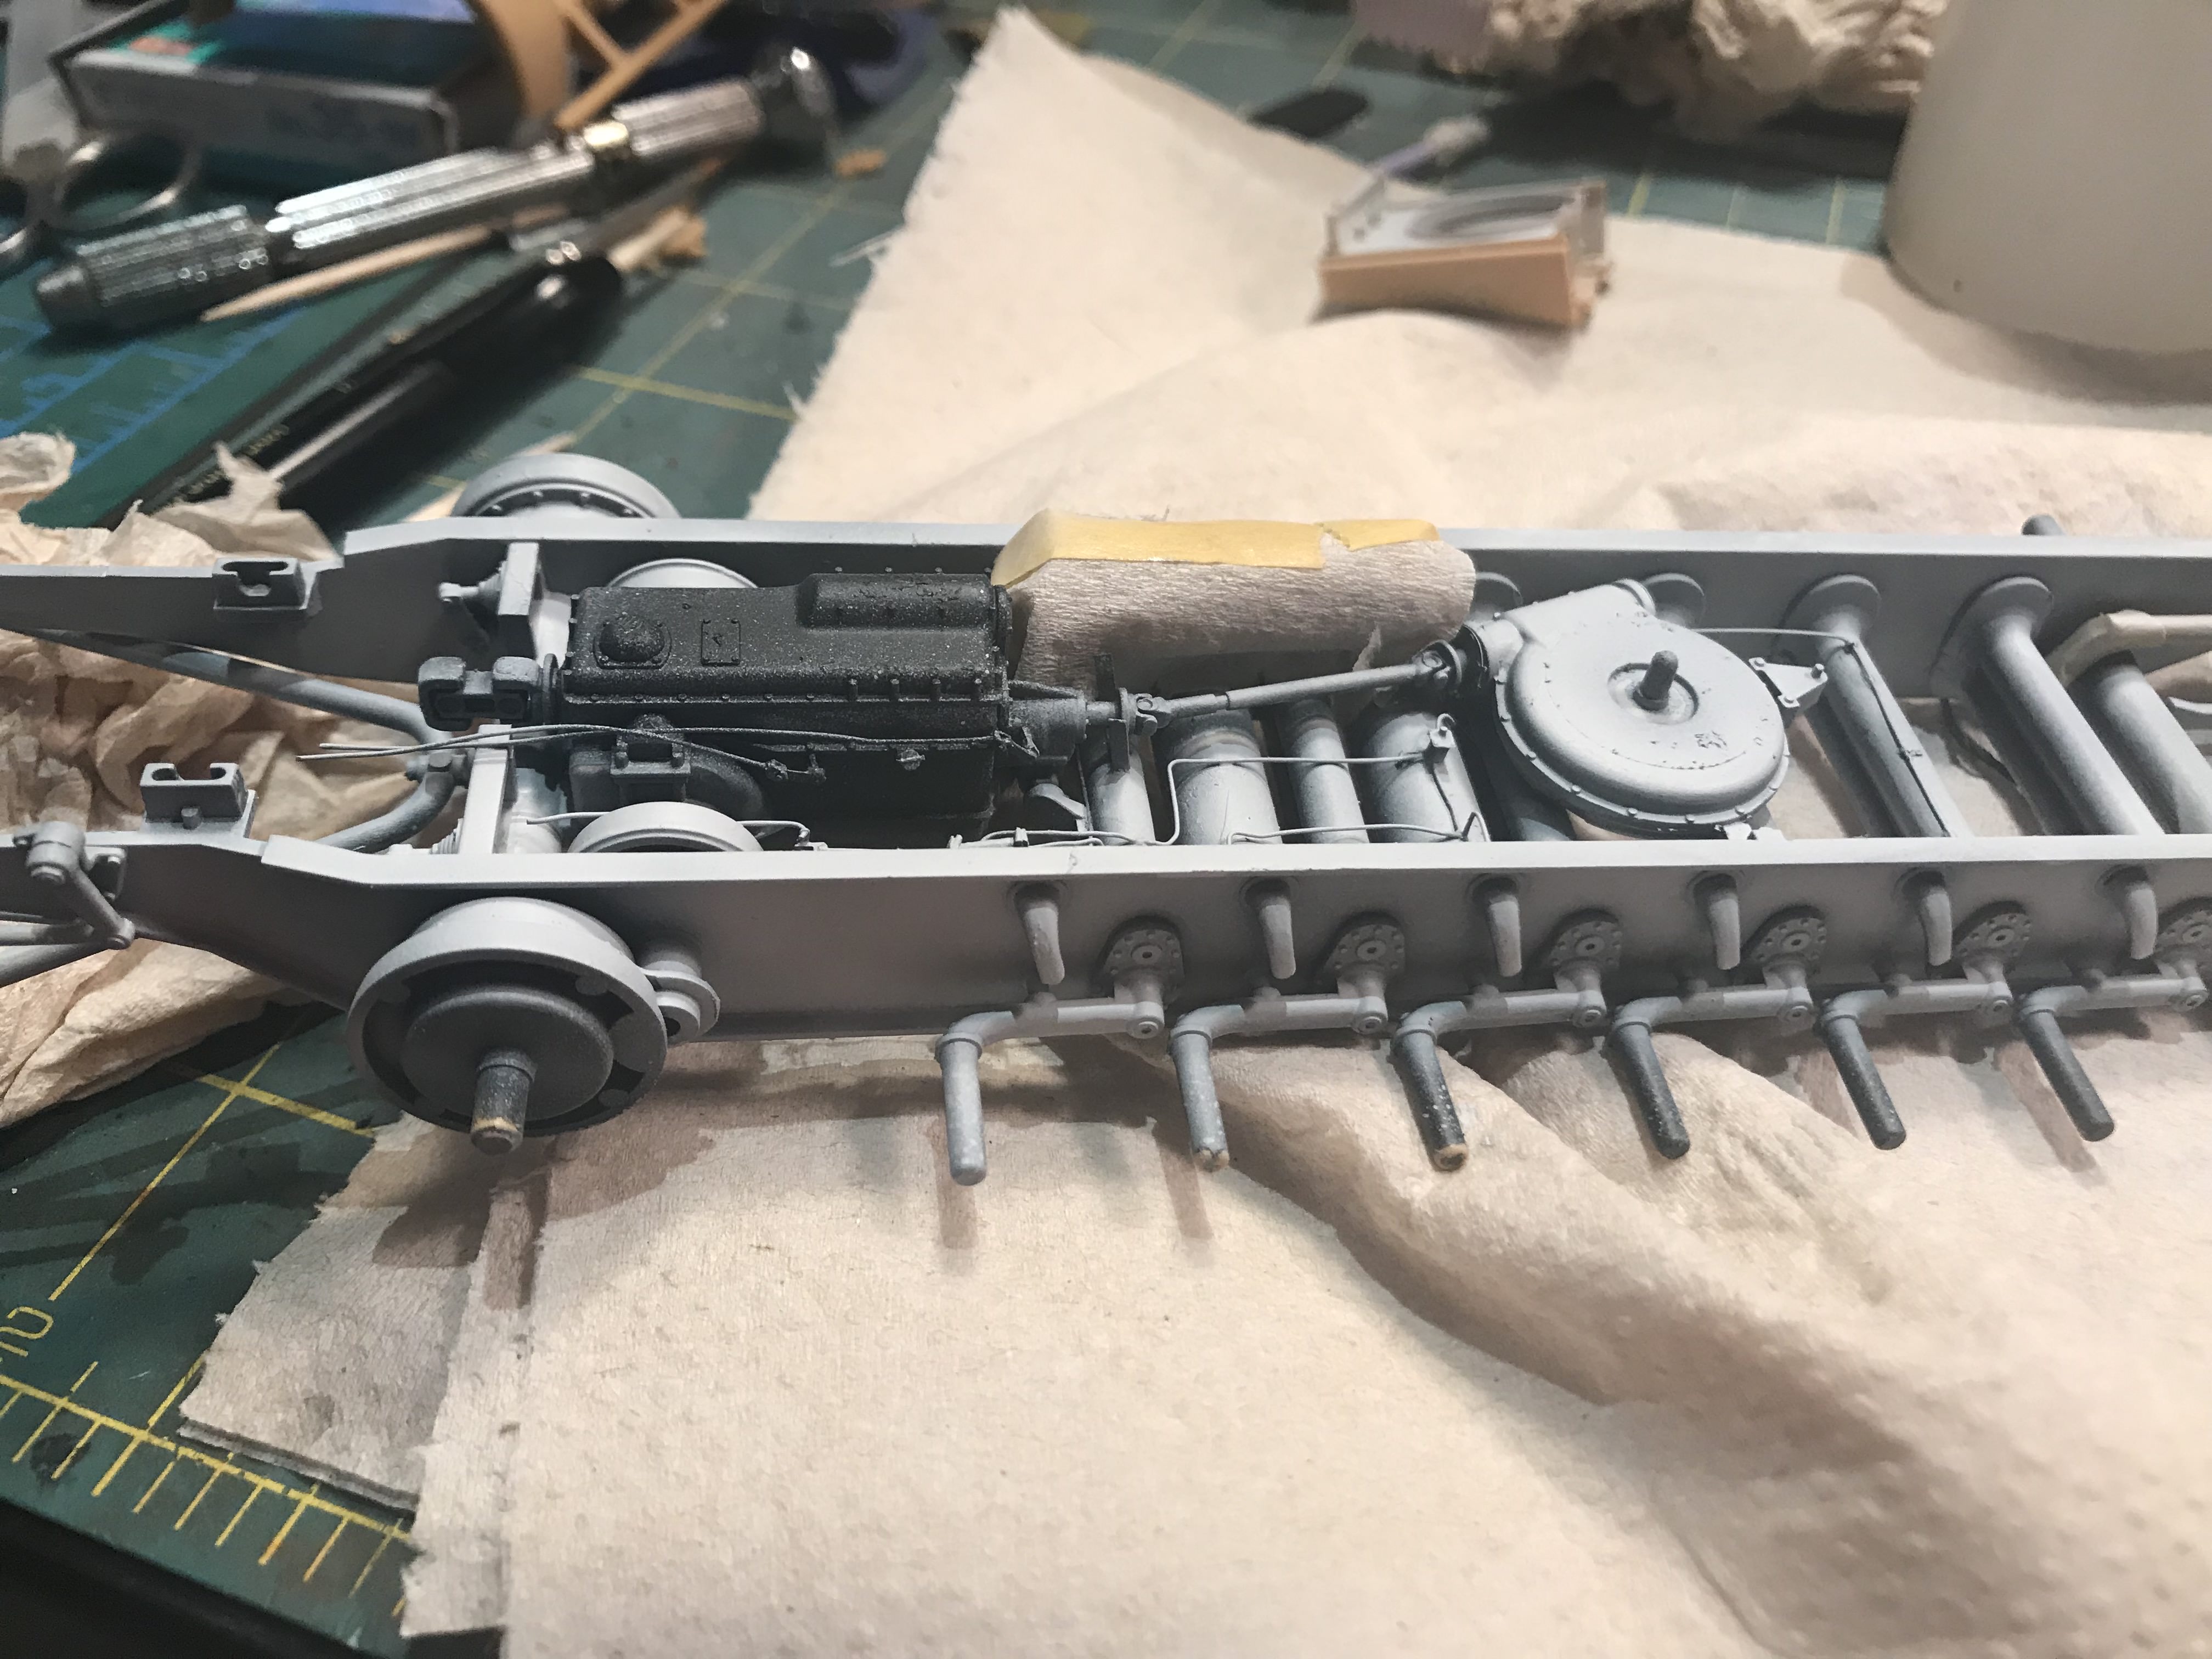
You will note that one of the fuel tanks is covered, i decided to heavily rust this one, hence the mask
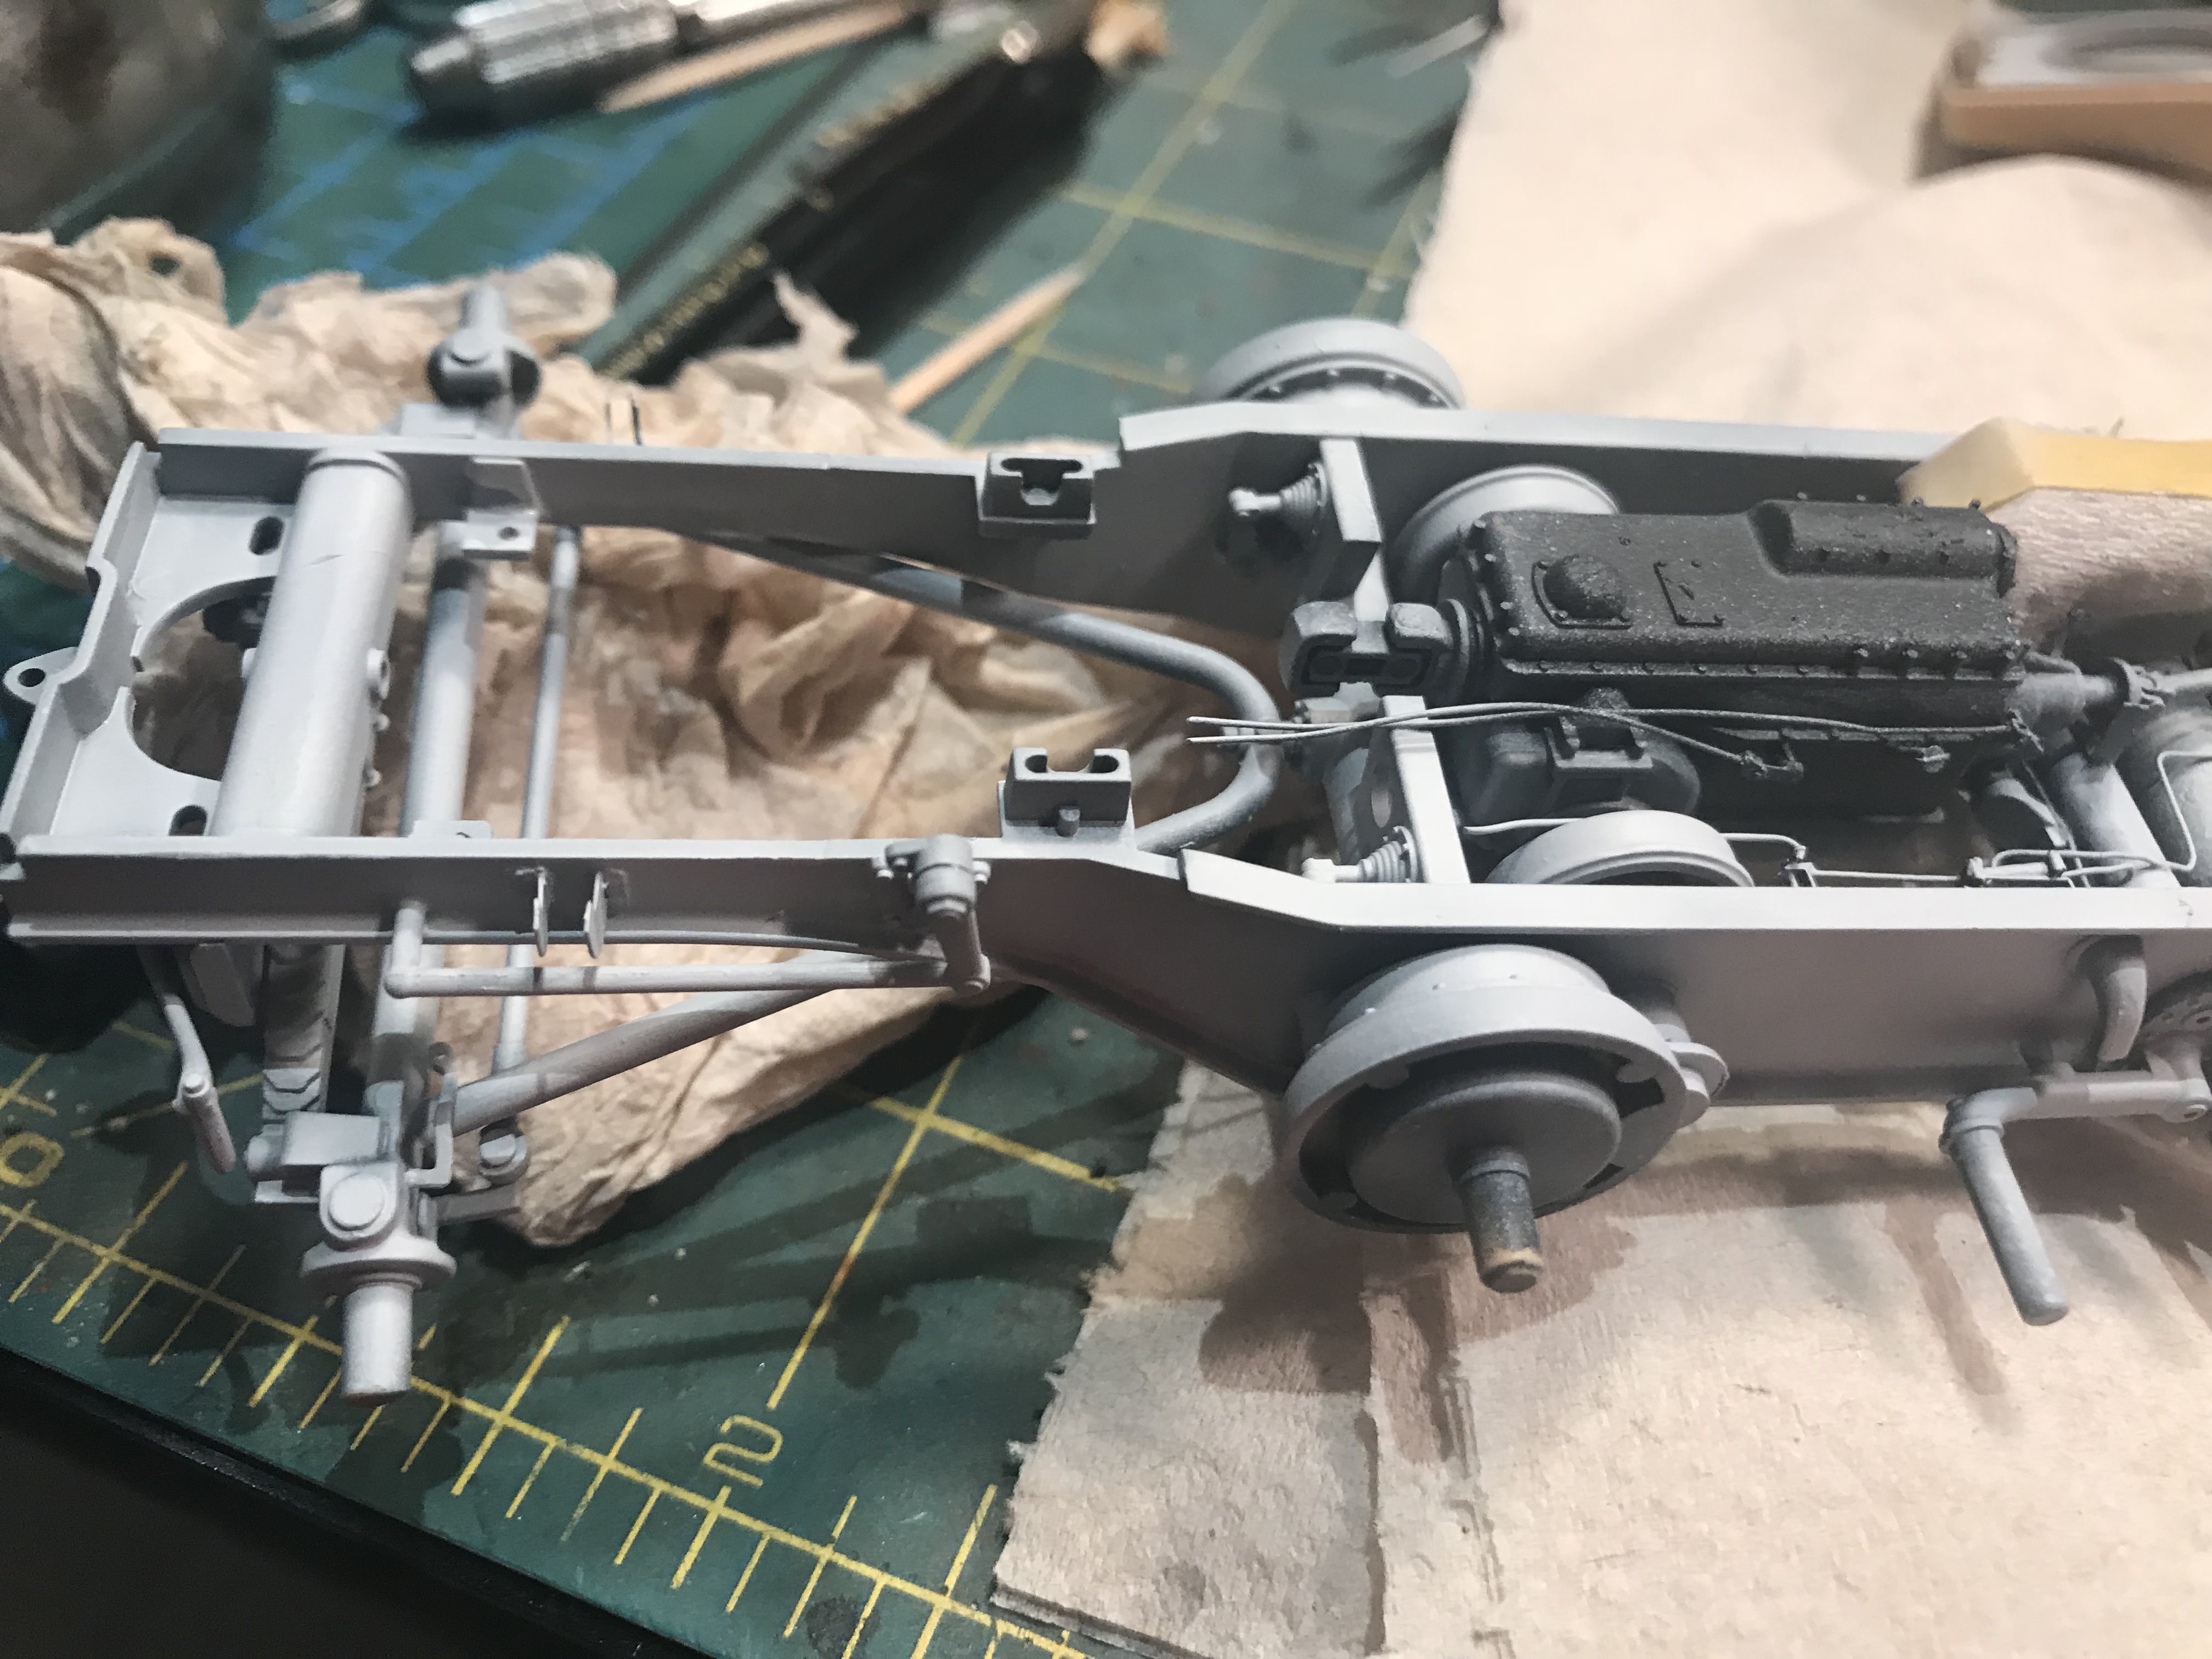

Second coat, a dark grey. I followed the vallejo recommendations almost to the letter to see how it would turn out.
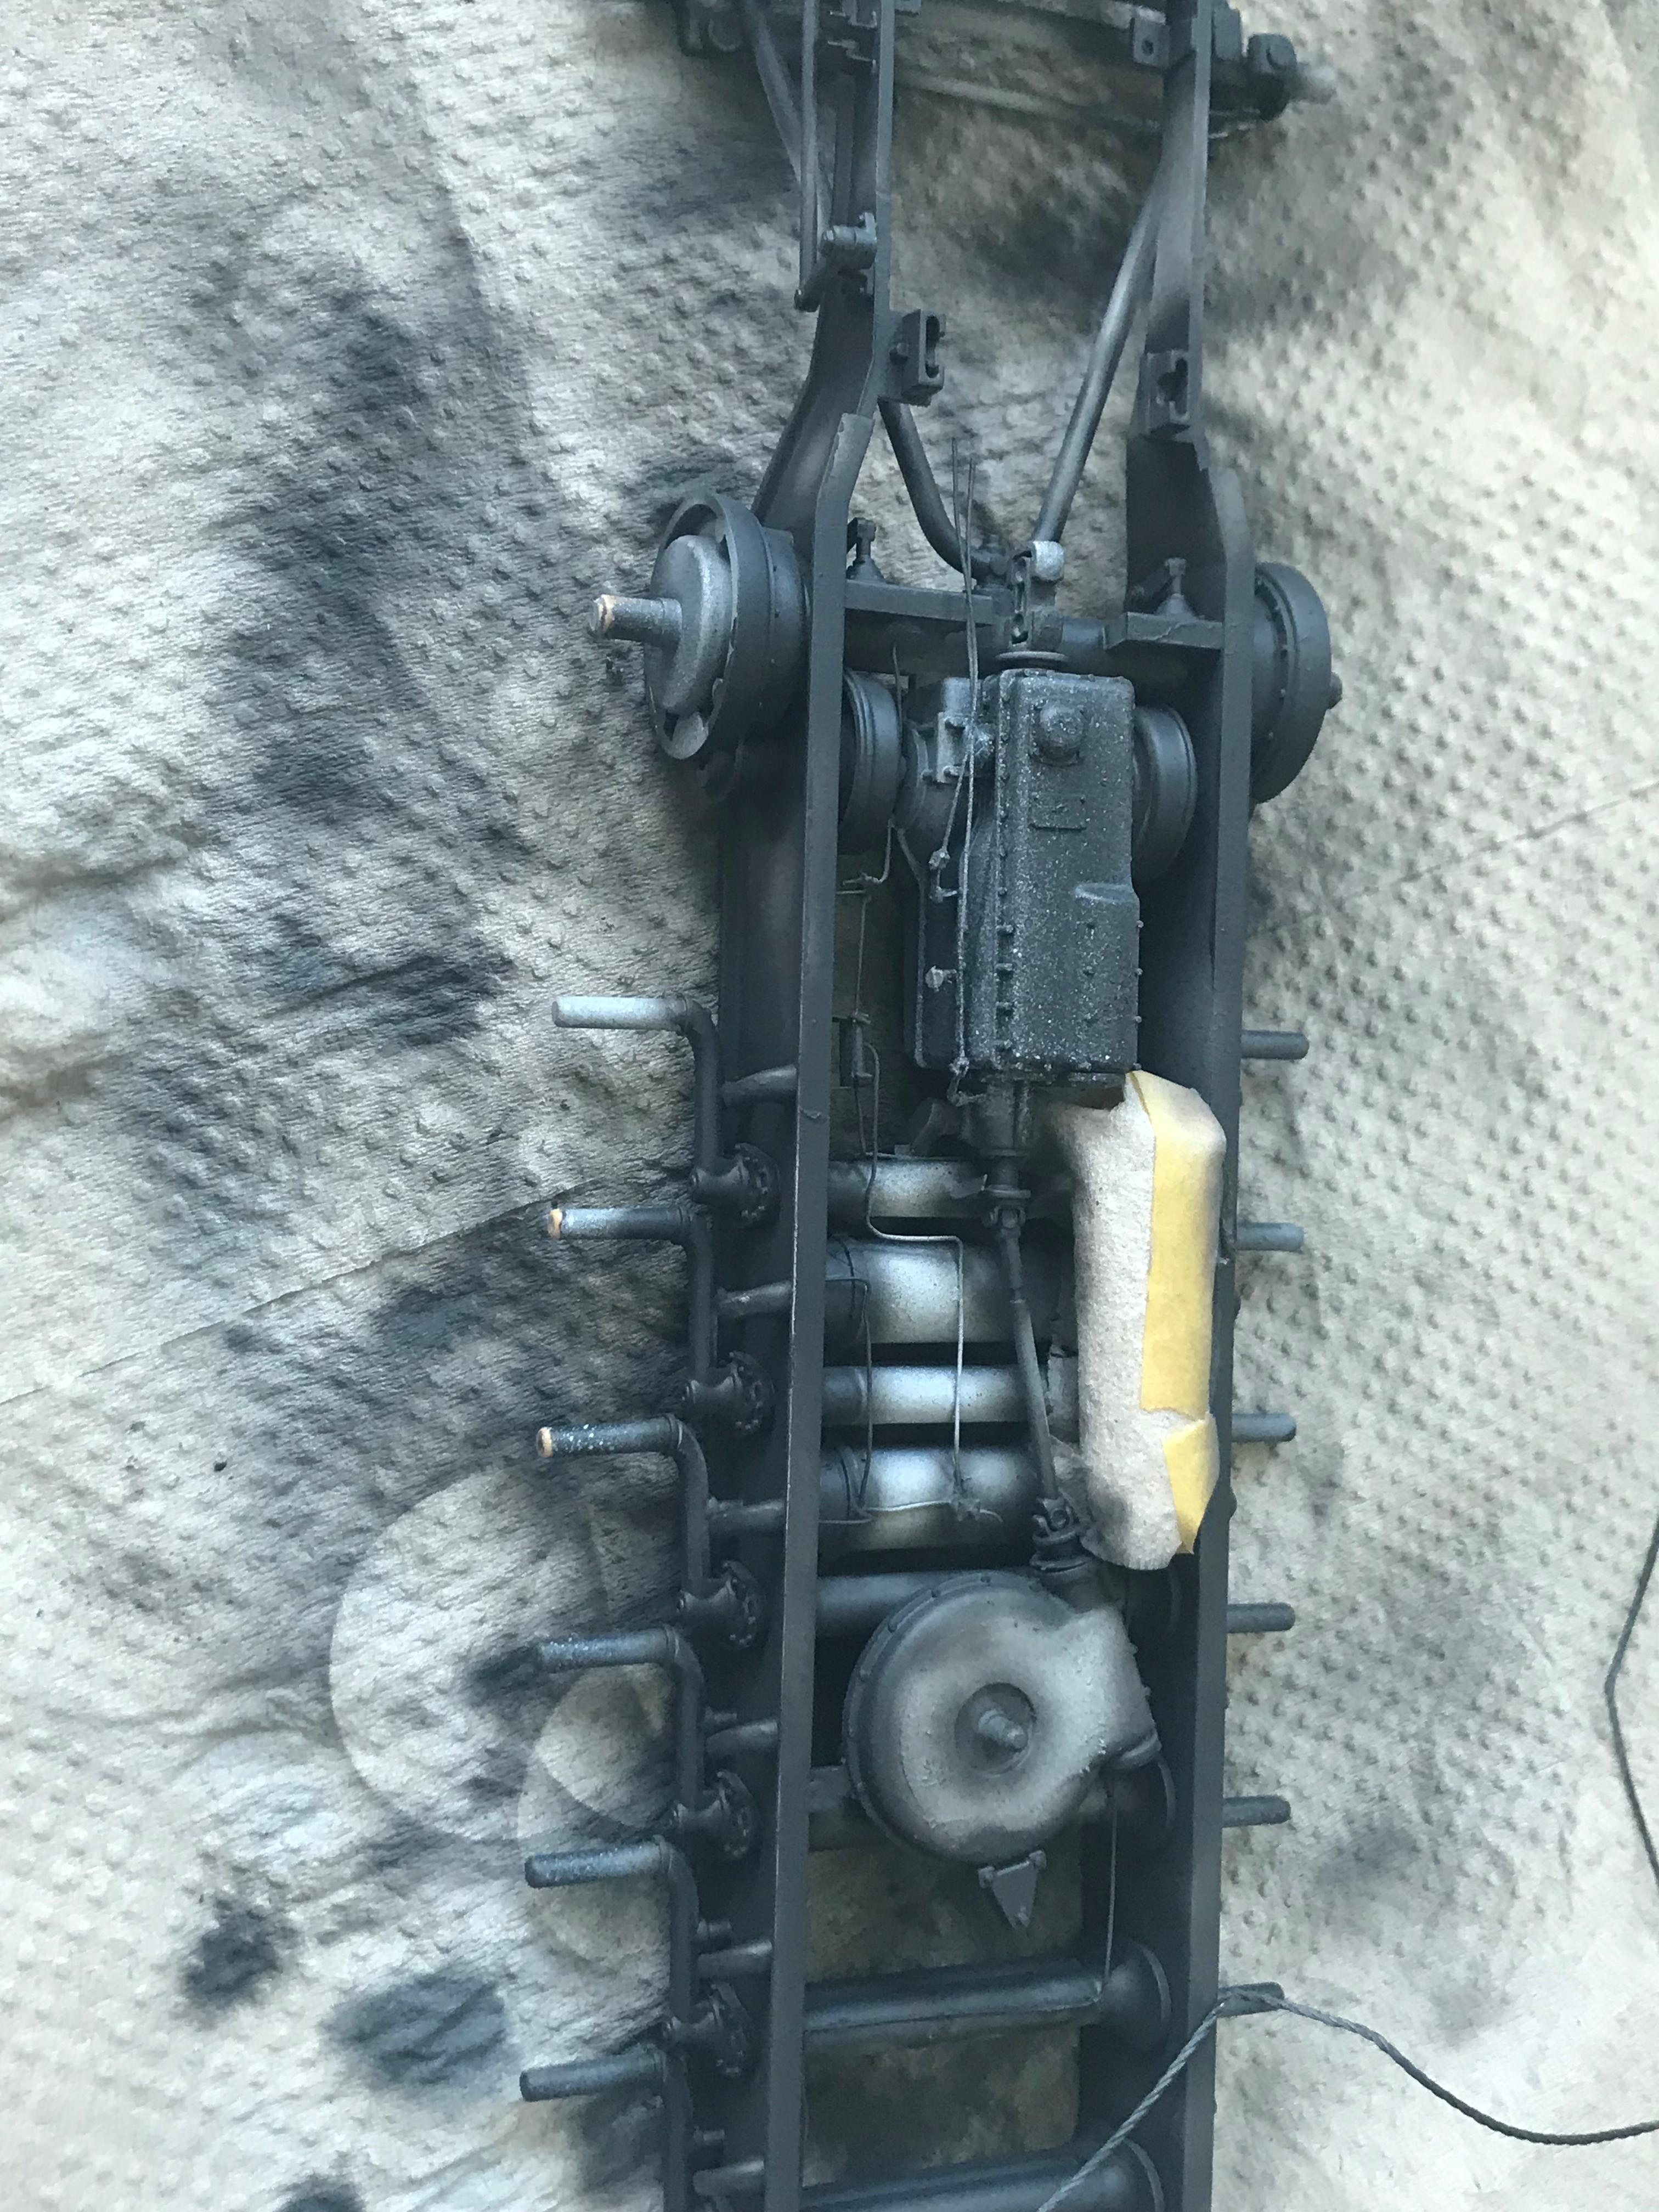
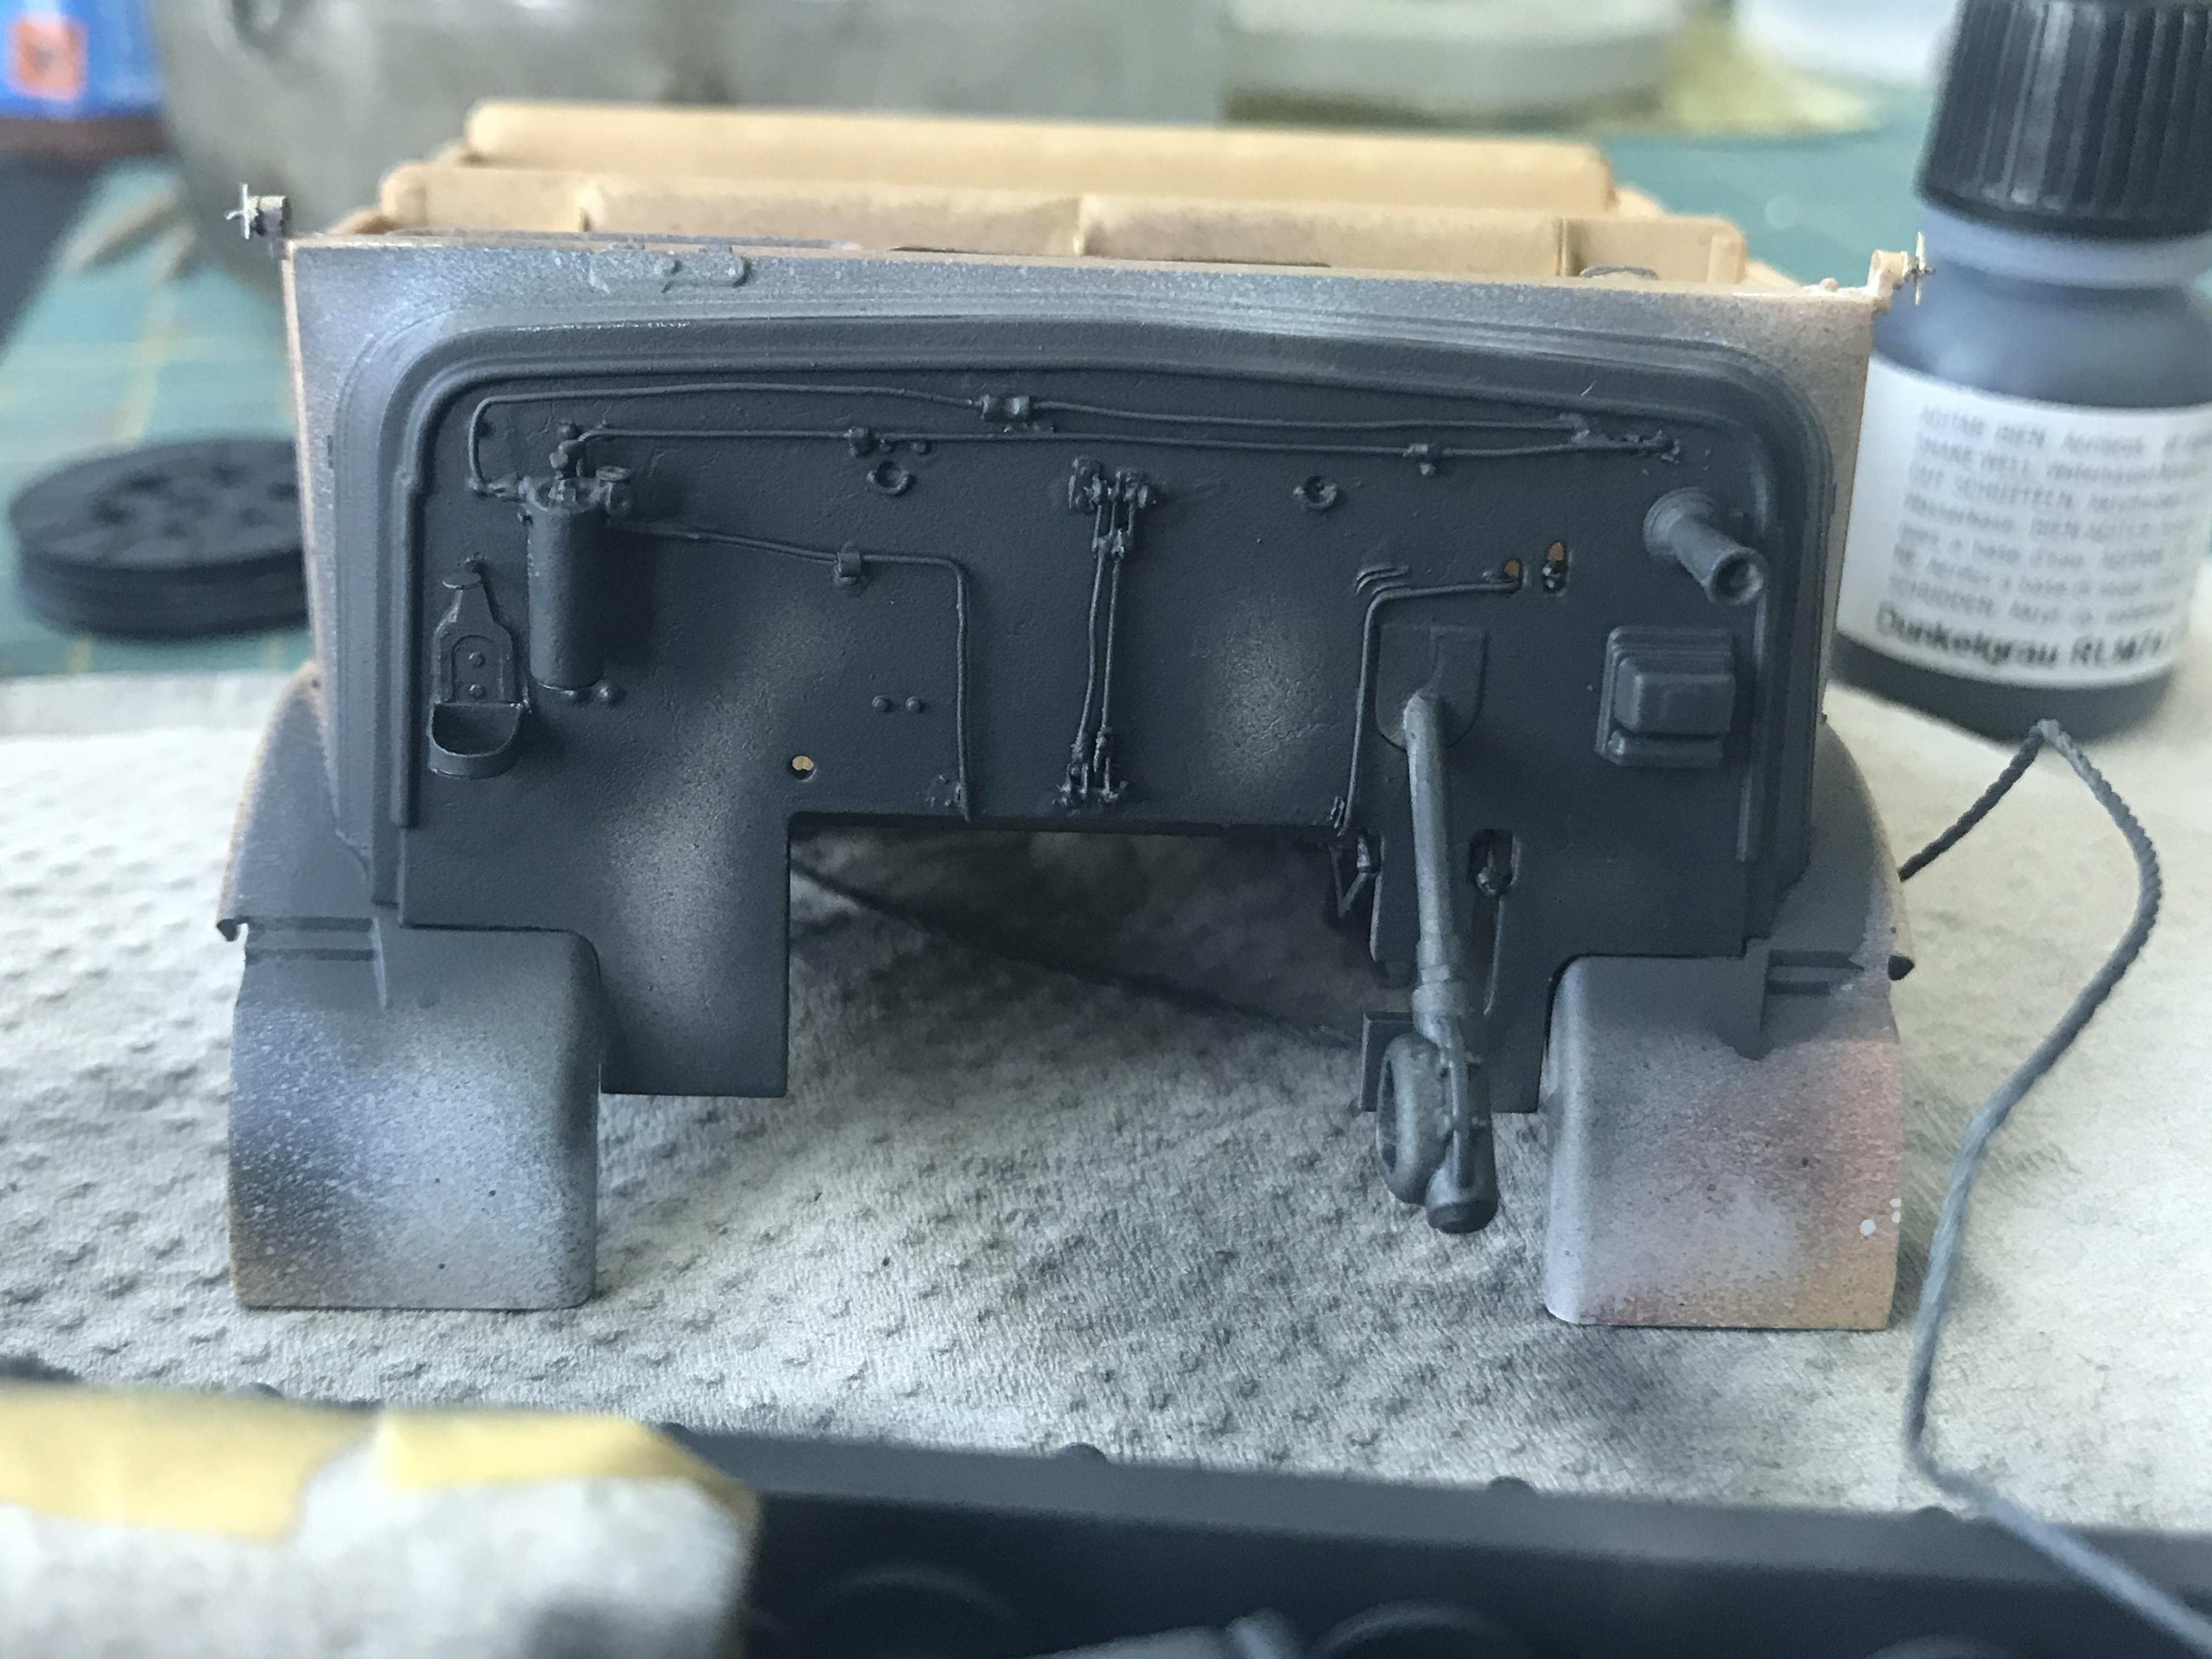
3rd coat is a dark sea green, which is meant to blend the dark grey
4th coat is a lighter german grey
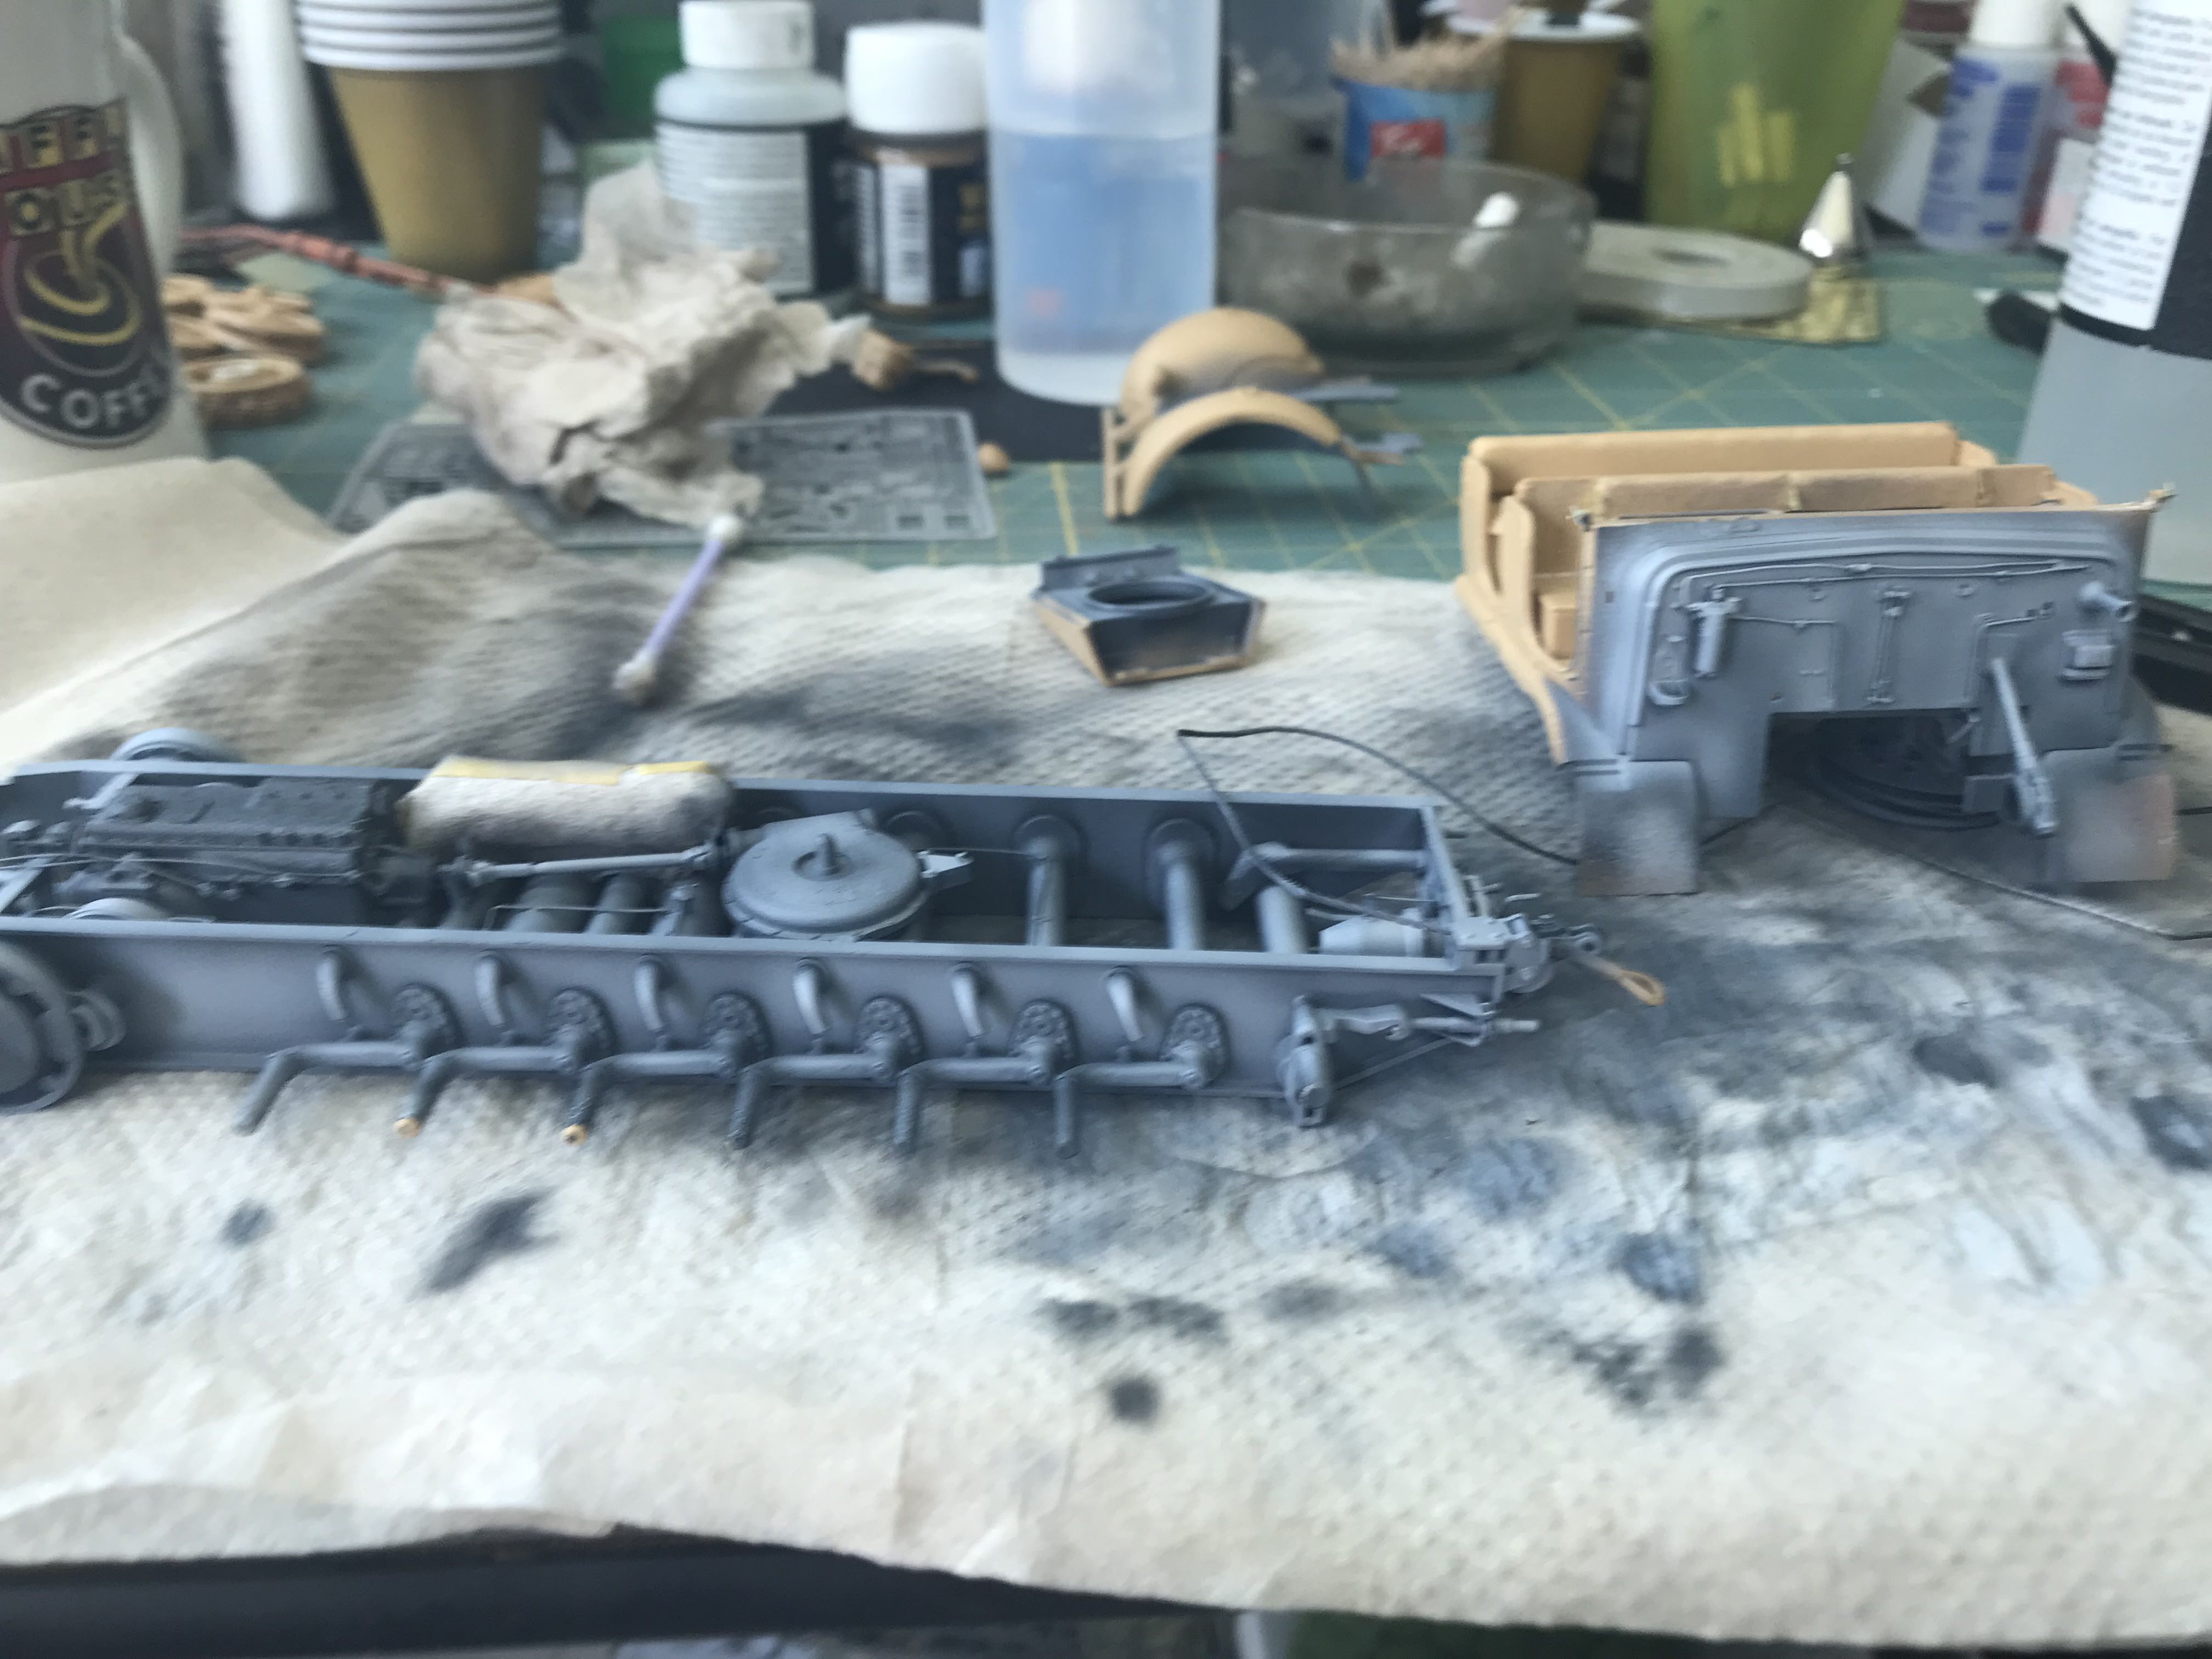
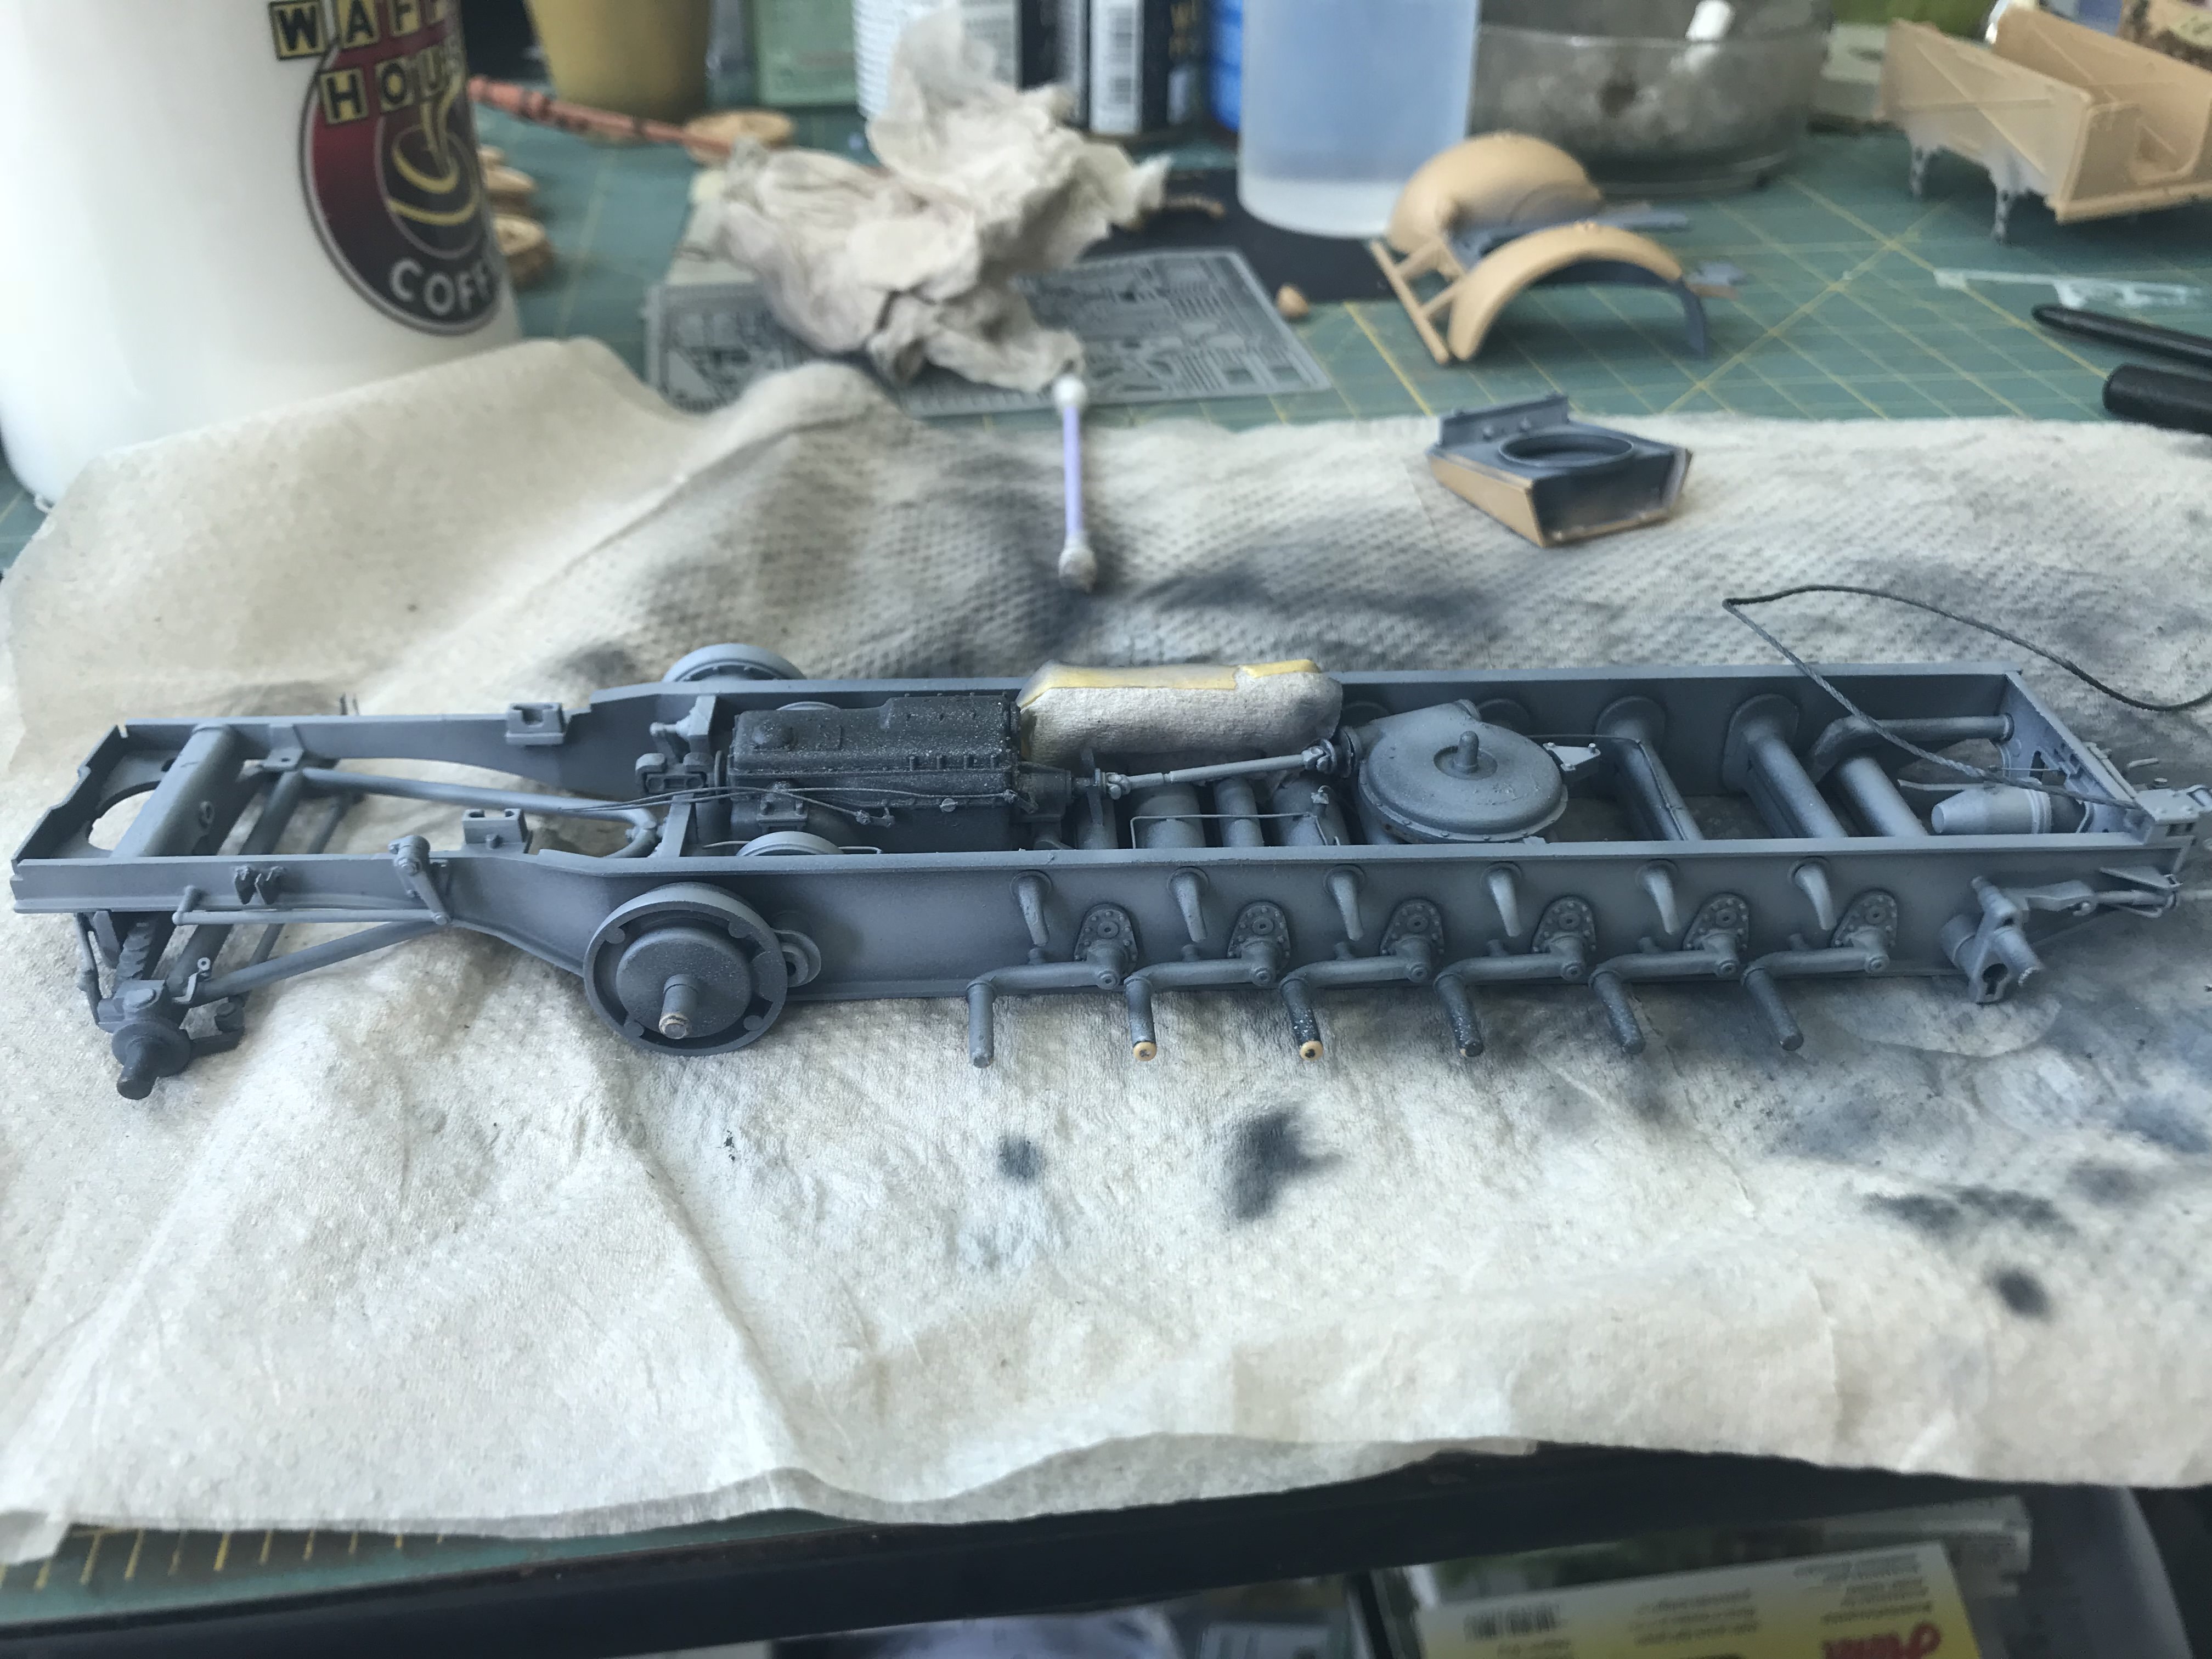
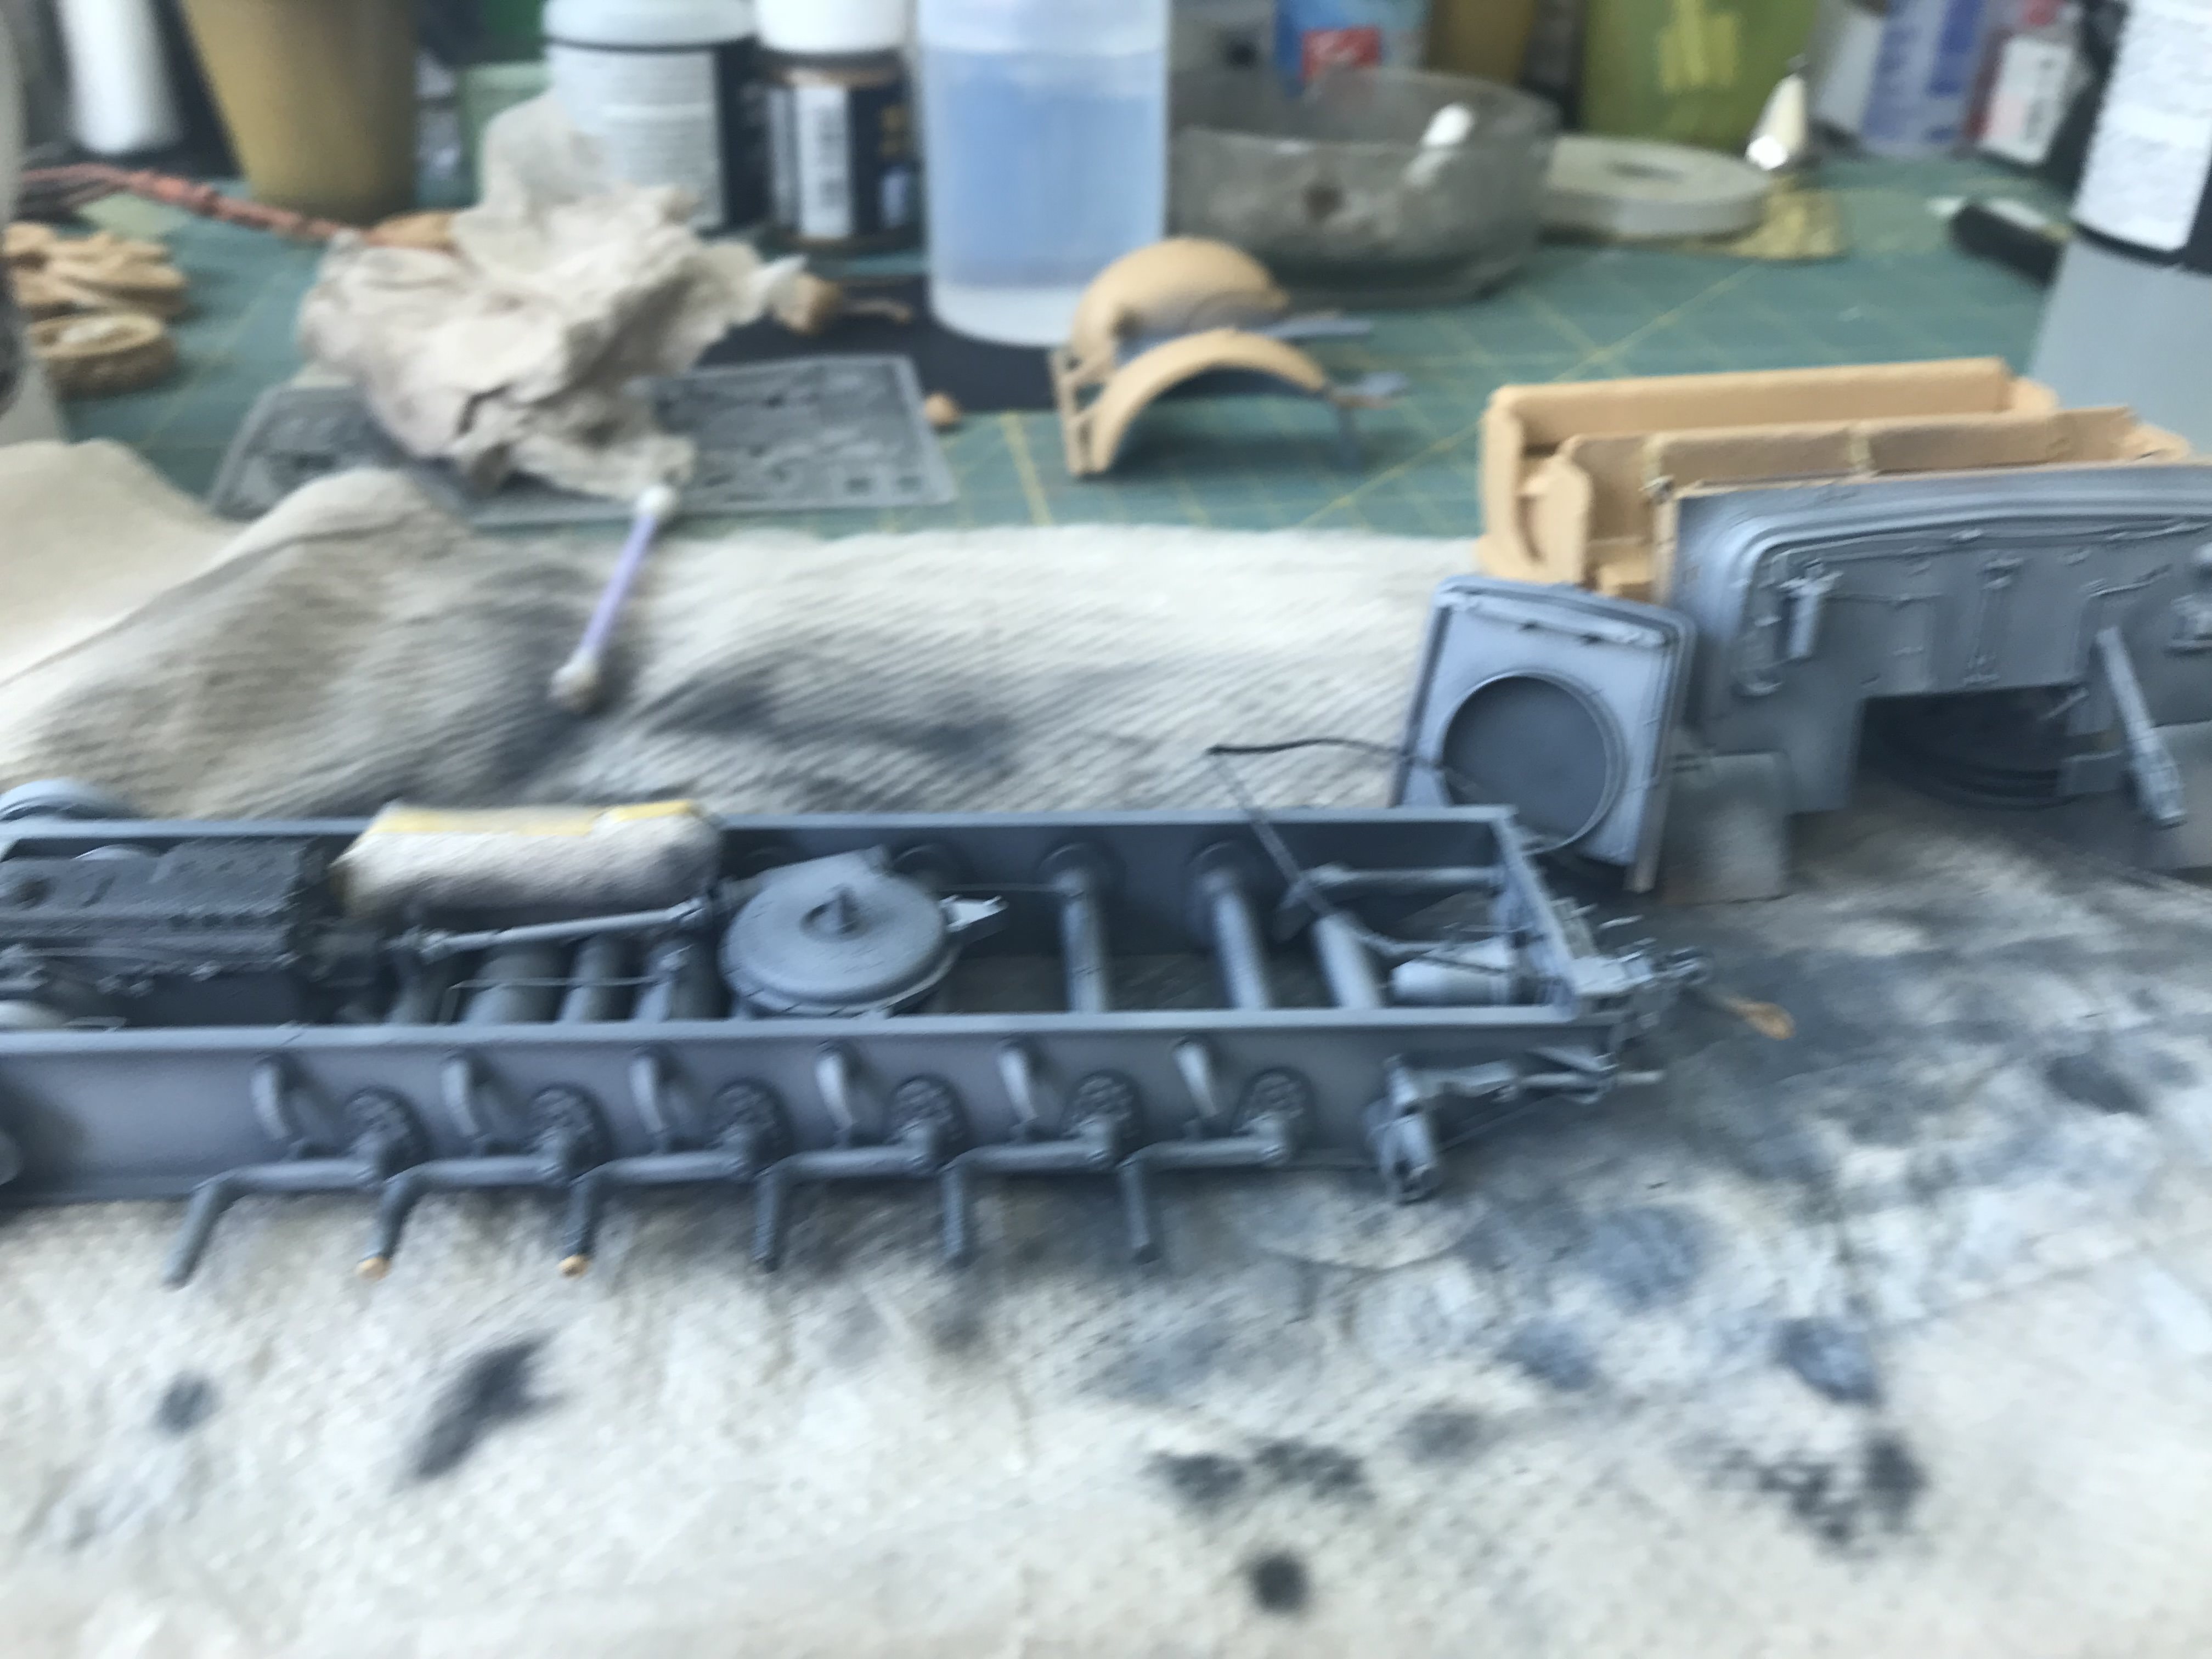
5th coat is the lightest grey, which is meant to highlight
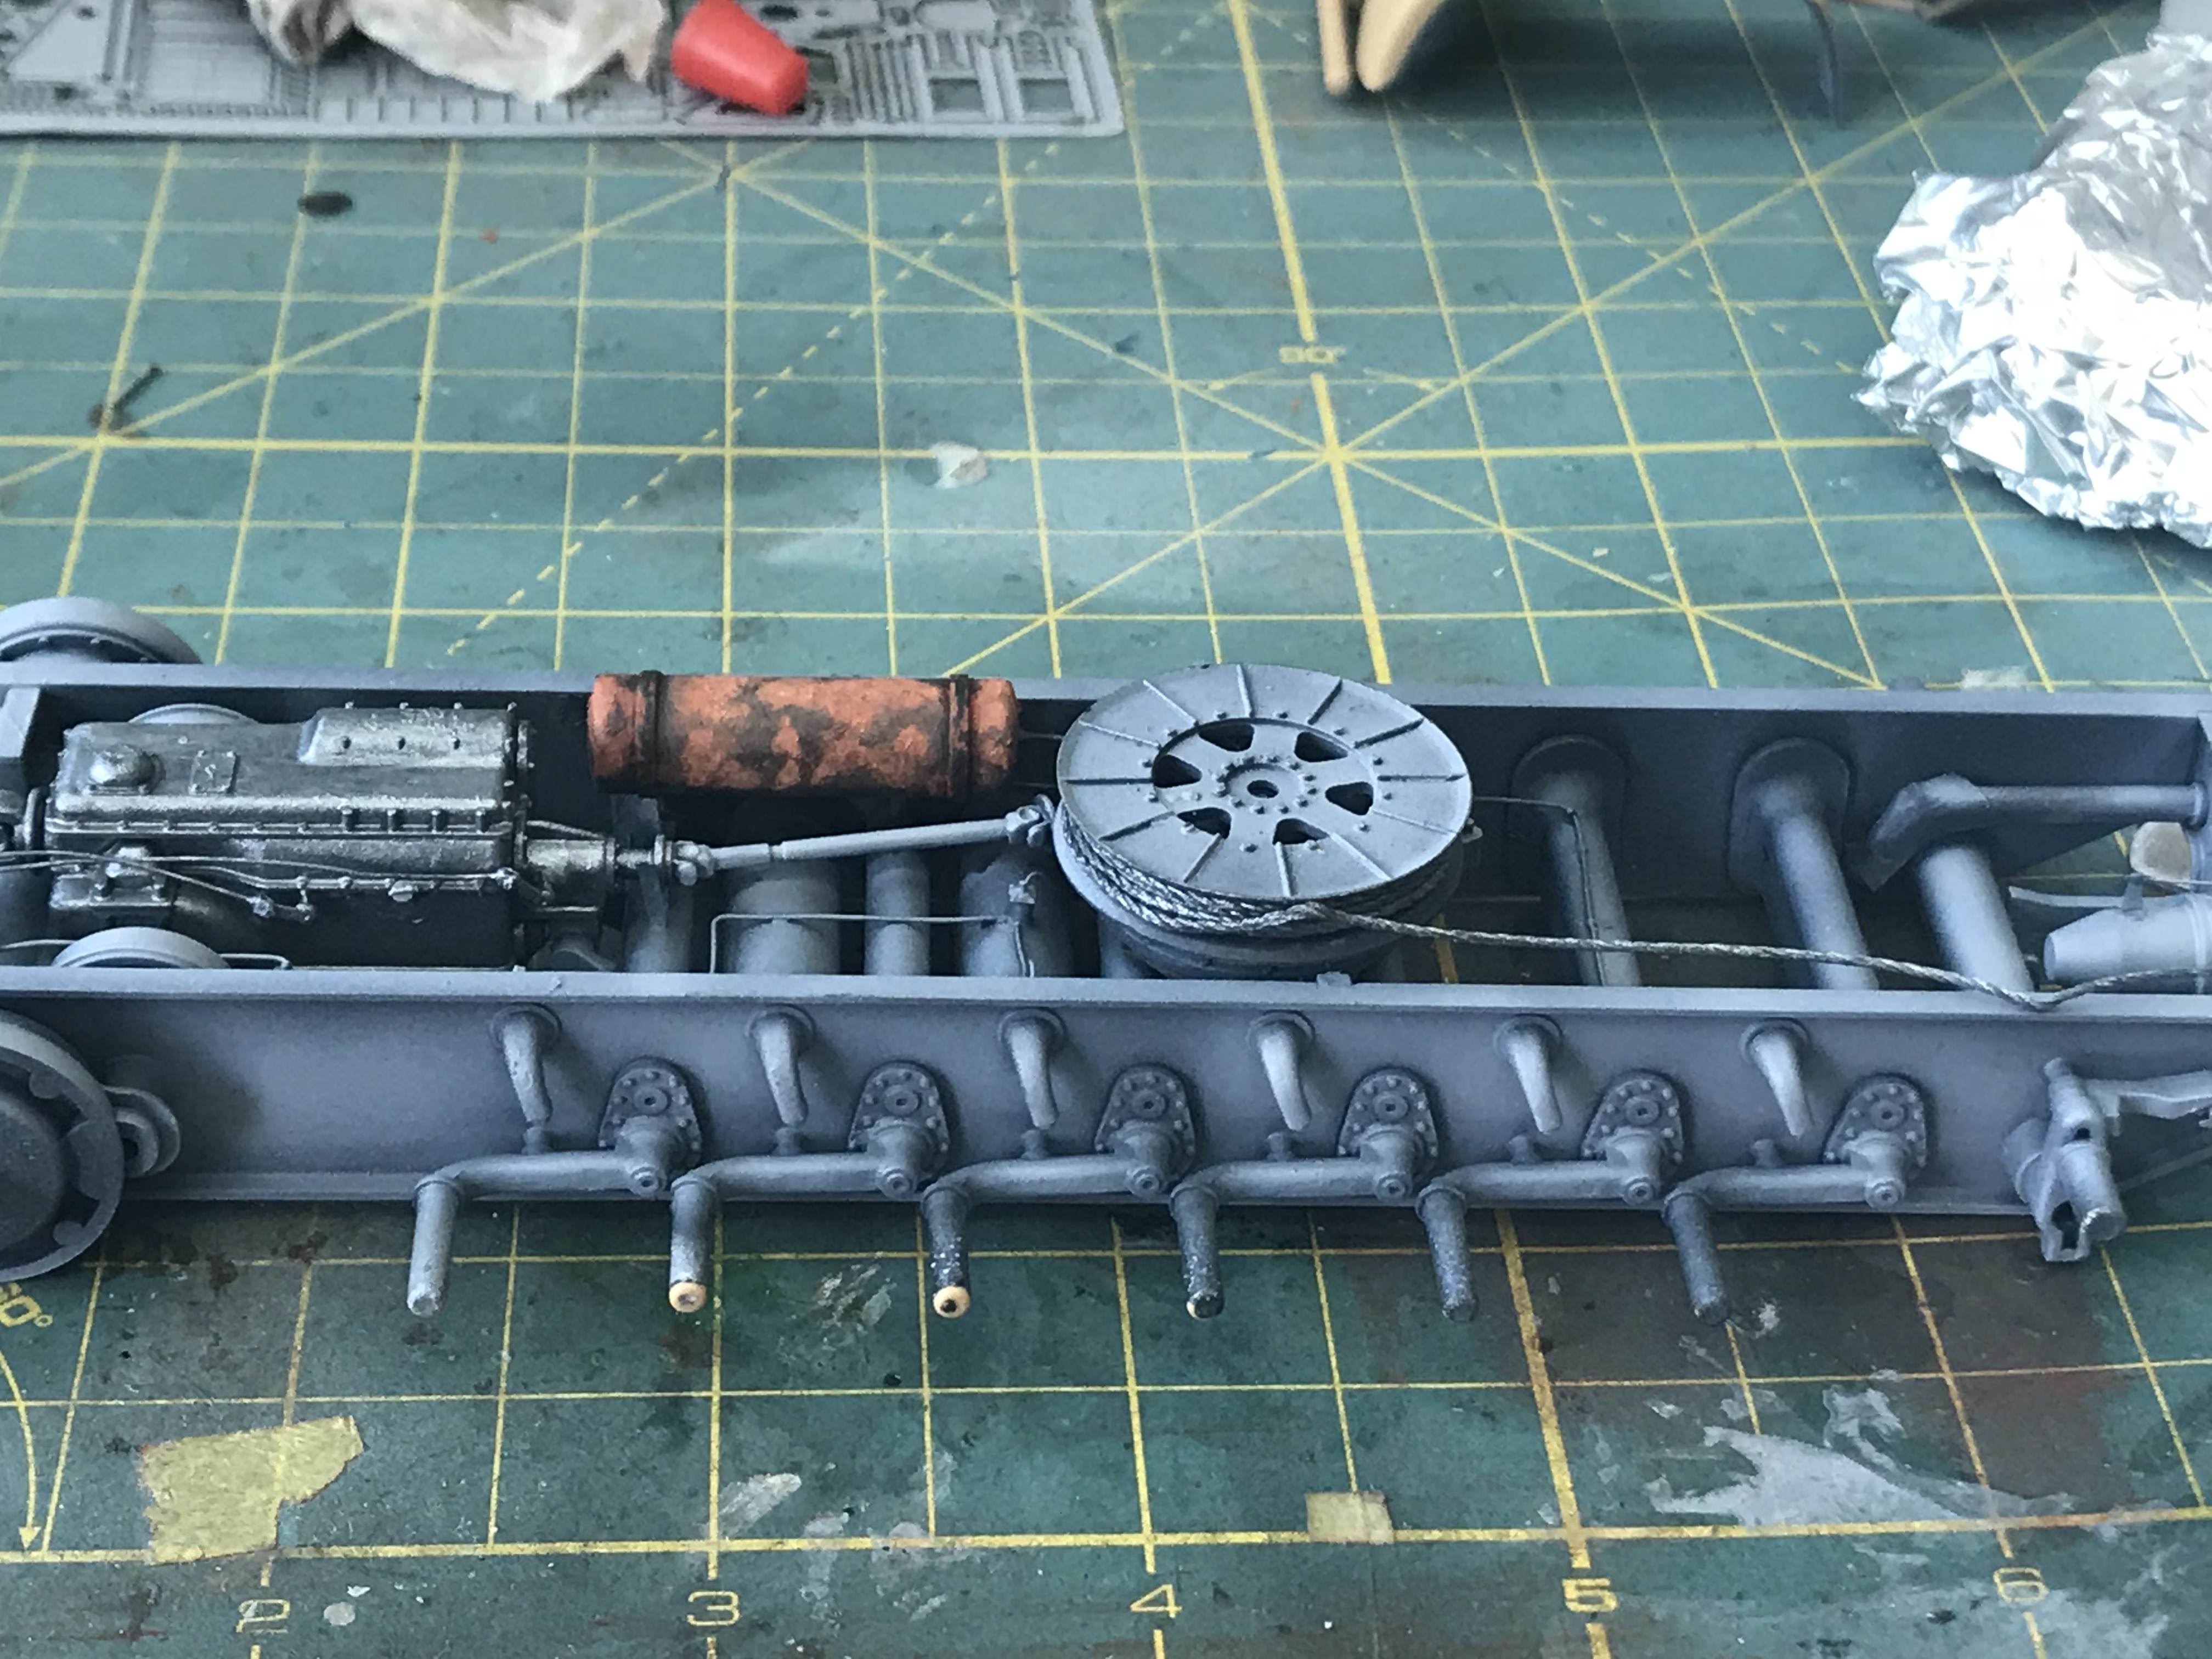
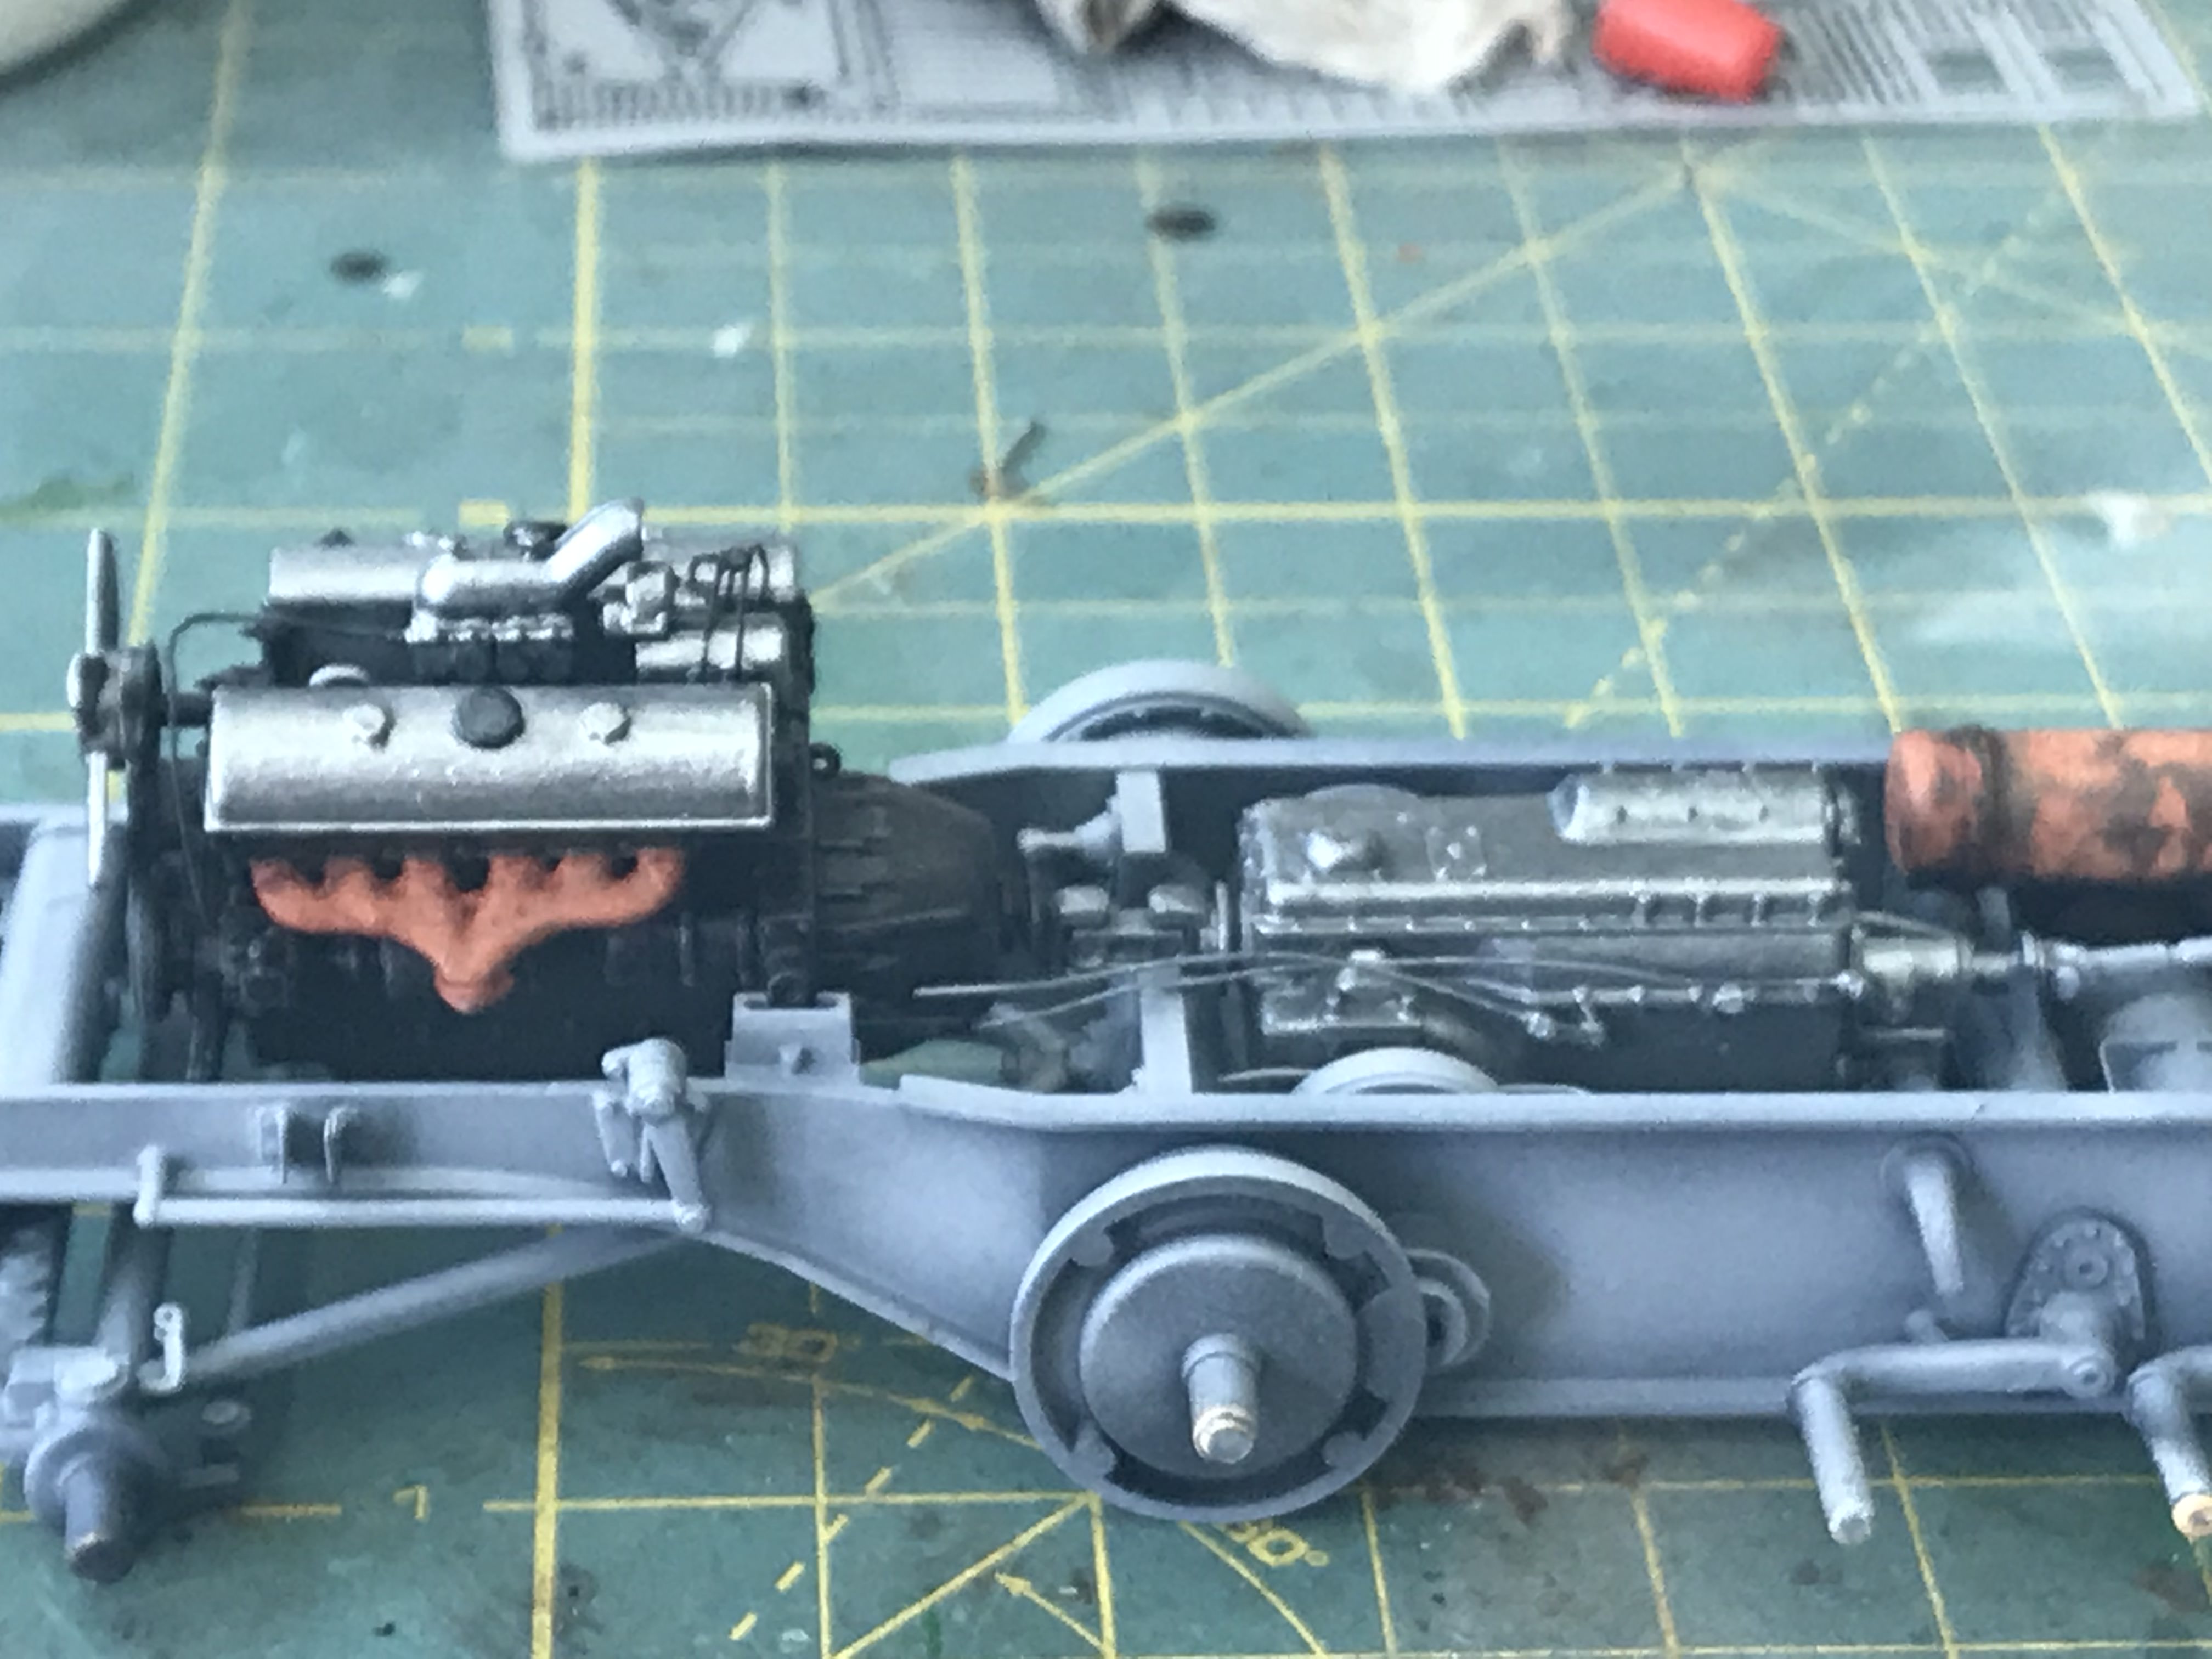
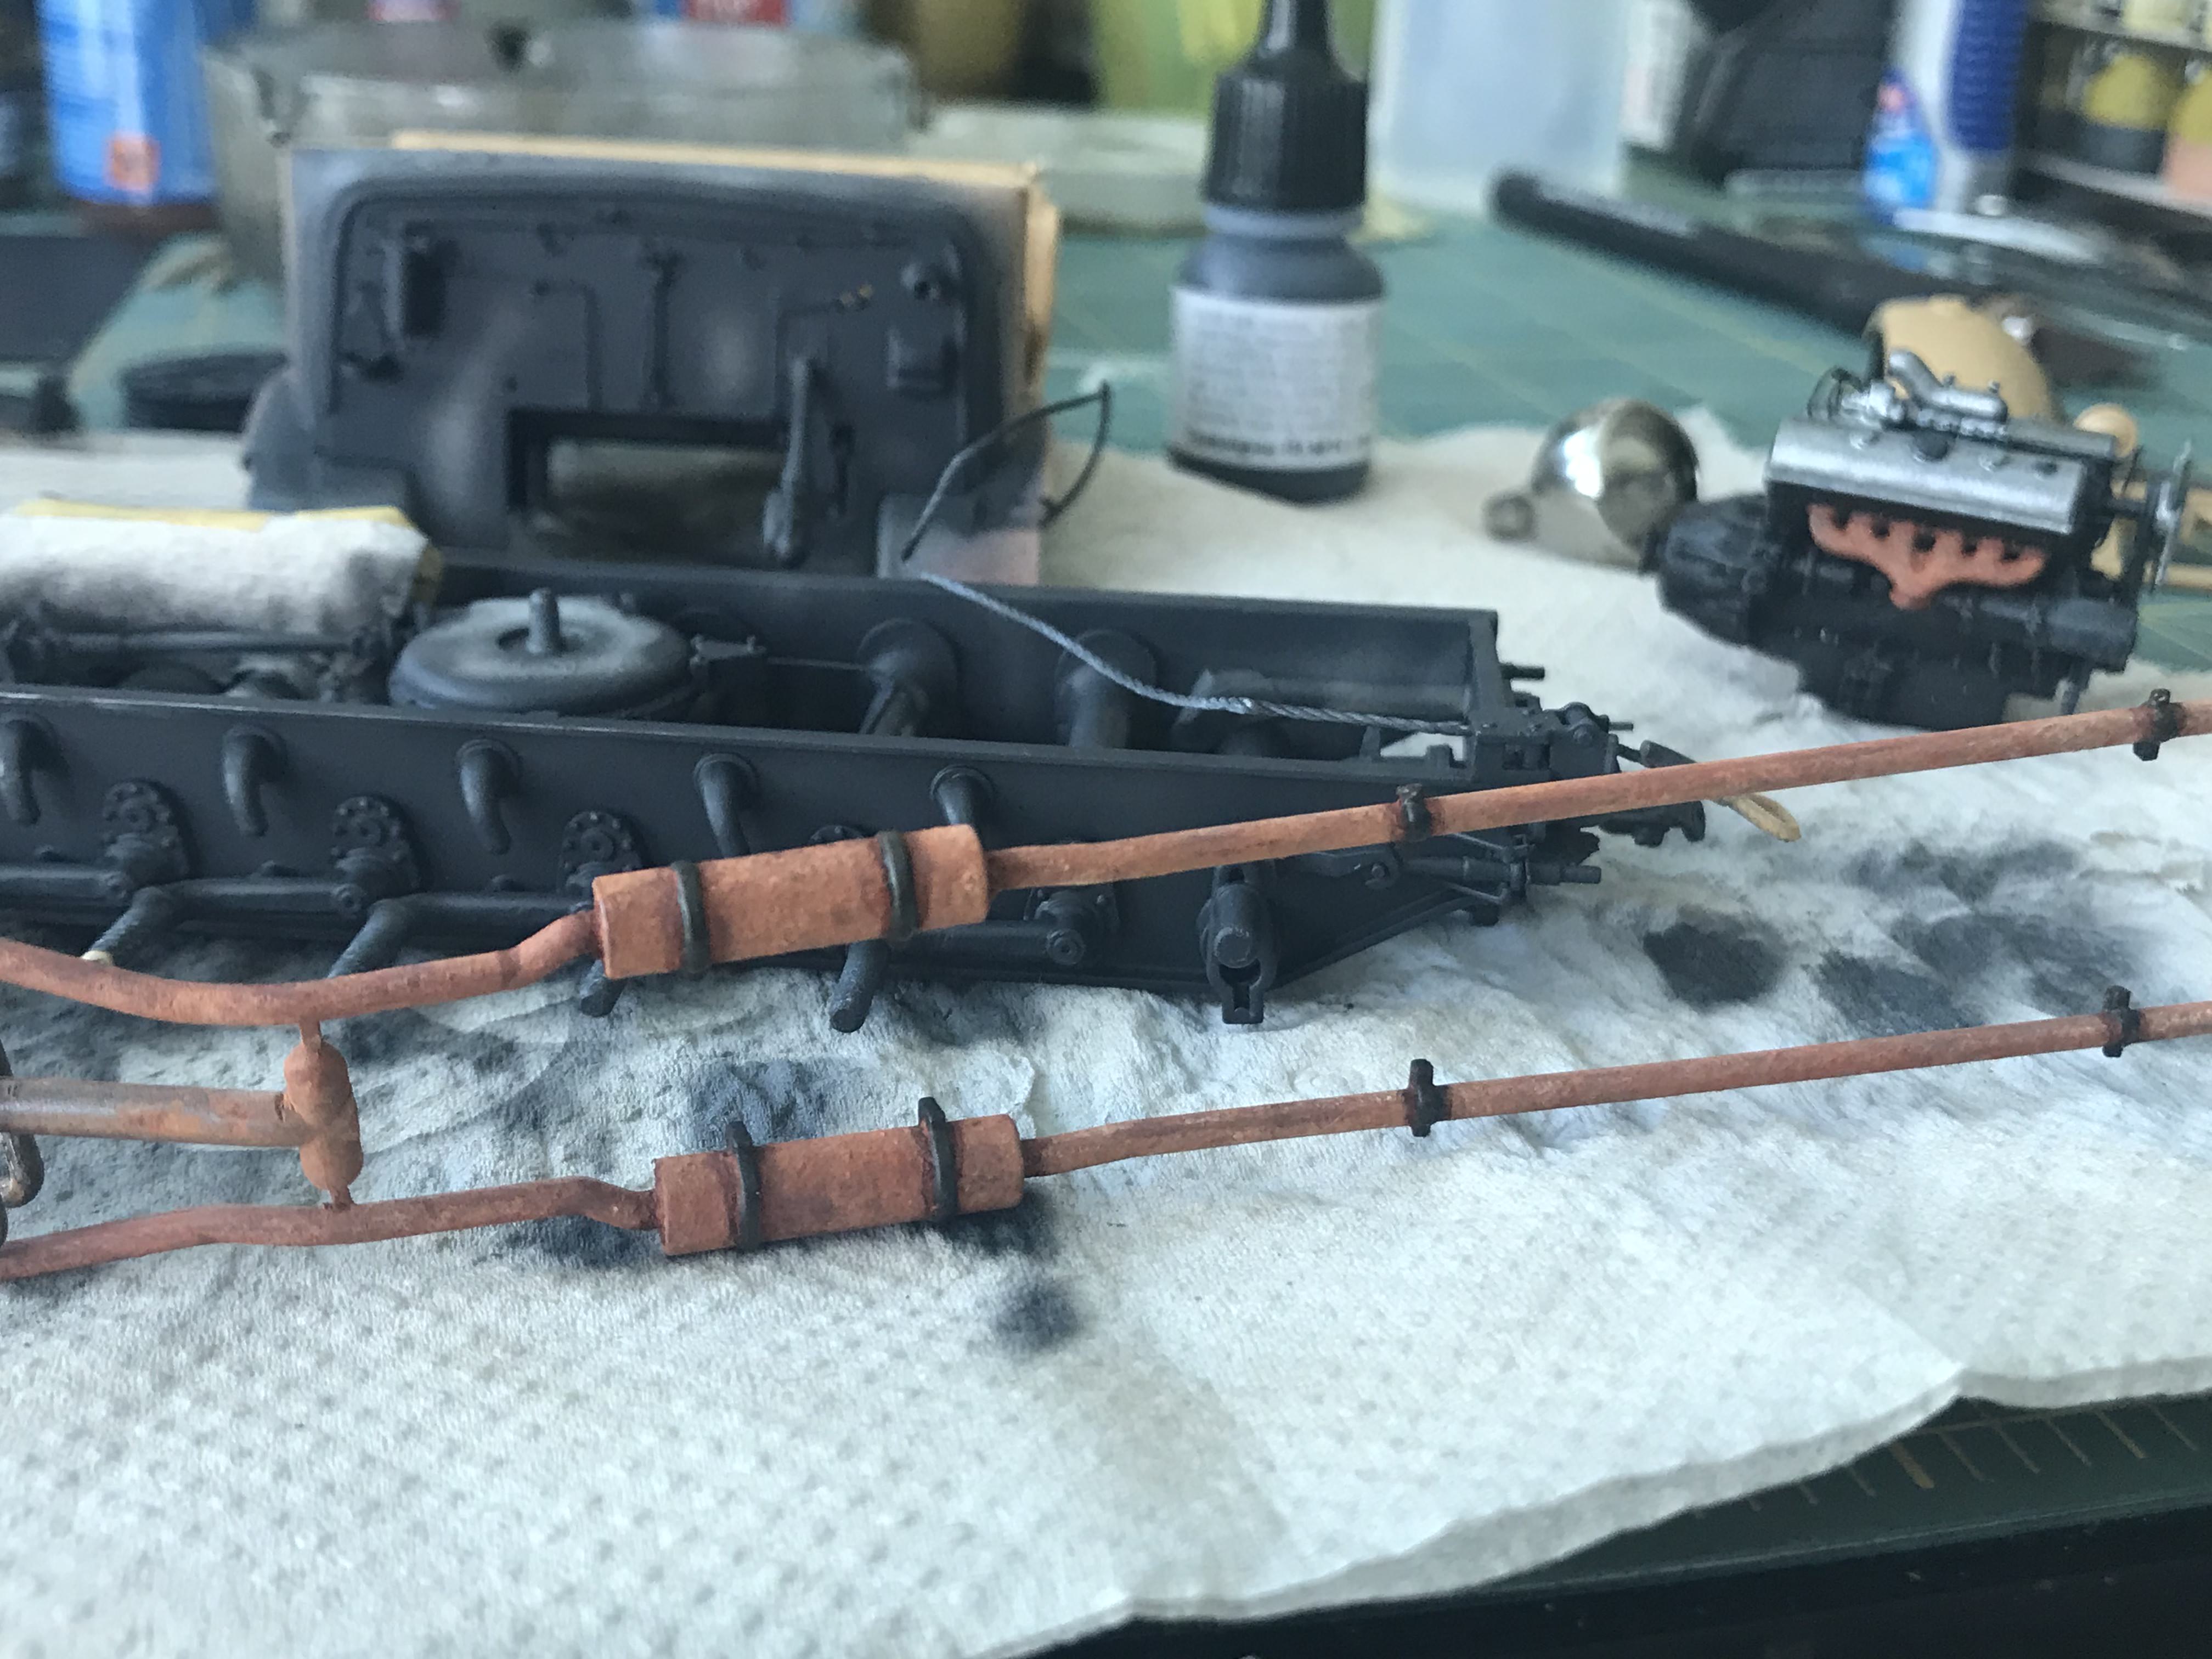
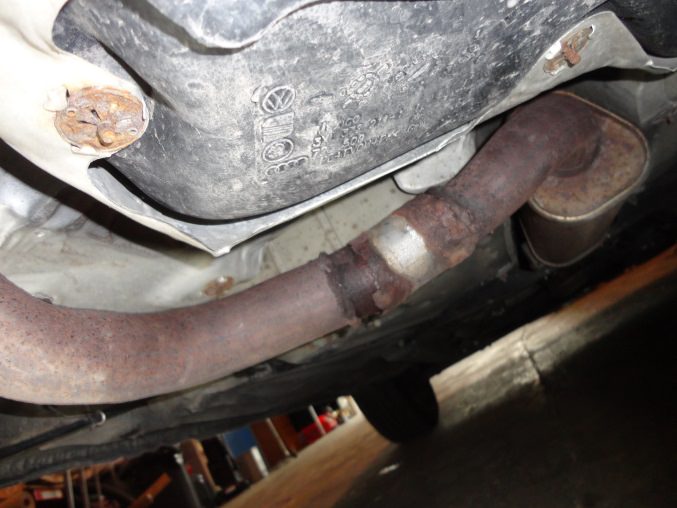
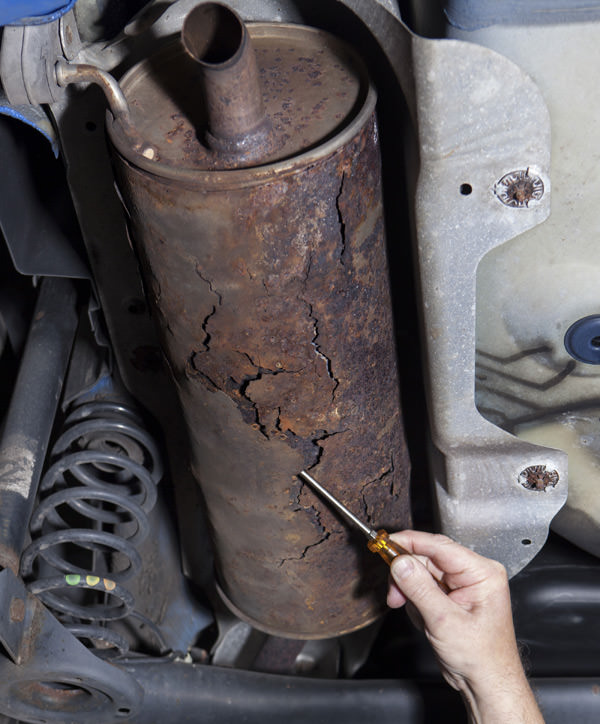
I also heavily rusted the exhust pipes and painted the engine block

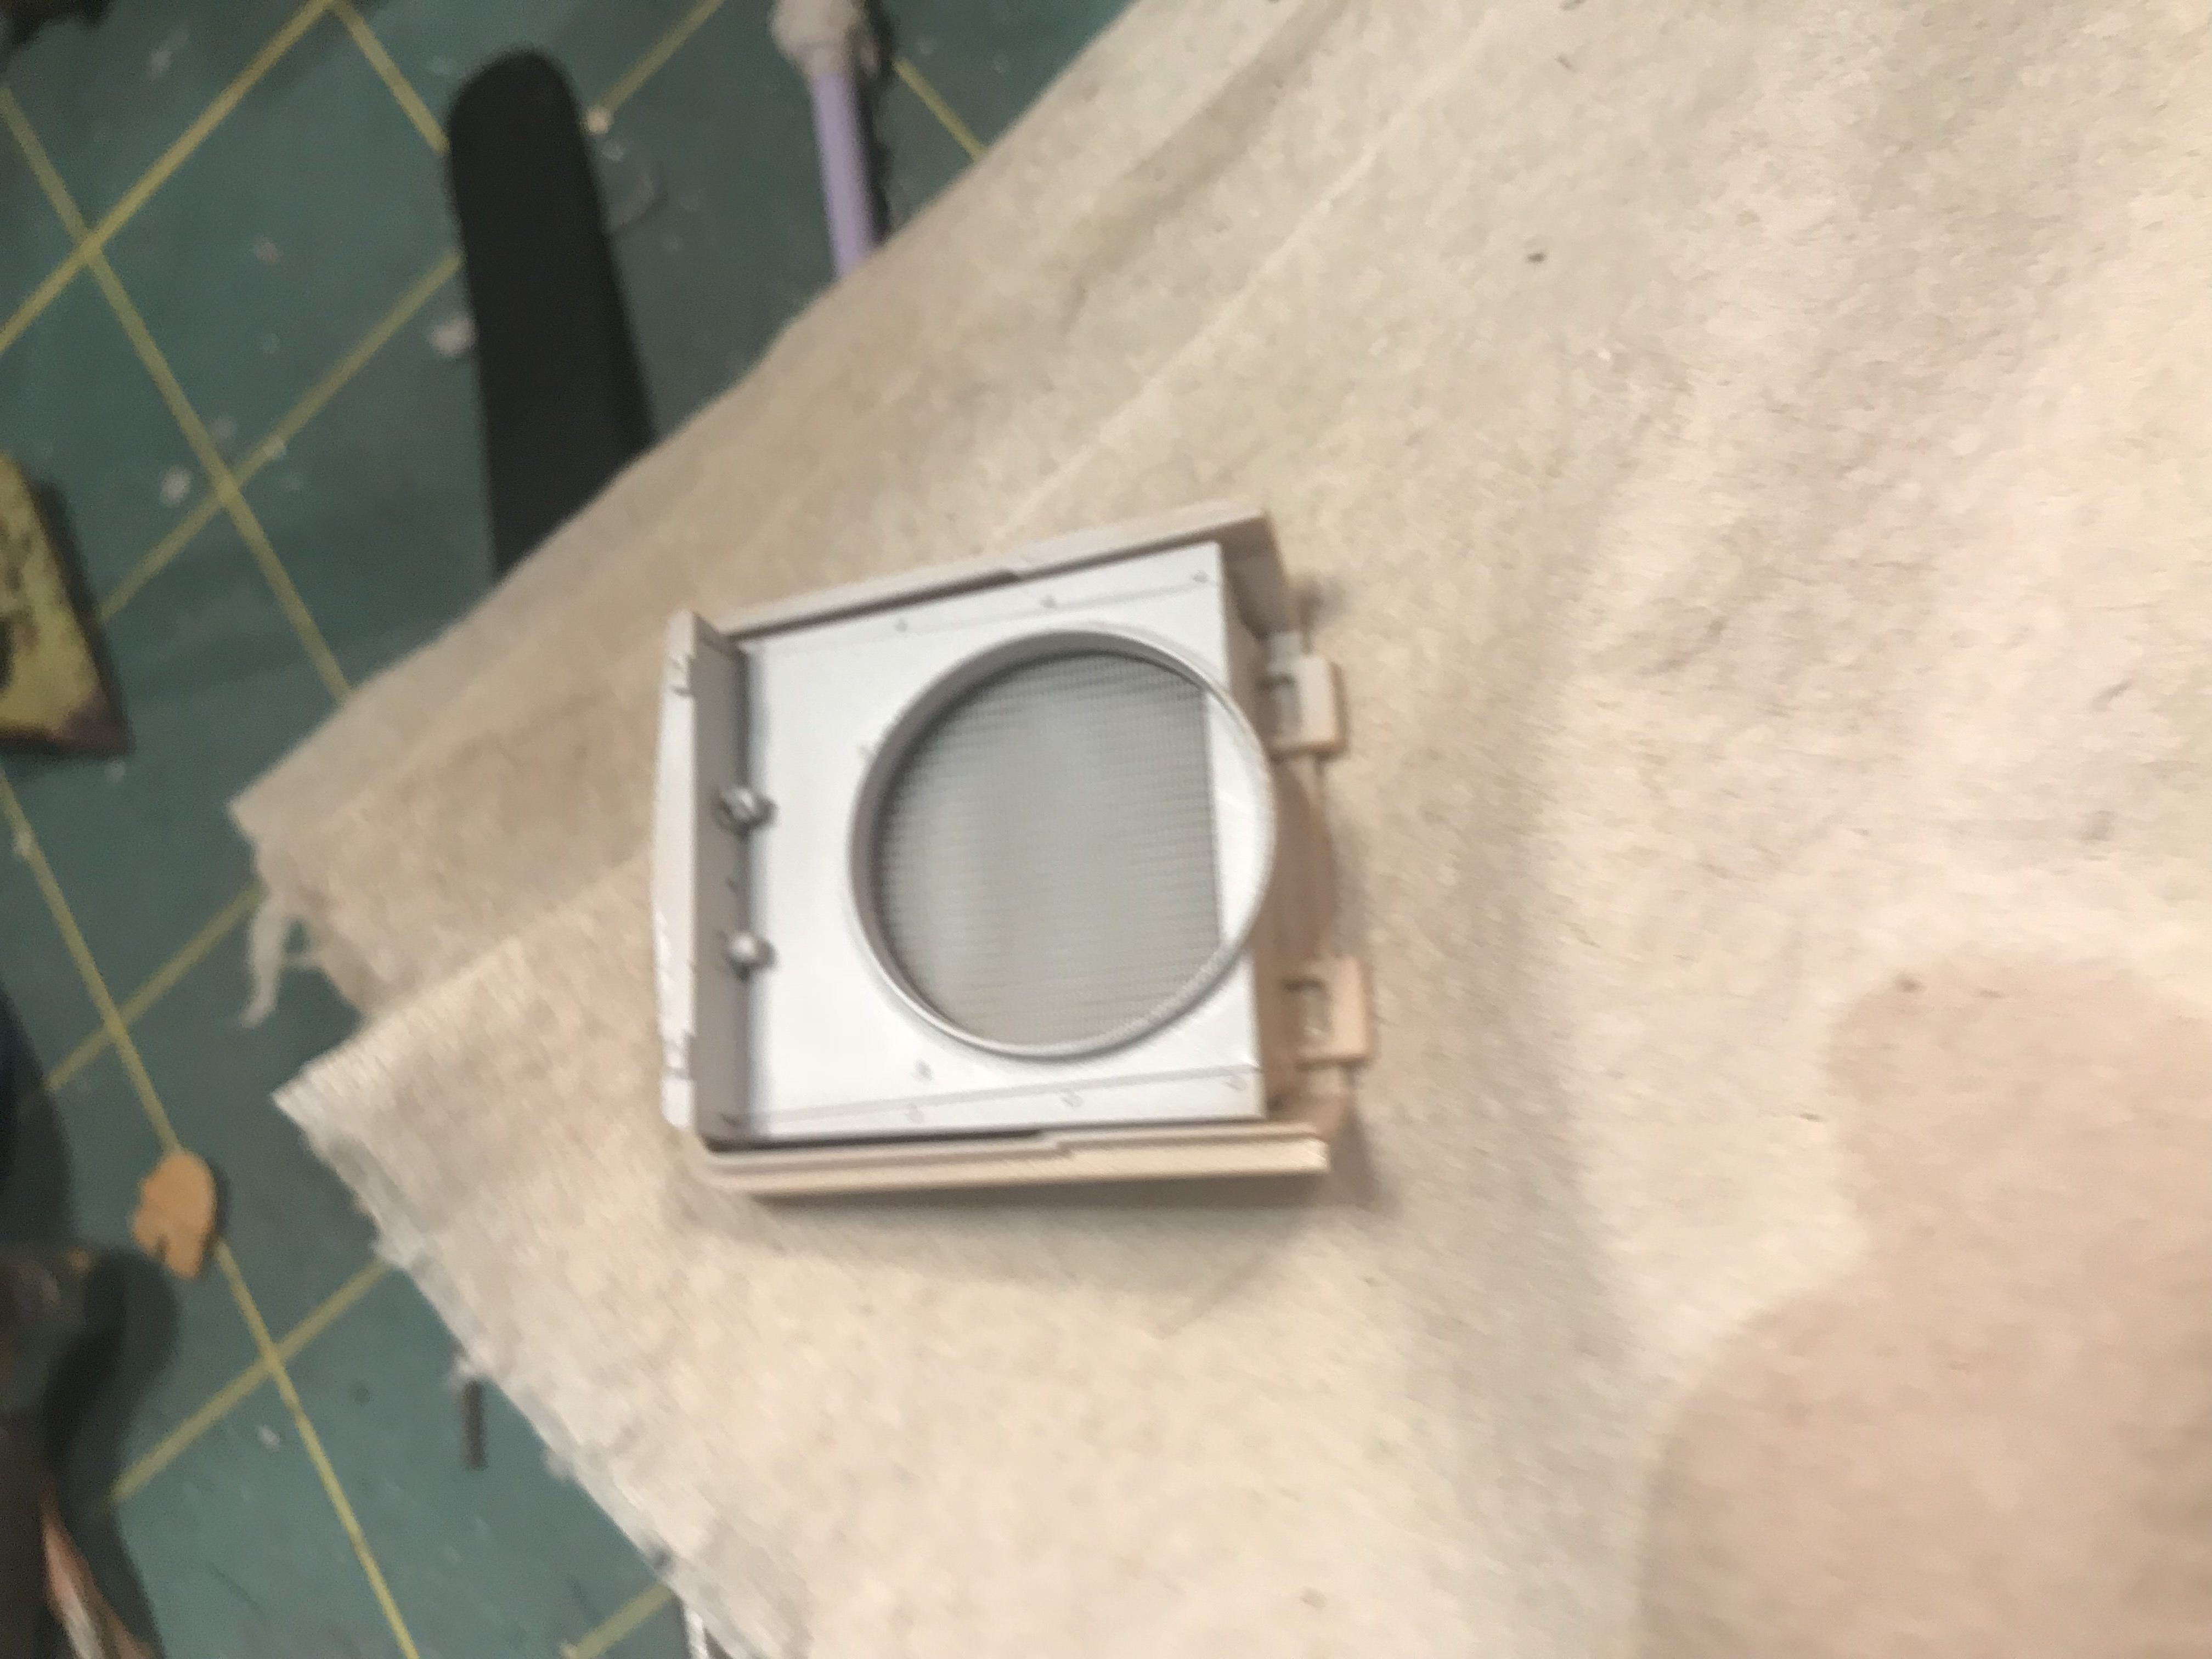
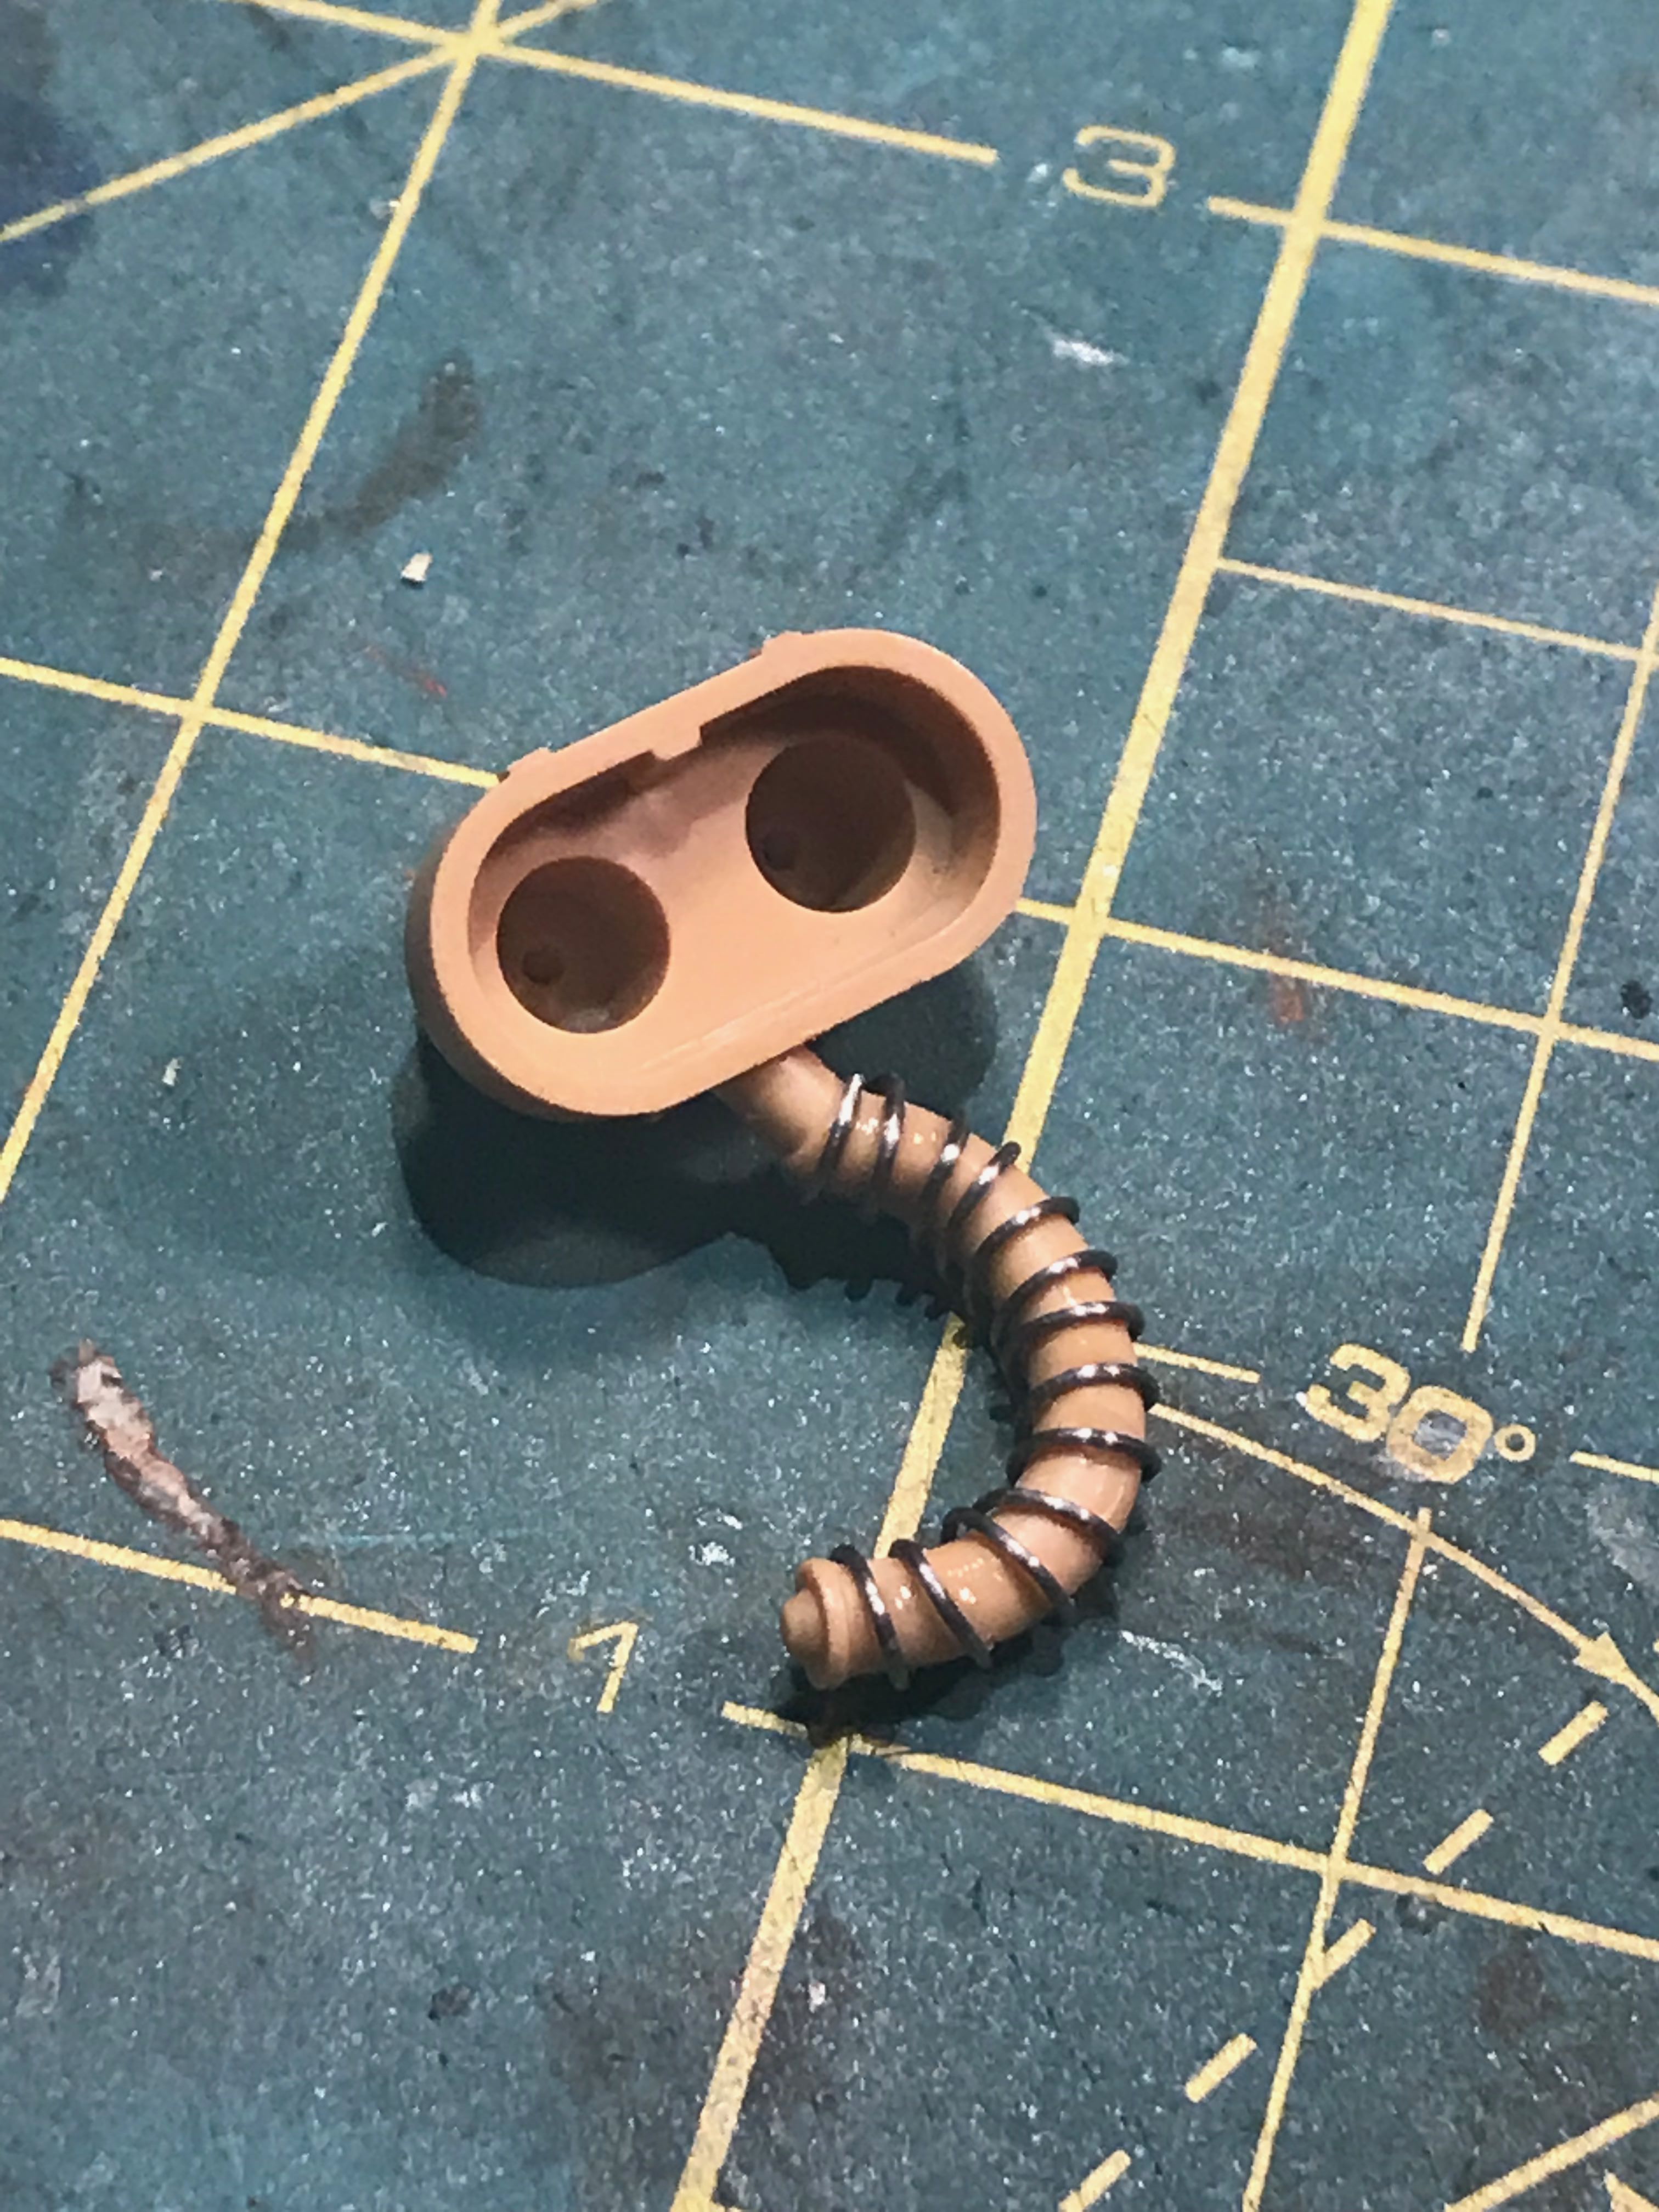
In between drying I also played with the filter adding the wires to the pipe
Chassis complete, painting wise, just weathering to be carried out

The vallejo set is ok, but if you follow it to the letter you wont really get any colour modulation really. You need to deviate a little or the paint job will be far too dark in my opinon.
Also, i suspect many will think the exhusts are too heavily weathered - however this is a later war FAMO and if you have ever looked at an exhust thats been in place for at least 12 months you will see how rusted they get - like these reference pic
More to come soon!
First coat - namely surface primer from Vallejo. I actually decided to give the vallejo AFV collur modulation set a go - its not bad, but not as good as you would expect.

You will note that one of the fuel tanks is covered, i decided to heavily rust this one, hence the mask


Second coat, a dark grey. I followed the vallejo recommendations almost to the letter to see how it would turn out.


3rd coat is a dark sea green, which is meant to blend the dark grey
4th coat is a lighter german grey


5th coat is the lightest grey, which is meant to highlight


I also heavily rusted the exhust pipes and painted the engine block


In between drying I also played with the filter adding the wires to the pipe

Chassis complete, painting wise, just weathering to be carried out

The vallejo set is ok, but if you follow it to the letter you wont really get any colour modulation really. You need to deviate a little or the paint job will be far too dark in my opinon.
Also, i suspect many will think the exhusts are too heavily weathered - however this is a later war FAMO and if you have ever looked at an exhust thats been in place for at least 12 months you will see how rusted they get - like these reference pic


More to come soon!

Dioramartin

Joined: May 04, 2016
KitMaker: 1,476 posts
Armorama: 1,463 posts

Posted: Monday, July 16, 2018 - 03:29 AM UTC
Very, very impressive Darren- if you keep this standard up it should be a show-stopper 


dbrad555

Joined: May 17, 2018
KitMaker: 65 posts
Armorama: 61 posts

Posted: Tuesday, July 17, 2018 - 03:19 AM UTC
Thanks Tim for the kind words...I just hope it turns out ok lol
dbrad555

Joined: May 17, 2018
KitMaker: 65 posts
Armorama: 61 posts

Posted: Tuesday, July 17, 2018 - 03:29 AM UTC
Further update guys... Aside form painting the tracks and wheels in primer black, which I dont think you need a picture of, I moved onto the main deck and finishing off some smaller details on the cab, which I had been putting off to be honest because they look so darn difficult!
I am talking about the gun mounts in the rear cab...

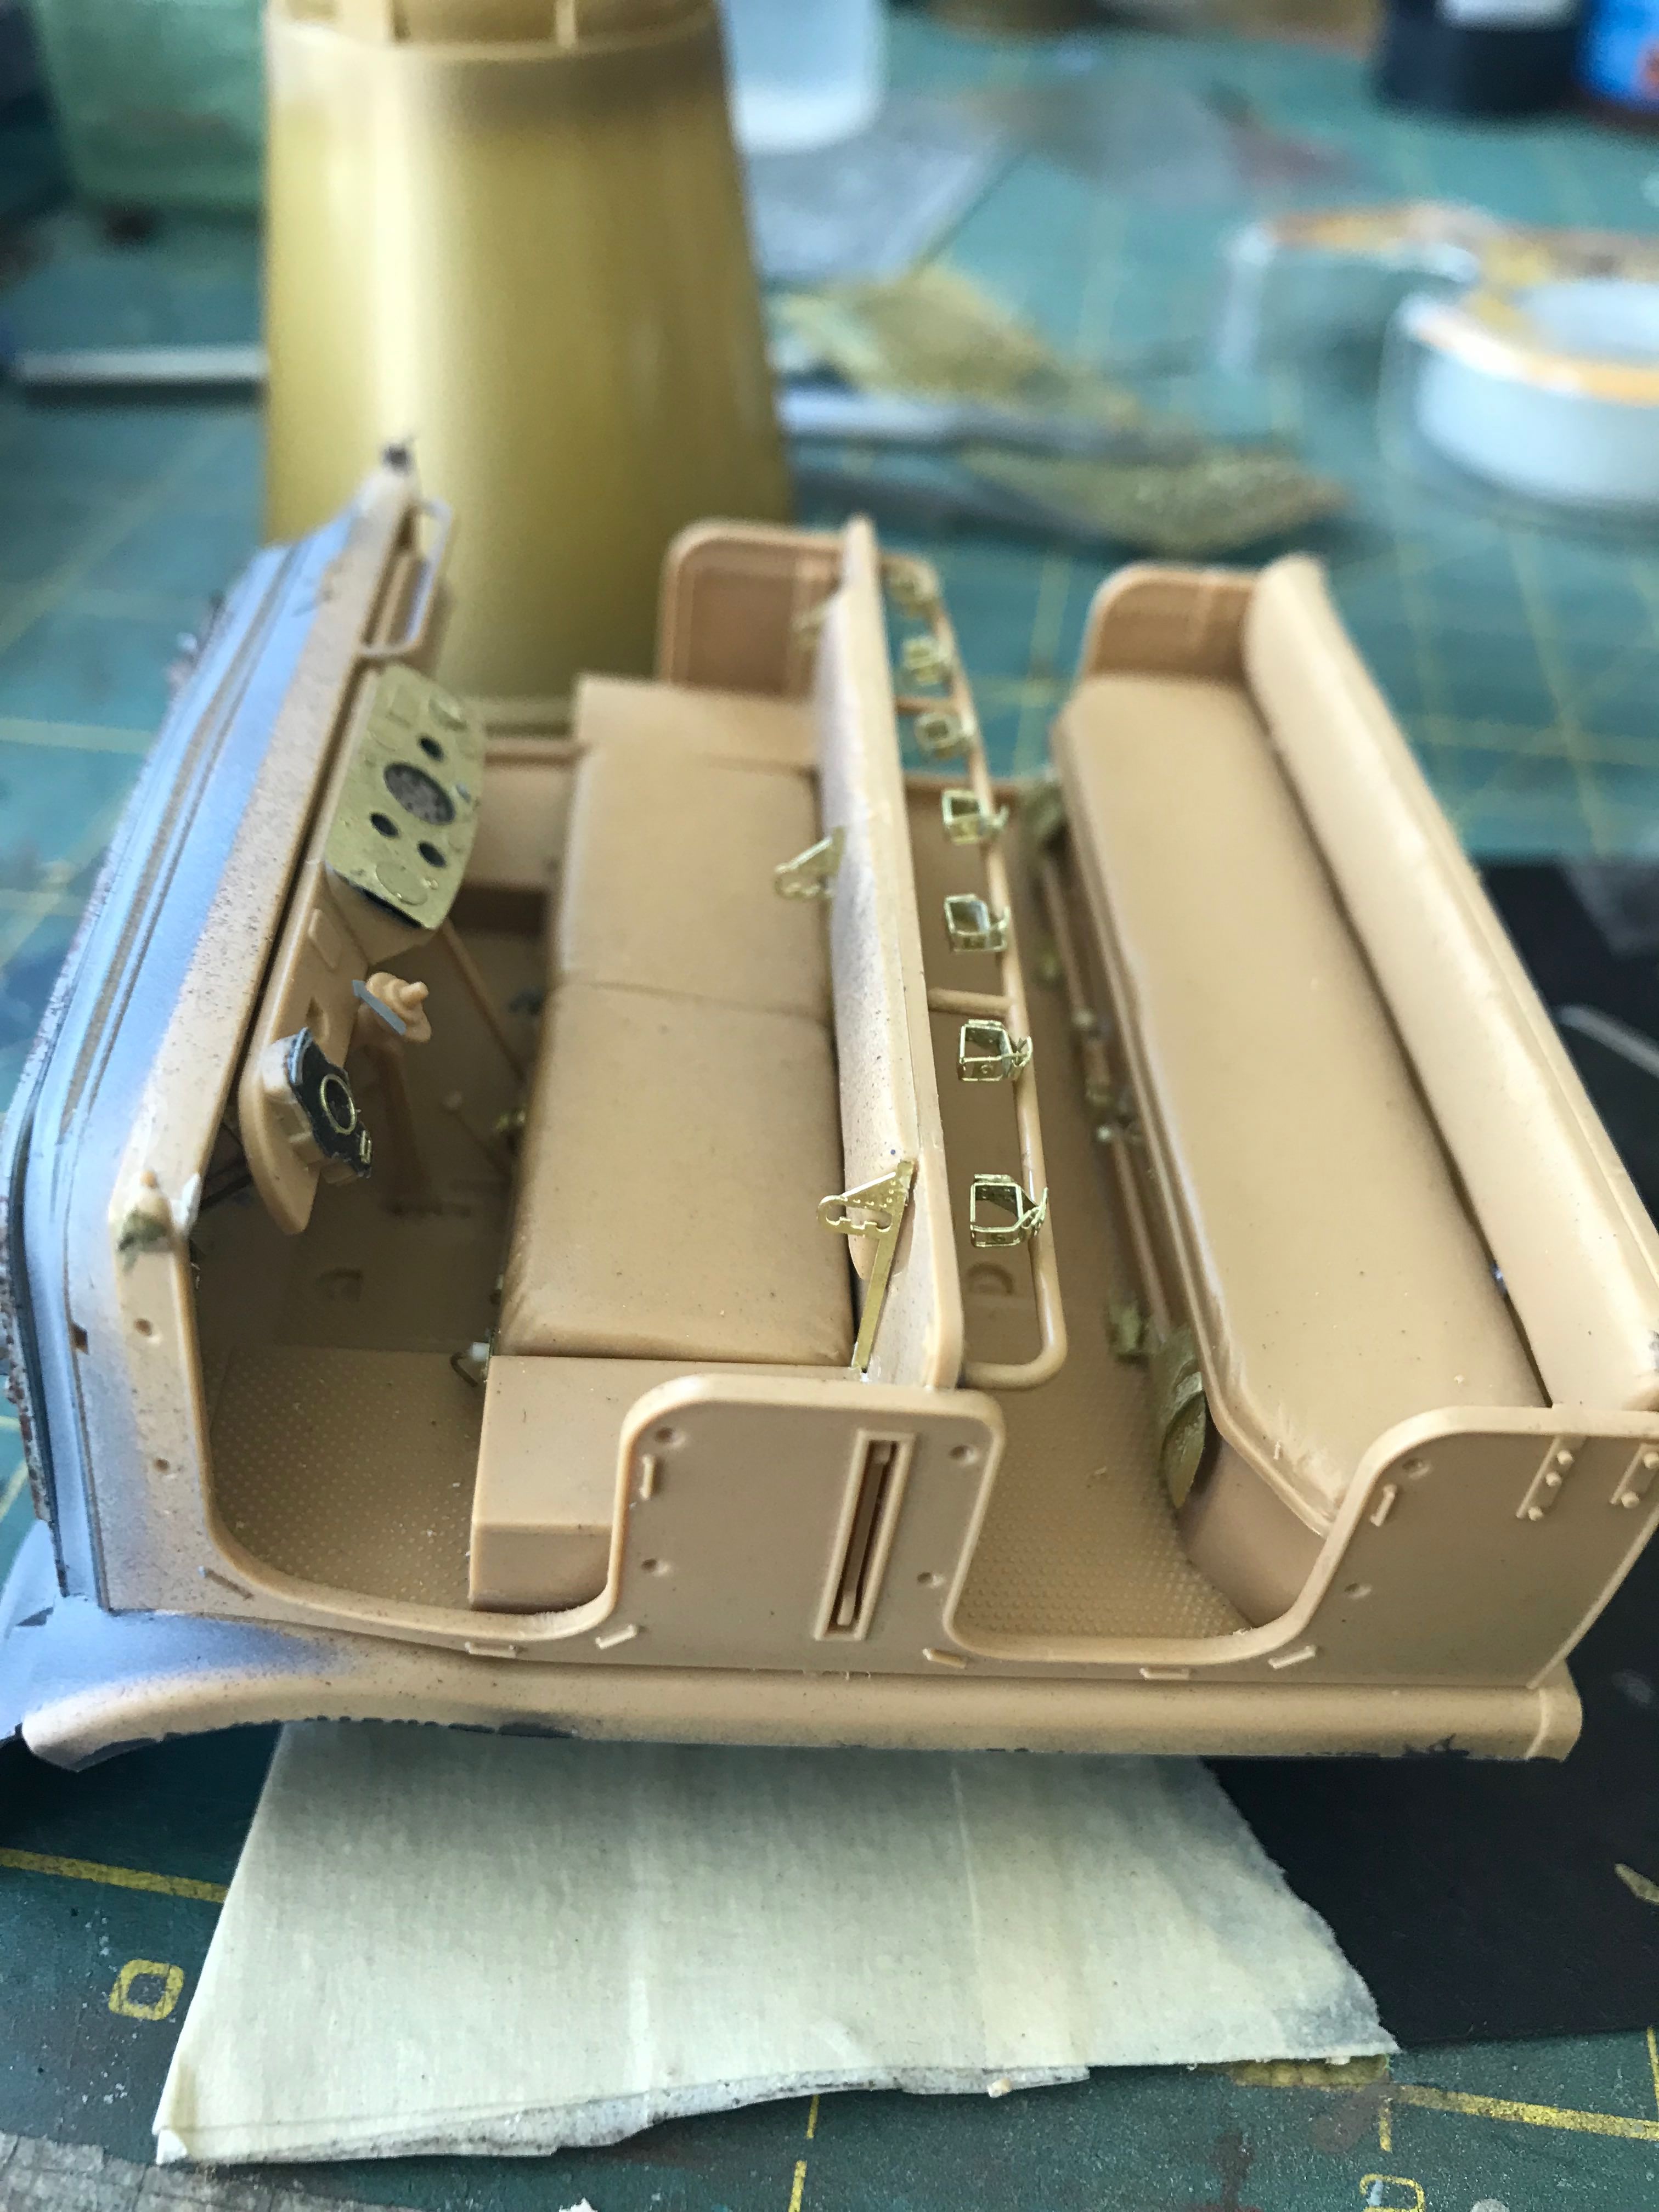
Now the mounts, which took an age to complete and lots of swearing, are ready for the next stage. In my opinion these are most probably the hardest etch I have ever done, mainly because the bracket placements are outside and requires you to wrap around the tiny arms and then place them into a vey small location hole.

Mounts awaiting their brackets

Almost there!
Reworked rail. Aber suggest using wire, which is probably easier!
And installed!
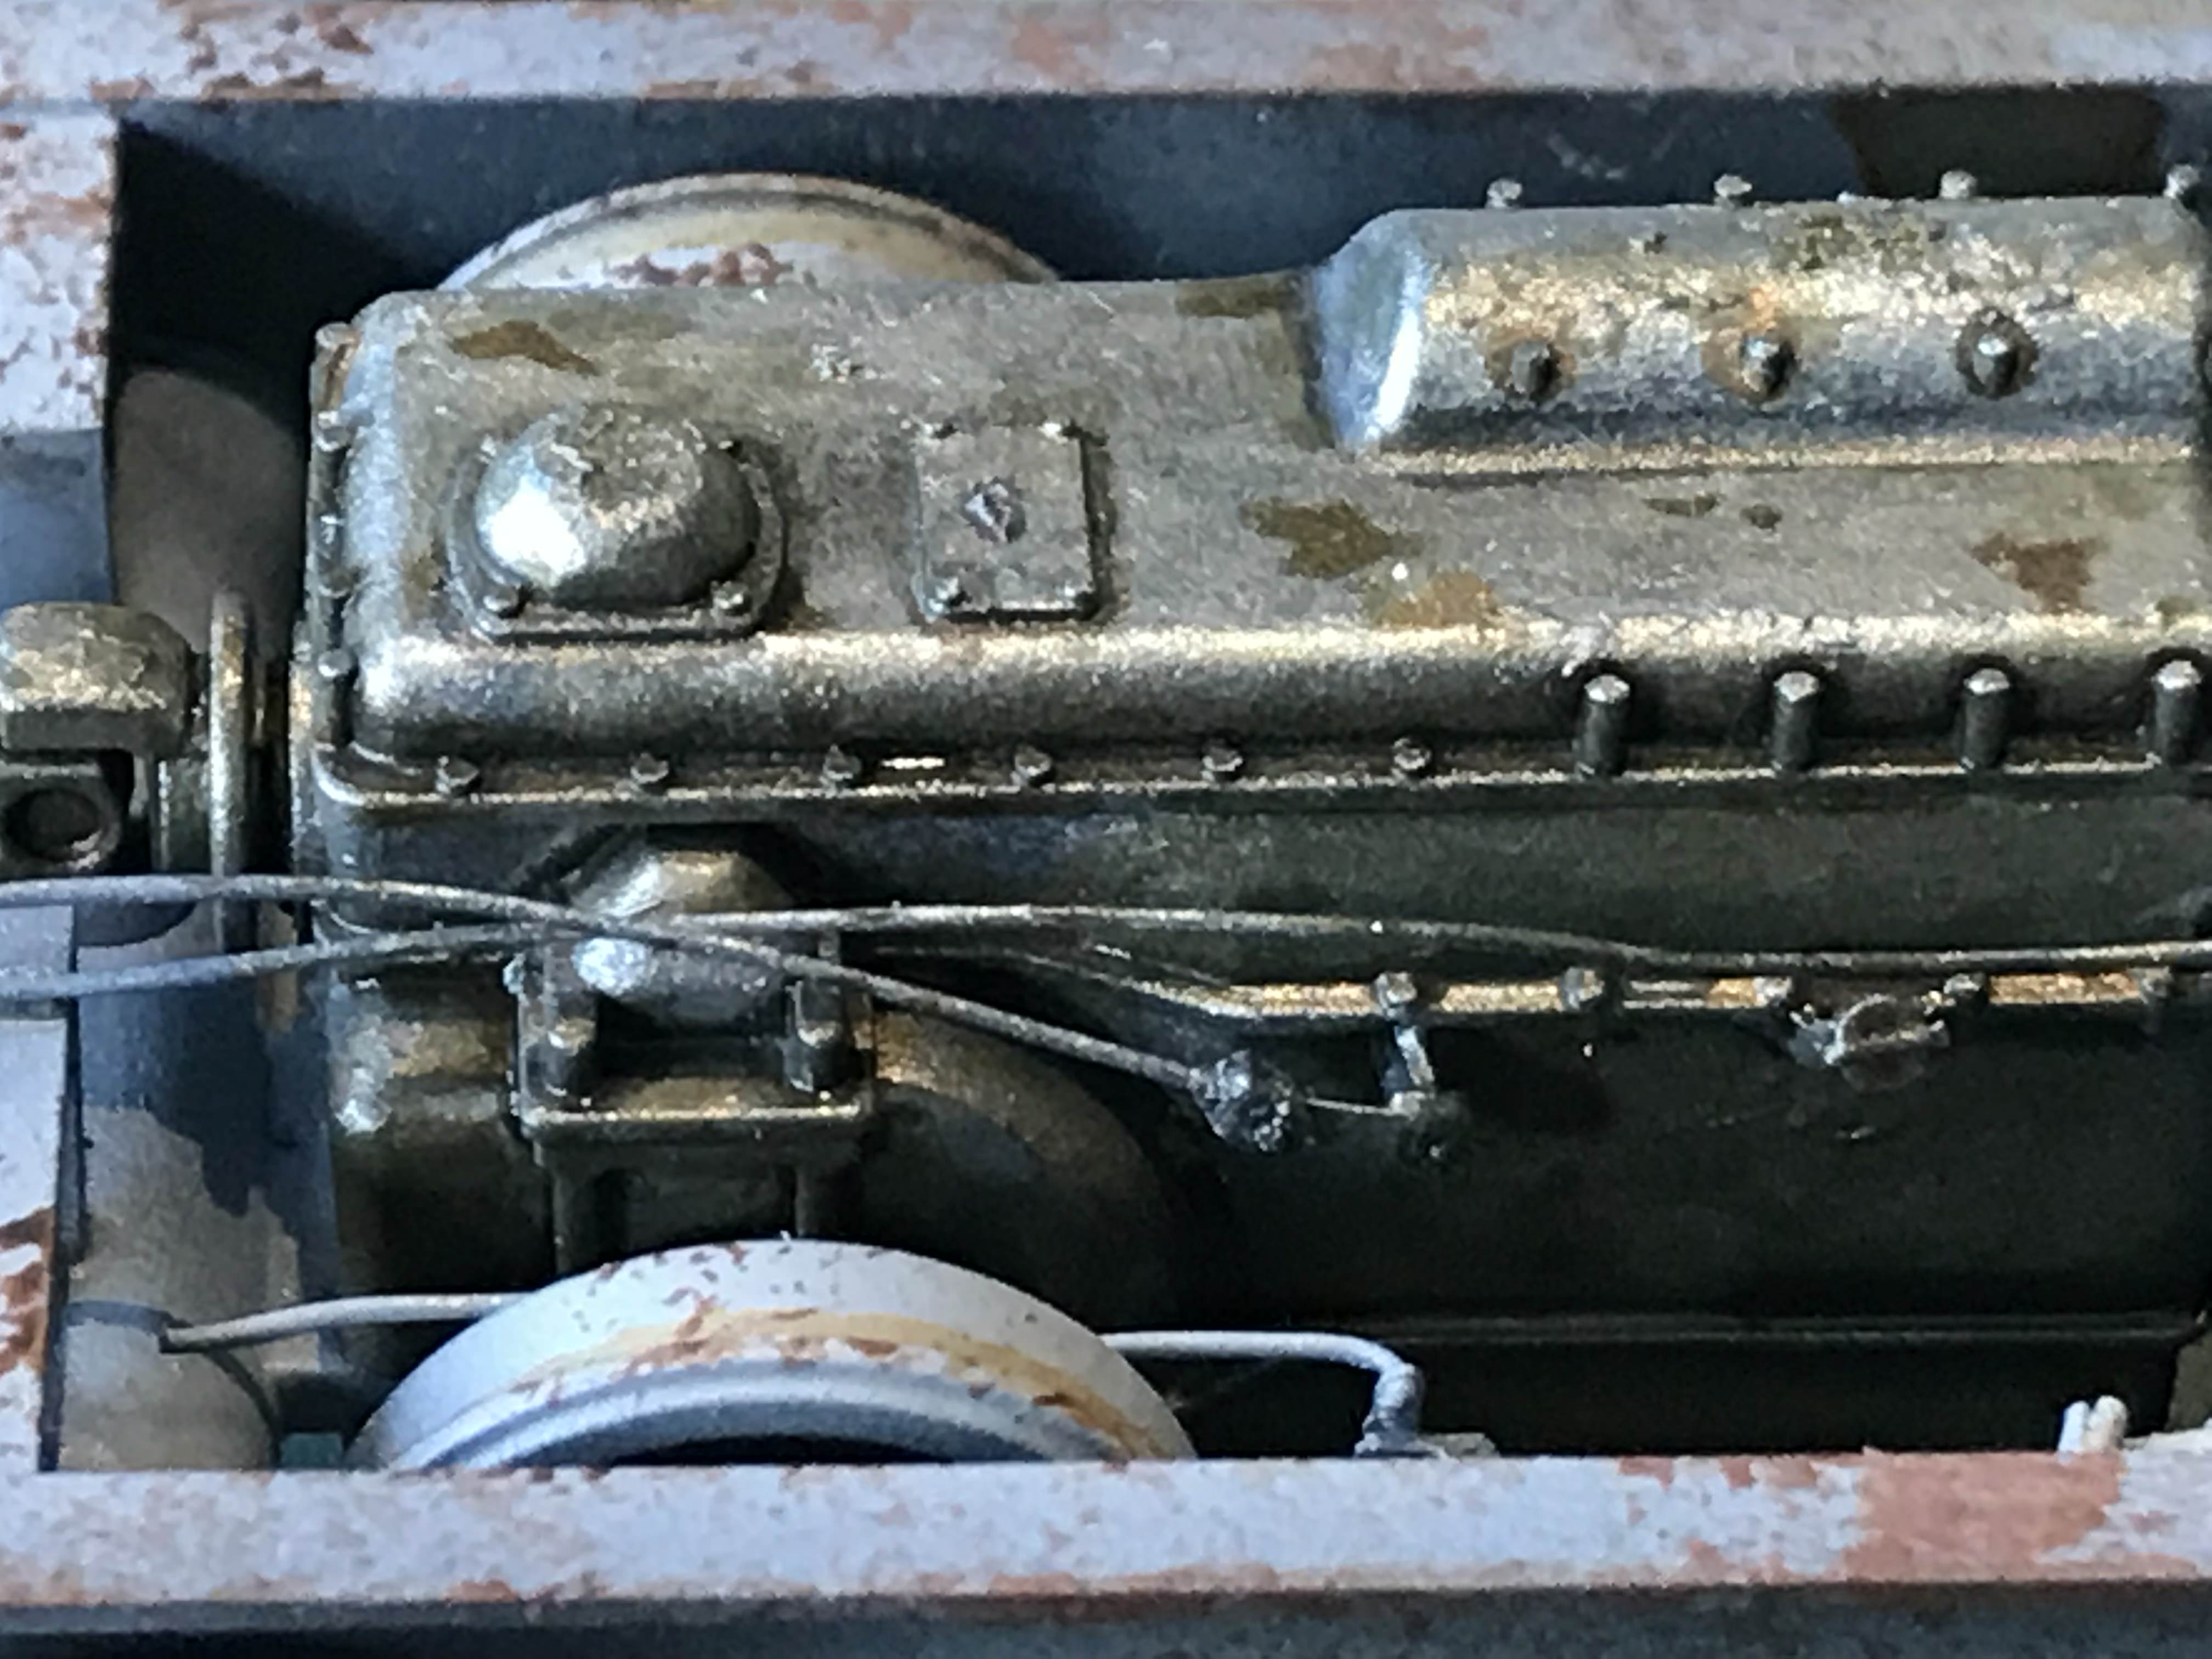
I then decided to weather the gear box a bit

Then added some chipping to the chassis
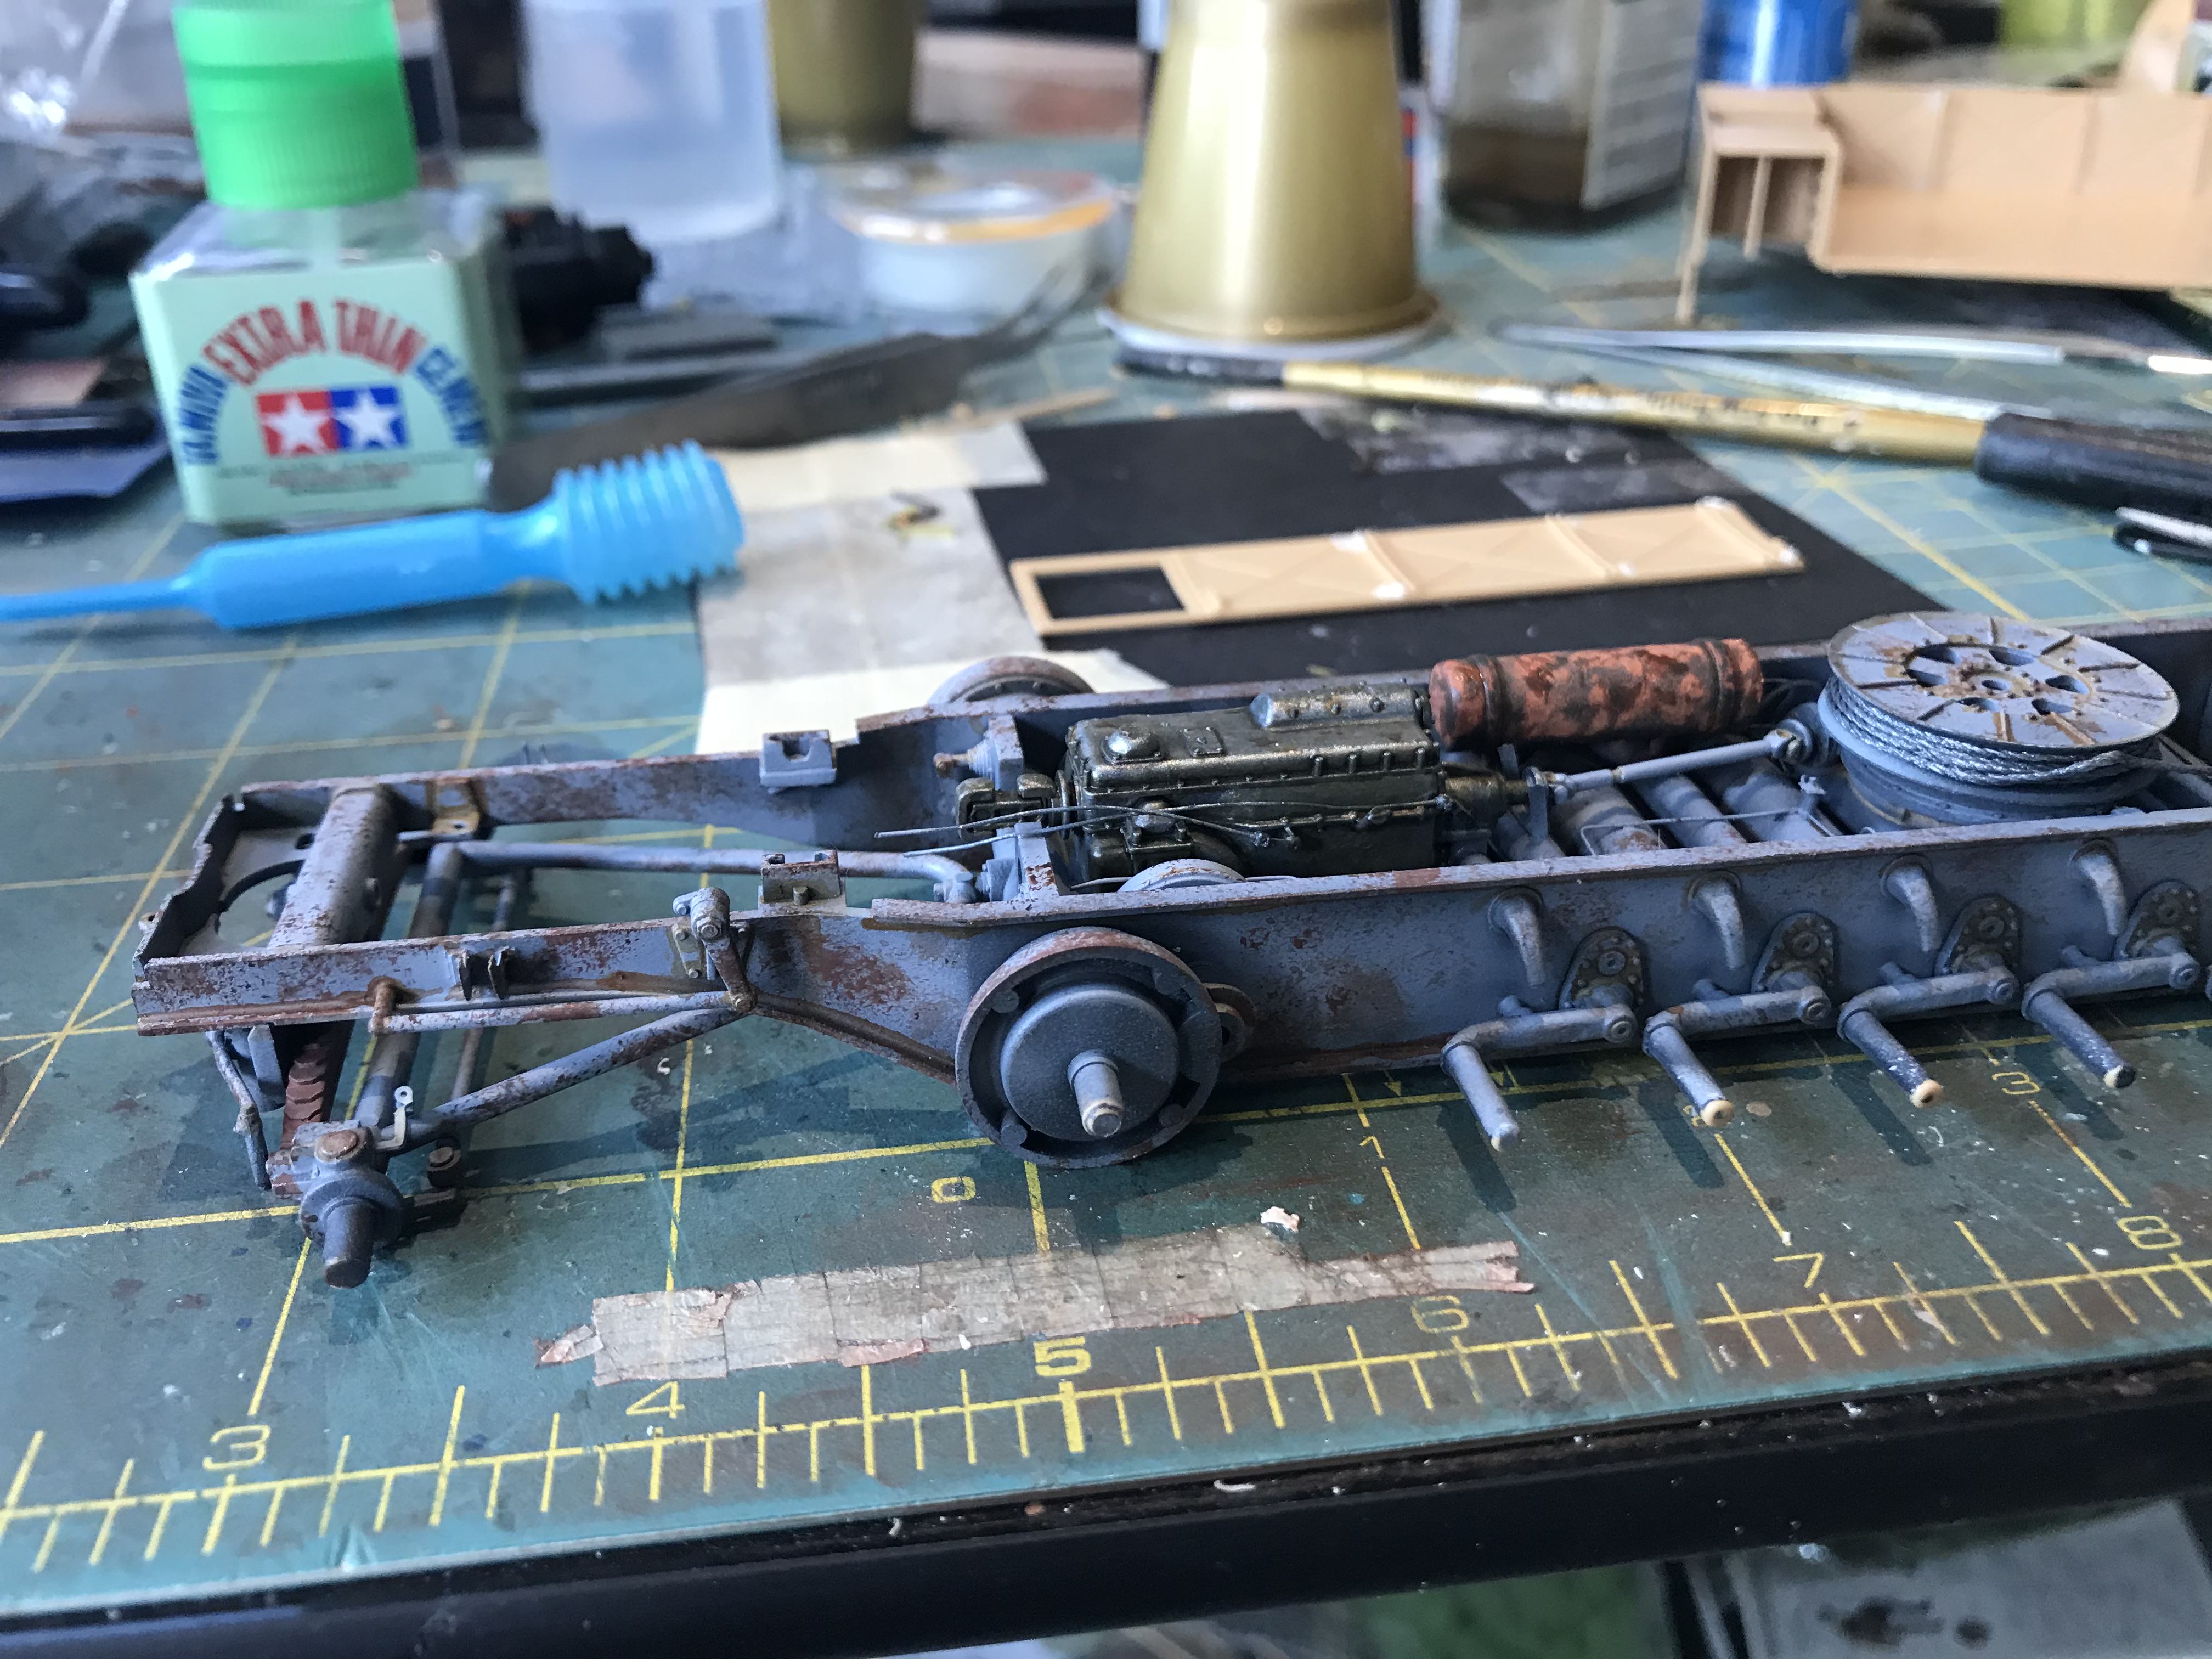
Then moved onto the hinge that holds the mudflap in place to the rear fender
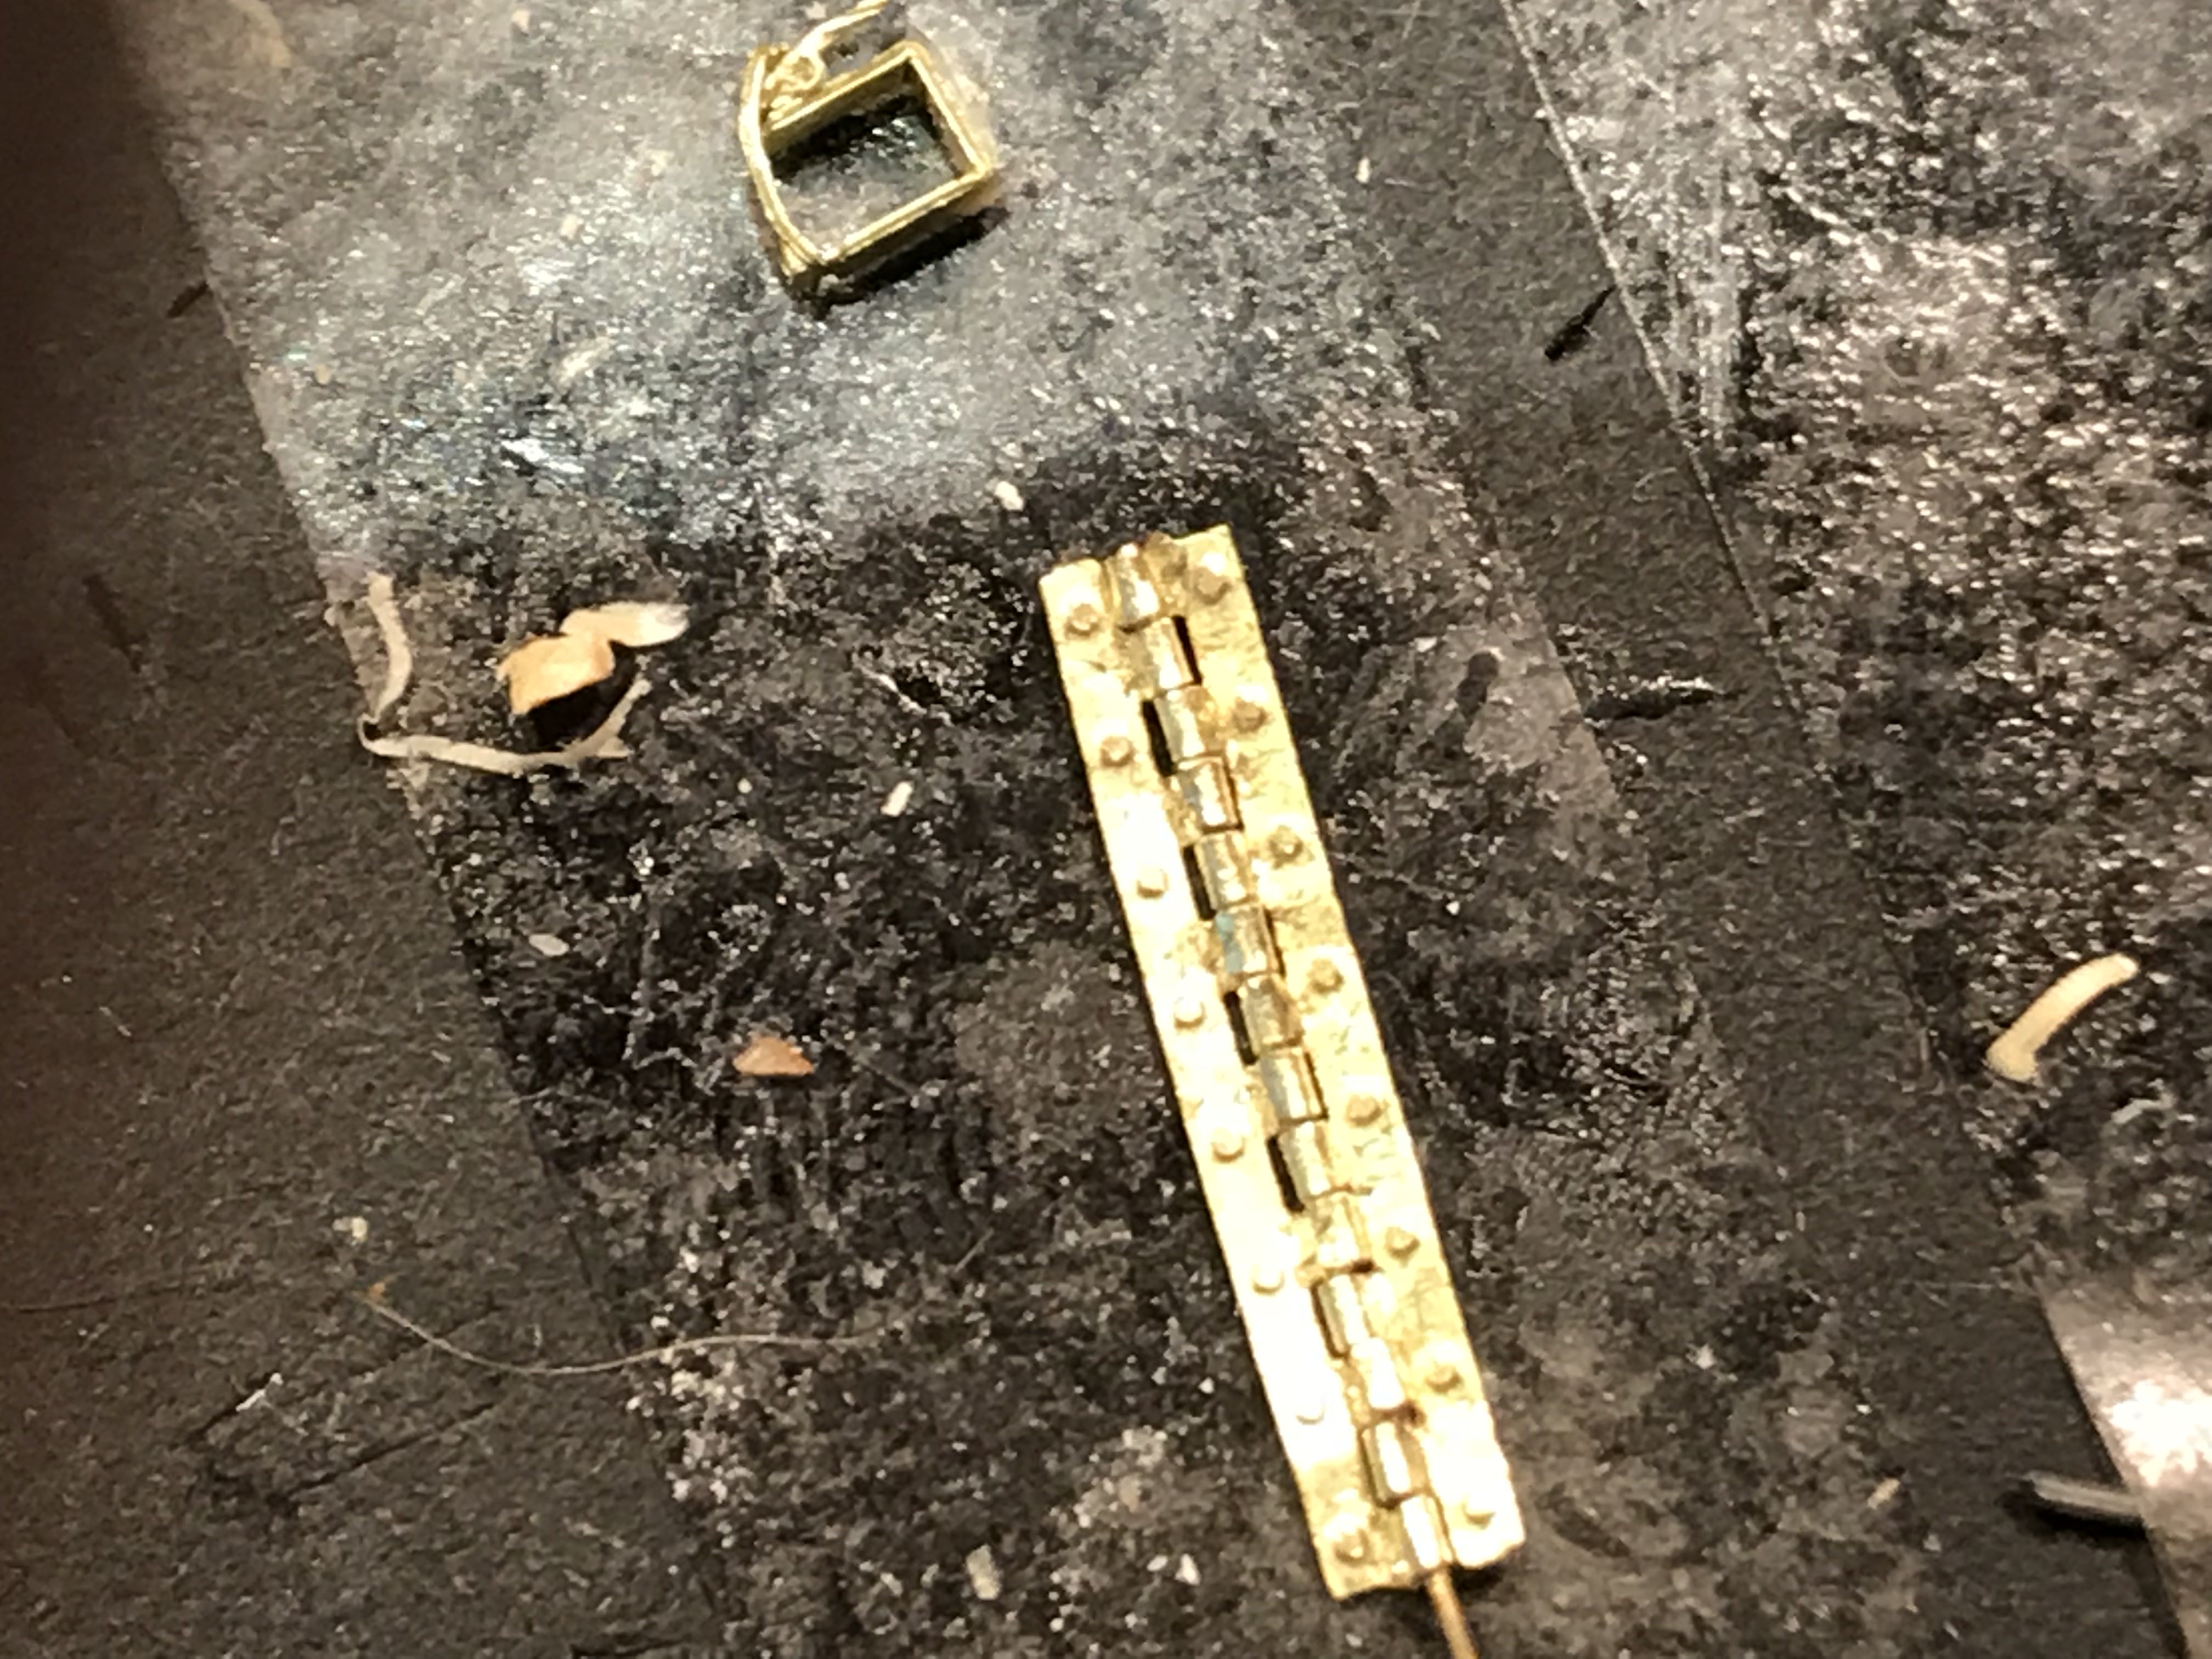
In this picture there is a spare gun mount and if you look carefully you can see the small location eye that the bracket arm has to fit into.
Now waiting for all the putty to dry on the numerous flash points on the main rear deck... so more updates soon!

I am talking about the gun mounts in the rear cab...

Now the mounts, which took an age to complete and lots of swearing, are ready for the next stage. In my opinion these are most probably the hardest etch I have ever done, mainly because the bracket placements are outside and requires you to wrap around the tiny arms and then place them into a vey small location hole.

Mounts awaiting their brackets

Almost there!
Reworked rail. Aber suggest using wire, which is probably easier!
And installed!

I then decided to weather the gear box a bit


Then added some chipping to the chassis

Then moved onto the hinge that holds the mudflap in place to the rear fender

In this picture there is a spare gun mount and if you look carefully you can see the small location eye that the bracket arm has to fit into.
Now waiting for all the putty to dry on the numerous flash points on the main rear deck... so more updates soon!


cheswickthecat

Joined: October 13, 2007
KitMaker: 212 posts
Armorama: 208 posts

Posted: Tuesday, July 17, 2018 - 09:25 AM UTC
Darren, your FAMO is really taking shape. The chassis work and engine look fantastic! I'll be following along to see the finished kit. 
Terry

Terry
dbrad555

Joined: May 17, 2018
KitMaker: 65 posts
Armorama: 61 posts

Posted: Wednesday, July 18, 2018 - 07:46 AM UTC
Thanks Terry, I was getting worried that people may think I over weathered, but this is a working vehicle and would have seen heavy use - especially at the later stagesof the war and considering the conditions in Russia! Plus, I really suspect that the Germans didnt bother painting the chassis or underside and it would still be in the panzer grey and would no doubt be chipped, scratched and rather rusty!
dbrad555

Joined: May 17, 2018
KitMaker: 65 posts
Armorama: 61 posts

Posted: Wednesday, July 18, 2018 - 07:52 AM UTC
Next update guys:
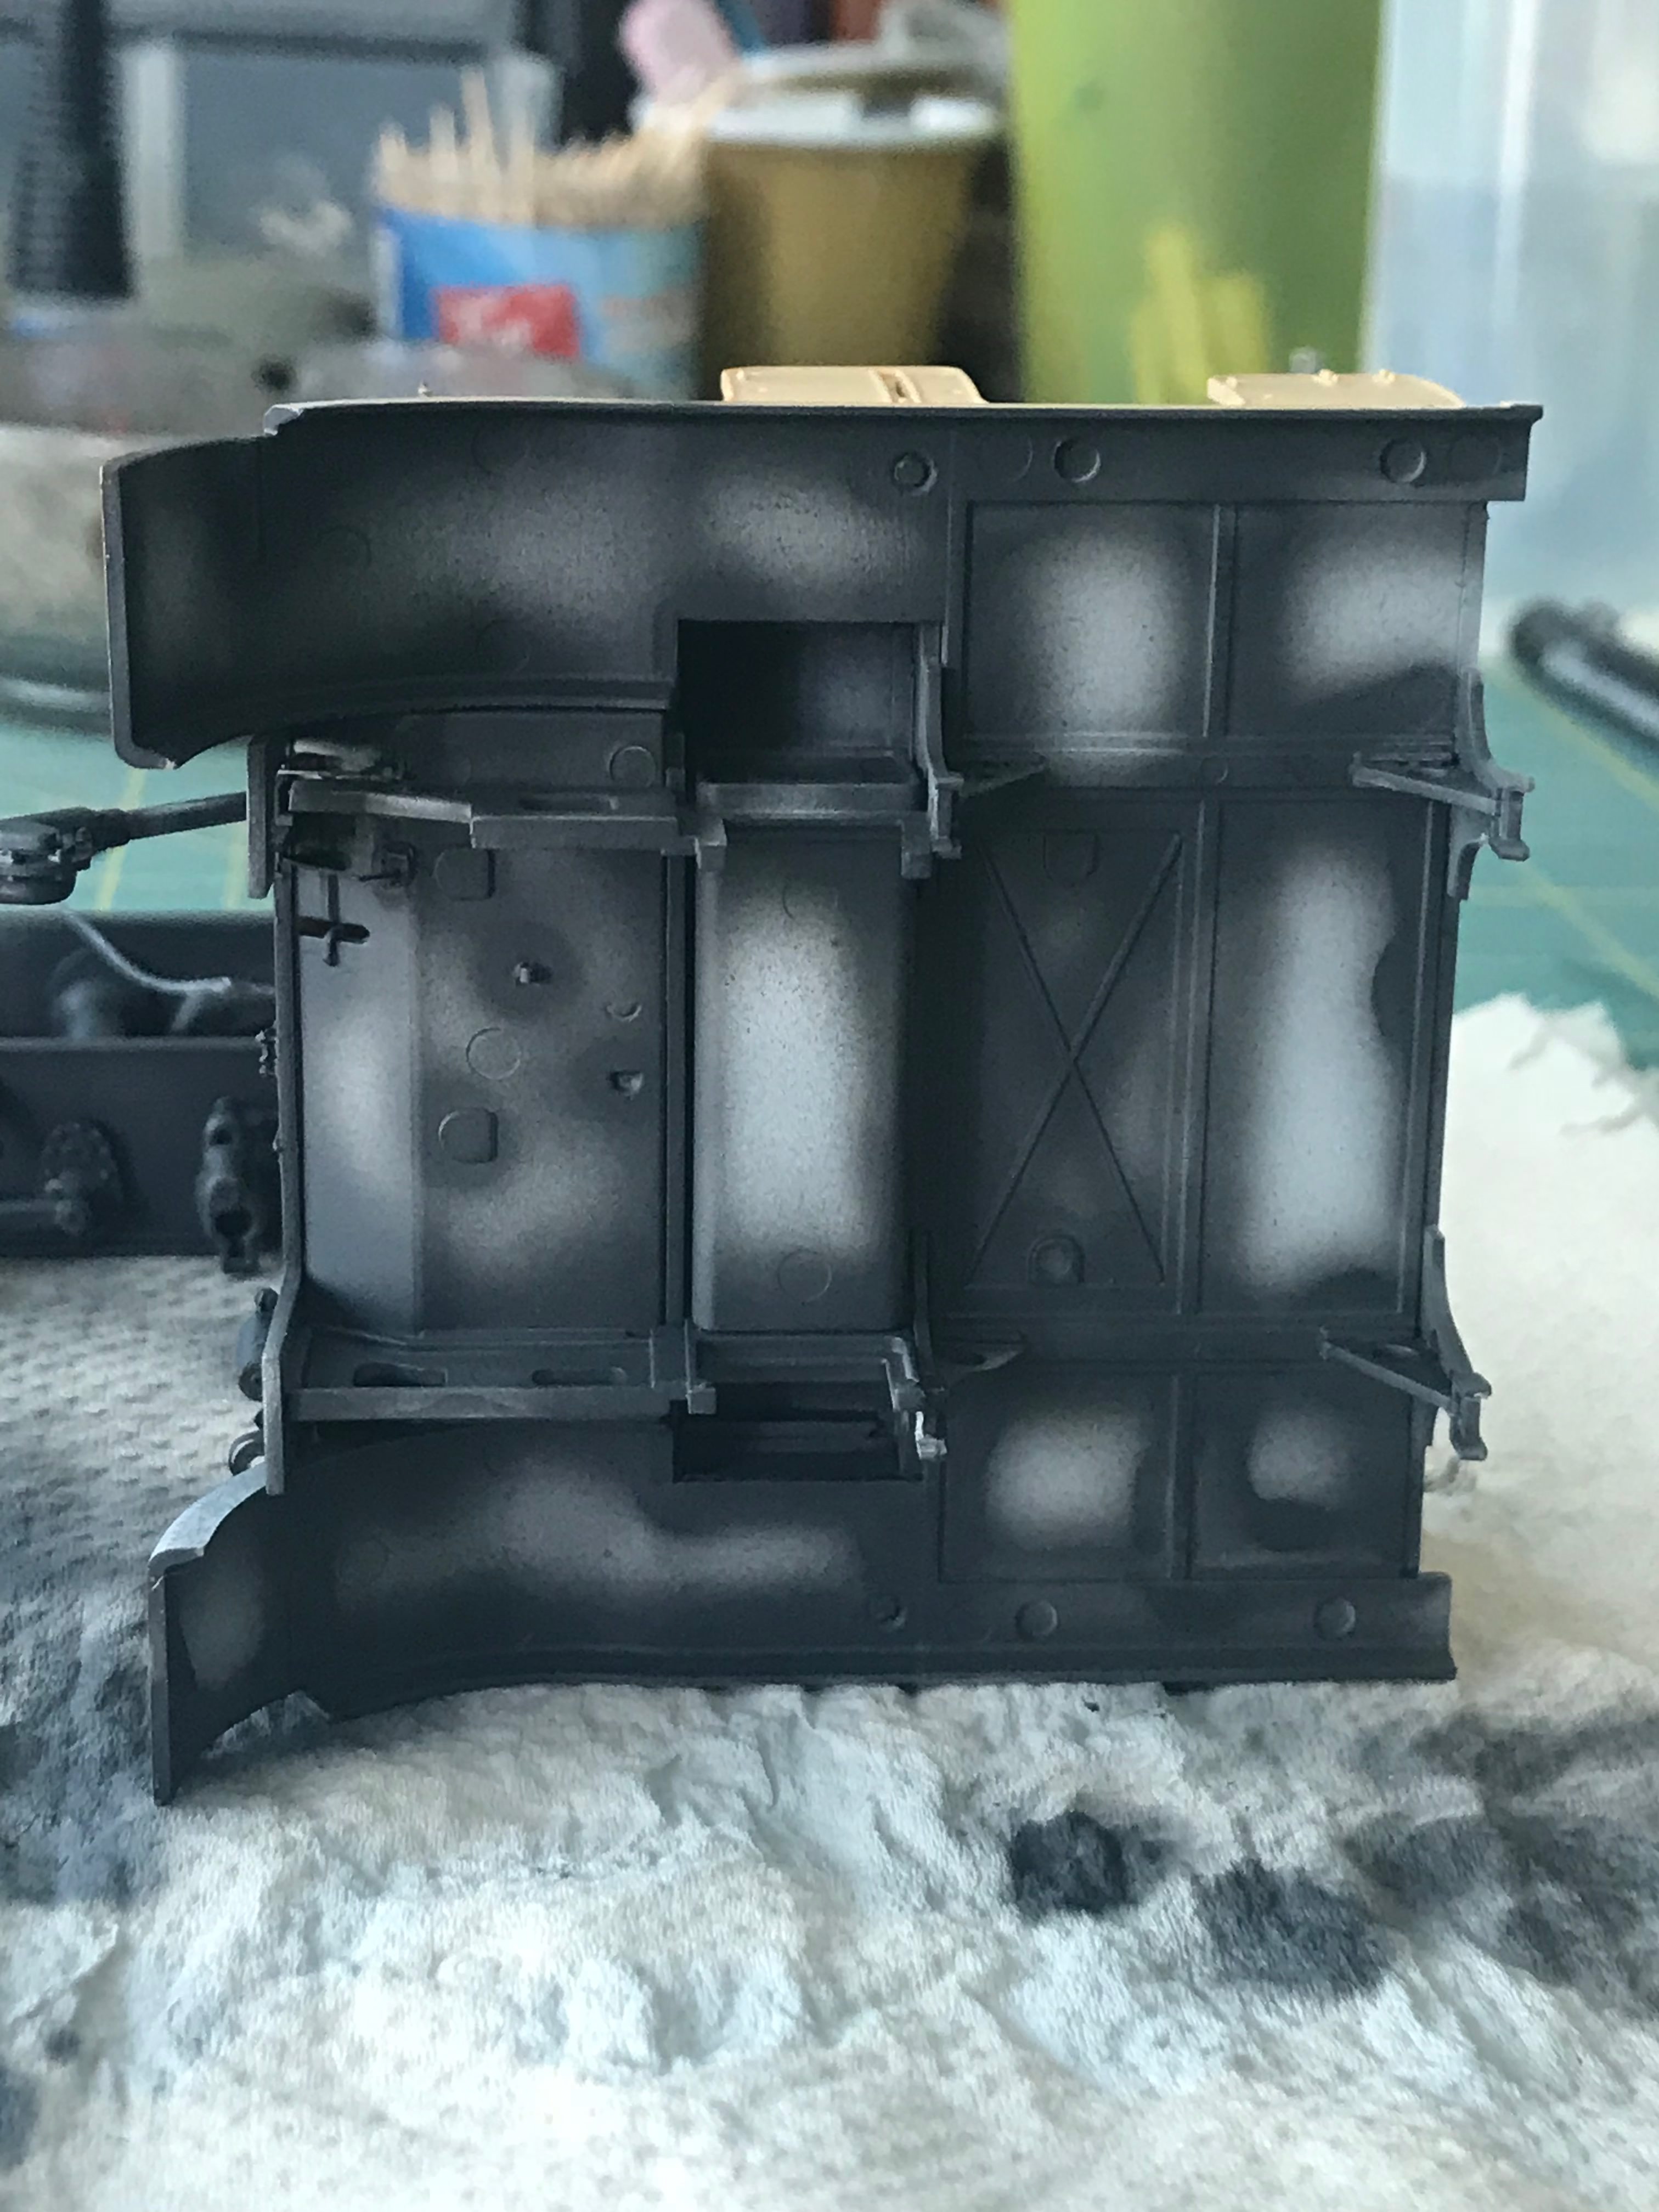
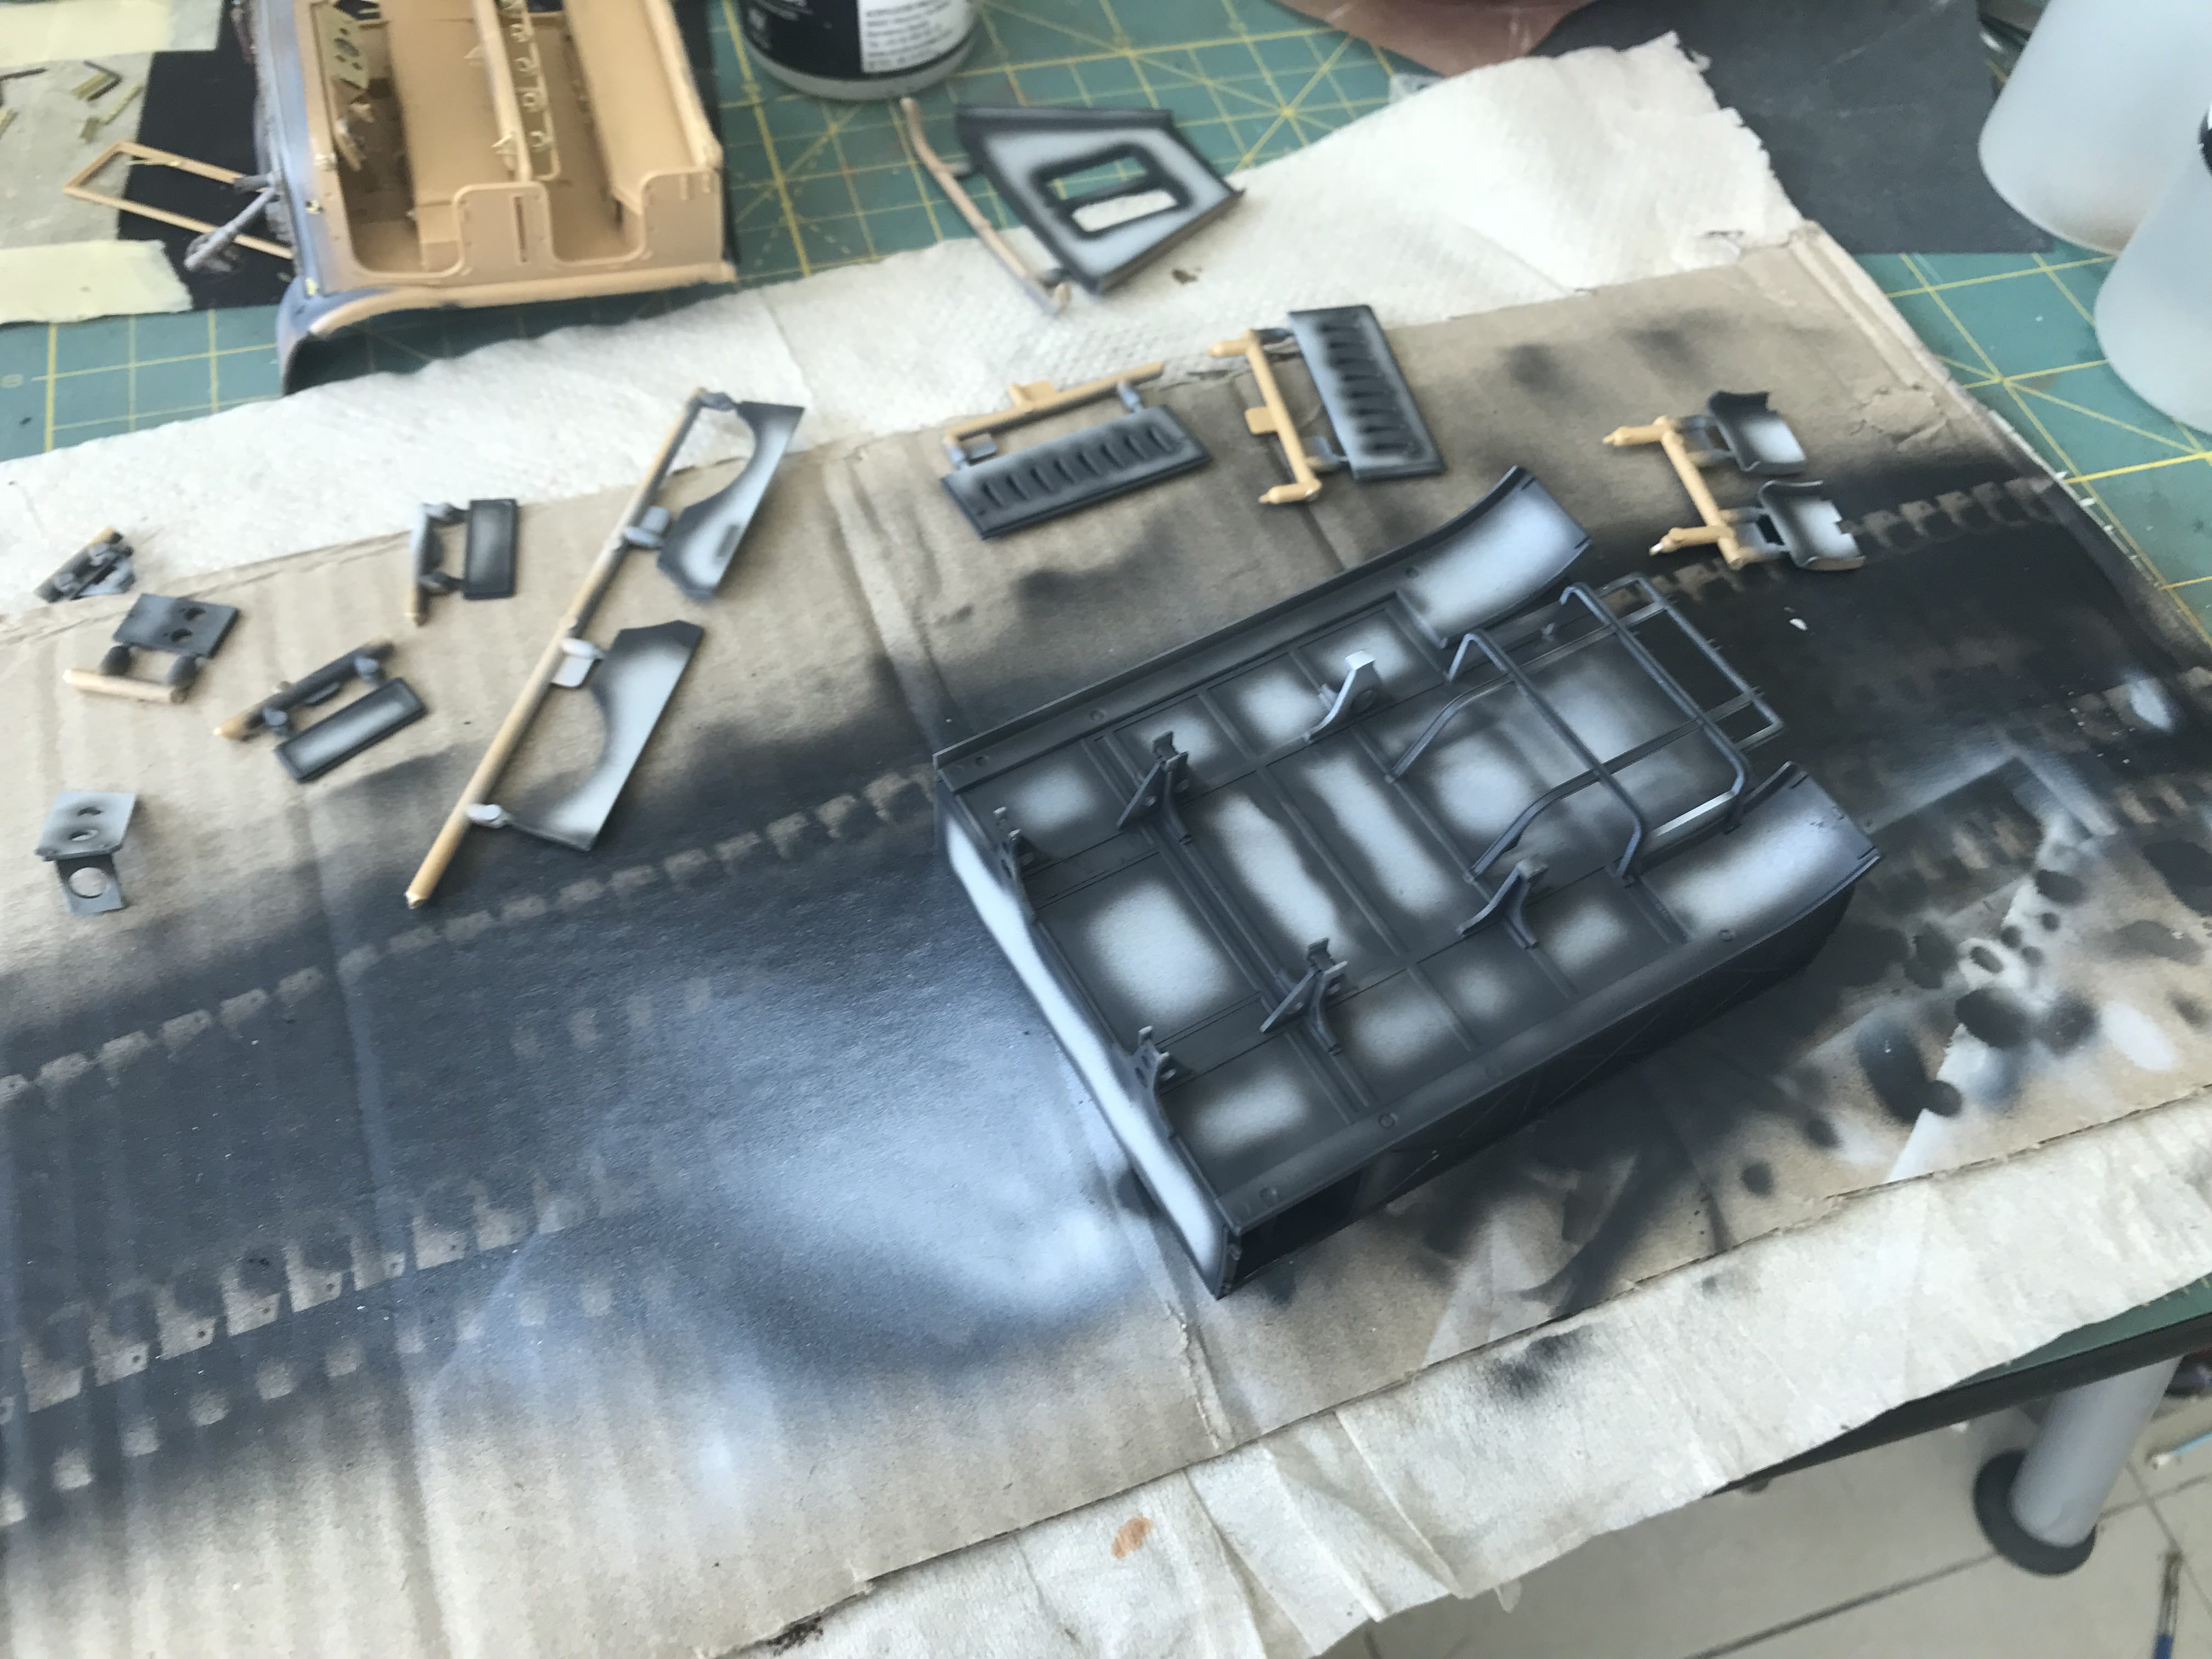
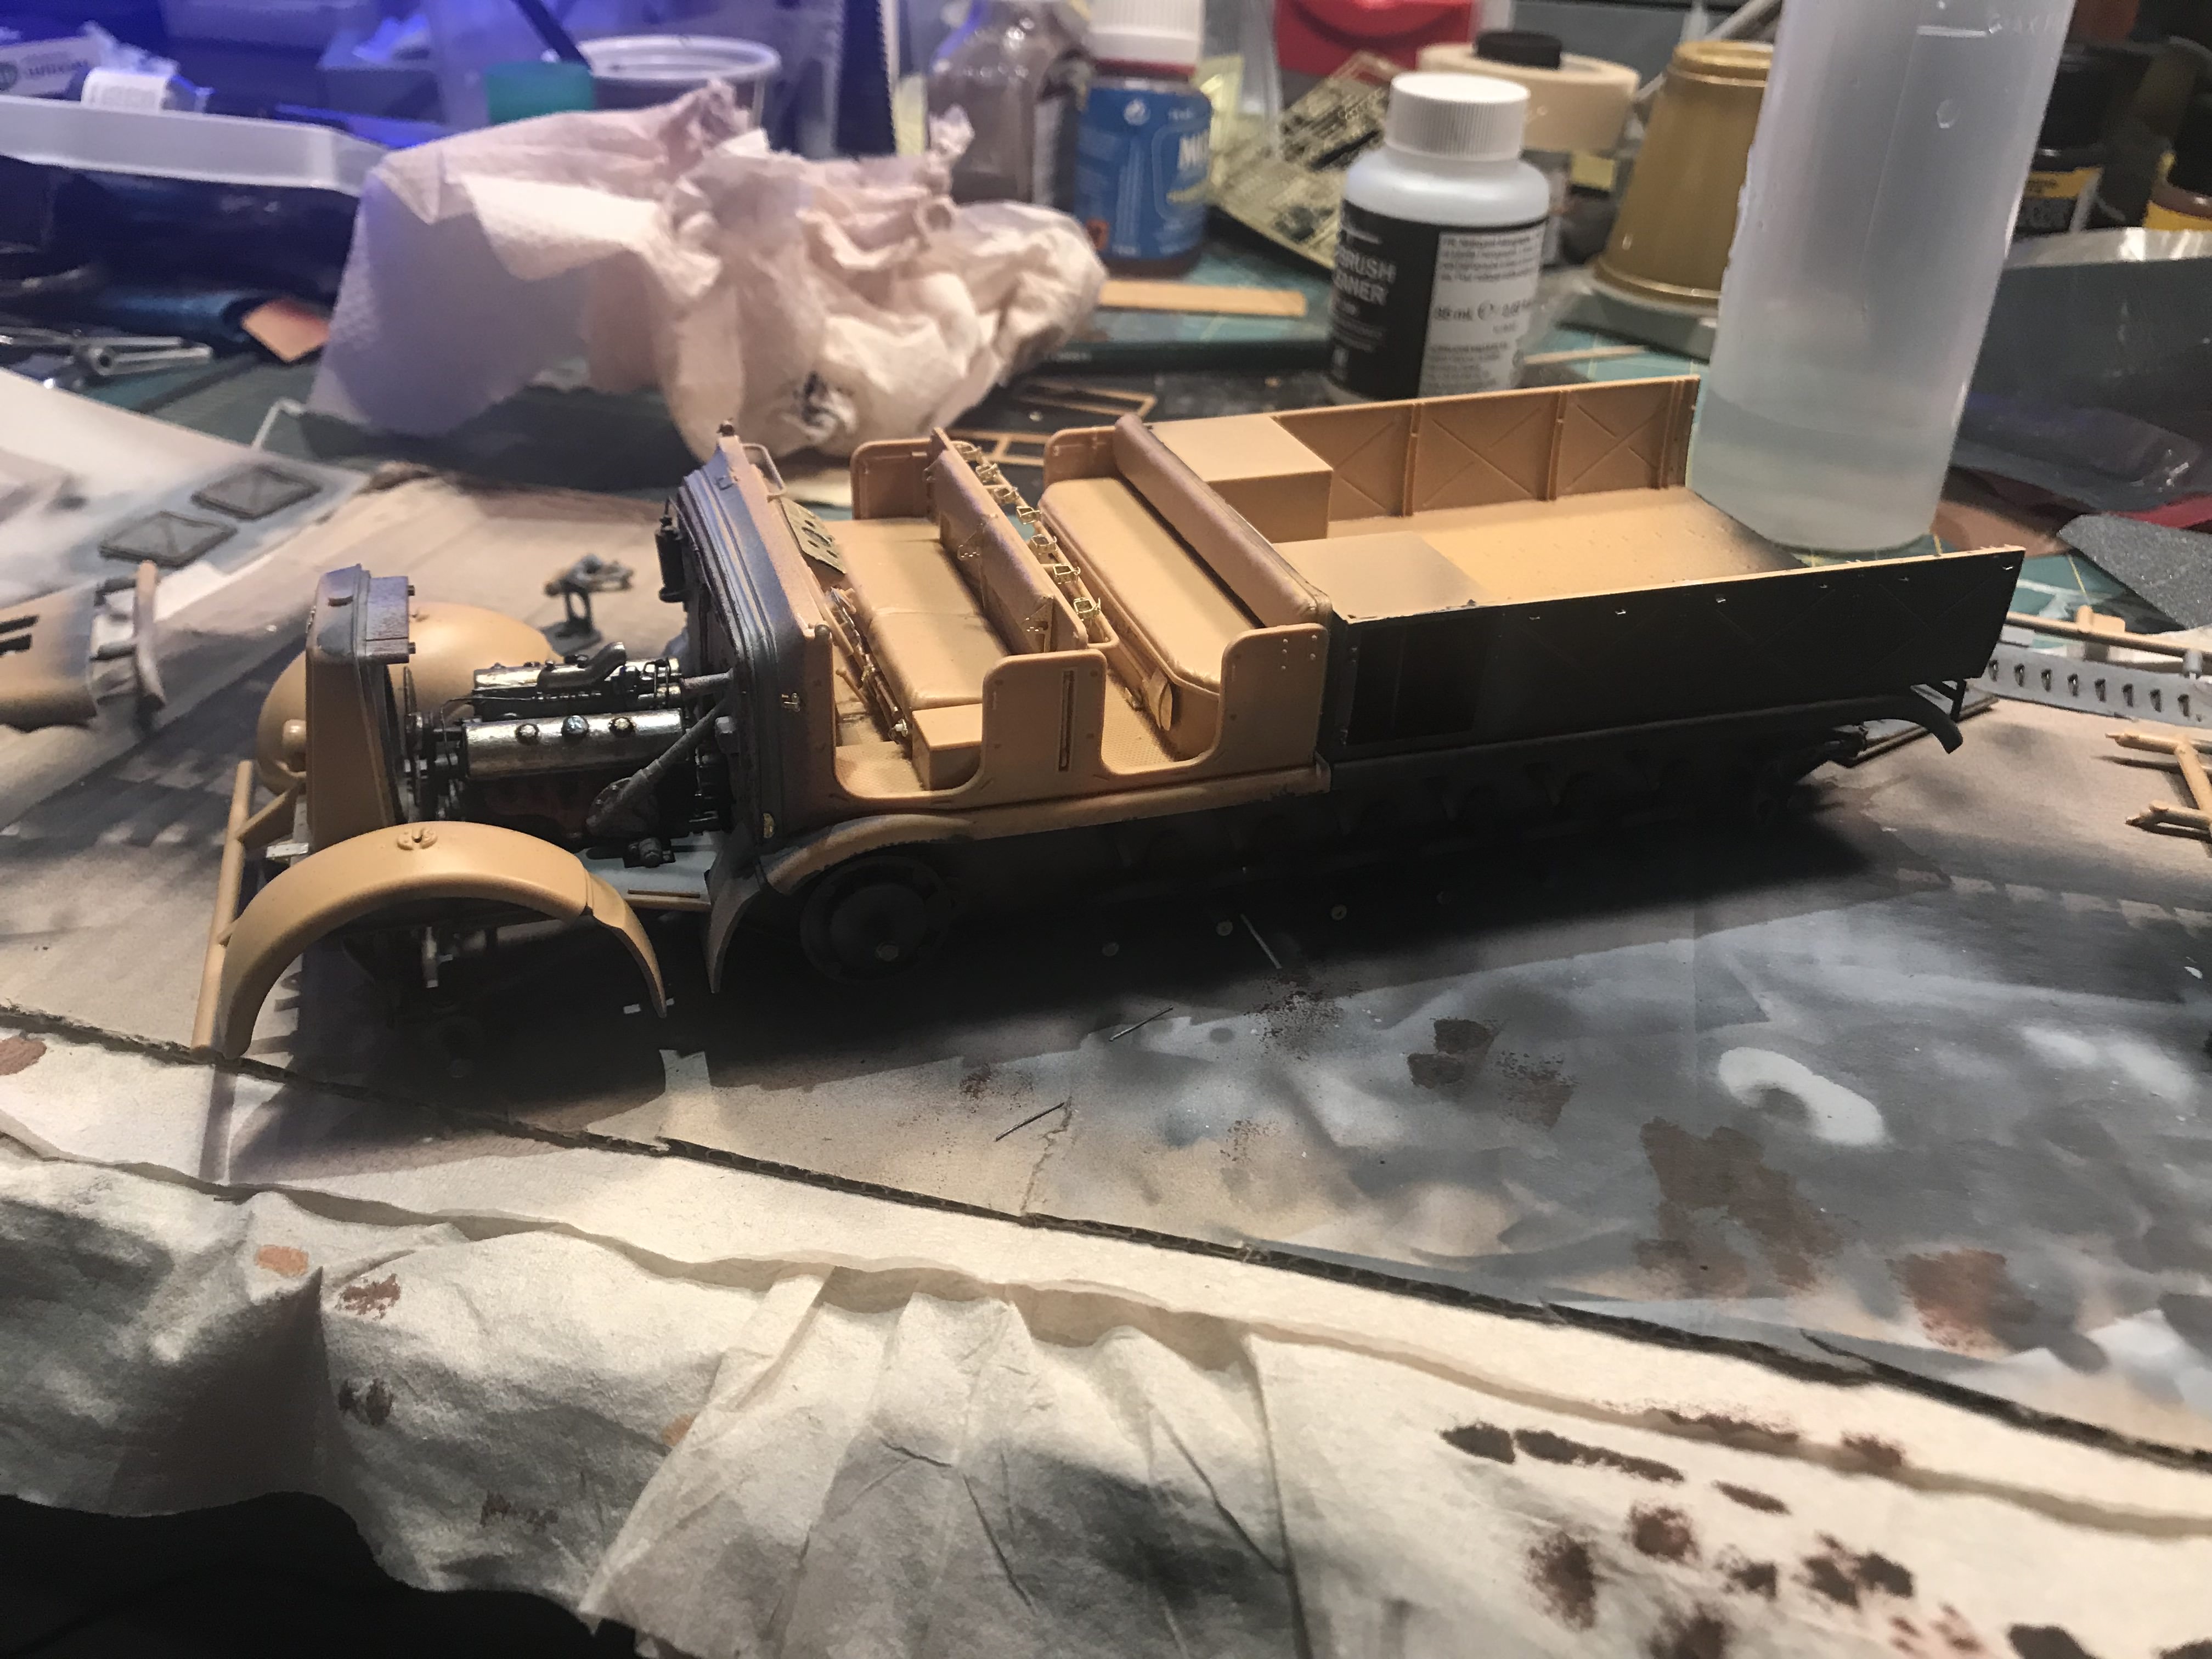
Moved onto painting the main bed and other parts that I think would have remained panzer grey. I did exactly the same technic of course as for the cab area.

Engine, exhusts and the cab dry run
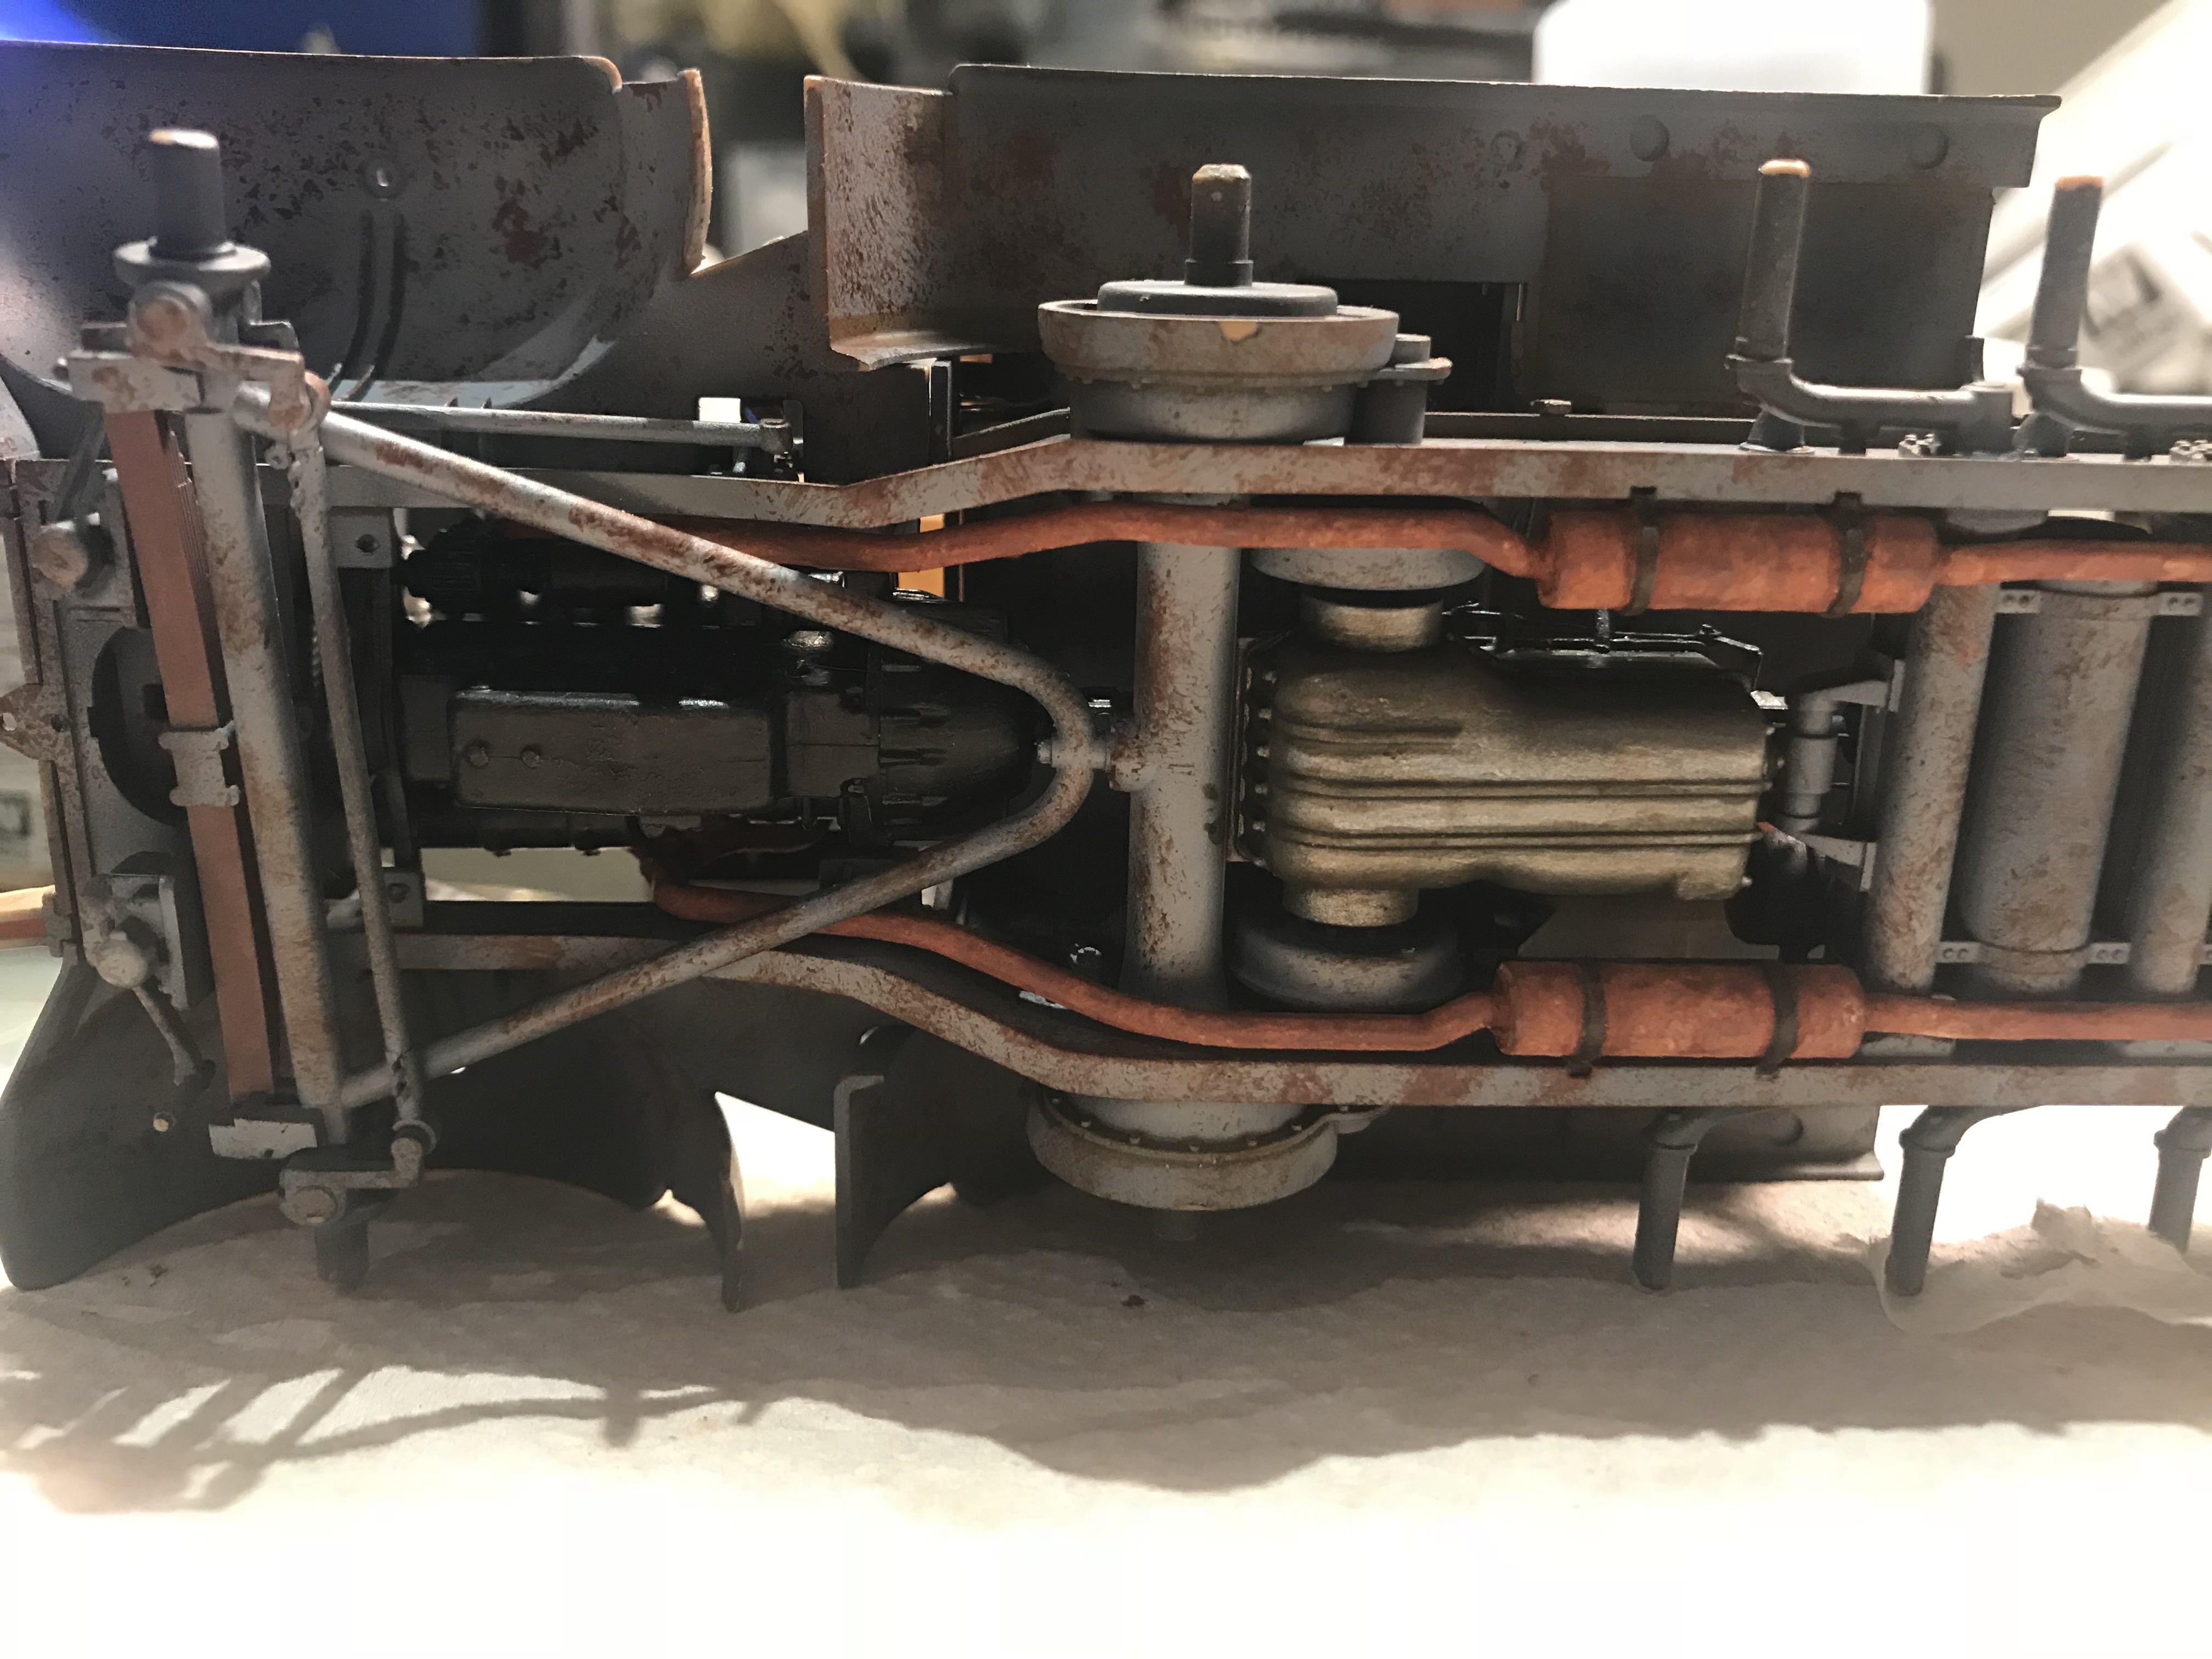
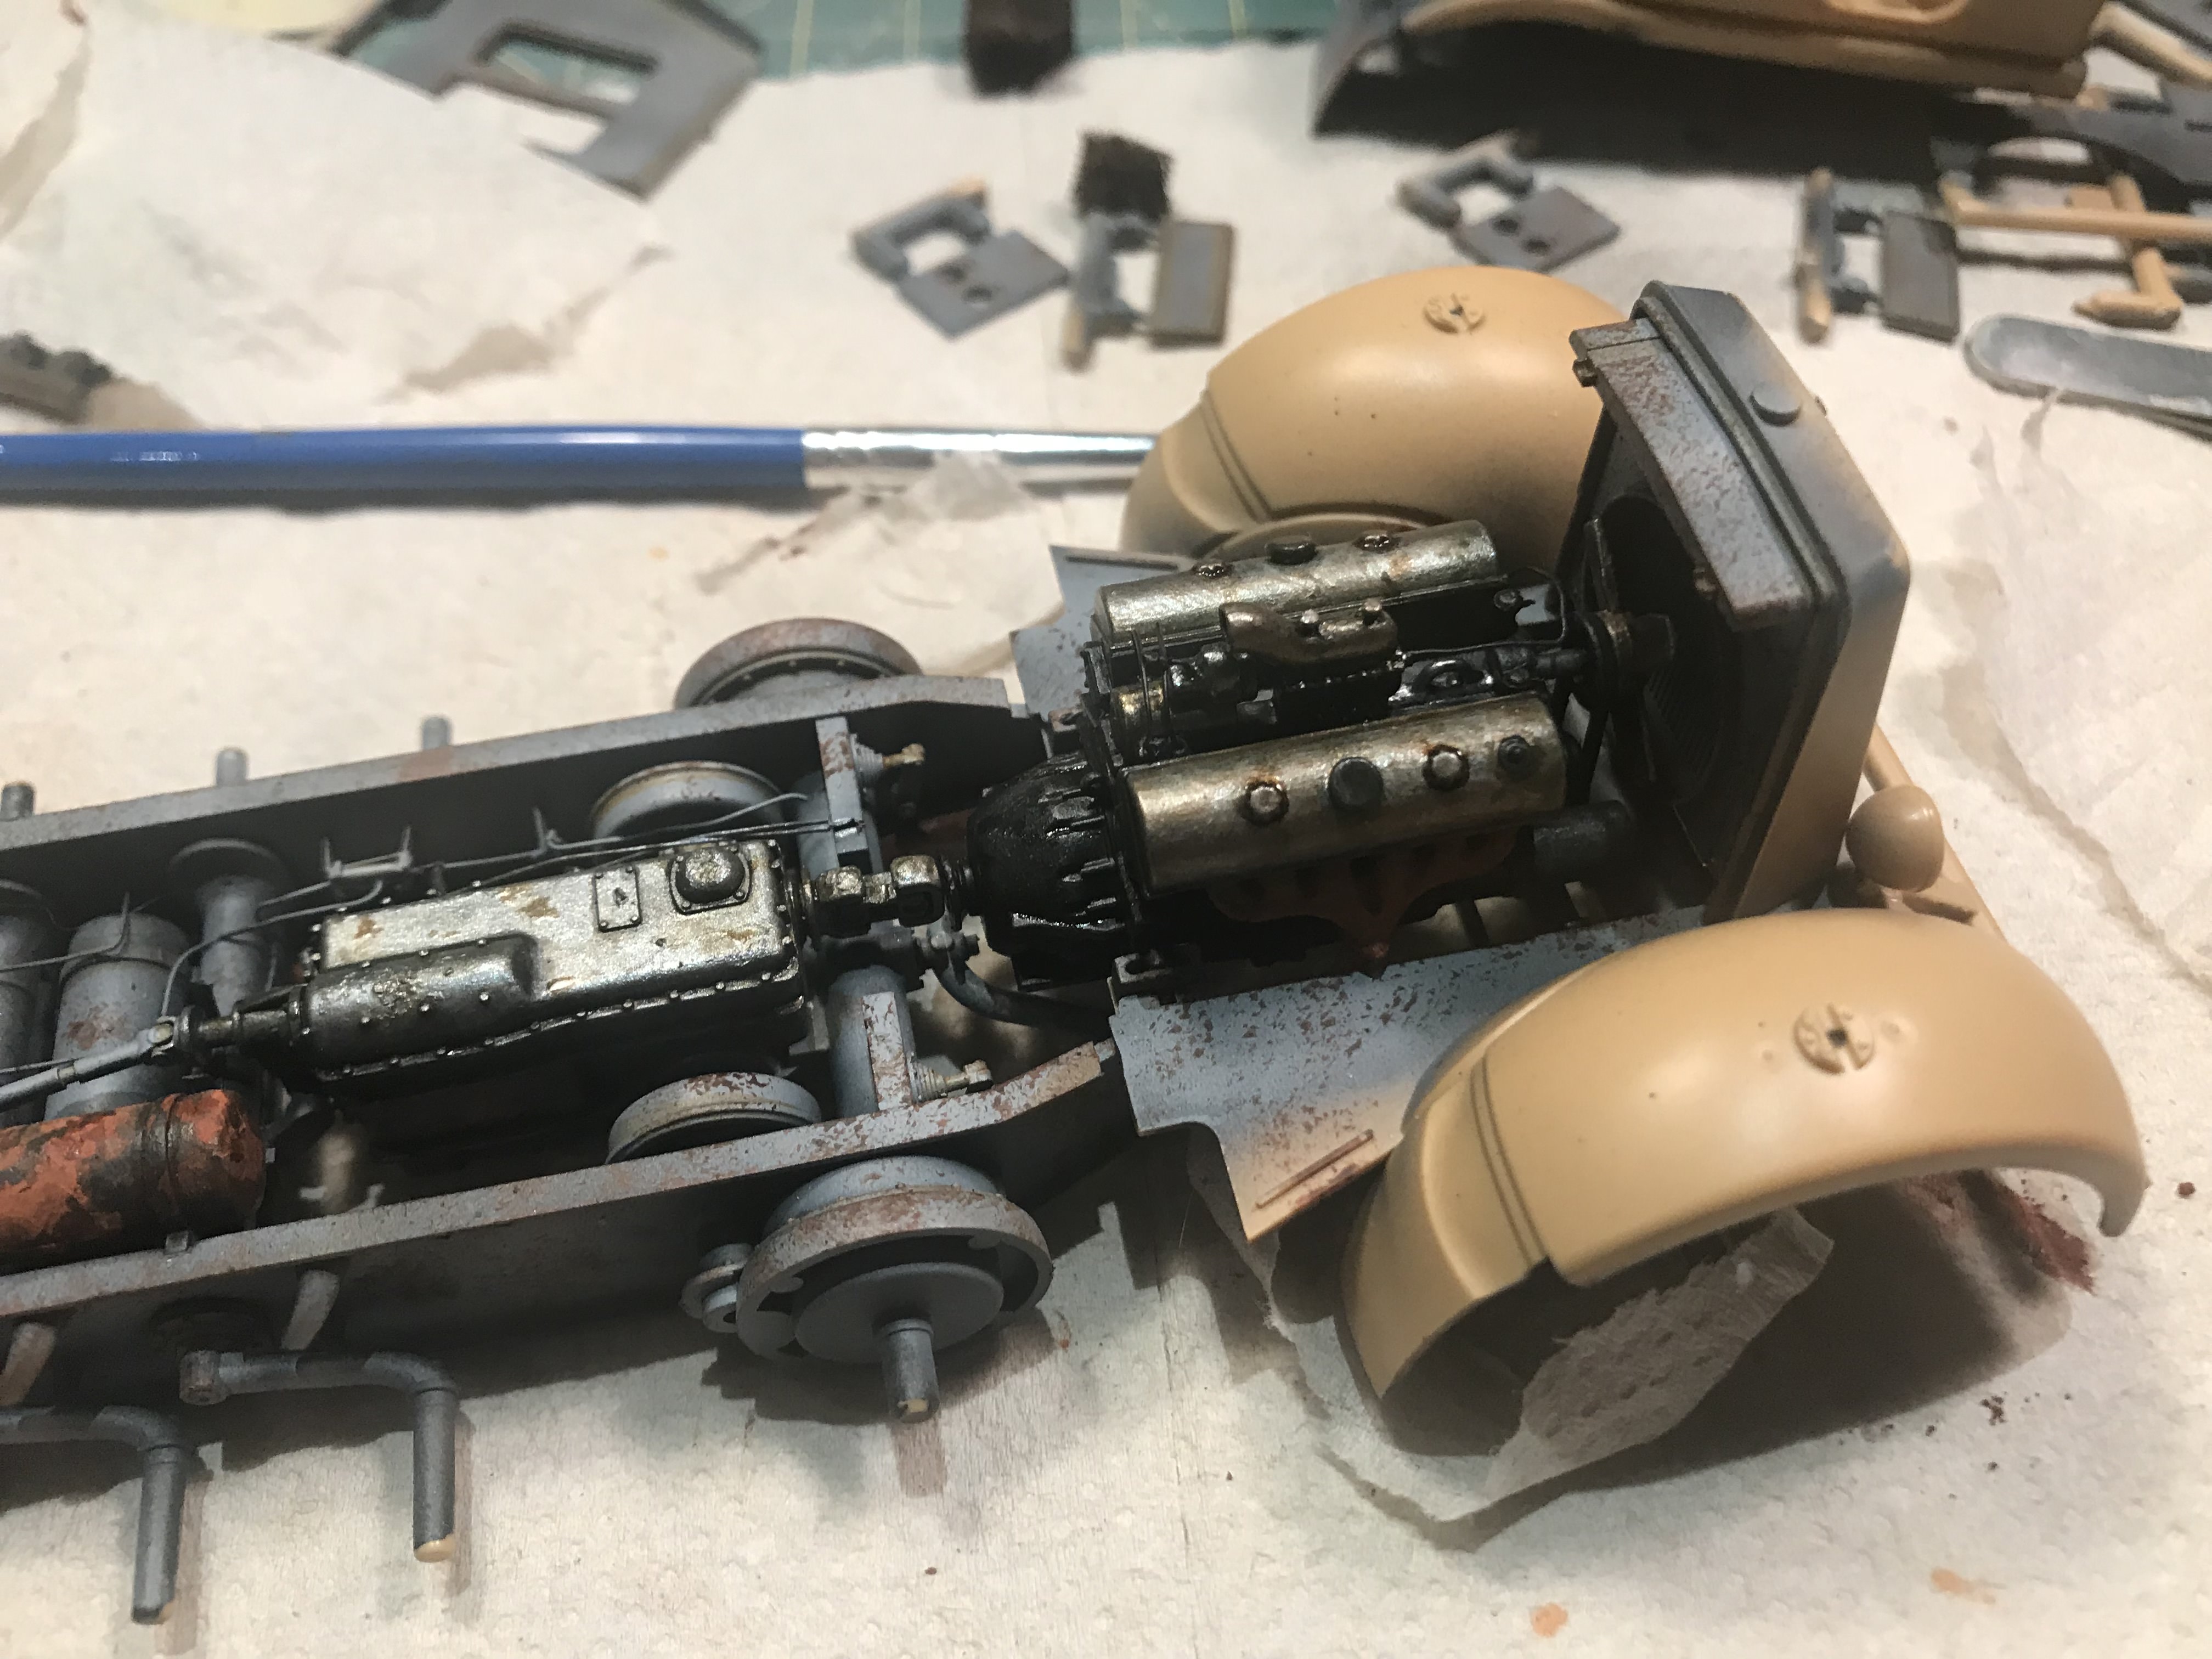
Now glued into place
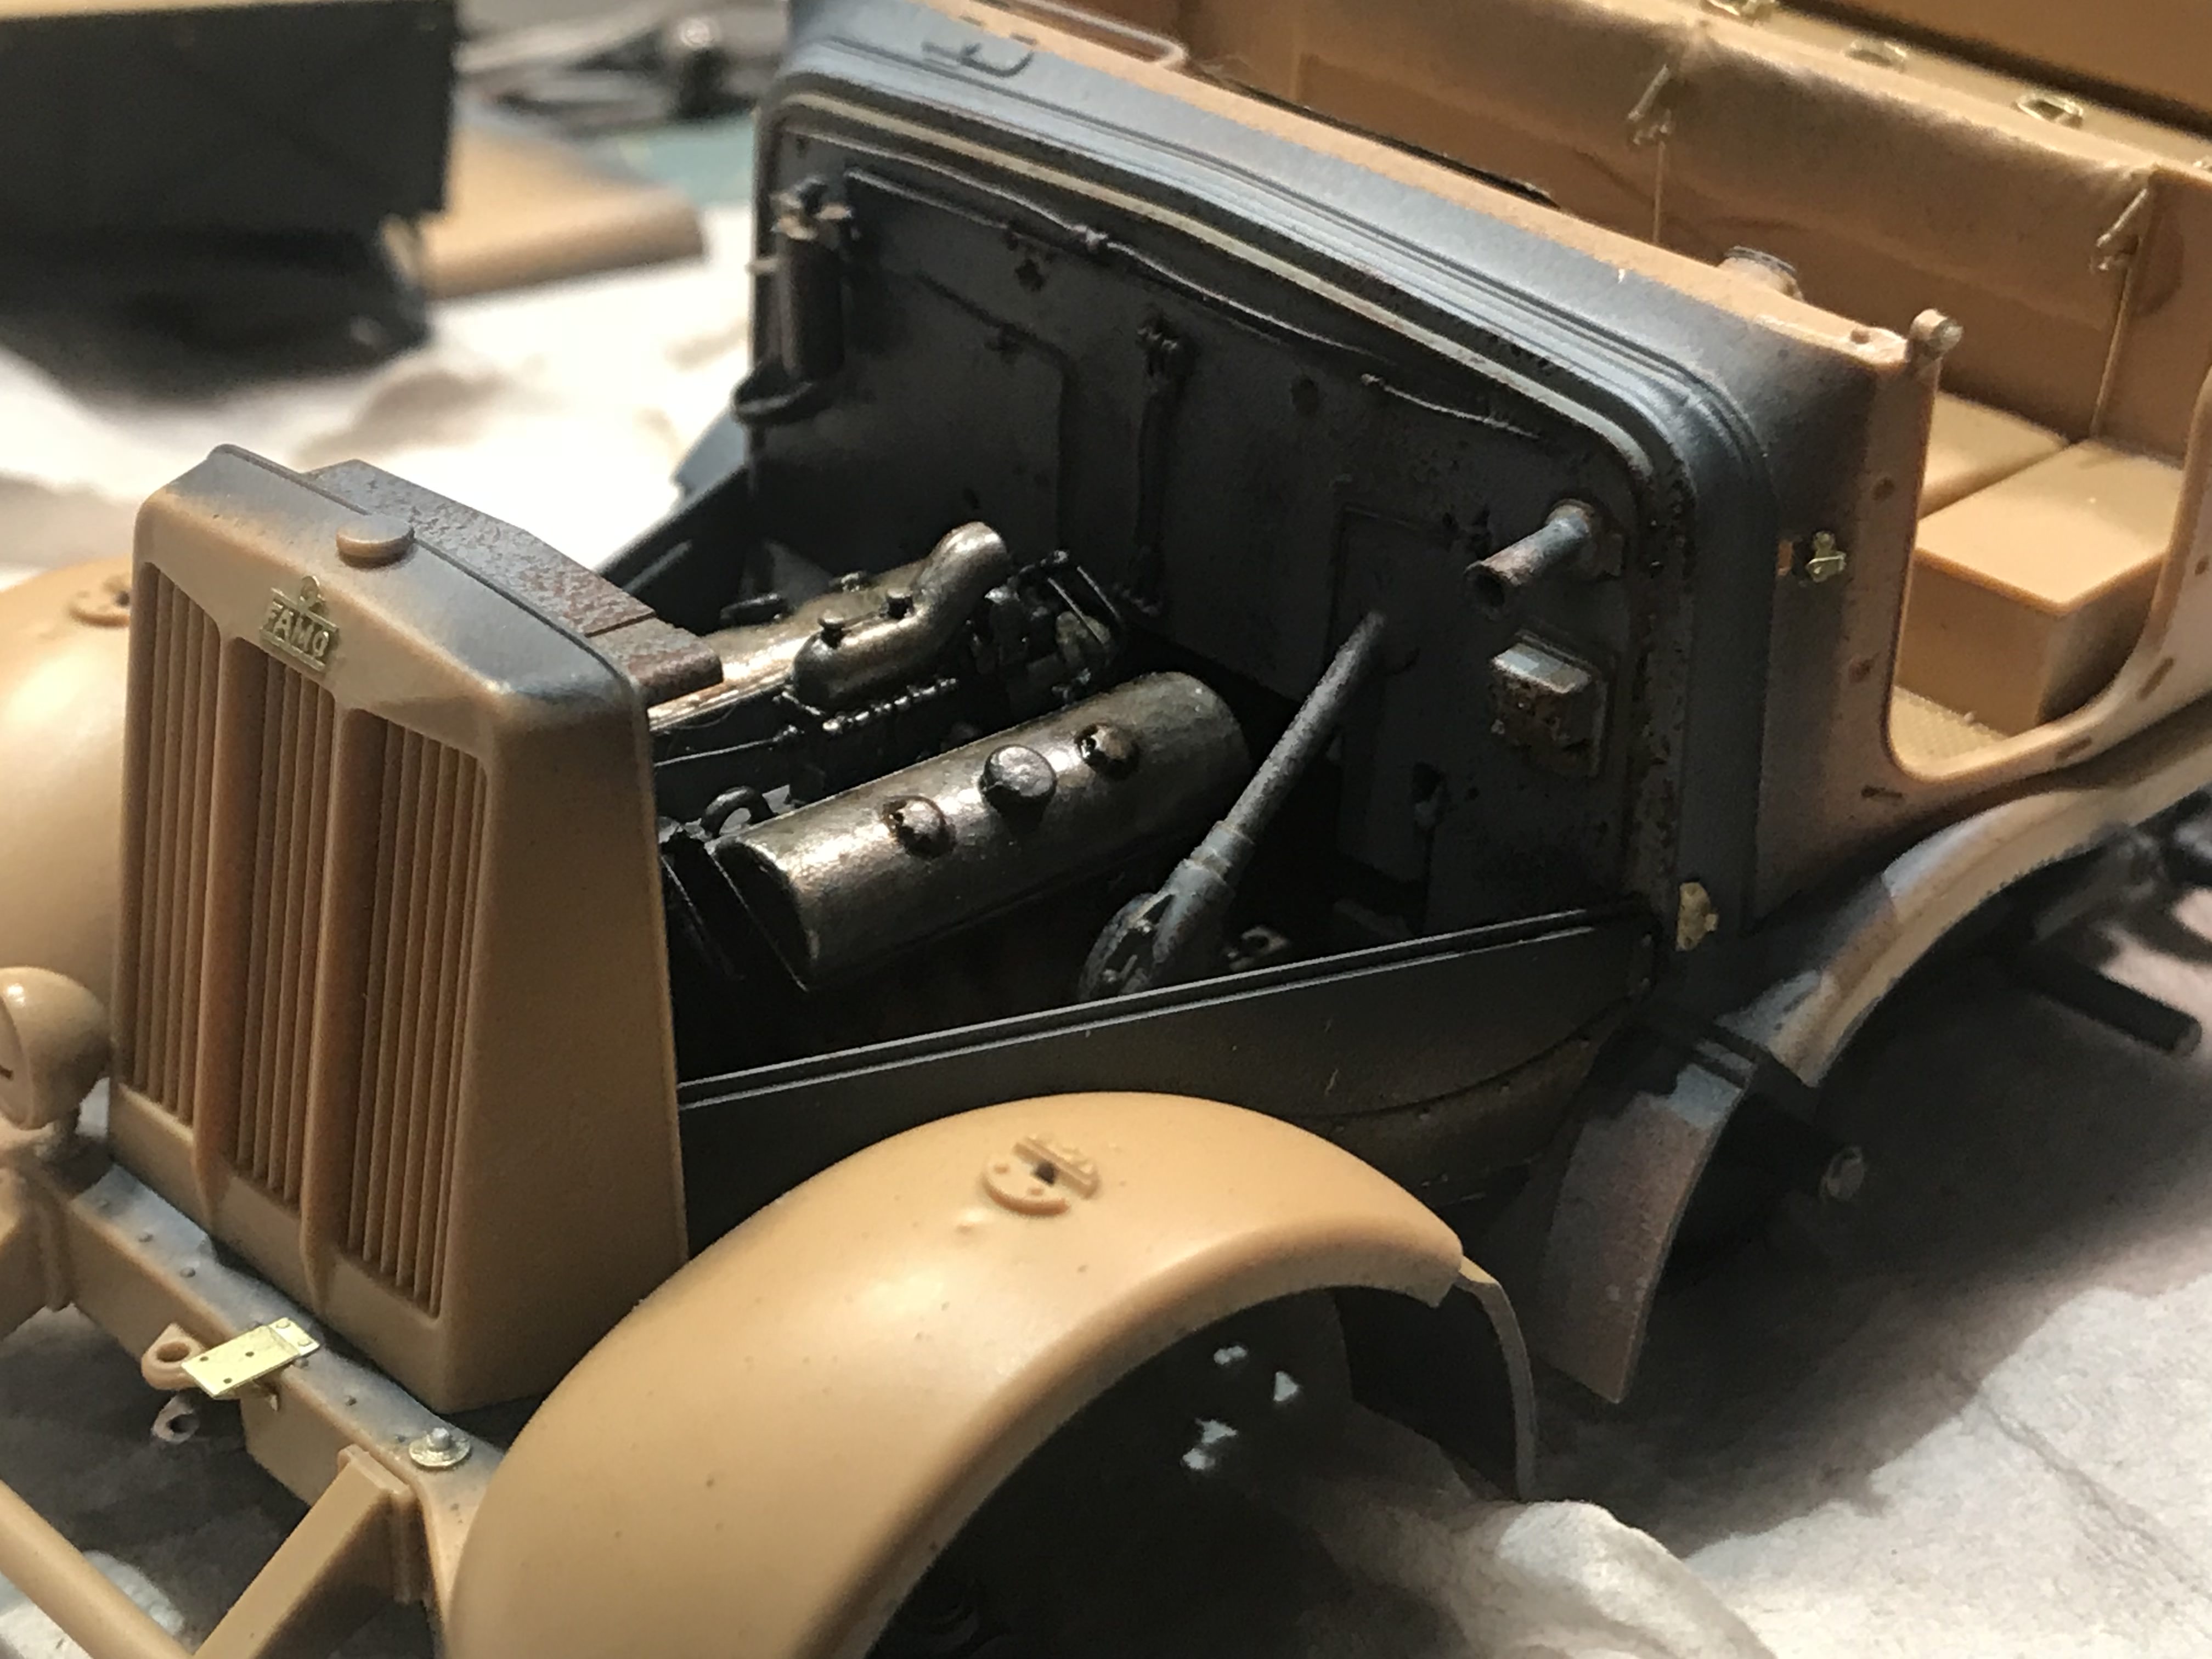
Starting to look like a FAMO!
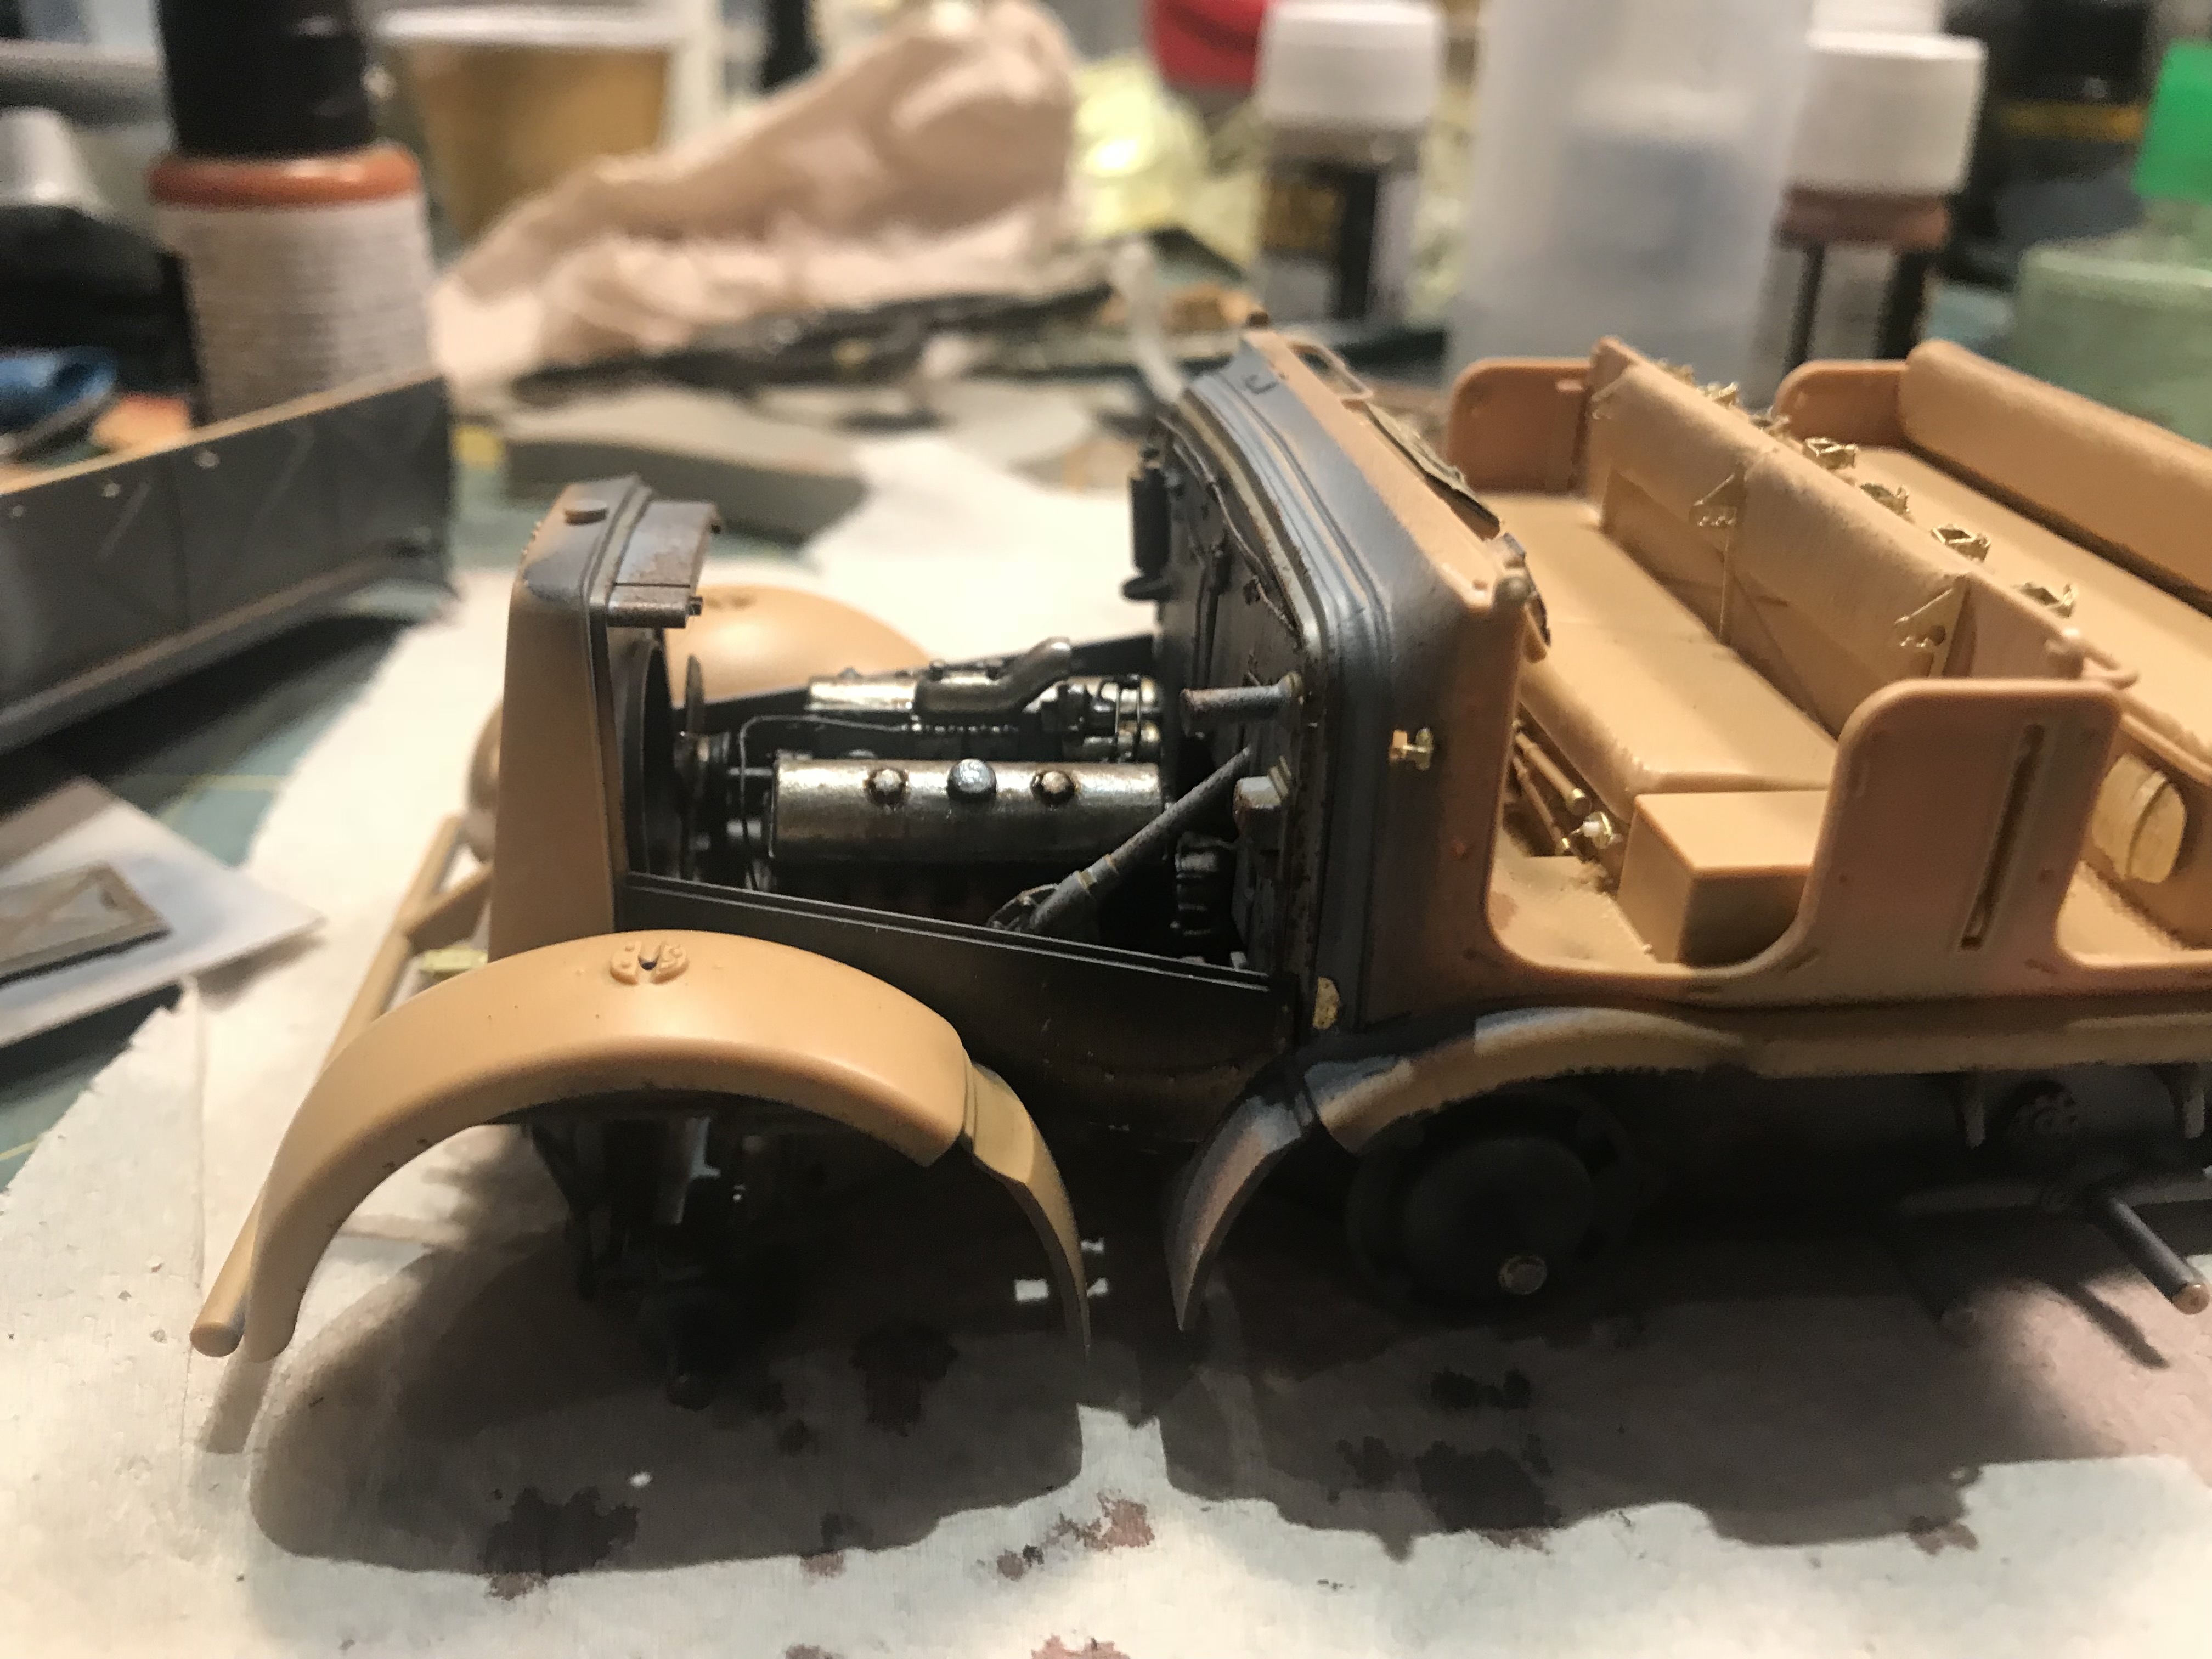
Now I am waiting on the tracks to dry, after basic weathering involving rust wash and some light siena pigments... then its onto the wheels, which have been primed and now await the colour modulation for the dunklegelb. There are a few little fittings still to go into the engine bay, but only minor little etch details.
More updates soon!
Moved onto painting the main bed and other parts that I think would have remained panzer grey. I did exactly the same technic of course as for the cab area.


Engine, exhusts and the cab dry run


Now glued into place

Starting to look like a FAMO!

Now I am waiting on the tracks to dry, after basic weathering involving rust wash and some light siena pigments... then its onto the wheels, which have been primed and now await the colour modulation for the dunklegelb. There are a few little fittings still to go into the engine bay, but only minor little etch details.
More updates soon!

 |


